
110 Cookson Lane | Whitefield, ME 04353 | 207-232-7600 | tim@lackeysailing.com
Summer Song | Thursday, December 19, 2013
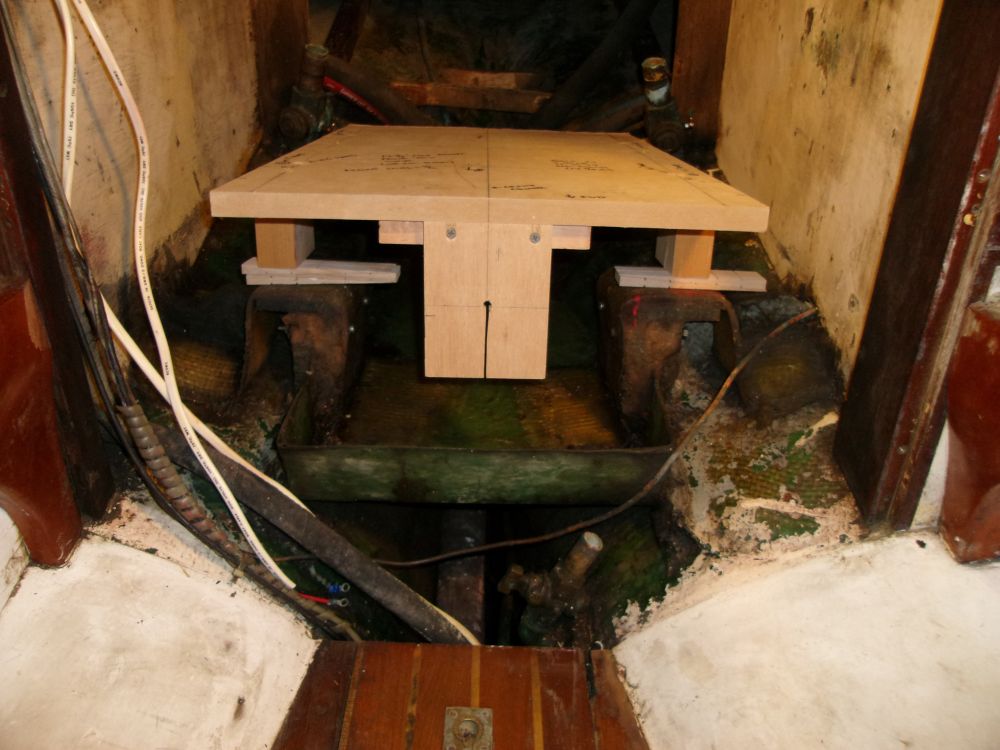
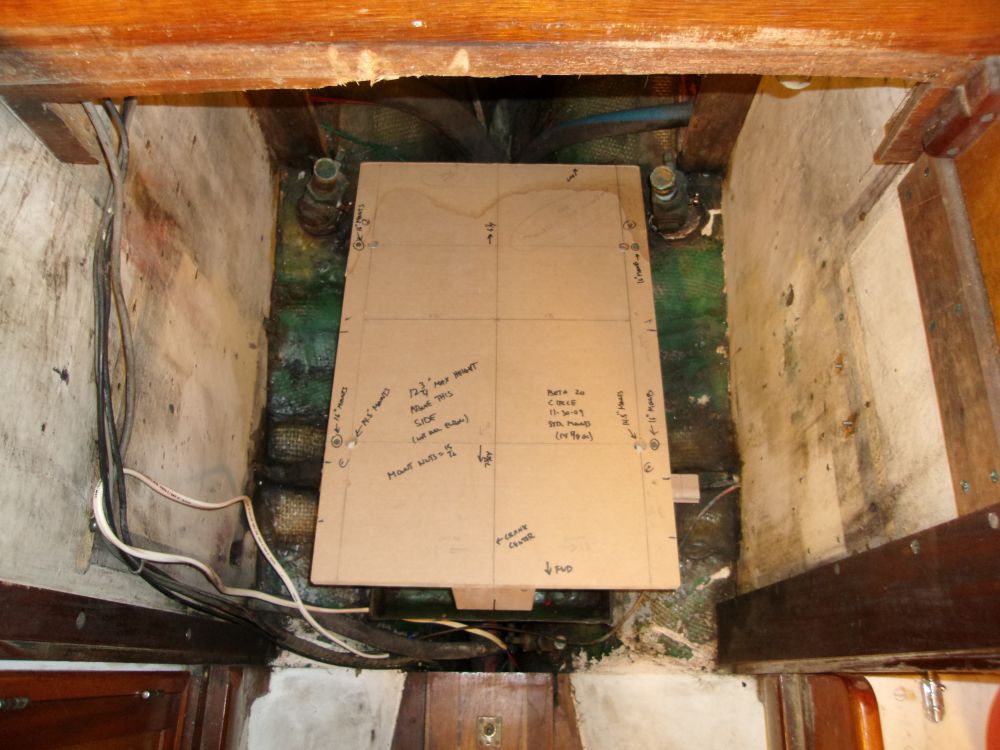
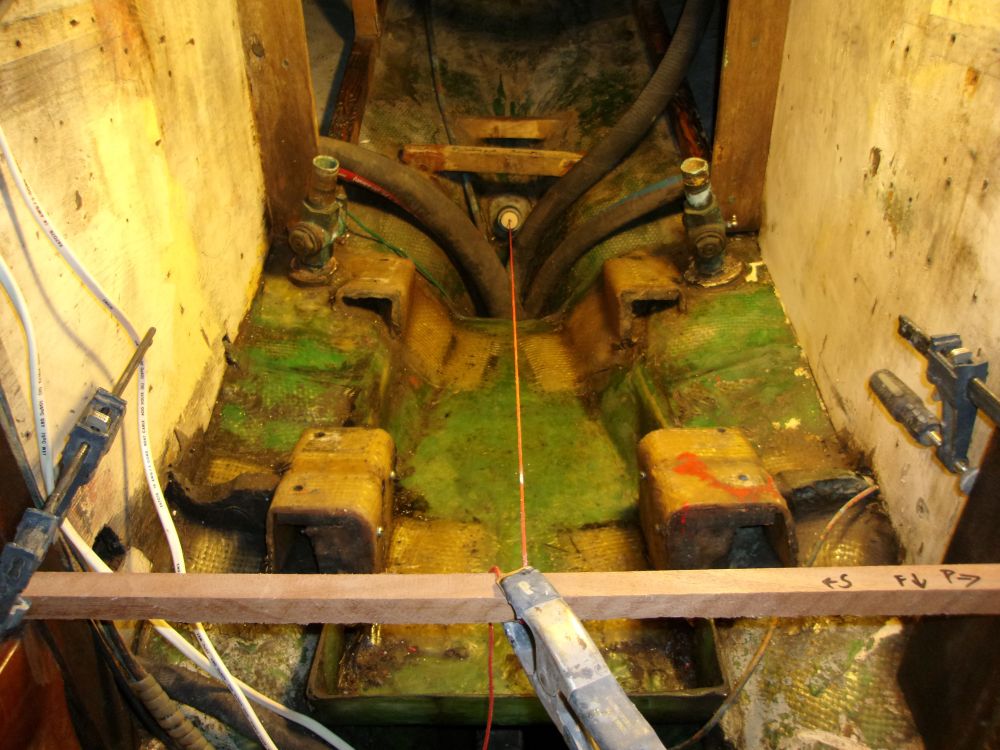
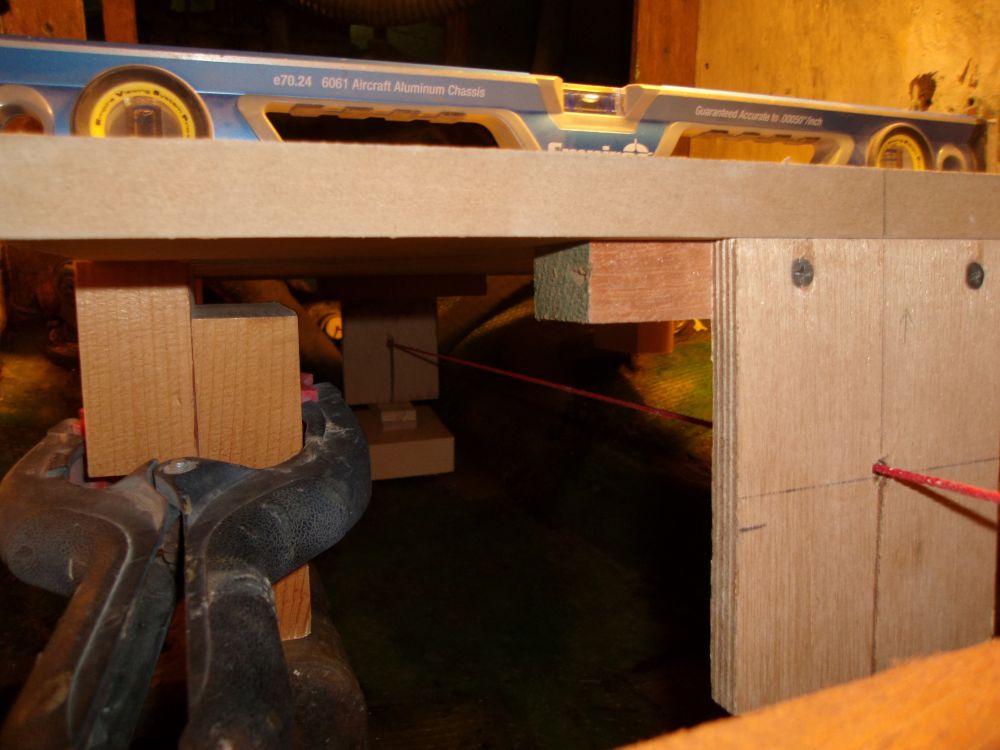
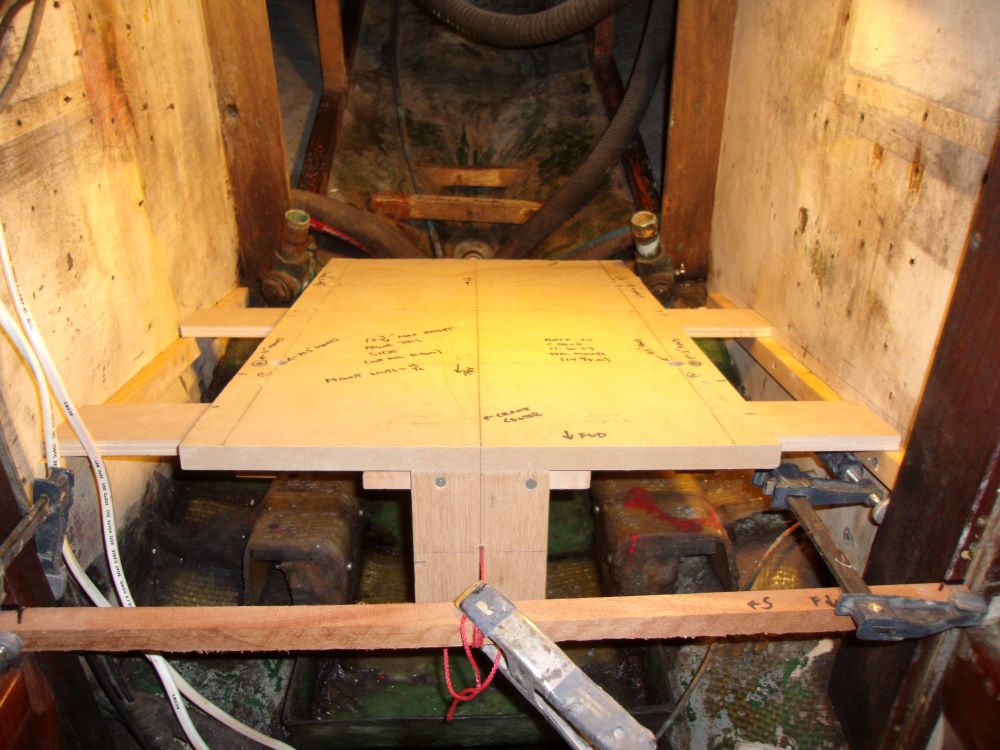
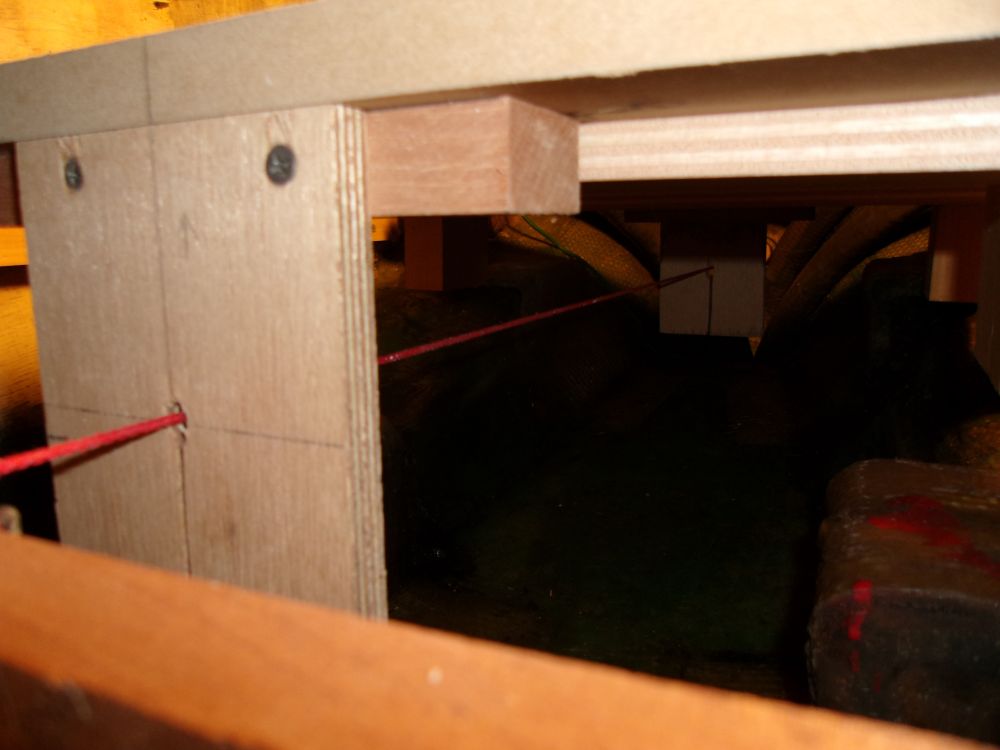
I made slight modifications to an existing engine installation template that I had from past projects. In this case, I'd specified the engine to have 16" wide mounting centers (transverse), versus the "regular" standard 14.5" mounting centers, so I marked the new centers and, since I didn't have the actual mounts on hand for test-fitting purposes, attached four blocks cut to 3" length--the midway adjustment height of the flex mounts that I'd use with the engine itself.
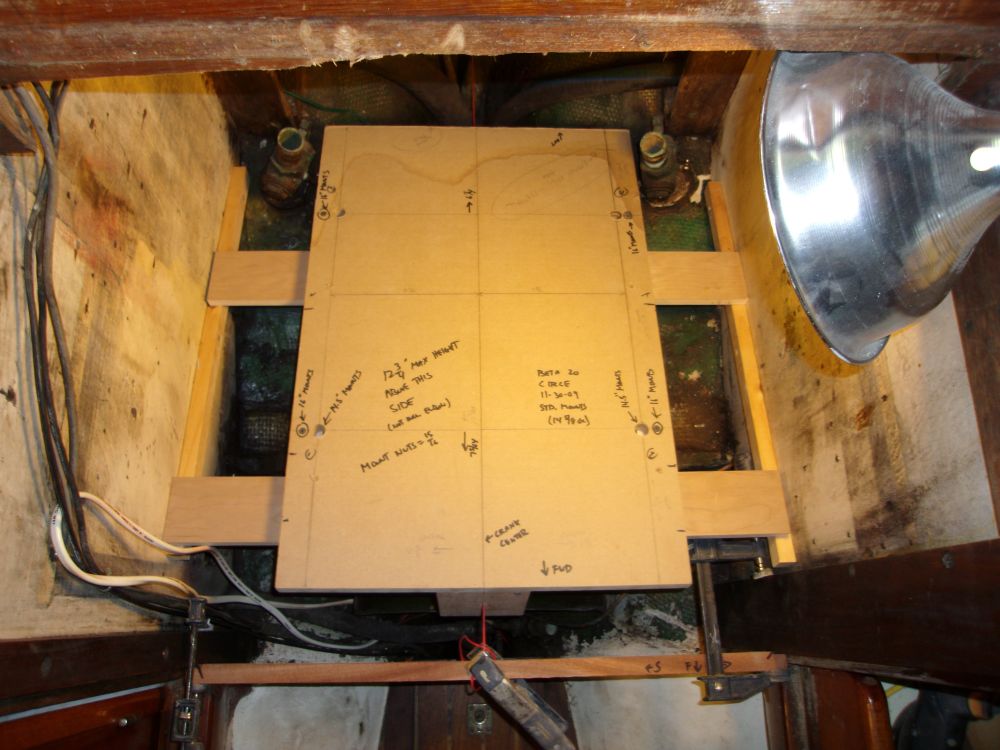
With this simple chore complete, I tested the template's fit versus the existing foundations, and propped the template roughly in place in the engine room till it looked at least vaguely close to where it would need to be (just sighting by eye from the engine room, through the shaft center holes in the template, and through the stern tube). In these photos, the engine template is still a bit lower than it'd need to ultimately end up.
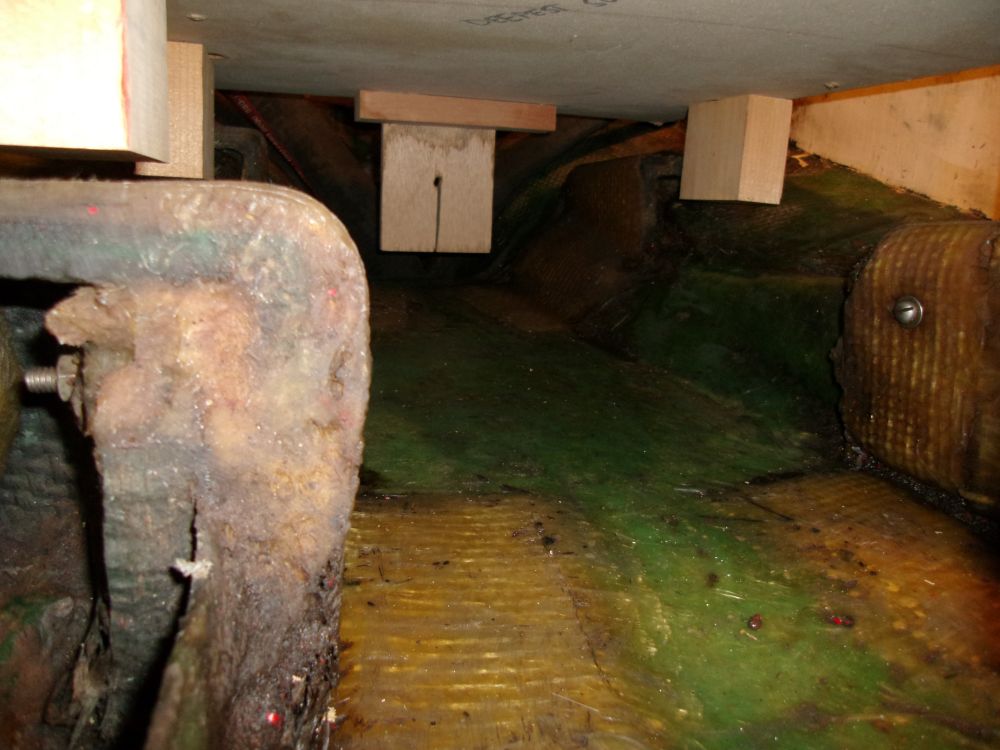


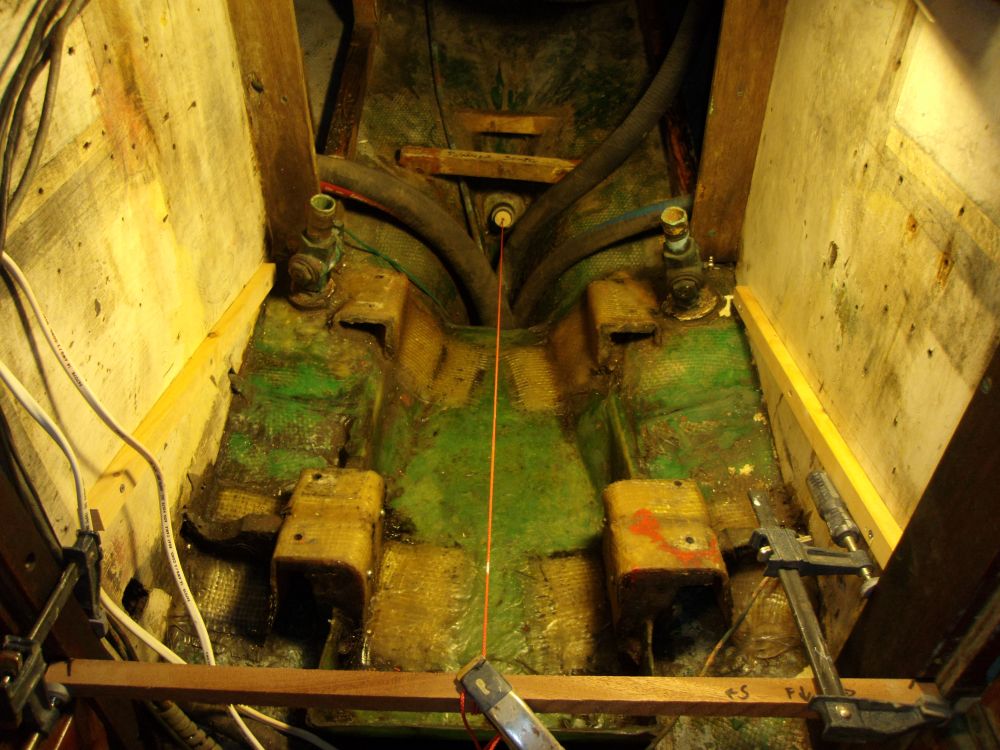
This exercise gave me a sense of what changes and modifications might need to be made to the existing foundations to accommodate the new engine. Since the existing basis was sound and in good shape, I planned to build off it as needed. The after mounts on the new engine would end up a bit forward of the old ones, which was helpful since these needed to be lower anyway, and the forward mounts would align well with the old forward locations, but I'd need to build up the forward mounts since the mounting flanges on the new engine were higher than those of the old, a factor of modernization and changes in engine construction geometry over the past 40 years.
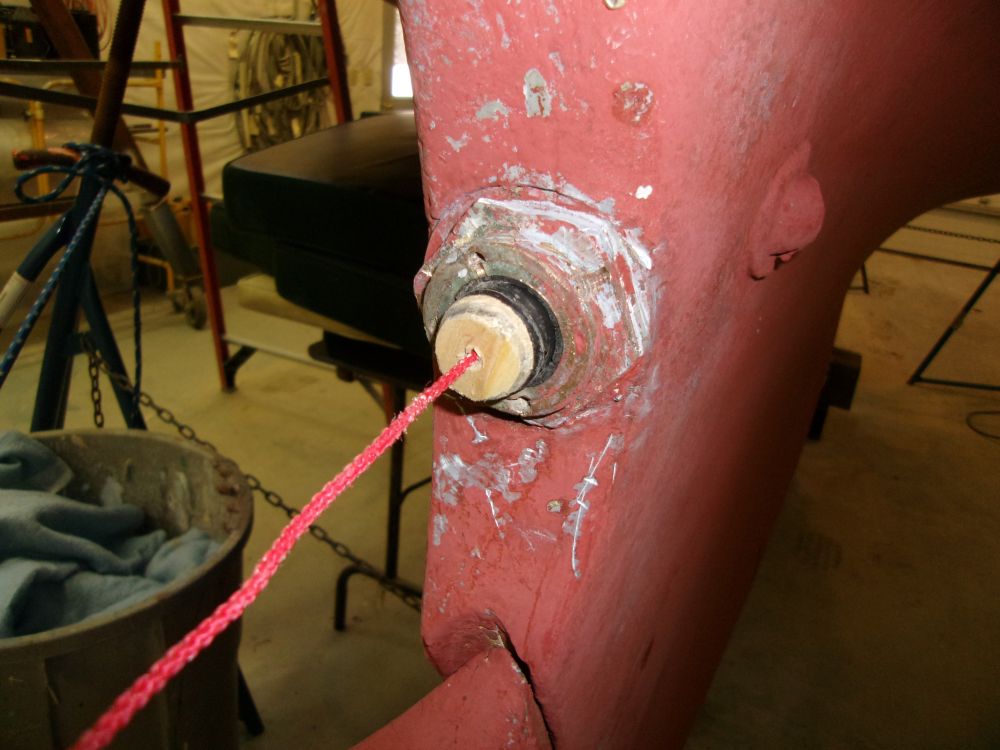
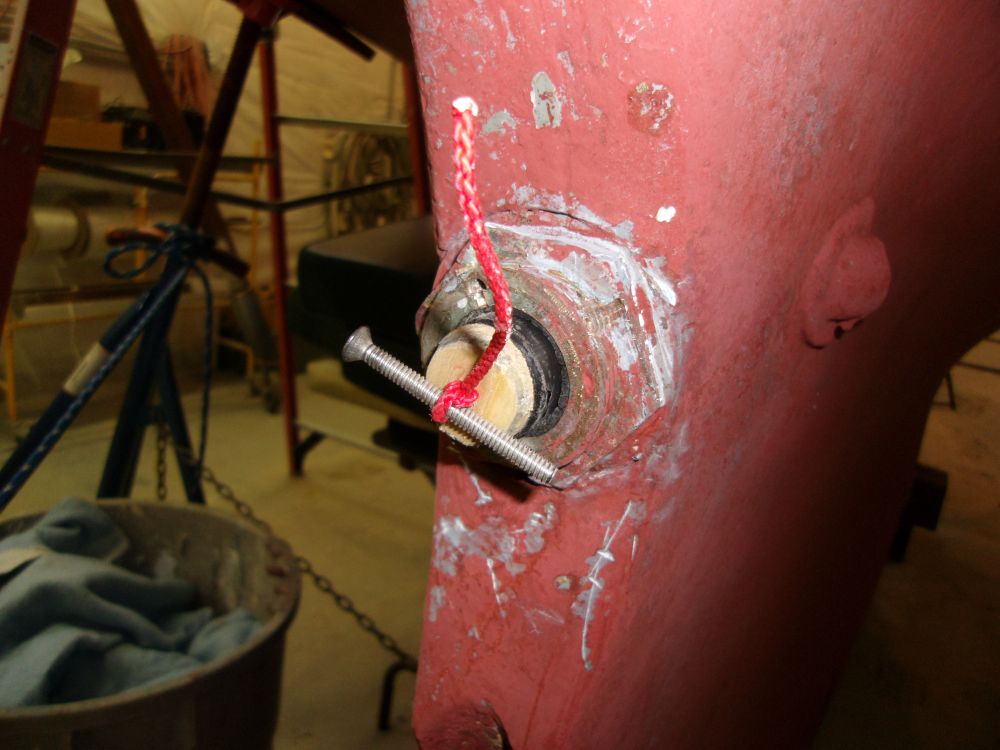
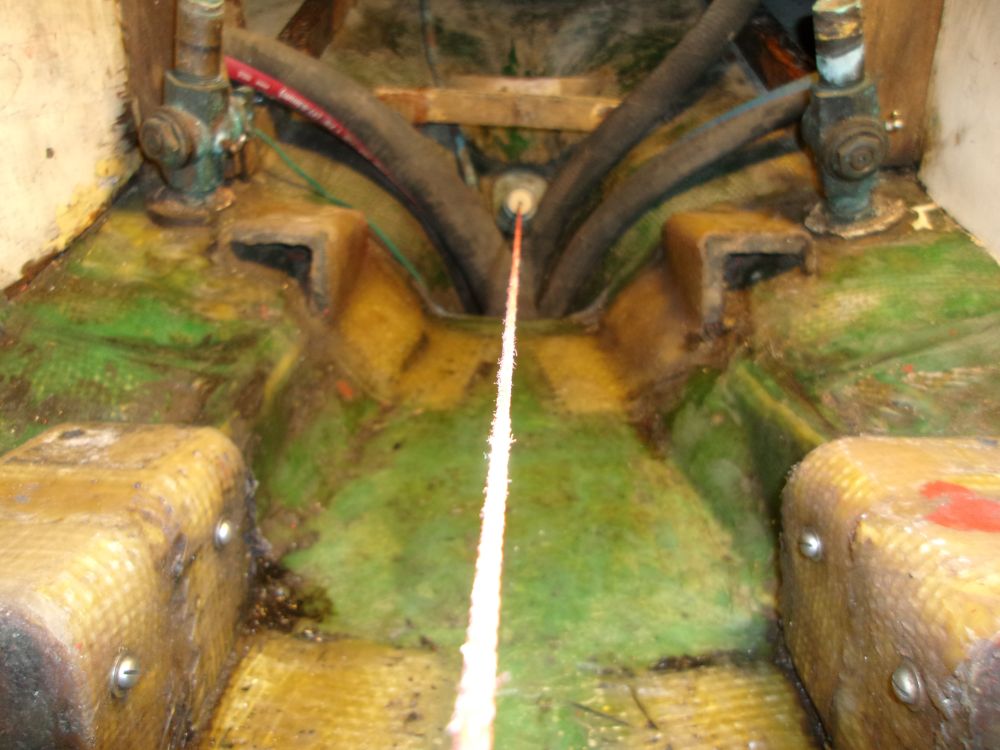
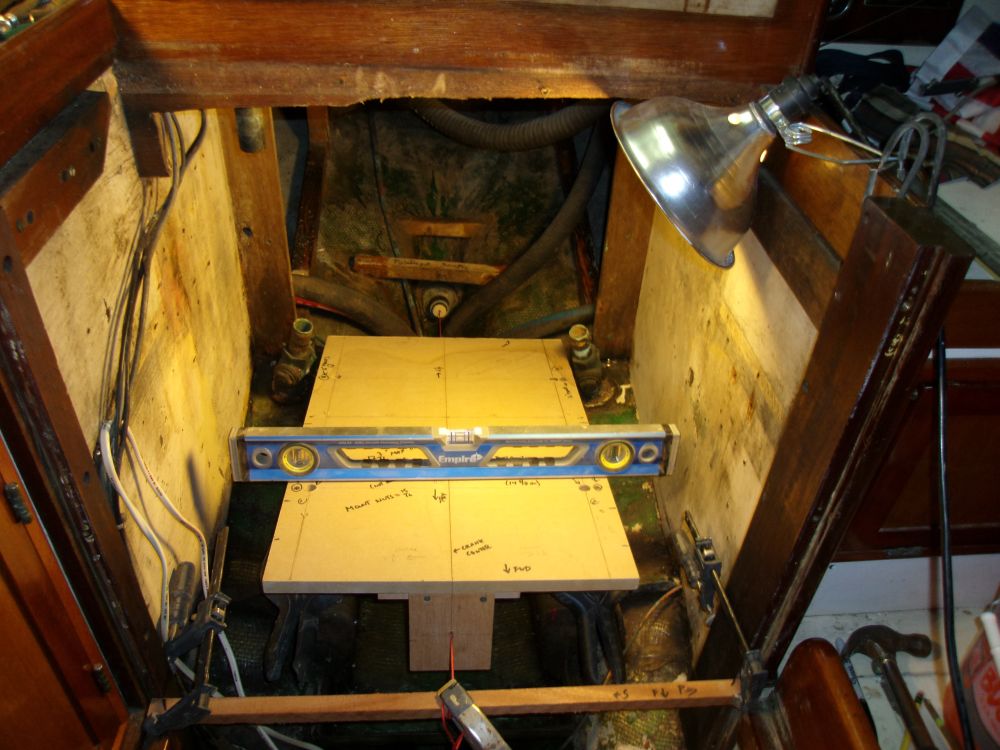
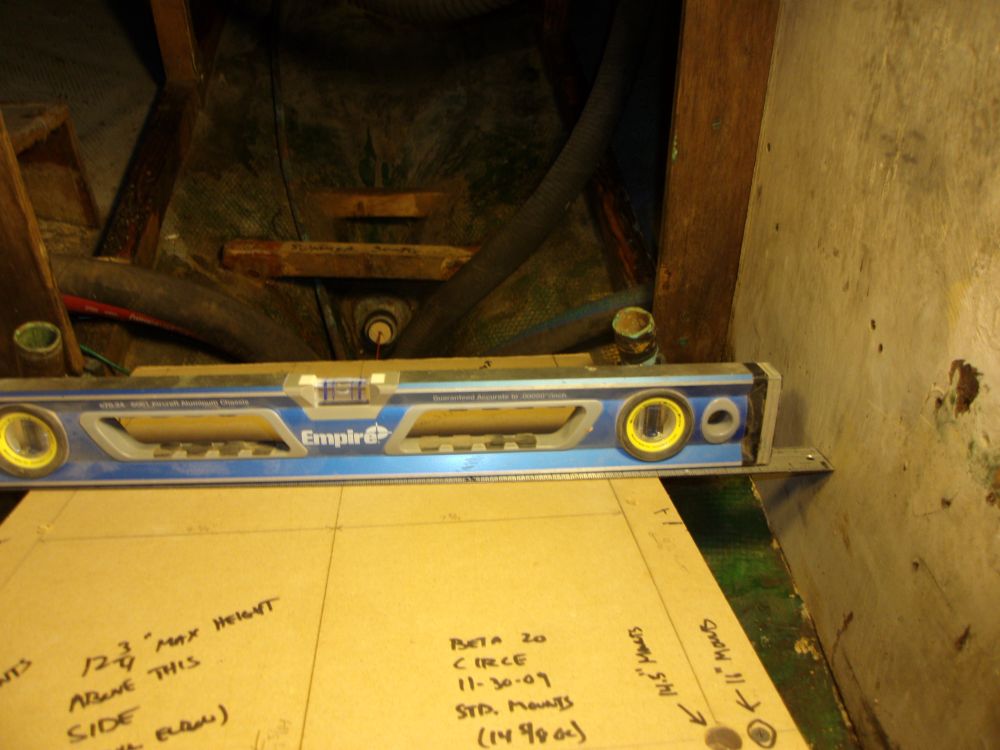
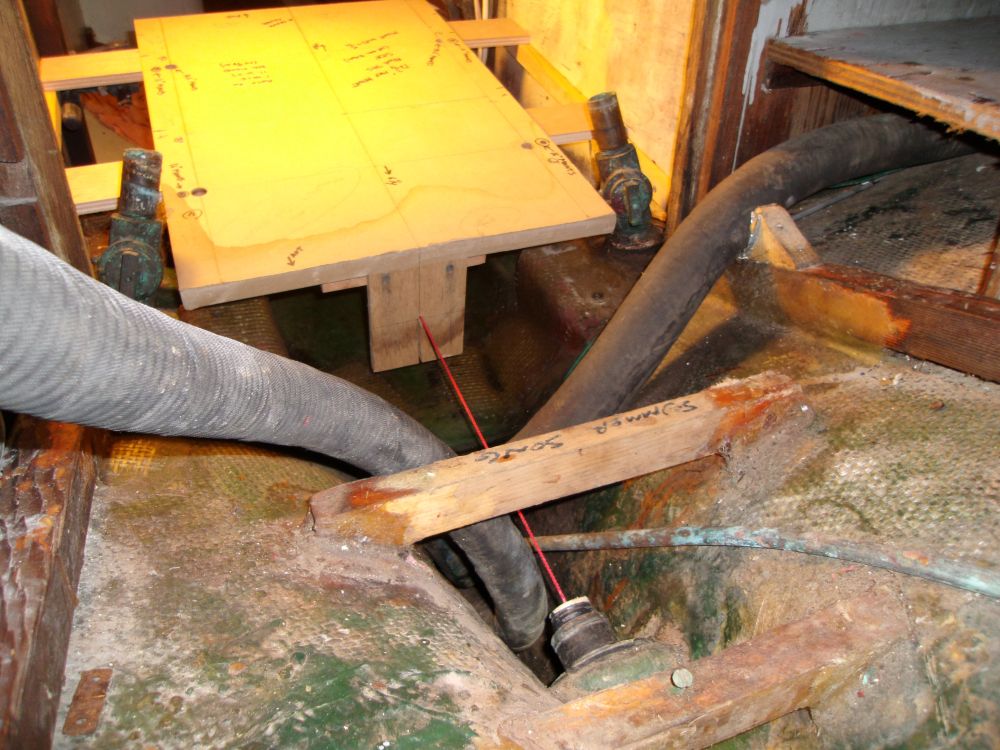
Next, I decided to get more accurate in my initial layout, and to start the final layout process at the same time. So to get started, I set up a string through the stern tube to represent the centerline of the propeller shaft, the sailient reference in any engine installation. To keep the string centered at each end of the stern tube, I ran it through the centers of small wooden plugs that fit in each end; for now I left the old, worn Cutless bearing in place since one of my existing plugs fit there nicely, but I'd be replacing the bearing later.
I secured the string outside across the stern tube by tying it to a small screw, and inside the boat I clamped a stick across the forward end of the engine room and adjusted it--and the string--around till the string ran through the center of the plug that I'd inserted at the inside of the stern tube. I made various reference marks so I could remove and re-setup the stick and string as needed throughout the process.
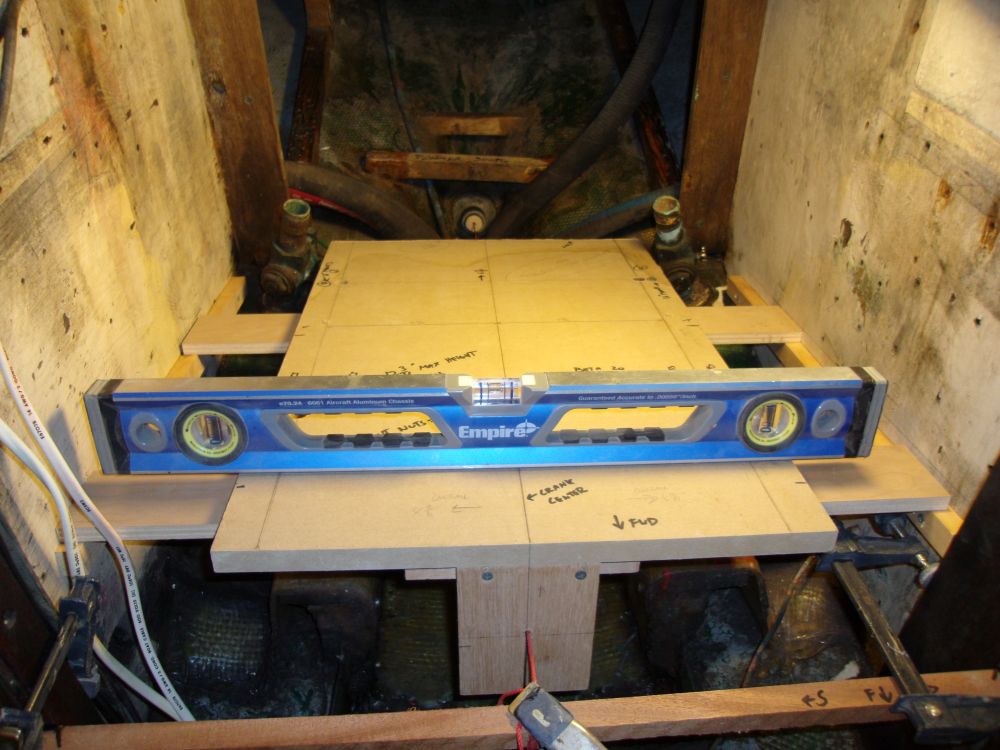
After checking the boat's level and making minor adjustments to bring the boat level from side to side, I fitted the template over the string, running the string through the holes demarking the shaft centerline of the template, and, at length, adjusted and supported the template till the string stayed in the centers of these holes, with the template level and supported at both ends.
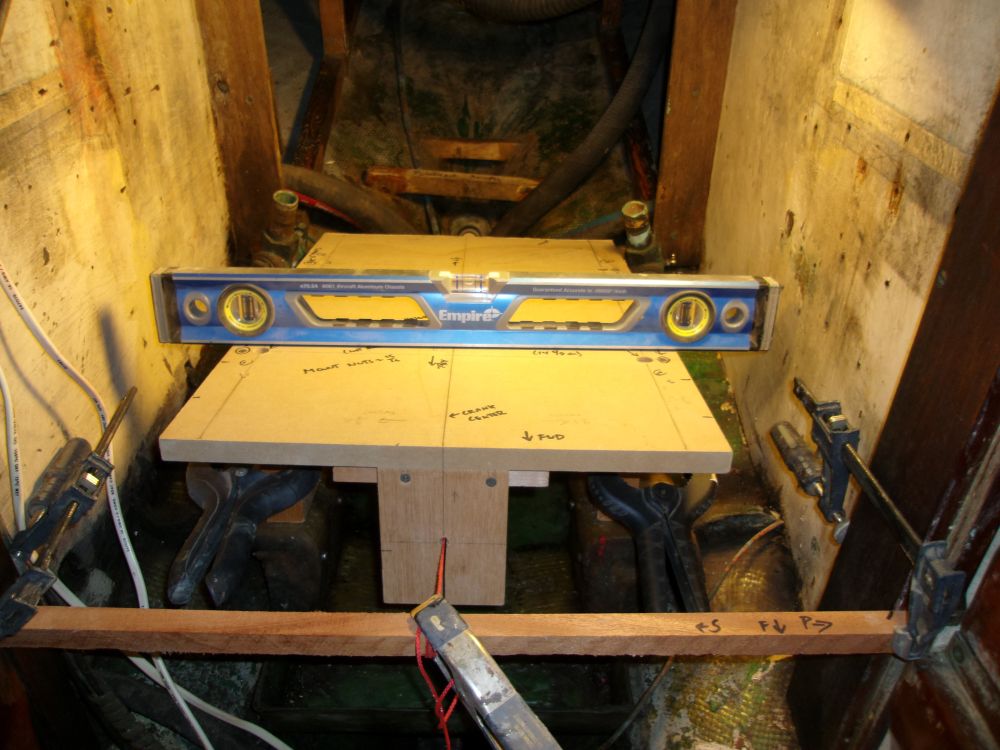


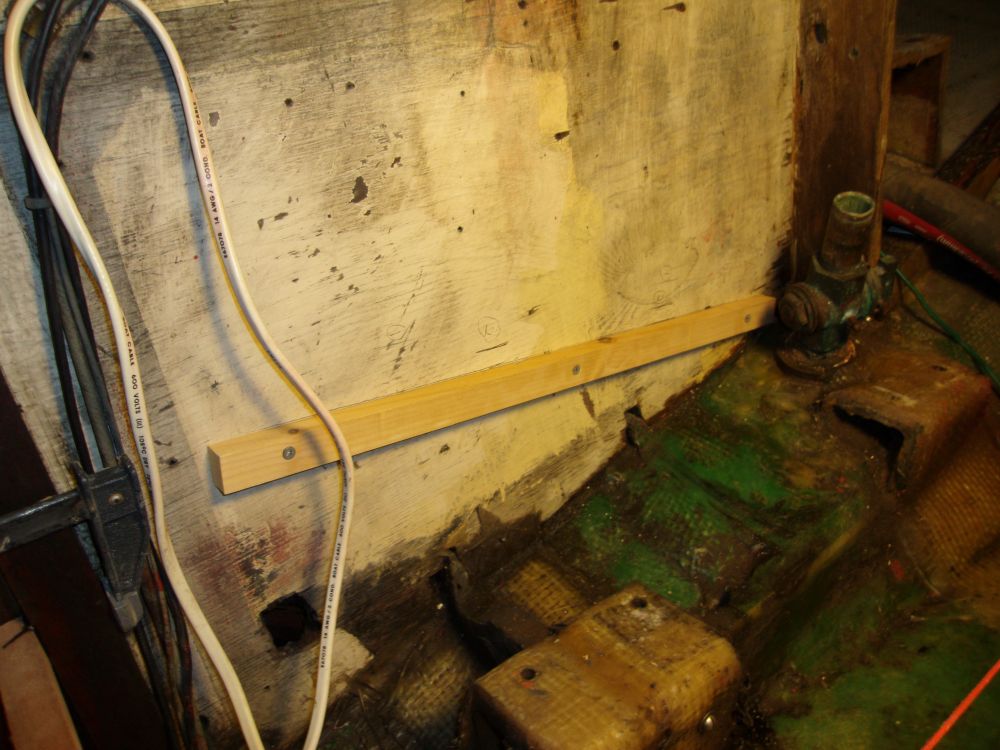
Satisfied with the position for now, I used the level and straightedge to transfer the position and plane of the template to the bulkheads on each side. For reference purposes, the bottom surface of the template represents the bottoms of the engine-mounting flanges, the surfaces to which the adjustable flex mounts would eventually attach. The top surface of the template was arbitrary; all key measurements related to the bottom surface, but I marked lines from each surface just because. I made two marks--fore and aft--on each side, which would allow me to strike lines on the bulkheads on each side.

I removed the template and cut and installed temporary cleats to the reference marks, allowing for a 1/2" thickness of plywood since I planned to use same to support the template from beneath during this layout process.

With two plywood strips running across the engine compartment between the cleats, I reinstalled the template and aligned it with the reference string. Since the cleats had been installed off the template when properly aligned, ergo the template, with its new supports, now remained aligned with the string.
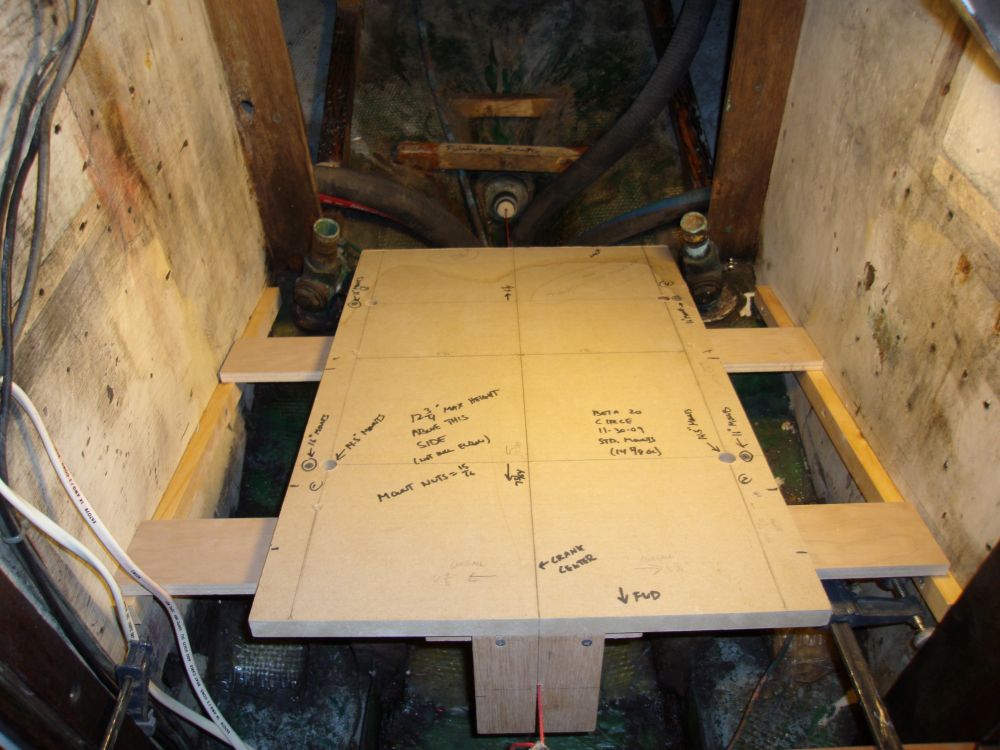
This new setup allowed me to make some measurements and otherwise plan for the new foundation construction beneath. I made various measurements and notes, and ordered materials for the job.


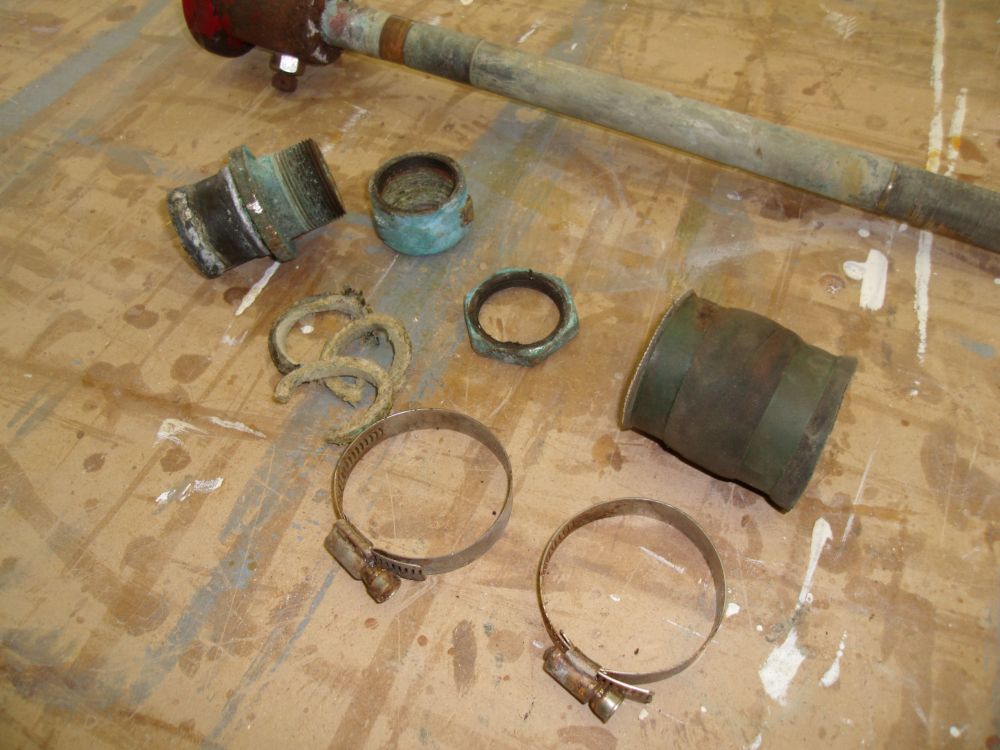
Meanwhile, I disassembled the original stuffing box, the bronze components of which would likely be reusable after cleaning up, and noted specifics of the hose and packing types so I could order replacements, along with a new Cutless bearing to replace the old, which I'd remove soon.

Total Time Billed on This Job Today: 7.25 Hours
