
110 Cookson Lane | Whitefield, ME 04353 | 207-232-7600 | tim@lackeysailing.com
Snow Lily | Saturday, May 11, 2013
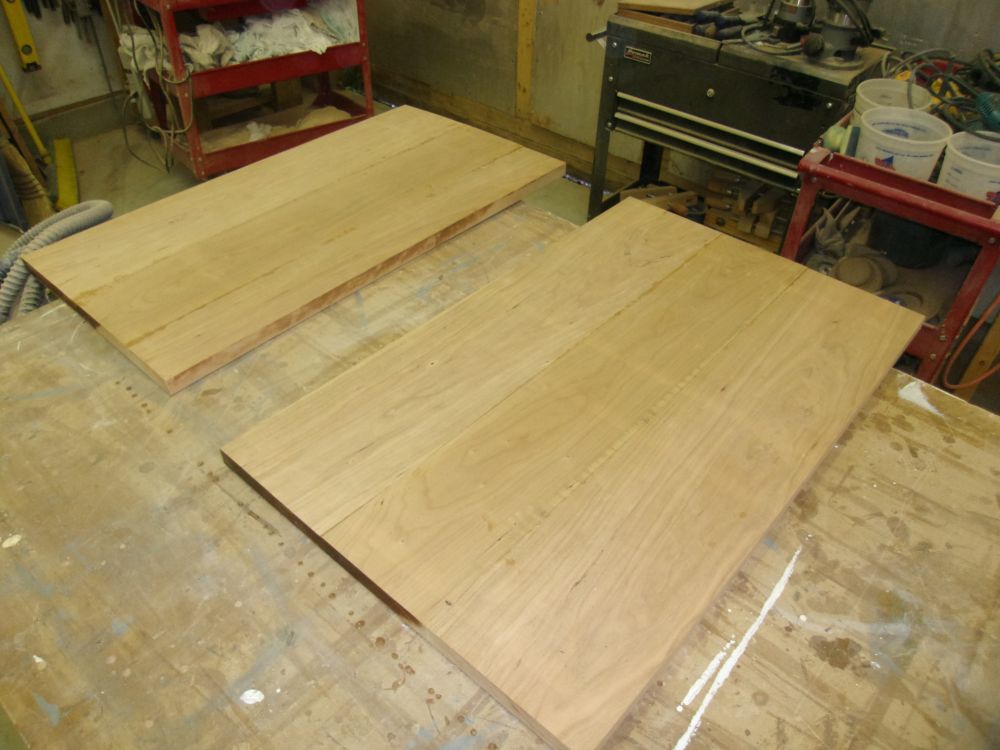
It was too wet to work outdoors, which made it a perfect time to get back to work on the interior table. The table would feature a fixed (but removable), free-standing section located at the after end of the port settee, and incorporating the engine box as part of its seating area, with a drop-leaf section available to extend over to the starboard settee when needed.
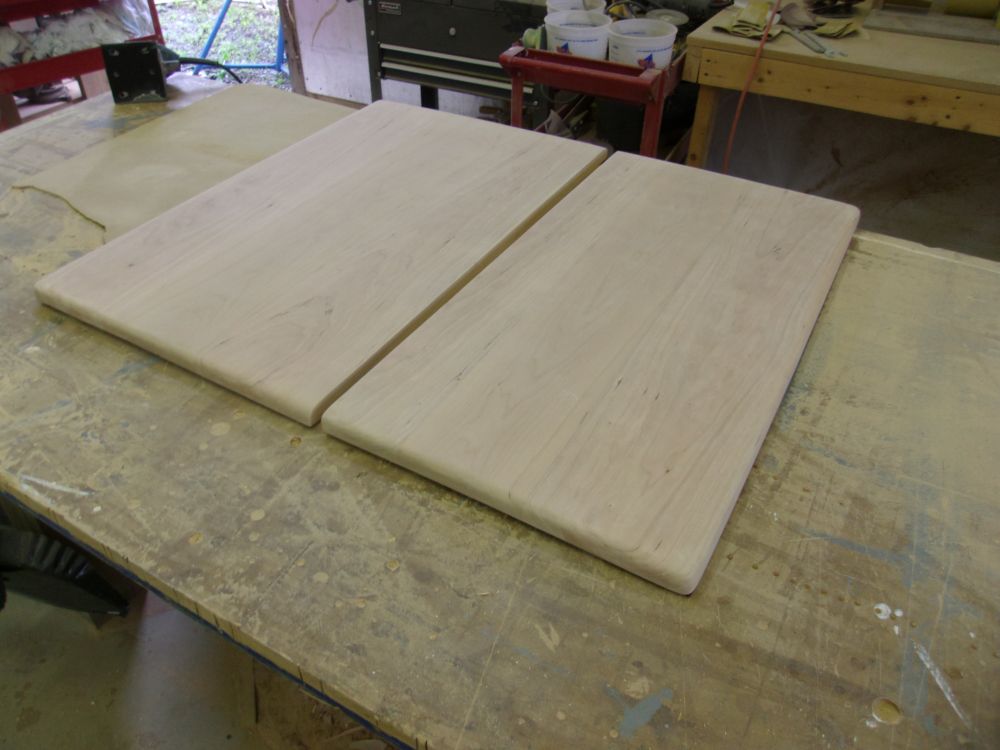
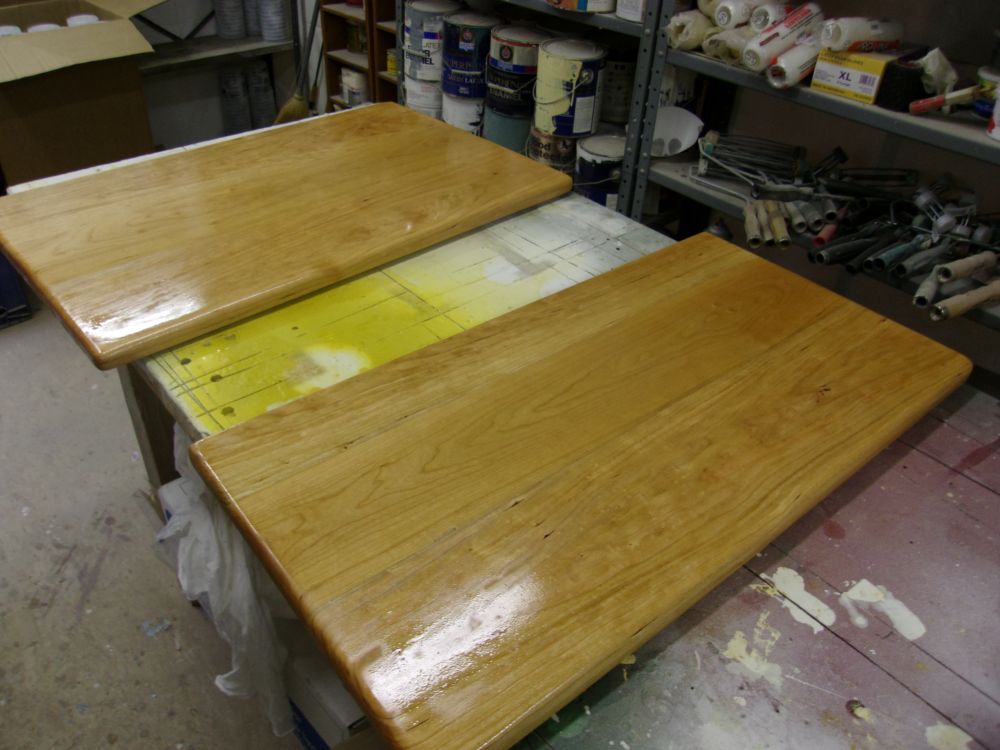
Some time earlier, I'd glued up a couple blanks for the two sections of the table tops, so to begin I trimmed these to the proper size, then sanded them smooth and eased the exposed edges as needed. Afterwards, I applied a sealer coat of varnish to the tops.
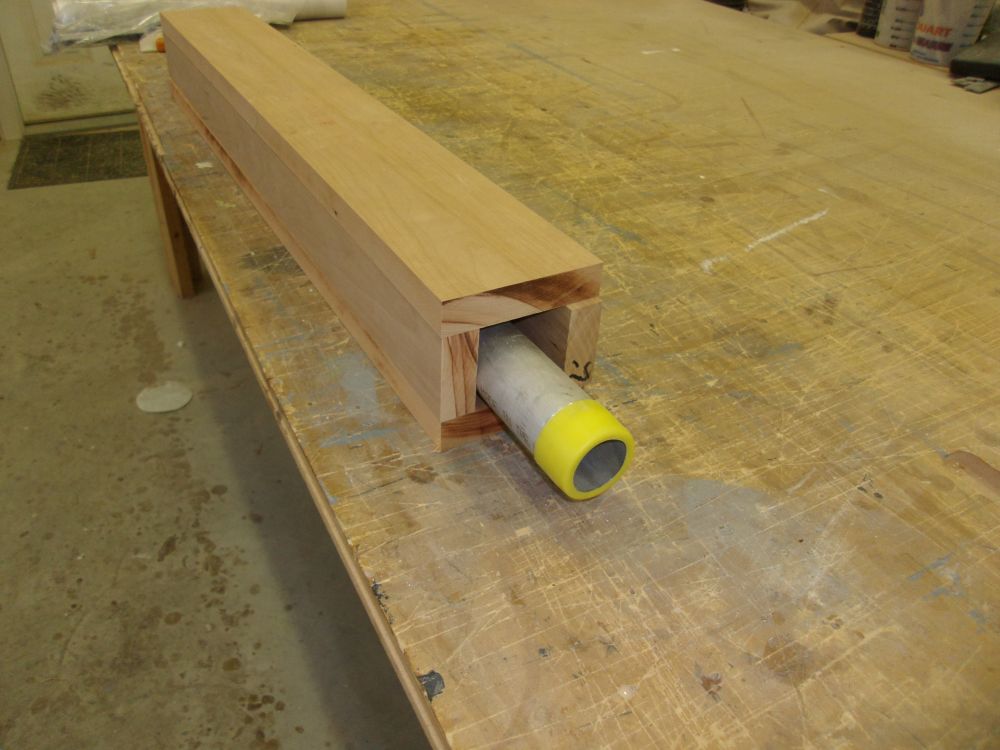
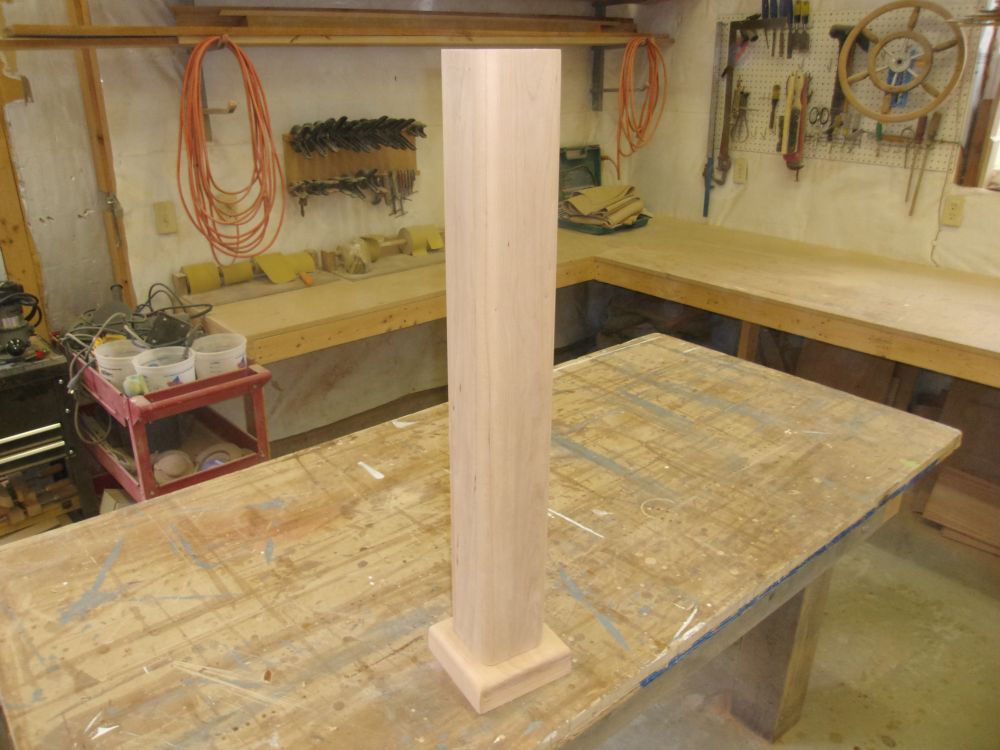
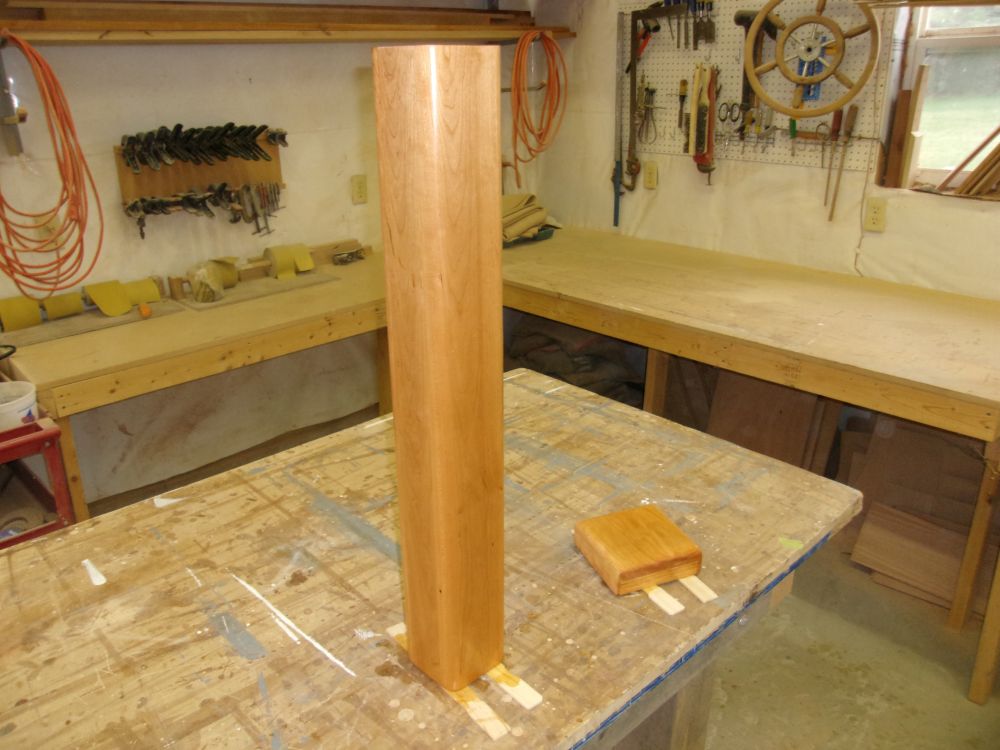
To make the table installation simple, sturdy, and removable if desired, I planned to use an aluminum leg with threaded flanges at each end. Past experience with this setup proved it to be extremely sturdy when assembled. The flanges had been unexpectedly unavailable when I'd ordered them, but had recently shipped and would be here presently. To hide the unsightly aluminum leg and flange, I planned to cover them with a hollow leg and base made from solid cherry, which would slip over the leg when assembled.
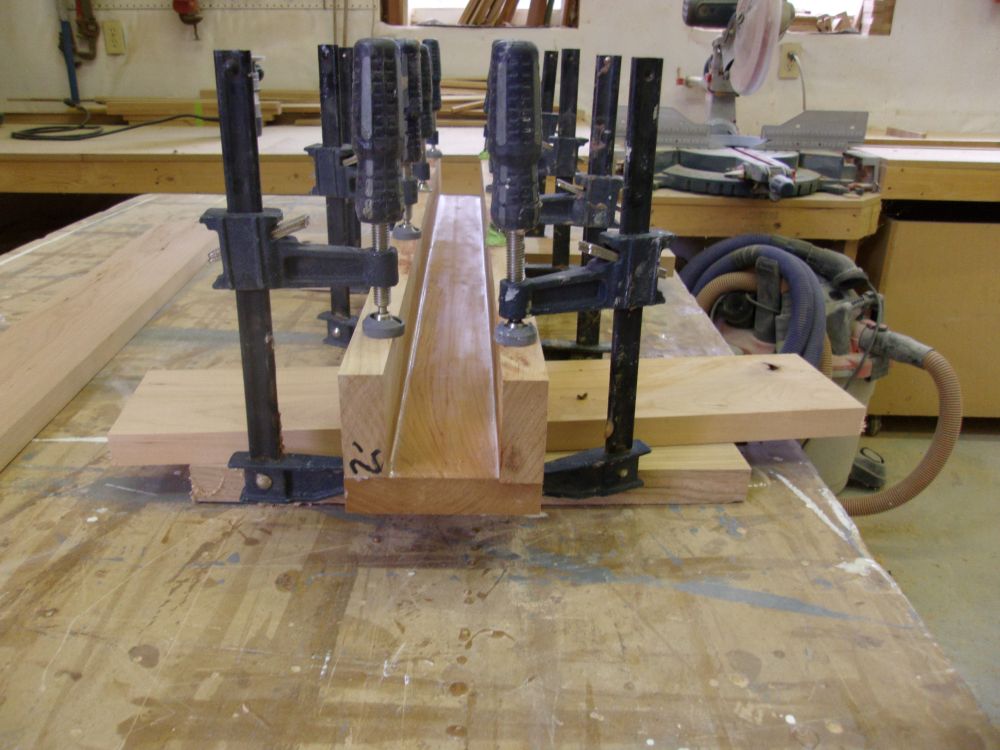
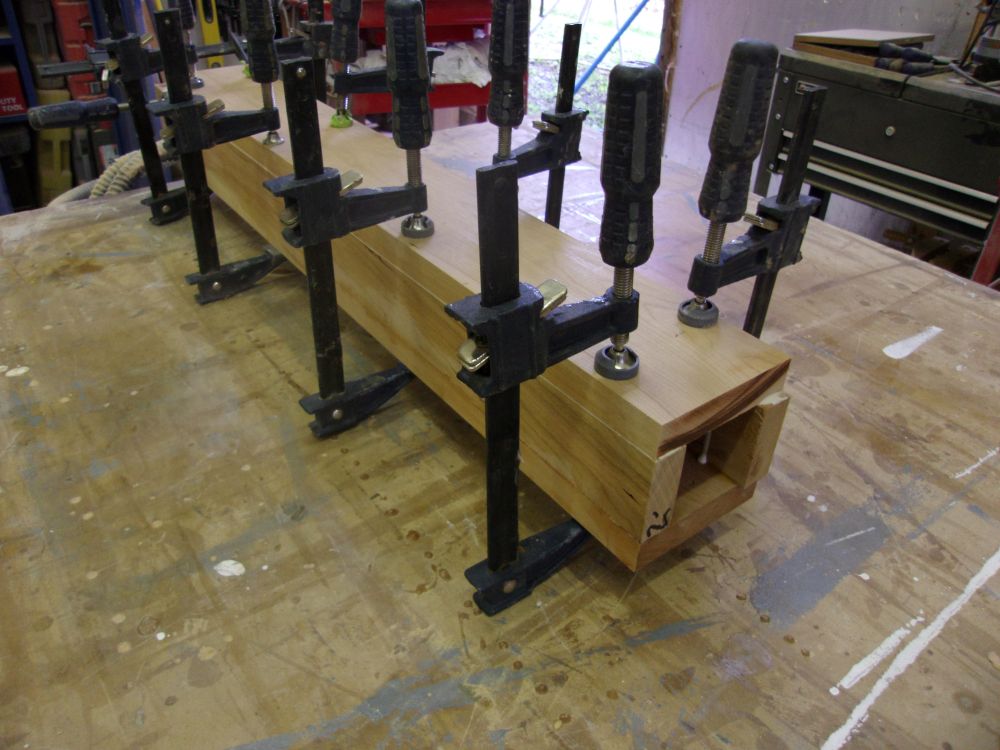
For the leg, I glued up a box 4" square, which was large enough to hide the 1-1/2" aluminum structural post. In two stages to make the process easier, I glued four pieces of cherry together into a long box, leaving it longer than needed for later trimming once I determined the final table height.


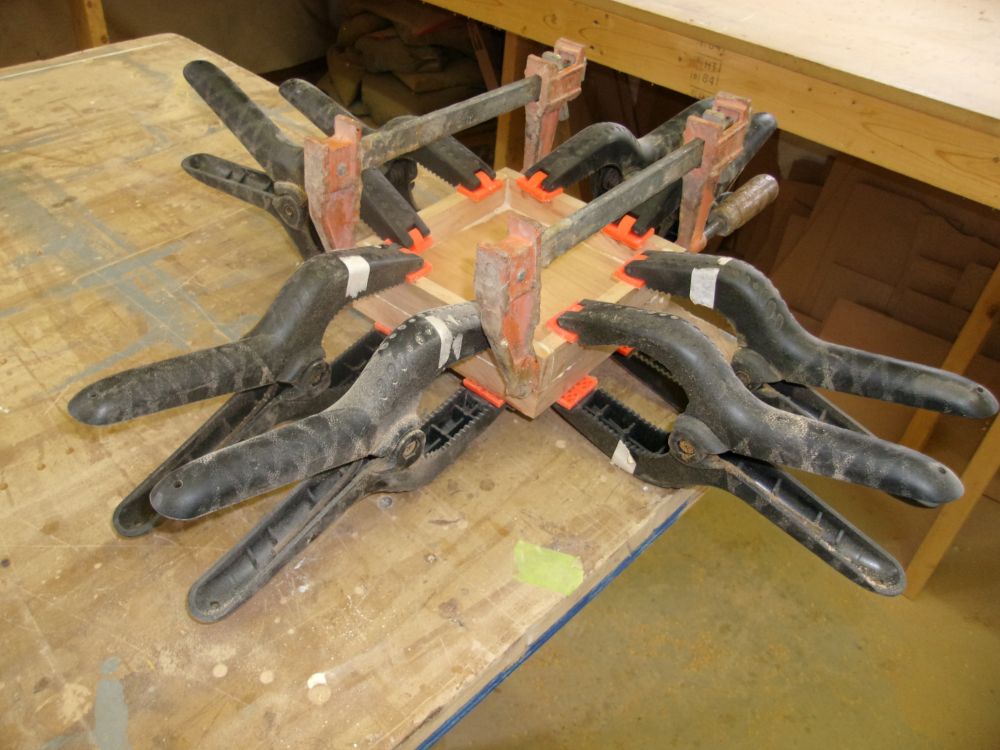
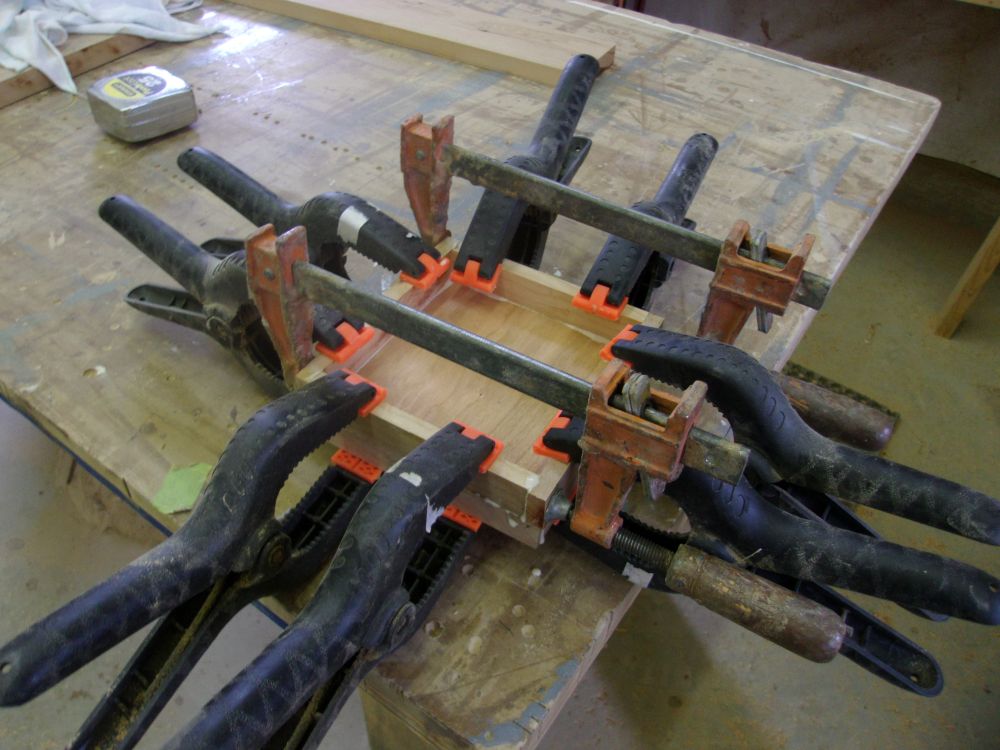
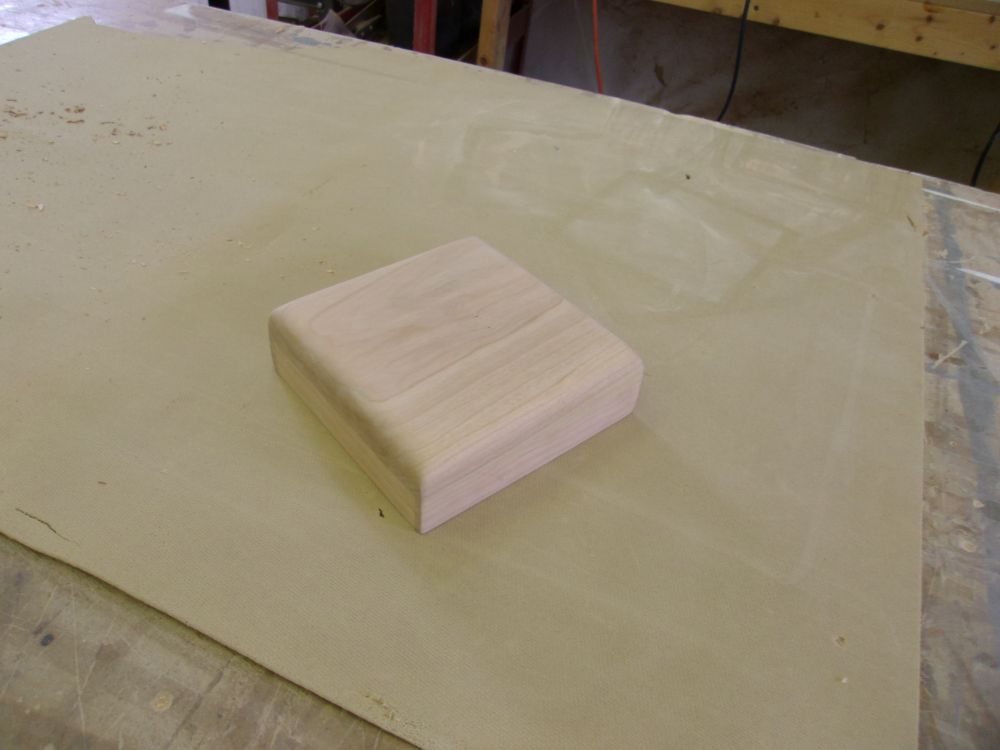
To cover the flange, I built a simple box with a solid top, tall and wide enough (about 2" tall with a 1" open space within, and 6" square) to hide the circular flange. Once the glue had cured, I rounded the top edges for pleasing appearance and sanded the box smooth.
When the glue had set on the leg assembly, I used a large diameter bit to round over the corners, and sanded the post smooth. Afterwards, I applied a sealer coat of varnish to the two base pieces. Later, I'd drill a hole in the base for the aluminum leg, and secure the base and leg together.

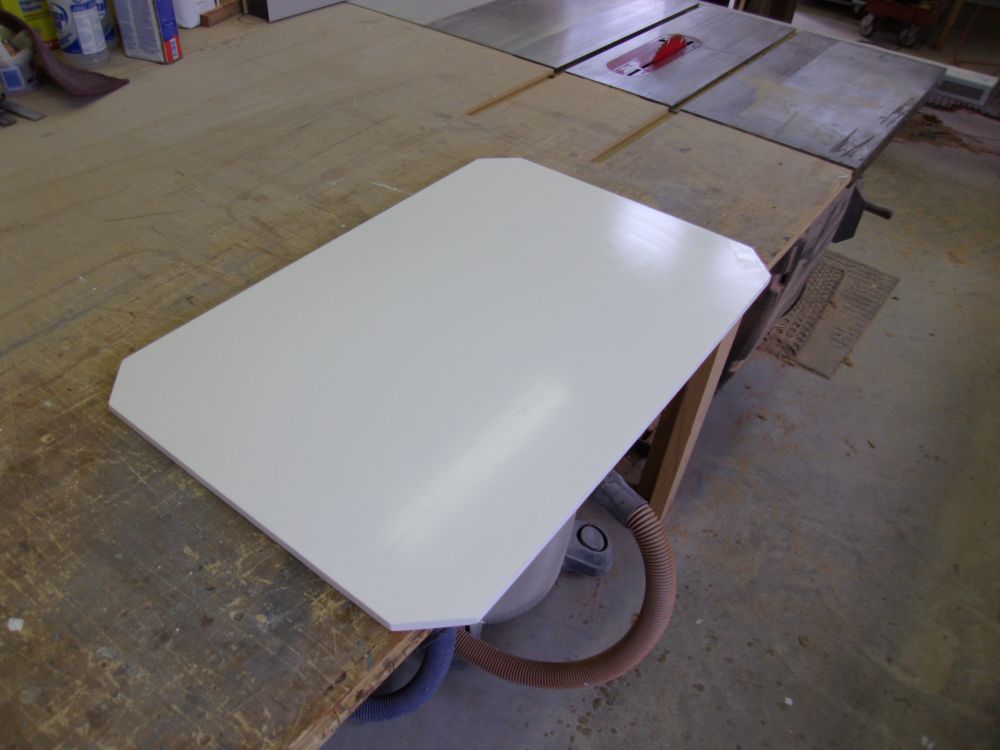
I also built a simple, effective, all-weather cockpit table. Earlier, I'd installed a regular deck fill plate in the cockpit sole to accept a threaded aluminum leg. For the table top, I prepared a piece of 1/2" VHMW polyethylene, cutting it to 20" x 30", which seemed a good overall size based on the available space and location in the cockpit. I trimmed the corners at an angle. To complete this table, I was awaiting an aluminum threaded flange, which was finally on its way after a few weeks' delay.
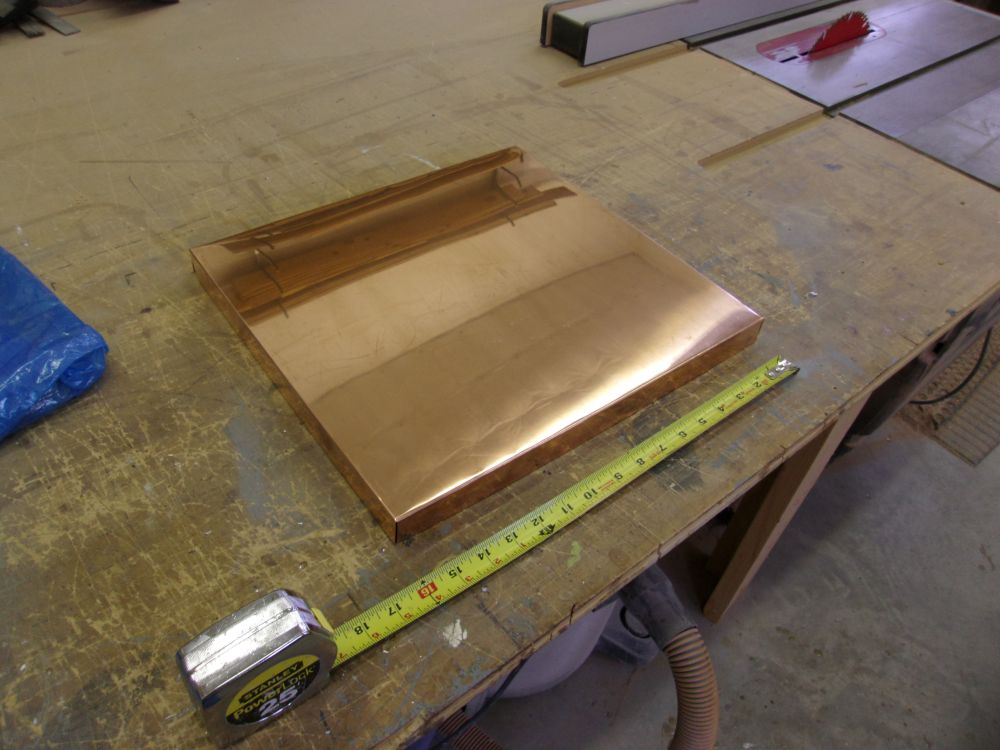
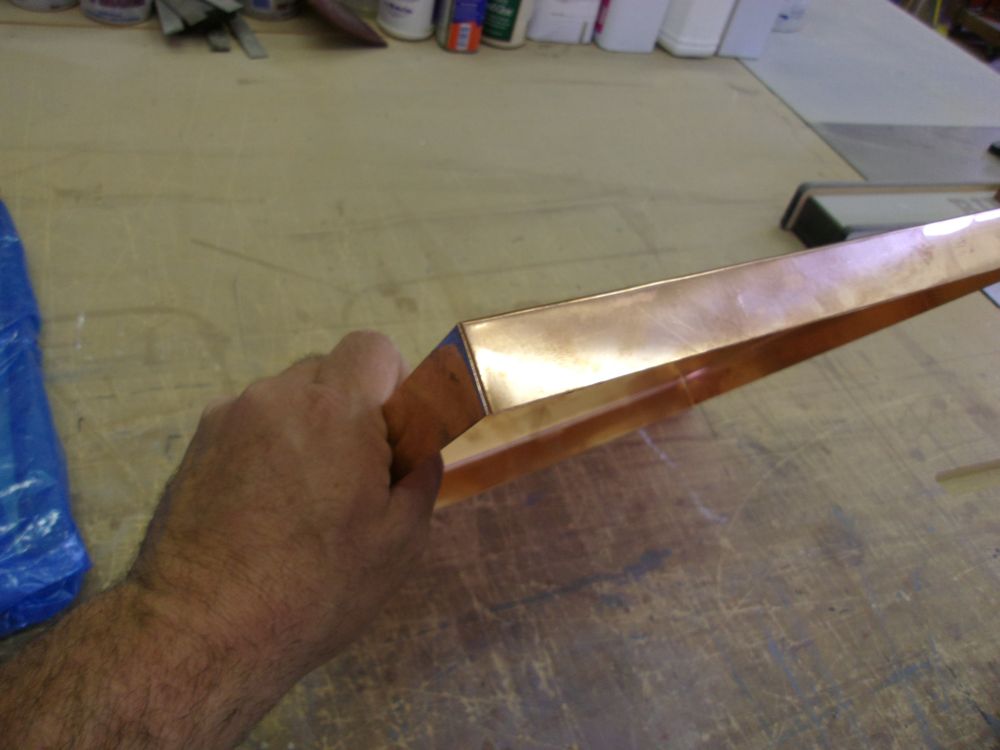
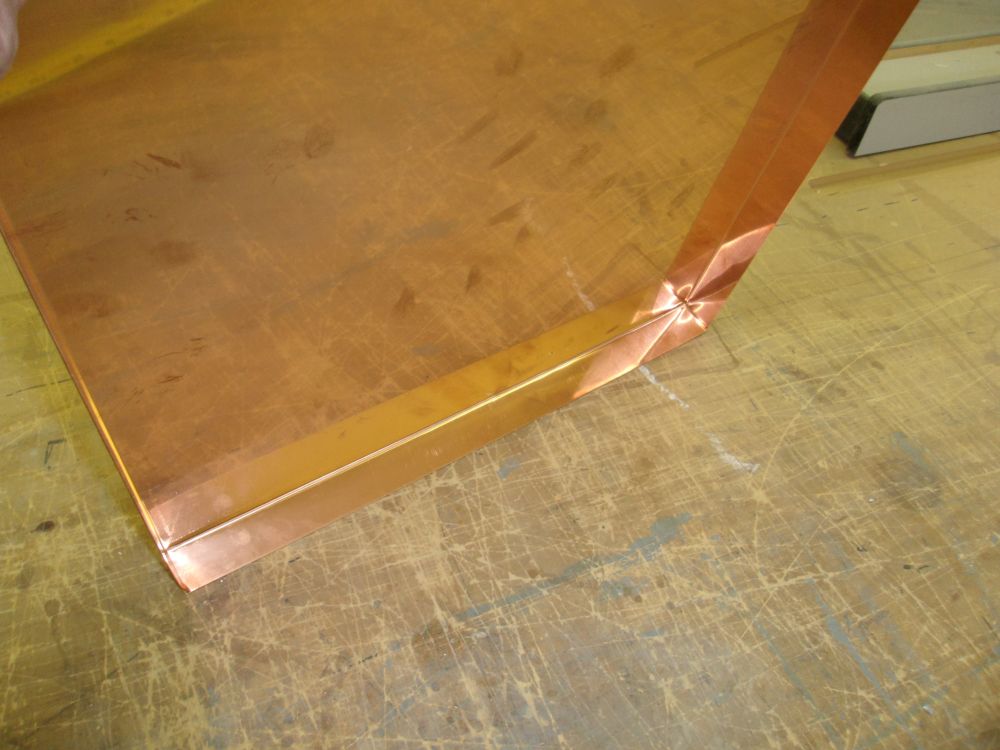
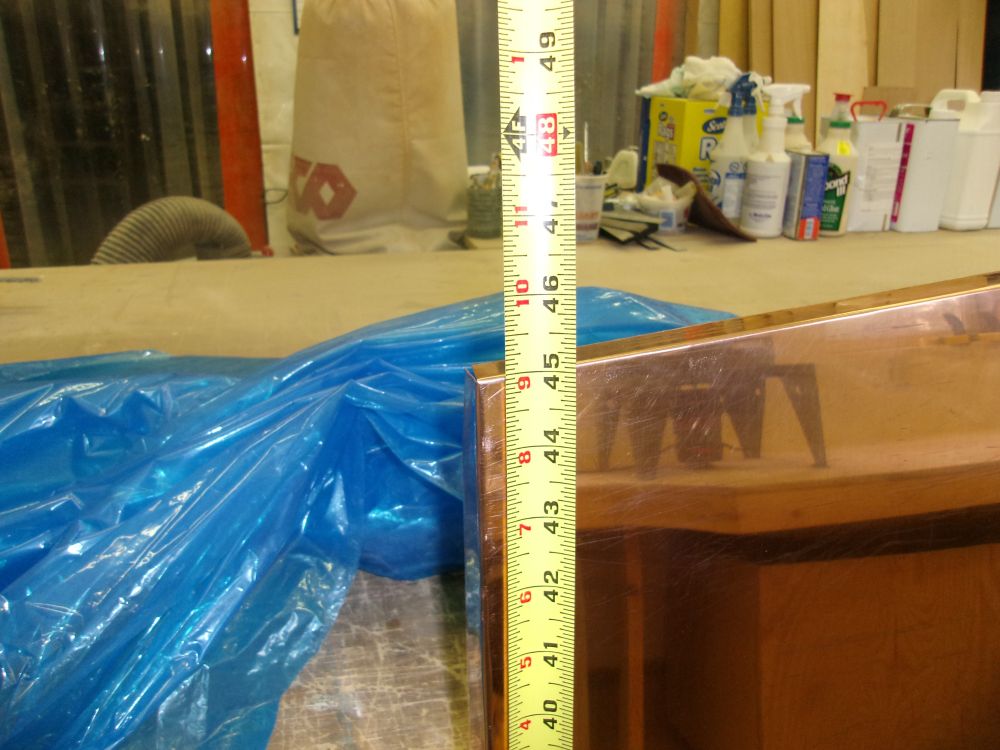
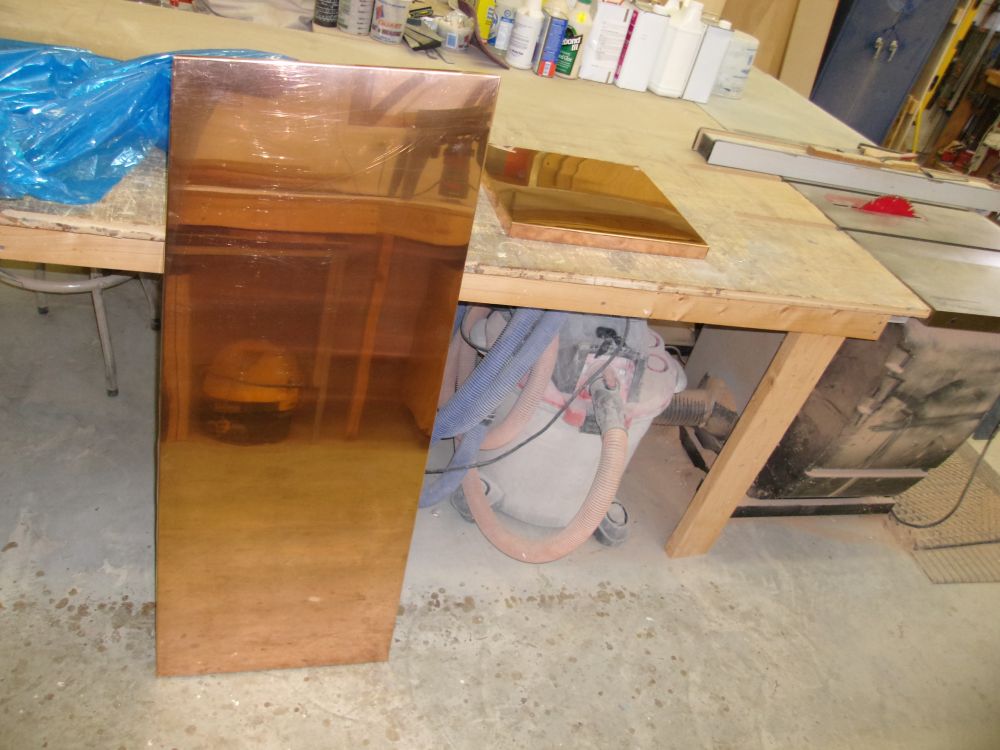
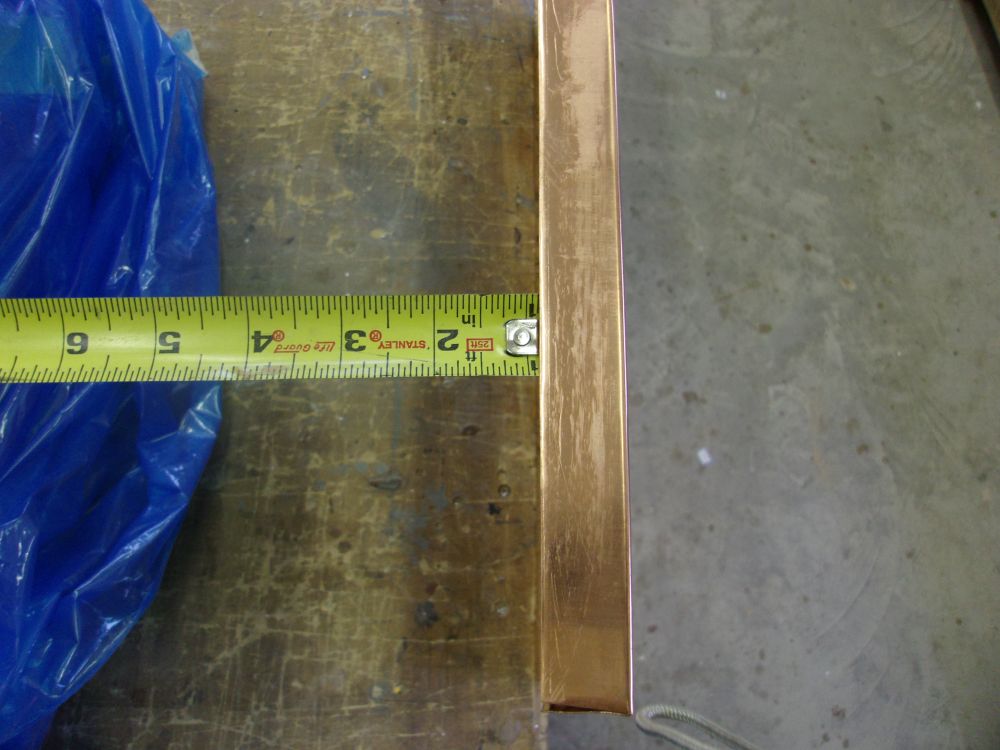
Earlier, copper heat shielding for the woodstove installation had arrived from a sheet metal contractor, and I unwrapped the two sections to check out the work and measurements. The long piece was to protect the bulkhead behind the stovepipe, while the square section would form the base upon which the stove would sit. Later, I'd fill these with millboard insulation before installation. The copper base featured edges turned over 1-1/4", to accommodate 3/4" of insulation plus two 1/8" thick aluminum plates required to prevent crushing of the fragile insulation, while the vertical section featured edges turned over 7/8", as the additional plates were not necessary there.

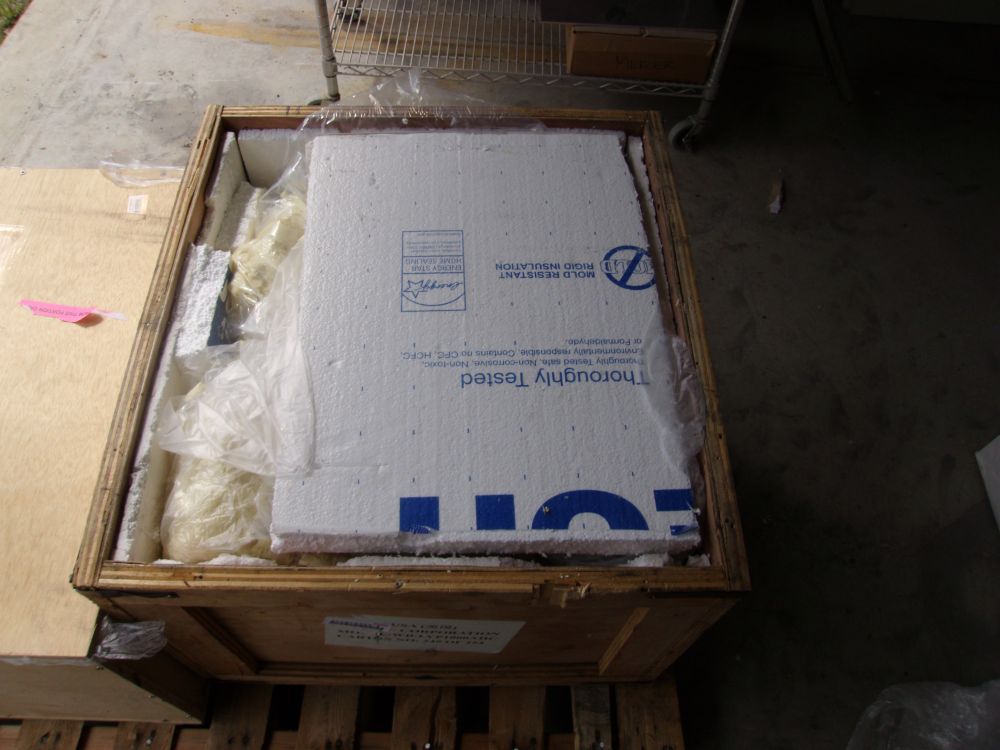
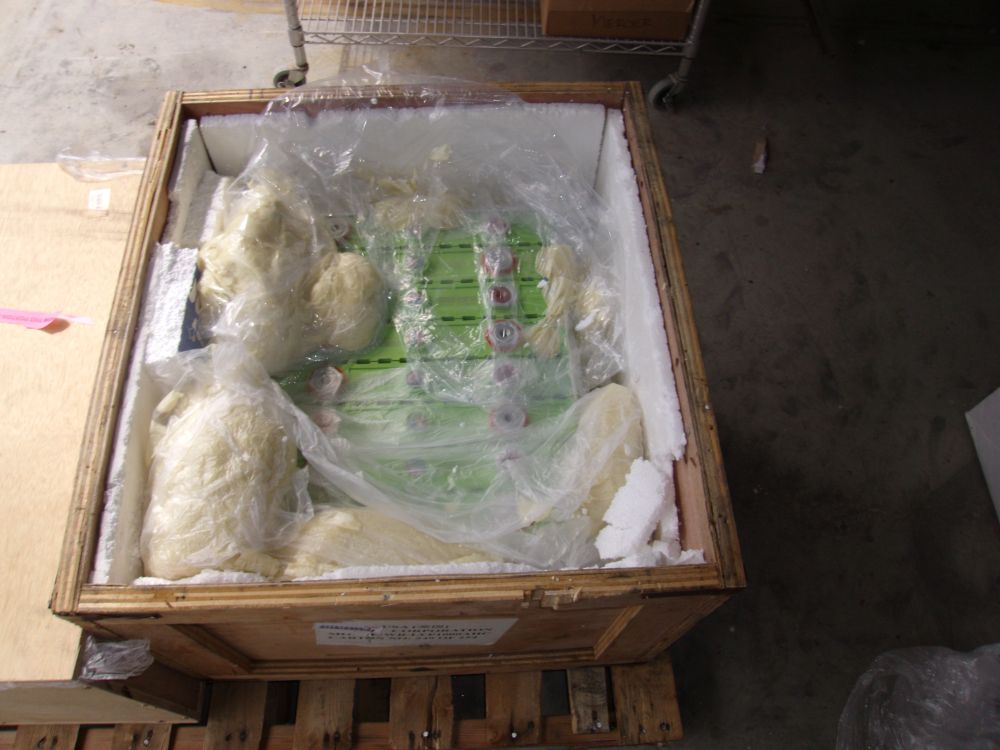
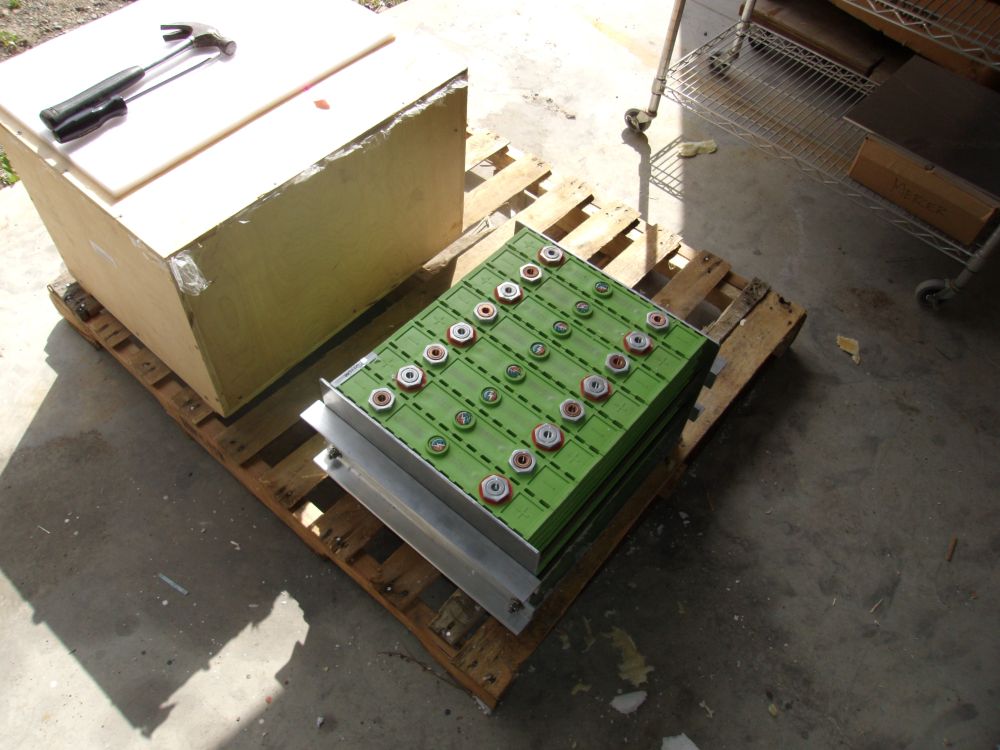
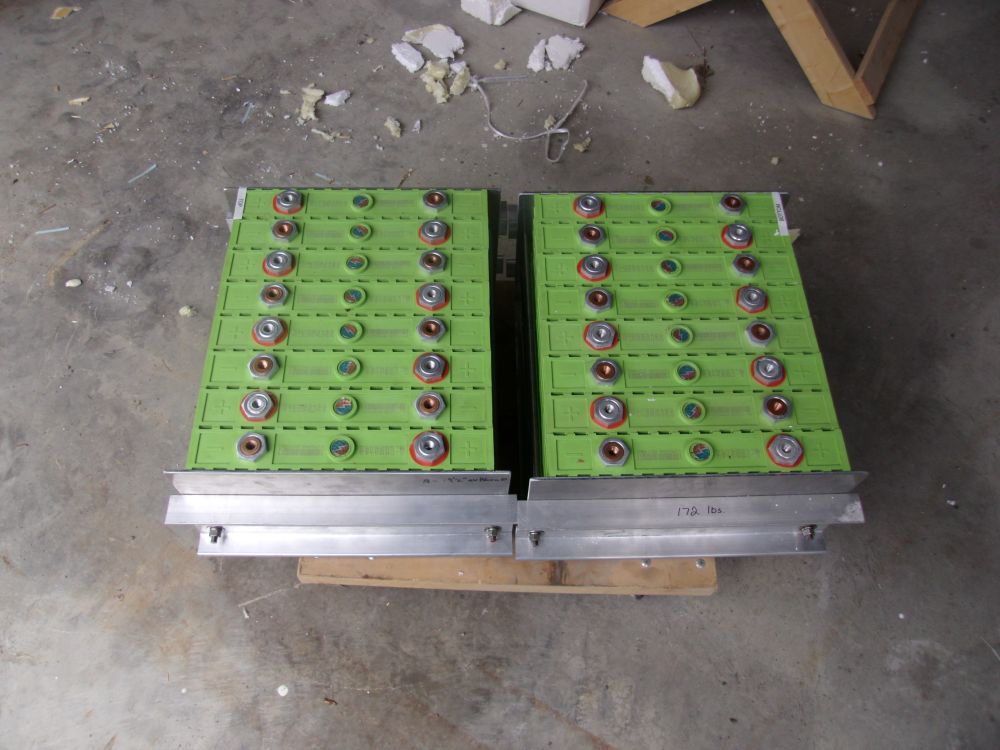
Earlier in the week, I'd unpacked the shipping crates containing the two banks of lithium ion batteries specified for the electric propulsion and ship's systems.
Total Time on This Job Today: 4.75 hours
