
110 Cookson Lane | Whitefield, ME 04353 | 207-232-7600 | tim@lackeysailing.com
Snow Lily | Thursday, January 31, 2013
After starting the day with a few measurements towards a boarding ladder, I prepared to complete the installation of the cockpit locker lid. A test fit showed that I had to trim down the thickness at the aft edge a bit, so with a sander I removed some of the material to provide room for the hinge. Just barely into this process, however, the power went out with a finality that suggested a longish outage, thanks to very high winds in the area. This was hardly surprising giving the gusts that had been rocking the shop, but was still frustrating, as this more or less called a halt to the day's work.
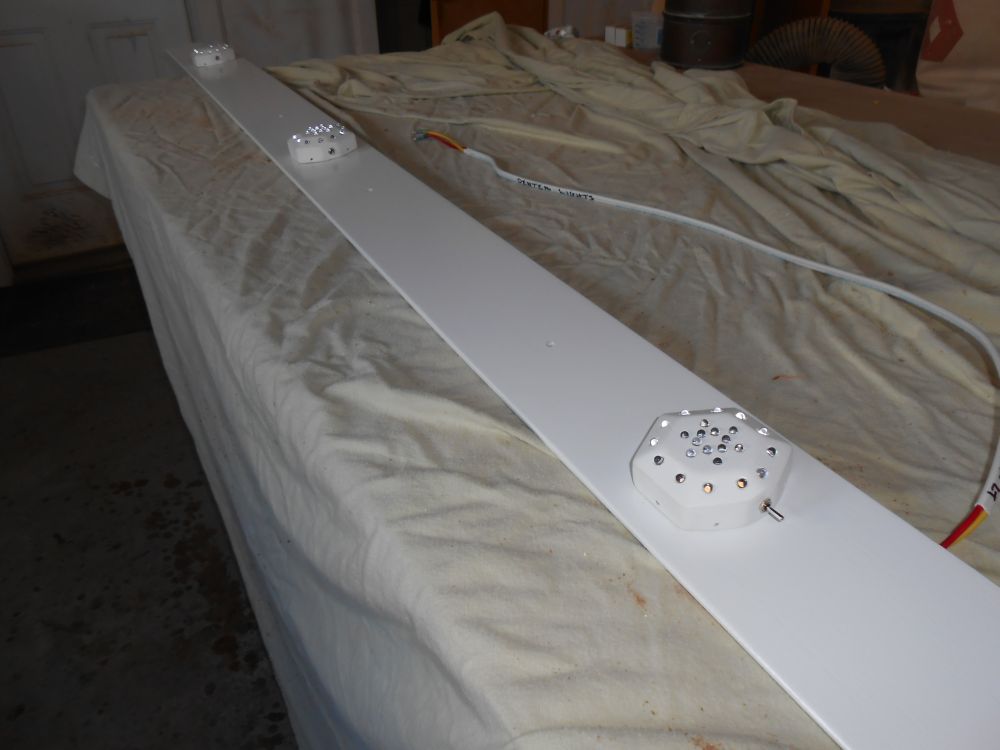
Later in the afternoon, getting anxious with the power still out and, with my mind wandering from inactivity and starting to stew about the overhead lights and their poor mounting, I decided to return to the shop and try out one of the possible fixes I'd come up with. Since the day was sort of a lost cause anyway, taking the time to fix the fixtures during the power outage wasn't going to take me away from any "real" jobs, so it seemed an opportune time to work on this. I'd not heard anything back from the company that provided the fixtures, but I thought that the design of the wooden fixtures would allow me to install some screws through the overhead from the backside, and into the corners of the fixture.
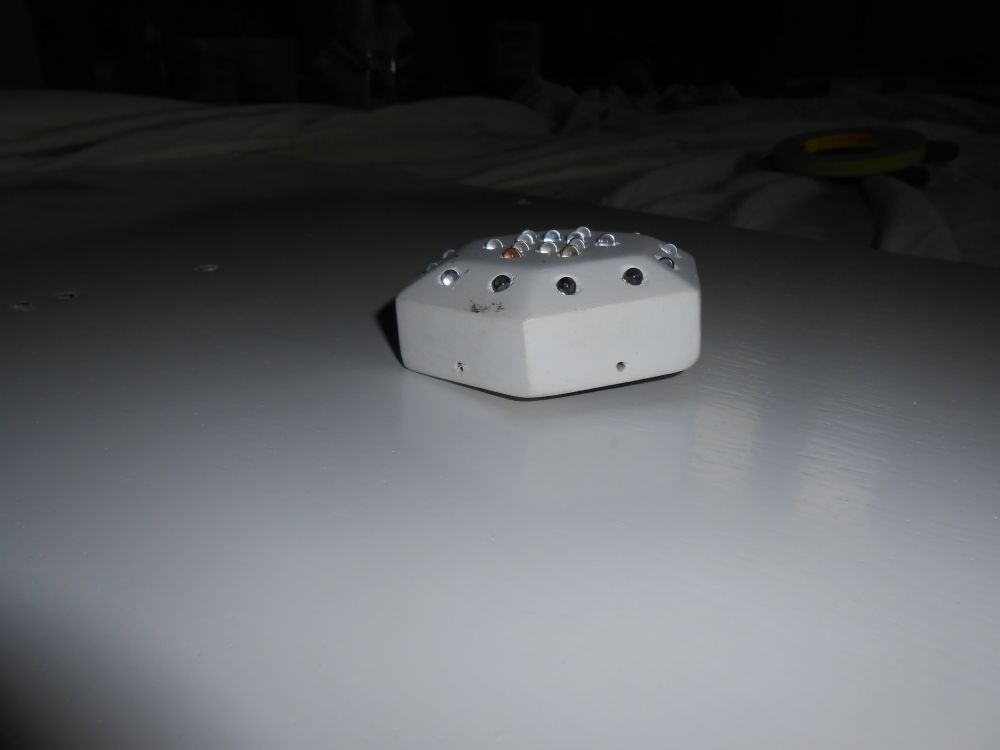
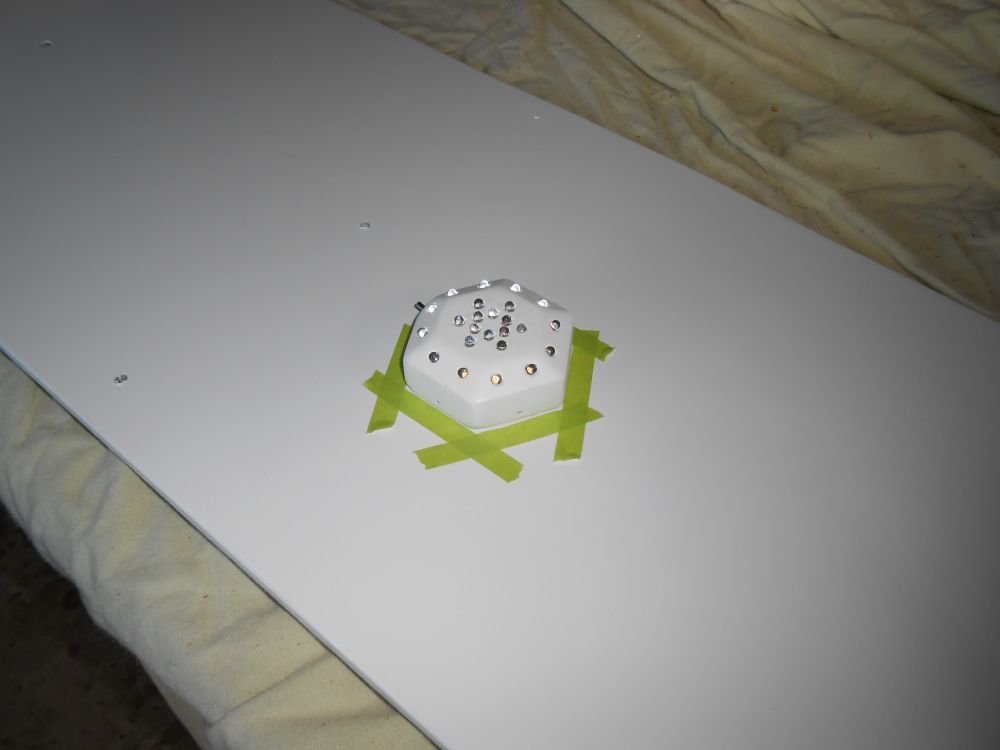
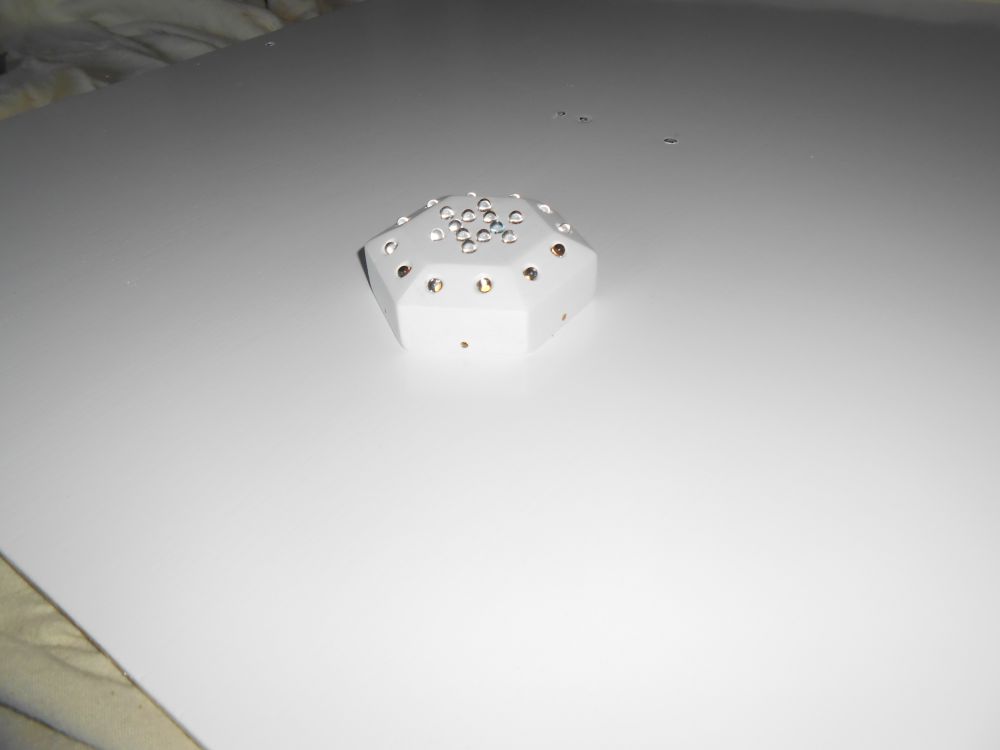
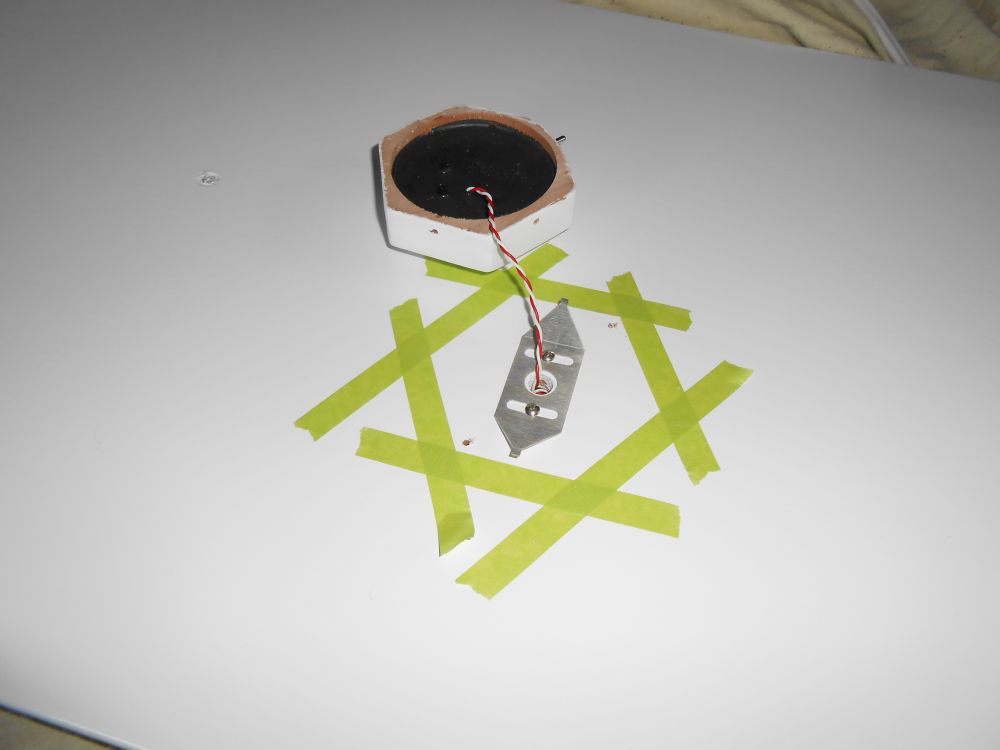
Reluctantly, but with little other option, I removed sections of the overhead (which was straightforward and quick) and got to work. To begin, I outlined the fixture with tape to show its proper location. This was vital in order to help me locate the screw holes required, as I needed to first drill them from the face (fixture) side since there was no way to start from the back. For the fixtures located in the small aft panels, which weren't yet wired, I could (and did) dispense of the original brackets, using only my new screws; the other fixtures, all hard-wired in place, kept their original brackets in addition to the new screws.
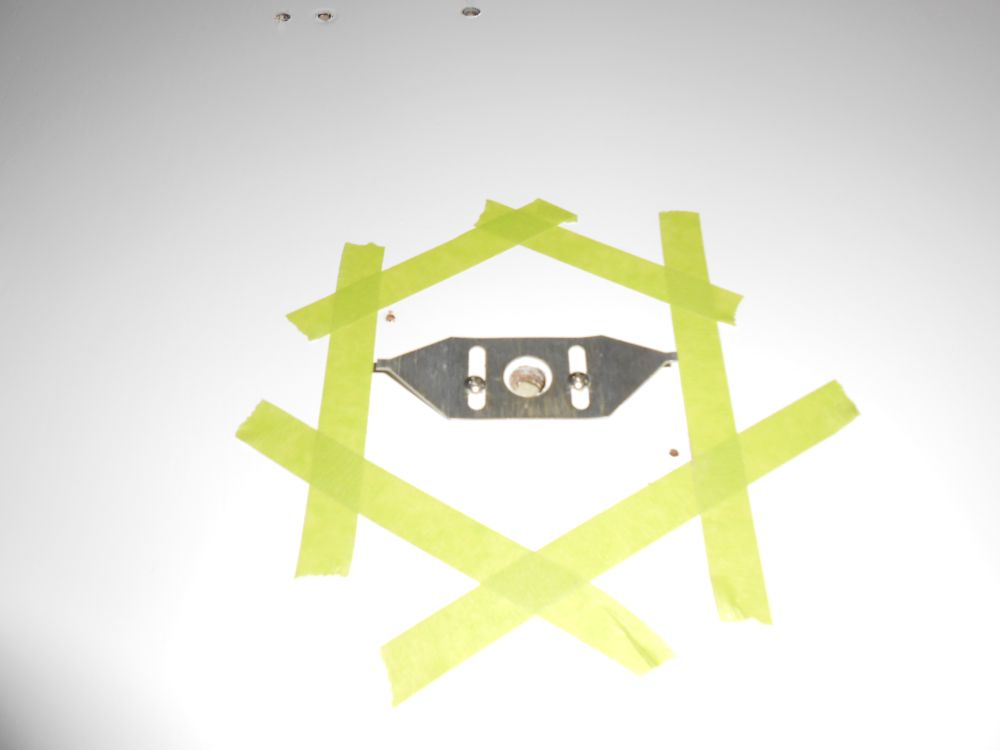
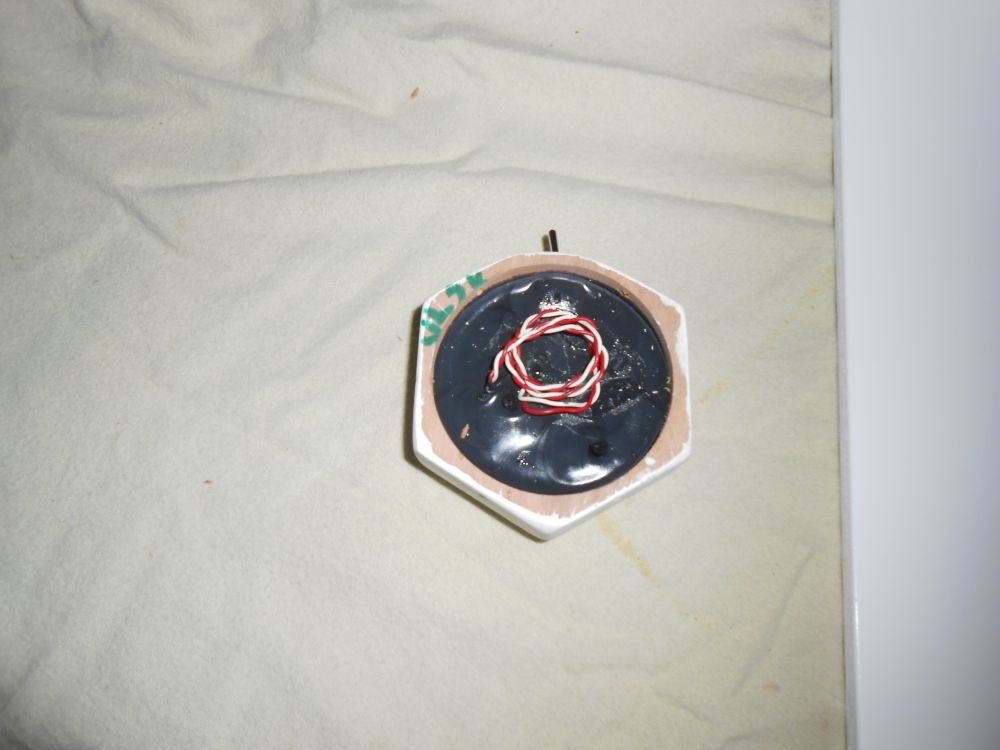
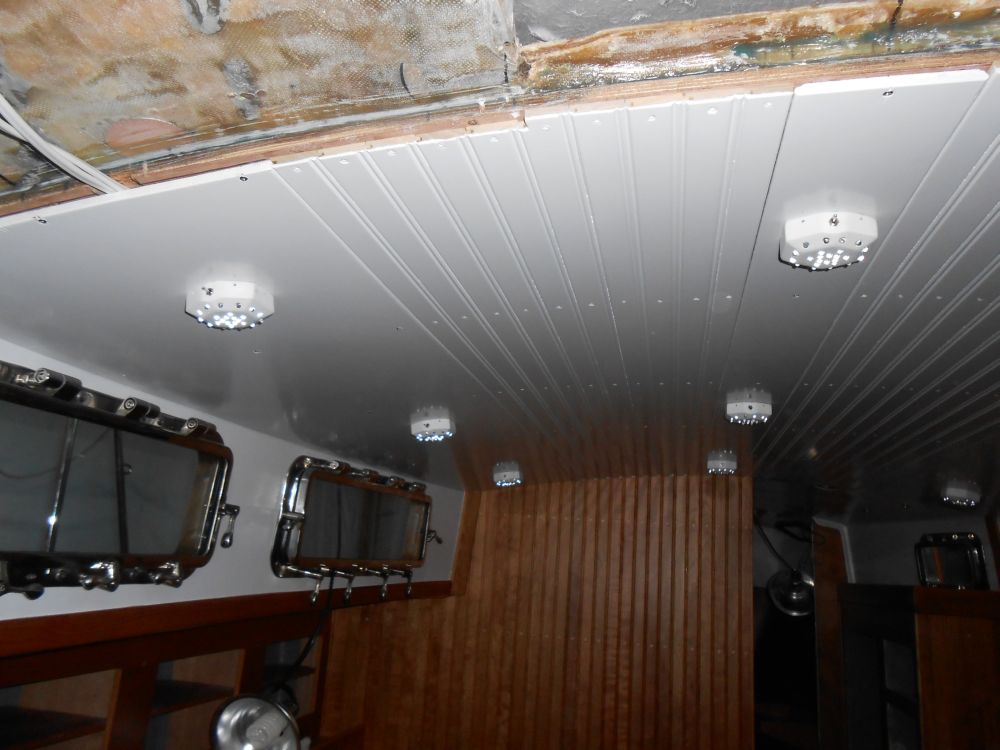
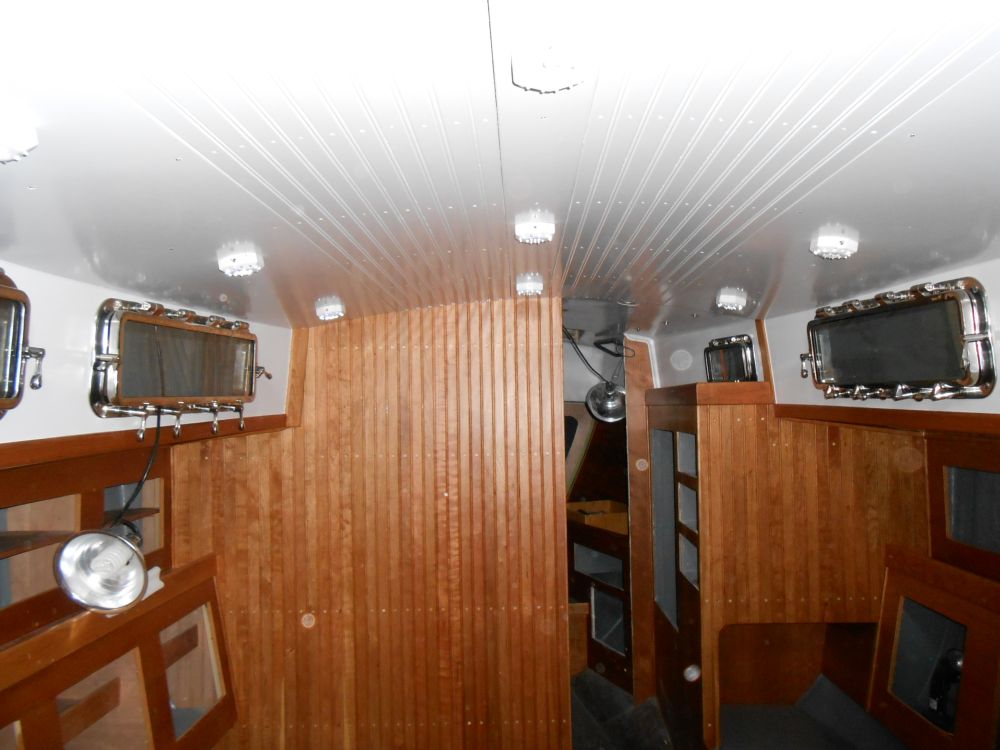
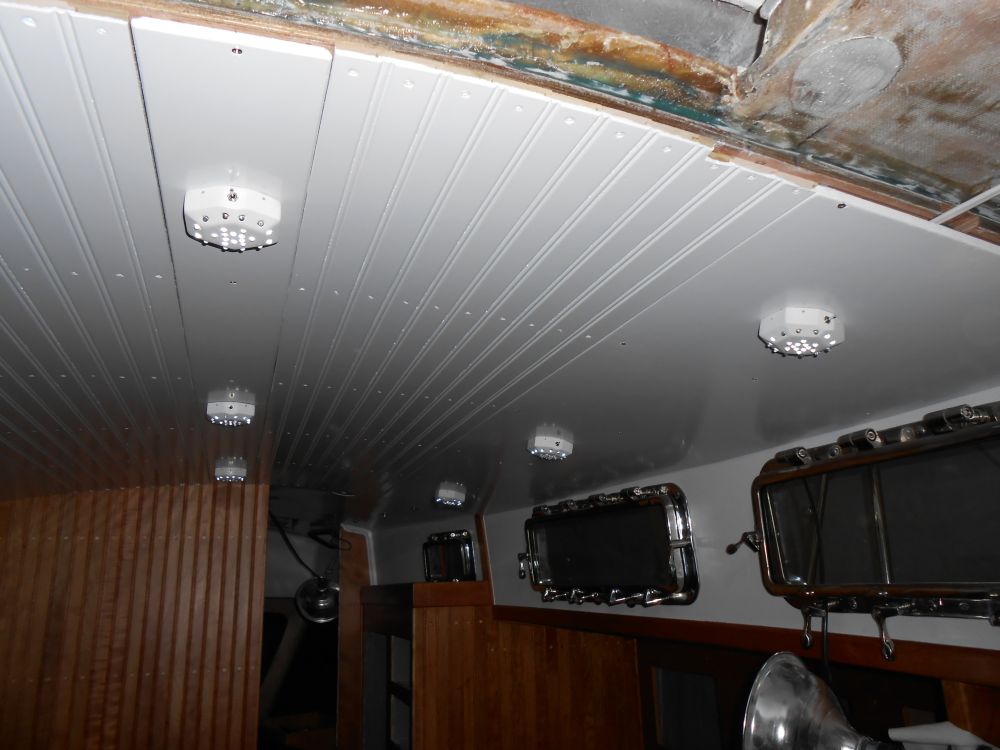
Removing the fixture from its crummy bracket (I'd left ample slack in the fixture wires, and just had to snip a wire tie to release the extra), I determined where it was safe to drill the holes and install screws. I had only small amounts of wood at the corners of the hexagonal fixtures for the screws, so proper alignment was critical. I found this a little fussy on the first fixture, but soon learned how best to proceed, so the remaining ones went more quickly. In each case, I'd drill the holes from the front side, then hold the fixture in place while carefully ( carefully!) drilling through the back side and into the tiny corners of the fixture, after which I could install two #4 screws to tightly secure the fixture to the overhead panel. This looked much better.
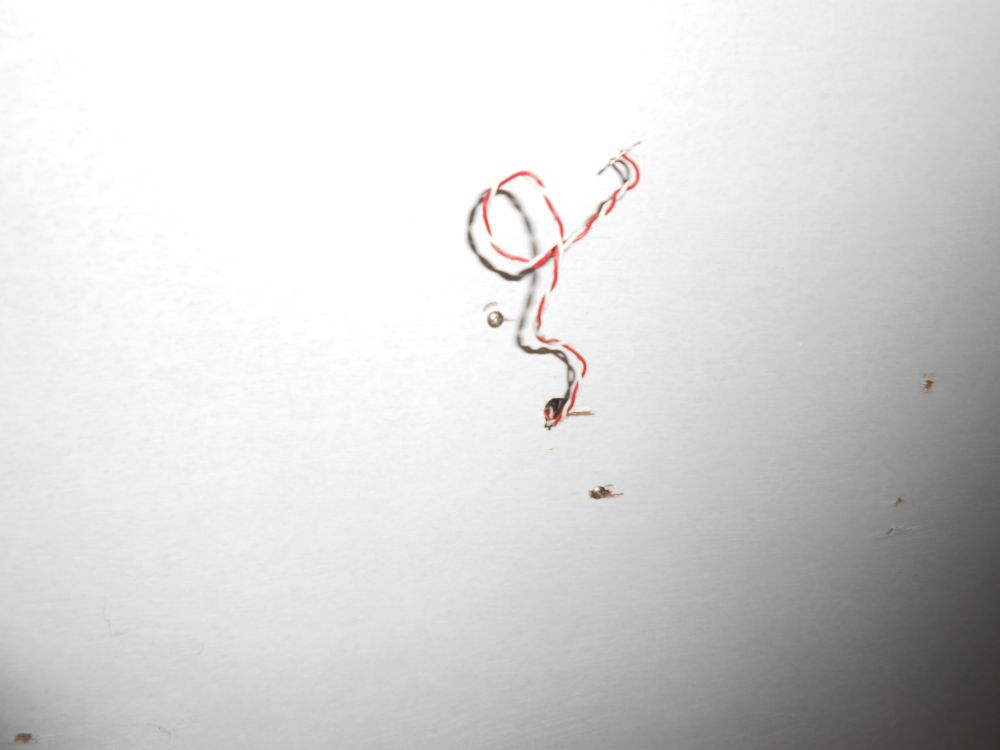
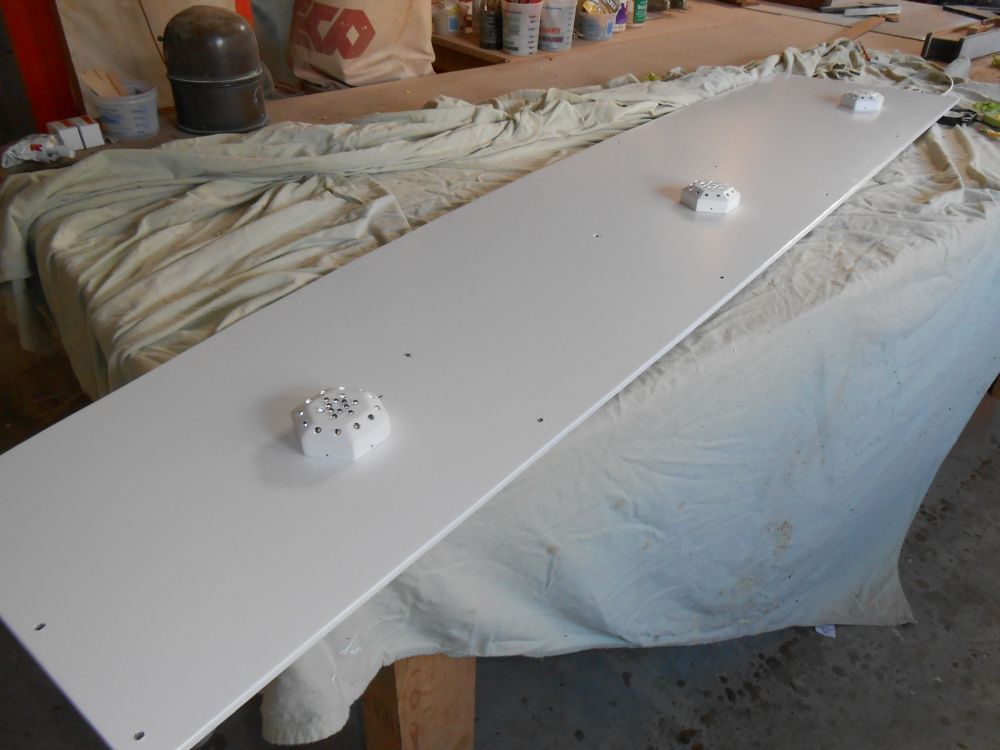
One panel at a time, I completed the fix and rehung the overhead. I couldn't complete the two small aft panels behind screwing the fixtures in place, since I needed to redo their wiring and, without electricity, couldn't properly install the heat-shrink connectors that I use. One change to my original plan as a result of fastening the fixtures in this way was that now, the aft fixtures would have to be permanently mounted, and therefore needed to be wired beforehand, so my original thought of using quick-disconnect fittings wouldn't fly anymore. Instead, I'd install wire tails with ample length to allow removal of the overhead and then removal of the wires from the terminal block. A little fussy, with the need to secure ring terminals to the small screws of the terminal block while supporting the overhead (which is why originally I'd tried to avoid this method), but certainly possible--but then again hopefully no one will have to remove or reinstall this overhead again anytime soon.
Total Time on This Job Today: 2.75 hours
