
110 Cookson Lane | Whitefield, ME 04353 | 207-232-7600 | tim@lackeysailing.com
Snow Lily | Friday, February 22, 2013
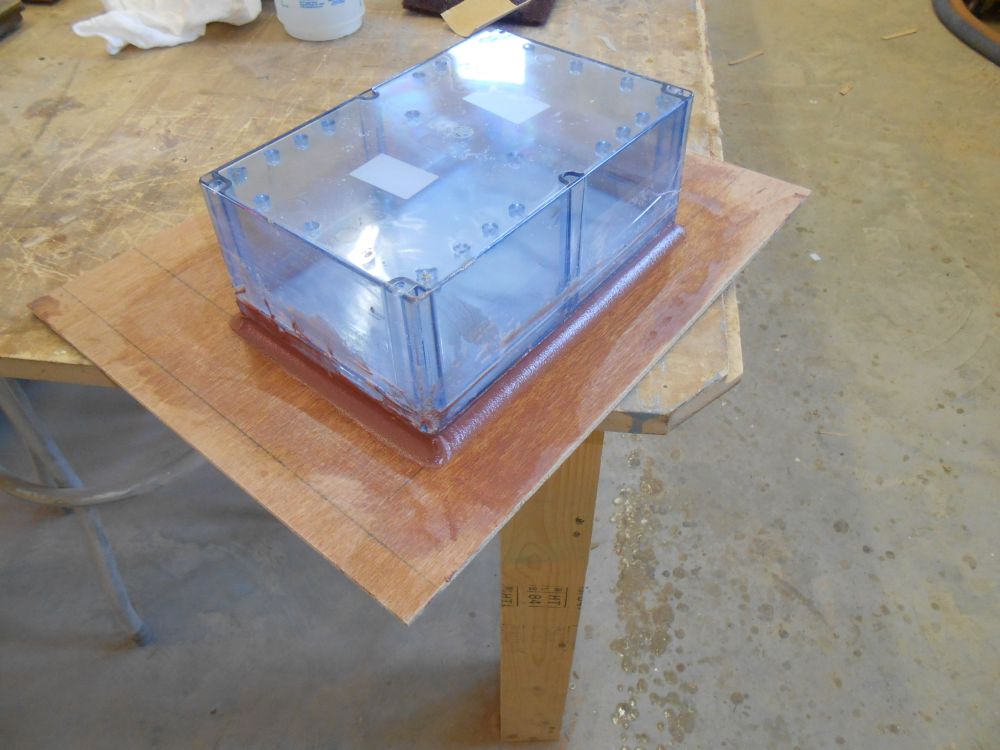
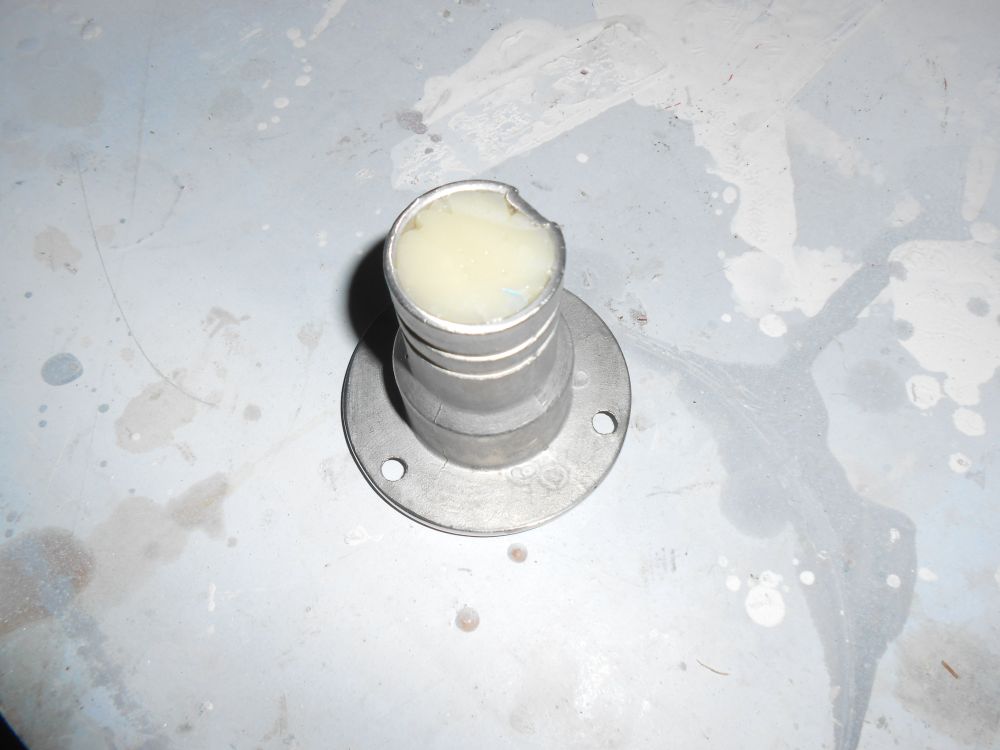
The mold for the electric motor control enclosure required a bit of fillet fine-tuning, as the fillet--transitioning between the enclosure itself and the flange that would wrap over and secure it to the cockpit well--needed to be smooth and fair since the final product depended on the quality of the mold itself. So I applied additional material as required, smoothing it out and setting the assembly aside for now.
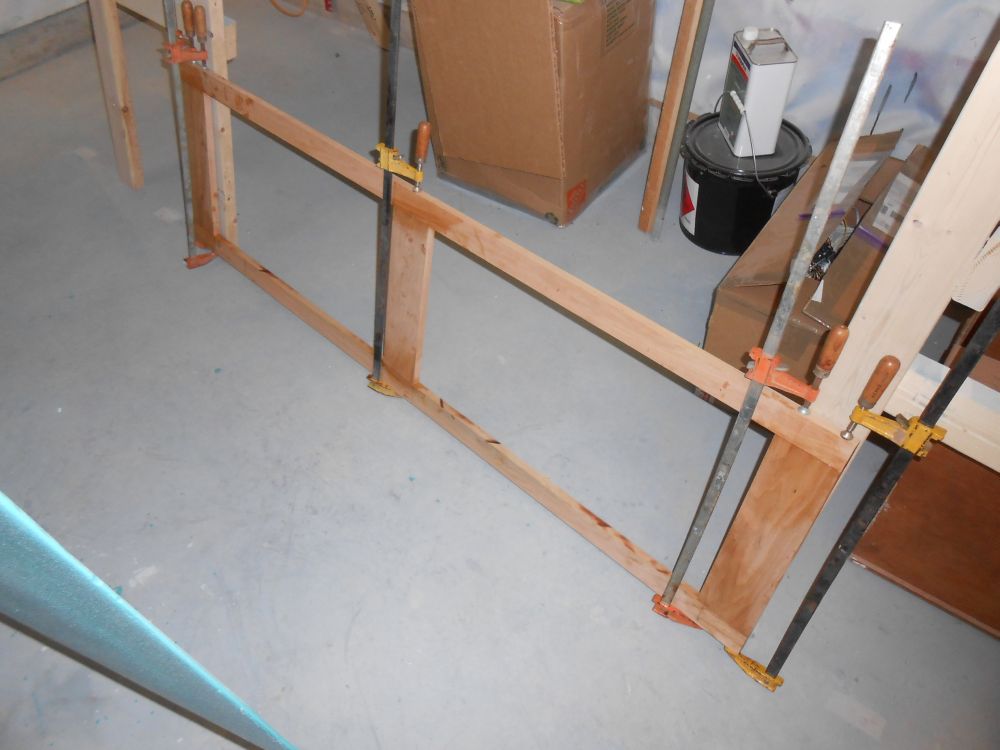
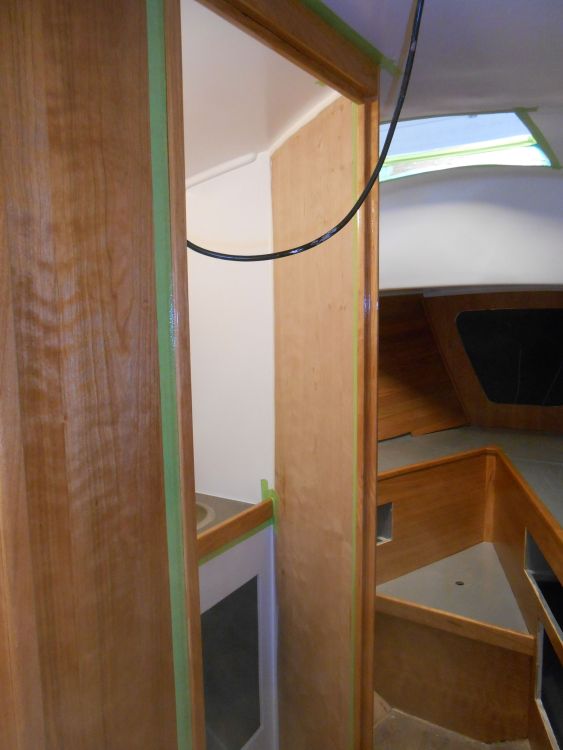
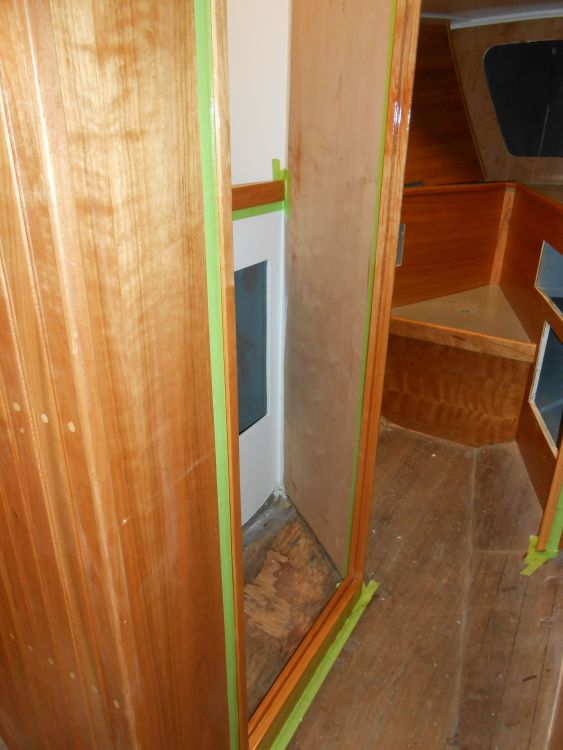
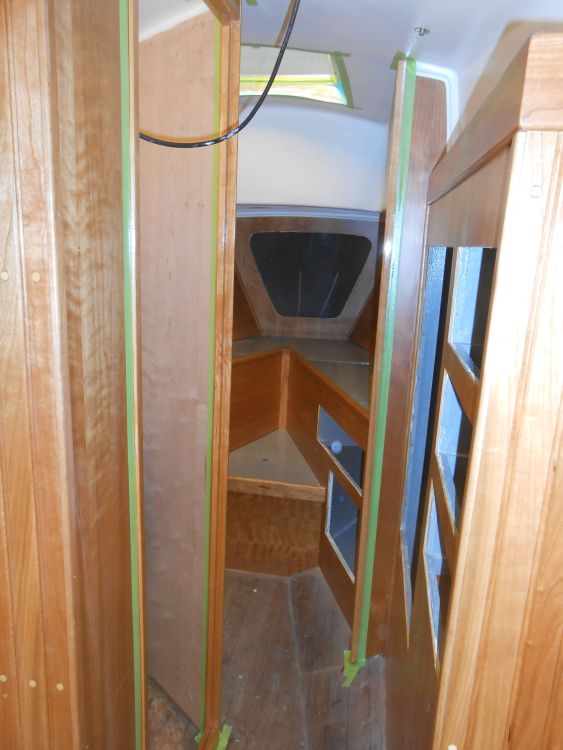
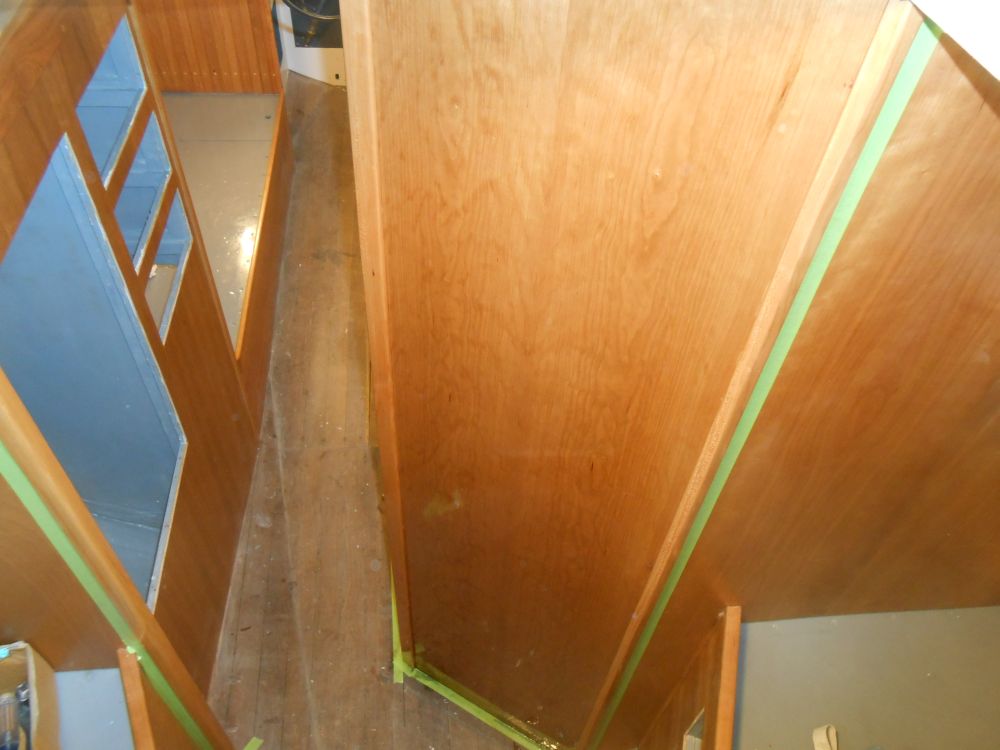
After various measurements, I prepared stock to build a doorway to the head. With the size of the door, I went with 2" wide vertical stiles, and three sets of 4" wide rails. I kept the center rail just a bit above the vertical centerline of the door, as I felt the panels looked better with a slightly larger one on the lower half. I glued up the door frame and set it aside. My plan for the panels was to use some leftover cherry beadboard to create the fields, but I'd install that after the fact.
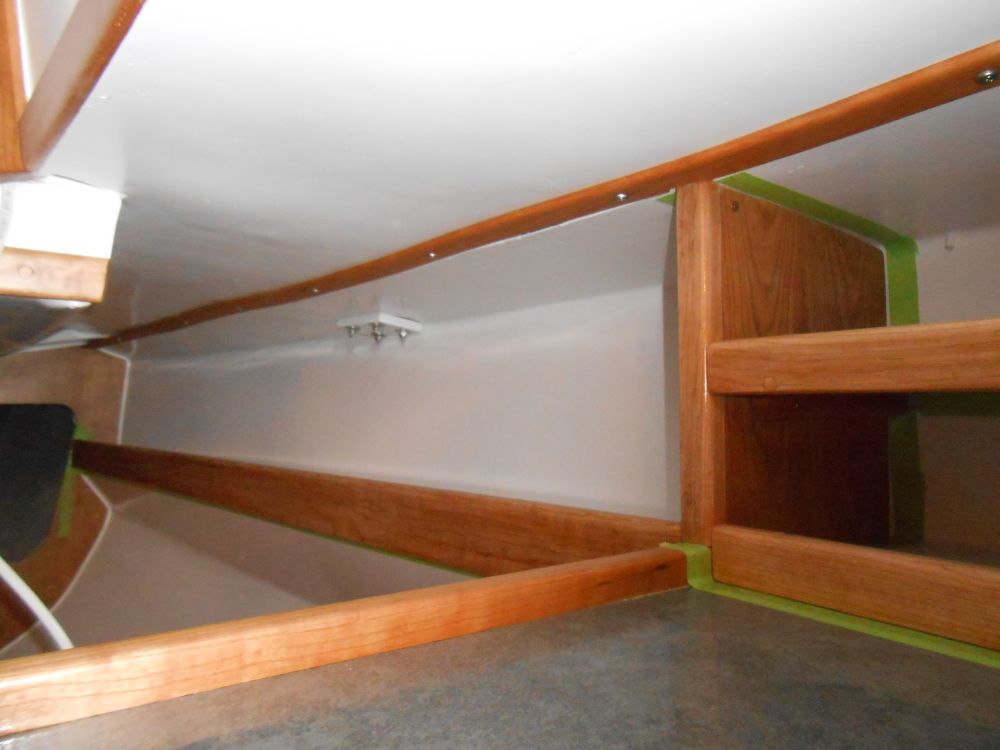
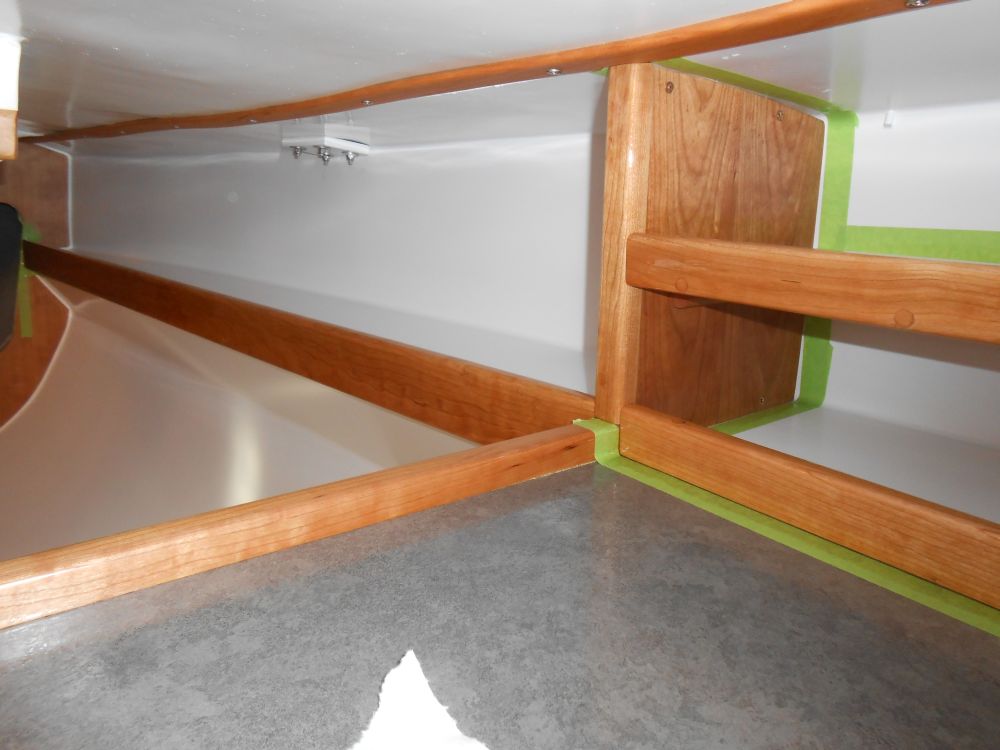
In the quarterberth, I installed the new segment of overhead trim to hide the seam where the liner ended.
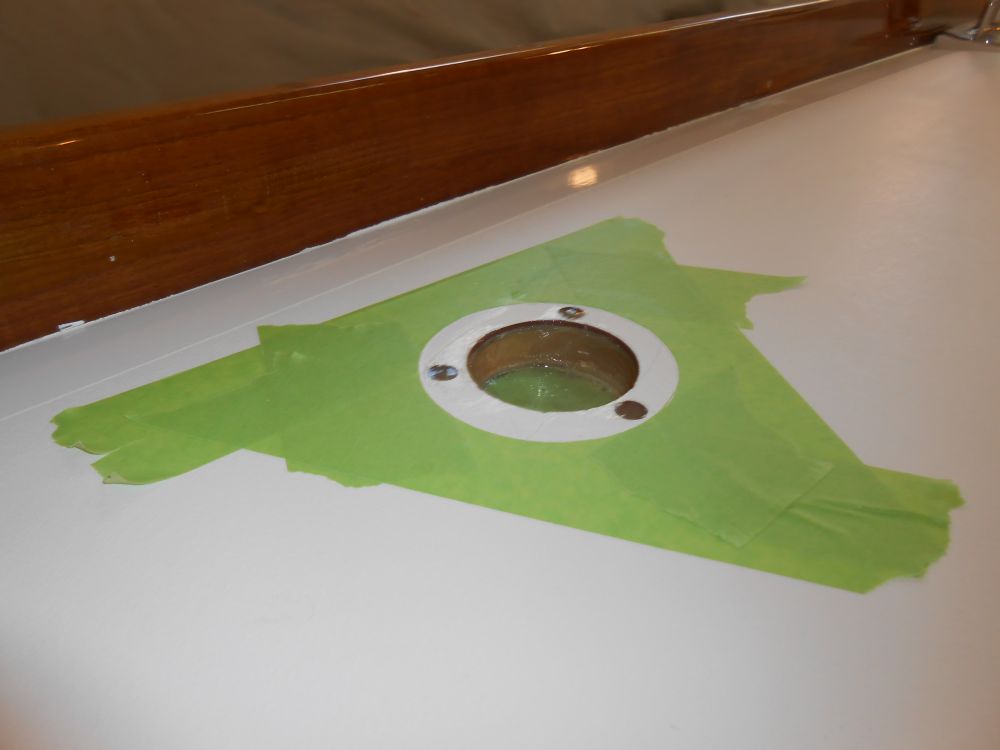
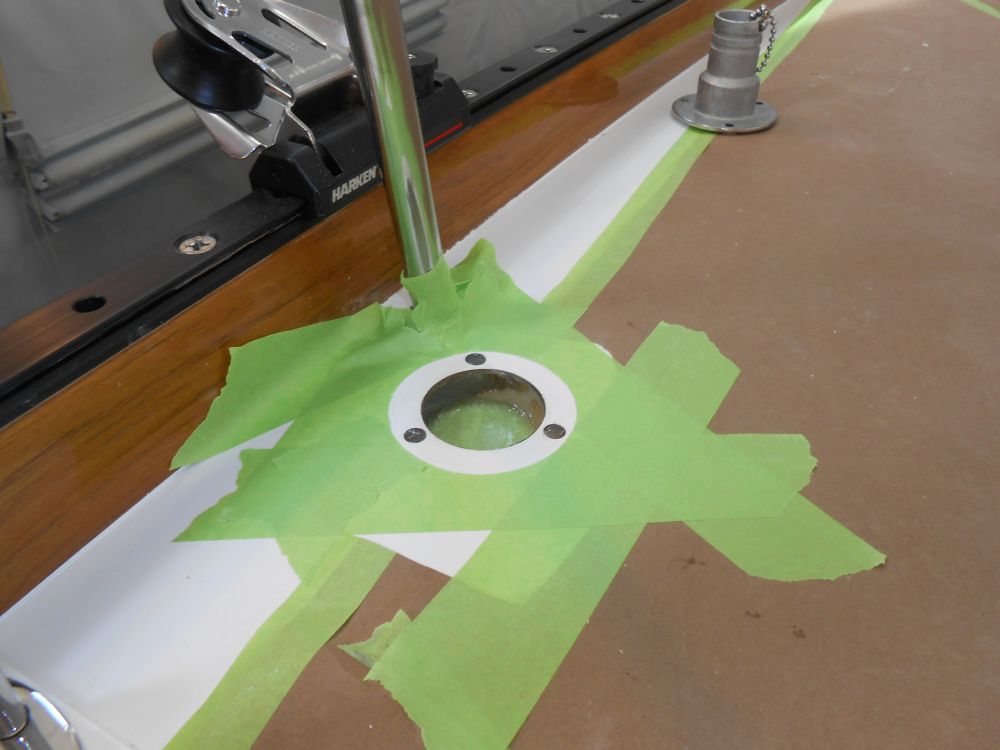
Planning ahead for the potable water system installation, I started the installation of the three deck fills required--one for each tank. These fills' locations were essentially determined by the locations of the tanks, as well as how I would be able to route hoses within the various cabinets in the boat. So from inside the boat, I used a small pilot drill to drill through the deck where I wanted each fill to be: one on each sidedeck just inboard of the after lifeline gate stanchion, and the third on the starboard side of the foredeck--each positioned according to the specifics of the tank it would service.
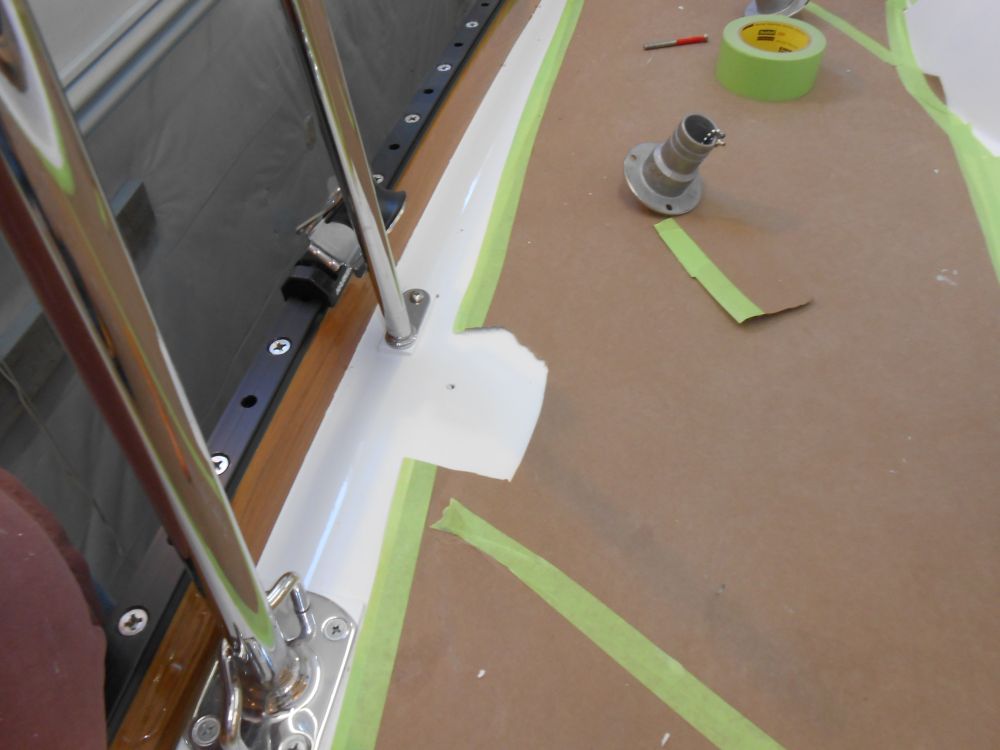
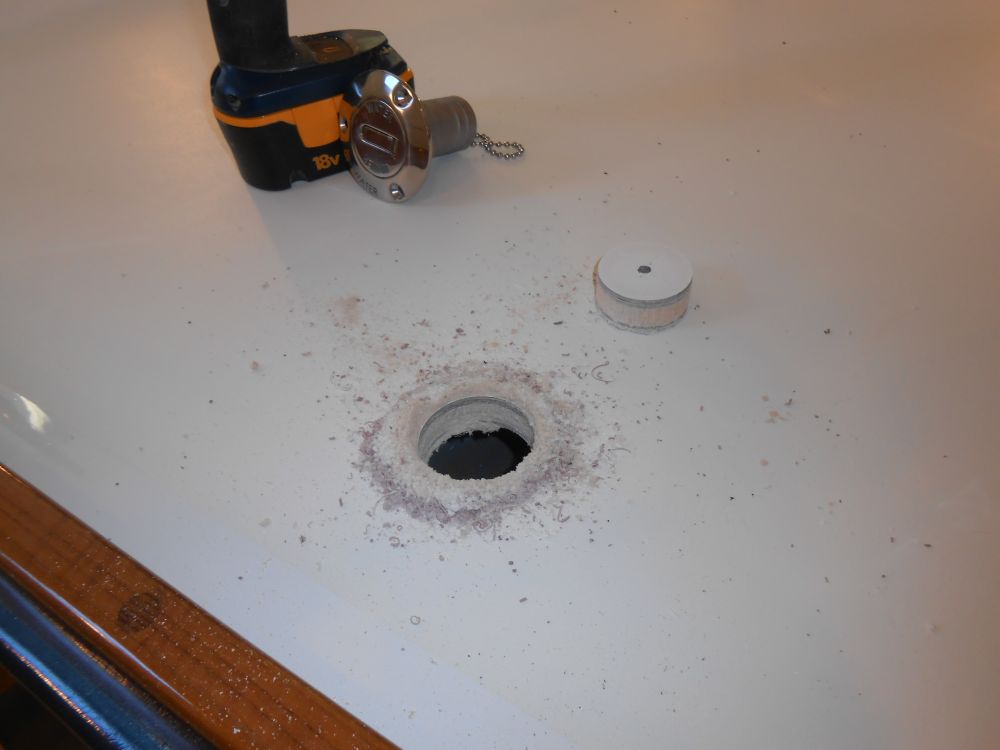
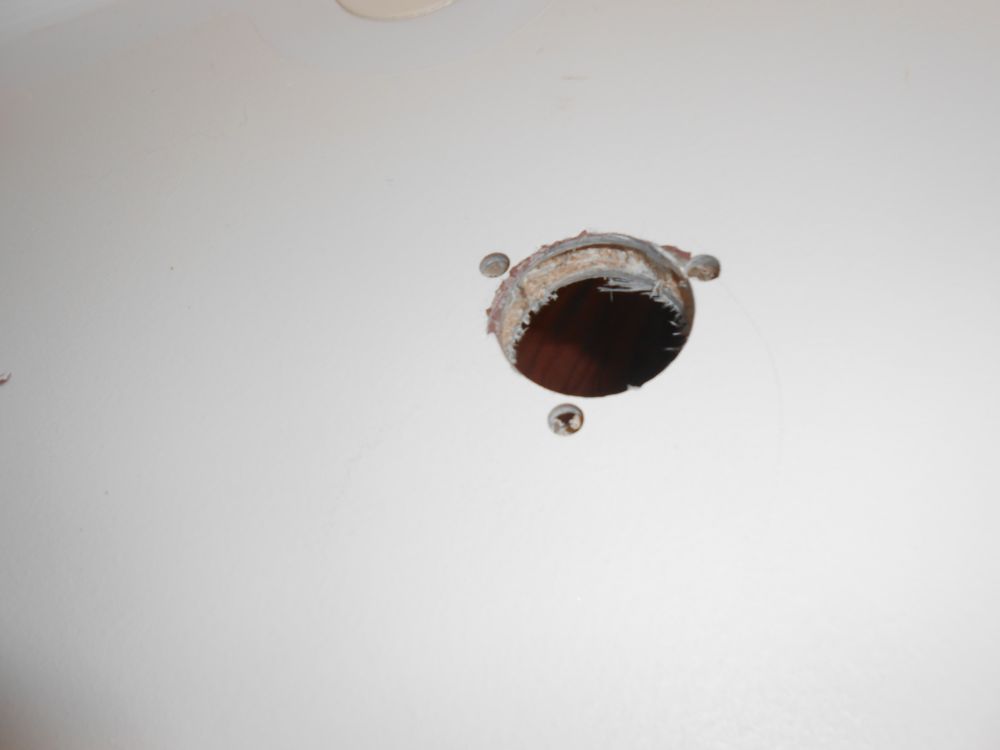
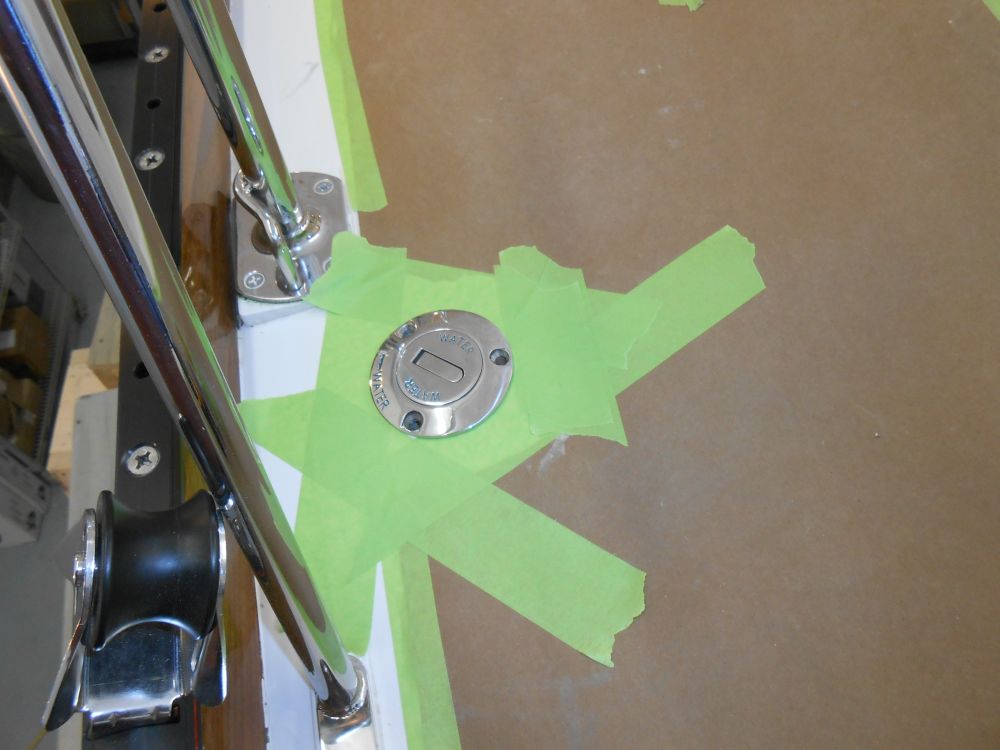
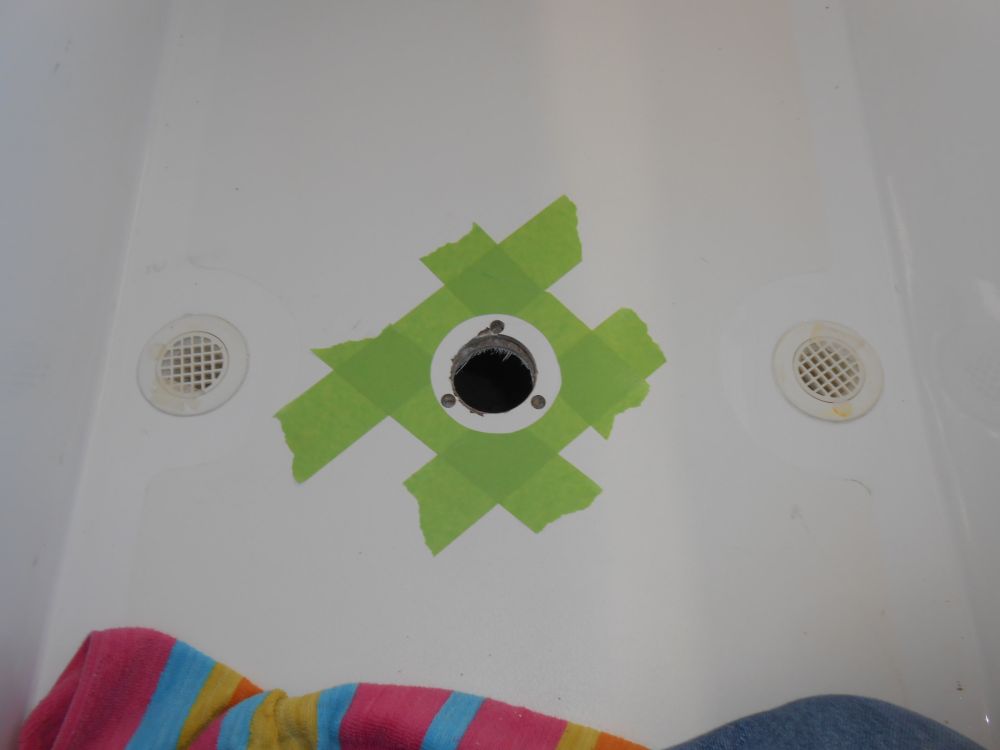
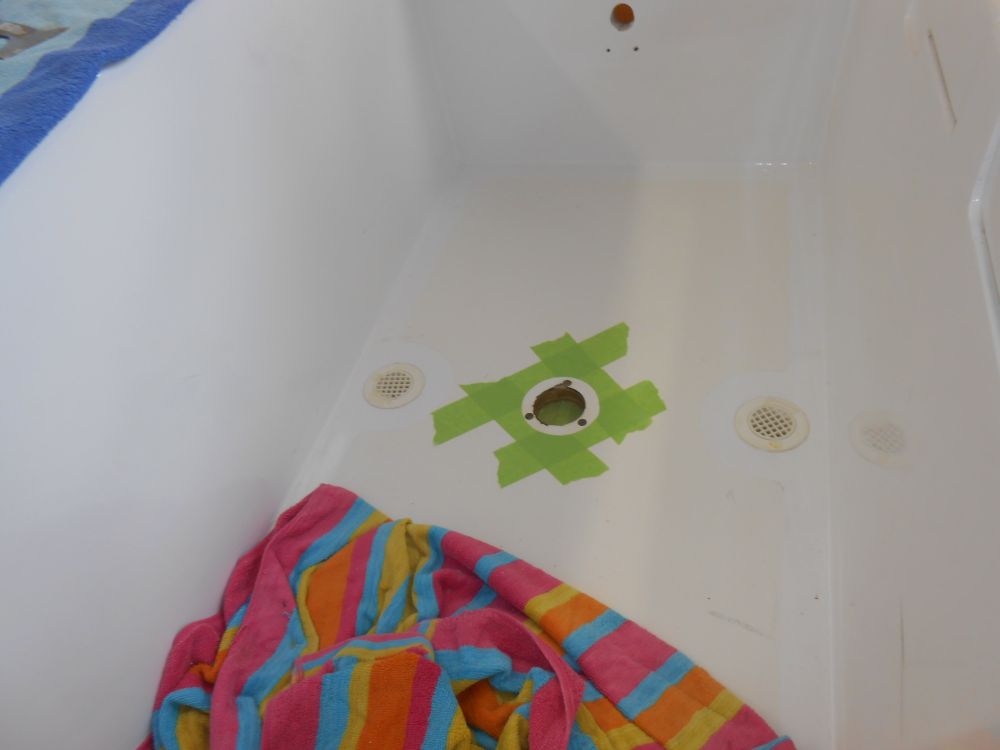
Thusly marked, I used a hole saw to cut the required openings in the deck. In each instance, I overbored the three fastener holes, then dug out some of the core around the openings in order to provide space for epoxy to seal off the openings in the usual way. After cleaning up and preparing a masking tape ring around each fitting, and masking over the holes from beneath, I applied thikened epocy into the voids and fastener locations and left it to cure.
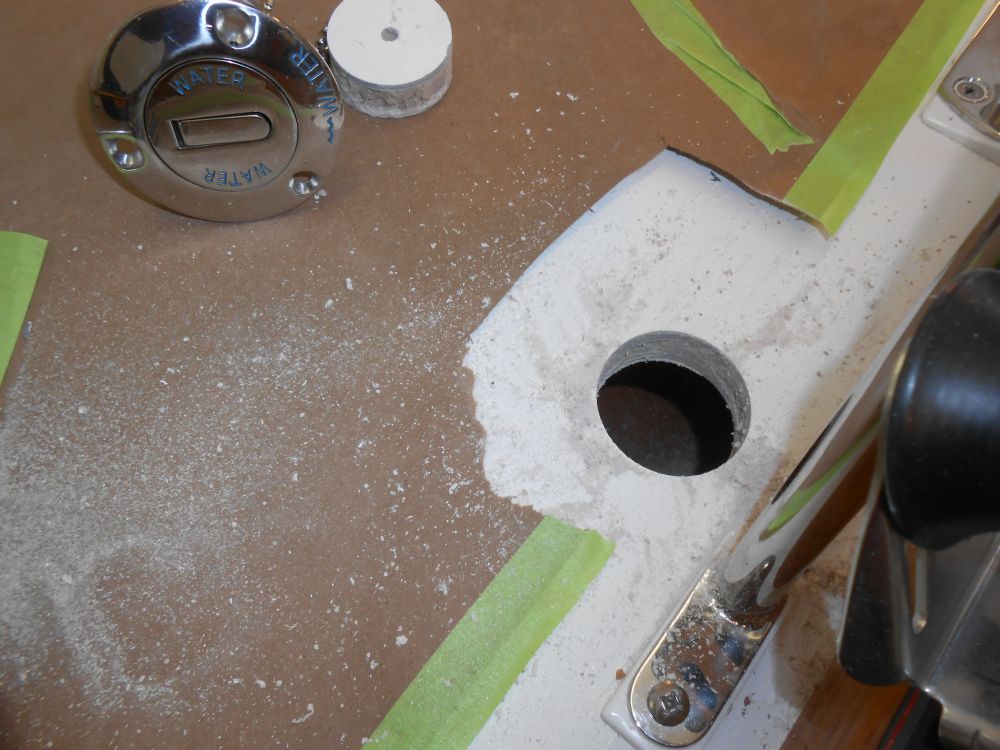


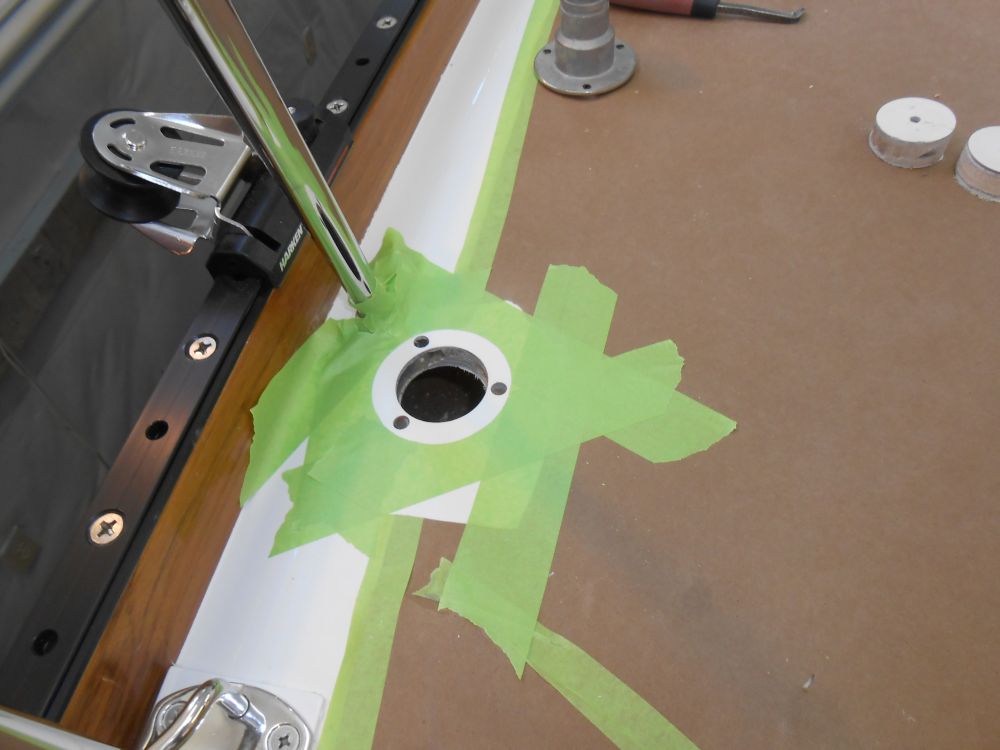
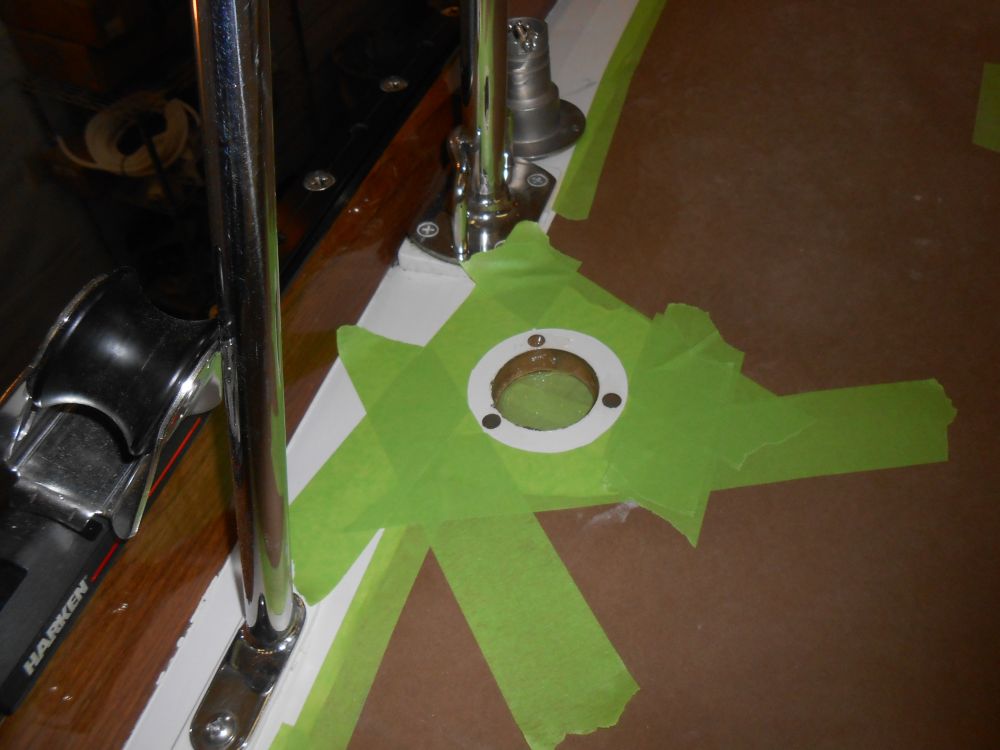
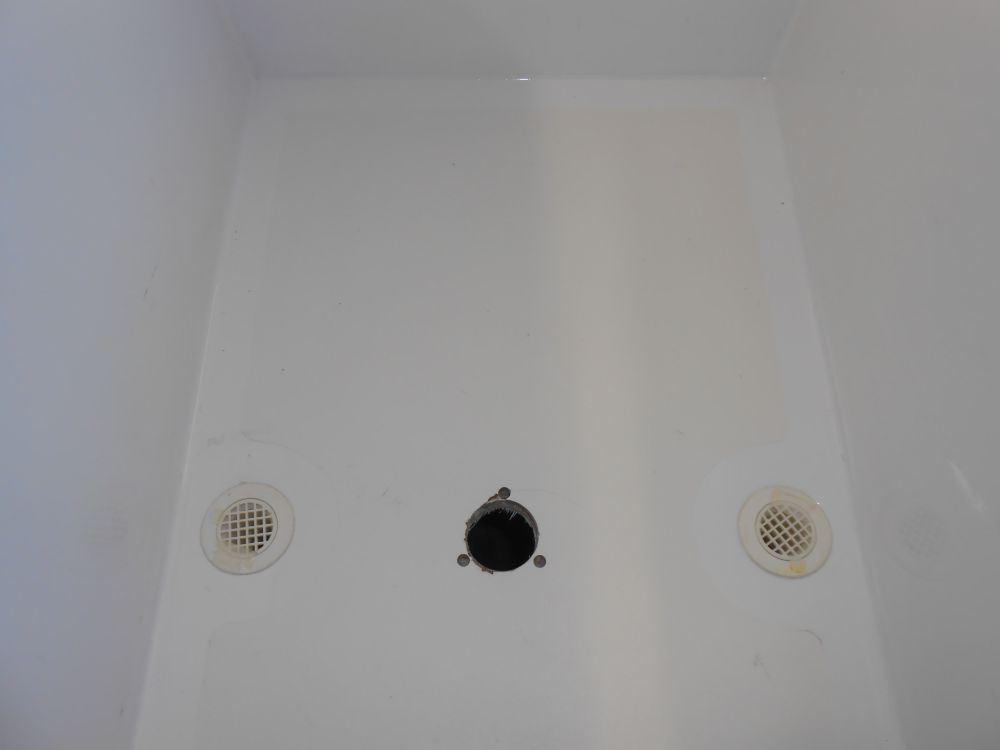
I repeated this process a fourth time in the cockpit, but this particular installation was to accept a table leg for a yet-to-be-built cockpit table. I chose a location between the cockpit scuppers, as this section of the cockpit was the flattest and would allow the table leg to be more vertical, since particularly the forward part of the cockpit featured quite a slope down to the scuppers. This location also worked well for other reasons.
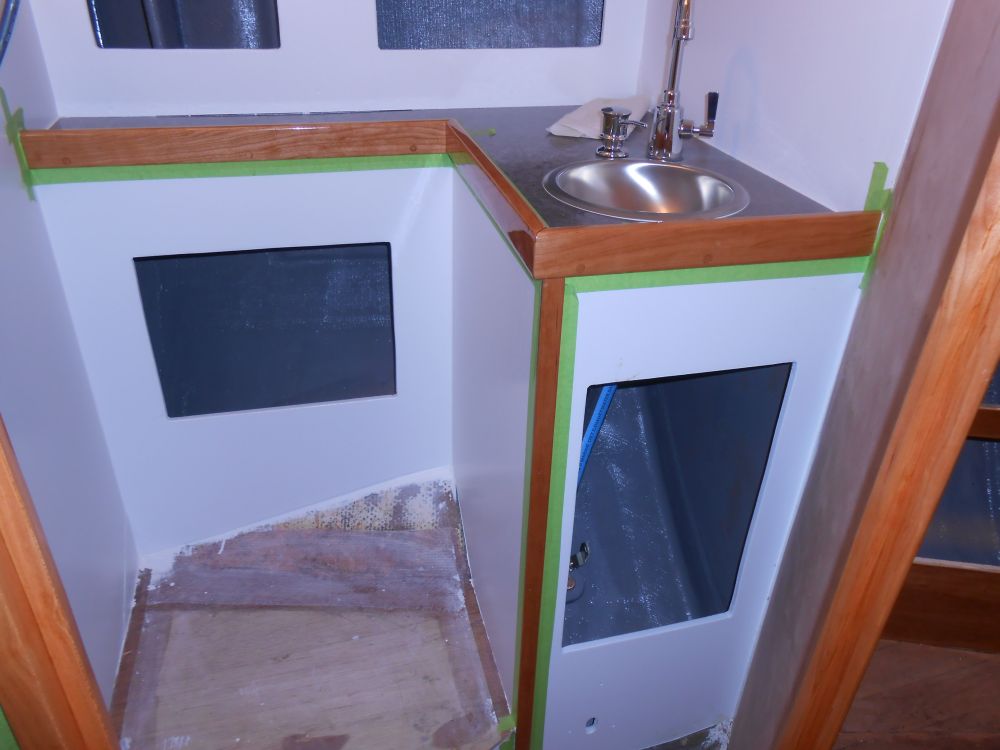
Finally, I applied another coat of varnish to the interior and head trim, and the companionway boards.
Total Time on This Job Today: 7.25 hours
