110 Cookson Lane | Whitefield, ME 04353 | 207-232-7600 | tim@lackeysailing.com
Snow Lily | Wednesday, April 17, 2013
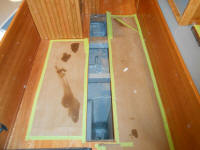
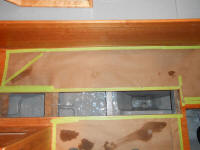
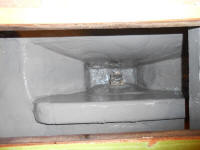
After thoroughly vacuuming and cleaning the bilge areas beneath the main cabin, I applied a coat of pant to these areas, the final places in the boat to be so treated.
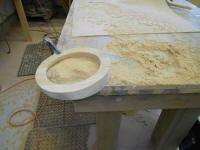
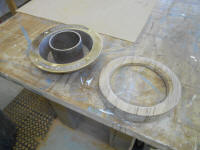
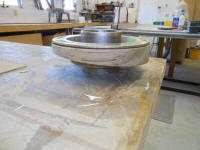
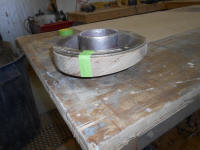
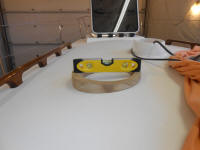
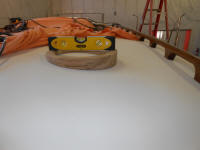
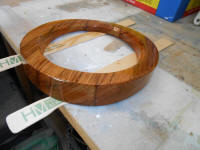
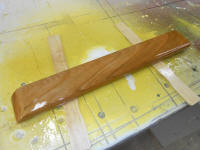
I continued work on the backing block for the woodstove vent pipe. From the glued-up blank, I cut a circular piece to the diameter required for the fitting, then cut out a 7" hole in the center. I found that beveling the top of the center cutout helped the fitting fit properly, as the 7" cutout measurement as indicated by the hardware's manufacturer was just a bit smaller than required, but it was easy to cut the bevel with a router so the tapered casting would fit within the opening.
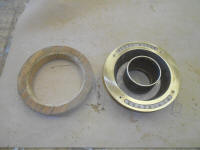
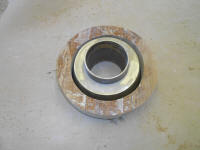
With the waste removed, I leveled the piece on the coachroof in approximately the correct location, then scribed the shape of the deck camber on the piece, after which I used a belt sander to remove the excess material to my line. I stopped just short for a test-fit, then fine-tuned the fit as needed, then sanded the blank through 220 grit to prepare it for finishing.
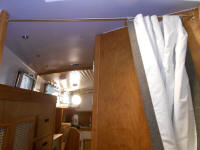
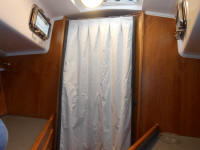
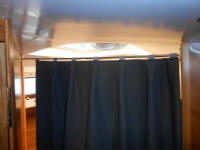
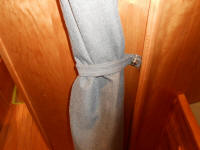
I obtained a piece of 1/4" SS rod for the curtain rod to the forward cabin, to replace the chintzy collapsible version I'd first used. After cutting the new rod to the correct length, I installed the end fittings off the cheapo version so I could easily hang the new one on the same brackets. To secure the curtain, I installed a tieback provided by the upholsterer.
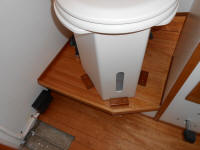
To better secure the marine toilet, I prepared some small mahogany cleats to place about the base. While the hold-down clamps secured the unit well, some motion was still possible, and the cleats locked it into place securely.
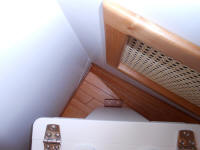
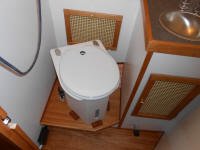
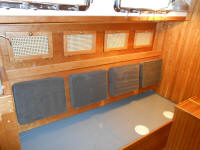
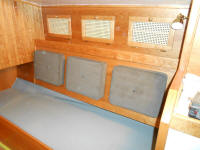
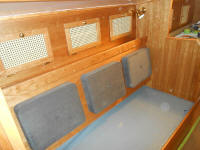
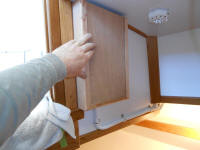
I felt the interior work had progressed to a point where it was safe to install the upholstered locker doors for the settees. For each location, I installed a door catch (I'd earlier glued in the support blocks for these), and attached the hinges to the cabinet.
To hide the back side of the massive compass hole and depthsounder, I built a simple three-sided box from solid cherry, so dimensioned as to hide the works and extend to the overhead; I'd screw the finished box into place later. For the front panel, I cut a groove in the solid rails to accept a 1/4" cherry plywood panel. Once the pieces were properly milled and assembled, I sanded the whole thing smooth and applied a sealer coat of varnish inside and out.
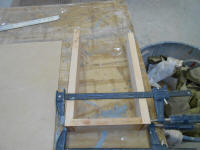
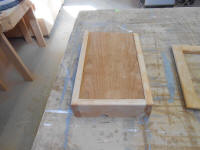
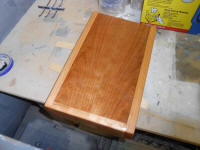
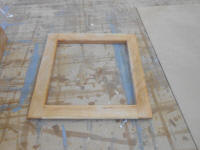
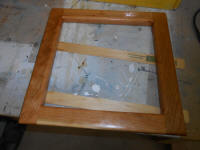
Continuing with various remaining bits of trim and details, I completed milling and sanding operations on the door frame for the woodstove cabinet, which I'd glued up some time earlier, and set it aside for the finishing process.
The angled corner of the engine box required trim where it met the settee, to hide the settee corner with its exposed plywood end grain. From some existing, prefinished trim I had leftover from something else, I milled the piece required and test-fit it, and applied several coats of spray varnish to the piece to blend in the cut end.
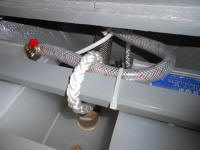
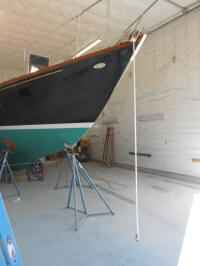
Now that the anchor roller was done, I could install the anchor rode. I didn't have the chain yet, though I planned to pick it up soon, but I reeved a 250' length of Yale Brait nylon anchor rode into the chainlocker, where I secured the bitter end to a framing member to prevent it from being lost overboard (but not intended to hold the weight of the anchor, rode, and chain). Once I got the length of chain required I'd stow the anchor itself.
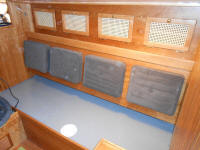
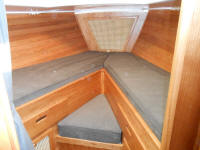
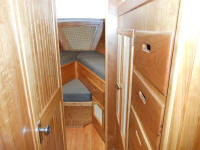
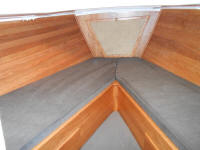
With work in the forward part of the boat complete, I wanted some gratification and went ahead and installed the cushions in the forward cabin.
Total Time on This Job Today: 8.25 hours
