
110 Cookson Lane | Whitefield, ME 04353 | 207-232-7600 | tim@lackeysailing.com
Snow Lily | Wednesday, April 10, 2013
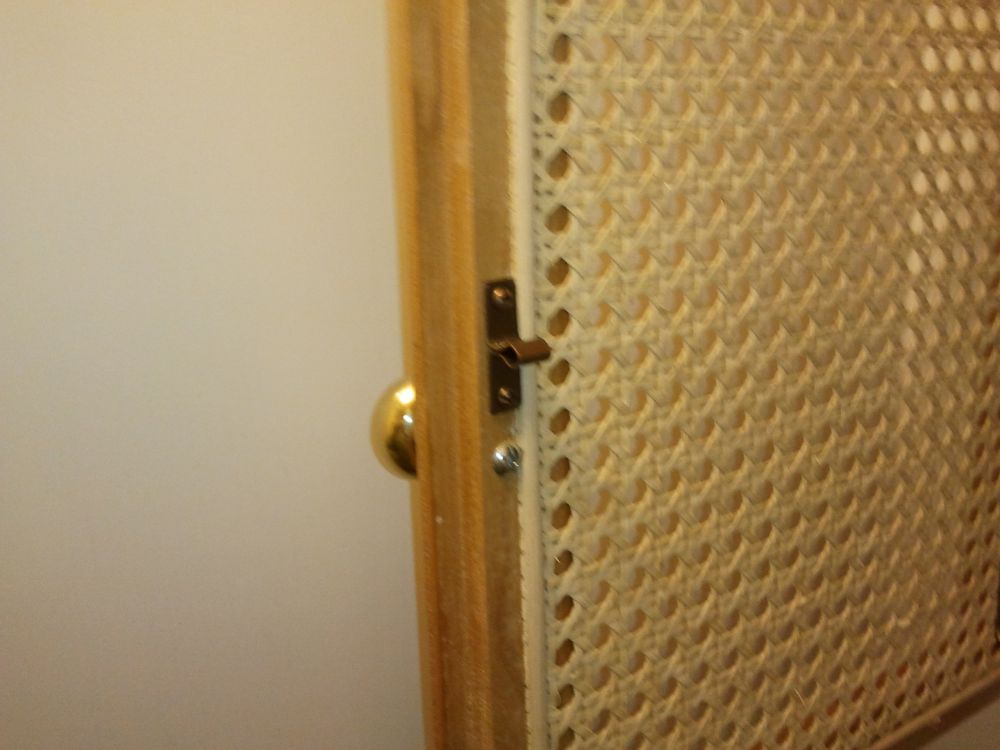
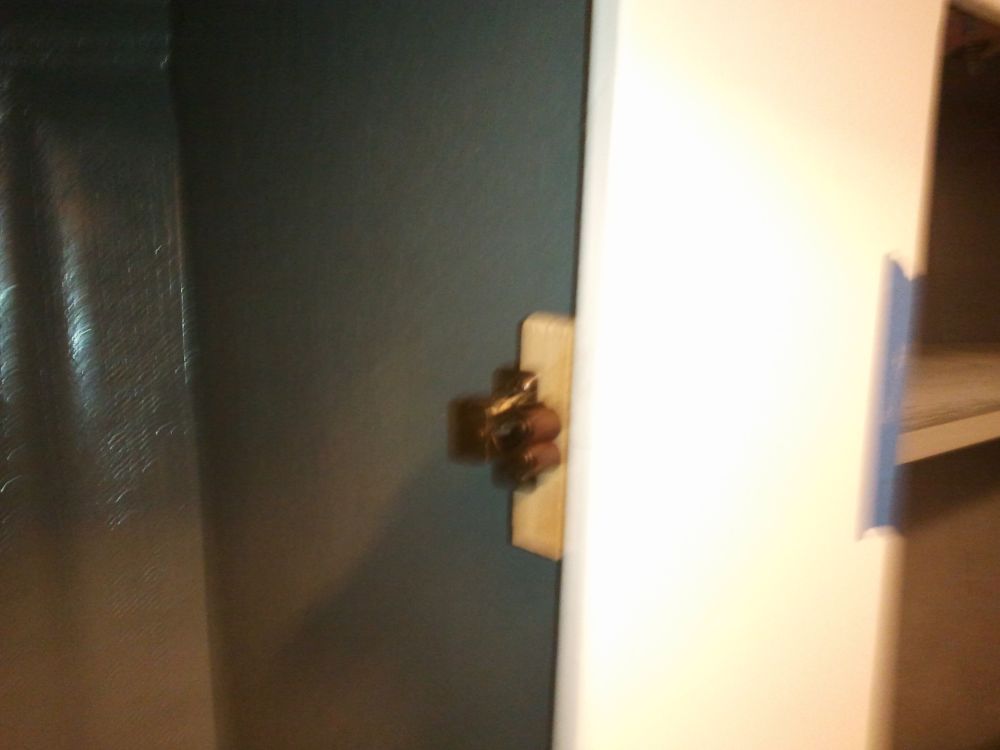
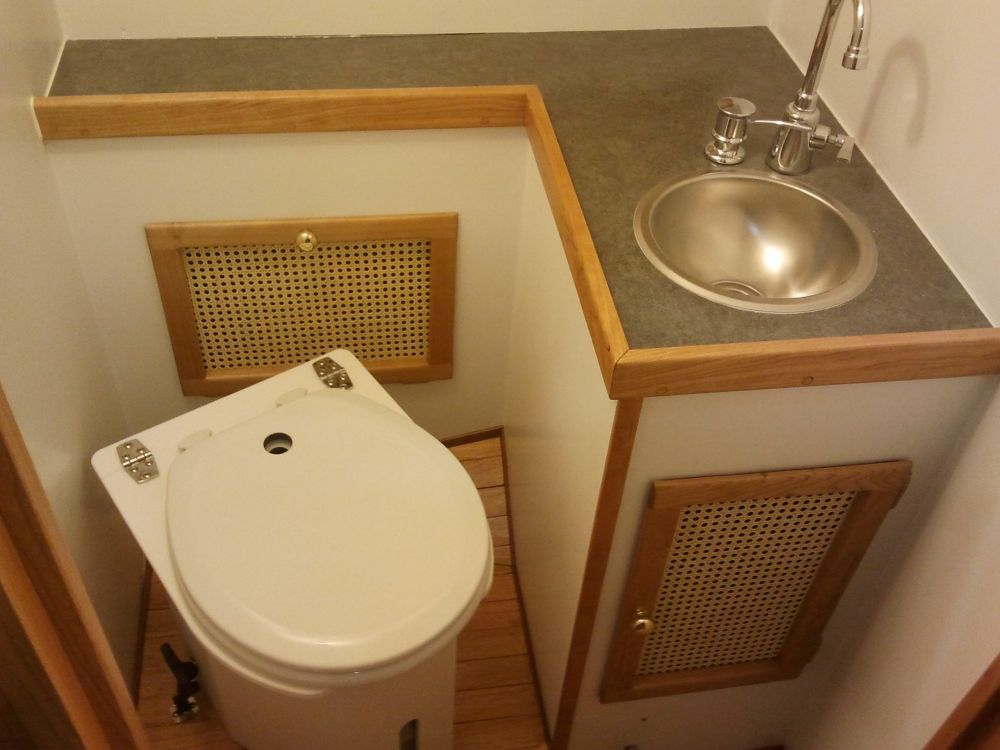
To begin, I installed the door catches on the four cabinet doors in the head. Please forgive any blurry photos, as yet another camera died on me and I was forced to use my phone camera as a backup, and several photos I took didn't come out at all.
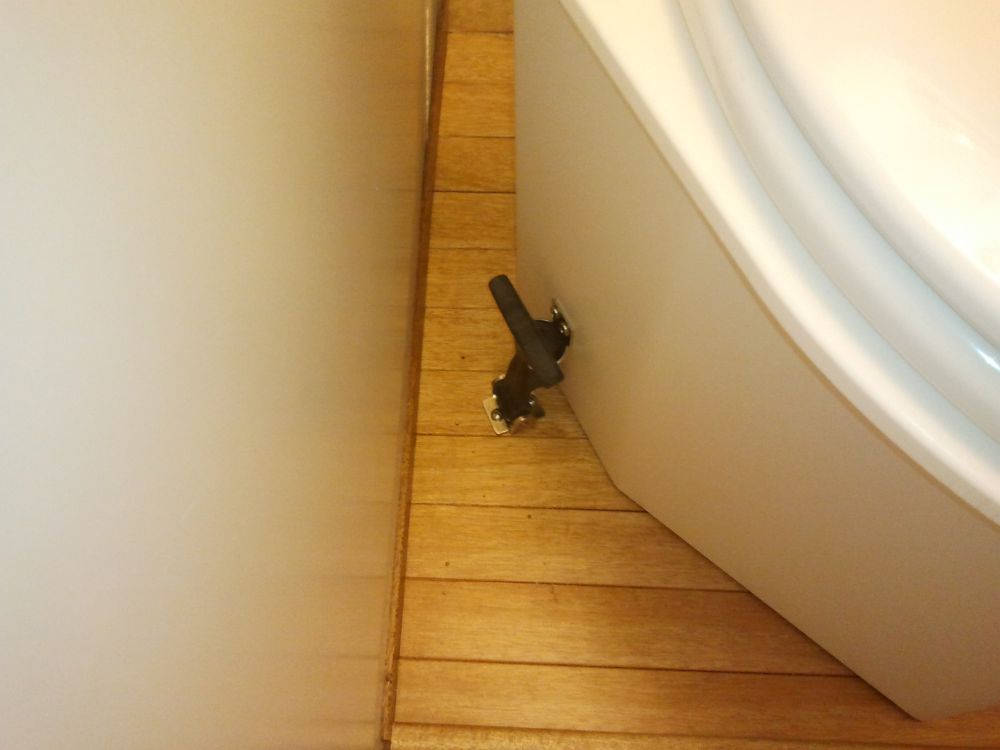
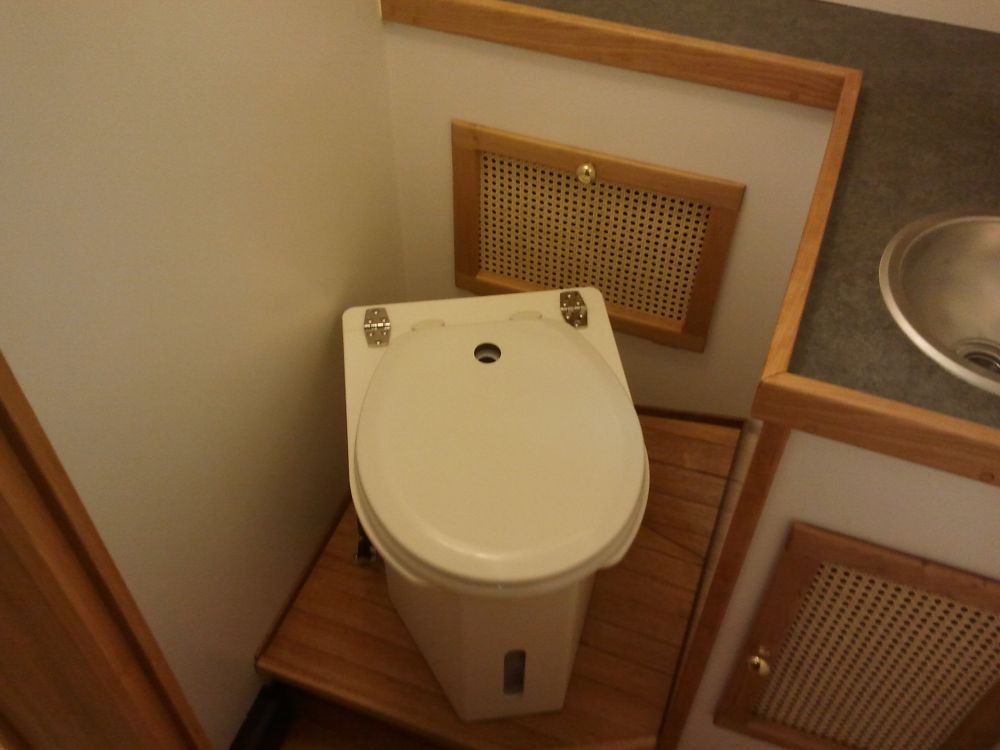
Next, I installed the C-head on the platform, using a pair of rubber hold-down clamps that I secured to the head itself and to the platform.
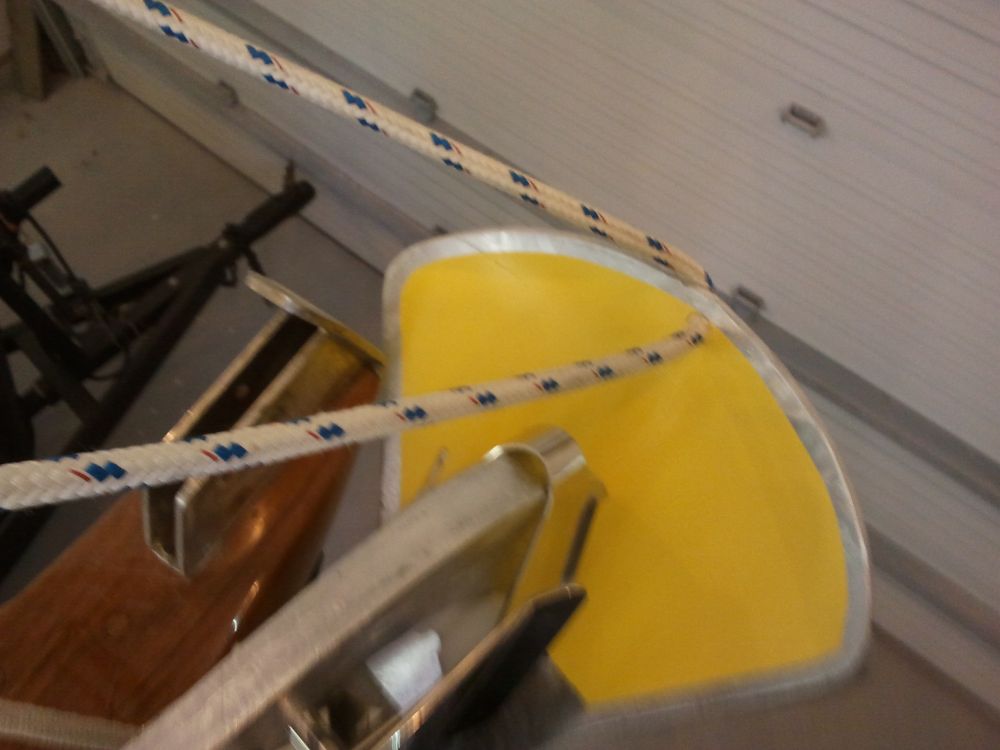
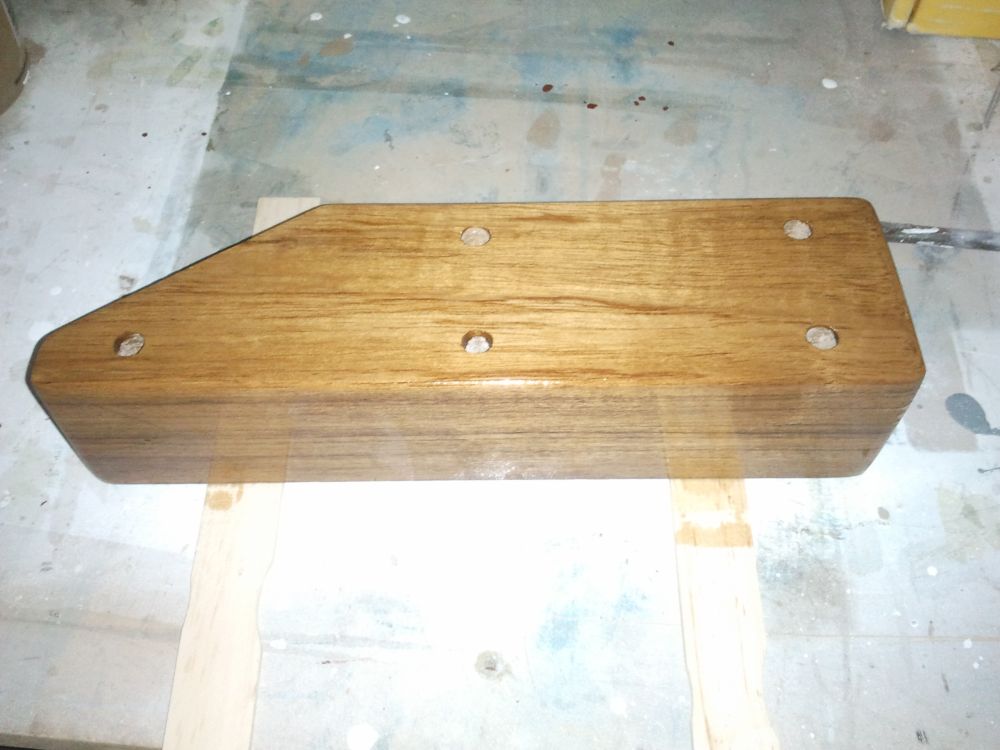
I trimmed the teak blank I'd made up for the anchor roller, sawing it to the appropriate width and height but leaving it overlong for now. Armed with the blank and the roller itself, I played around on deck till I found what seemed the appropriate configuration and angle for the roller (and therefore for the supporting blank), then trimmed the forward end of the blank to accommodate the angle of the toerail.
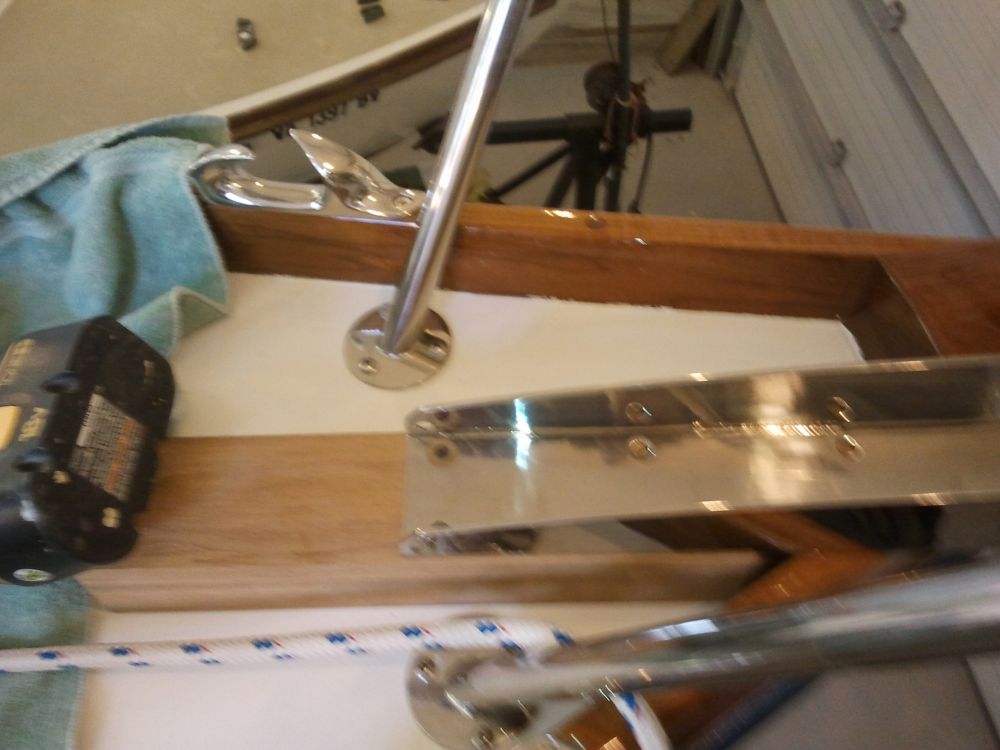

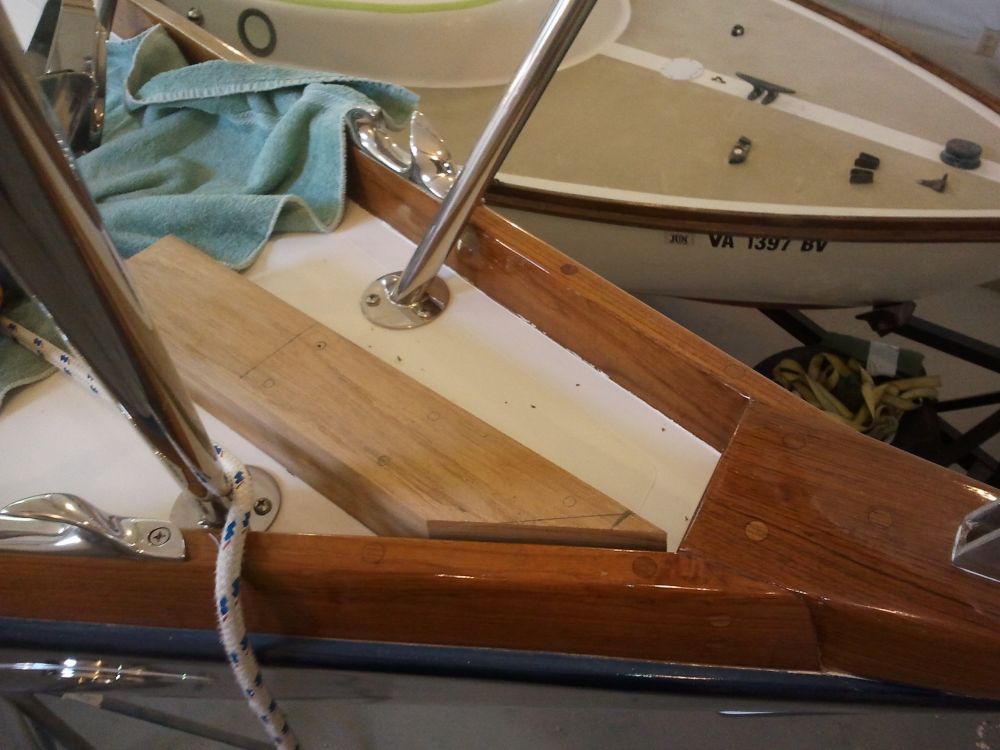
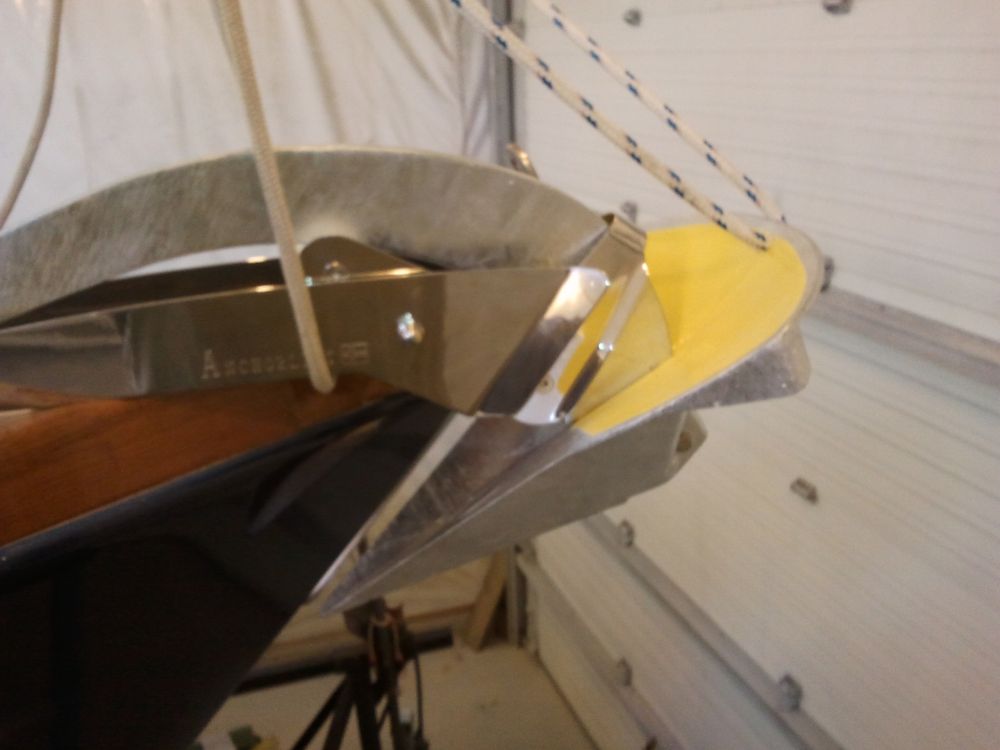
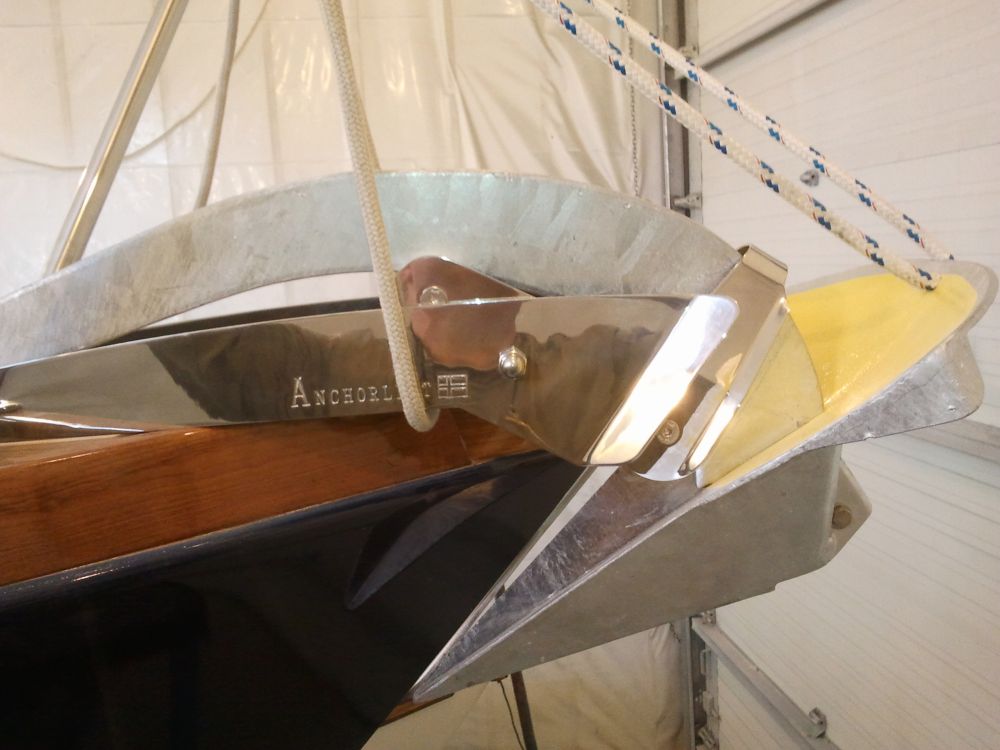
Once I'd worked out the angle correctly--I left the blank intentionally shy of the toerail to allow for drainage behind it once installed--I cut off the excess length of the blank and sanded it smooth. With a couple temporary fasteners and lots of line, I arranged the roller in its proper position, then installed the anchor--again securing it with plenty of line--to double check the overall fit and function of my installation. Several photos I took of various stages of the process turned out to be unusable.
In the position I'd come up with, the anchor cleared the stem, the side of the anchor cleared the upper part of the stem fitting, and the system looked like it'd deploy properly when needed, so I could move on with installation steps. Up to this point, I'd done nothing to affect the boat itself and could have made adjustments.
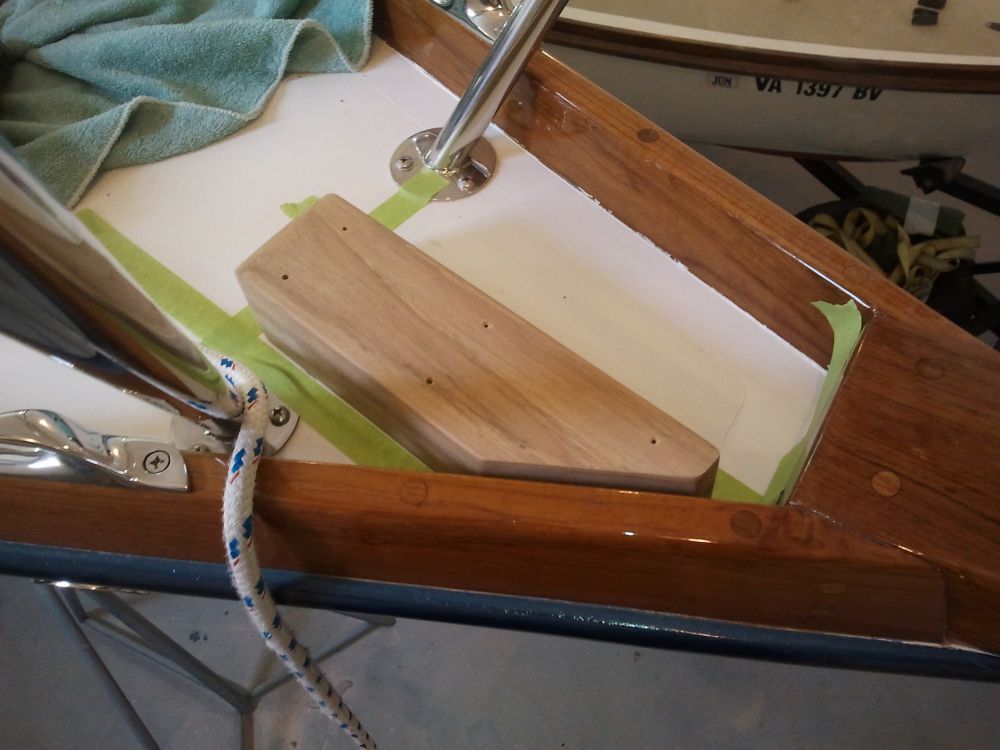
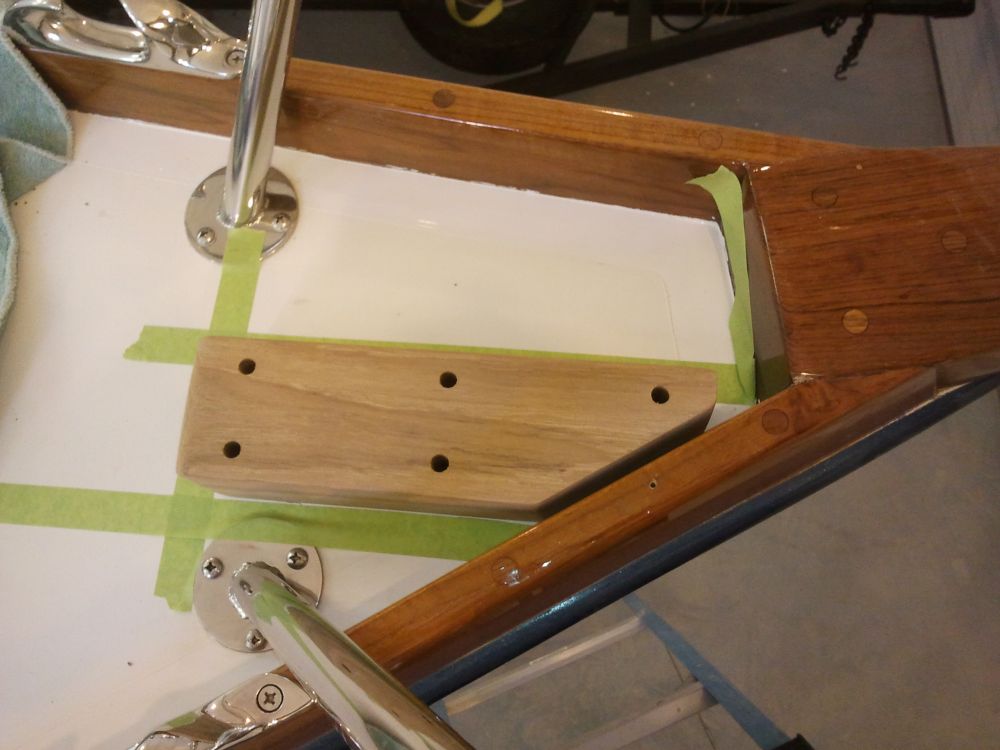
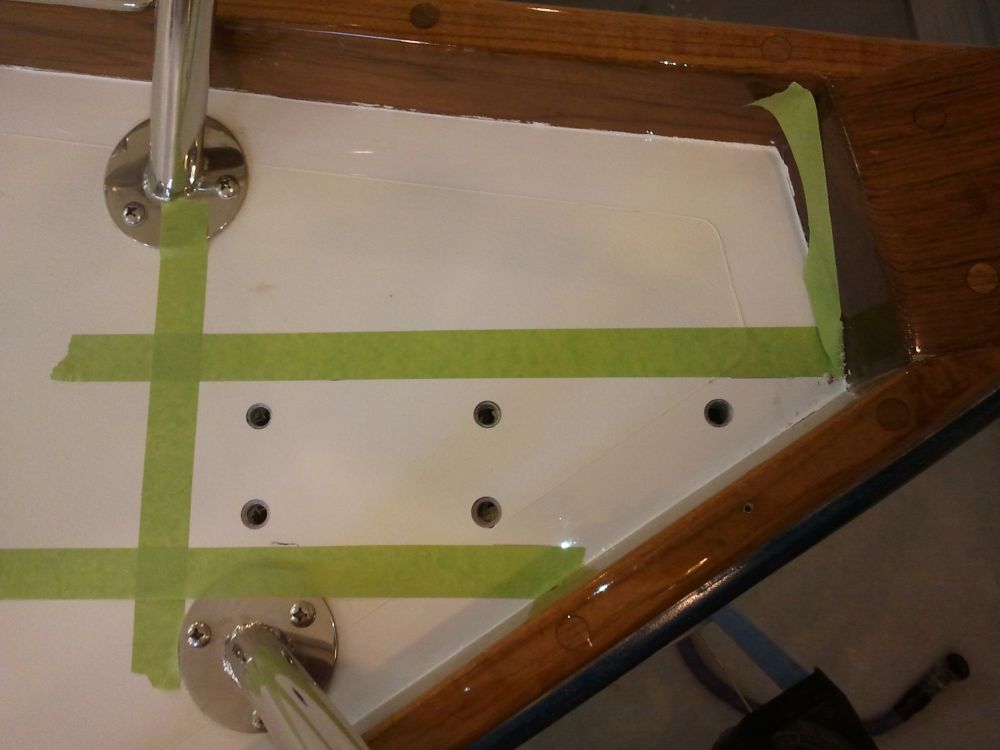
Satisfied with the test fit, I bored holes in the teak base for the 3/8" bolts required for the anchor roller and then, with the wood on deck in the correct position, drilled holes through the deck in the correct positions. I'd determined earlier hat this area of the foredeck was forward of the end of the coring, so the deck here was solid fiberglass, saving me the need to overbore and fill the bolt holes. The sixth bolt hole in the roller fell (by careful consideration) on the toerail itself, and I'd secure that location with a lag screw.
I removed the blank and began the varnish process; I'd apply several coats of varnish before installing the anchor roller permanently.
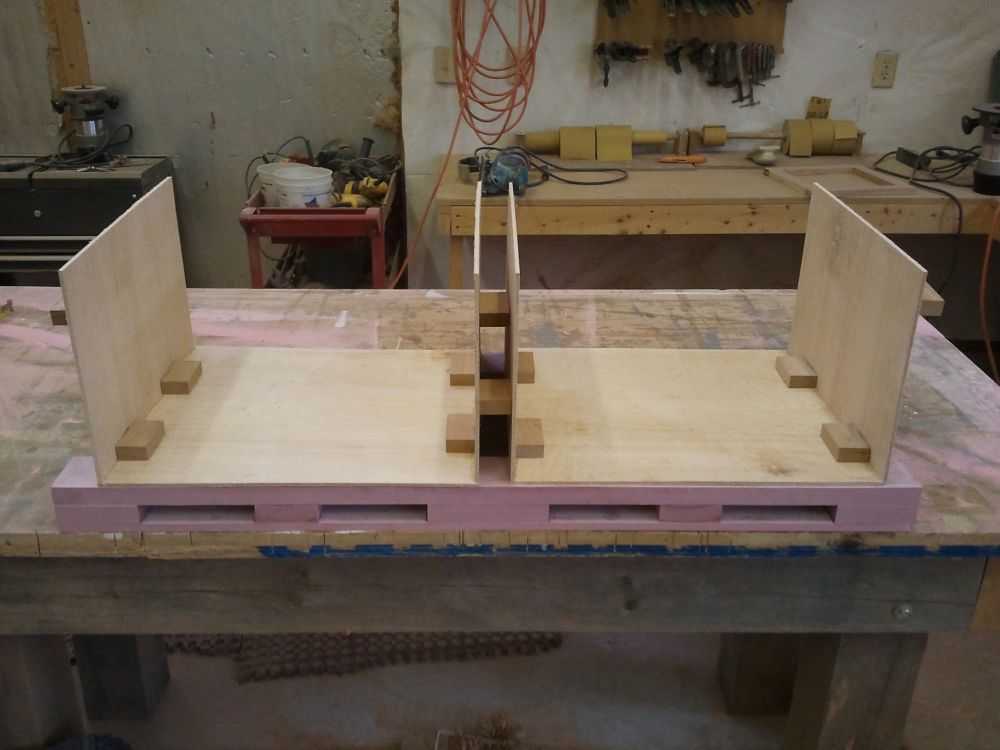
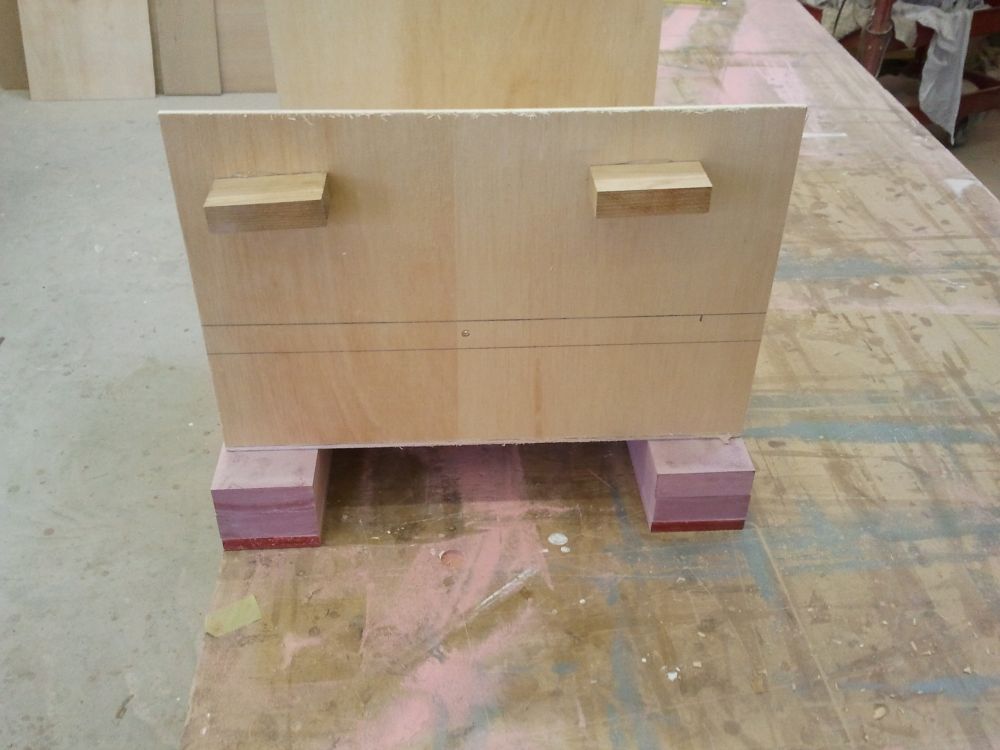
With new materials on hand for the battery support structure, I began the first steps of construction. I chose to build the structure from prefabricated fiberglass for strength and longevity. After sanding away the factory surface from the supply of 1/2" and 1" thick strips of the material, I prepared the various pieces required for the structure. I planned a 1/2" thick base and 1" thick top rails, supported and spaced by additional 1" strips to leave room for through-bolting the aluminum battery boxes themselves. I'd preassemble the base, then glass it to the hull as needed.
I decided to build the two longitudinals separately, then connect them together to the proper width afterwards. To this end, I let two sets of spacer/support blocks extend inwards by an inch, leaving me a bearing surface to connect transverse support pieces later.
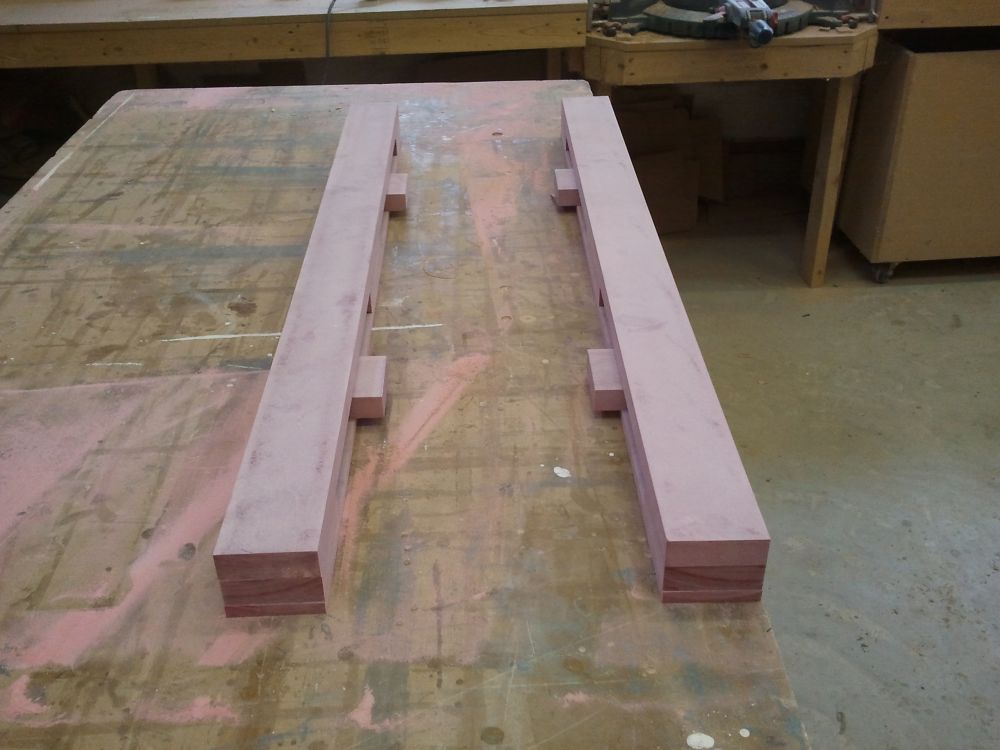
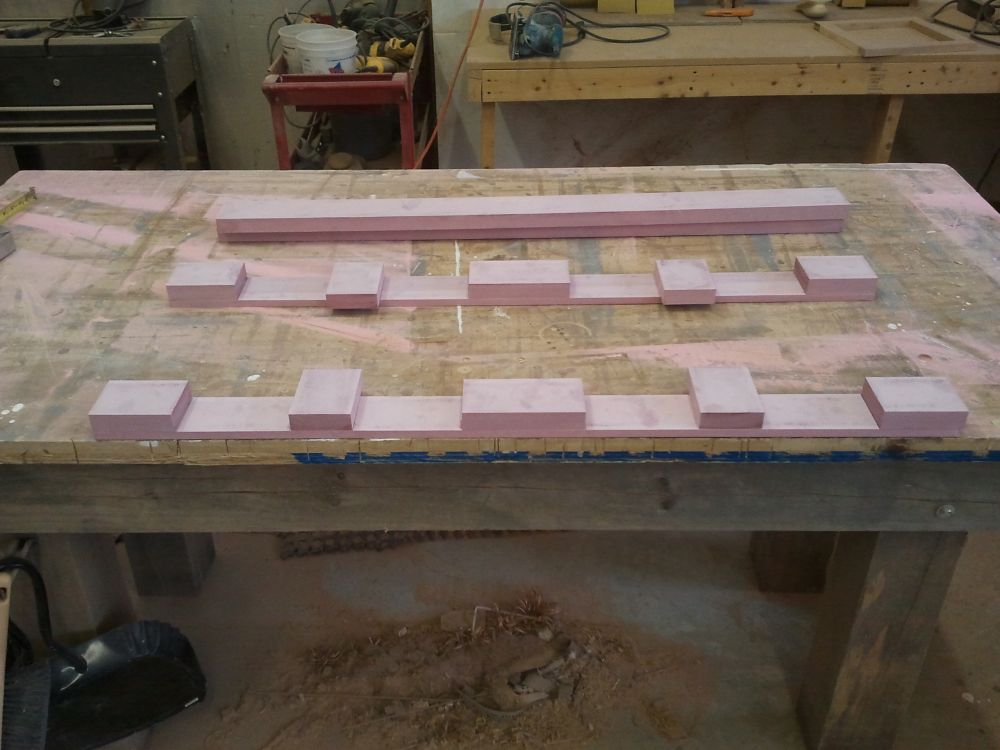
I left the overall lengths of the supports a few inches longer than the total expected length of the aluminum battery boxes (which were not yet on hand), and planned the spacing of the supports to allow room for bolts in the correct positions.
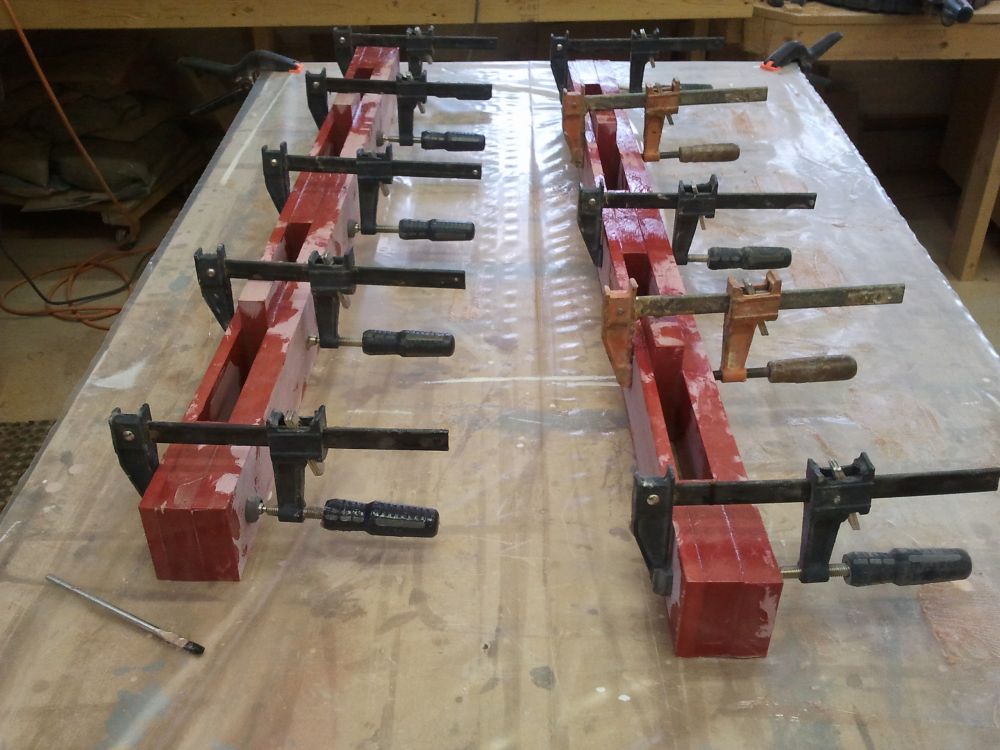
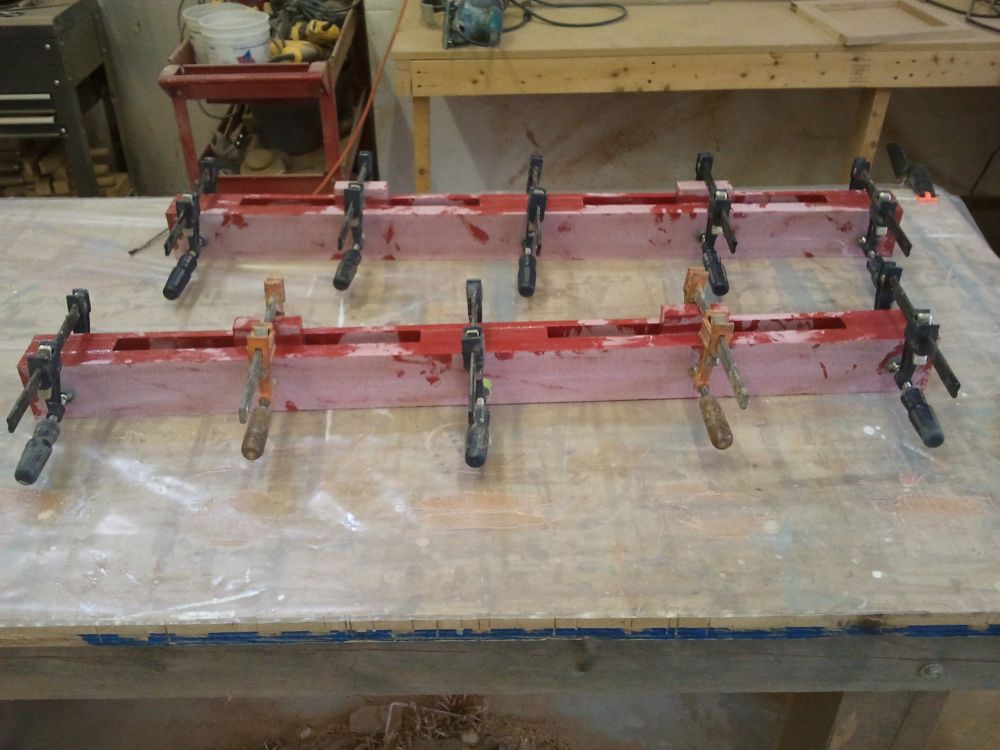
After cleaning all the pieces, I glued up the two sections with epoxy and set them aside to cure.
Total Time on This Job Today: 5.75 hours
