110 Cookson Lane | Whitefield, ME 04353 | 207-232-7600 | tim@lackeysailing.com
Snow Lily | Monday, April 8, 2013
After spending the morning working on other ongoing projects, I spent the afternoon taking care of a number of odds and ends aboard. To begin, after various measurements I ordered some materials I'd need to build a support structure for the batteries and their compressive boxes in the space beneath the cockpit, one of the final structural jobs remaining.
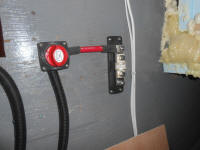
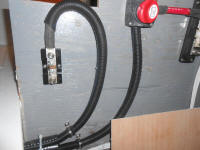
While in the area, I installed a battery switch, the main battery fuse (225A), and a shunt required for the battery monitor, and made the connections from he existing cables. Once the batteries were on hand I could make up the final cables required, connecting the batteries themselves with the terminals on the fuse (+) and shunt (-).
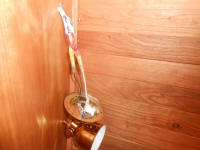
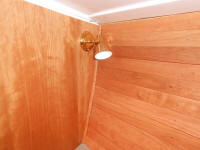
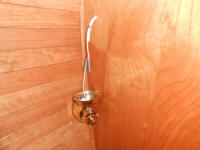
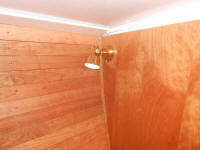
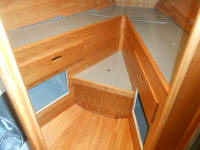
Meanwhile, with two new 12V berth lamps on hand, I completed their installation in the forward cabin. I also made the adjustments required to fit the two drawers in place beneath the berth.
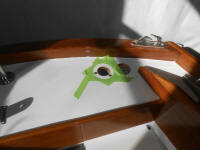
To provide a ready and simple means of connecting (and disconnecting) wires to some solar panels that might be used occasionally (attached to the dinghy davits), I prepared the deck for a new fitting. My plan was to use a regular deck fill plate as the basis for a waterproof fitting, both when not in use (with the cap on) and when the panels were installed (when the fitting would accept a pipe-hose adapter, with solar panel wiring running through a hose from the davits and into the lazarette for final connection). This would make a clean and easy attachment.
After drilling the requisite hole for the fitting, I marked and drilled out two of the three fastener holes (the third was in a solid fiberglass portion of the deck), then reamed out the exposed core and filled with a thickened epoxy mixture in the usual way.
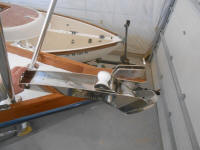
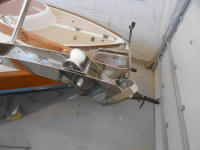
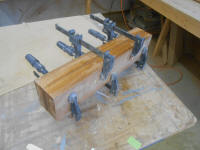
On the foredeck, I checked the fit of an anchor roller intended for use with the Spade anchor the owner selected. The self-launching roller would need to be supported at its after end to make up for the height of the toerail, so after some basic measurements I prepared a teak blank for the job, gluing up with epoxy two pieces of 6/4 teak to make a thicker blank from which I'd cut the final piece. It looked like the roller would work out fine in this general position, but I'd get a better sense of it once I'd cut the base blocking to size when the epoxy cured.
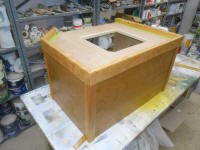
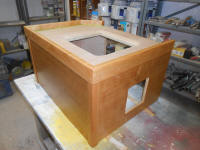
With enough base coats on the engine box after the weekend, I prepared it for its final coat of rubbed effect satin varnish with a light sanding, then applied the finish.
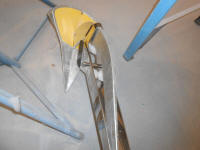
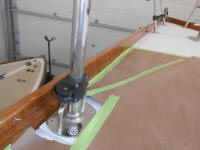
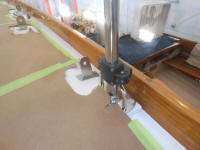
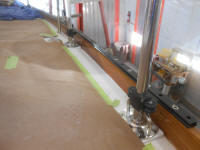
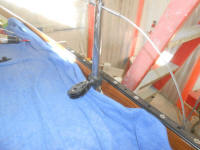
Finally, I installed a set of leads for an eventual roller furling control line, securing them to the stanchions along the port side, which location would keep this line clear of the anchor and anchor roller. I'd had these on hand for a while, and the final few minutes of the day seemed a good opportunity to install them.
Total Time on This Job Today: 4.5 hours
