
110 Cookson Lane | Whitefield, ME 04353 | 207-232-7600 | tim@lackeysailing.com
Snow Lily | Friday, October 26, 2012
I was glad I'd not really tried to start the taffrail work late in the day yesterday. It turned out to be a full day's project to complete.
To begin, I created a plywood template of the area, which I could use to cut the strips of wood required to laminate the full height of the planned taffrail. Over a couple iterations, I cut the template to match the shape of the transom, with the ends marked at the appropriate angles against the ends of the toerails.

To make each layer in a single piece, incorporating the curve of the transom, I required a wide teak board. The only such stock I had on hand was 8/4, so to get the thinner layers I needed I had to resaw the 8-1/2" wide board into two thinner layers, each about 3/4" in thickness. My table saw cut about 3" into the board from each direction, leaving a center band of material that I had to cut by hand. Afterwards, I planed the cut surfaces smooth in the thickness planer.
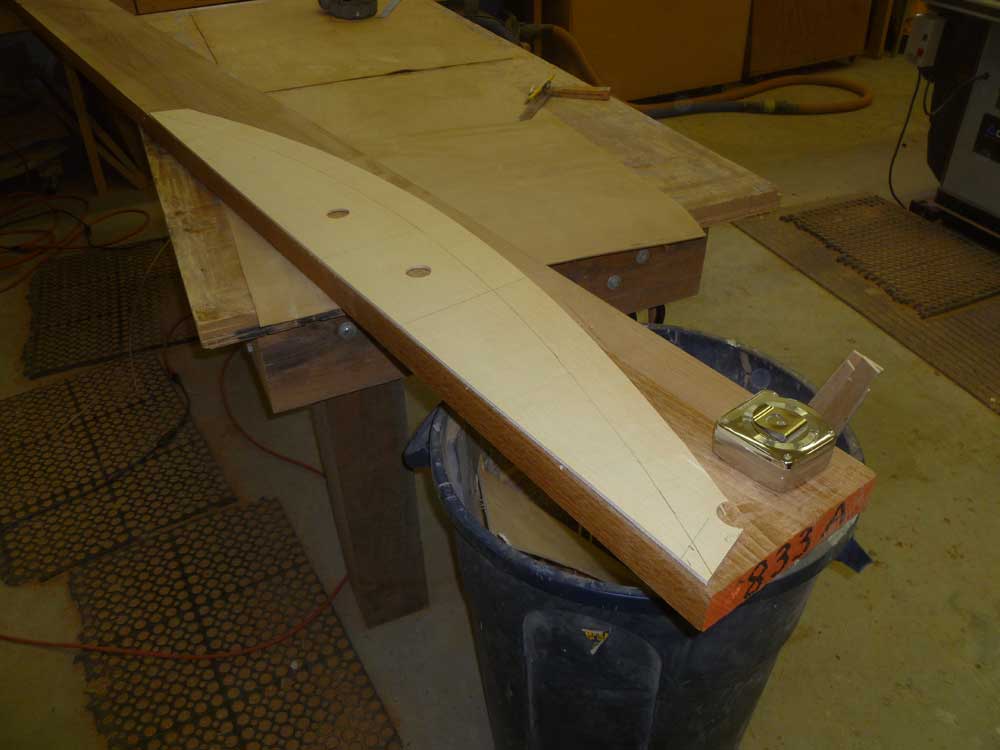
Resawing in this way was time-consuming and difficult, so for the third section I needed I tried a different approach. First, I cut the curved section out of the thicker stock, then ran the curved piece through the saw to cut it in half, thickness-wise. Eventually, I ended up with three curved pieces, each slightly longer and wider than the finished dimensions I was going for.
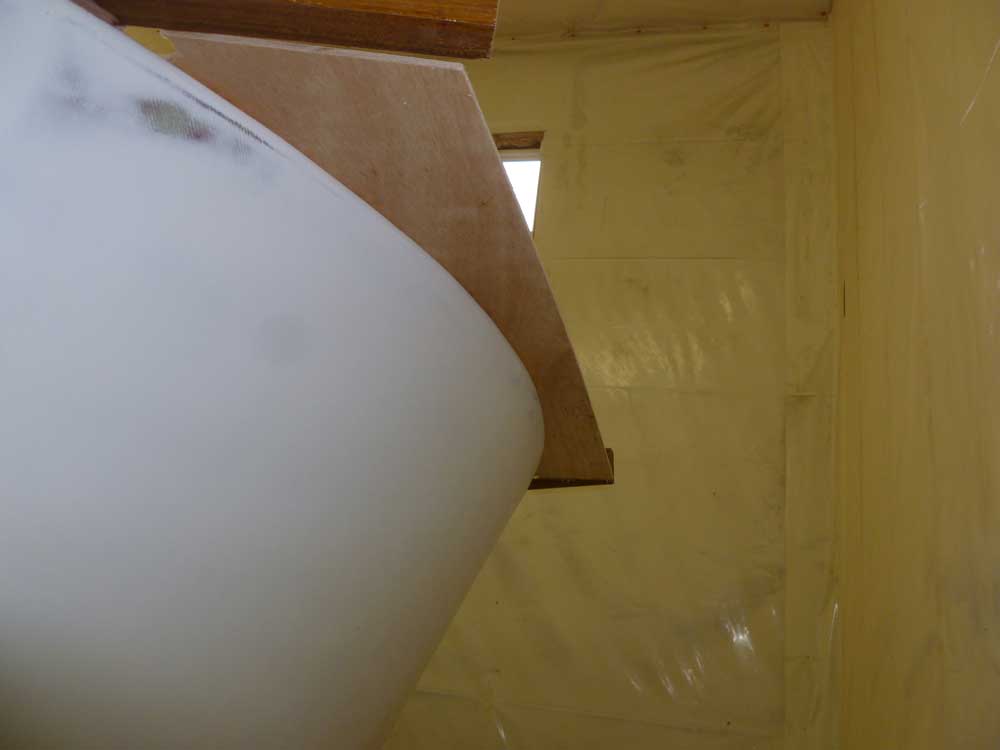
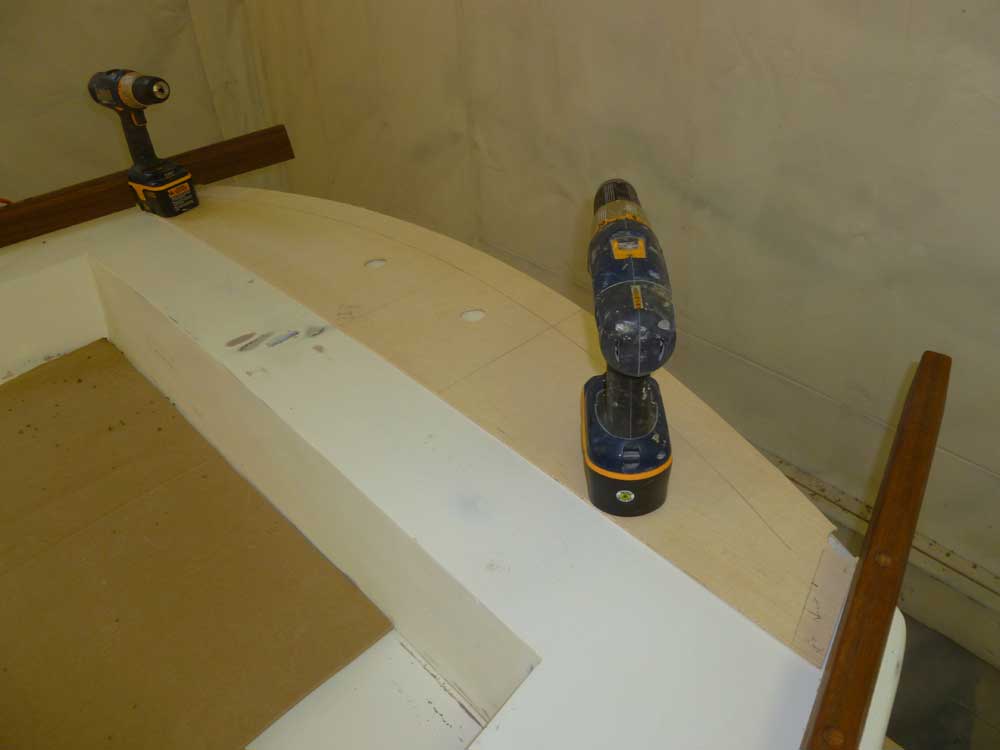
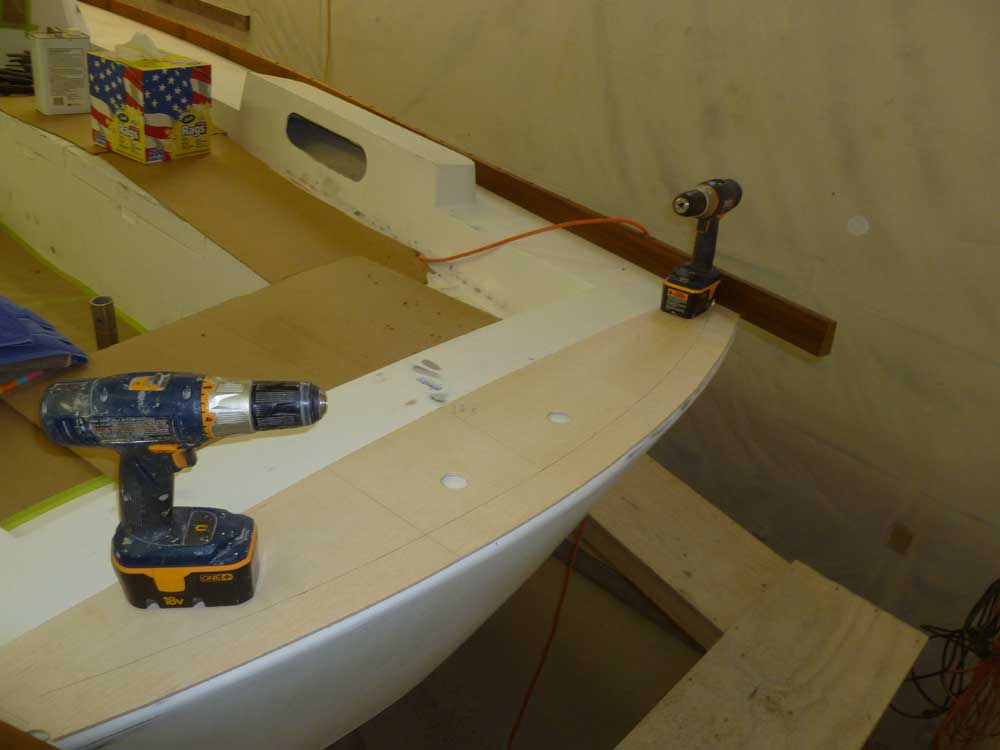
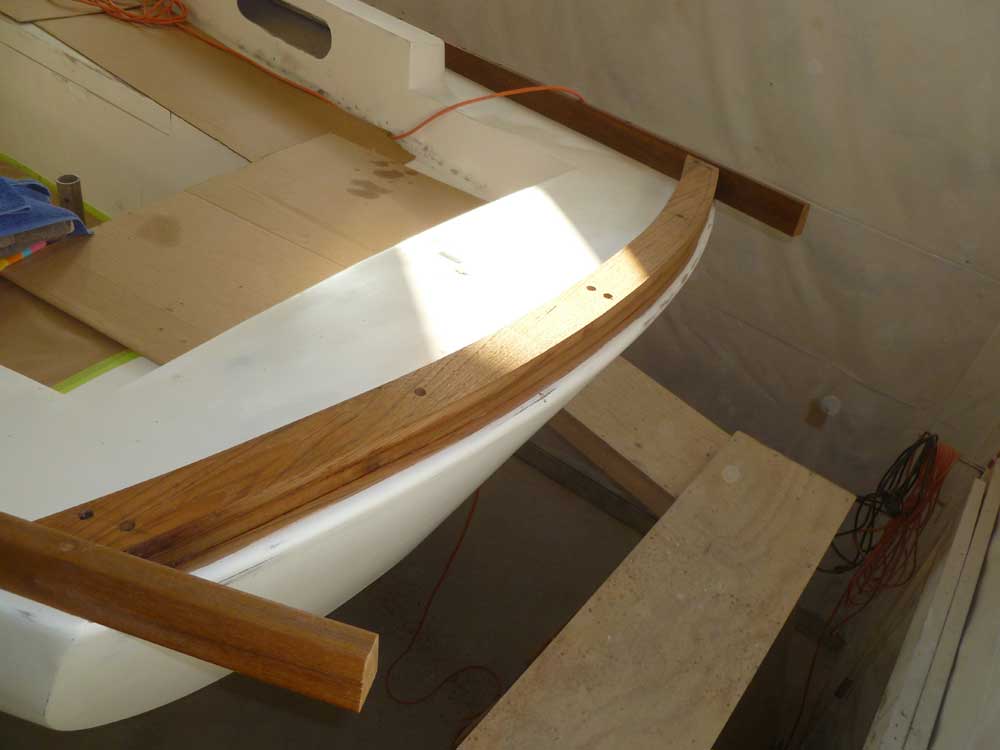
Cutting and fitting each section in turn, I dry-fit the taffrail in place, screwing the first piece into the deck and the other pieces to each other as required to hold things in place. I'd reuse the same screw holes later, during final installation, when I laminated the sections together in place.
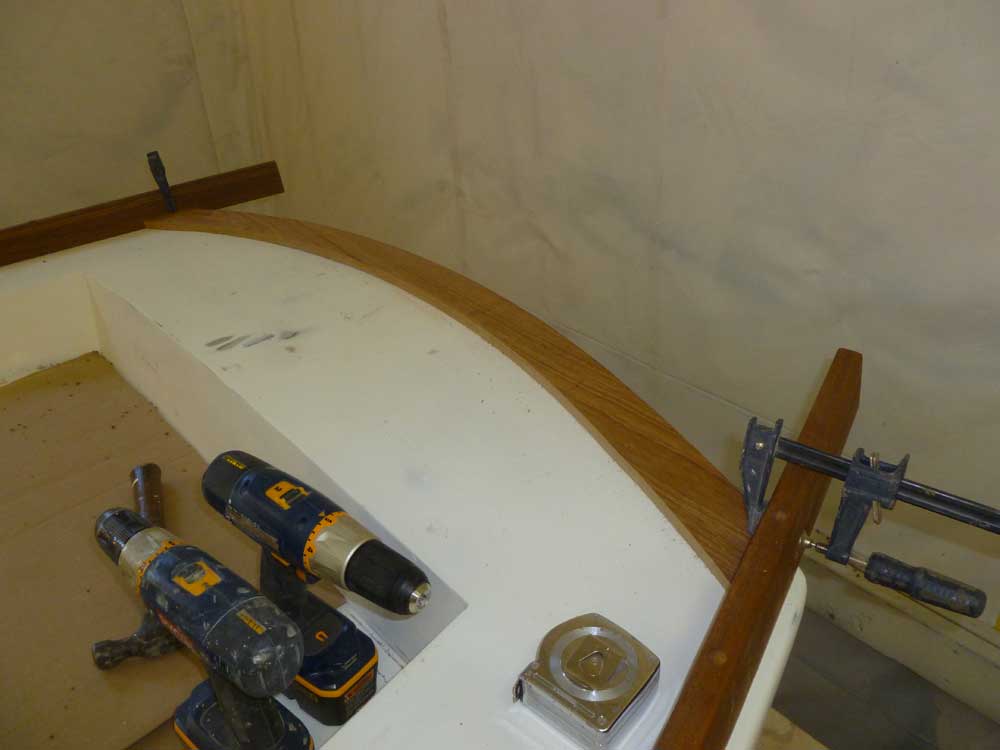
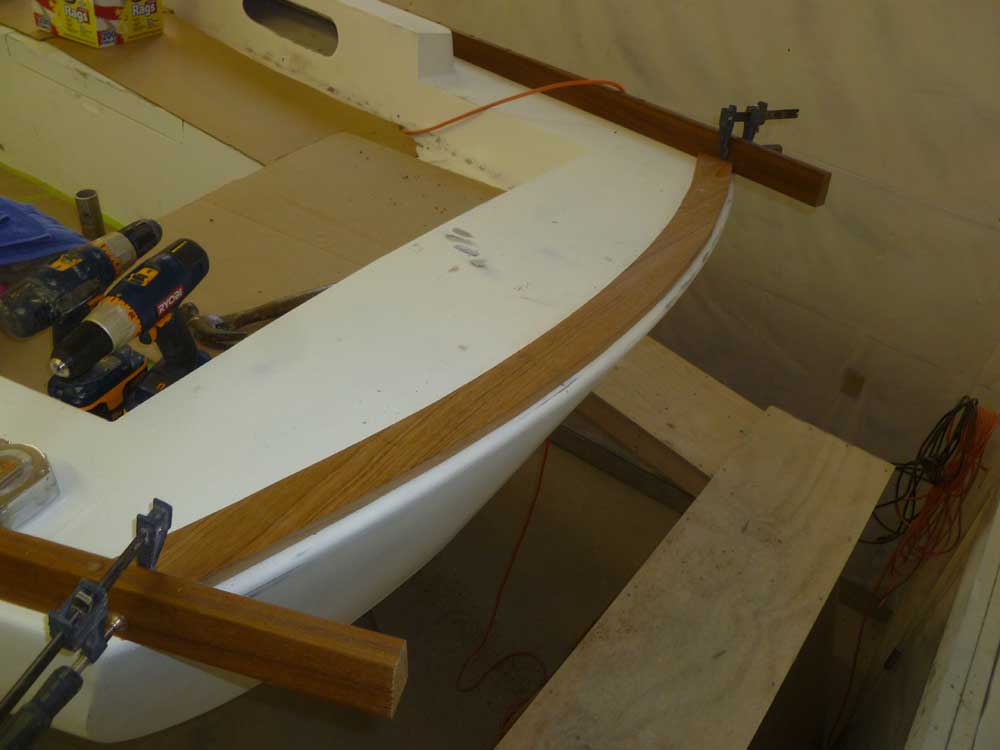
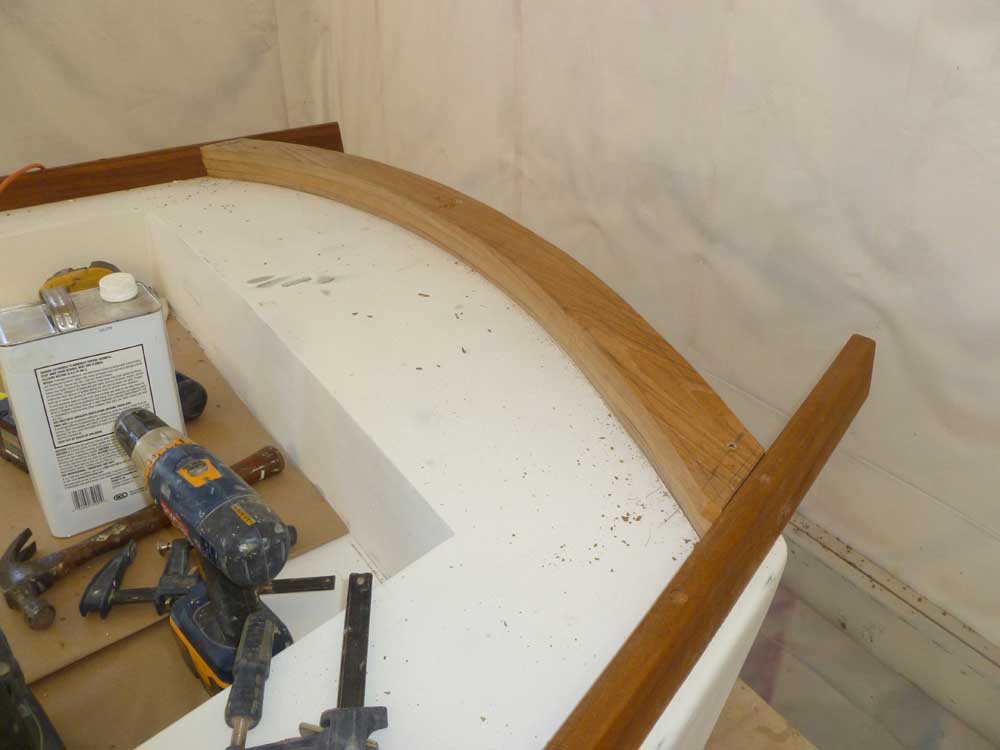
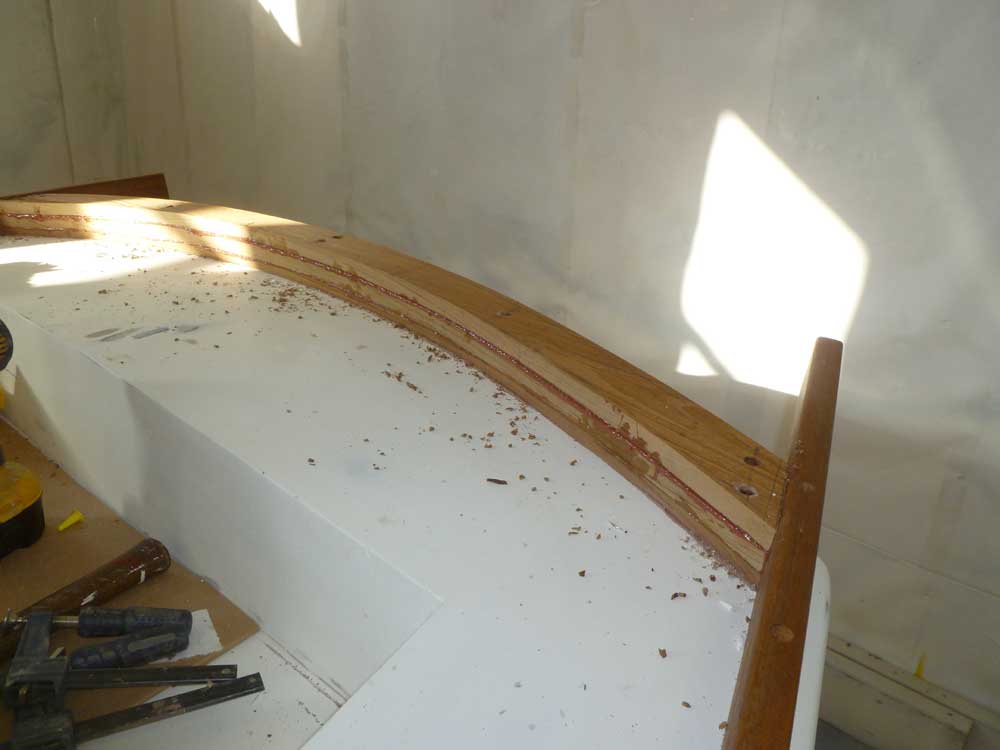
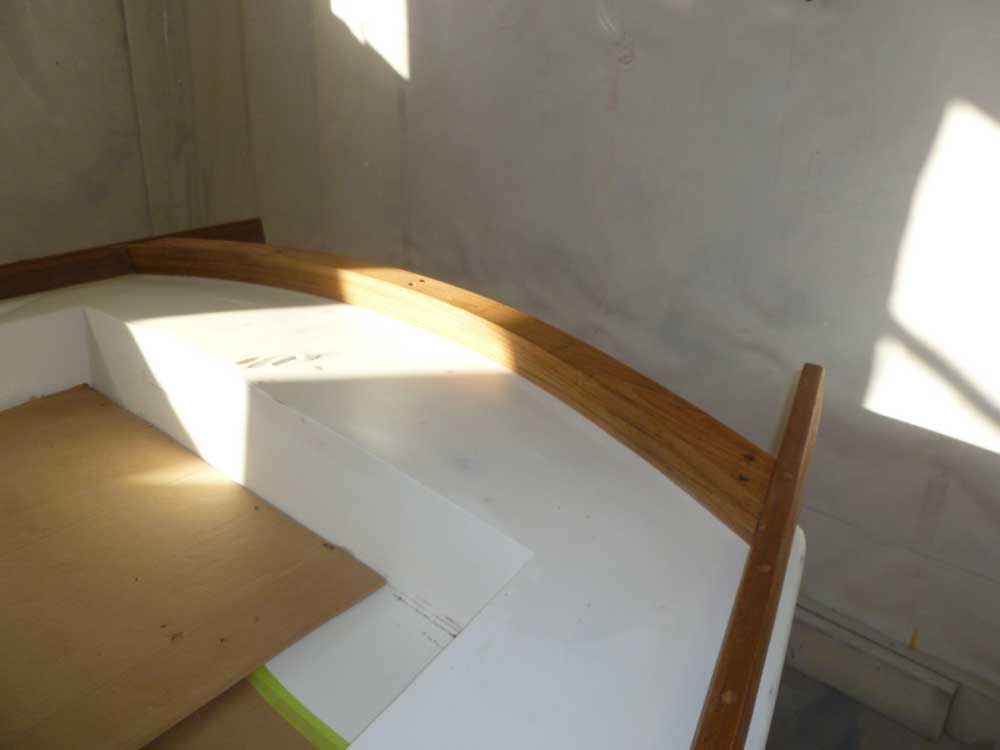
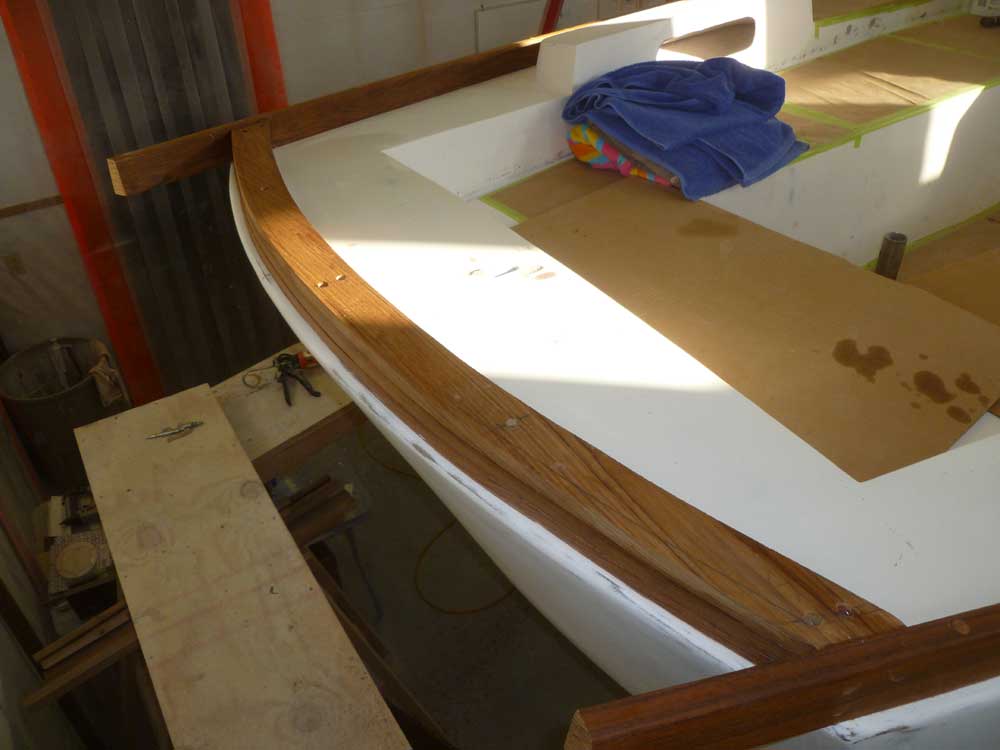
After removing the three sections and resecuring them together in their proper alignment, I sanded the edges to smooth the curves and remove any inconsistencies in the shaping. Then, after final surface preparations, I installed the first (lowest) section in a bed of sealant, securing it to the deck with screws.
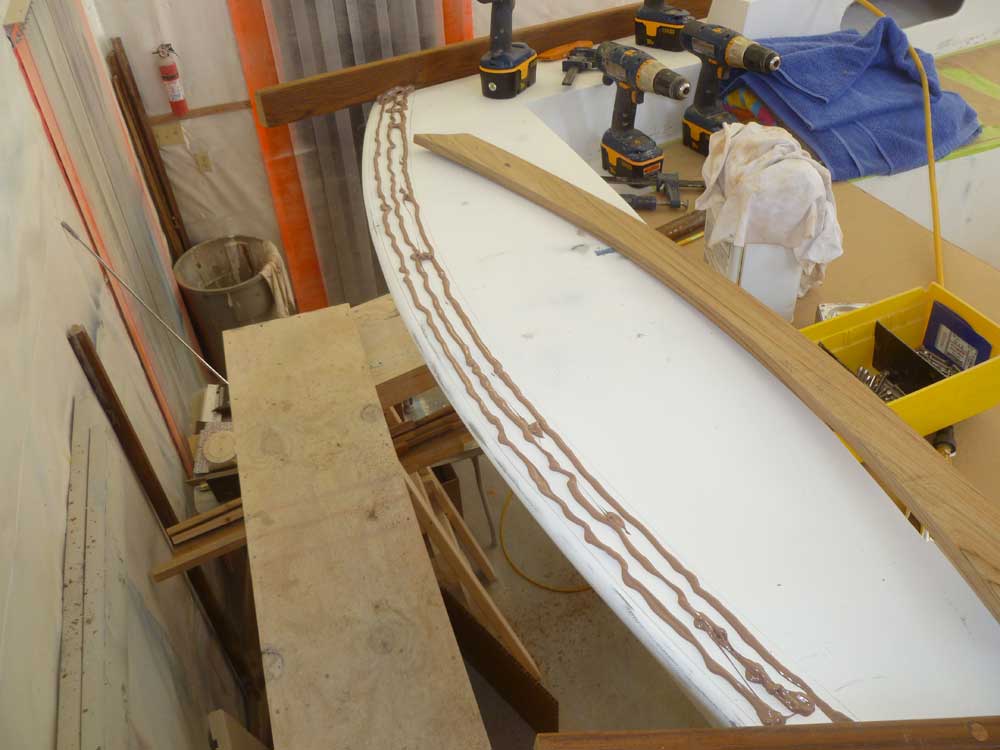
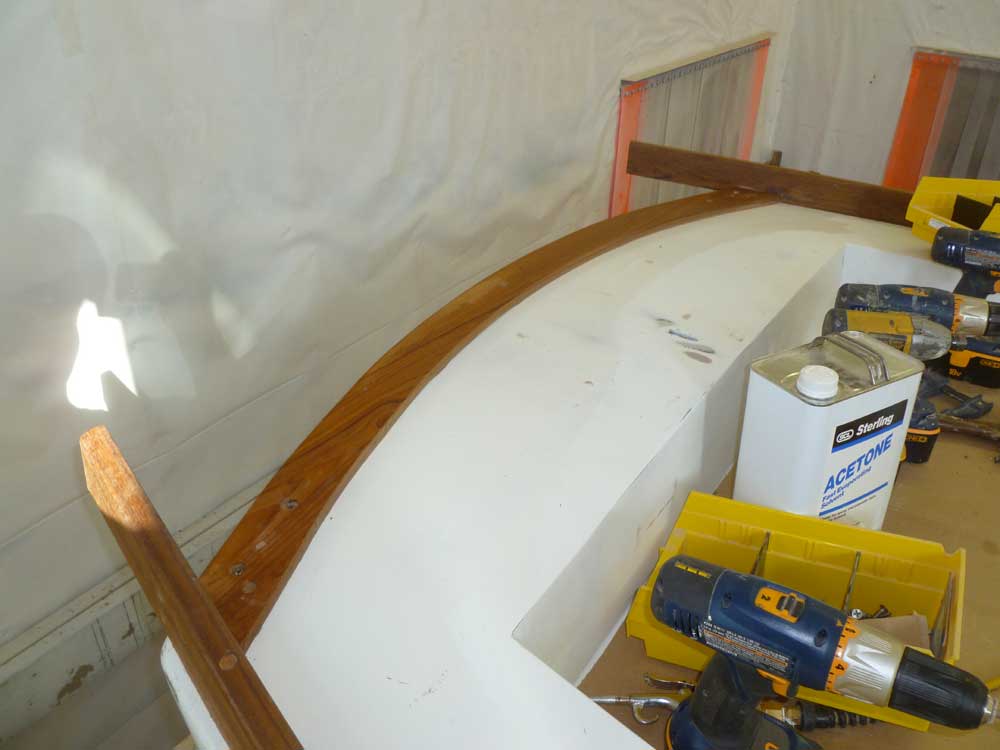

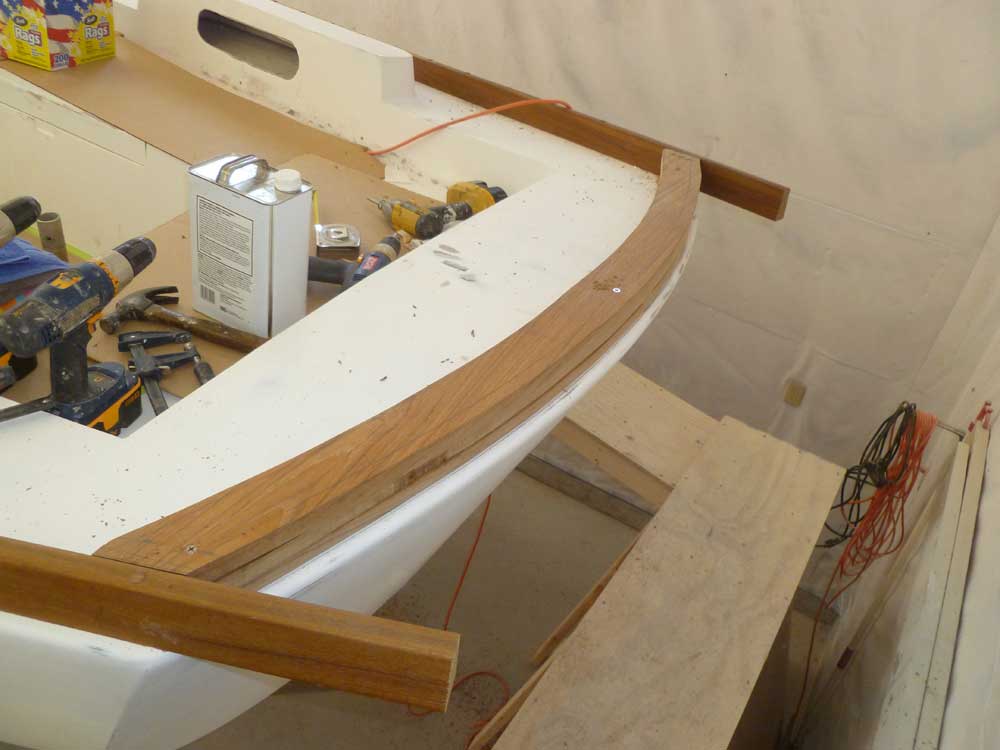
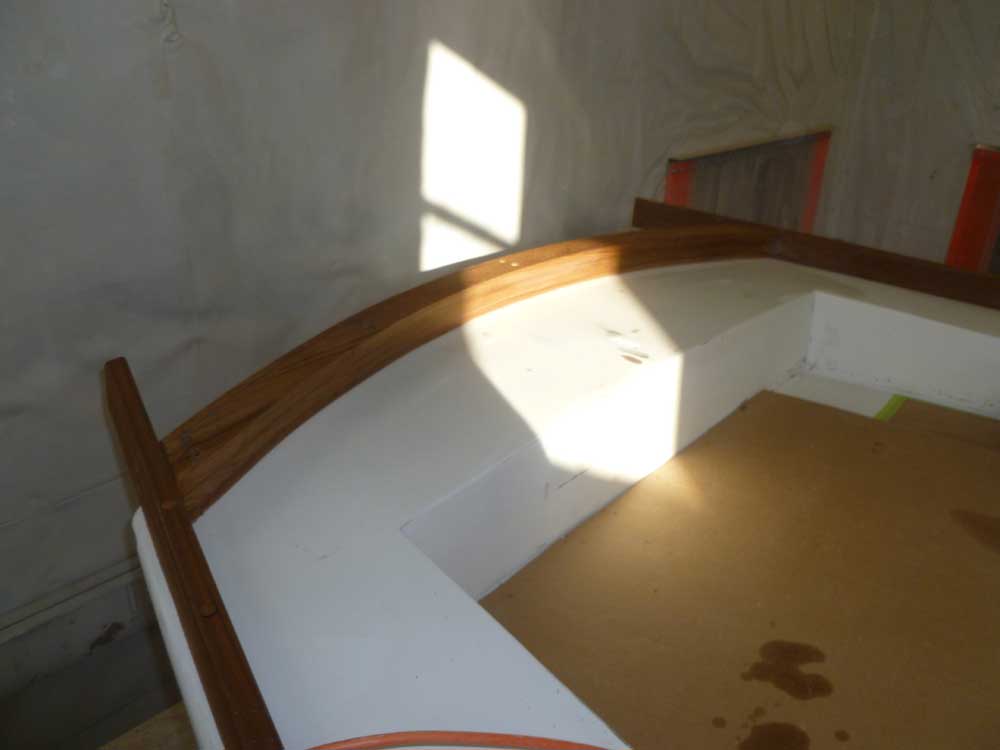
Next, I followed with the two top laminations, which I glued to the base and to each other with thickened epoxy adhesive. From the top layer, I installed long screws all the way through to secure the whole arrangement. Afterwards, I cleaned up the excess epoxy and sealant before finally bunging the screw holes in the top surface. I'd complete final shaping and sanding later, once the adhesive cured.
Meanwhile, I got ready to attach the other end of the toerails, at the stem, by preparing a laminated solid teak block to use for that area. From 8/4 stock, I cut two sections and glued them together with epoxy, creating a blank roughly 3-1/2" thick.

Total Time on This Job Today: 7 hours
