
110 Cookson Lane | Whitefield, ME 04353 | 207-232-7600 | tim@lackeysailing.com
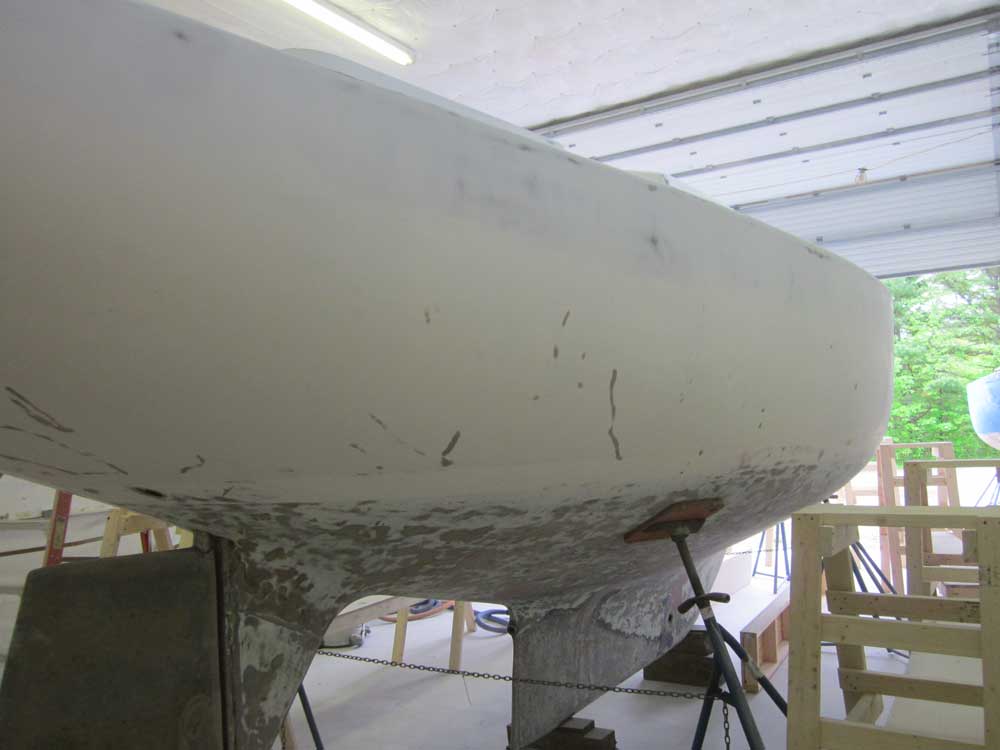
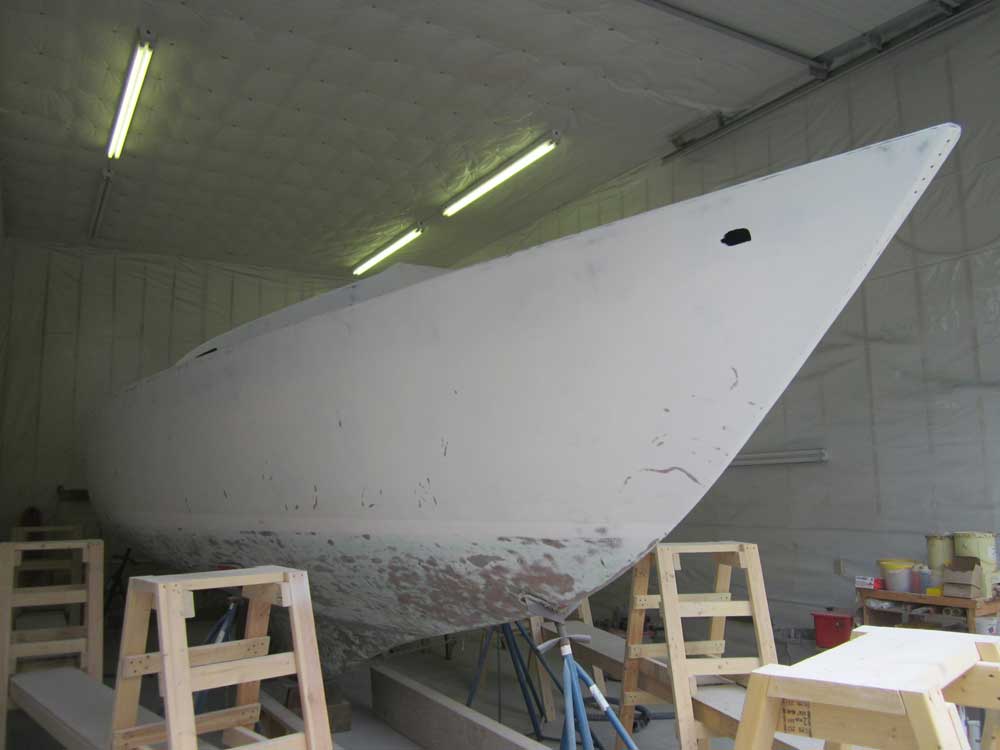
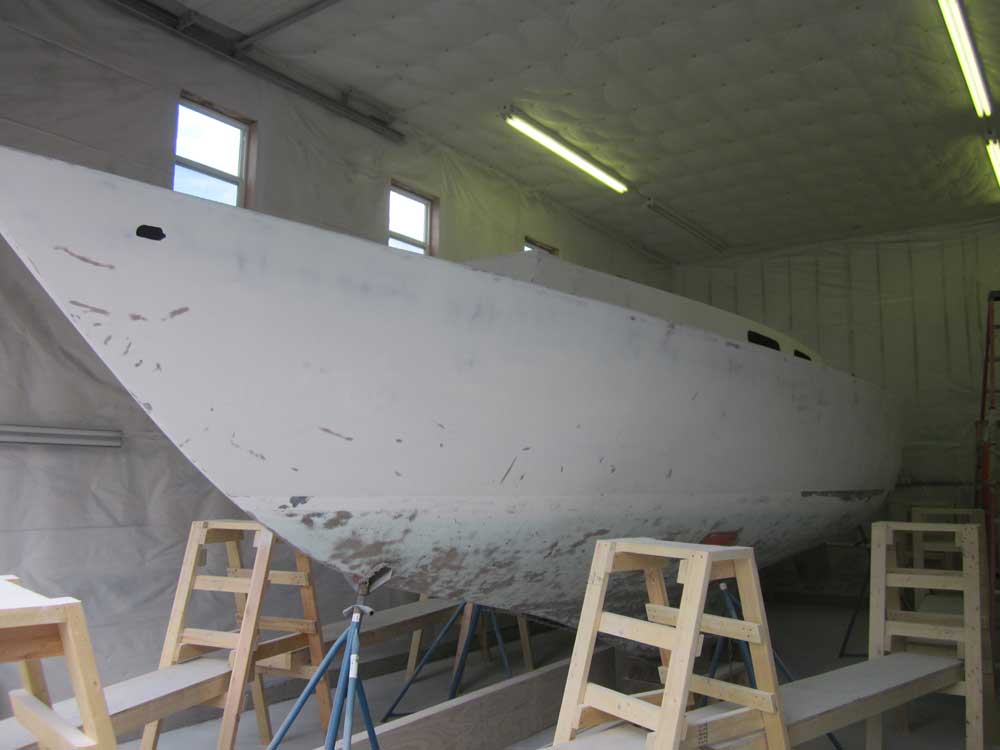
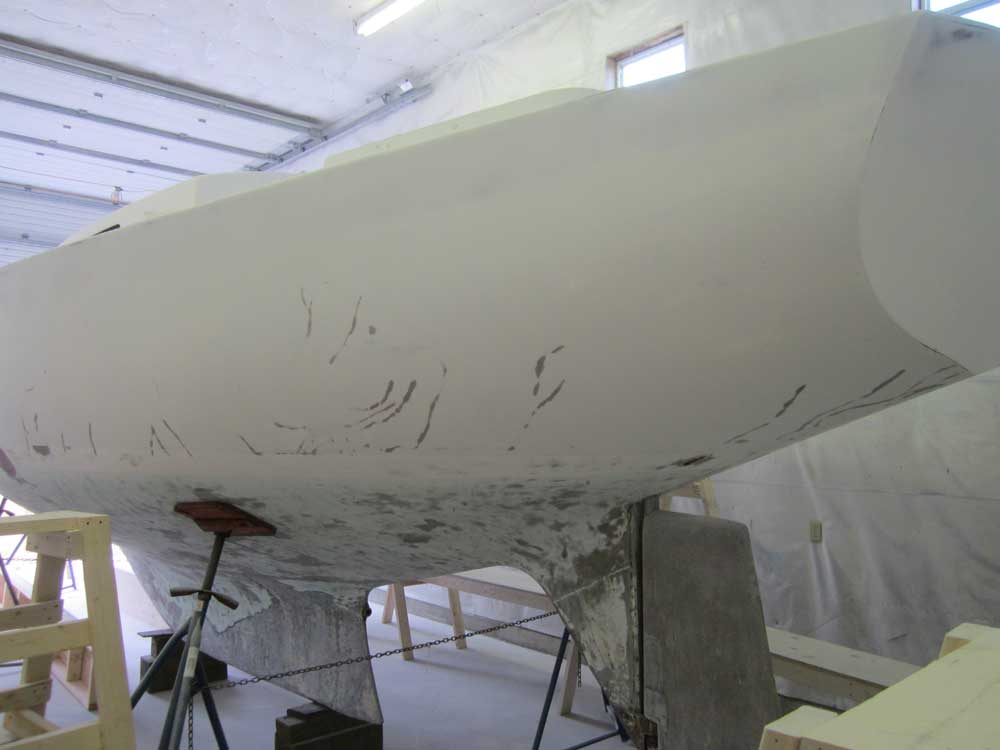
By hand, I sanded the remaining areas of the hull, completing the work for now.
After cleaning up the shop to prepare for new work ahead, I worked on a simple mold for new cockpit locker lids. There were three locker openings in the cockpit: the icebox; starboard locker; and lazarette. The locker lids were in poor condition at best. The wooden lid for the lazarette was completely shot (and long gone), the icebox lid was damaged and soft, and the large locker lid was just in the same poor condition as the entire deck had been.
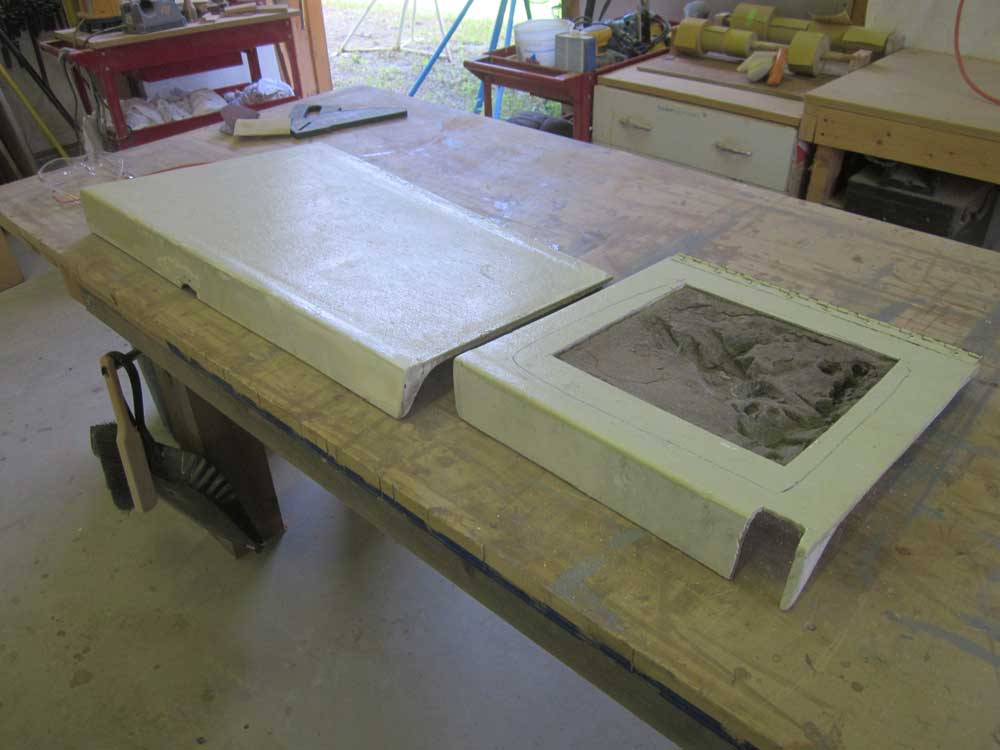
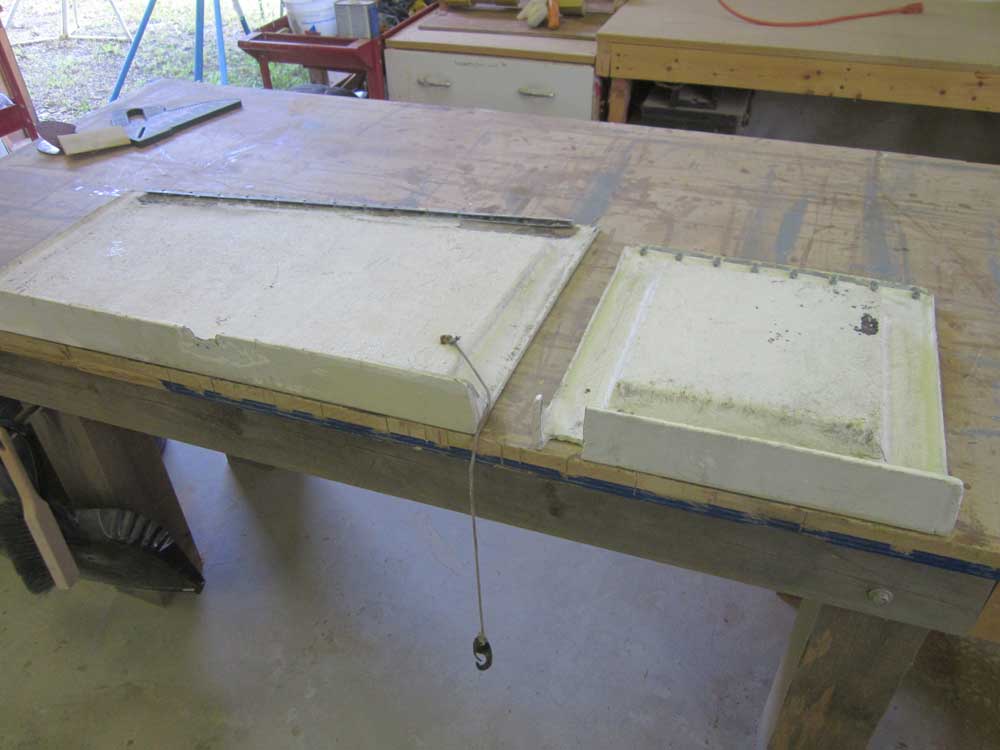
Rather than spend any time attempting to repair and restore the old hatches, I elected to build new ones. The hatch design was extremely simple, so the amount of time required to fabricate new ones from fiberglass would be less overall than repairing the old ones.
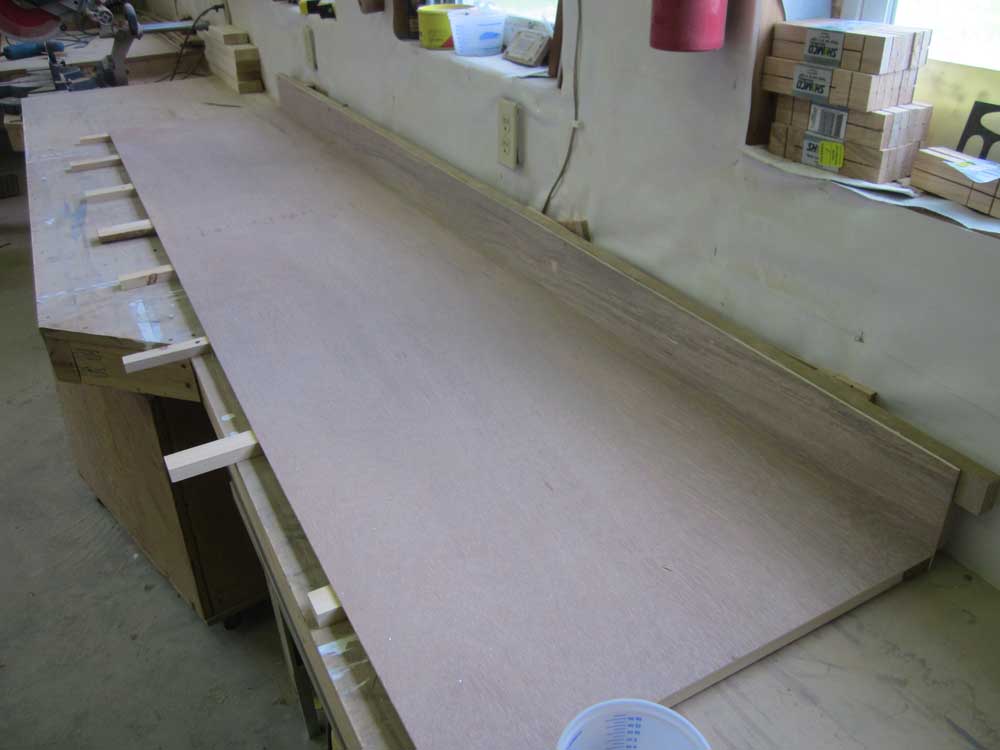
For the mold, I used scrap plywood to build a simple L-shaped structure of appropriate dimensions, a bit larger than needed. I used a single eight foot length of plywood for the mold, on which I'd build all three of the hatches, and added wooden supports at intervals beneath to provide stability. I used hot glue to hold the various pieces together.
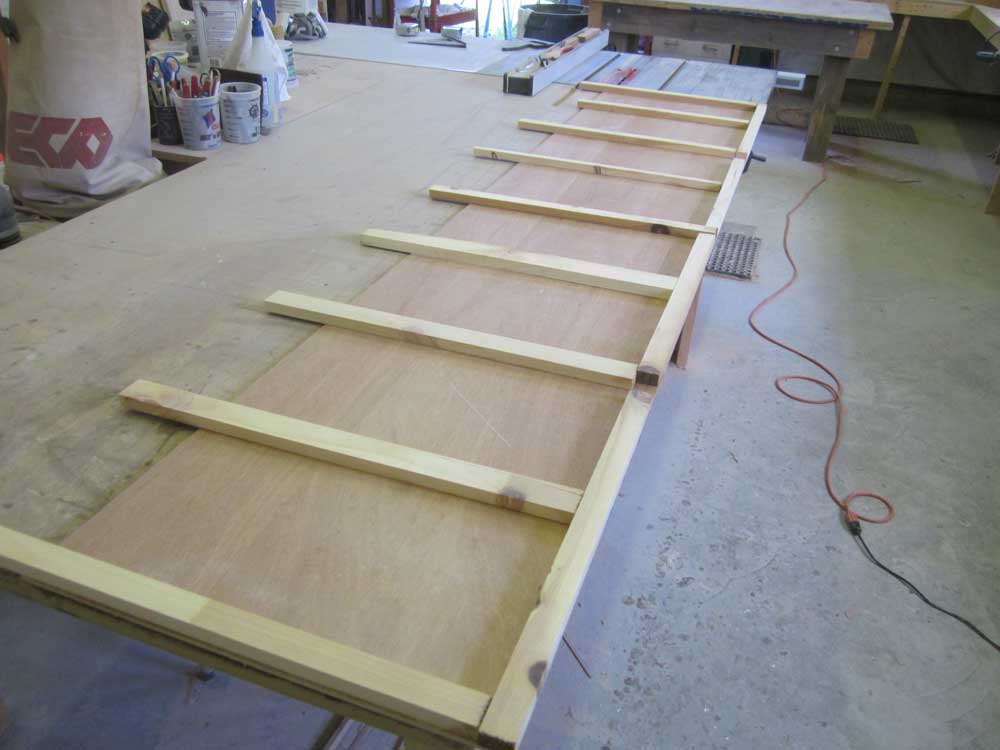
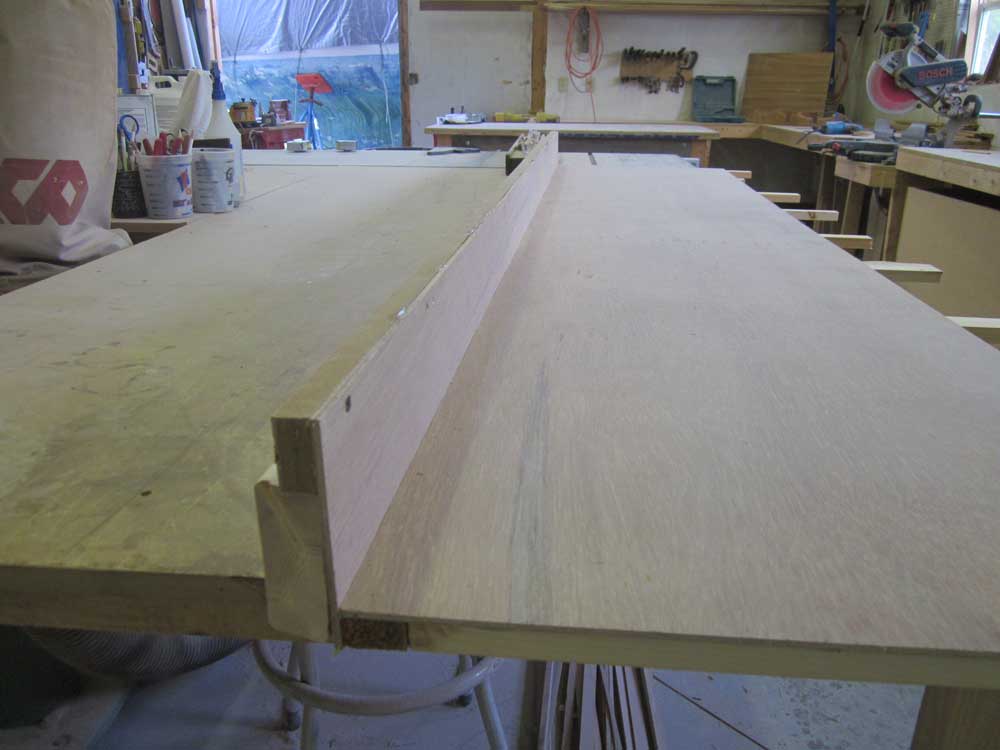
To keep the short side of the "L" perpendicular to the base, as well as straight and true, I found I had to secure the mold to a bench against the wall, and wedge and prop the short leg as needed.
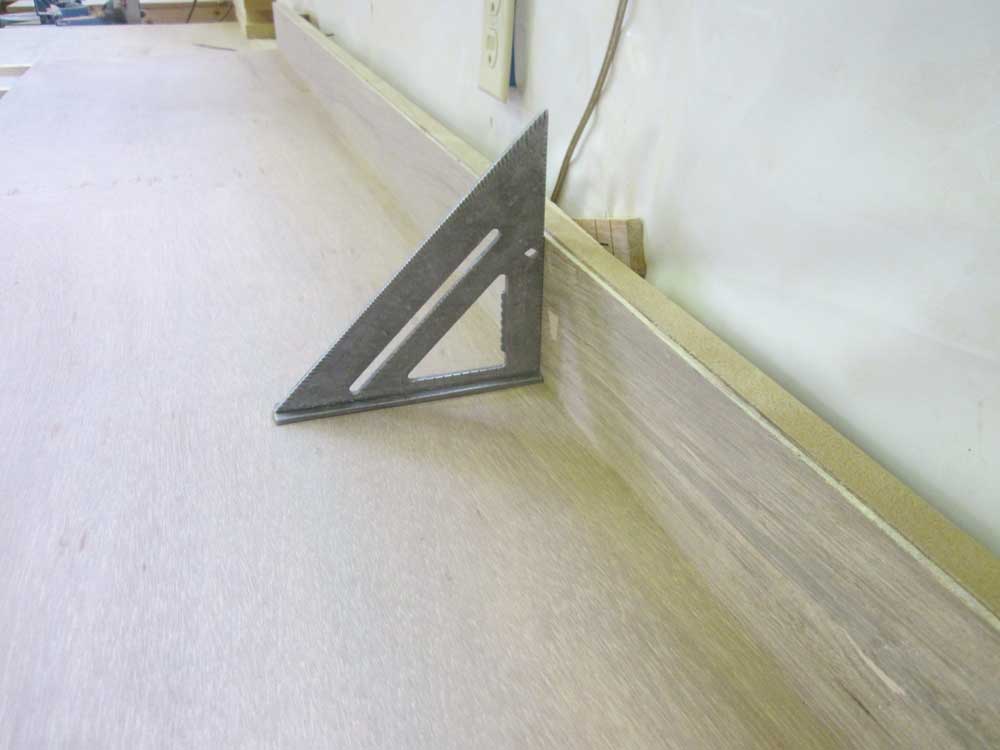
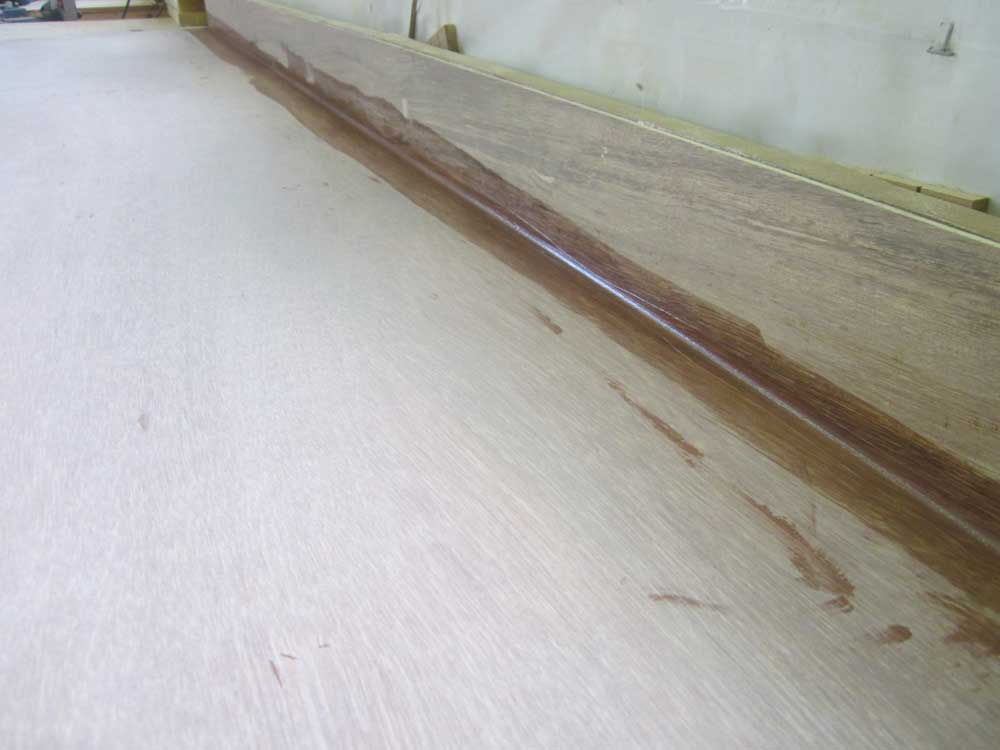
This complete, I mixed some thickened epoxy and formed a small fillet at the inside corner to approximate the radius on the existing cockpit seats and hatches. Later, after the fillet had partially cured, I rolled on two coats of resin over the entire surface.

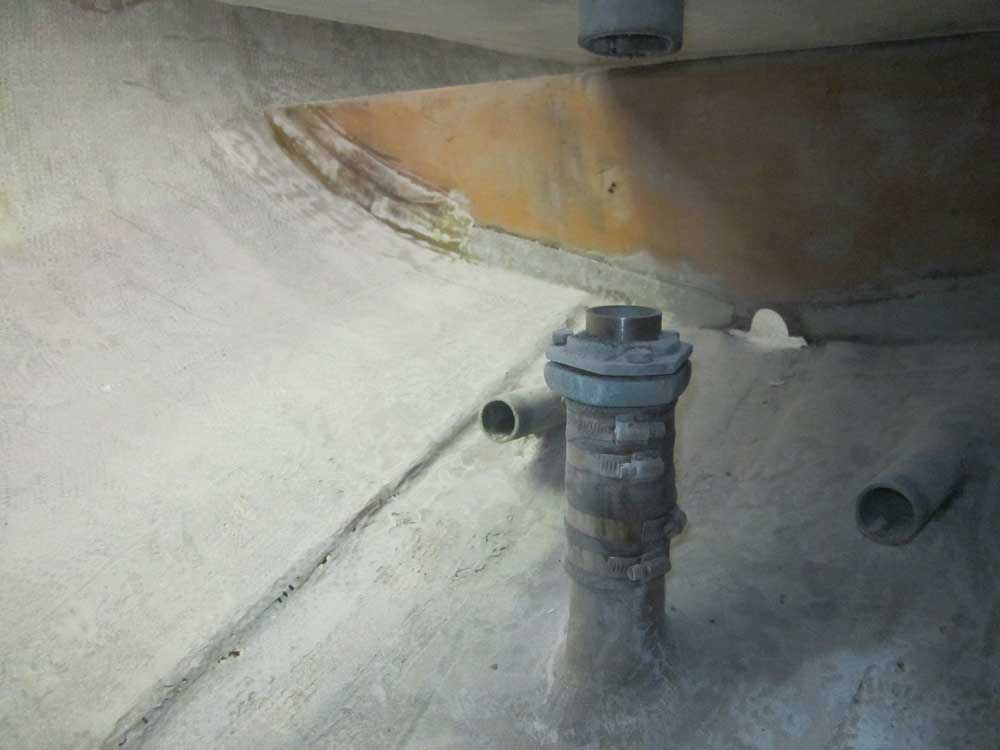
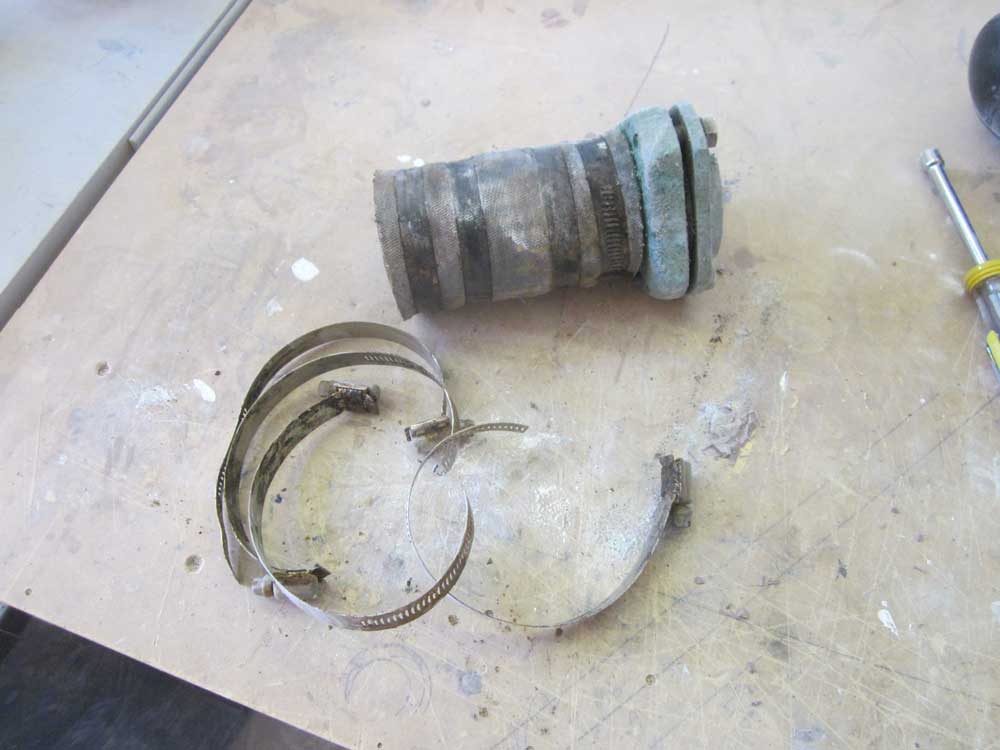
One of the smaller jobs that I needed to do before getting too far into interior work on the boat was deal with the old hose on the rudder tube stuffing box. The old hose was in poor condition and required replacement.
Photo from February 16, 2012
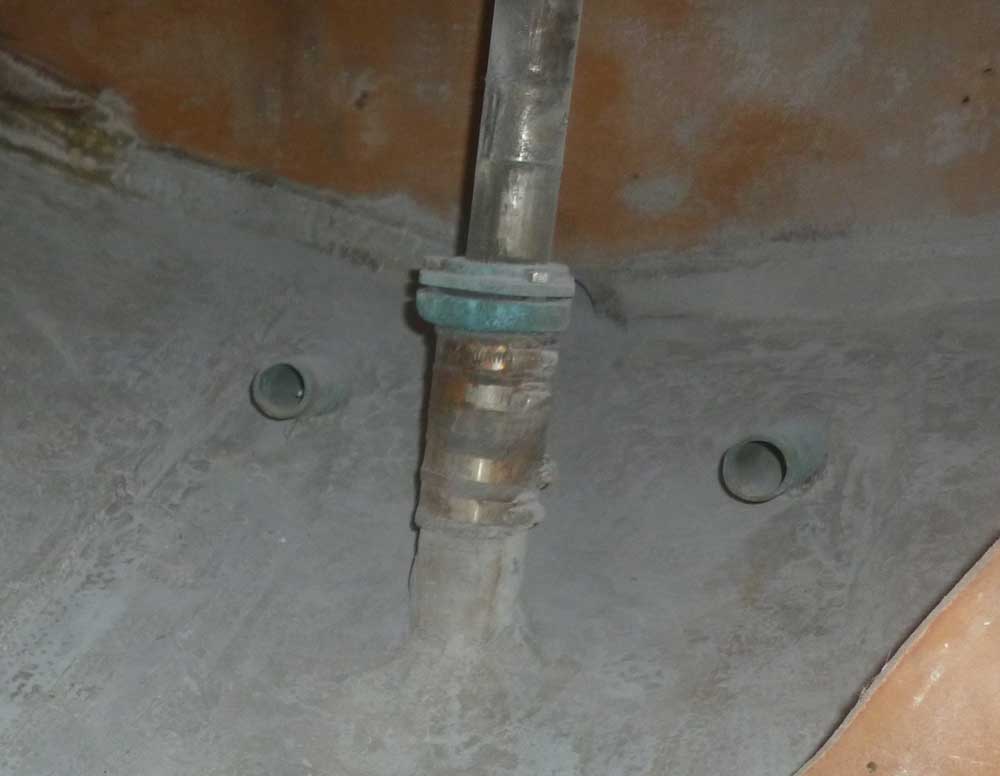
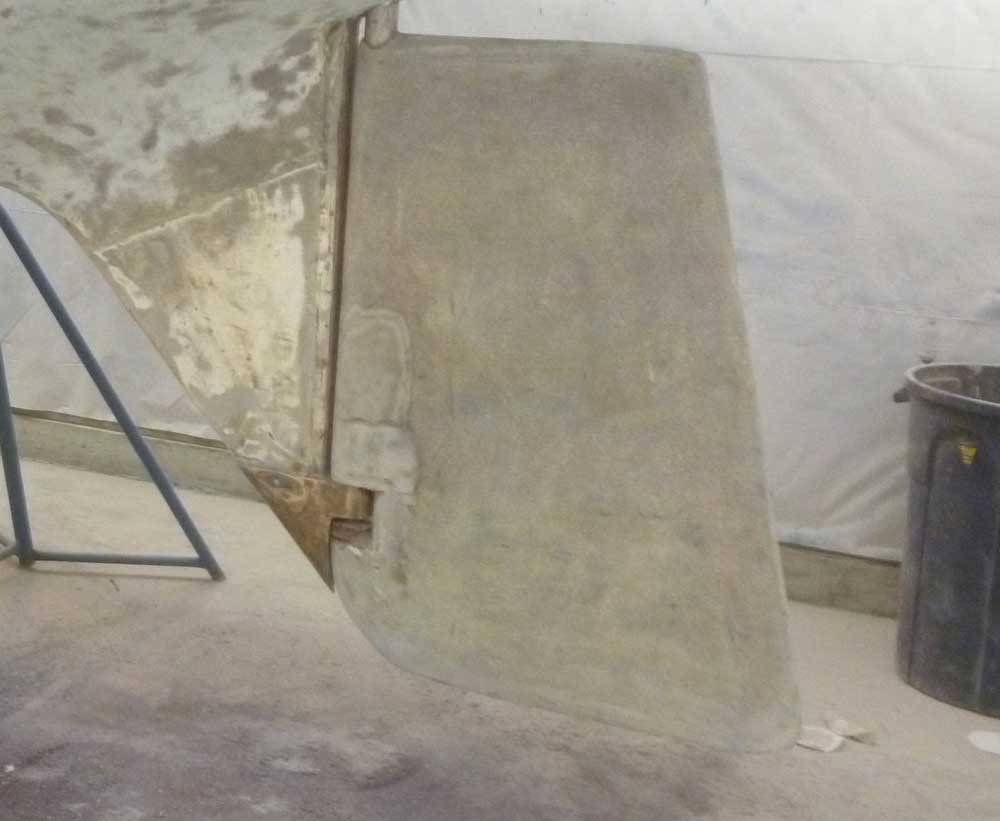
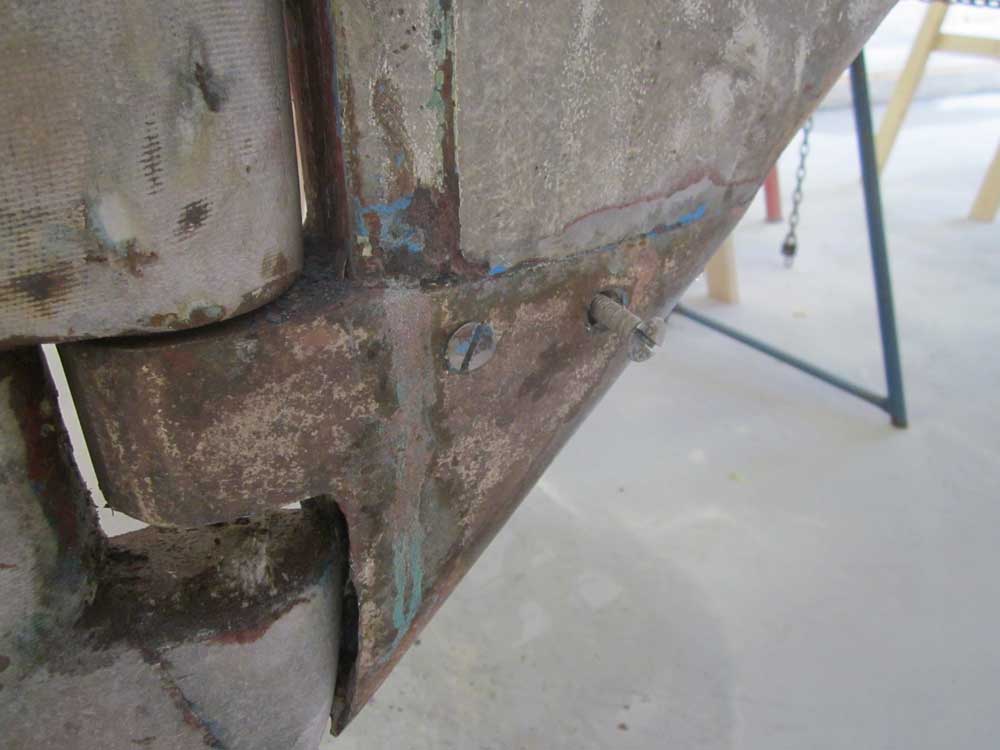
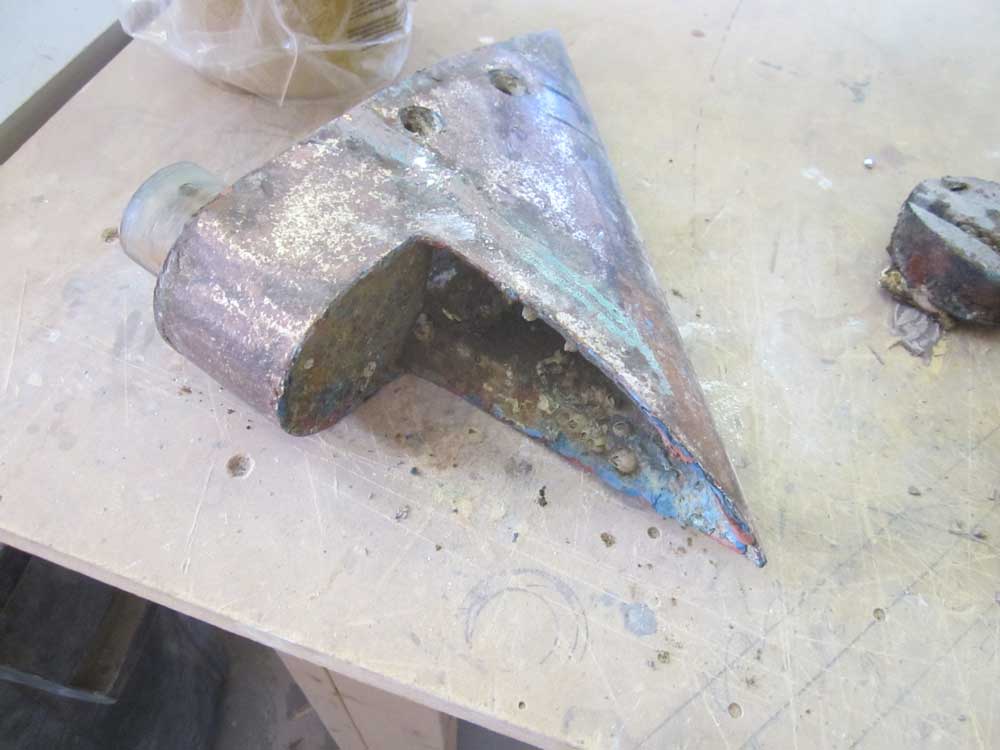
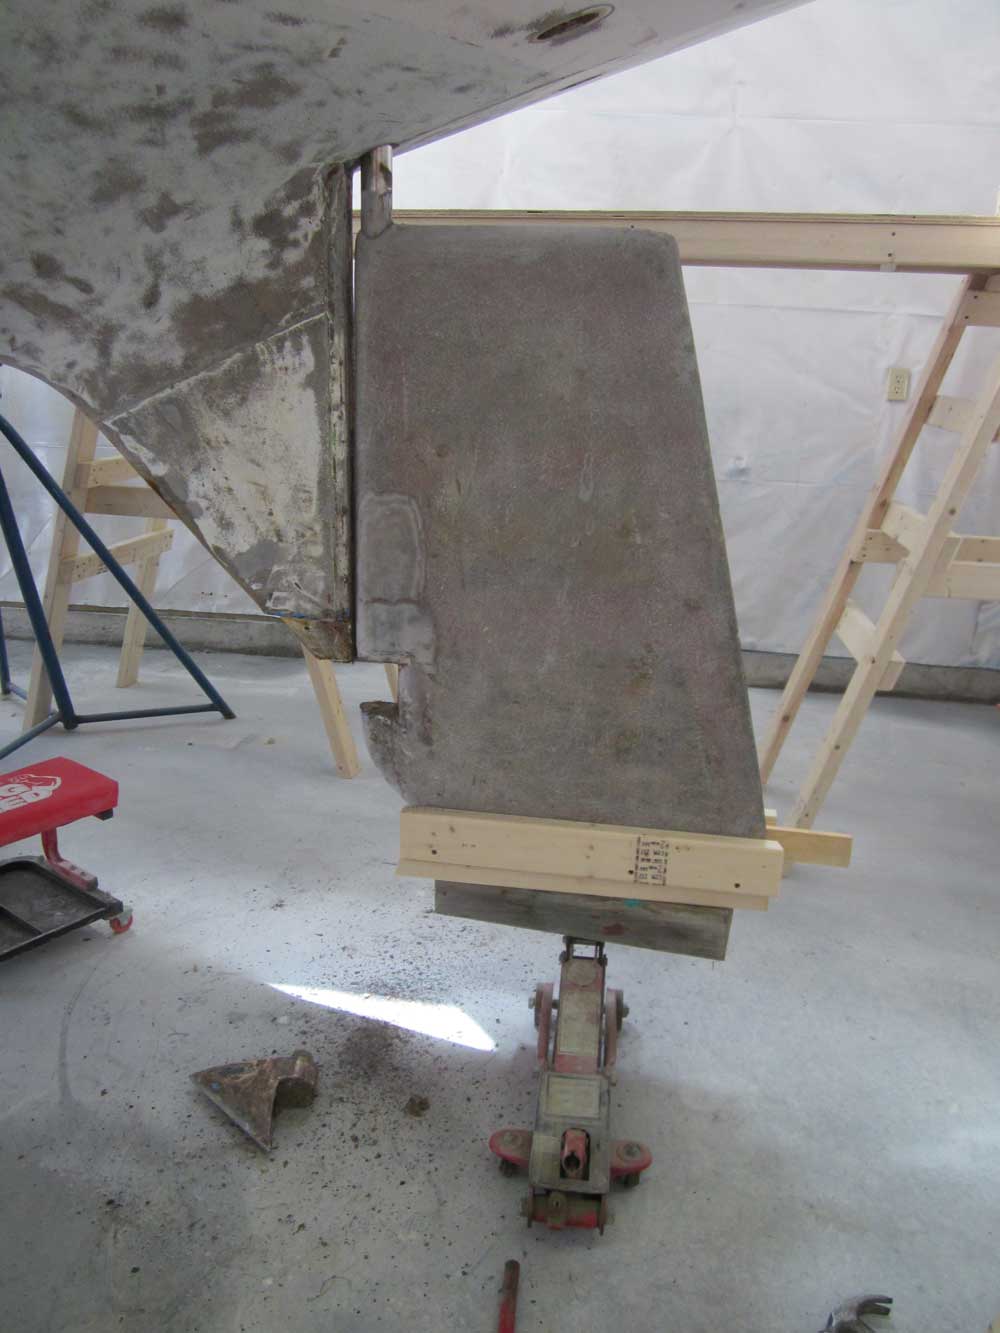
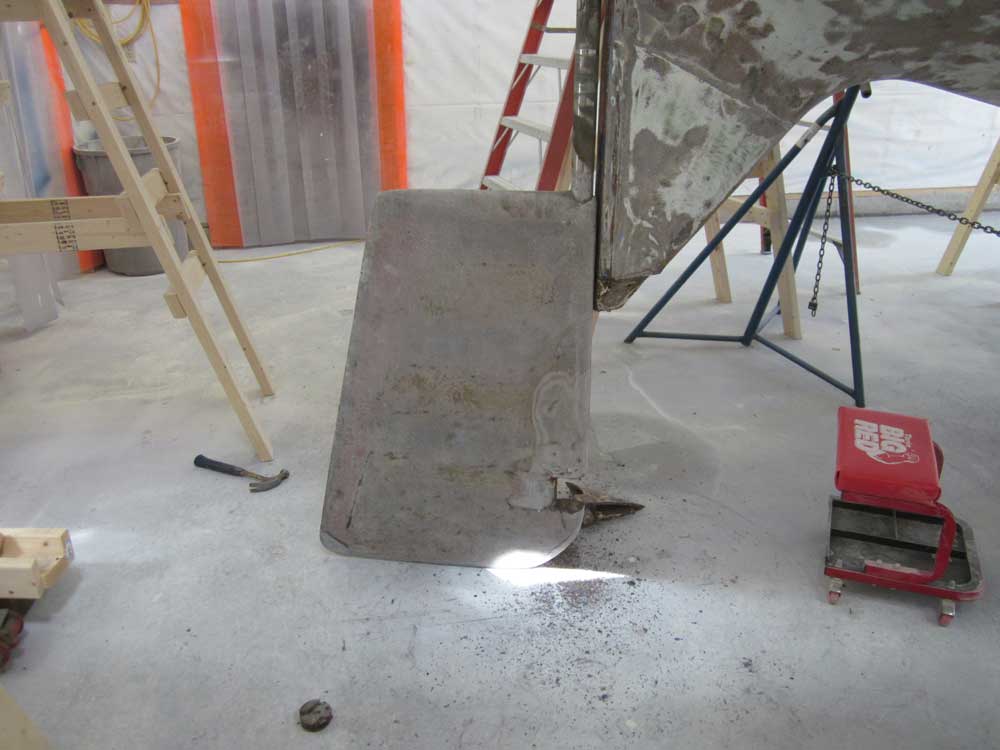
In order to replace the hose, I needed to lower the rudder, so the hose and stuffing box could slip over the top of the shaft. Studying the rudder's support arrangement over the weeks of the project so far had indicated that this would be a relatively simple task, and fortunately it turned out to be so. I'd already removed the tiller head assembly from the top of the rudderpost, so to drop the rudder I needed to remove the bronze shoe from the bottom of the fiberglass skeg assembly; the shoe incorporated a lower pin that captured and supported the rudder above. On this boat, there was a simple rubbery disc glued in the space on the rudder beneath the pin (preventing the rudder from moving upwards and possibly off the pin), and this was easy to remove.
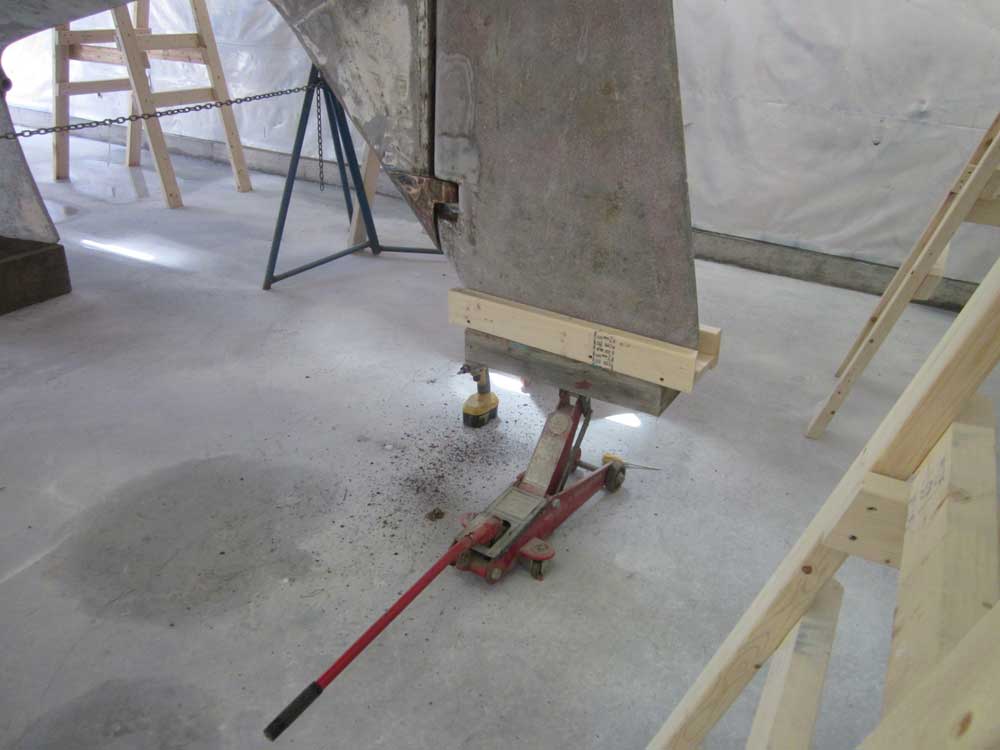
Unsure of the weight of the rudder, and not wanting anything to drop suddenly, I used a floor jack and simple cradle to support the rudder from beneath before beginning work.
There were two screws securing the shoe in place. After cleaning out old paint, I had little trouble removing these with an impact gun. Then, with just a bit of persuasion, the bronze shoe loosened and dropped off. The shoe appeared to be in good condition, though I'd clean it up later for a better look.
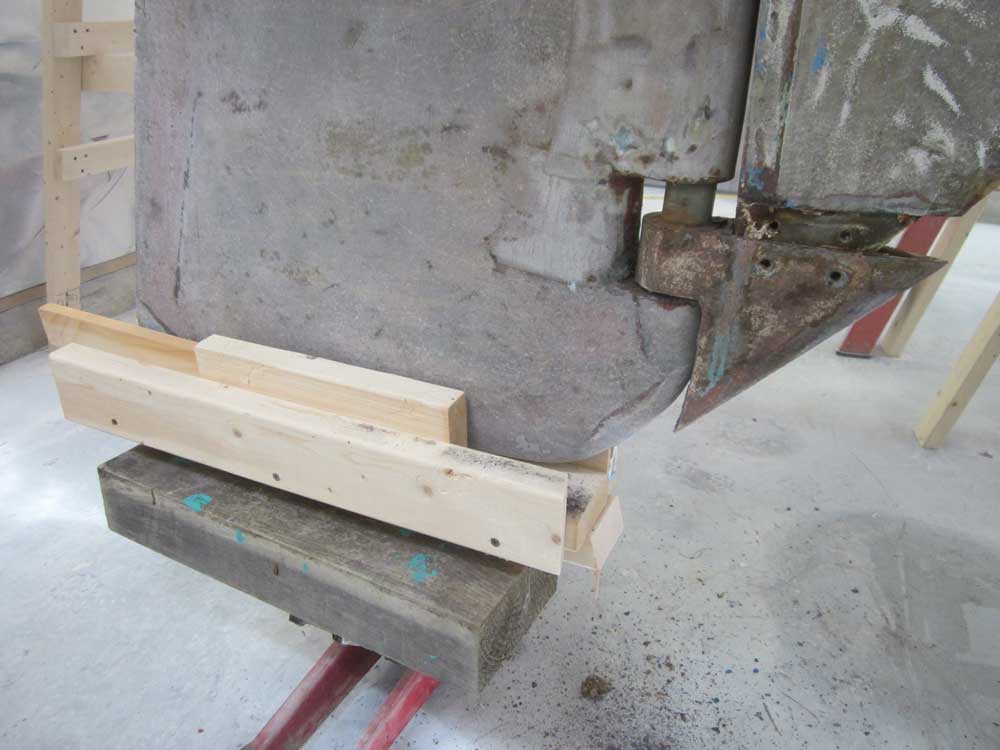
It turned out I didn't really need the jack, as the rudder didn't tend to fall right out, and with minimal effort I twisted the rudder downwards to the floor. This lowered the rudderpost enough inside the boat that I could access the stuffing box and hose as needed. I couldn't remove the rudder entirely since the concrete floor prohibited dropping the rudder far enough, but I'd not determined a need to completely remove it at this time.
Inside, I removed the old clamps and pried the hose and stuffing box off the fiberglass rudder tube, then, down on the bench, removed the hose and ancient strip of packing for measurement and replacement.
Total Time on This Job Today: 7 hours
