110 Cookson Lane | Whitefield, ME 04353 | 207-232-7600 | tim@lackeysailing.com
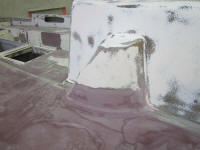
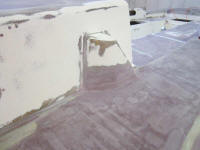
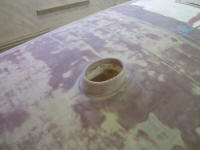
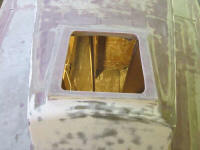
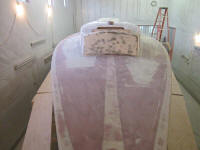
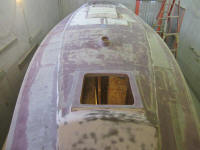
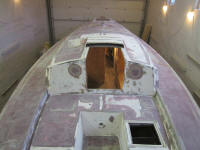
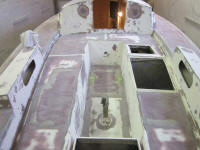
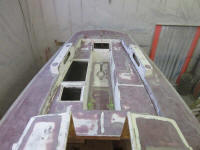
Just some minor sanding was required on the forward hatch surround, mast partners, and coaming blocks. Other than a few remaining lows on the hatch coaming, which I filled later, this essentially completed the deck surfacing work of late. I spent some time cleaning up the decks, interior, and lockers.
To start to get a better sense of the ports layout, I made two quick extra patterns--another small and another large--so I could play with the spacing and positioning. These patterns were for visual reference purposes only, and were not intended to be my final cutting templates; for that, we were awaiting the "real" templates from New Found Metals, which templates were still apparently collecting dust awaiting use or return while on rental at some other person's project. Fortunately, I didn't need them immediately, though it would have been nice.
Offhand, I was thinking the small forward ports would remain essentially centered on the original openings, but I might manipulate the locations slightly depending on the eventual alignment of the main ports.
The existing openings for the main ports would drive their basic locations, particularly in a vertical sense, but there was some room to move the new ports forward or aft, since the new openings would be several inches longer. After trying a few things, I tentatively concluded that the layout looked best if the both ports registered with the forward ends of their existing openings and extended a bit further aft.
The main reason for this preference was that the way the deck raised as it went forward, and the cabin trunk lowered slightly, the large ports (particularly the forward one) started to seem squeezed if I extended them forward at all from where the existing openings ended, and it looked odd. This was also true to a lesser extent if I centered both new templates on the existing openings, which led me to keep them both towards the after sides of their respective openings. This is where the templates are located in the photos below. Remember that the outside of these templates is a fairly accurate representation of the actual outside perimeters of the ports themselves, though the lenses (openings) are smaller.
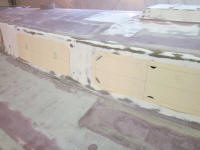
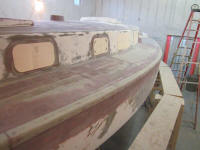
There'd be much more layout ahead, and I'd do a better job of documenting the various options to showcase the differences in appearance, but for now I left the templates in this rough position so I could revisit it over the weekend and see where it led. This was a starting point only. I'd have to do a lot of measuring and other overall layout for all ports in order to ensure they were properly placed from a visual standpoint, particularly in terms of all four using a consistent basis of reference to one another, as even my rough layout had already highlighted several inconsistencies in the original openings' layout.
At this early stage, I mainly wanted to ensure that I could work with the existing large openings as I'd planned (I could and would, as expected).
Confused? I'll clarify once I work on the actual layout steps and get some better photos.
Total Time on This Job Today: 5 hours
