110 Cookson Lane | Whitefield, ME 04353 | 207-232-7600 | tim@lackeysailing.com
With plans now in place for a new, modern opening hatch in the forward cabin to replace the bulky original fiberglass version, I turned my attention to the original fiberglass coaming. The original coaming featured a stepped profile that had originally allowed the hatch to close over the lower part for an ostensibly watertight seal.
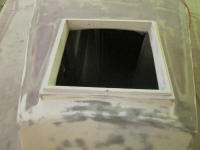
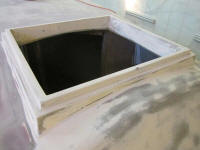
To better accommodate the new hatch, I needed to make some modifications. The main part of the molded base would make a good platform for the new hatch, but needed to be lowered and the opening made smaller. To begin, I removed the upper stepped portion of the coaming, cutting it away flush with the bottom section, which would remain in place as the basis for the new installation. I sanded the new top surface smooth and flat, and also removed the gelcoat from within the hatch opening in preparation for some of the next steps.
I happened to have the exact hatch we planned to use on hand--this one slated for another boat--so I used it to create a cardboard template of the new opening and overall size of the hatch, mainly for rough planning purposes.
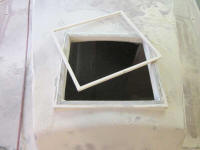
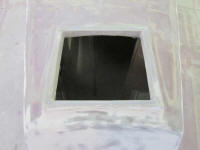
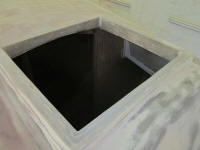
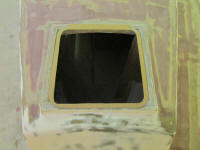
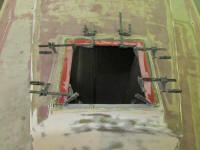
The existing rectangular opening was larger than required for the new, square hatch, so to partially close off the opening for reshaping, I milled several pieces of 1/2" prefabricated fiberglass to fit around three sides of the opening and flush with the top edge, then glued them in place with epoxy adhesive.
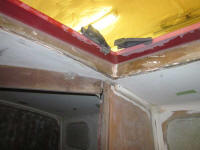
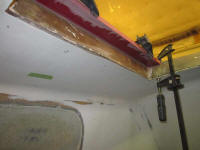
For reasons unknown, I'd continually managed to put off removing the backstay chainplate. At some point, it just got lost in the shuffle, and I worked around it without difficulty; though I always planned to remove it, there always seemed to be some other, more pressing, need ahead of it in the list. No more. Without difficulty, I removed the six bolts securing the chainplate to the transom knee and removed the chainplate, which appeared to be in good condition with only some surface staining from some inappropriate washers that had been used in its installation. Afterwards, I cleaned up around the slot in the deck to remove final bits of paint from around the opening.
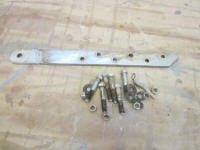
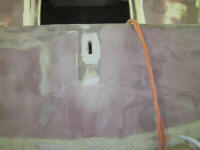
The raised molding at the mast partners didn't serve any major structural function, but was in unacceptable condition nonetheless, with a couple vertical cracks probably caused during various steppings and unsteppings. Earlier, I'd removed all the paint and gelcoat from the exterior surface, so reinforcement of the partners was fairly straightforward now. I wrapped the outer edge with two layers of 10 oz. fiberglass cloth cut to fit, set in epoxy resin, and left it to cure.
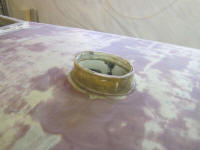
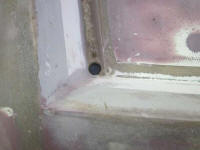
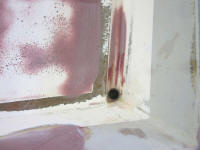
The long gutters outboard of the cockpit seats drained into small holes at the aft end, which then followed a convoluted journey through a strange molded drain system beneath the seat. The small openings, tight corners, and minimal drain angles seemed to guarantee frustration, clogging, and slow draining; these hidden, inaccessible, unclearable channels were already clogged with debris, both from years of earlier neglect and from various aspects of the rebuilding work so far.
On this particular boat, there were two drain holes entering into the lazarette gutter channels, one on each side; in addition, there were small drain tubes entering into the molded channels beneath the seats, which had been fitted with hoses leading to a pair of fittings entering into the cockpit well. I thought a simpler, more direct system would be better and more reliable.
We considered, and ultimately rejected, an idea seen on a few other Tartan 34s, where the after section of the cockpit was modified to include a larger, full-width lid at the aft end. While this would have enlarged access to the lazarette and also reconfigured the drainage system, it would have been a relatively involved task without sufficient return. We eventually decided that the modification wasn't worth the time and effort required. Sometime later, I'd build a new locker lid out of fiberglass to replace the problematic original wooden lid--along with a new one for the icebox, which was of similar size and shape and also required replacement.
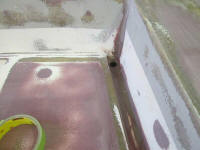
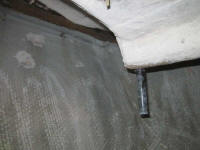
In any event, my plan for seat gutter drainage was simple: install a larger-diameter drain pipe straight through from the gutter to beneath the cockpit, then connect it to drain fittings in the well with short lengths of hose. I enlarged the drain holes to 3/4", and drilled them straight through the hollow molded channels beneath, then epoxied short lengths of 3/4" fiberglass tube in place, flush with the gutters on top and extending below the seats by a few inches. I left the tubes overlong for the moment, but would later cut them off to an appropriate length as needed for securing hoses. Once the adhesive cured, holding the tubes securely, I'd add a little fiberglass beneath to ensure they were locked in place
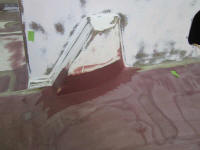
After vacuuming and solvent-washing the decks, I applied more of the fine fairing compound to a few areas that required it, mostly in the cockpit.
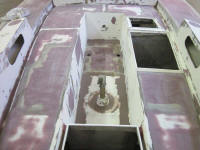
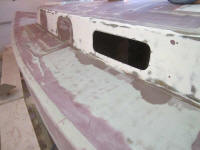
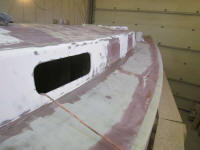
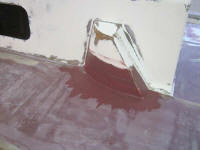
I applied a first round of shaping filler to the two coaming blocks, bringing the lower sections to more or less their final profile and beginning to smooth the edges of the new fiberglass into the surrounding areas.
Total Time on This Job Today: 7.75 hours
