110 Cookson Lane | Whitefield, ME 04353 | 207-232-7600 | tim@lackeysailing.com
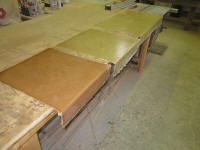
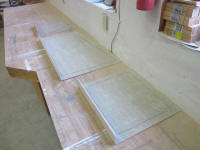
I spent the day working on the new cockpit locker lids. The new laminates had had plenty of time to cure on the mold, so I pried them off; they came off easily.
Choosing to begin with the smallest lid, the one for the icebox hatch, I made several measurements and started by trimming one of the rough edges to a straight line with a jigsaw. Over many test-fittings and additional measurements, I eventually trimmed the oversized molding down to the correct size and shape to fit the opening properly. This required most of the morning, and turned into a learning experience that was valuable for the remaining two hatches later.
Though I'd thought the edges of the first hatch were square with one another (and indeed the back side of the hatch was square with the two sides), I eventually found that the inboard edge of the hatch required a small angle (following the angle of the cockpit well), which meant that with the inside flange molded straight and at 90°, getting the angle required that the two sides be cut at something other than 90°. This posed no particular problem, but did require numerous small cuts and test-fits as I slowly pared the hatch down to its final size. I chose this slow approach so I'd not risk overcutting the hatch and ruining the molding.
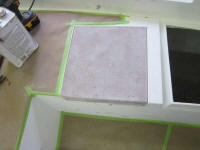
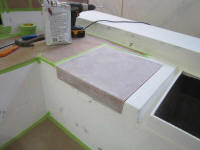
This experience proved helpful during the fitting of the two remaining hatches, which went much more quickly. I followed the same basic process to fit each hatch, using various measurements and test-fitting to fit each hatch properly. For the largest hatch, the cockpit locker on the starboard side, I made a cardboard template of the original hatch top so I could easily transfer the angled cuts required for its shape.
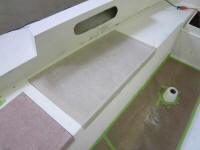
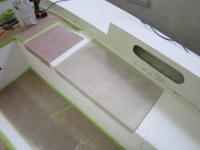
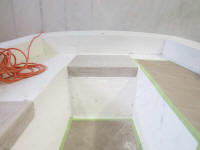
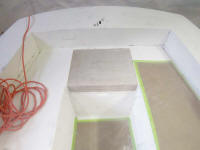
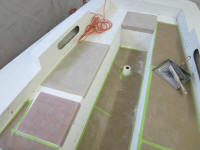
The L-shaped flange at the inboard side of each hatch required fine-tuning and fitting to the oddball shapes of the molded locker recesses, none of which were consistent with one another or even with themselves.
With each lid cut to size, I marked the actual extent of the openings onto the bottom of the hatches from inside. I'd use these marks to lay out the coring and bottom skins required to complete the hatch lid structures. I'd also add small lips to the edges of the hatches, similar to the originals, to reinforce the edges and provide a better means of preventing water ingress. More on this as it happens.
Total Time on This Job Today: 6 hours
