
110 Cookson Lane | Whitefield, ME 04353 | 207-232-7600 | tim@lackeysailing.com
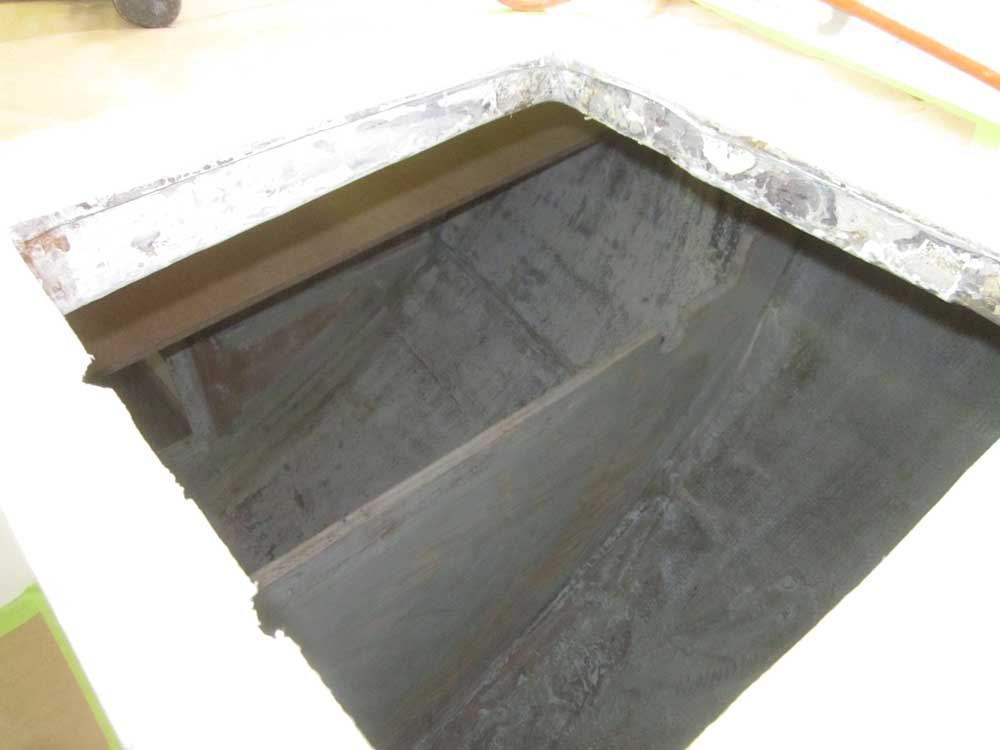
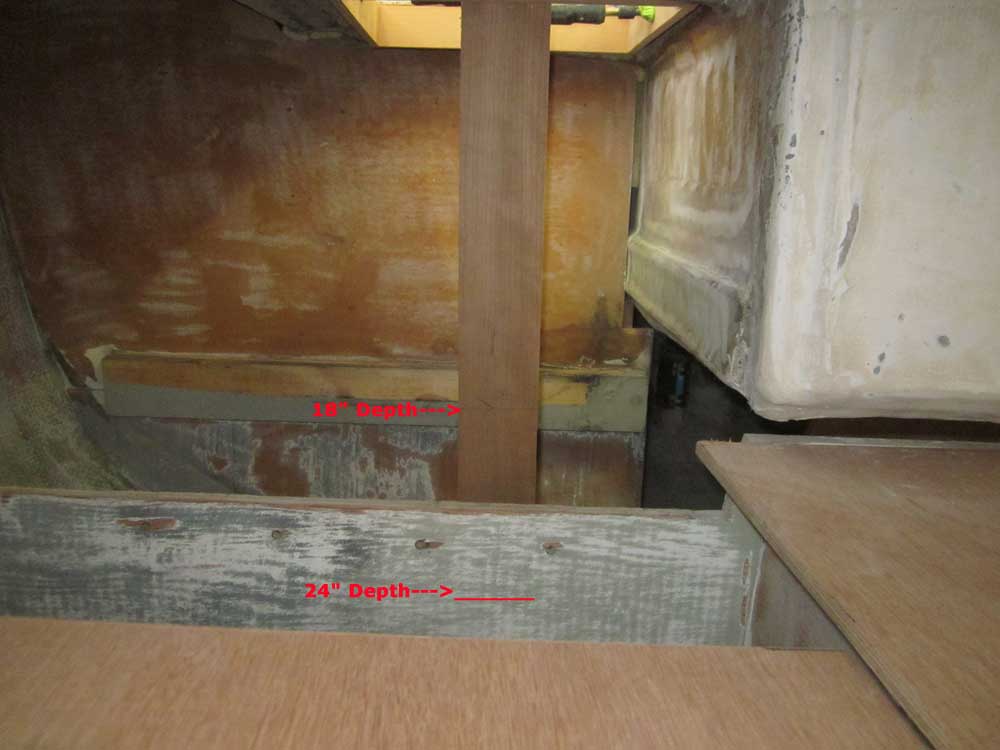
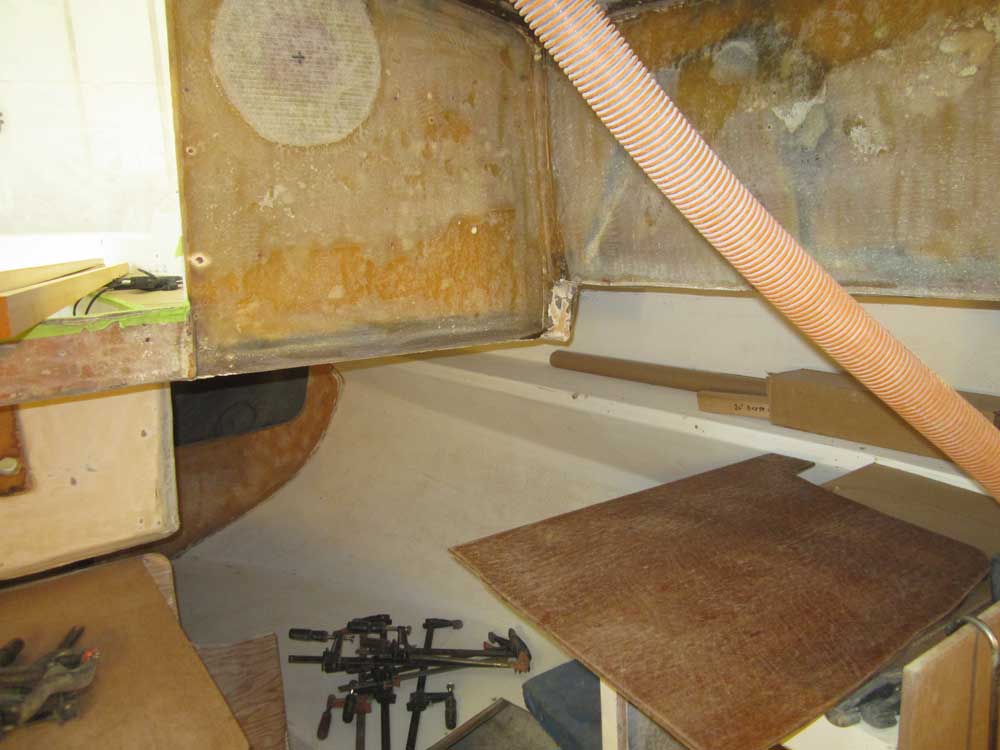
Yesteday's work on the new icebox plan had hit some snags, and I'd not been satisfied with the direction I was headed. My first thoughts had failed to address some issues with the clearance required for the locker lid gutters, which would be in the way, and I'd also not accounted for room for insulation against the cockpit well itself. Additionally, the space between the aft gutter and the adjacent bulkhead ended up tighter than I'd hoped, which would minimize insulation.
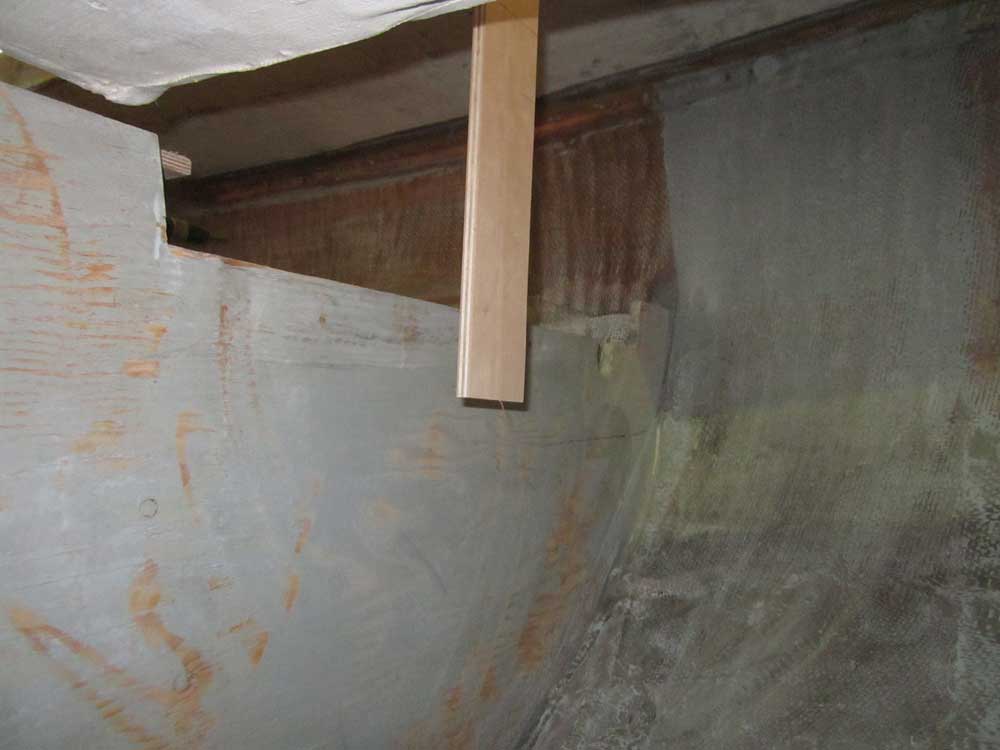
So to begin, I revisited the idea, and eventually worked up a new plan. Instead of building a box to extend outside of the ice hatch gutters, I thought it'd make sense--and address all the issues above--to keep the new box inside the opening. While this would decrease the dimensions in all directions, the end result would still be plenty large for the intended usage, and well within practical limits. The inside dimensions of the icebox liner under this scenario were a bit over 12" by 13". There'd be room around the new, smaller liner for at least two inches of insulation on all sides, which was the benchmark for this particular icebox. Where additional room existed when all was said and done, I could add more insulation to improve performance.
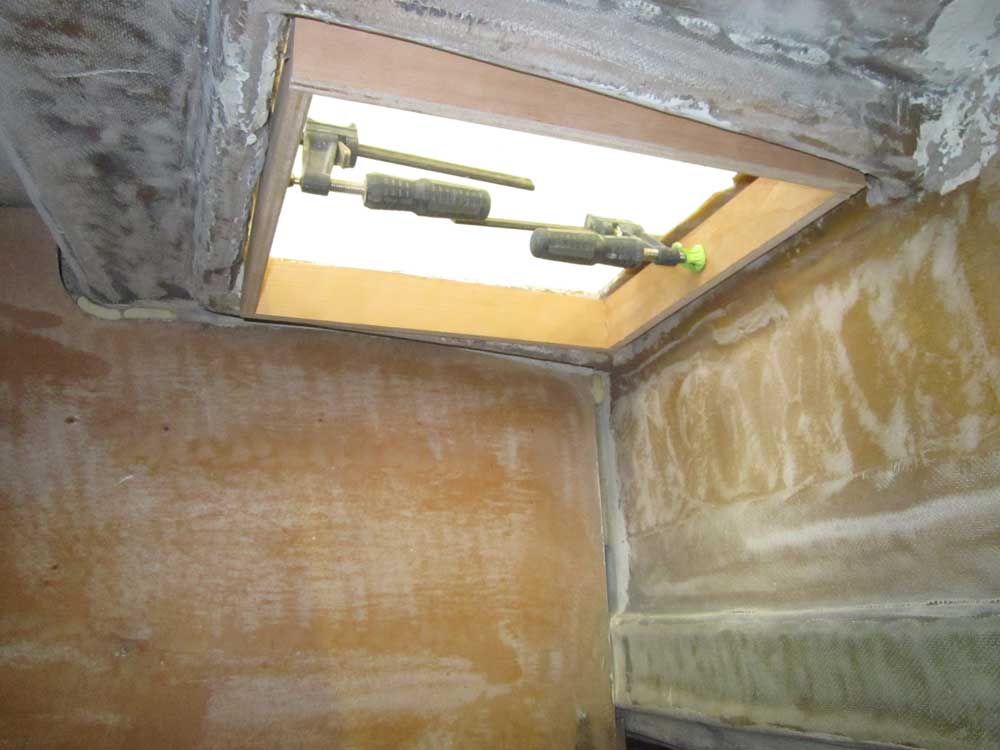
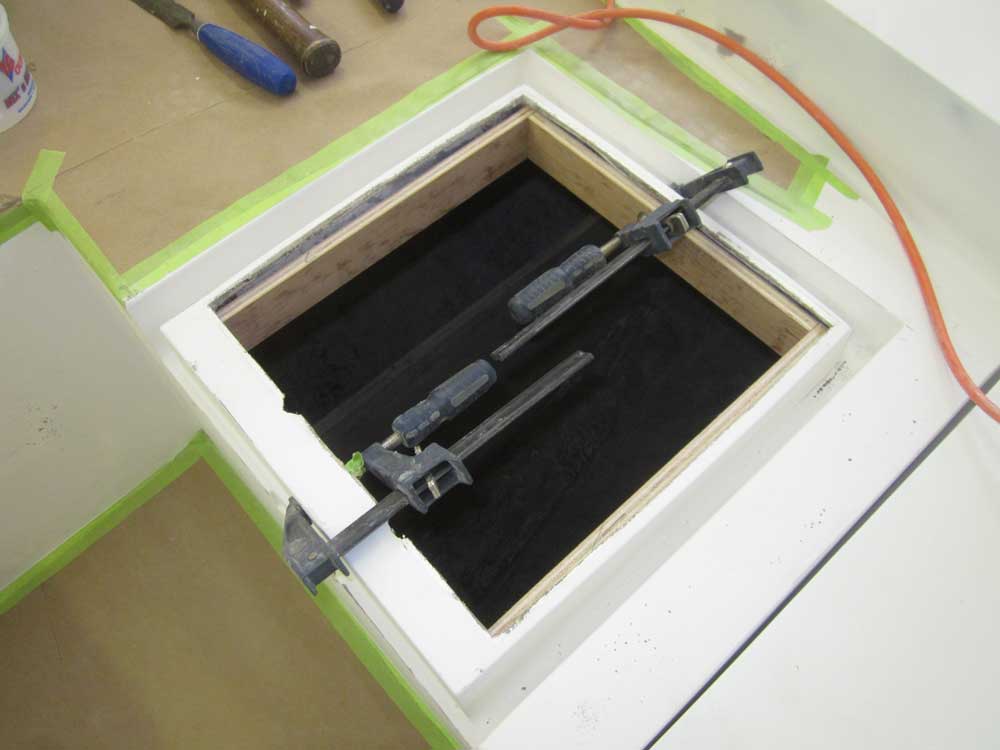
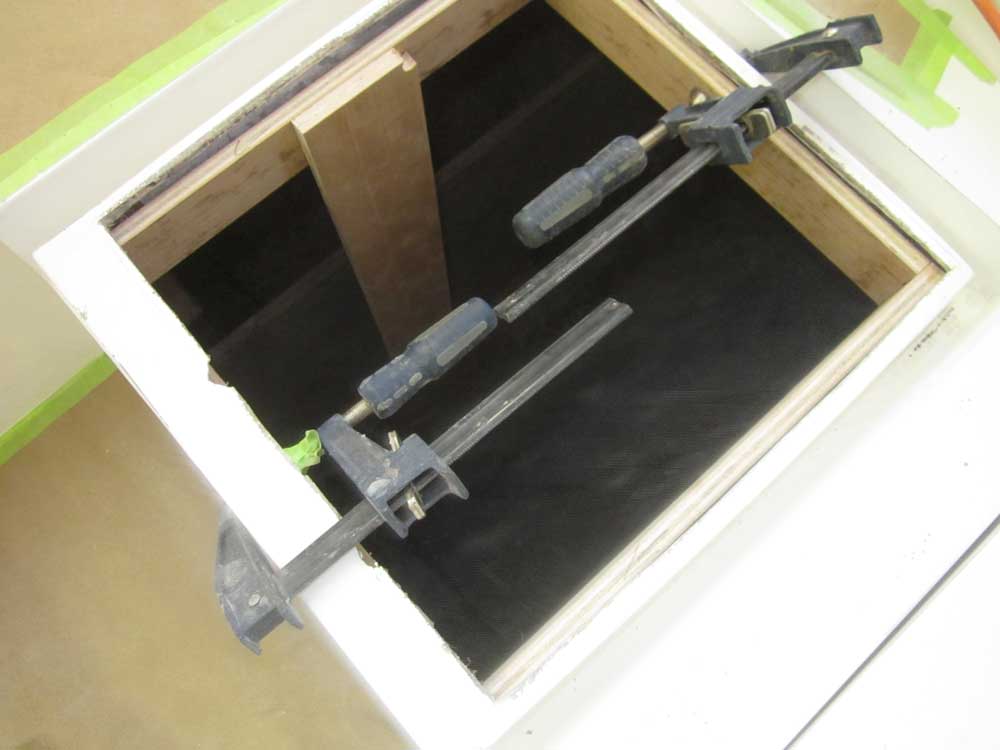
To test the idea and come up with firm dimensions, I cut a new frame from scrap plywood to fit inside the opening. To simulate the depth of the box (24" seemed a practical maximum in order to easily reach the bottom), I installed a stick of that length extending downwards; this ended up above the waterline, which meant that a simple gravity drain to tie in with the galley sink would work for the icebox.
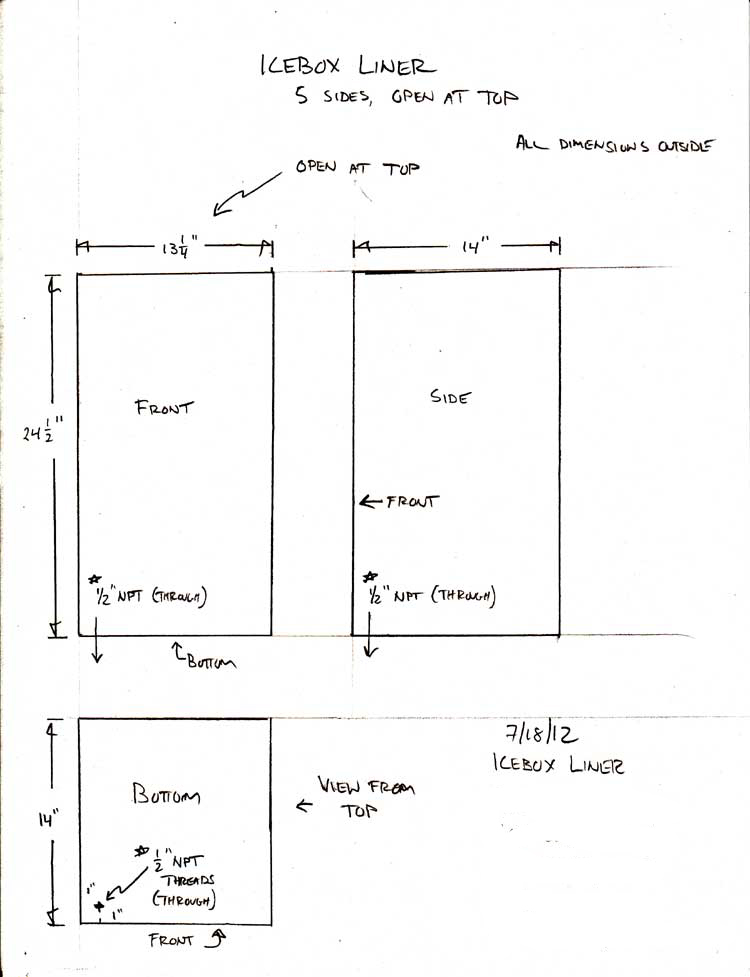
After running the idea by the owner, successfully, I drew up a simple plan for the fabrication shop that would build the liner from welded polypropylene. No CAD in this office.
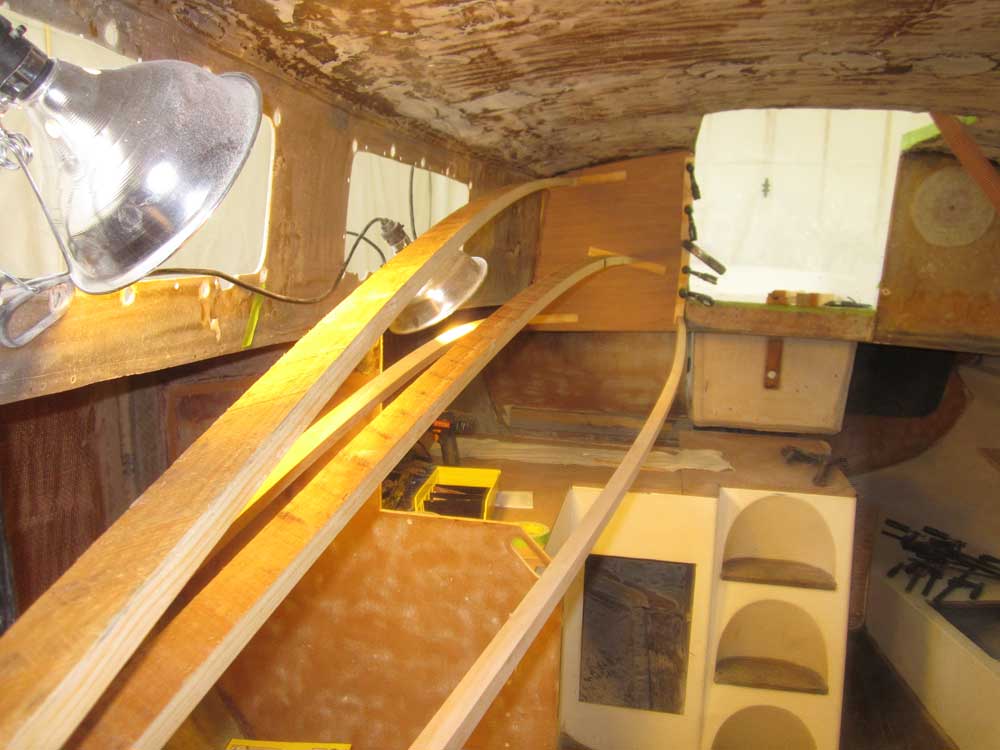
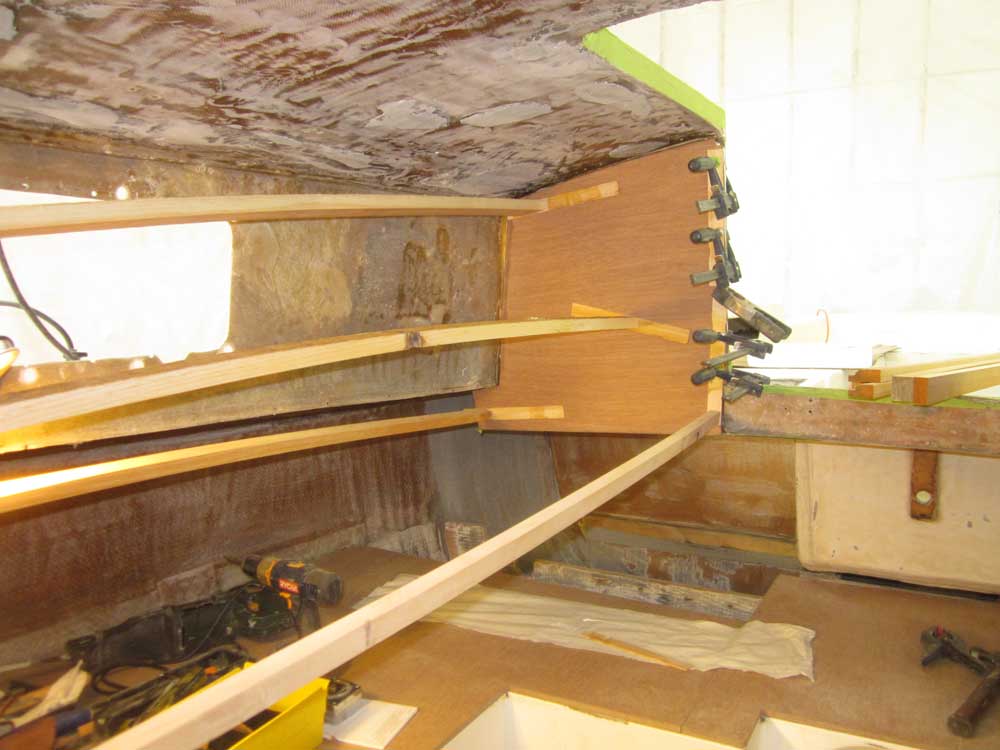
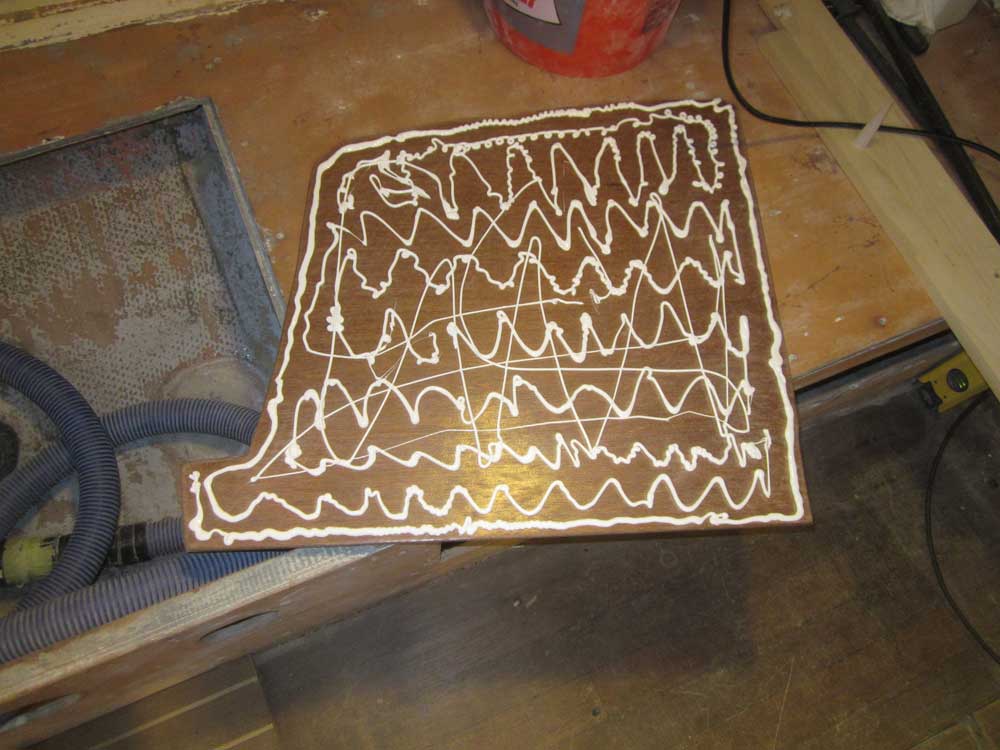
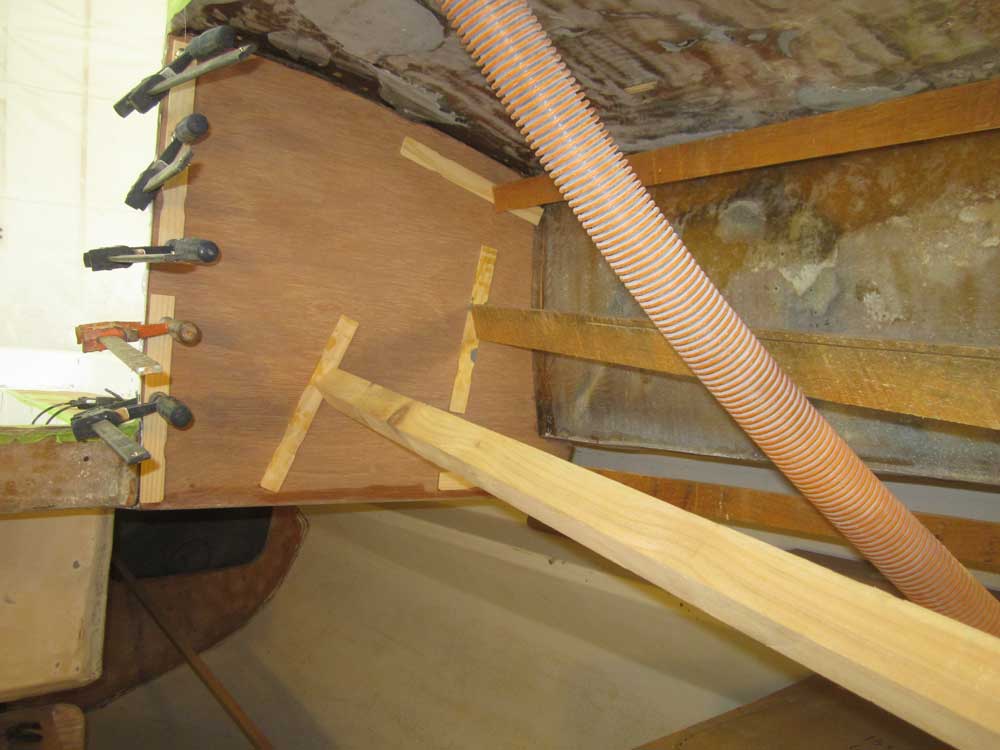
I washed and lightly sanded the epoxy-coated cabin side panels to prepare them for installation. I'd begin with the two aft bulkhead panels, as the side panels butted up to these. In order to hold the panels securely during installation, I needed to brace them from the forward bulkhead in the main cabin, over 9' away, so I made up some long braces from scrap lumber, and prepared all the other materials I'd need for installation--clamps, adhesive, cleaners, etc.
After solvent-washing the bulkheads and bonding surfaces of the panels, I installed them, one at a time, using polyurethane adhesive, which I applied to the backs of the panels and, as needed, to low spots in the fiberglass bulkhead to ensure good coverage. Then, I clamped the panels into place where possible (at the companionway opening), and used the long braces to push the remaining areas tightly into position, protecting the surface with thin pieces of wood.
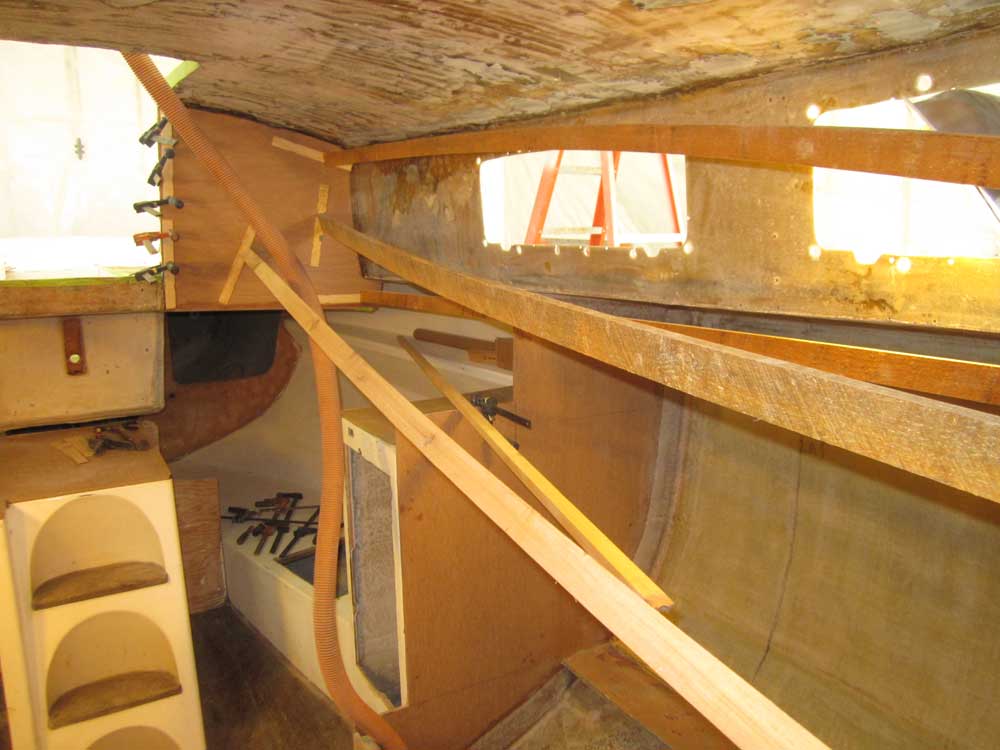
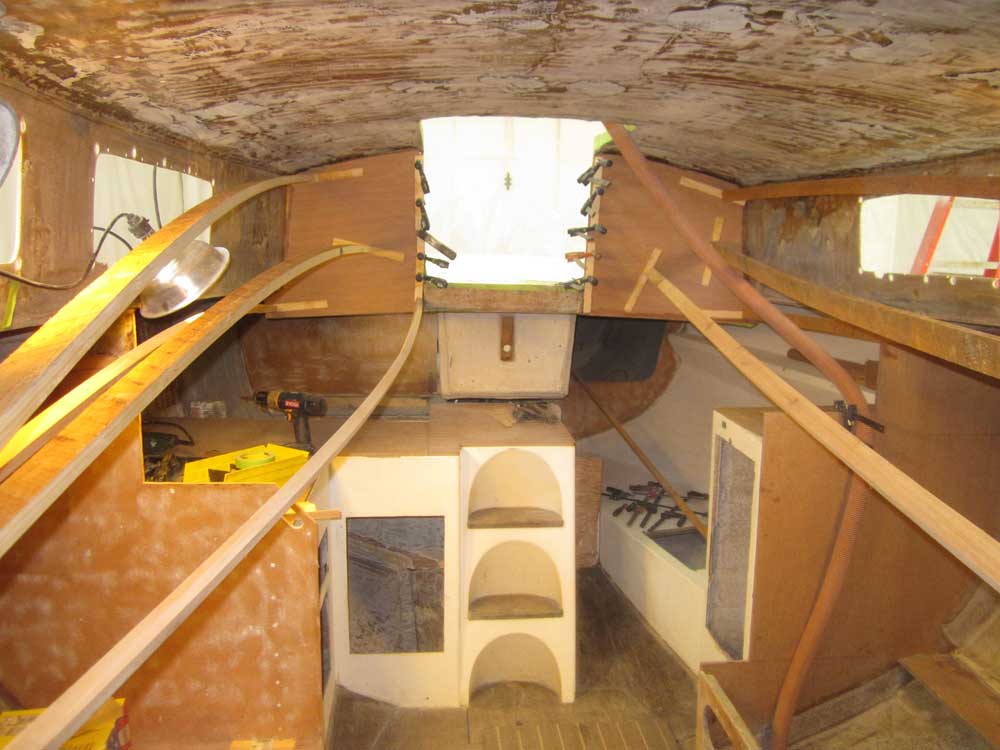
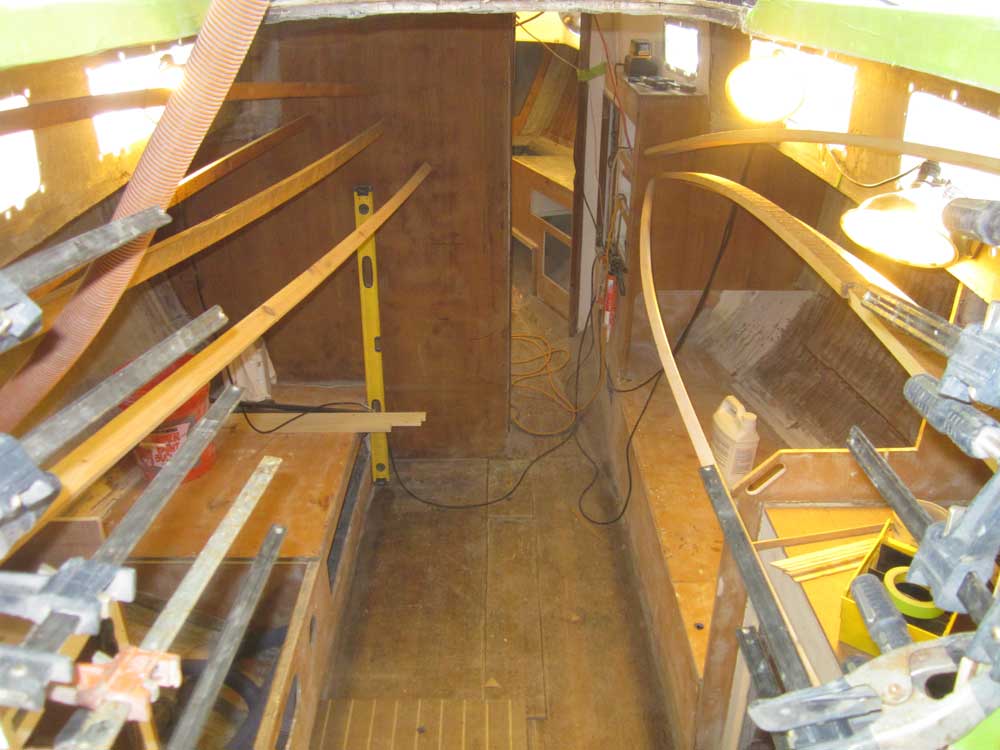
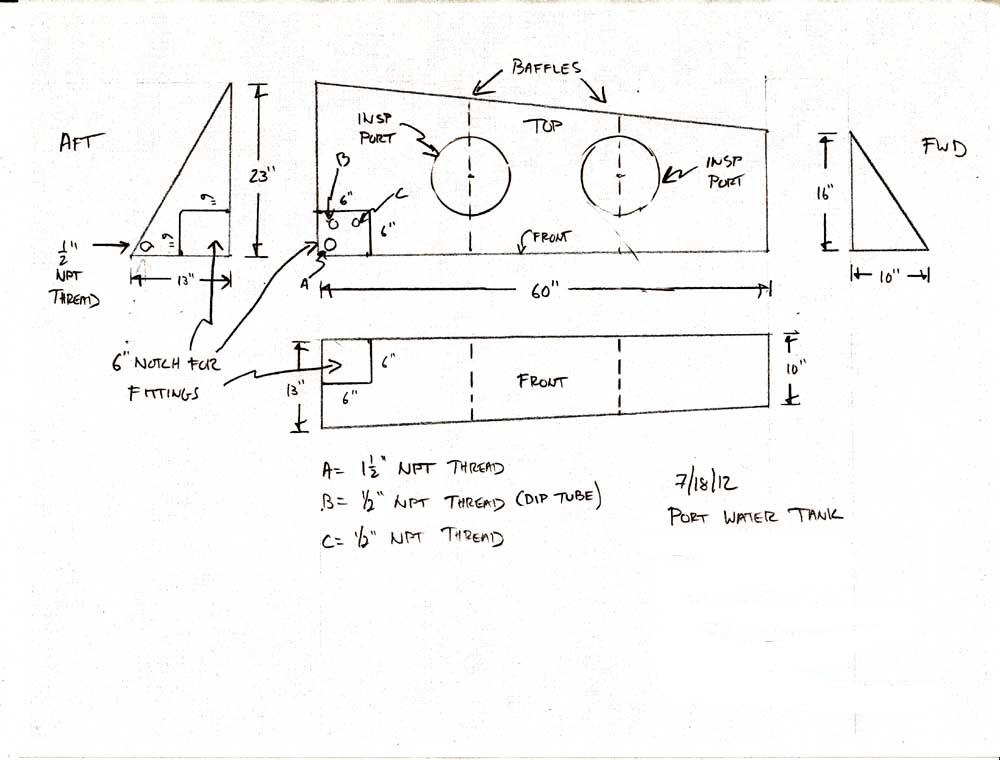
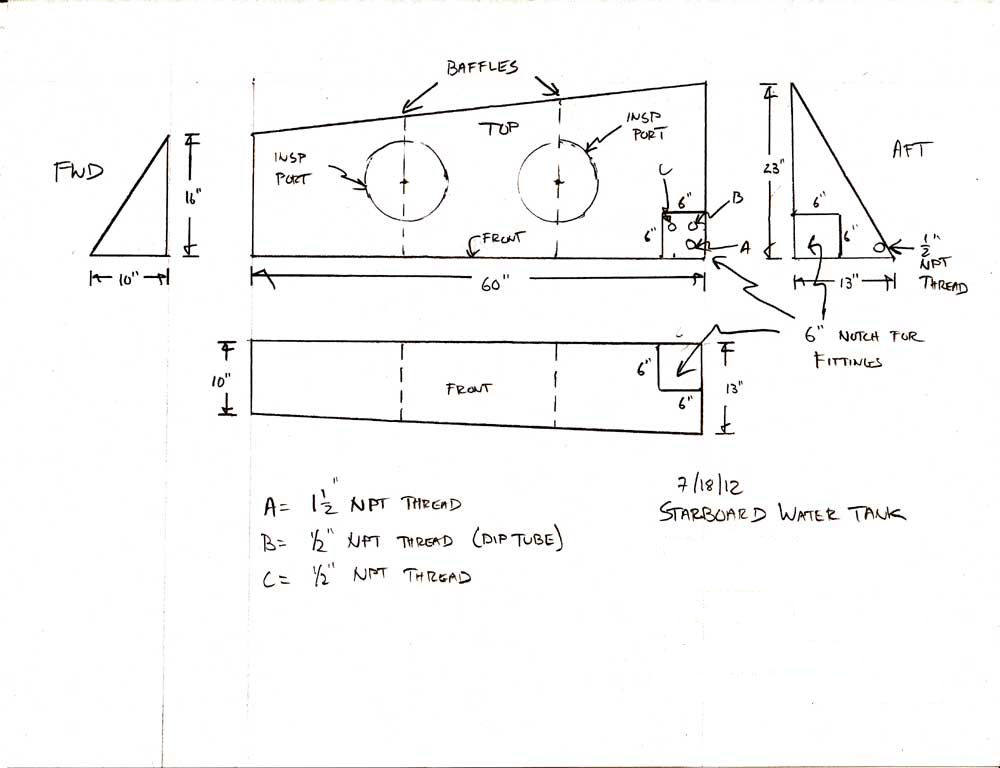
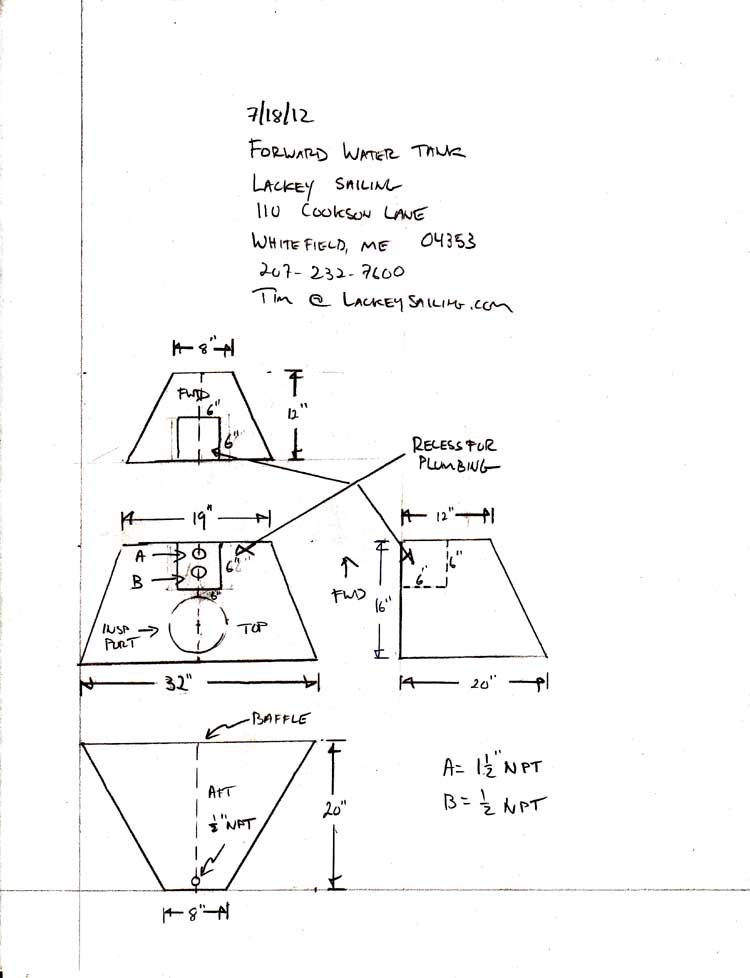
With the bracing and clamps limiting access to the boat, it was the perfect opportunity to spend the afternoon drawing up plans for the three new water tanks so I could send them off along with the icebox to be fabricated.
Total Time on This Job Today: 8 hours
