
110 Cookson Lane | Whitefield, ME 04353 | 207-232-7600 | tim@lackeysailing.com
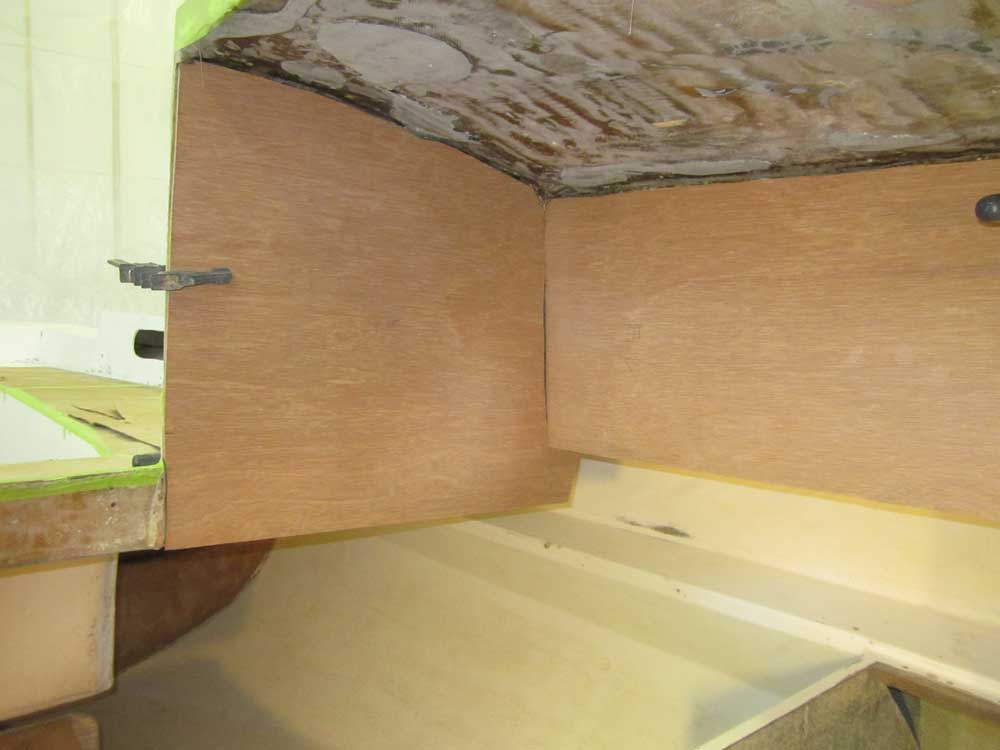
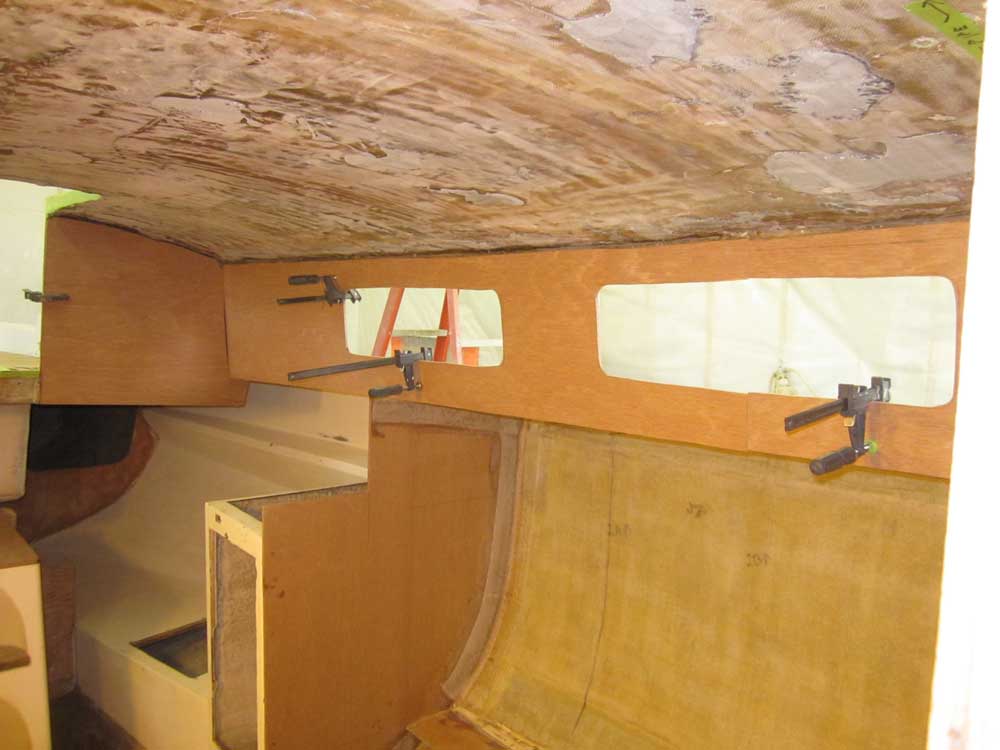
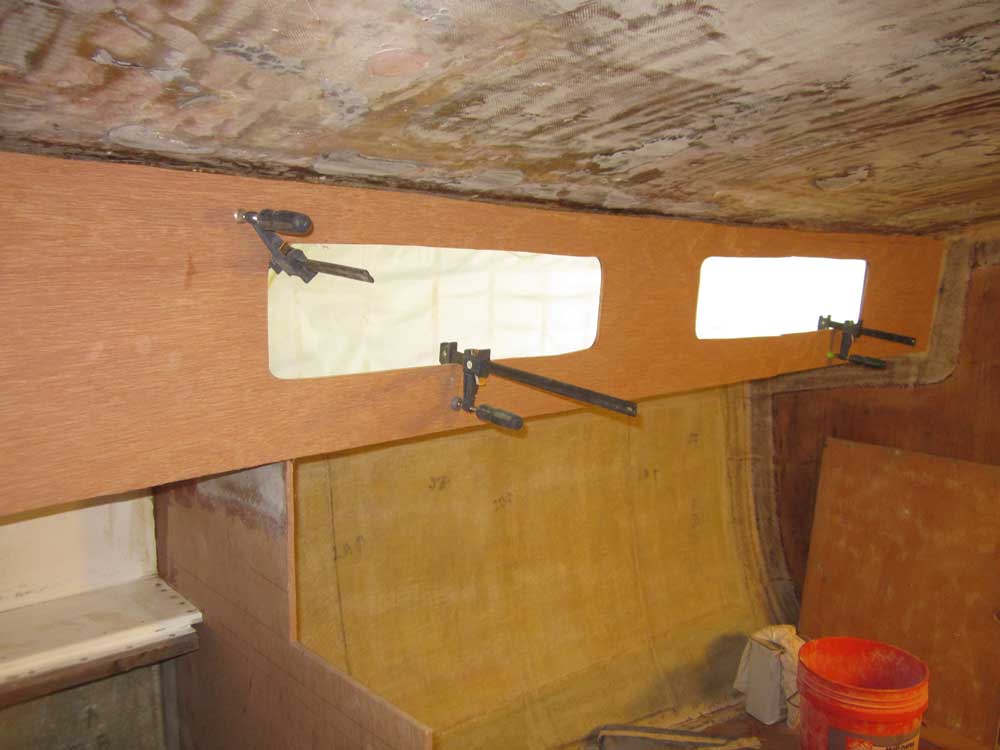
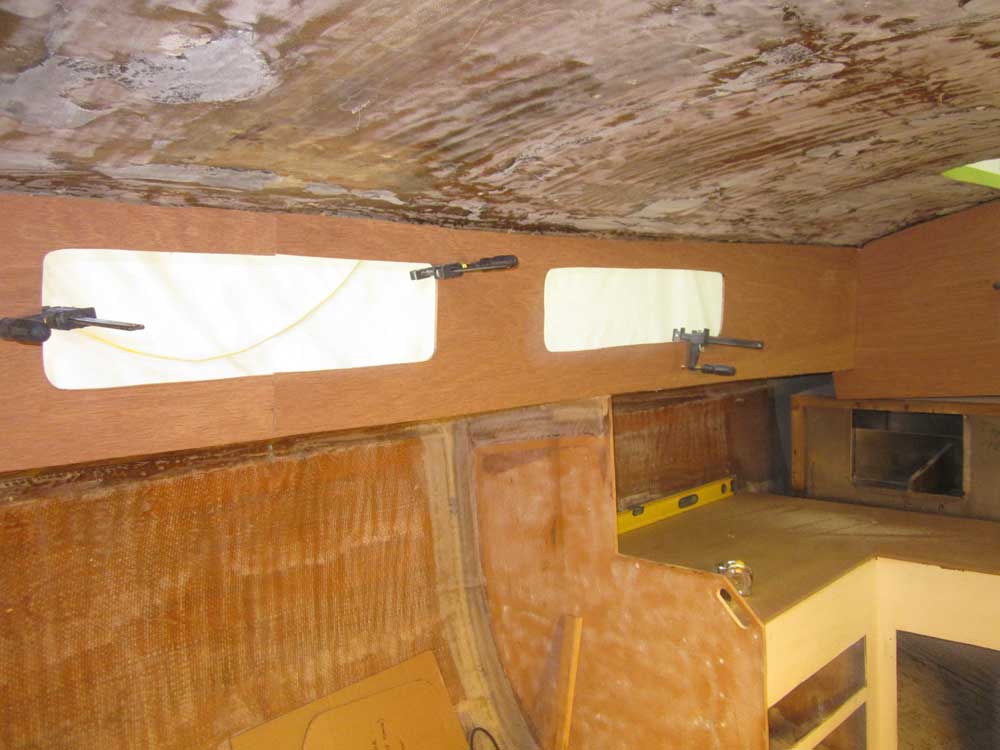
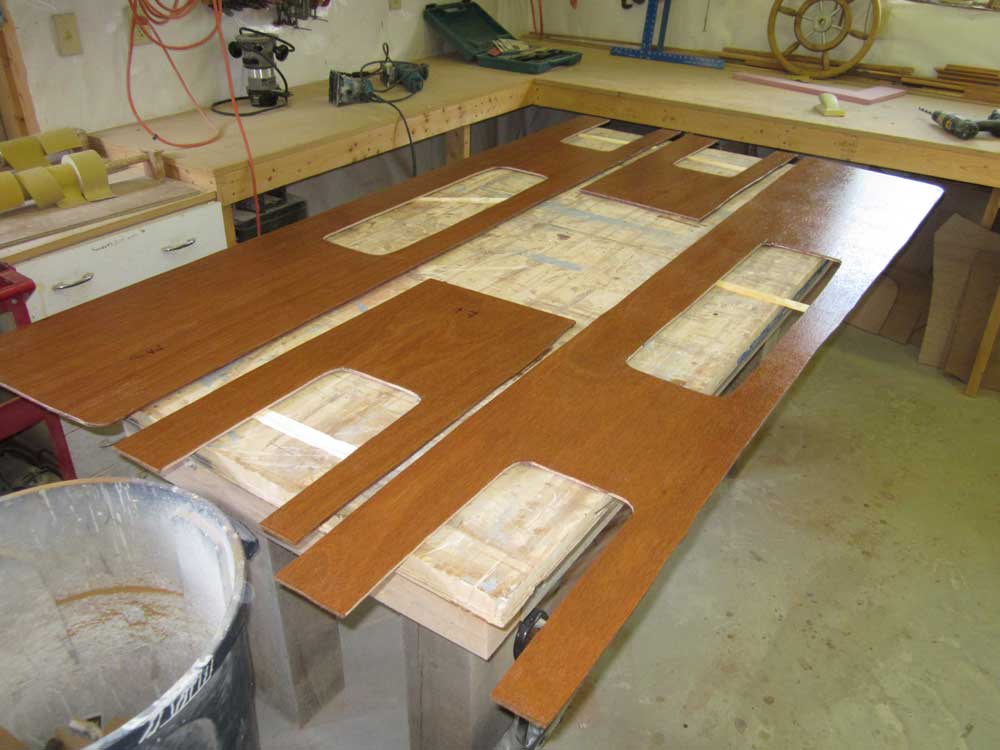
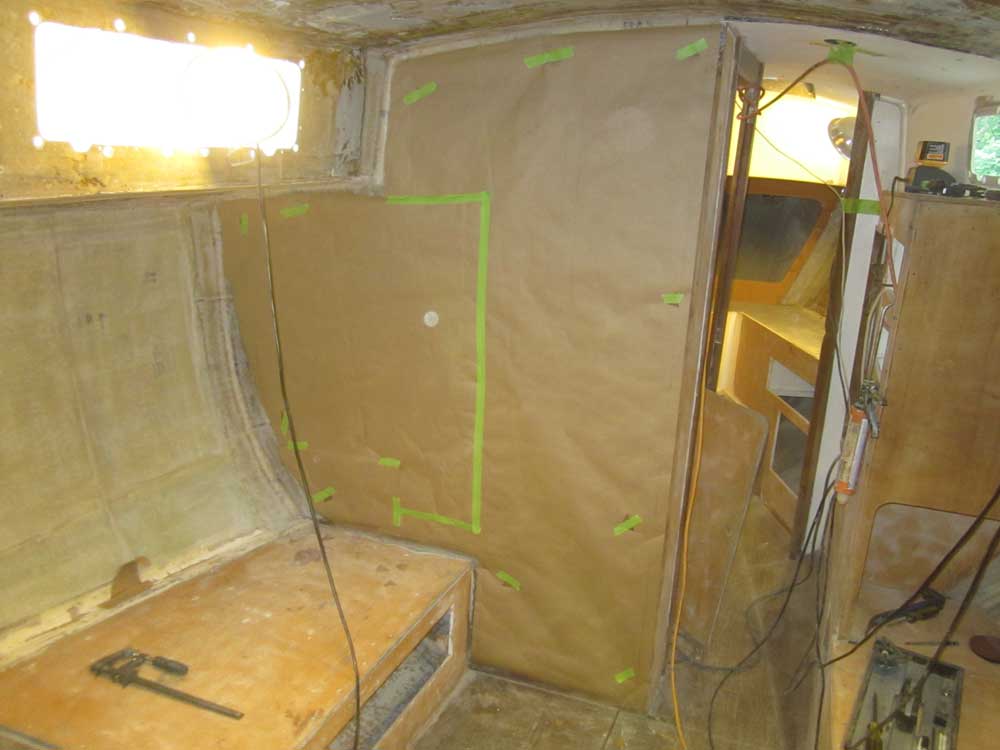
Picking up where I left off last time, I prepared the cabin side plywood panels for test-fitting by cutting out some small openings in way of the ports, leaving abundant material for later trimming. Then, I temporarily clamped the various panels in place to check and fine-tune the fit. Each piece required a minor trim here and there to accommodate some of the unevenness of the substrate, particularly in the corners.
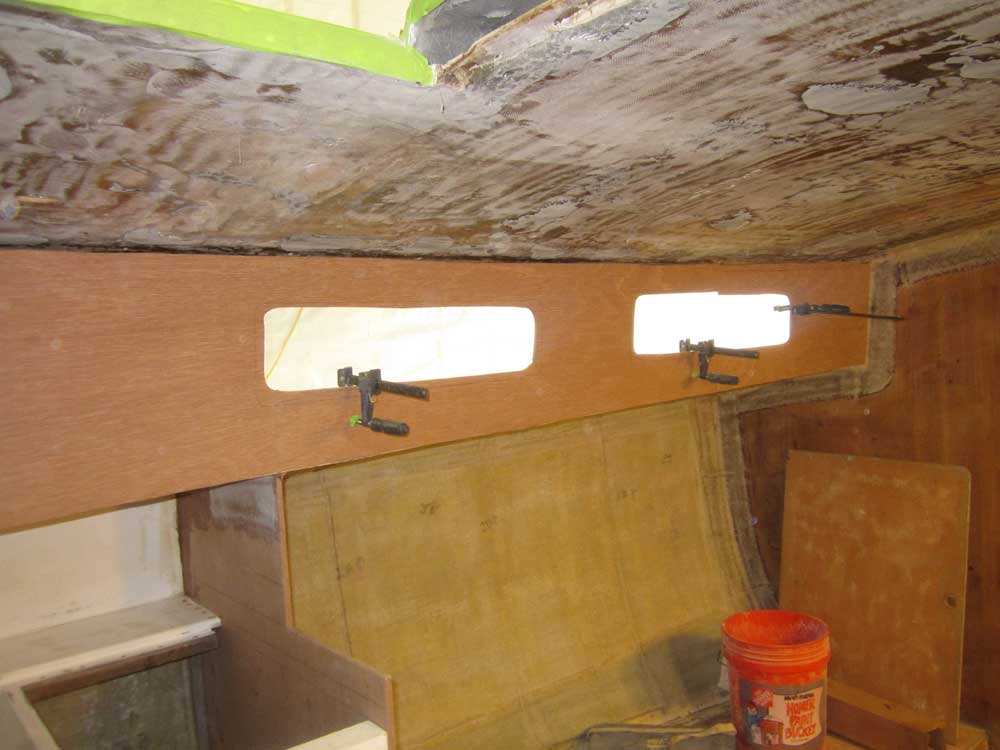
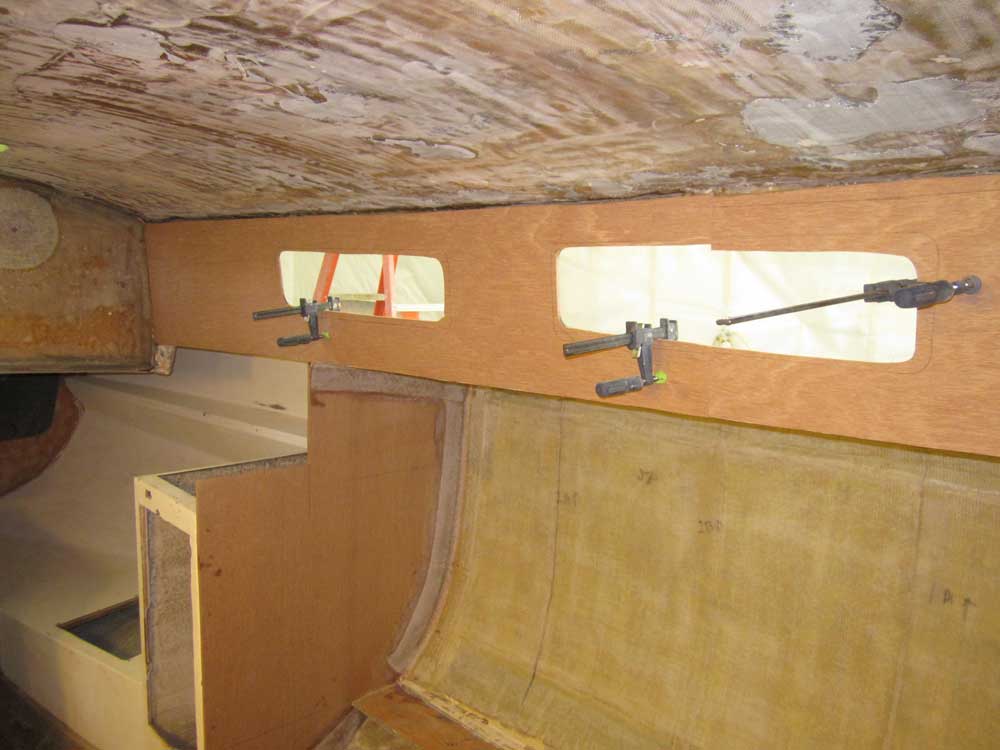
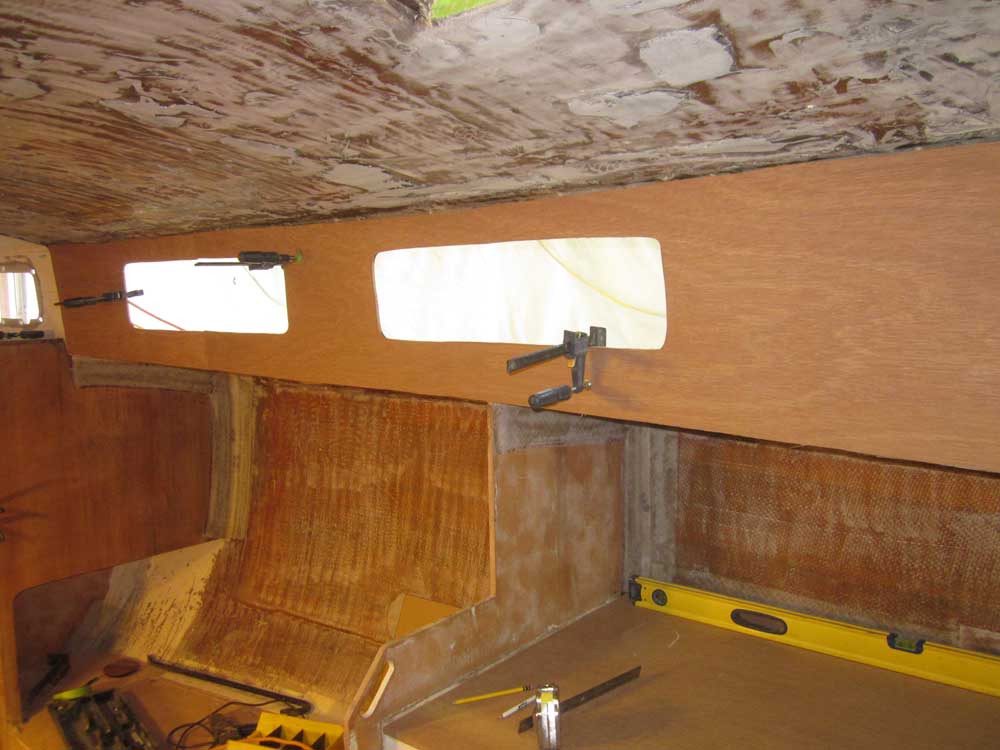
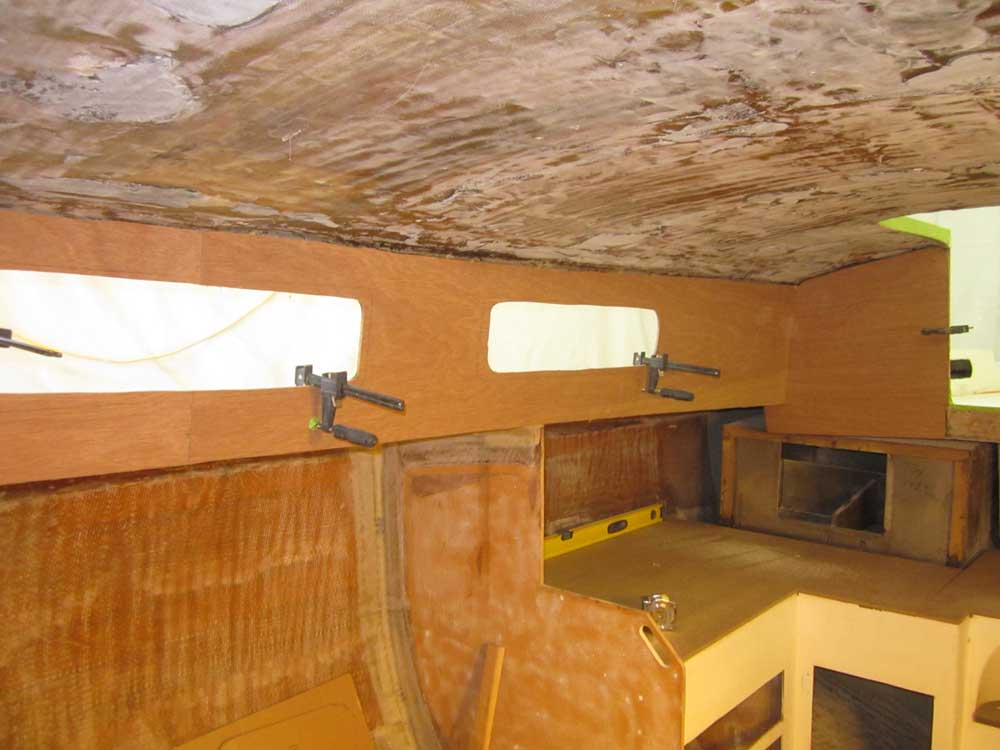
One side at a time, I marked the port openings from outside, then re-trimmed the openings, leaving about 1/4" of material for the final trim after installation.
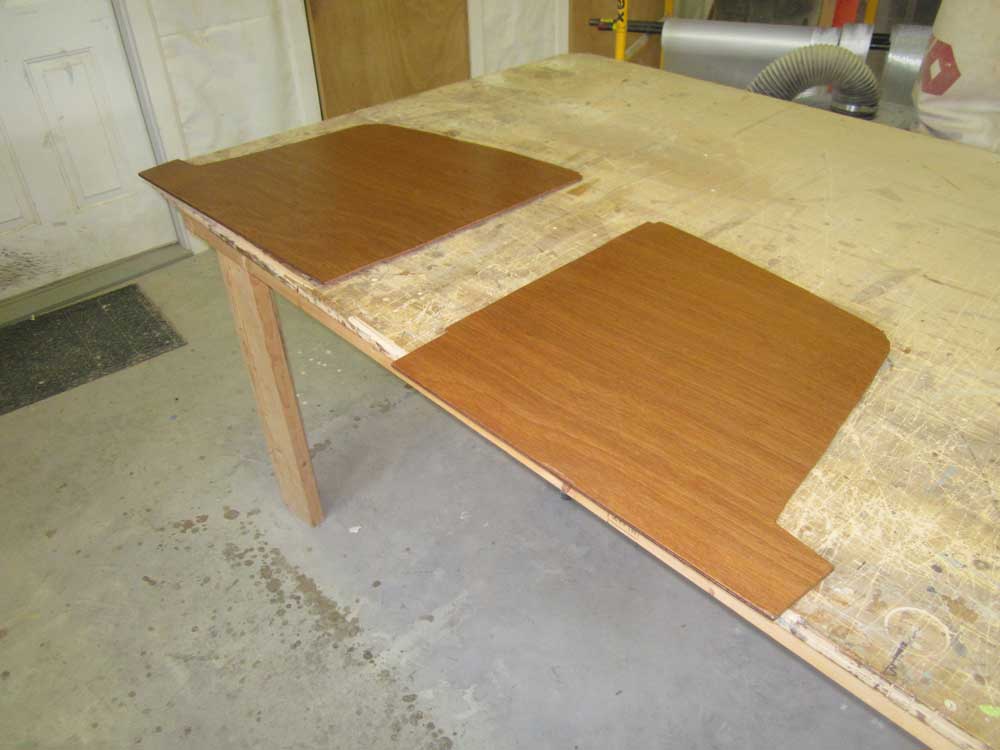
Satisfied with the initial fit, I lightly sanded the panels and coated the edges and back (bonding) side with epoxy, then set the panels aside.
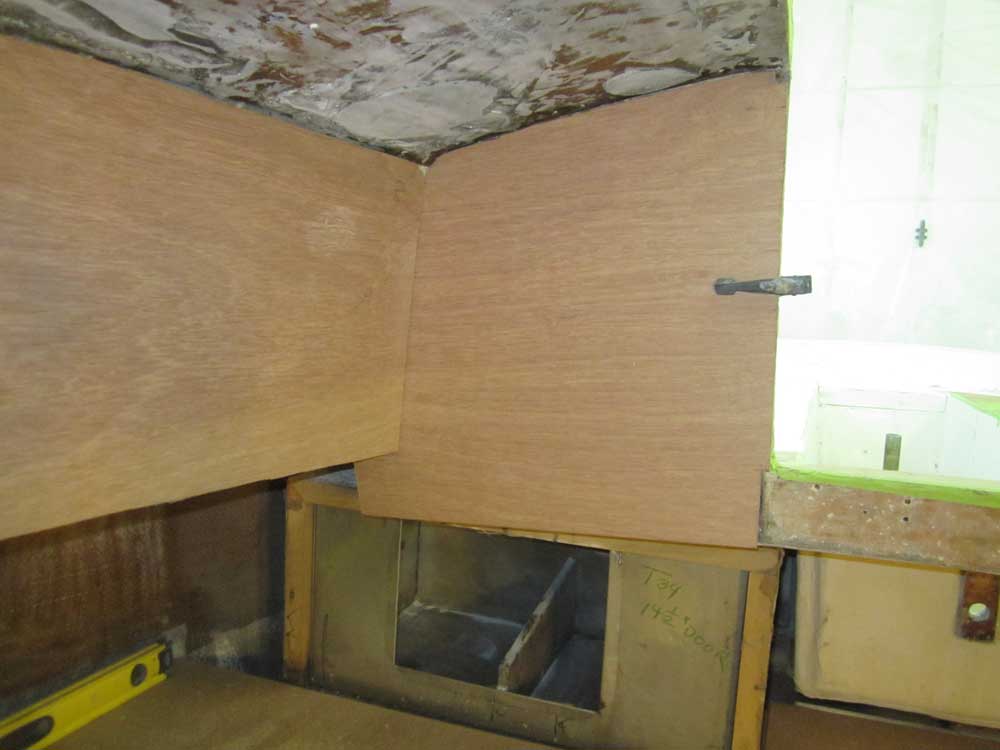
The four bulkhead surfaces facing the main saloon were slated to receive vertical cherry paneling, while other interior cabinets would be covered with veneer plywood. In order to determine how much solid cherry paneling would be required, I made paper patterns of the four bulkheads in question (I only have photos of the largest one), which I'd use later to help with the panel layout but for now the patterns would help me calculate how much paneling would be required.
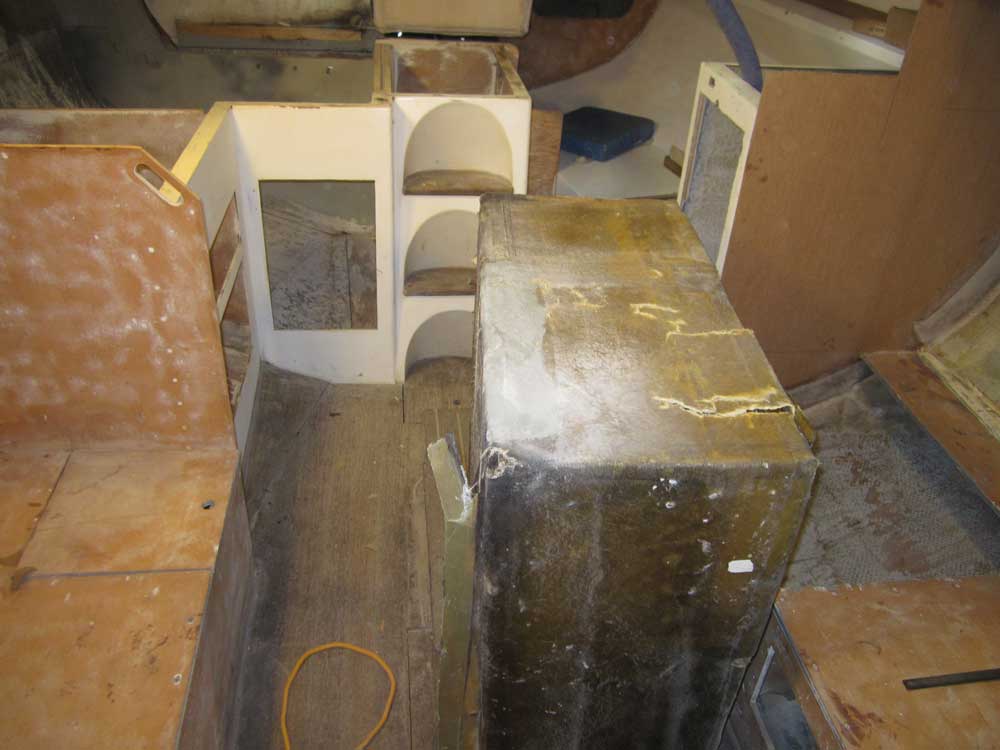
After some discussion last week, the owner and I decided to remove the original icebox in favor of a smaller, more efficient icebox directly beneath the cockpit ice hatch opening. I'd left the original icebox in place since the beginning, as initially the thought was to leave it be and simply accept its overall condition (fair, but far from new). But inevitably, with time and the development of other parts of the project, this idea became obsolete, and further reflection on the size, shape, and utility of the existing unit clearly pointed to its replacement.
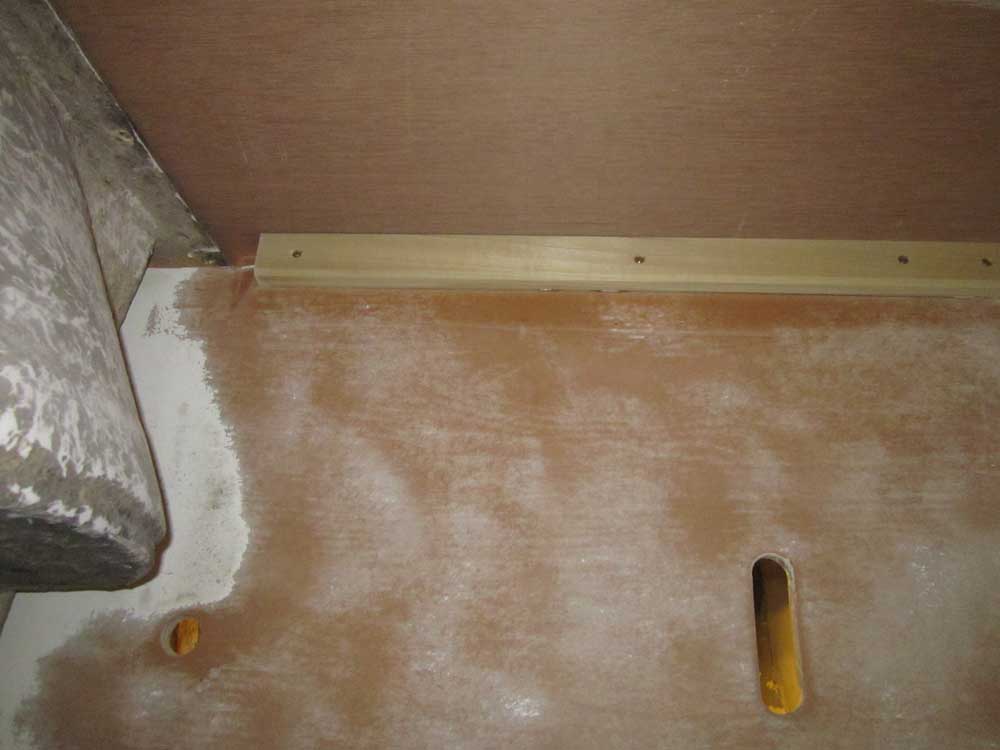
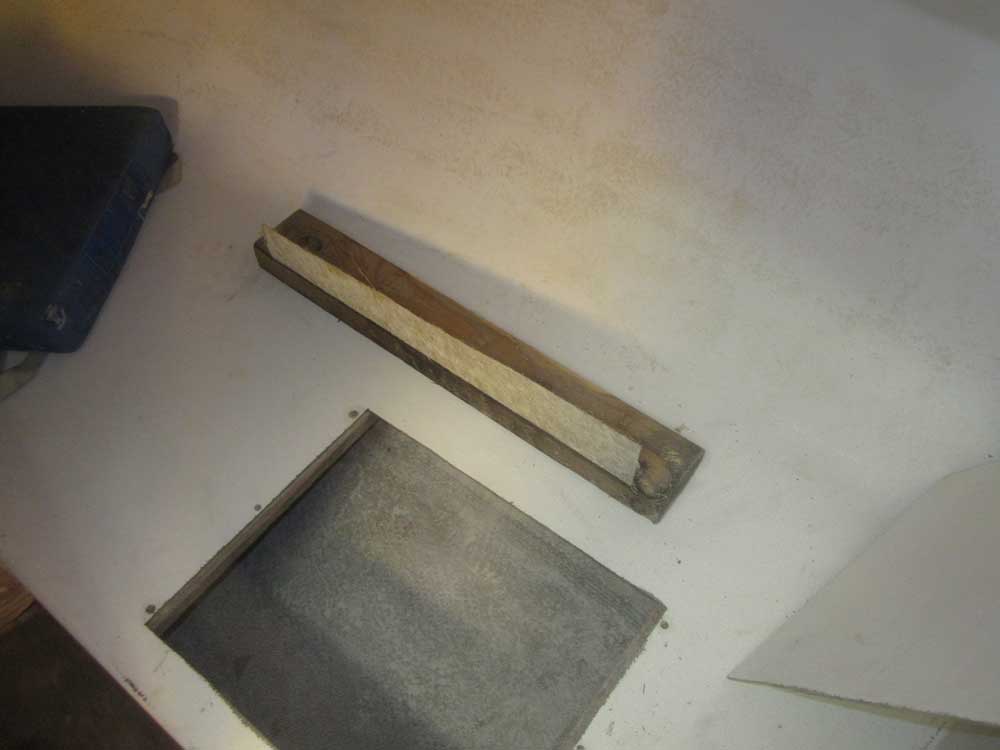
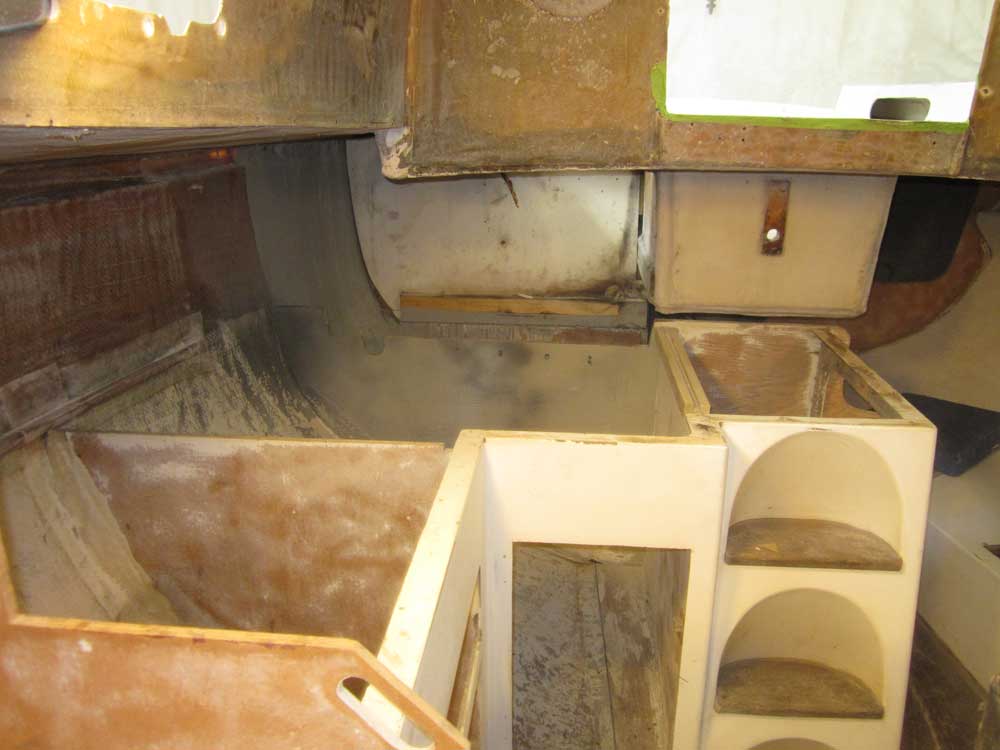
Before removing the old icebox, however, I needed to install a couple cleats in the galley. Because the sub-bulkheads and other areas of the galley were not necessarily straight, level, or consistent with one another, I'd used some temporary cleats glued to the icebox to support the edges of the countertop during its early construction, particularly the smaller section beneath the companionway. In order to maintain the level at which I'd built it, I cut a pair of hardwood cleats to secure to the small longitudinal bulkhead directly beneath the companionway, on one side of the so-called "wet locker" in that area. The cleats extended above the top of the bulkhead to the actual height required to support the countertop in its proper and level position that I'd laid out earlier with the temporary cleats, and would help ensure that the countertop was easy to re-install and extend later, once the icebox was out.
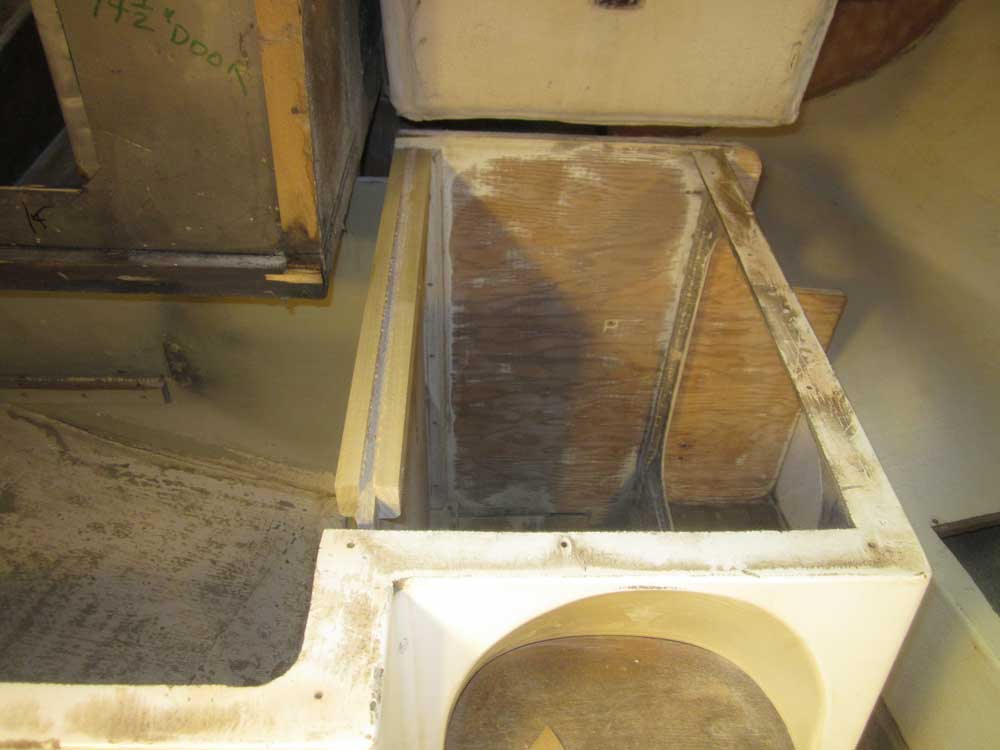
Removing the old icebox turned out to be an excellent decision, and with hindsight I don't know how I thought there'd ever be any other answer. Removal and eventual destruction of the old pox revealed just how poorly made it was, and how poorly it must have functioned.
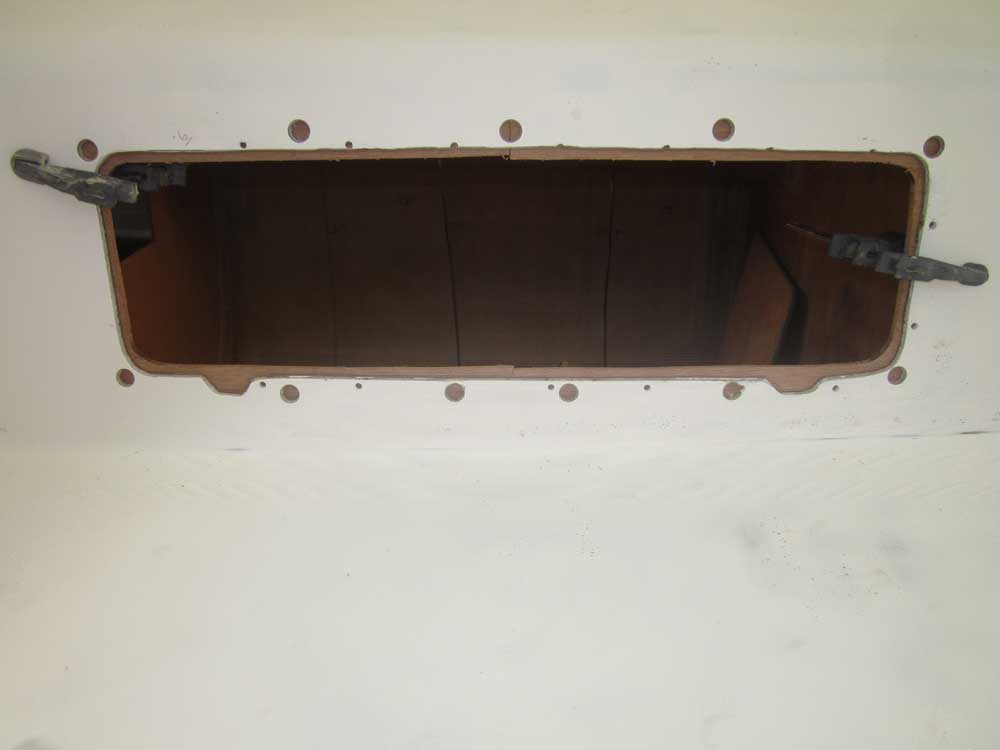
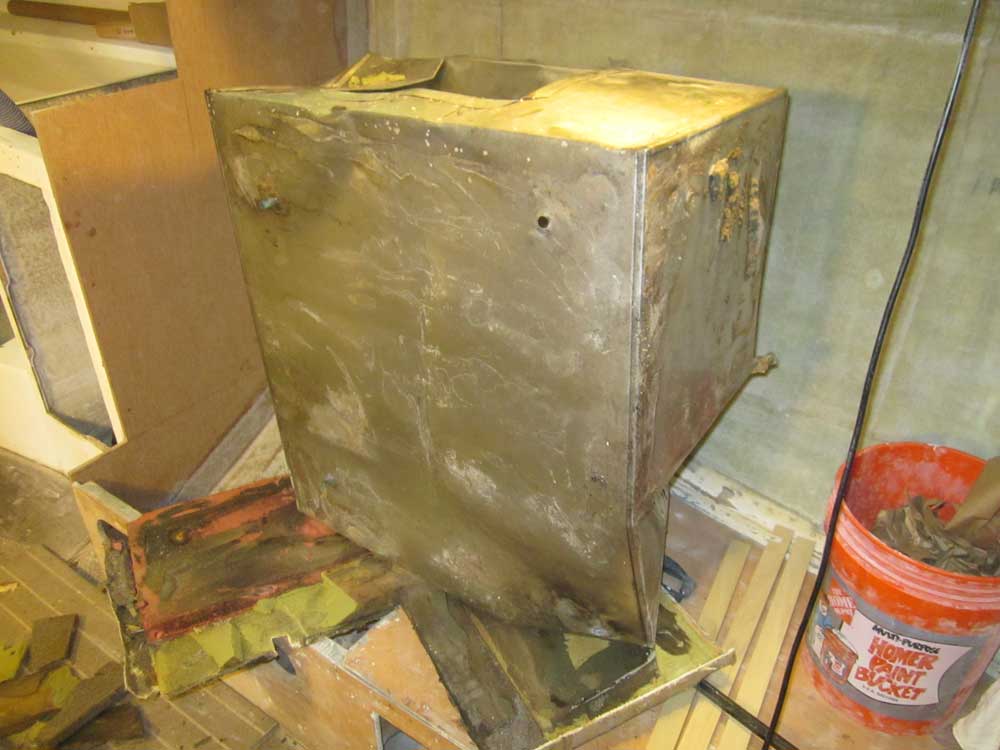
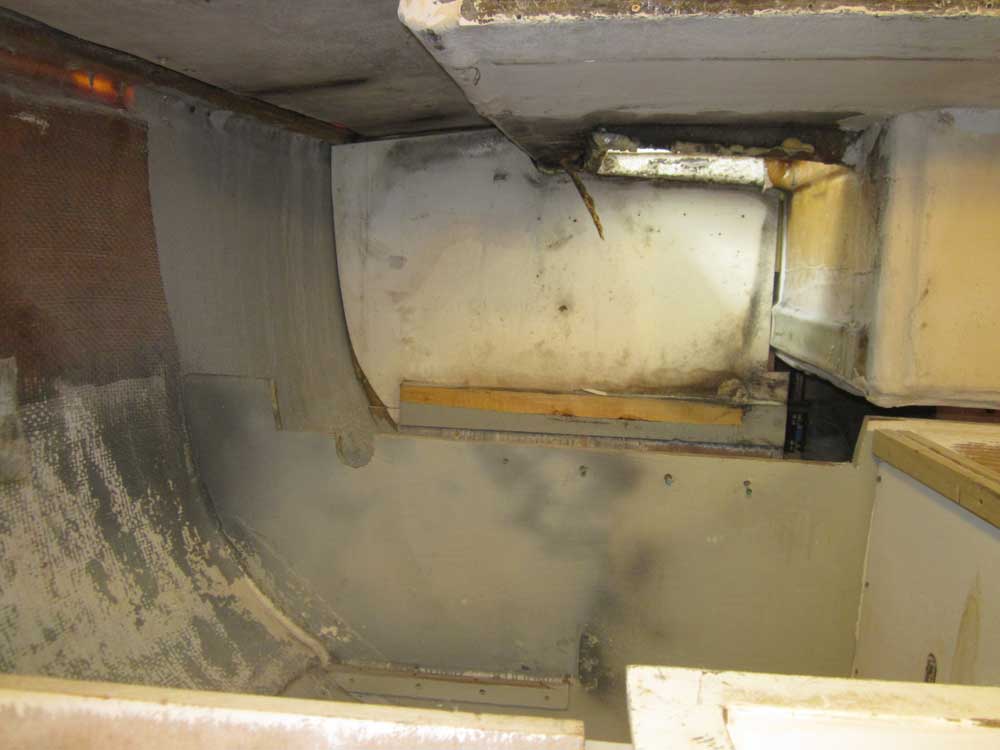
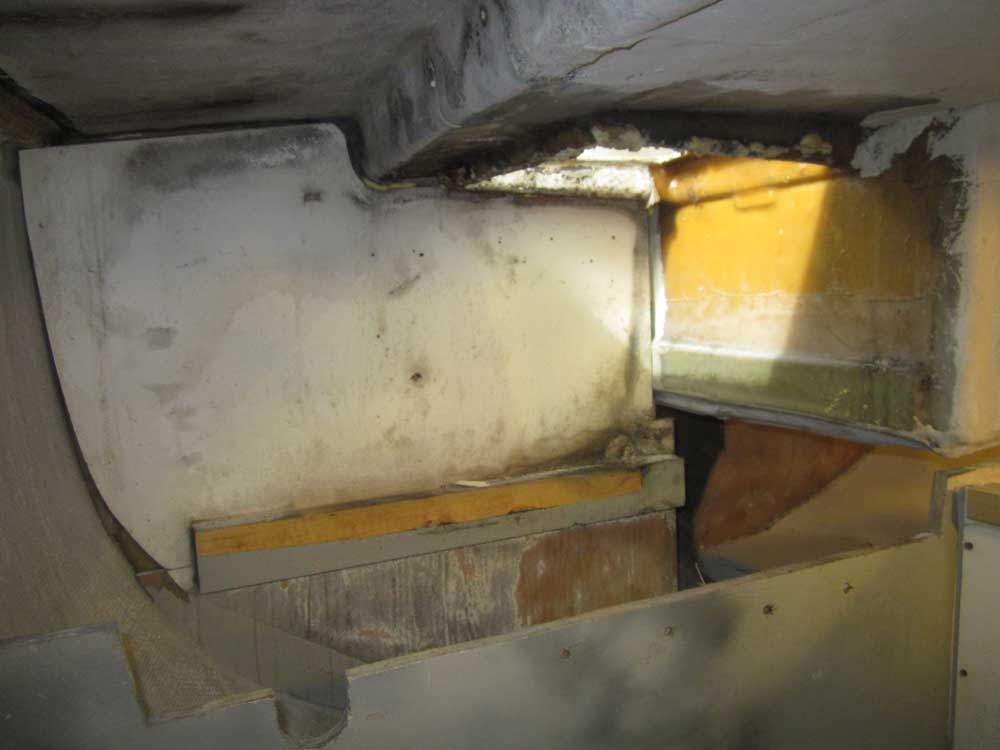
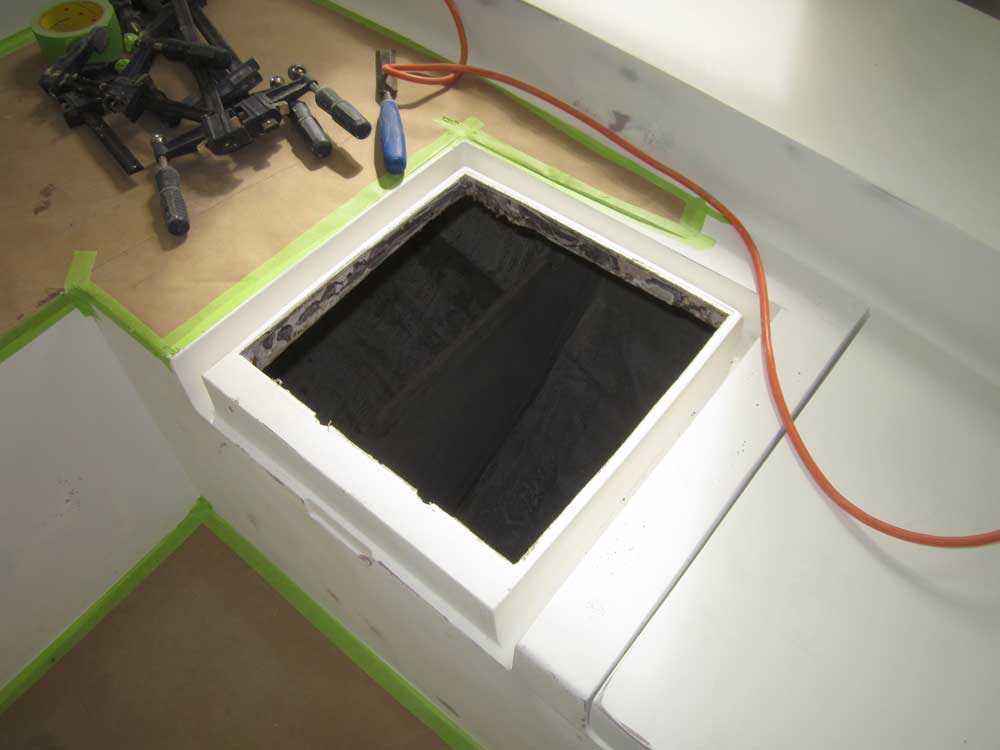
Earlier steps I'd taken in the interior work had already exposed most of the icebox for what it was, and also revealed its construction and installation more clearly. A little exploratory surgery from the cockpit opening indicated that there was nothing in particular holding the icebox to the underside of the opening; in fact, an upward stainless steel flange, part of the interior box unit itself, was simply roughly shaped to fit the opening and then foamed sloppily in place with something out of a can. So there was nothing at this particular opening that required any challenging steps to release or remove.
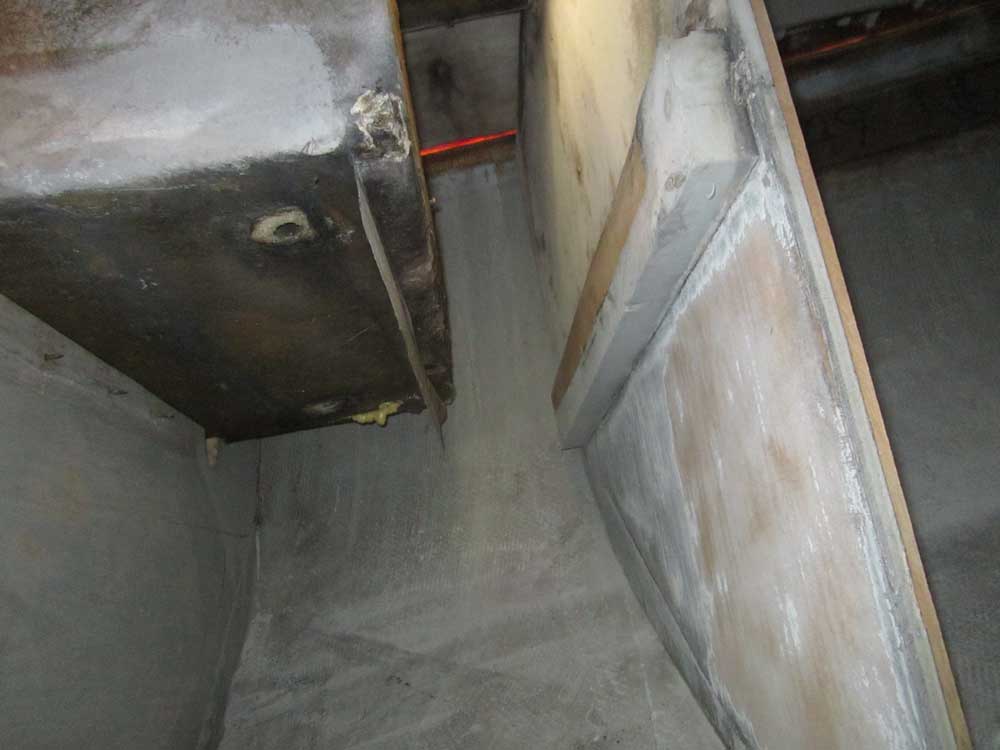
From beneath, the icebox was resting on--and lightly tabbed to--a pair of 2x4s that were secured to the two bulkheads in the area. Not unexpectedly, I found that the tabbing was weak and pulled off easily, releasing the icebox for the most part. In short order, I pulled the box forward and into the galley, where I managed to eventually extricate it to the cabin sole.
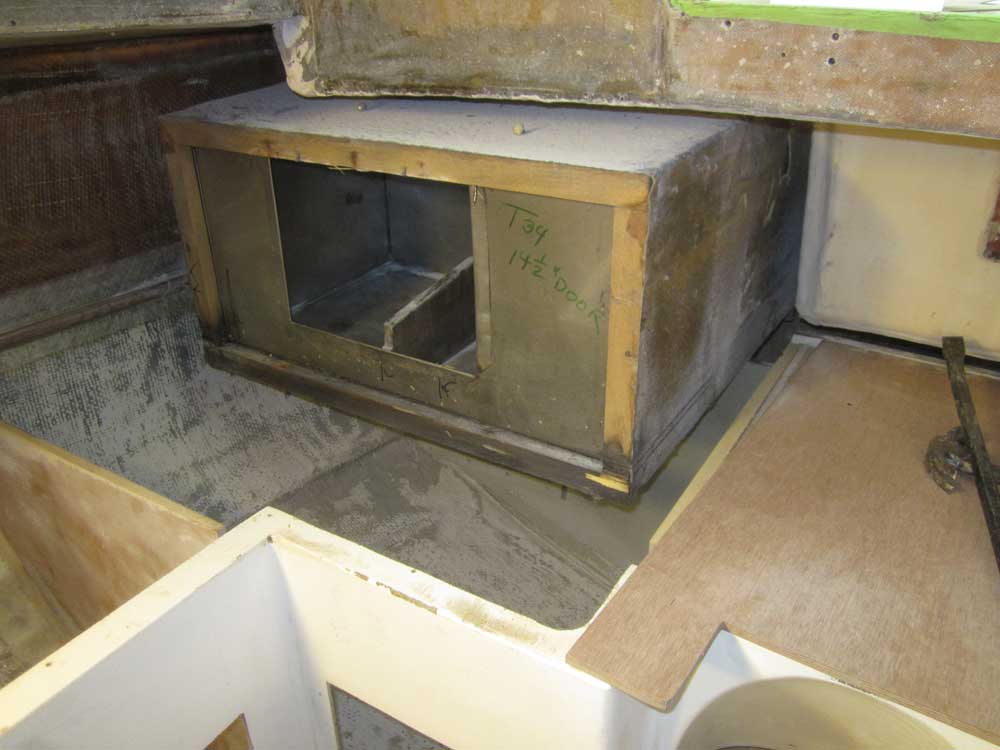
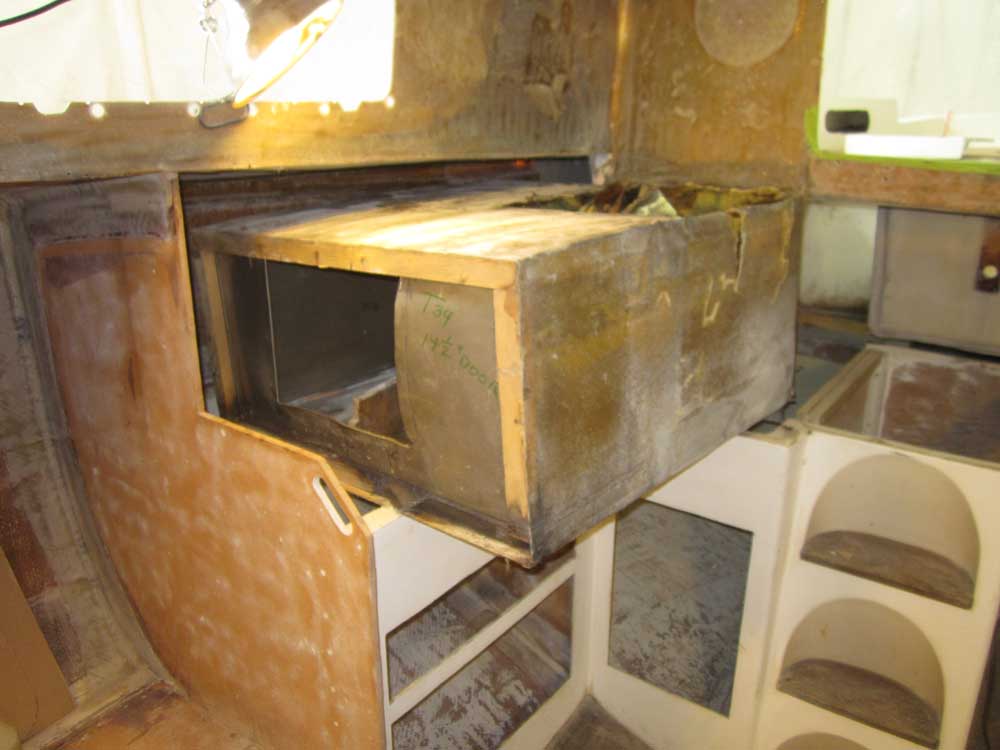
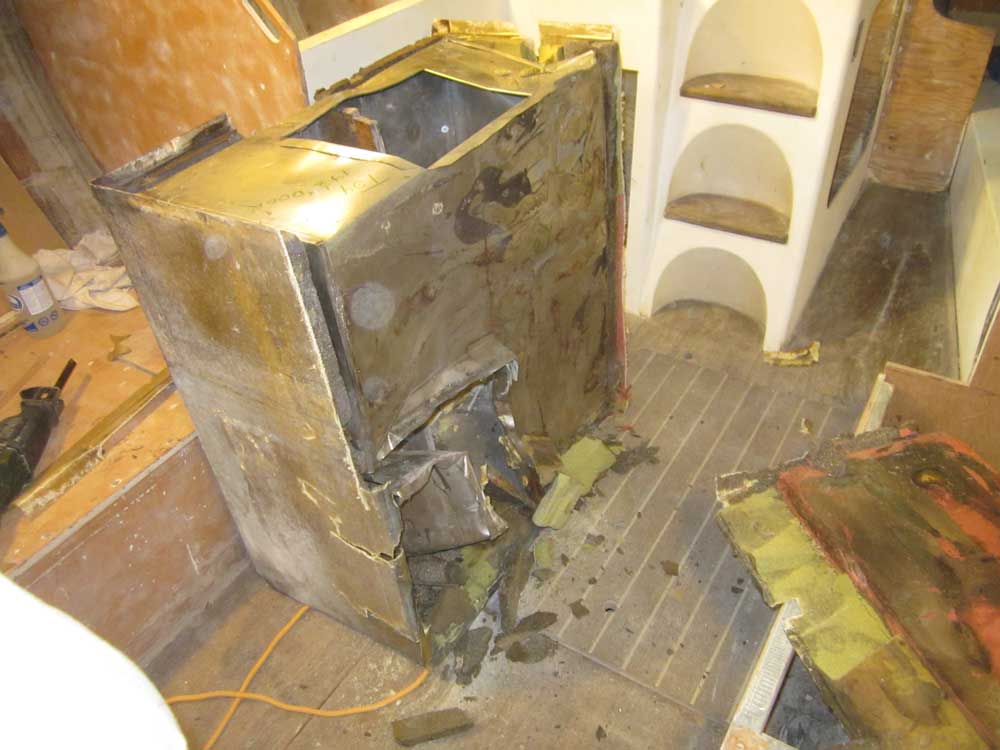
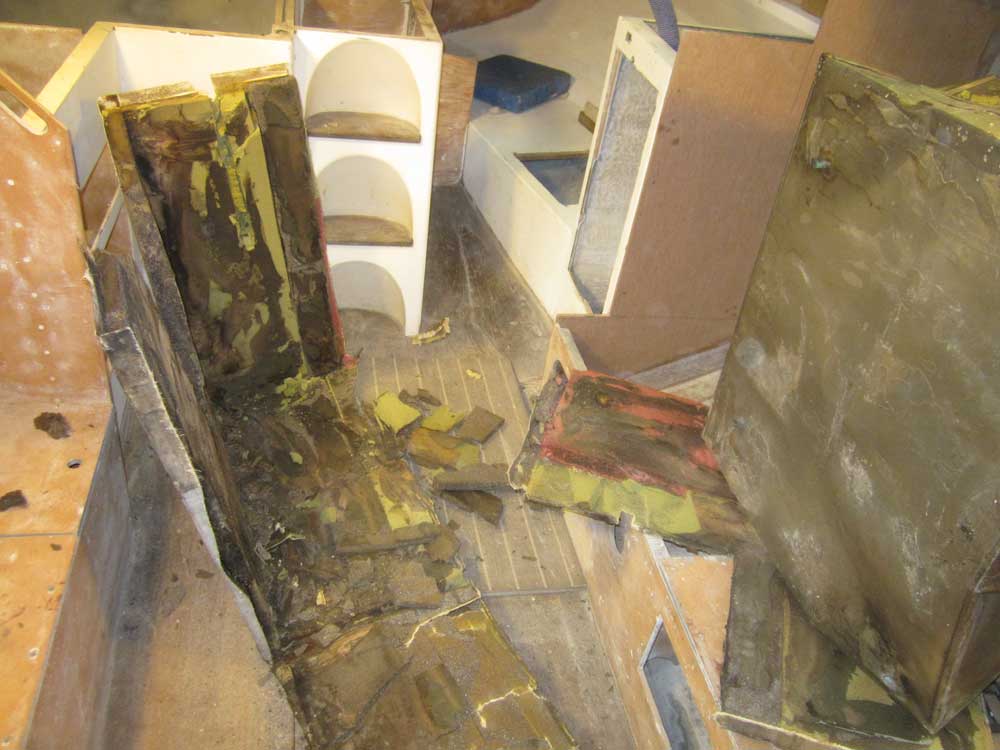
The icebox was simply the stainless interior liner, covered with foam (of amusingly diverse types, I was to find out later), all of which was then covered in a layer or two of thin fiberglass mat. The foam was about 1-1/2" thick, and generally of the same friable, dusty, ineffective type I'd found beneath the old cockpit icebox hatch lid.
Pleased that the icebox had come out of its place in one piece (for a while I'd been worried it wouldn't come over the galley, and indeed it was a tight squeeze), I was ready to get it out of the boat for good. Of course I discovered that the icebox was too large to fit through the companionway opening. I tried it every which way, but it simply was not going to fit. This process also revealed a large area of saturated foam in one corner of the icebox, with plenty of standing water ready to pour out at the slightest provocation.
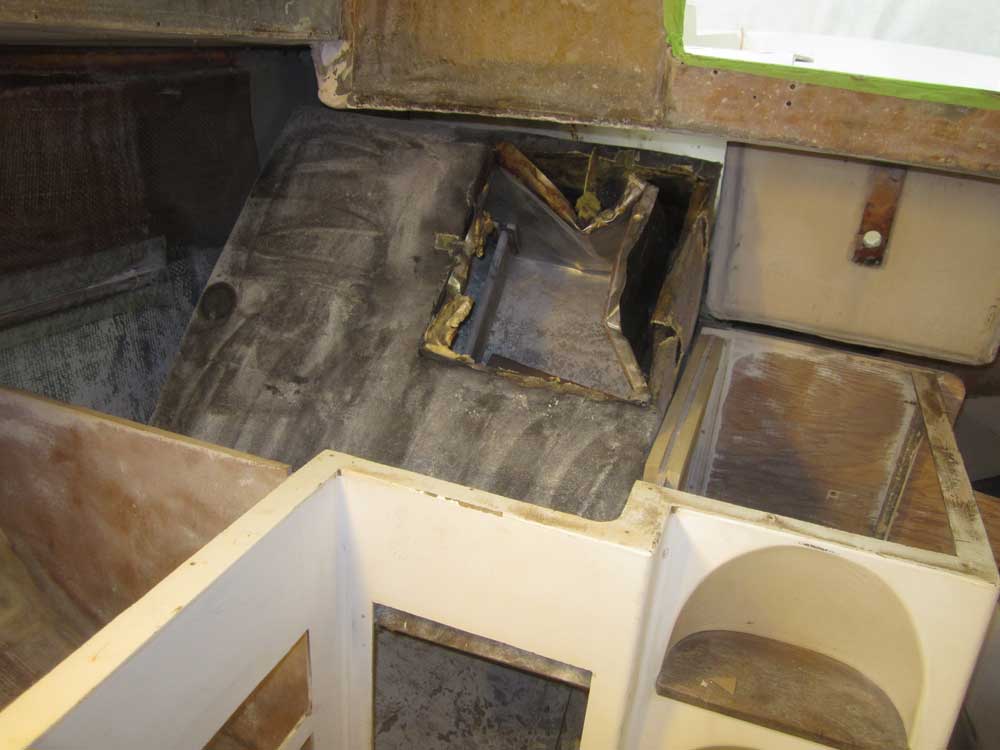
Fortunately, the icebox was so poorly built that I could tear it apart in a short time, and pull out the stainless liner. This allowed me to get rid of the foam and fiberglass.
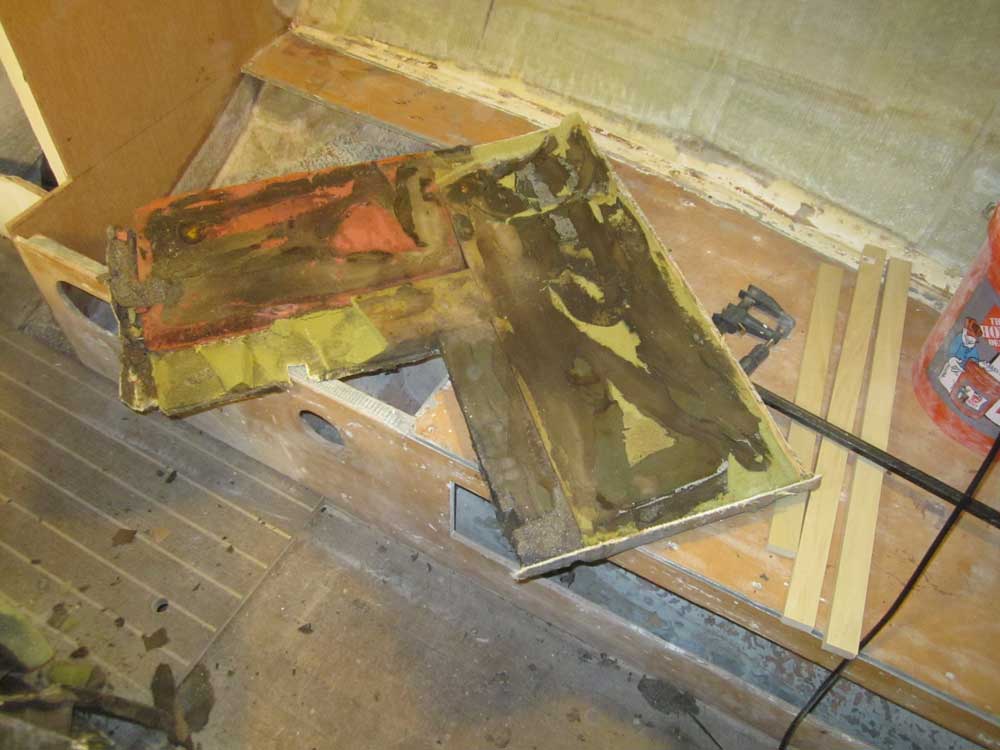
Later, I made some relief cuts in the metal liner and folded things up enough to allow it to easily pass through the companionway into the cockpit, after which I cleaned up the mess of foam and other debris inside and outside the boat. There'd be some additional surface prep work and cleanup to complete in the icebox's old location, which I'd take care of in the near future.
Total Time on This Job Today: 7.25 hours
