110 Cookson Lane | Whitefield, ME 04353 | 207-232-7600 | tim@lackeysailing.com
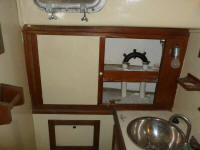
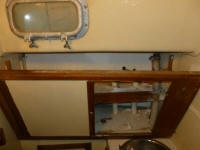
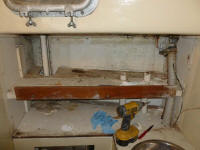
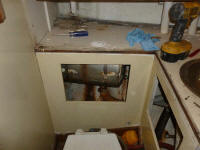
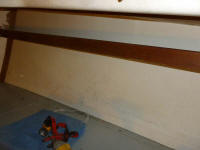
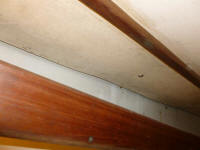
Intending to complete the deck hardware removal this day, I got started in the head, where I needed to remove some of the cabinetry and panels within to gain access to the hardware above. As with the other cabinetry in the boat, removing some trim around the edges of the cabinet face allowed the whole thing to be quickly disassembled by removing only a few screws. I cut hoses and removed nuts as needed to release the hardware above. For now, I left the main chainplates on both sides in place, but those would come out later.
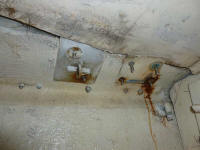
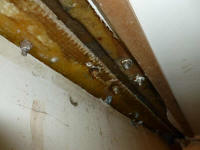
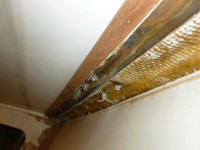
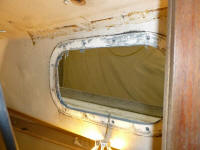
The port forward lower chainplate was the only one of the four lowers that wasn't glassed over from inside, so this gave me an opportunity to see how it was made. (Last photo in this set)
Removing some of the doors from the lower cabinet, I revealed a cylindrical holding tank behind the head. With the discharge exiting the bottom of the tank, and no idea as to whether the tank was full or empty, I decided to leave it alone for now and continue my focus on hardware, but the remaining installations in the head--including this tank--would be on my list in the immediate future.
The fasteners across the way in the hanging locker were easily accessible and easy to remove.
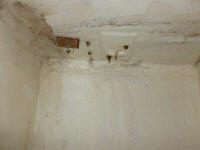
Continuing forward, I removed several trim pieces and panels in the V-berth to gain access to the fasteners behind them. As elsewhere, these masonite panels were secured with a few screws and came out easily. The poor condition of the panels and masonite ceiling (hull liner) led me to remove all this material, exposing the bare hull.
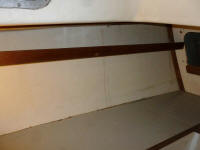
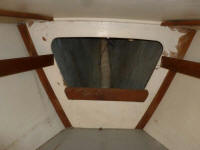
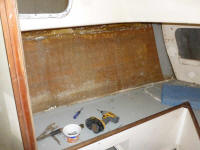
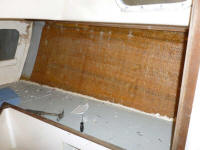
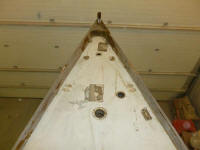
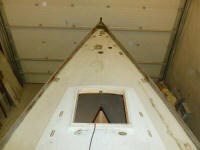
The opening in the chain locker bulkhead was large enough to theoretically access the fasteners up forward, but with great discomfort. To make the task easier and more efficient, I extended the opening closer to the berth platform. The bulkhead was lightly tabbed in place with a single layer, and as elsewhere the bulkhead itself was only a rough approximation of the shape of the space in which it was installed, leaving the tabbing to span the gap.
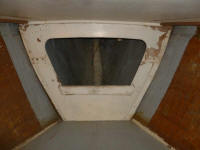
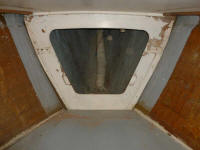
Inside the chain locker, I removed a vent hose that ran to a built-in vent system along the centerline, then removed all the nuts securing the various hardware. It was quite a reach to the forwardmost fasteners, but fortunately all the fasteners came out without issue--even the rust-encrusted things securing the anchor roller.
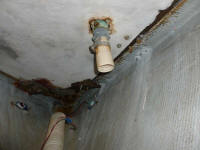
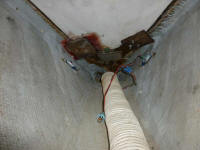
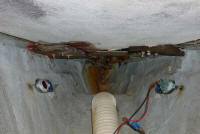
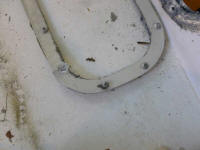
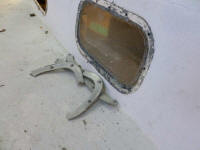
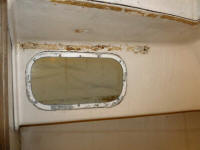
With the chainlocker fasteners now removed, and their corresponding hardware dismantled from the deck, I removed the final four ports from the head, passageway, and forward cabin. The exterior trim rings were in terrible condition and simply crumbled apart upon removal on two of the installations, the damage beginning at the stainless steel fastener locations. None of the ports or deadlights was in reusable condition as is anyway, but I'd still hoped to keep them intact during removal. Their destiny had been set long before, however.
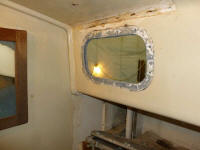
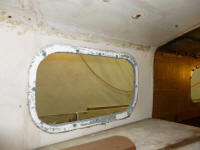
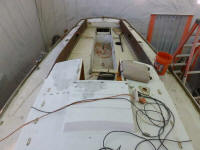
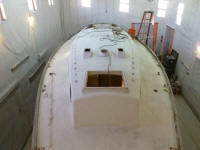
This completed most of the deck hardware removal, except for chainplates, genoa tracks, and those glued-on coamings. I carted most of the old hardware, trim, and other salvageable pieces up to storage, beginning to clear out the shop for some of the next work to come.
Total Time on This Job Today: 6.75 hours
