110 Cookson Lane | Whitefield, ME 04353 | 207-232-7600 | tim@lackeysailing.com
I began the interior prep, sanding, and demolition process. Starting all the way forward, in the chain locker, I sanded the interior surfaces as needed to prepare them for whatever might come next. The chain locker was coated in factory gray gelcoat, and was in generally good condition, so I lightly scuffed the surfaces only. Before beginning the sanding, I took a few minutes to chisel away as best as possible the remnants of a steel bar up in the stem, which had been glassed beneath the deck. This was flaky and already loose, and the glass tabbing generally loose, so I pulled out what I could, though one thin, tough strip refused my efforts. I'd figure out another way to remove that later.
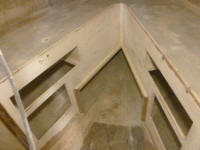
Continuing aft, I sanded in and around the V-berth, removing all the flaking paint from the chainlocker bulkhead and sanding the other surfaces as necessary, including the gelcoated locker areas beneath the berth; again, in these areas I scuffed the surfaces lightly, with no reason to remove all the old finish.
I found that the center divider between the berths, which had formed the vertical end of the step area, was loose, so I removed it to keep it out of the way and peeled away more of the ineffective tabbing. This improved access to the remaining space, and would be simple to reinstall later as needed.
I lightly sanded the berth platform surface, which was generally in good condition, and abraded the insides of the hull, which were bare fiberglass with the still-tacky remnants of laminating resin. The paint on the aft bulkhead and lower portions of the berth structure generally resisted easy removal, but wasn't suitable as is. For the moment, I scuffed these areas with the sander and left them be; I'd revisit later. Meanwhile, I sanded the fiberglass overhead liner, which extended to the chainlocker and up around the inside of the cabin trunk. The lightly-textured (molded) liner was filthy, and the light sanding would be the first sanding step to prepare these areas for new paint and sprucing up later.
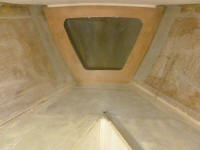
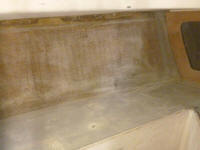
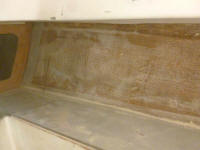
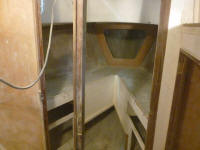
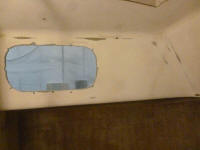
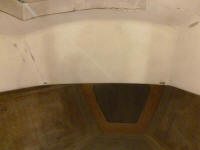
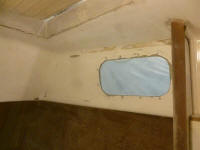
I didn't intend to remove all the paint from the bulkheads within the hanging locker, just aft of the V-berth on the starboard side, but the paint came off so easily that I had no choice. The job went quickly, and I also sanded the hull and overhead surfaces as necessary to prepare for future refinishing. For the moment, at least, no significant changes were planned for this area.
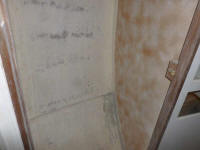
The port main chainplate knee, as I'd determined last week, needed replacement. The tabbing securing the knee was delaminating, and generally suspect to begin with, and the knee was loose. Removal was straightforward, though the tight access on the after side briefly complicated things, but before long I'd removed the knee and most of its tabbing. Afterwards, I peeled away the poorly bonded fiberglass that was over the top of the area, leaving behind the original hull laminate beneath.
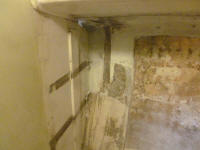
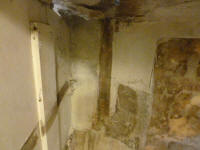
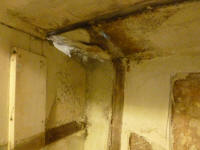
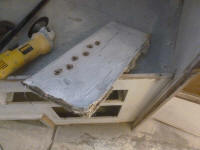
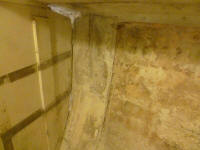
Continuing in the head compartment, I spent the remainder of the day cleaning up the section I'd removed the core from earlier, grinding the transitional edges smooth and sanding the outer hull skin to remove old core and resin as needed. I sanded the hull as needed to remove excess paint, resin, and sharp edges left over from various installations; later, I might need to remove additional paint/gelcoat from certain areas where new tabbing or bonding would occur.
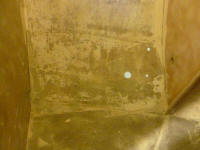
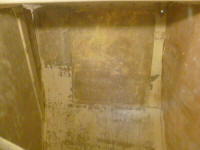
Finally, I removed the paint from the forward and after bulkheads in the head. The forward bulkhead was fairly easy to clean up, but the after bulkhead was coated with layer upon layer of thick paint, and it took a while to remove it all.
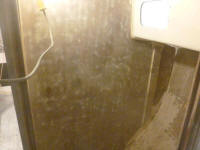
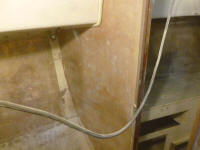
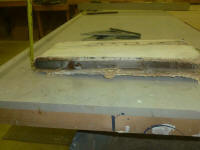
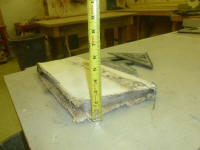
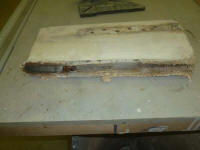
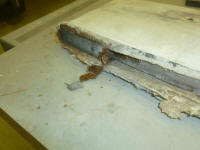
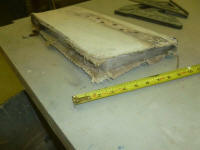
Later, I looked more closely at the chainplate knee I'd removed. The 3/4" plywood core of the knee had clearly been a poor fit against the hull to begin with, as there was a large space between it and the edges of the tabbing that held it in place. The plywood was darkened with age and moisture, but appeared sound, and was still well stuck within the fiberglass encapsulment. At the bottom edge, a masonite spacer of some sort was in place, an odd choice of material to say the least.
Total Time on This Job Today: 7.25 hours
