110 Cookson Lane | Whitefield, ME 04353 | 207-232-7600 | tim@lackeysailing.com
I'd planned to continue my surface preparations and sanding on the interior, and spent the first part of the morning getting set up for that task. I was all ready to go, but then realized that there were still obstructions in the way that would better be removed sooner than later--specifically the toerail fasteners, which poked through the inside of the hull-deck joint throughout the boat. Since I like to at least lightly abrade all surfaces during this stage, which prepares the entire boat for whatever new work I might do later on, I figured that if I started on the interior now, I might have to come back later and clean up around where those fasteners had been.
Therefore, I changed my attack and prepared to remove the toerails. It had become abundantly clear during the hull sanding that the toerails would have to come off, as I could see light beneath the rails in a number of places (indicating the sealant was compromised); besides this, I'd always doubted whether the wood could be salvageable anyway. Since the toerails were teak, the extensive weathering would probably clean up acceptably, and I'd kept an open mind so far through the process, but there were a number of damaged and worn areas that would never be the same. While keeping the old toerail in place had been a brief hopeful fantasy, deep within I always knew it'd be coming off.
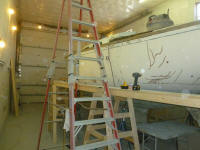
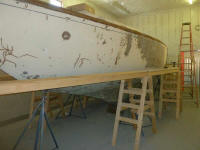
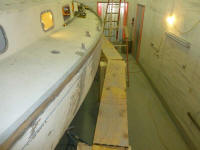
To prepare for this job--and other jobs ahead--I raised the staging planks to the top level for comfortable work at deck height. I had to build two longer planks to extend all the way to the bow, but I had the pieces ready to go and this didn't take long.
Once I was all tooled up for the new job, I got to work removing the bungs covering the toerail fasteners. While I didn't expect to re-use the existing toerail, I hoped to remove it relatively intact so I could use it as a guide for building a new one somewhere further along in the project. It would be telling just how difficult it was to remove the first fasteners, and whether the rail seemed to loosen or remain well stuck in an adhesive bed; I didn't plan to waste time being careful if it turned out that it would be a lost cause.
From online documentation, as well as my own disassembly process on the boat, I knew to expect that the fasteners would be machine screws, mostly without nuts. However, on this boat, many of the fasteners from port amidships forward had nuts on them, probably because I suspected this portion of the rail had been replaced somewhere along the line. I'd removed most of these nuts during my deck hardware phase, but later on I found there were several in the forward cabin that I had to Vice-Grip in place in order to remove the toerail.
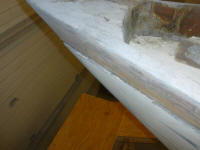
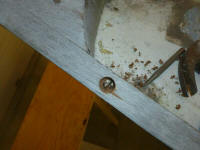
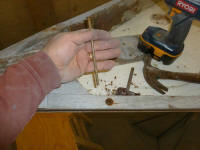
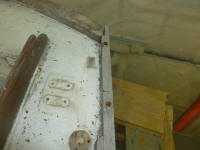
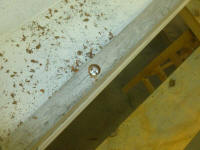
I began the removal at the port bow, but after removing several fasteners without the rail showing much in the way of positive movement, I moved to the stern to see what things were like there. In most cases, the fasteners came out without too much effort (thanks to my impact gun), but every so often I'd encounter a recalcitrant one, in which cases, I chiseled out enough of the top of the toerail to get Vice Grips on the fastener head, which then allowed removal.
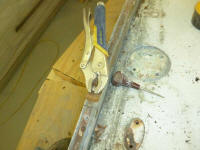
The toerail was scarfed together from several sections, and as I proceeded forward from the taffrail it seemed the forward end of the aftermost section was loose, so once I'd gotten past that point I tried my hand at removing the rail. I was able to break the bond of the sealant at the aft end, but had trouble keeping tools in the tight joint, so eventually I turned to a reciprocating saw to slice through the seam between the rail and the deck, erring towards the rail side, not the deck. For a few minutes, I was concerned that the toerail was set in 5200 or similar adhesive, as it seemed to difficult to remove, but fortunately this seemed not to be the case. Only the aftermost section on the port side resisted removal much, and after a while the whole process went much more quickly.
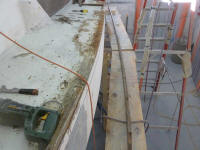
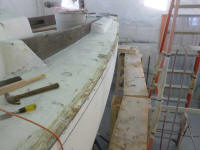
In addition to the toerail fasteners and whatever adhesive was in the hull-deck joint itself, there were periodic screws set flush in the deck that helped hold the deck in place.
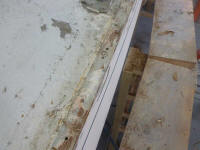
The reaming forward two thirds of the removal was much quicker, once I got the aft section off and had learned a few things about the process. Eventually, I removed all of the remaining rail quite intact, but conveniently dismantled at each of the scarf joints.
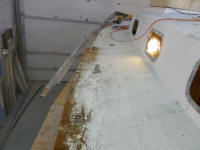
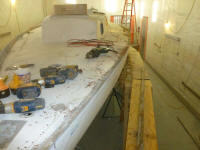
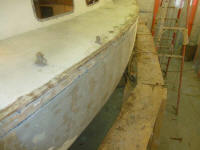

With the port rail successfully removed, I continued a bit on the starboard side, starting at the stem and working my way aft removing fasteners. On this side, the forward section easily loosened as I went, revealing piles of paint dust from my recent hull sanding and showing just how loose the toerail seam had been.
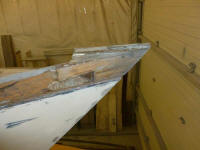
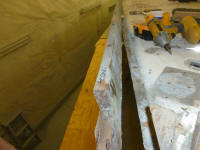
The chunk of wood at the stem--a sort of breasthook between the two toerail sides--seemed loose, and though the two fasteners simply spun, I easily removed it by cutting through the fasteners with the reciprocating saw, reserving the breasthook for future reference.
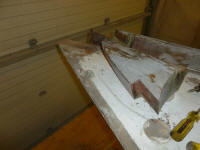
This brought me to the end of the day; I'd continue with the starboard side next.
Total Time on This Job Today: 6.75 hours
