110 Cookson Lane | Whitefield, ME 04353 | 207-232-7600 | tim@lackeysailing.com
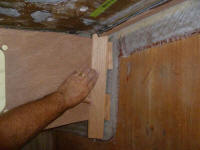
At the forward end of the port cabin trunk, I temporarily attached two scraps of the cherry bulkhead material so I could cut and fit the corner trim in this area. Though I'd wait to install the trim till the bulkhead beadboard was installed, knowing where it went would allow me to continue with the trim along the lower edge of the cabin side.
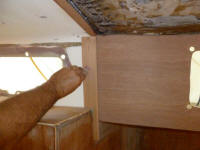
Similarly, I modified a length of the same trim profile to use on the forward end of the starboard side. This piece required several additional cuts to overlap the seam between cabin side and forward liner, and also to drop down over the face of the bulkhead as required to meet the eventual horizontal edge trim. Later in the process, after the overhead was complete, I'd construct additional trim to cover that seam and mate up with the top edge of this piece of trim.
Next, I measured for the lengths of the trim to cover the bottom edge of the cabin trunk, and milled pieces to fit. From 3/8" thick stock that I milled earlier, I cut trim 1-3/4" wide with a rounded profile at the lower edge, and a chamfered profile at the top edge to correspond with the corner trims. This trim would hang down slightly below the edge of the sidedeck to hide any inconsistencies in the fiberglass, and extend onto the cabin side about 1-1/2", keeping the top of the trim well clear of the ports.
With the pieces slightly overlong, I clamped them in place dry and marked the ends where they met the corner trims, outlines of which I'd traced on the cabin side for this purpose.
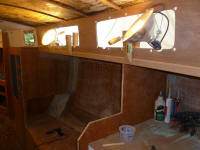
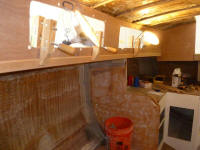
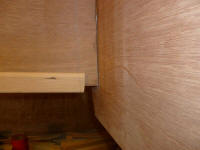
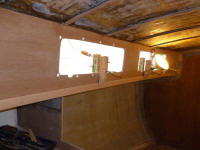
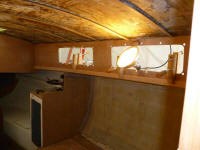
When I was happy with the position of the trim, I marked along the top edges for future alignment reference.
Next, I installed three of the four corner trim pieces, reserving the port forward end for later, after the bulkhead paneling was complete. The flat trim at the starboard forward side required a slight bend to match the shape of the cabin trunk, so I braced it from a bulkhead across the passageway to glue it in place.
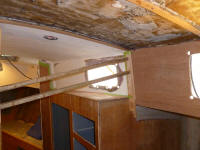
Before installing the trim at the aft corners, I installed lengths of wire in the corners for possible future use, then glued the trim pieces in place. I left the lower ends long, to be trimmed flush later, after the bottom edge trim was in place
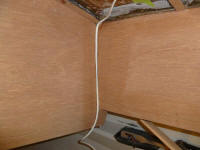
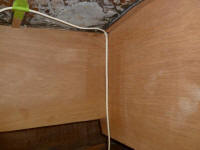
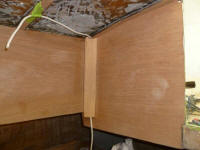
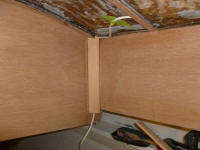
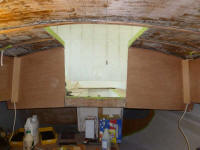
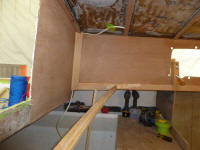
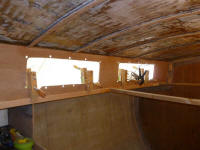
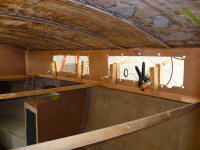
Next, I installed the port lower edge trim, securing it with glue, clamps, and braces as needed. Because of the way I had to brace and clamp the piece, unfortunately I could only do one side at a time; I'd hoped to glue both sides in, but found that I needed cross braces in a few places to ensure that the trim was well pressed into the glue, and had inadequate numbers of the small wooden clamps on hand in any event.
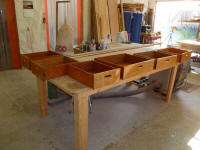
Finally, I sanded and revarnished the cherry drawer fronts down in the shop.
Total Time on This Job Today: 7.75 hours
