

| Skeedeen
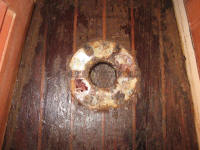
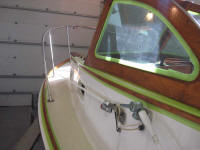
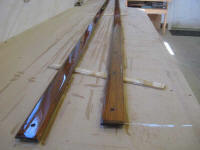
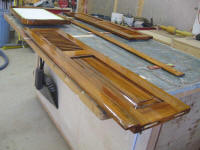
| Friday, April 24, 2009 I sanded all the brightwork, on and off the boat, excepting several of the small pieces which now had the requisite 6 coats and which were looking good. Afterwards, I vac'd off and solvent washed to prepare for the next coat of varnish, though I wouldn't apply that till the afternoon. In the meantime, I decided to work on the cabin sole again. My first task was to remove the water in the bilge beneath, so I used a Shop Vac to suck out all the water--nearly 20 gallons. With the water removed, I dried off the sole to make working a little less nasty, and then removed the metal table leg socket from the forward end. This was absolutely disgusting beneath, rife with mold and badly corroded, and I threw it away. |
 |
|
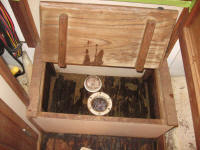
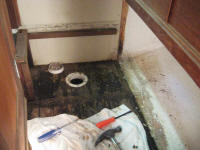
Next, I removed, piece by piece, the step at the aft end of the cabin. I tried to remove as little of the step as possible while still allowing full access to the cabin sole; I left the starboard side in place for now, though I wasn't sure later whether I'd have to remove it or not. We'll see. |
 |
|
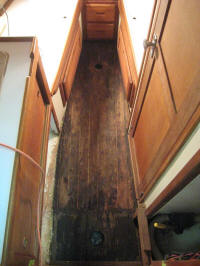
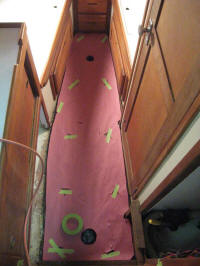
Because I knew the existing sole would have to come out in pieces, I decided to make a pattern of the shape to make shaping the replacement easier. From rosin paper, I cut the template slightly undersized and traced the outline of the sole onto the paper with a 1" offset, the offset provided by a 1" wide steel rule. I set the pattern aside. |
 |
|
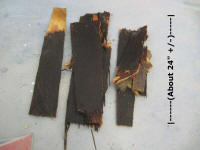
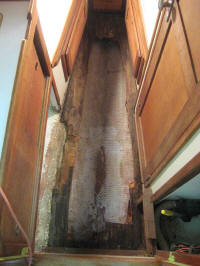
I tried prying on the sole from the edges, and at this point I uncovered its actual construction. Clearly the builders didn't intend for this sole to ever be removed--nor should they have, though perhaps some realistic access to the bilge beneath for inspection/dewatering purposes might have been a good idea. The sole was a lamination of plywood substrate which was glassed to the hull along the edges, over which was laid a thinner plywood veneer incorporating the traditional teak and holly appearance. It was clear that removing the substrate was going to be quite a chore, complicated not only by its permanent installation but also by the confines of the cabin and the fact that the whole cabin had been more or less built on top of, and certainly after, the cabin sole. My main goal for the moment was to get out as much of the nasty saturated material as possible and start the drying process, which at a minimum would make working in the space easier going forward. To that end, I used a small saw to make a cut down the center of the sole; at first I hoped this might allow me to physically pry the sole free in entirety from its underpinnings along the hull on the edges, but this was not to be--it was solidly affixed. So I made additional cuts as necessary to free as much of the sole as I could, confined by the size and shape of the saw and the growing realization that removing the entire sole to the edges was going to be a challenge. Also, I felt as if I were tiptoeing, what with the boat and shop generally quite clean for the varnish operation. In the event, I eventually removed the bulk of the sole. The plywood was entirely saturated and completely black on the bottom side, though amazingly it was structurally sound. I forgot to lay a tape along these pieces to show scale, so I drew in a rough measurement, since without scale these pieces look smaller than they are. The pile you see here probably weighed 50 pounds, so saturated was it with water. Good riddance. |
 |
|
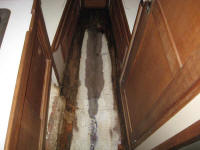
I cleaned up the resulting sawdust and mopped up the inside of the bilge to remove residual water and mess, and called and end to this project for now. Things would continue to dry out over the weekend, while I mulled over how to best proceed from here. I noticed late in the day that water from a forward compartment was slowly migrating aft to the now-dry bilge, so hopefully that would drain itself out over the weekend and I could be rid of the water for good. |
 |
|
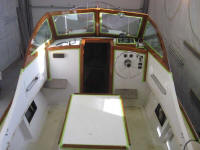
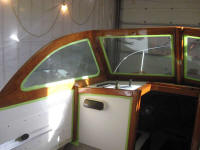
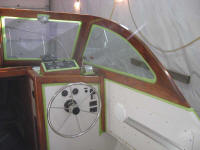
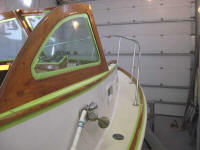
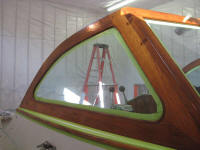
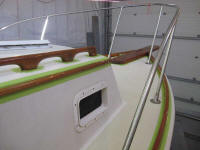
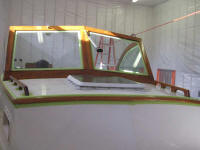
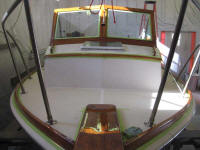
With the work on the cabin sole complete for now, it was varnish time. I tacked off all the surfaces, and applied an additional coat to everything on the boat, as well as the small parts that were still ongoing. From here, the daily varnish requirement would become less as various parts reached the 6 coat threshold. |
 |
|