
110 Cookson Lane | Whitefield, ME 04353 | 207-232-7600 | tim@lackeysailing.com
A local boatowner contracted me to do a few small-ish jobs on his Alberg 30 that he hadn't had time to get to over the winter. After some pre-project meetings to talk about the proposed scope of the job, as well as his desires and intentions, I eventually picked the boat up in late May and brought her to the shop.

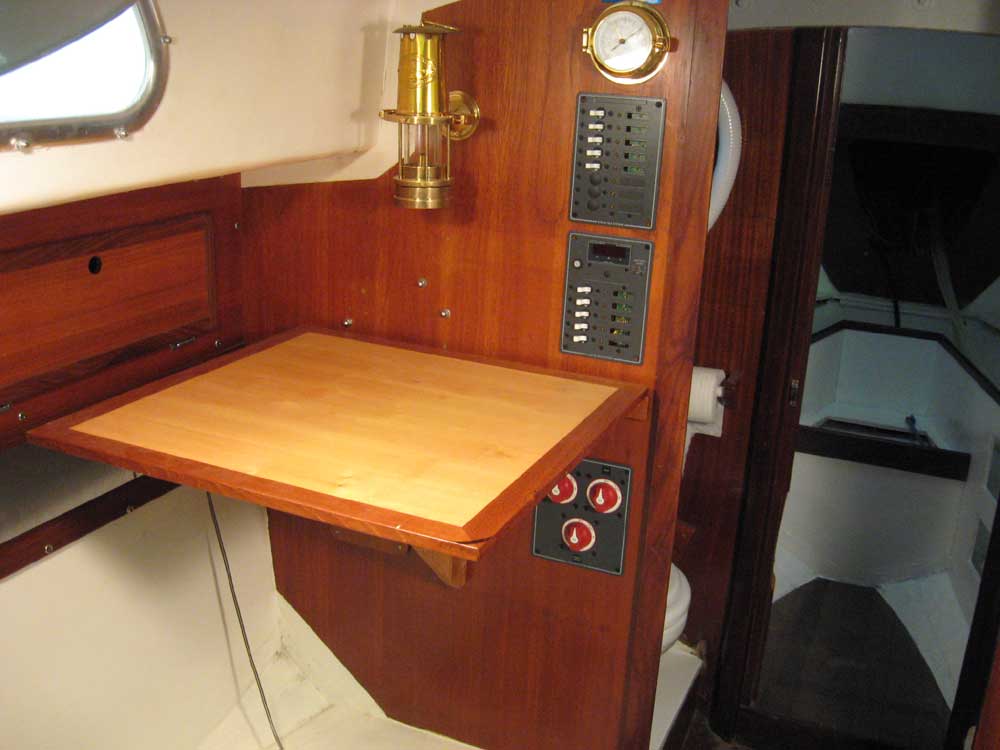
The most significant item on the agenda was to install the basics of a new electrical system--essentially the main battery cables and associated main feeds to the new panels that the owner had selected. His chosen location for the panels was in the port bulkhead at the forward end of the saloon, mainly for ease of access to the panel backs and for the dryness of the location.
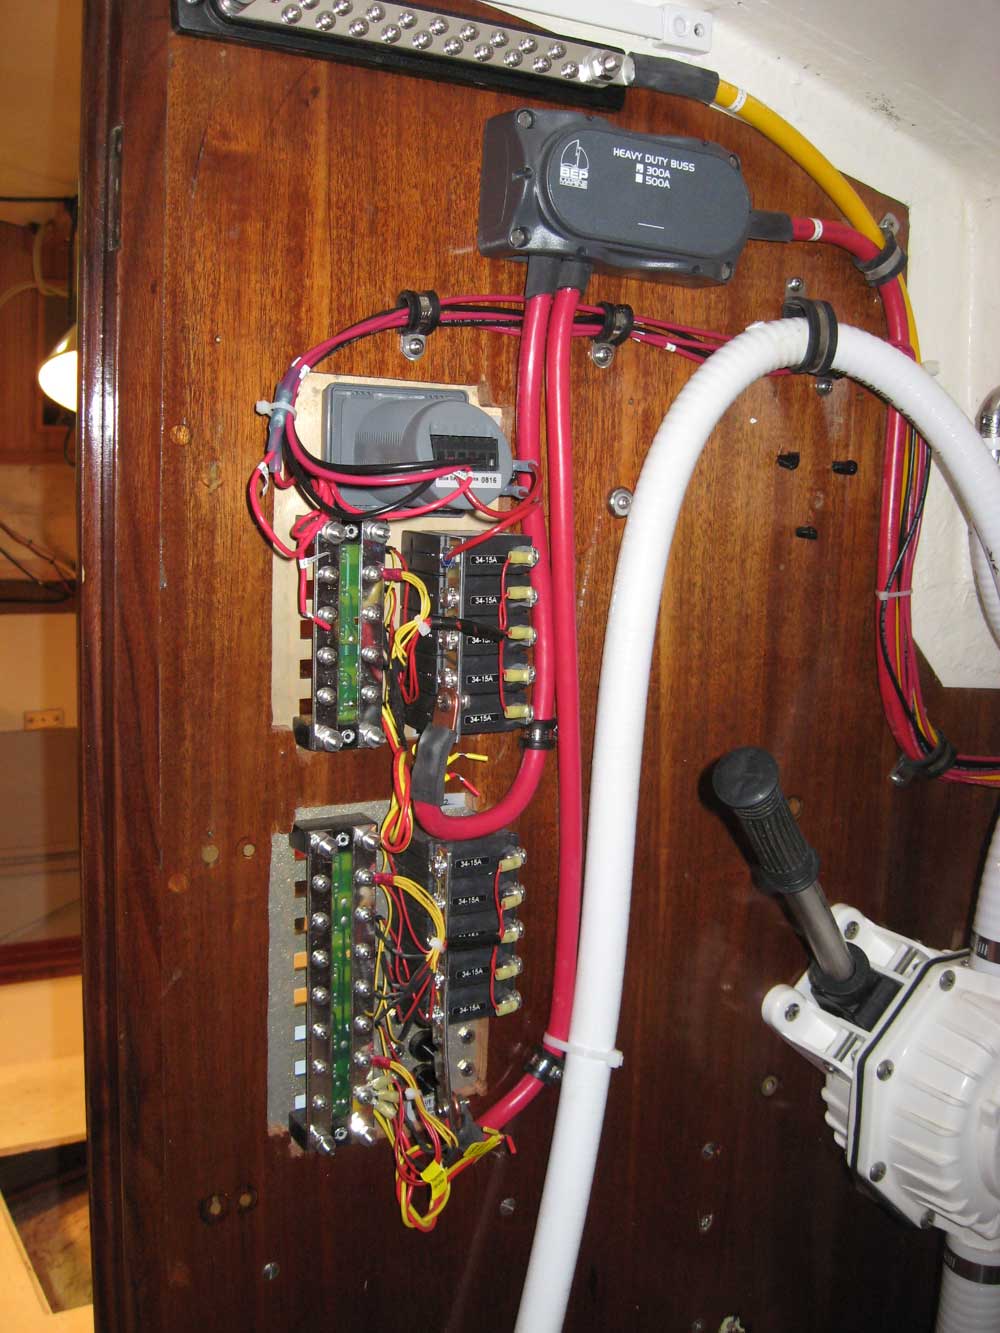
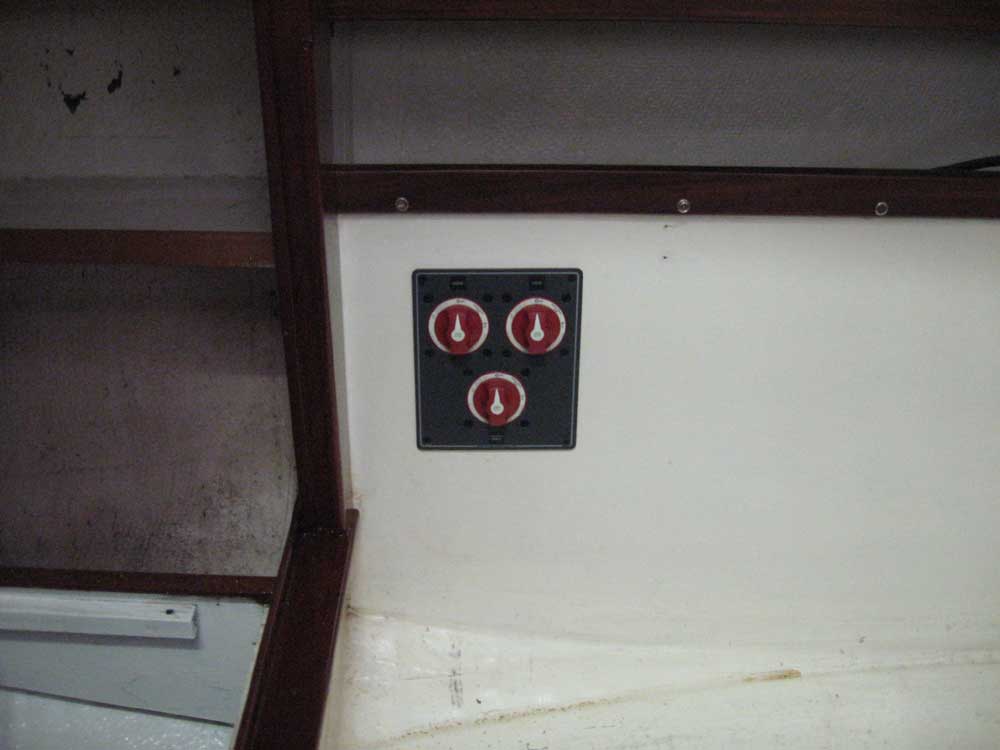
I cut the holes, installed the panels, and ran #2AWG battery cable to a 300A positive distribution buss, from which I ran individual supply cables to each of the two panels, and to a negative distribution buss for the eventual negative wires of the electrical system (not part of this job scope). Originally, I installed a three-switch battery parallel panel on this bulkhead as well, but after another discussion with the owner, we determined that this location would be awkward for a number of reasons, mainly associated with the lengths of the cable runs required and the difficulty in hiding them properly along the way.
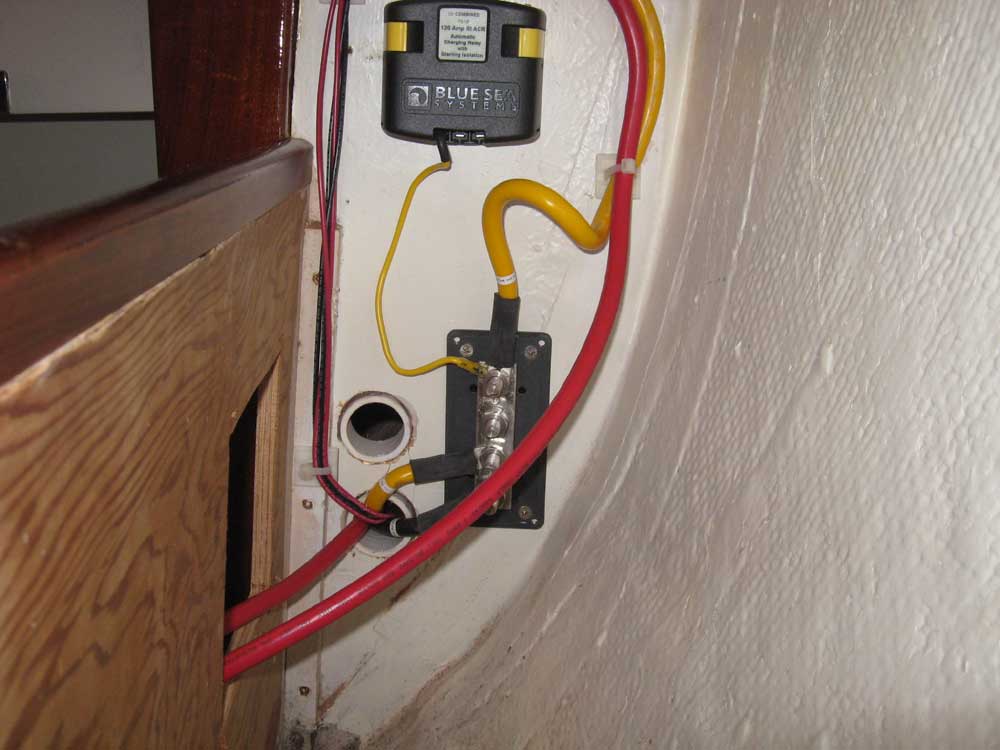
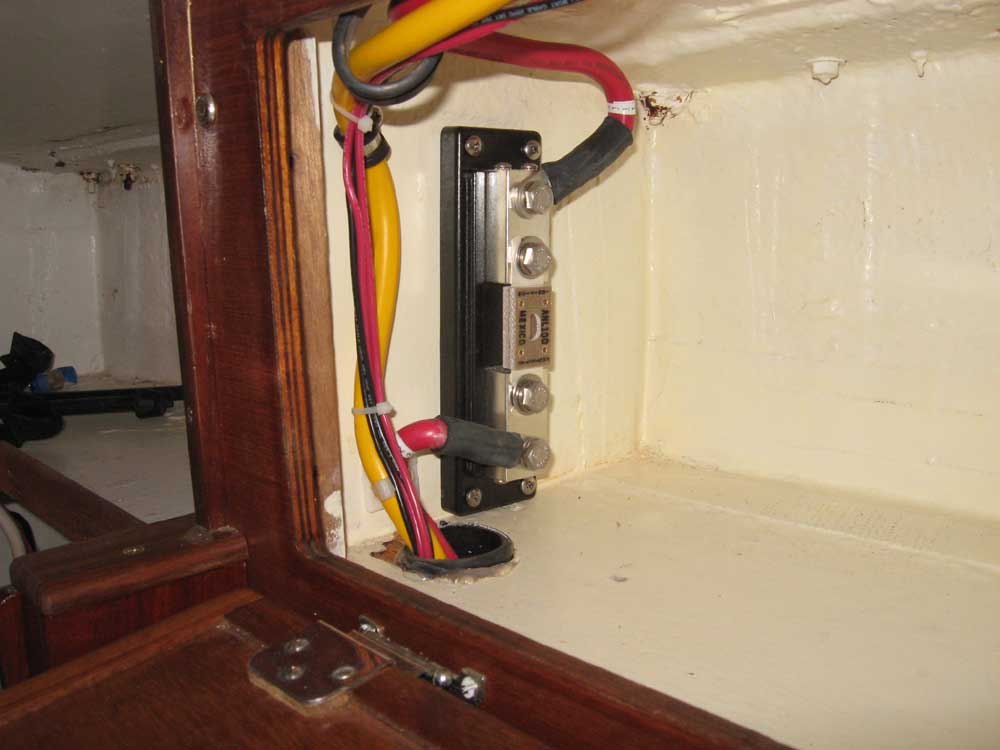
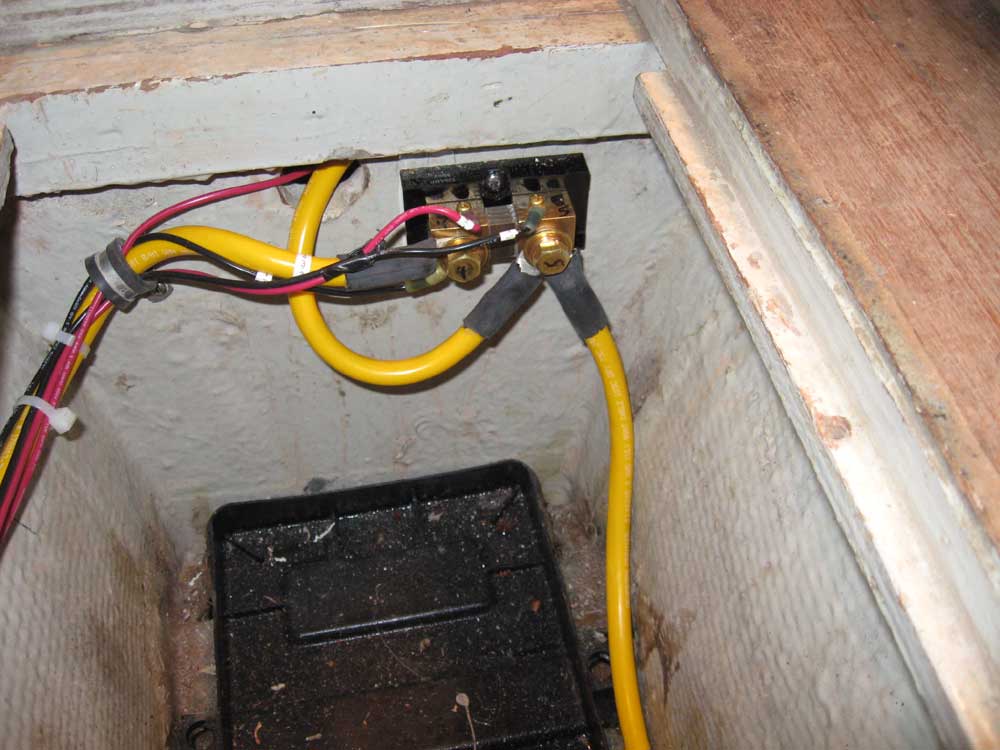
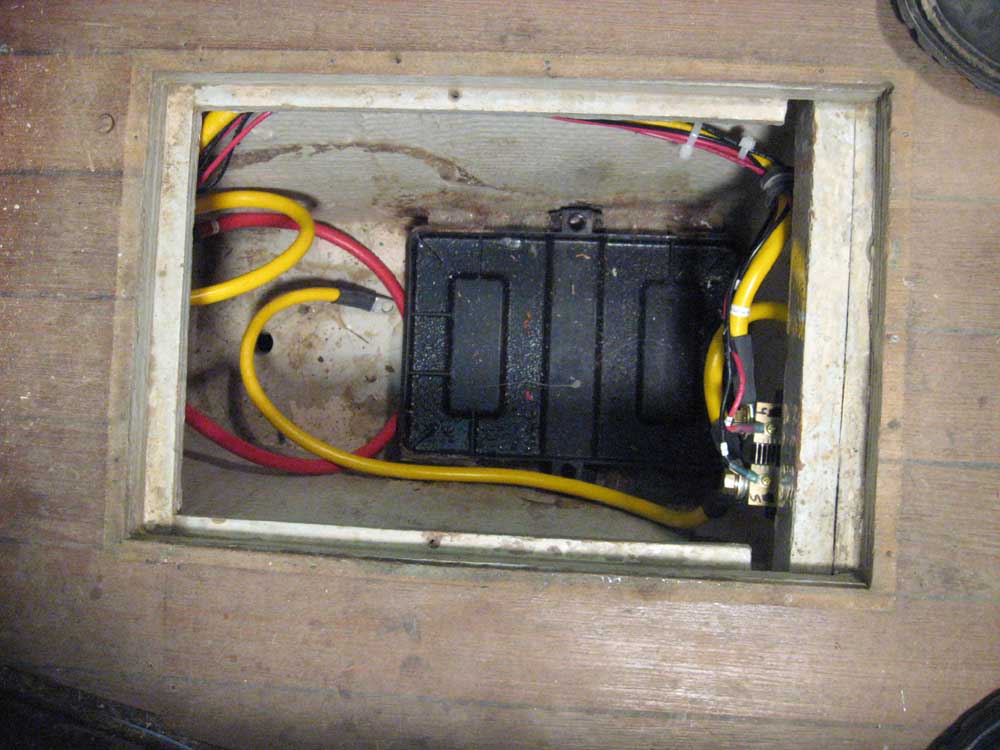
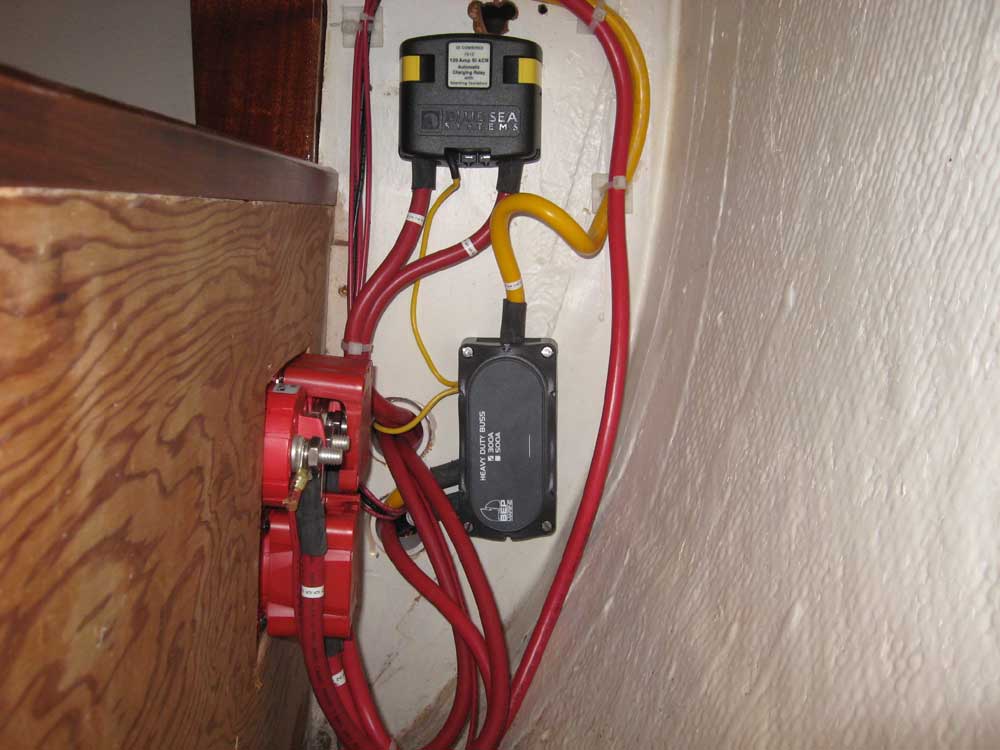
After some additional discussion, I re-installed the battery parallel panel at the aft end of the port settee back, within easy reach for service and close by the engine compartment and battery storage areas beneath the sole to minimize cable runs. Nearby, I installed other components of the basic system: a 300A main negative distribution buss; a Blue Seas Automatic Charging Relay (ACR), for automatic battery charging and isolation of two banks; and a main 100A fuse block for the service panel feed. Crucial to all element locations was ease of access for service and maintenance down the road.
I completed the necessary cable runs according to a basic schematic that I planned out using the various components' instructions and schematics as a guide. The job required 25' of yellow #2AWG cable and 75' of red #2AWG cable. I ran the wires through some of the hidden lockers, secured them with rubber-lined clamps and wire ties, and protected them where they passed through bulkhead with short lengths of hose that I glued in place in the openings.
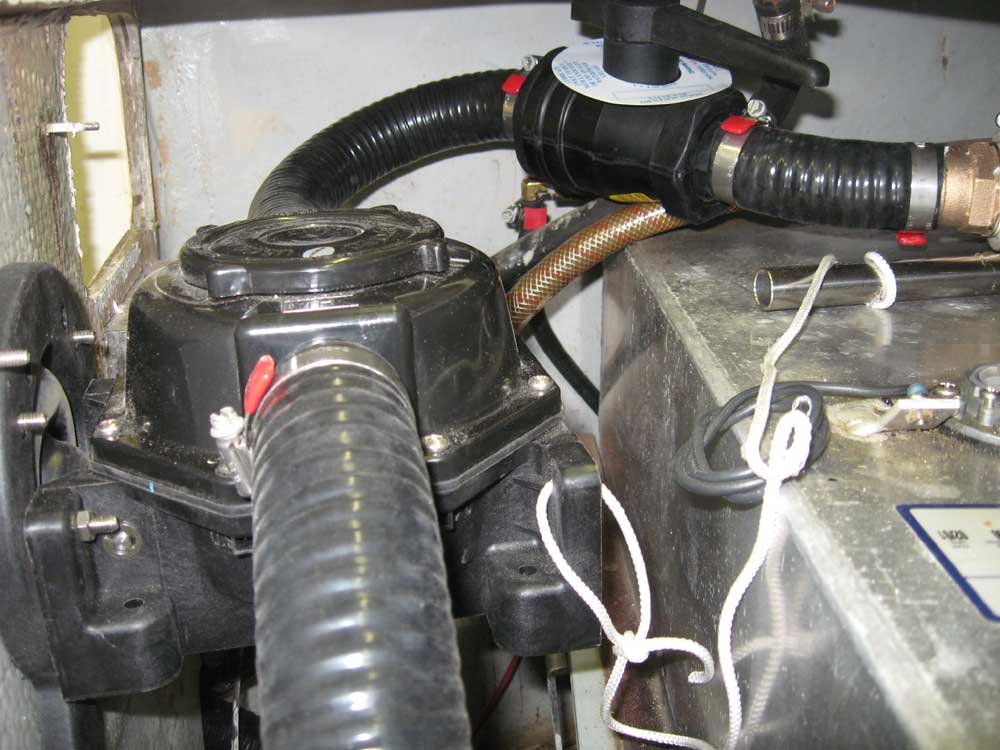
Next on the project list was to relocate and reinstall an existing electric diaphragm bilge pump. I mounted the pump in the locker beneath the starboard-side galley sink (removed by the owner and in storage), and wired it along with the existing float switch in the bilge. Then I connected it to an existing length of hose from the old installation, extending the hose as needed with a bronze adapter assembly.
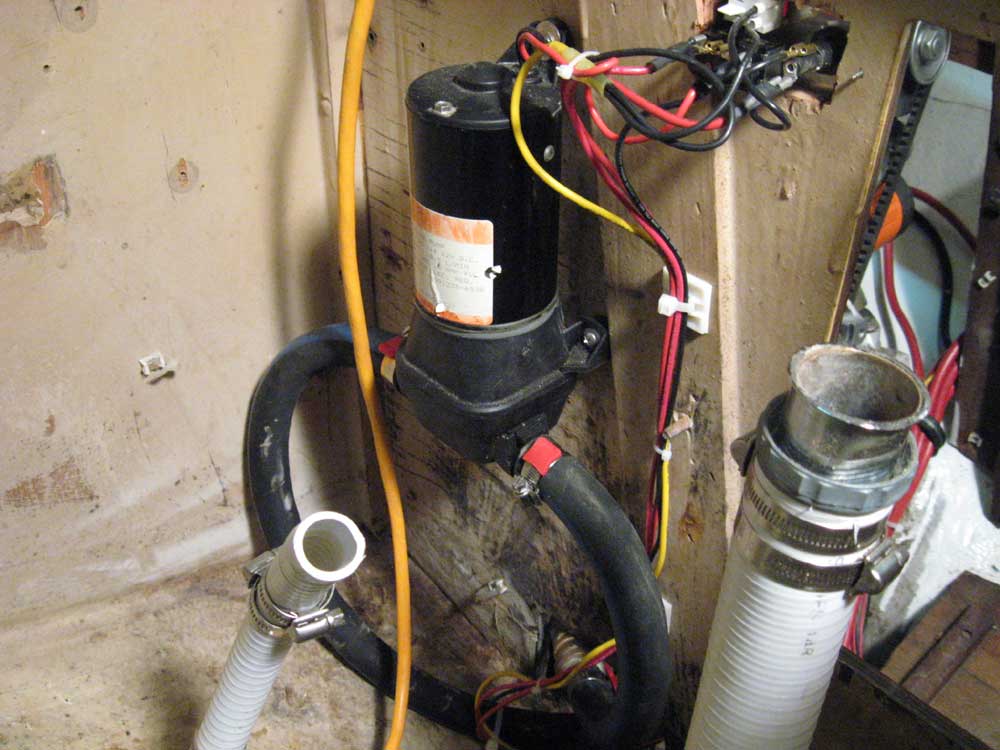
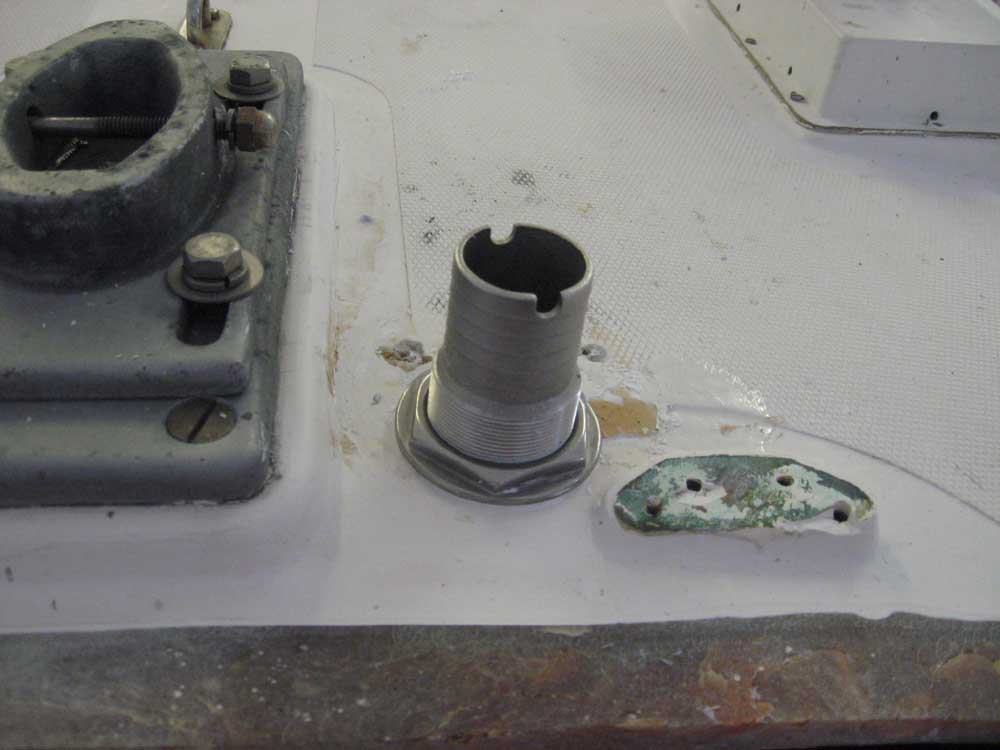
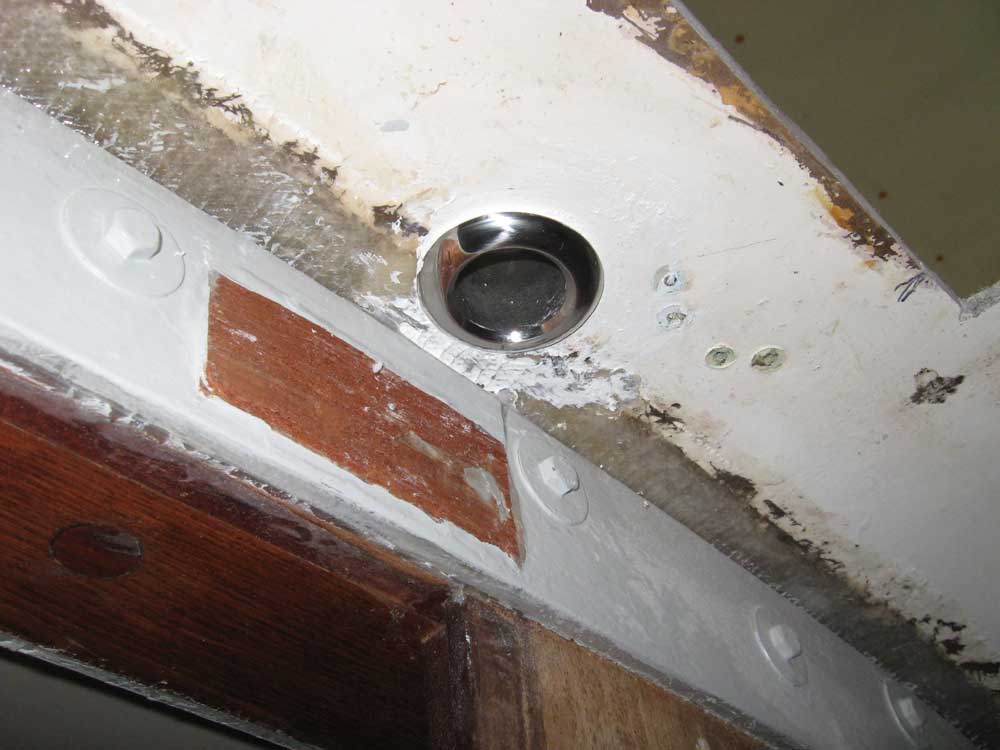
I also installed a Henderson MK IV manual bilge pump in the cockpit, with bulkhead access plate. Plumbed into an existing through hull fitting in the starboard topsides, I added a Marelon inline shutoff valve that the owner requested.
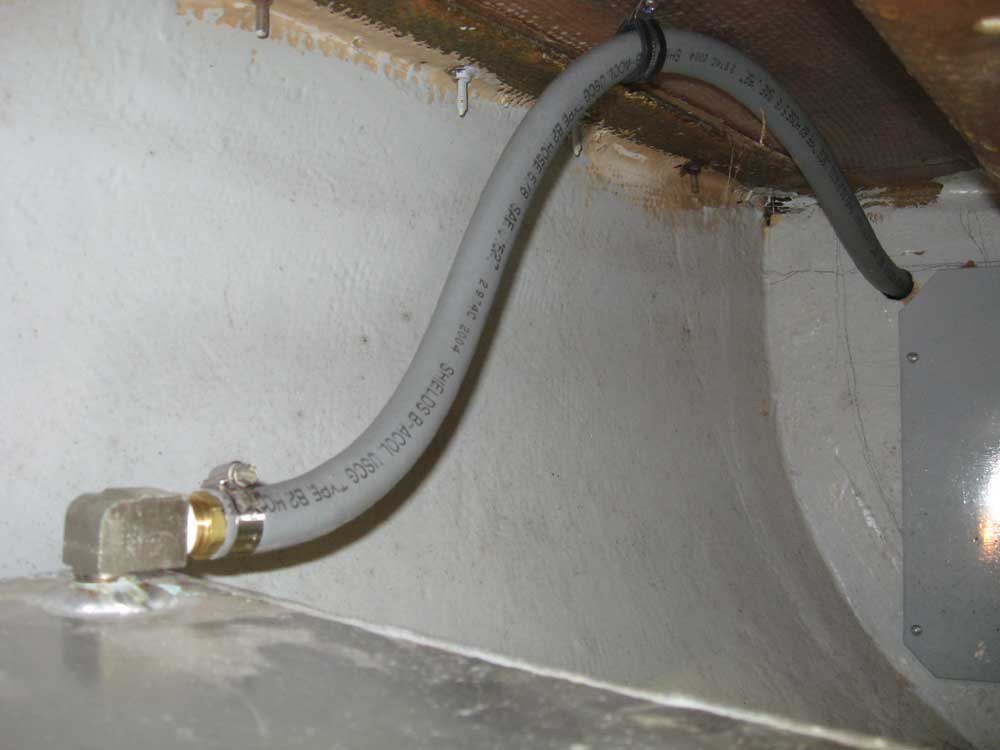
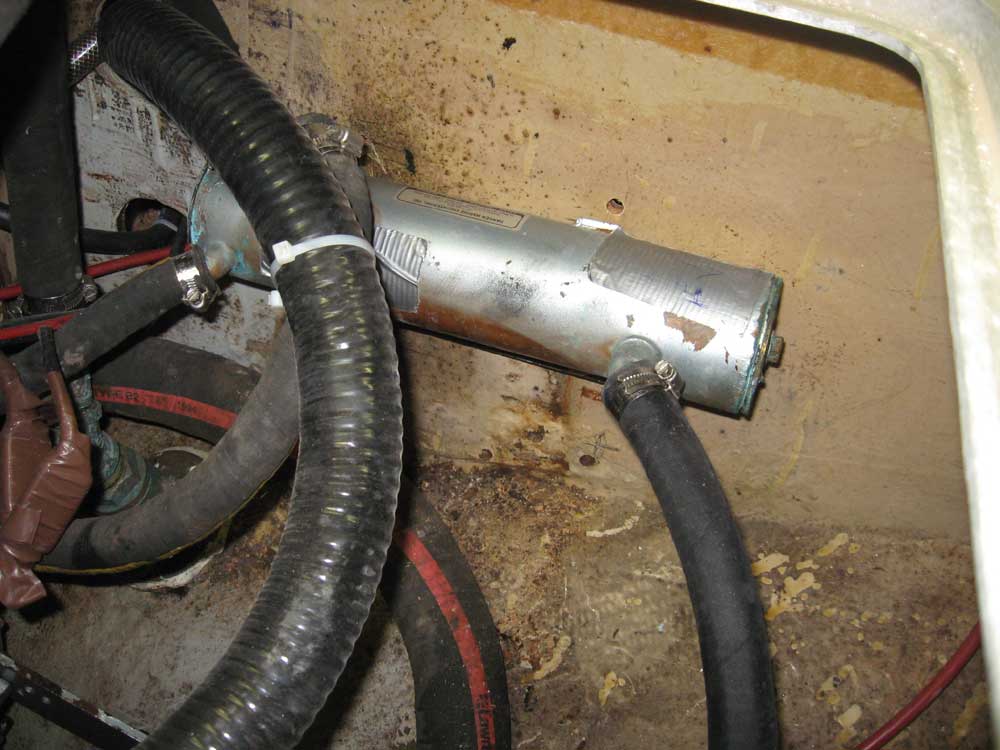
The diesel fuel filter had been located in an awkward position beneath the fuel tank in the starboard cockpit locker, so at the owner's request I relocated it to a space in the engine room for easy access and servicing. this required a new length of supply hose, but the other components were pre-existing.

The owner indicated that his diesel fuel vent line allowed fuel to exit the boat under static conditions. Looking at the setup, I surmised that because the tubing was level with the tank along its entire run, it must have been allowing the fuel to run out by gravity alone. To correct this issue, I replumbed the vent with new hose and fittings, and ran the hose upwards as high as possible immediately after the tank to provide a head that I hoped would eliminate the leakage.
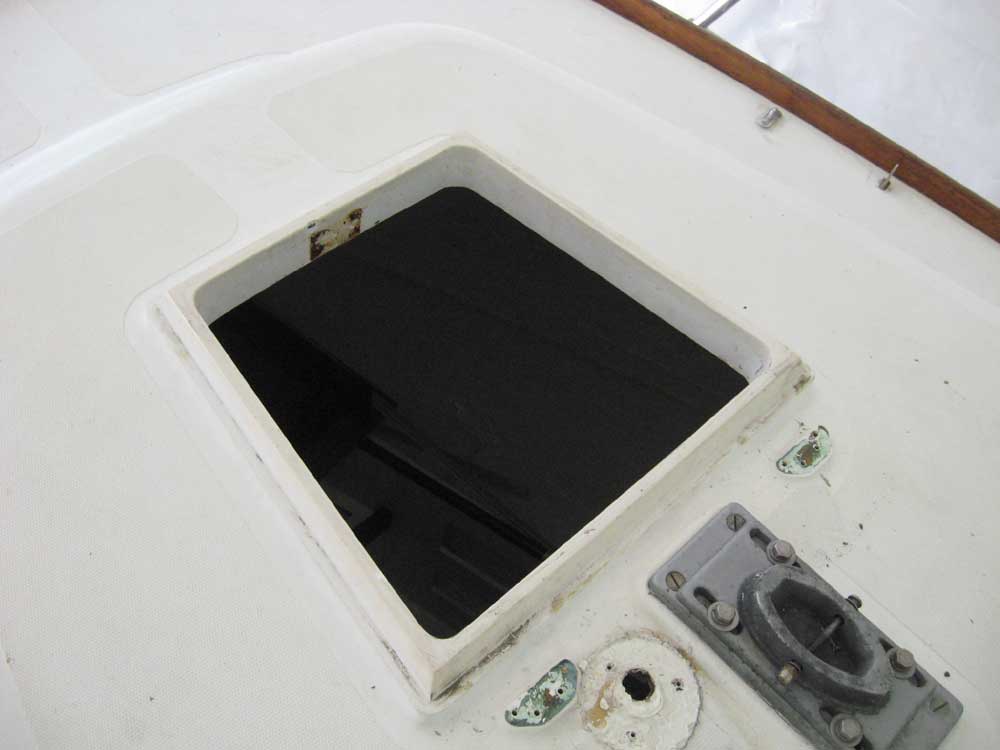
One project that became accelerated to my list, when it had not originally been on the list, was to replace the forward hatch; the owner had planned to replace it himself later, but during the transport to the shop the unsecured hatch flew open and broke, essentially ruining the existing hatch. The owner decided to have me replace it with his new Lewmar ocean series hatch while the boat was here.
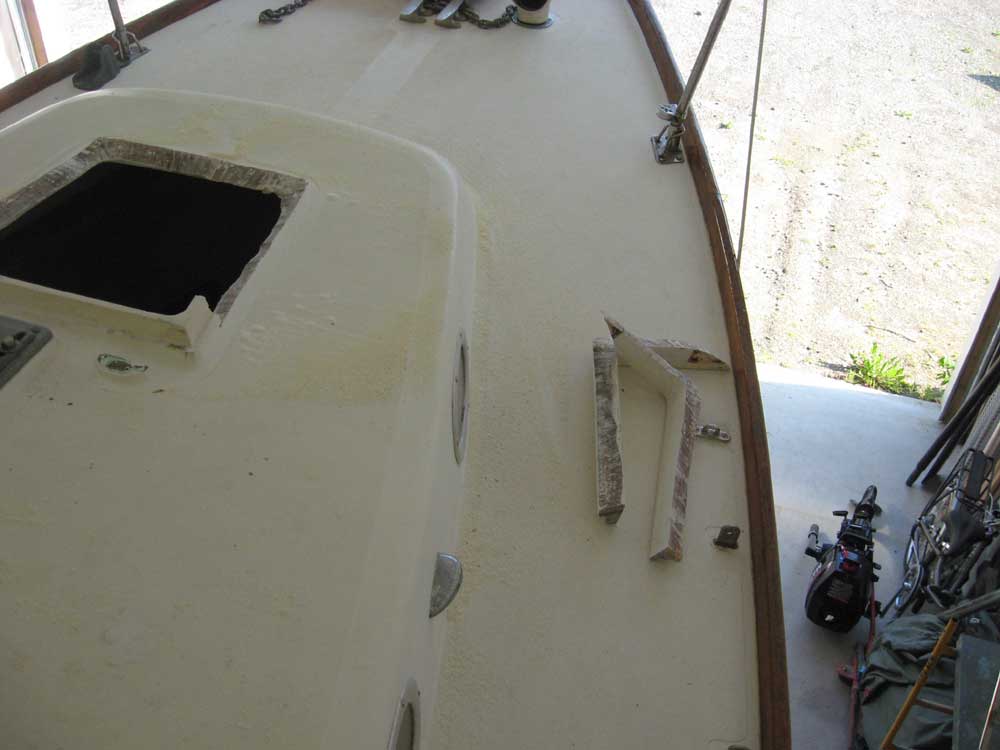
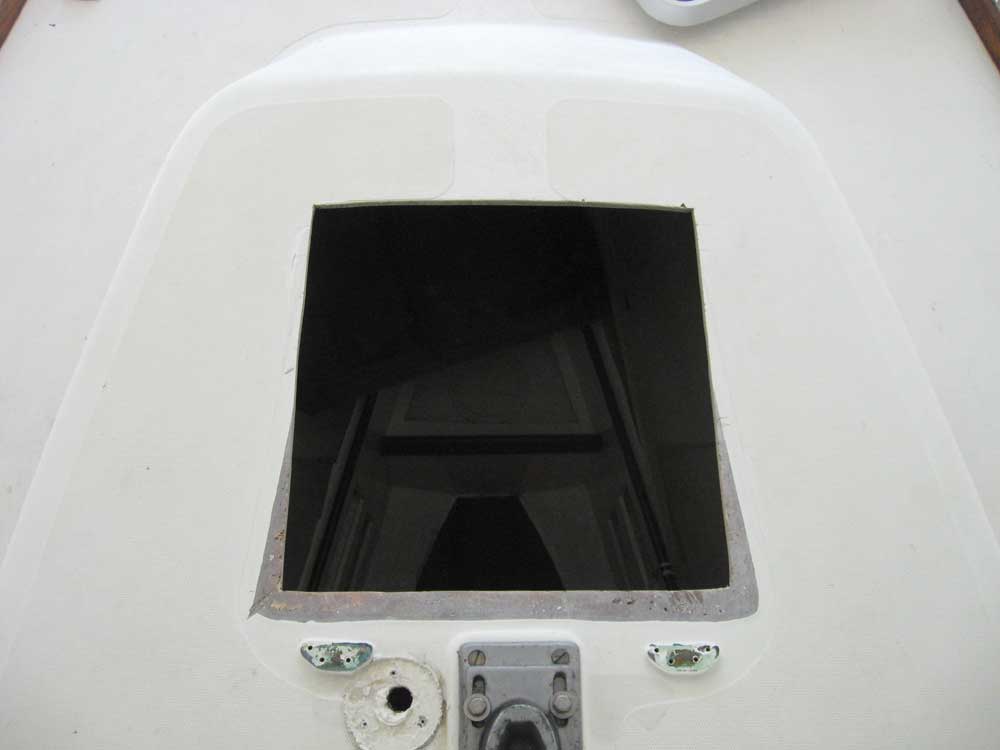
The old trapezoidal flange had to go, so I used a Sawz-all to cut it away; the flange was solid glass, or solid resin with chopped strand at least. I left a section of the old flange at the aft end because I realized that the new hatch was just a bit narrower than the old opening at this end, and to have cut away the entire flange would have required rebuilding part of the opening before the hatch could be installed. Instead, I cut and ground the after corners flush with the adjacent decks, avoiding the need for any significant work to fill in the hole.
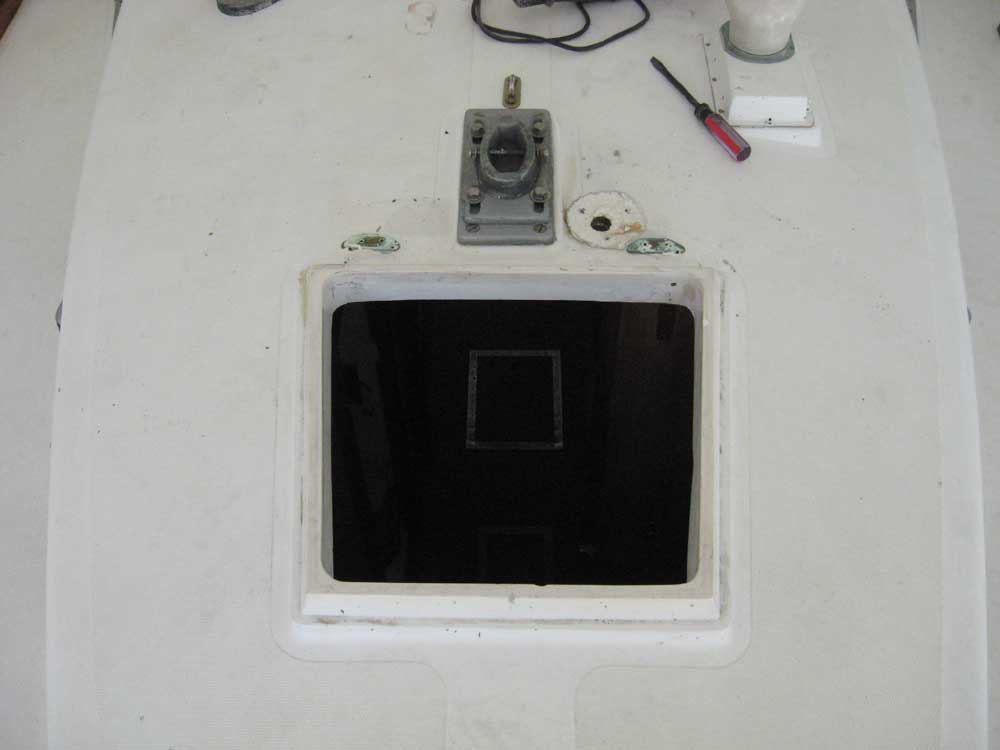
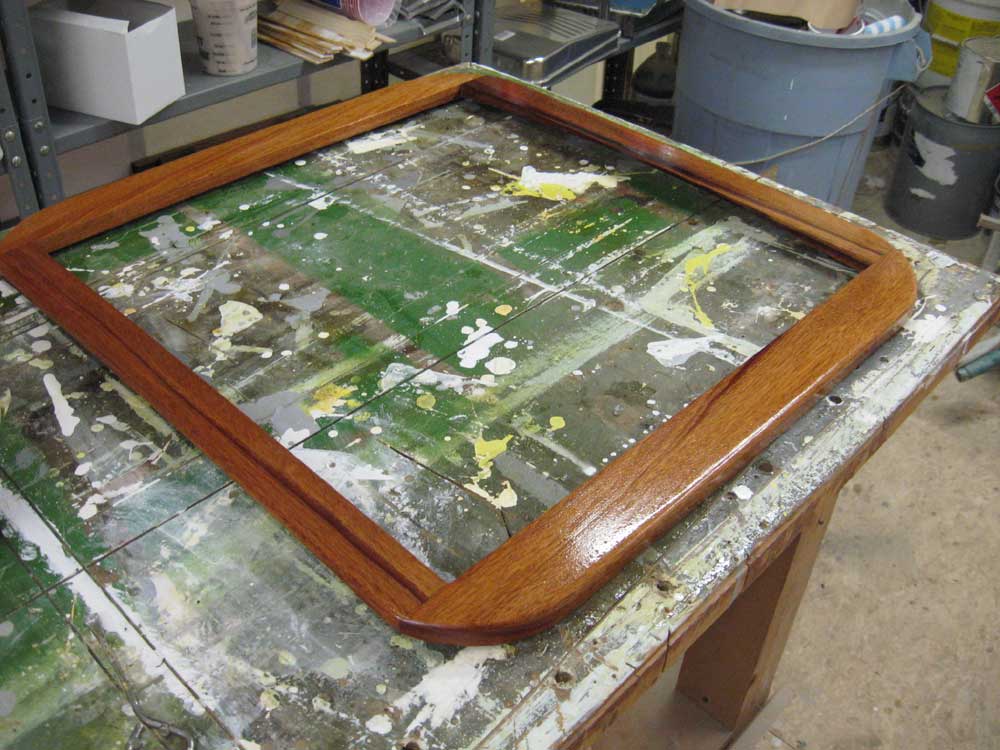
I built a mahogany frame to support the new hatch, and scribed frame to match the contours of the deck. After sanding, shaping, and 6 coats of varnish, I installed the frame and hatch in a single operation using 4200 sealant and #10 through bolts with fender washers through the entire assembly, per the owner's request.
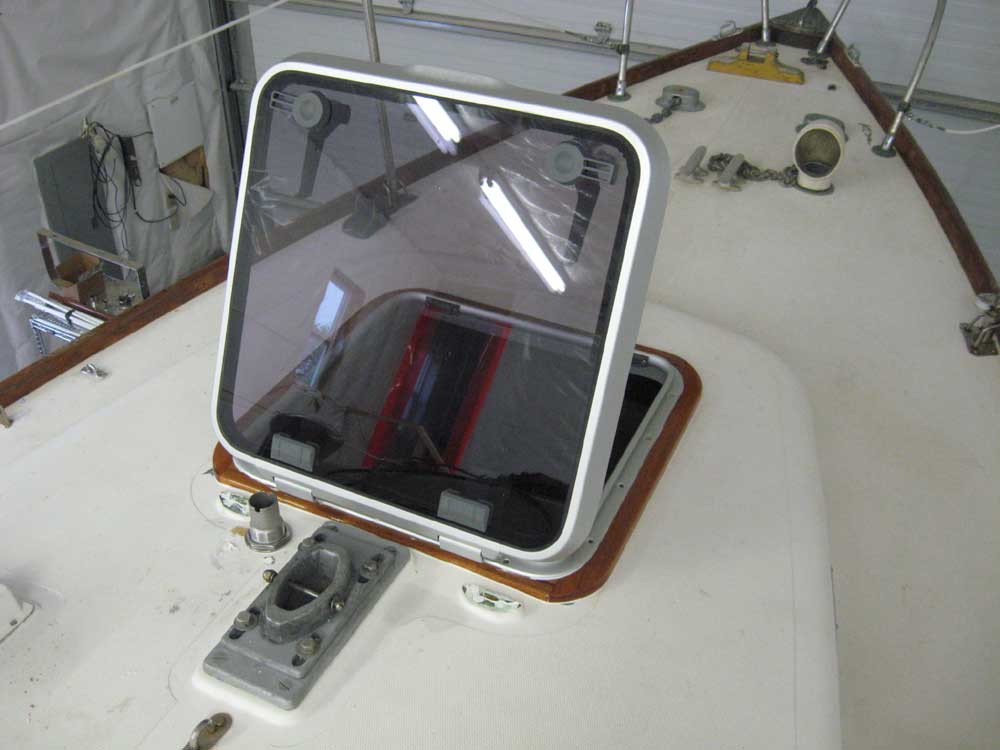

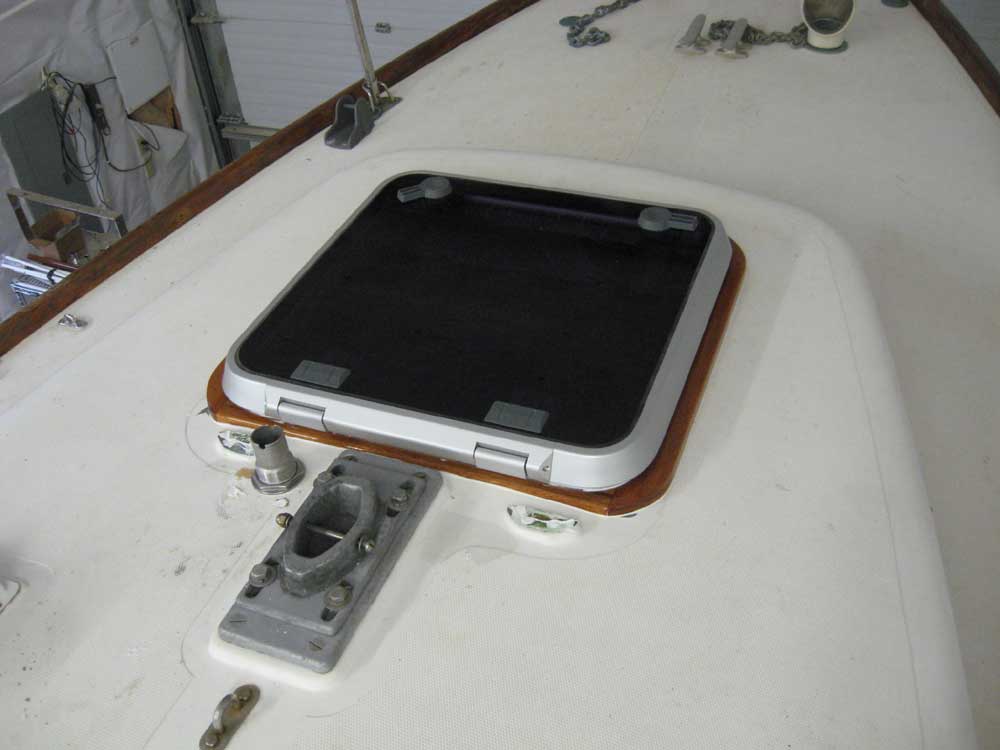
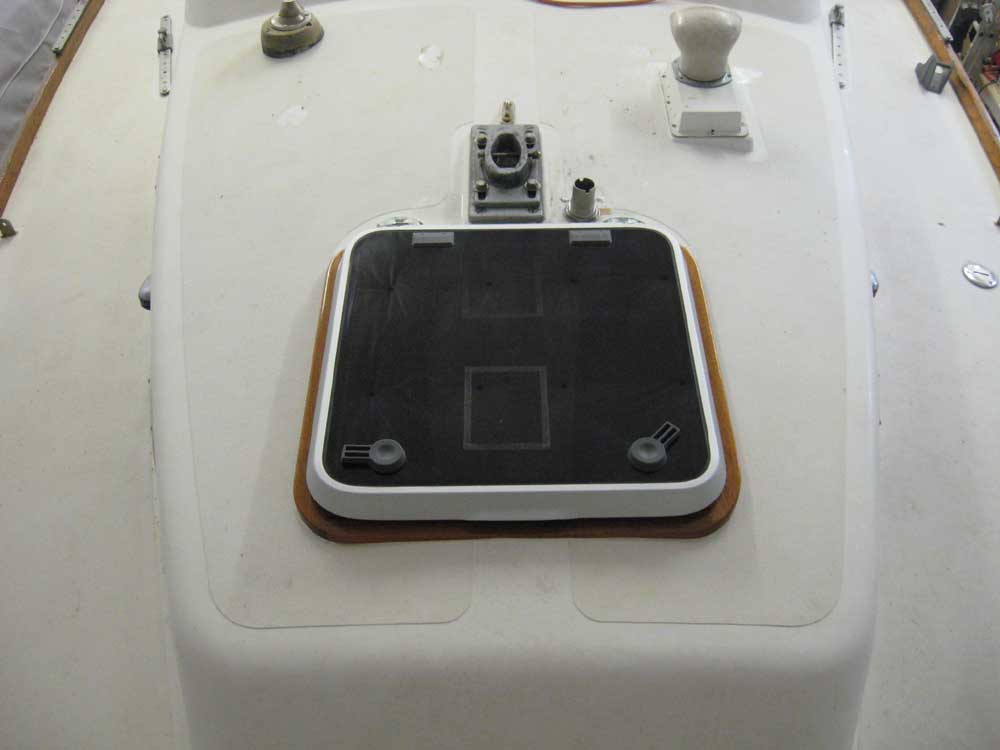
The top photos show the old setup; the lower photo shows the new setup.


With the jobs on the project list complete, the owner made plans to launch the boat shortly thereafter.

Total billed time on this job, including trucking time: 40.25 hours
