| Kaholee Refit |
October 20, 2007 As I continued to work to complete the wiring connections, I knew it was time to get the transducer cable run back to the panel area so that I could conceivable wrap things up. With the custom transducer fairing now complete, it was time to test-fit the transducer and run the cable. Transducers are a frustrating
invention: they come with a permanently-attached cable that is, by
design, far too long for most installations (which is much better than
too short, of course), which means that any simple test-fitting must
first begin by feeding 50' of cable through the hole. Then, when
the housing inevitably doesn't fit quite right, requiring some reaming
of the hole and minor adjustments, one must then remove all the cable
once more to allow for safe access to the inside of the hole for tools. Inside the boat, I temporarily secured the transducer with its nut. I left plenty of slack in the cable at the transducer end, and ran the remainder back through the bilge (with no other realistic option available to me) and engine room, and into the electrical service area, with plenty of slack available at this end too. Even though I didn't plan to permanently install the transducer just yet, at least I had the cable in place so I could begin to truly wrap up the wiring connections once and for all. |
|
|
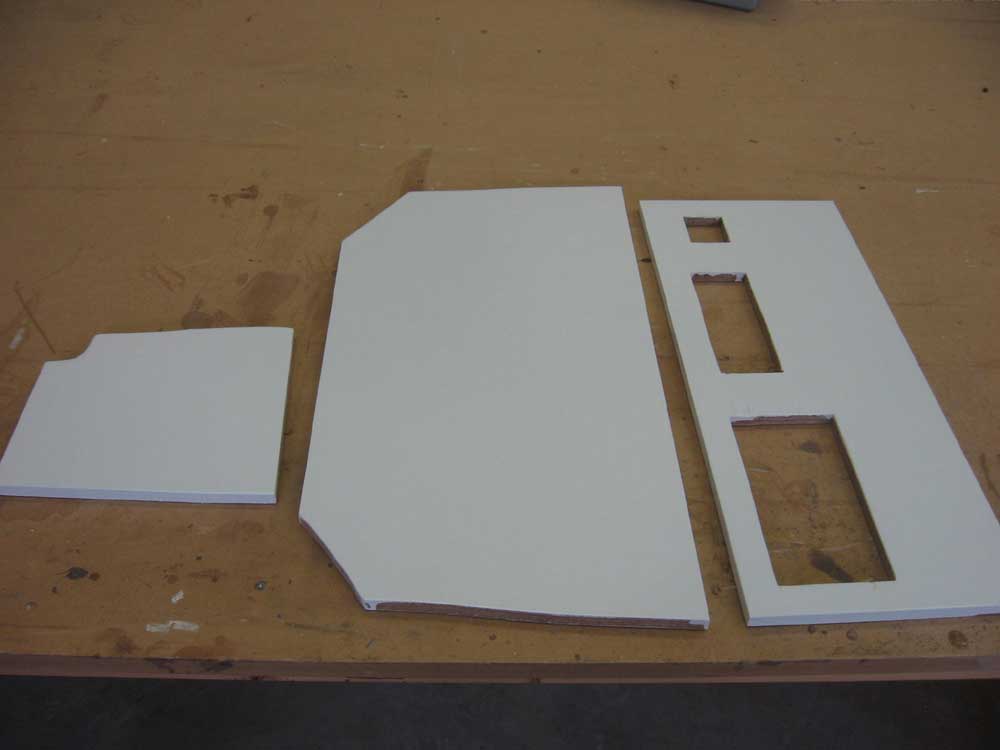
The plywood panels I built for the electronics sub panel were complete now, with 2 coats of the same semi-gloss white paint as in the other parts of the cabin, but I left them for another day or so before installation just to allow the paint additional time to cure. Plus, I wasn't quite ready to install them just yet anyway. |
|
|
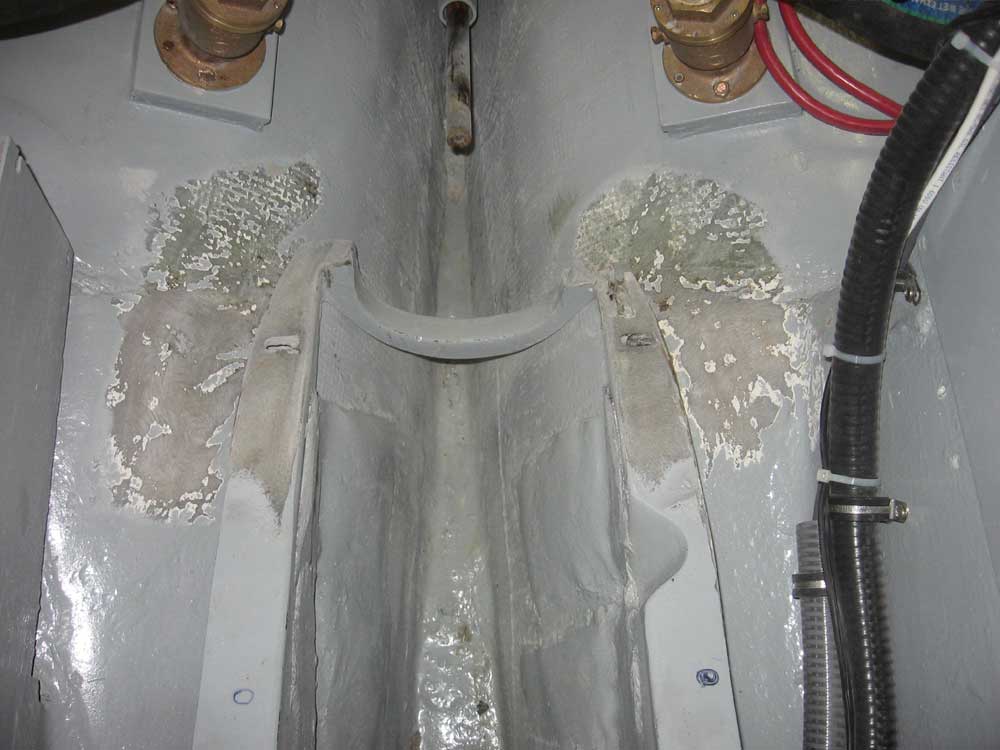
With saw and grinder in hand, I clipped the after end of the port engine foundation along the lines I made yesterday, and ground the paint away from the adjacent areas of the foundation and bilge to prepare for the upcoming modifications, which I planned to begin as soon as the requisite materials arrive on Monday. The cut area, on the right side of this photo, is difficult to see, but it's visible should one care to inspect things closely enough. |
|
|
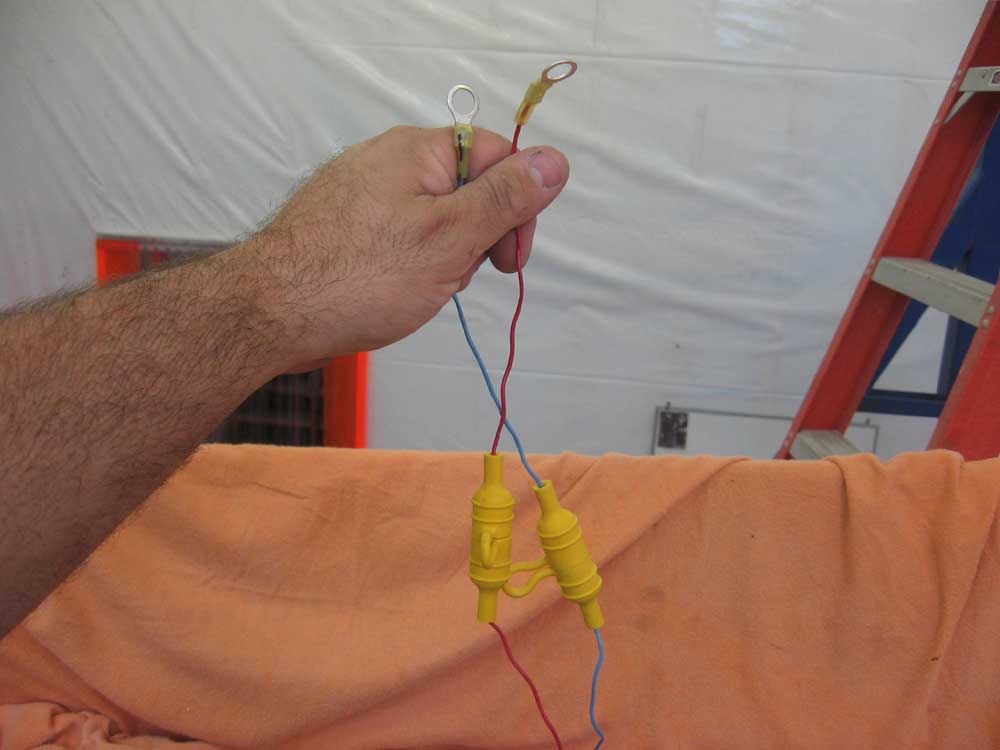
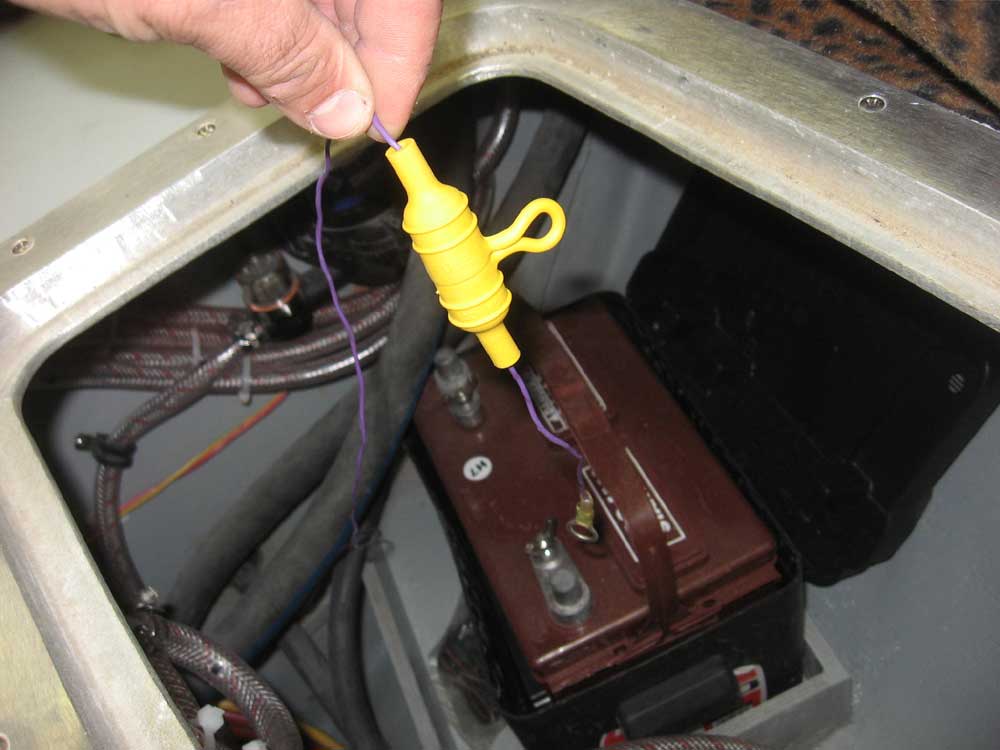
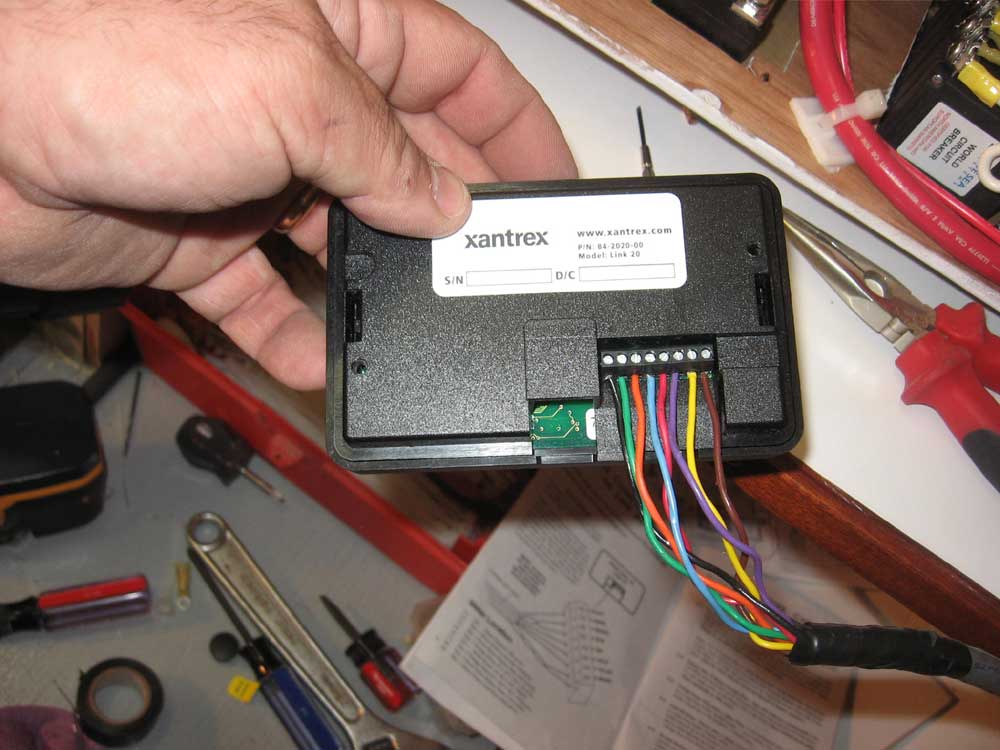
I spent the rest of the day on various aspects of the never-ending electrical installation. With a length of twisted pair cable on hand, as called for by the Xantrex monitor, I focused on getting the monitor wires run and terminated as necessary. Of course, with the house and engine batteries located on opposite sides of the boat, a sheathed cable was of little use--and, in fact, of significant detriment--so I had to remove the sheathing from the cable so that I could separate the three wires required: one wire run to the engine battery, and two to the house battery, as directed by the Xantrex installation instructions. These wires required inline 2-amp fuses within 7" of the battery, so I installed waterproof fuse holders the appropriate distance from the end. |
|
|
With those three wires complete (though not yet connected to the batteries...nothing is yet connected to the batteries), I worked on the remaining connections of the Xantrex cable: two twisted pair to the appropriate terminals on the shunt, and a ground wire to the ground terminal on the shunt. Then, I made the 8 connections to the back of the monitor itself and into the teeny-tiny terminals there. Over the section of cable that was still twisted together, I reinstalled a portion of the previously-removed sheathing just to keep things neat and clean. |
|
|
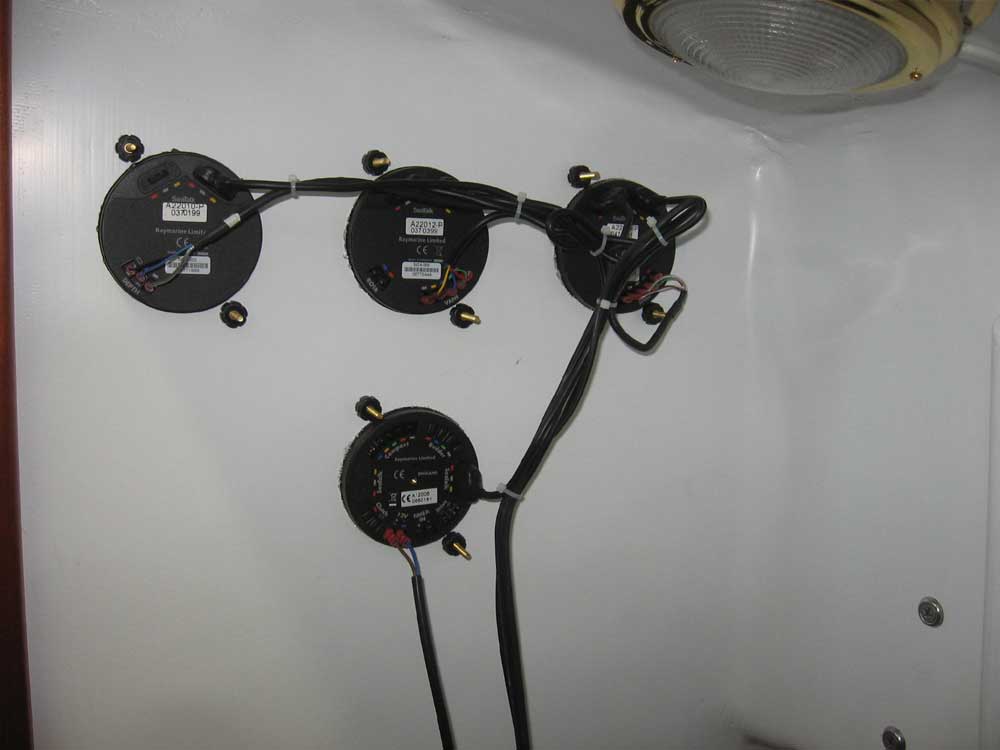
I ran a final length of #2AWG battery cable (yellow) from the negative distribution buss to the engine room, for the ultimate grounding of the system, and then worked on a variety of nondescript wiring tasks, from rewiring the emergency bilge pump switch through the fuse block (rather than using an inline fuse as I had originally intended), to running yet another pair of wires over to the electronics sub panel (for the GPS and chartplotter/radar monitor), to beginning the connections for the Raymarine ST-60 instrument pack, using various SeaTalk cables to interconnect the instruments, connecting the transducer and wind instrument cabling, realizing that I still had to locate and run the cables for the autopilot's fluxgate compass and tiller control arm (see what I mean about never-ending?), and so forth. This sort of work is time-consuming, yet shows little in the way of visual progress; therefore, here is one photo only showing the now-interconnected Raymarine instruments. More work remains here. |
|
|
|
|
|