| Kaholee Refit |
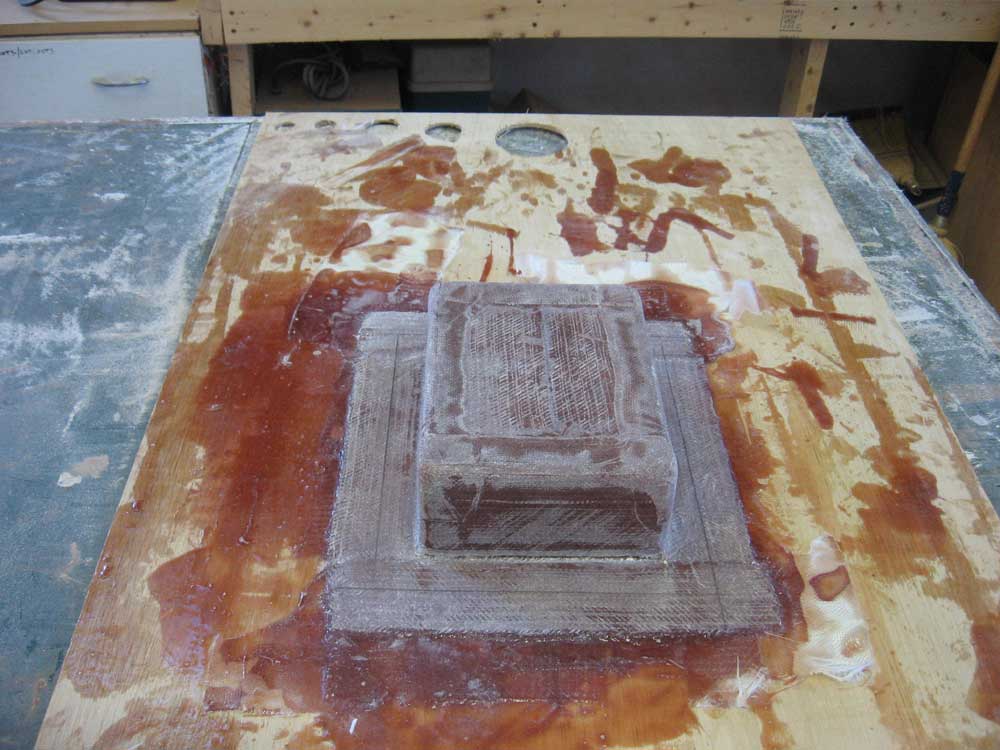
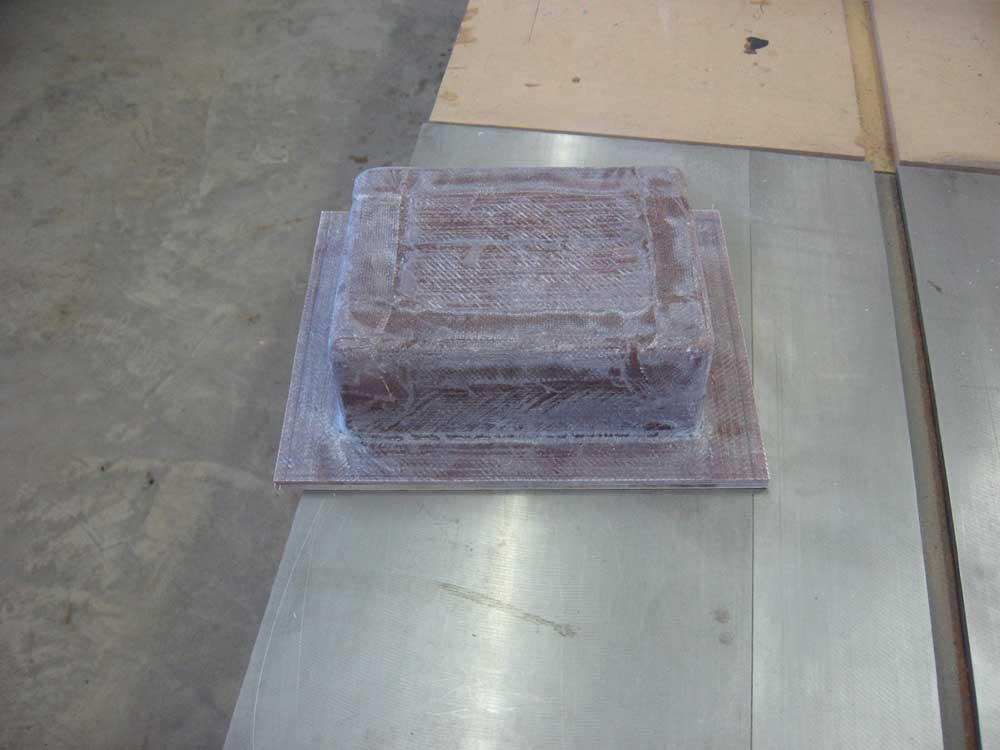
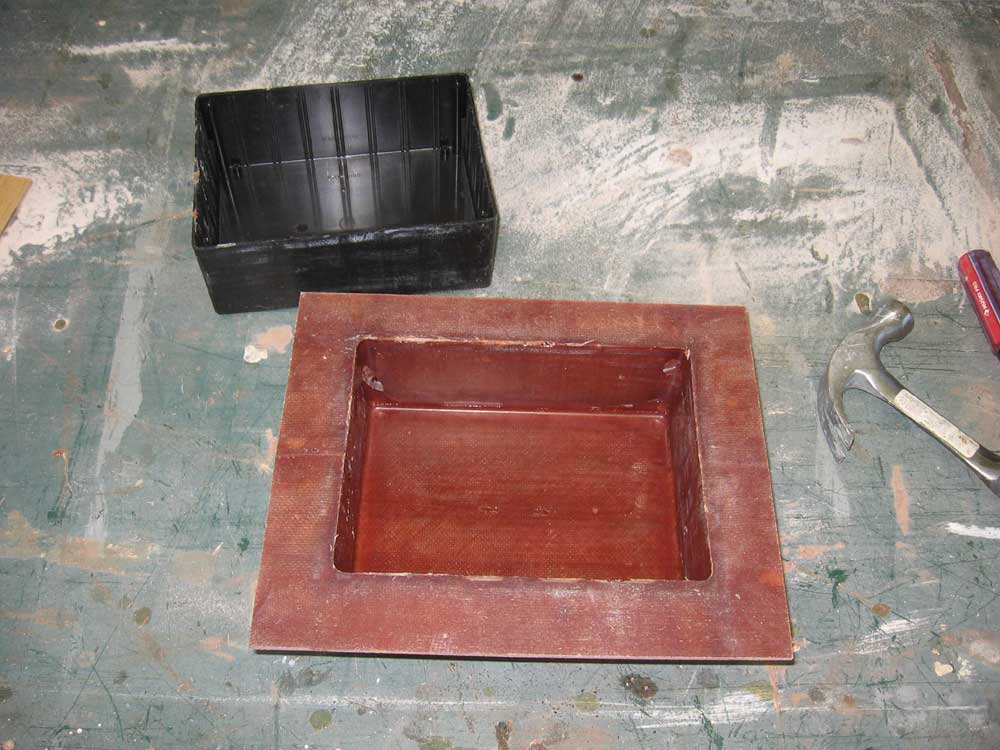
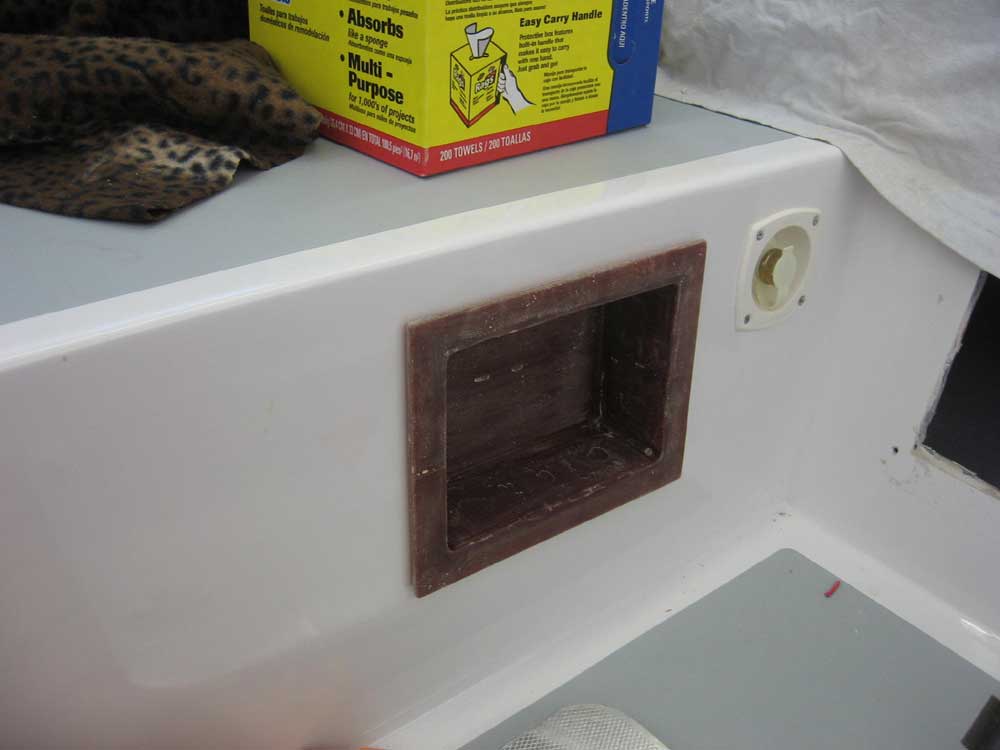
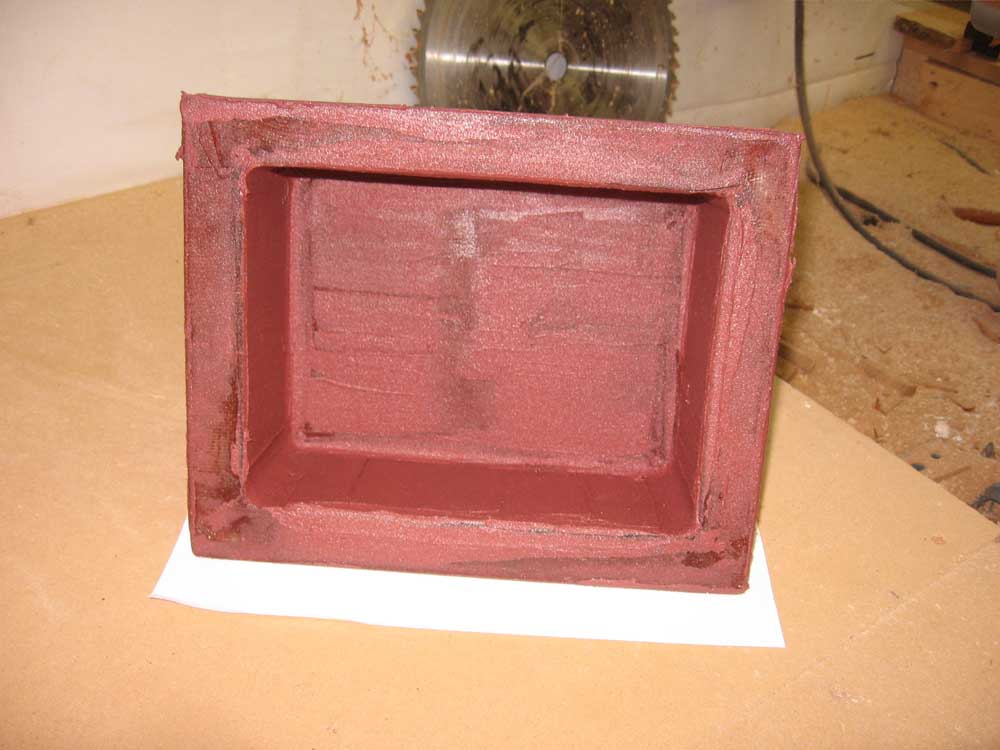
October 4, 2007 After running some errands this morning, I got started by unmolding the custom shower box. When I glued the plastic mold to the plywood at the beginning of this project, I kept one edge parallel to the plywood edge, with a mind towards ease of trimming at this stage. So with one known straight edge, it was easy to trim down the plywood and some of the oversized laminated flange using the table saw. In this manner, I removed the excess plywood and most of the unnecessary flange width, though for now I left the flange about 1/4" wider than necessary to allow for final trimming once I unmolded the part. With the excess removed, it was easy to pry off the plywood from the flange; a putty knife removed the heavily-waxed plywood with no trouble at all. Next, I worked on removing the plastic project box mold from inside the new part. It was easy to get a putty knife in along the edges, and then by using a screwdriver on one edge to sort of bend the whole plastic piece, the bottom and corners released quickly, allowing me to pull the mold out in one piece. I was quite pleased with the overall result. There were a few small voids here and there, which I had expected, but in general the part looked excellent. I worked for several minutes to clean up the part and remove the wax, first using a degreasing/dewaxing solvent (a couple times), then acetone to thoroughly clean up the inside of the part and prepare it for the minor filling required. Then, I marked out the final dimensions of the 1" flange all the way around, and trimmed the piece to its final shape using the table saw again. The new box fit a little tightly in the opening I had cut in the cockpit, but I could fix this with only minor reaming of the opening. |
|
|
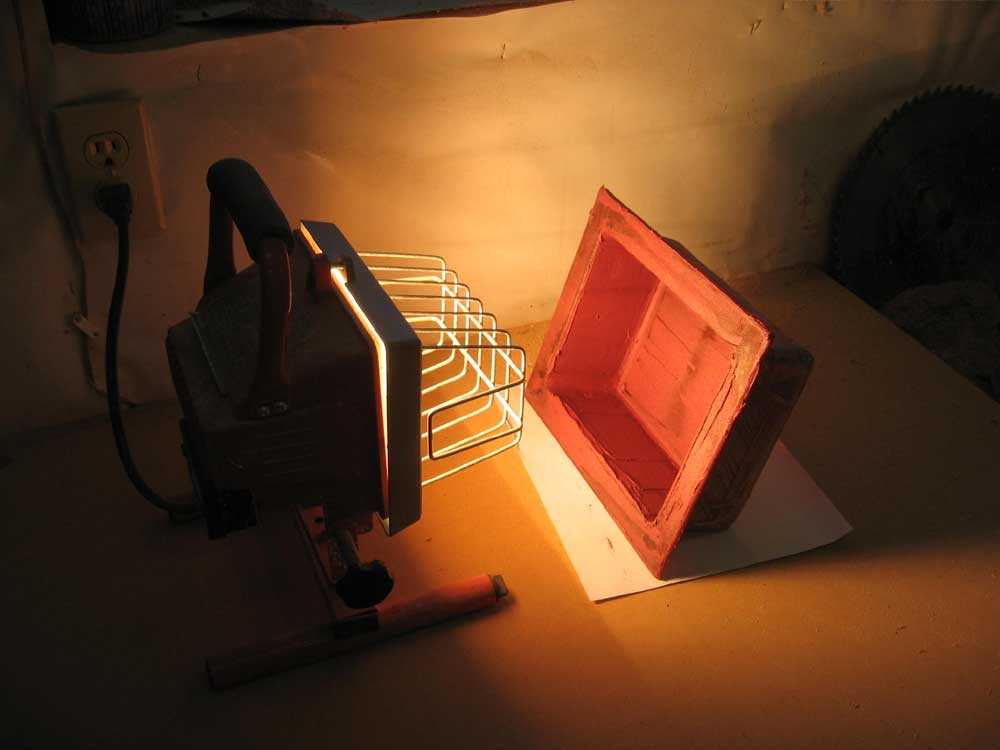
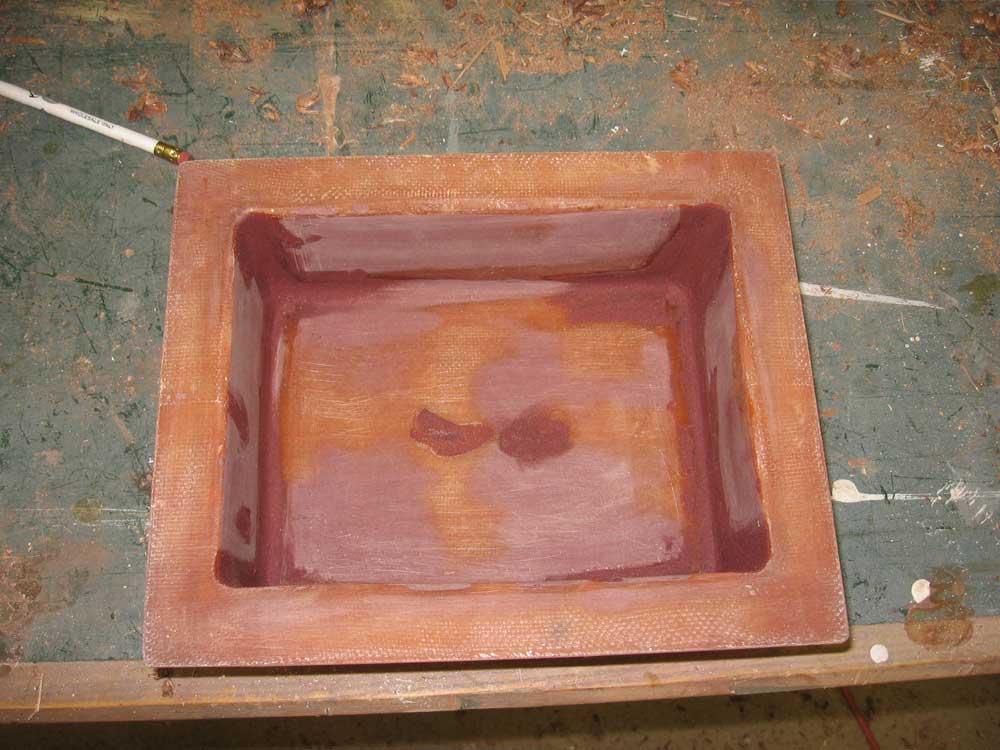
After sanding the interior, I applied some epoxy fairing compound to fill the minor voids and clean up the corners as necessary. I set this aside in front of a heat lamp to cure. After a couple hours under the heat lamp, the epoxy was cured enough to sand it smooth. I wasn't happy with the way the inside corners looked, so I applied a second coat of fairing compound to smooth out the contours. |
|
|
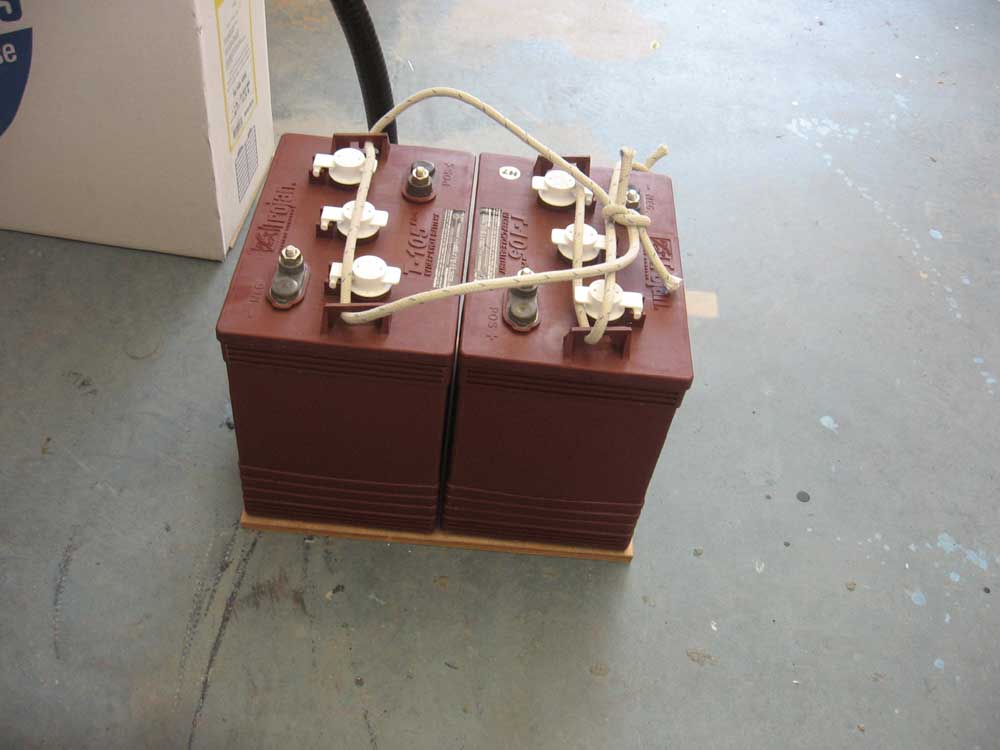
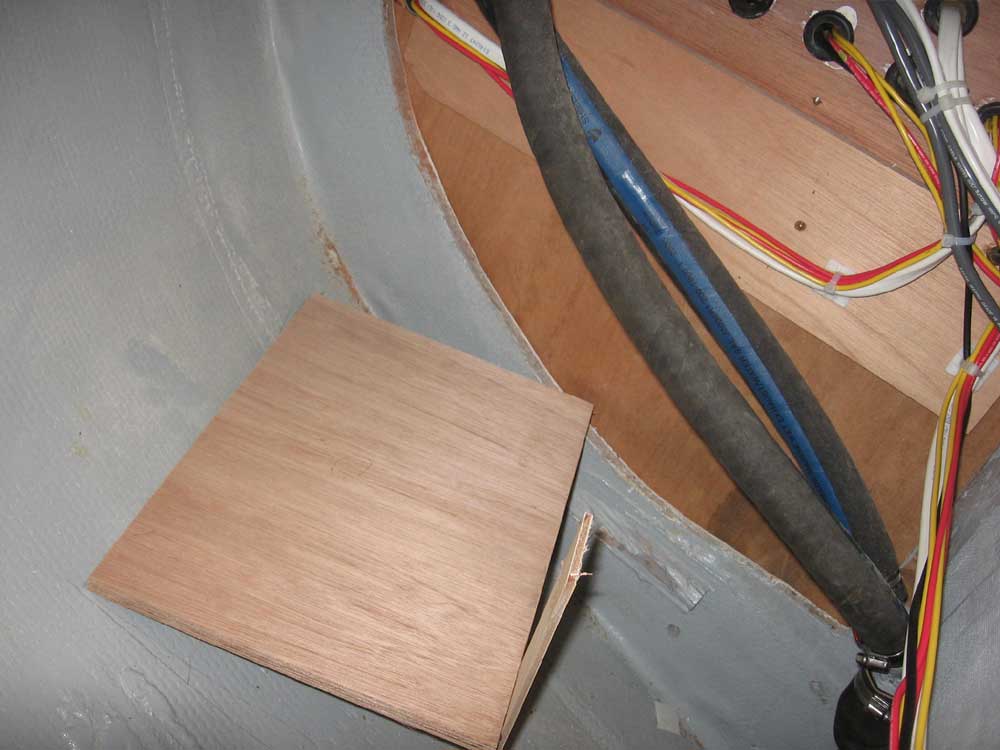
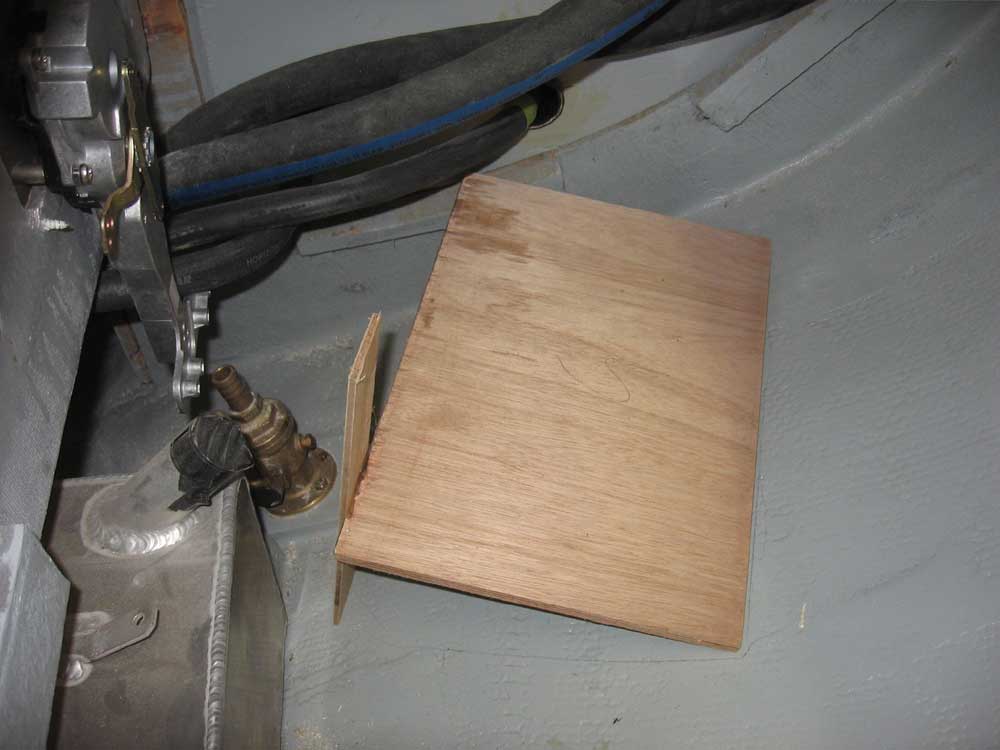
While the shower box cured, I began work on two platforms for the ship's batteries, using a newly purchased sheet of 12mm Meranti plywood. After determining the correct size required to tightly contain the twin T105 house batteries, I cut two platforms of equal size. I made the two platforms the same size to help more easily accommodate an additional pair of T105 house batteries if someday this need should arise; for now, however, I planned to install a standard plastic battery box on the second platform to contain the group 24 starting battery. |
|
|
With the basic platforms cut to size, I worked on creating the necessary support structure inside the boat. We chose to locate the batteries at the forward ends of the two cockpit lockers, and after some fiddling around I settled on a location for the platforms, paralleling the hull on the exterior and tight to the bulkheads at the forward edge of the lockers. I temporarily supported the platforms with a thin plywood batten that I hot-glued in place so that I could make scribed patterns for two plywood supports on each platform: an after support, conforming to the hull curve, and a roughly longitudinal support along the inner edge. |
|
|
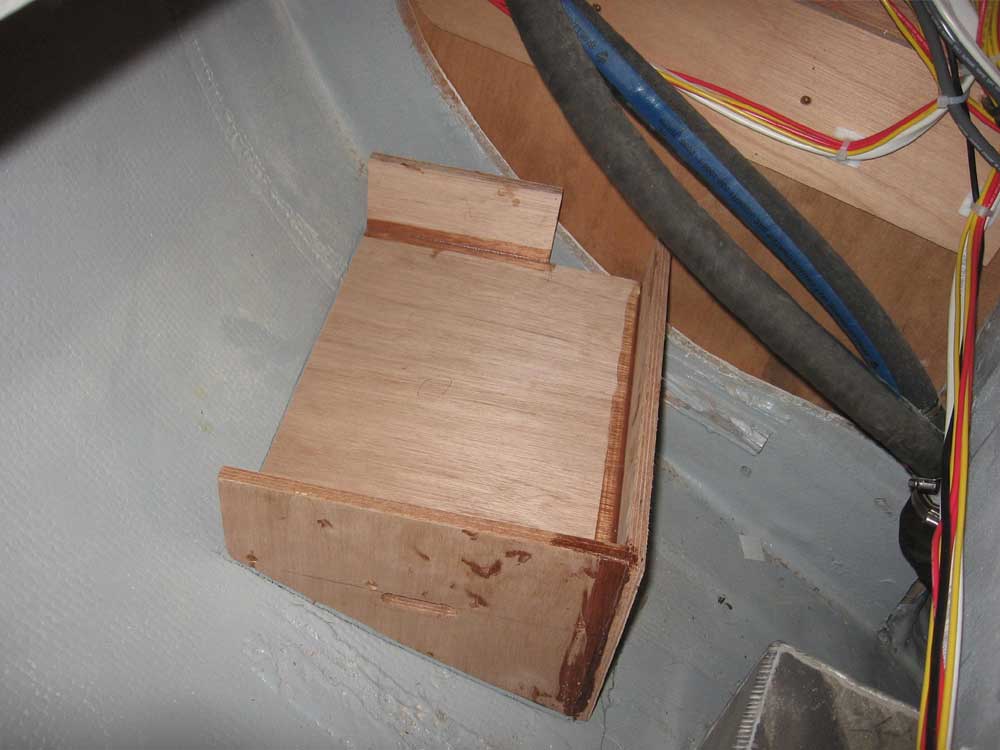
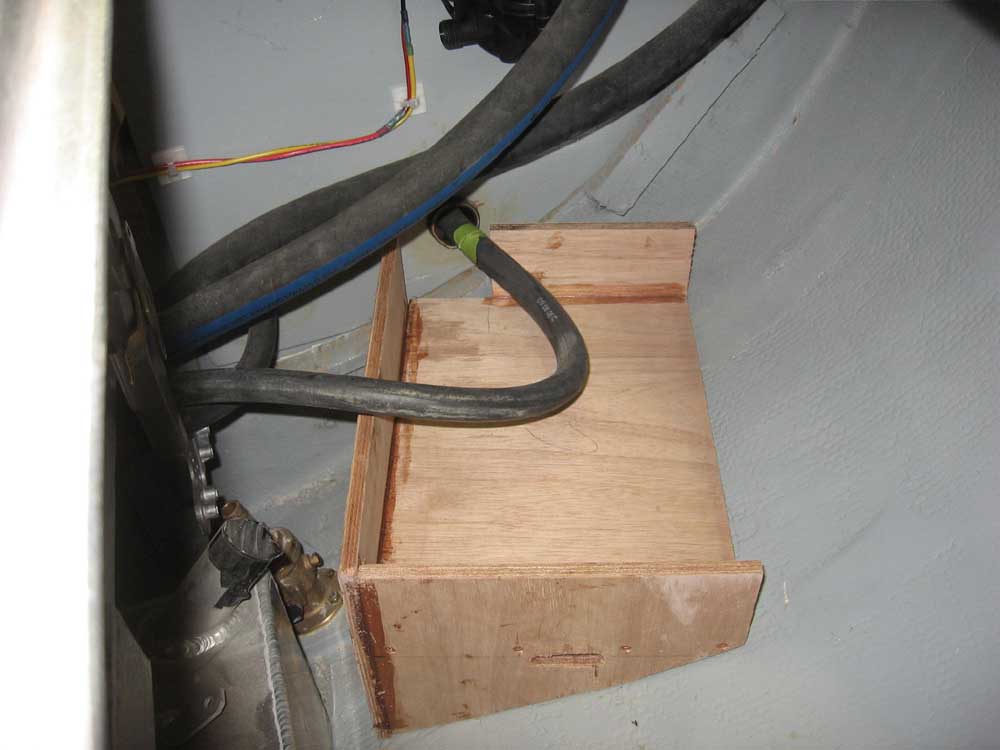
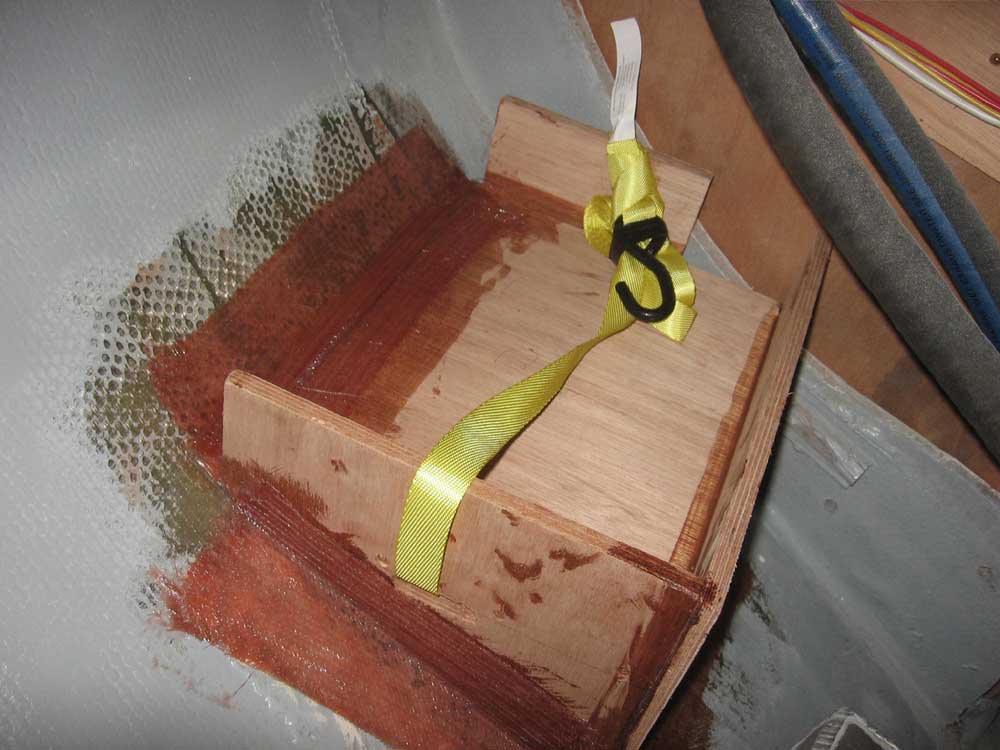
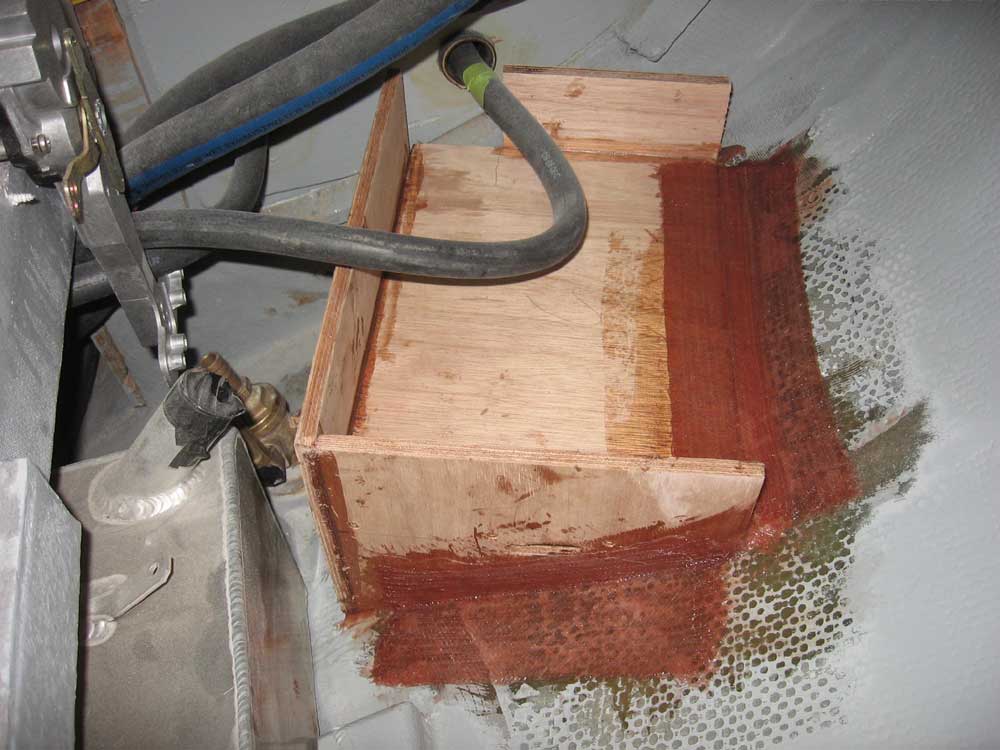
I spent the remainder of the day working on the battery platforms: I cut and fit the plywood supports, securing them to the platforms with epoxy and bronze screws; I prepared the inside of the hull for fiberglass work by grinding away the paint in way of the platforms; and then I installed the platforms permanently using beds of thickened epoxy to secure the edges of the plywood to the hull and create fillets, followed by biaxial tabbing over the exposed edges to thoroughly secure the platforms. I extended the sides up 3" beyond the platform base to help withhold the batteries; later, I'll install a final 3" side along the hull. Note that I cut two limbers in each longitudinal support to allow ventilation and drainage of any water that might somehow get beneath the platforms, and also cut slots to allow for a nylon ratchet strap with which I planned to secure the house batteries. Although installation of this strap would be possible with the platform installed, I chose to pre-locate it before I glassed the platform in place, just to make life easier. Completing these platforms was a relief, since it would allow me to continue work on the final stages of the electrical system and, eventually, to energize the system and see how everything works. |
|
|
|
|
|