
| Hattie
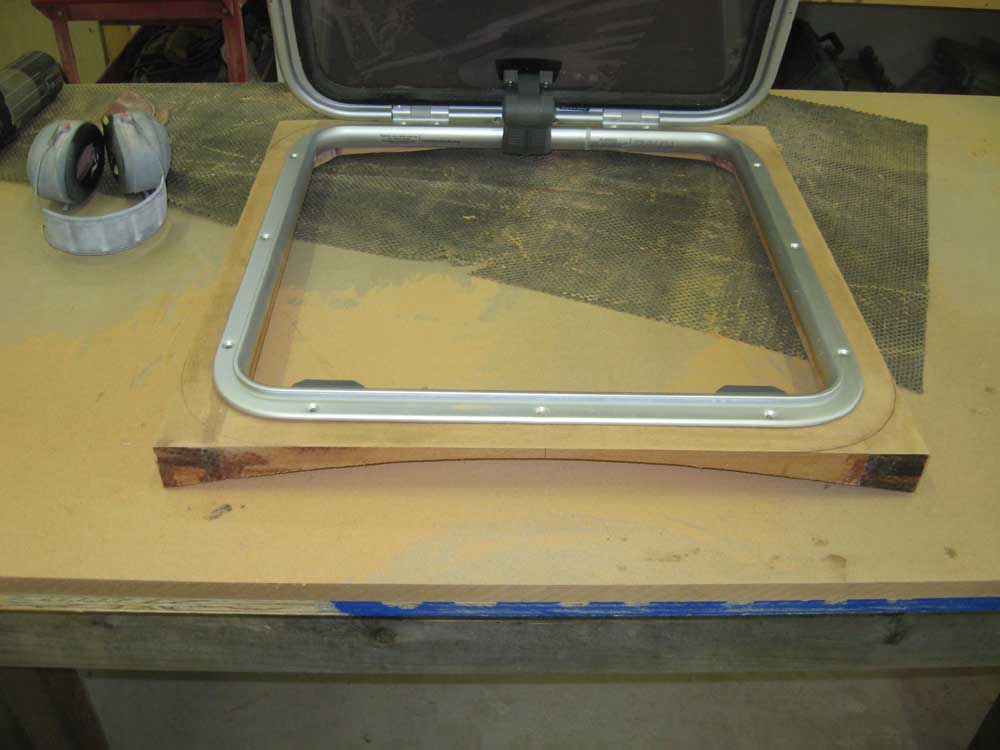
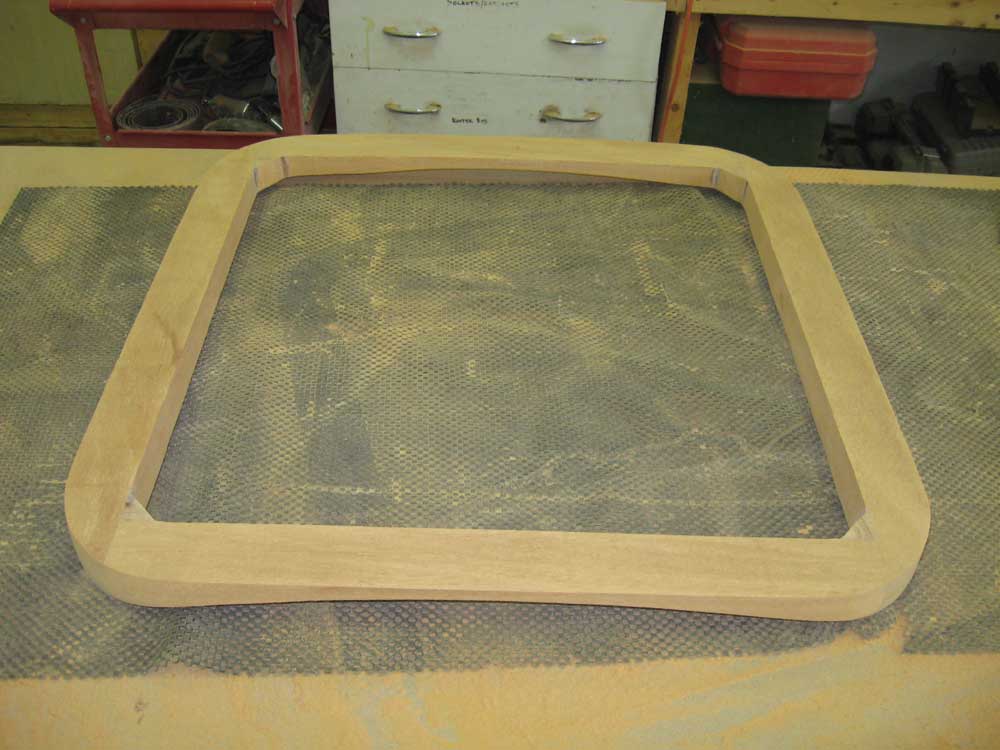
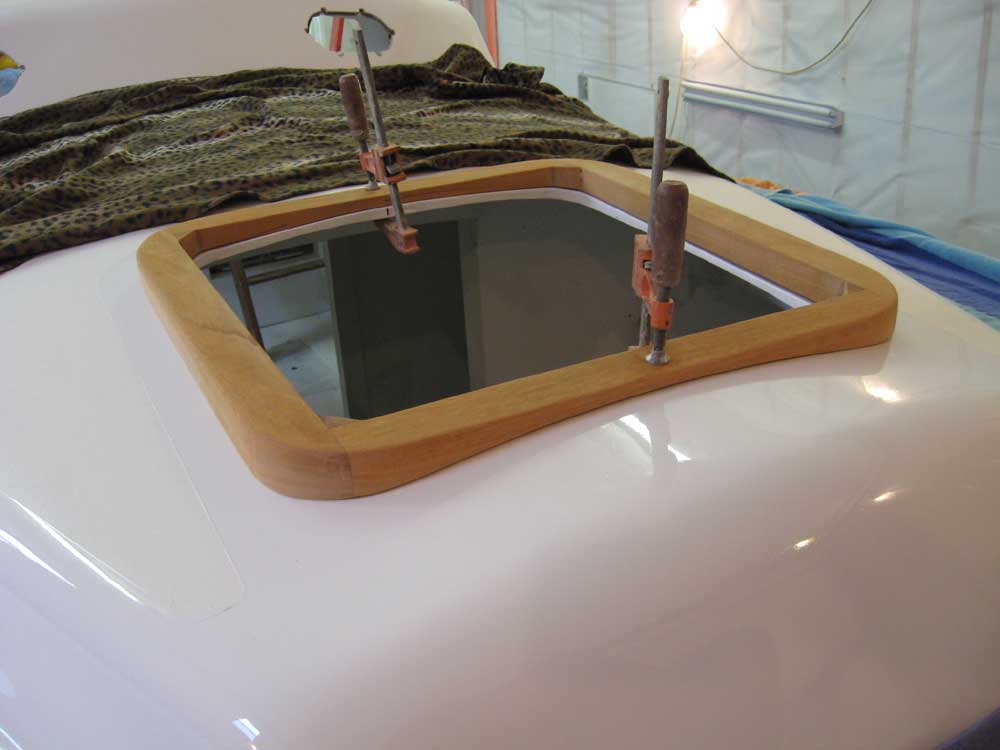
Mae | Tuesday, June 23, 2009 I spent the first part of the morning on the forward hatch frame. With the glue cured, I unclamped the assembly and sanded everything smooth, and fine-tuned the profiled bottom edges to create a smooth transition from piece to piece. I milled a rounded edge on the top outer corner of the frame, and then sanded the piece to prepare it for varnish. I tested the fit once more on the boat and determined it to be acceptable. |


 |
|
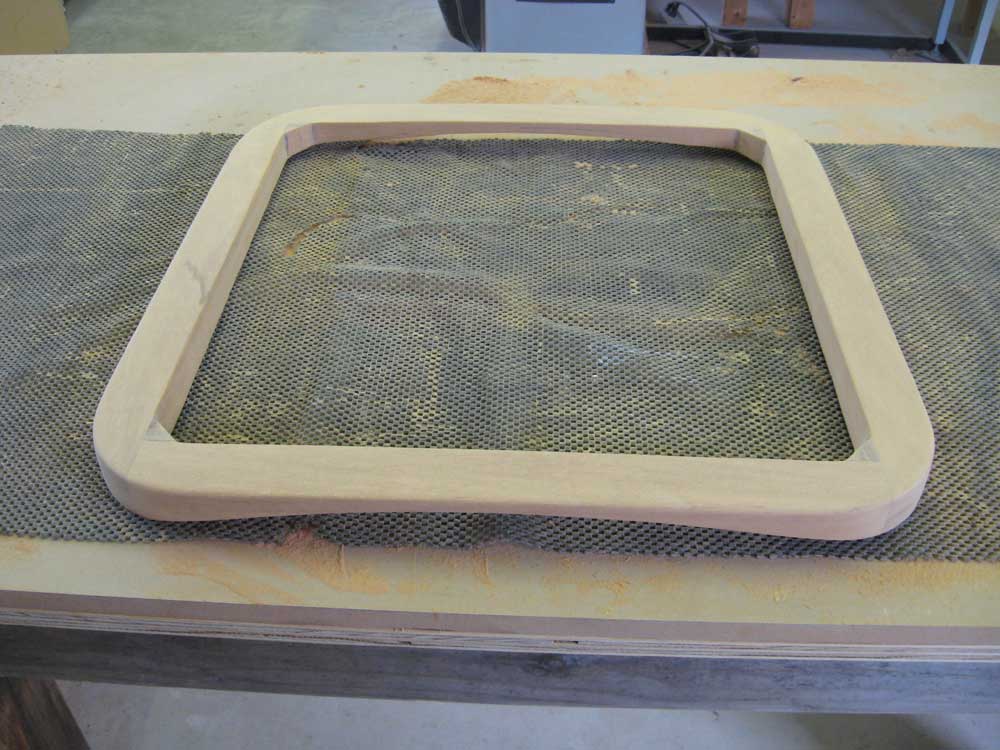
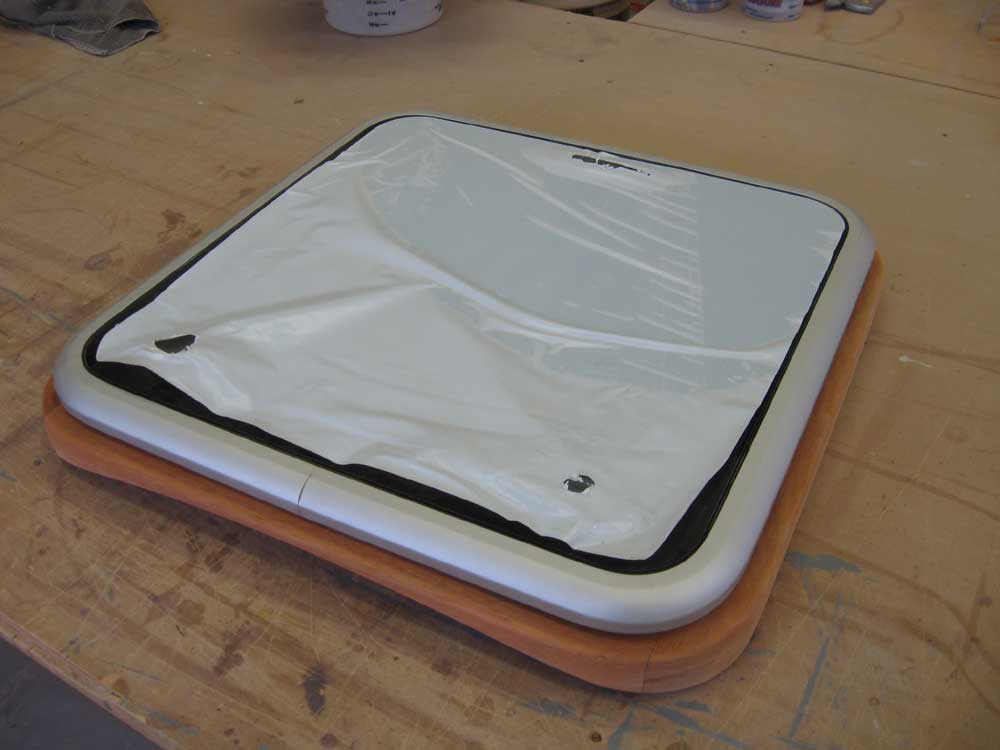
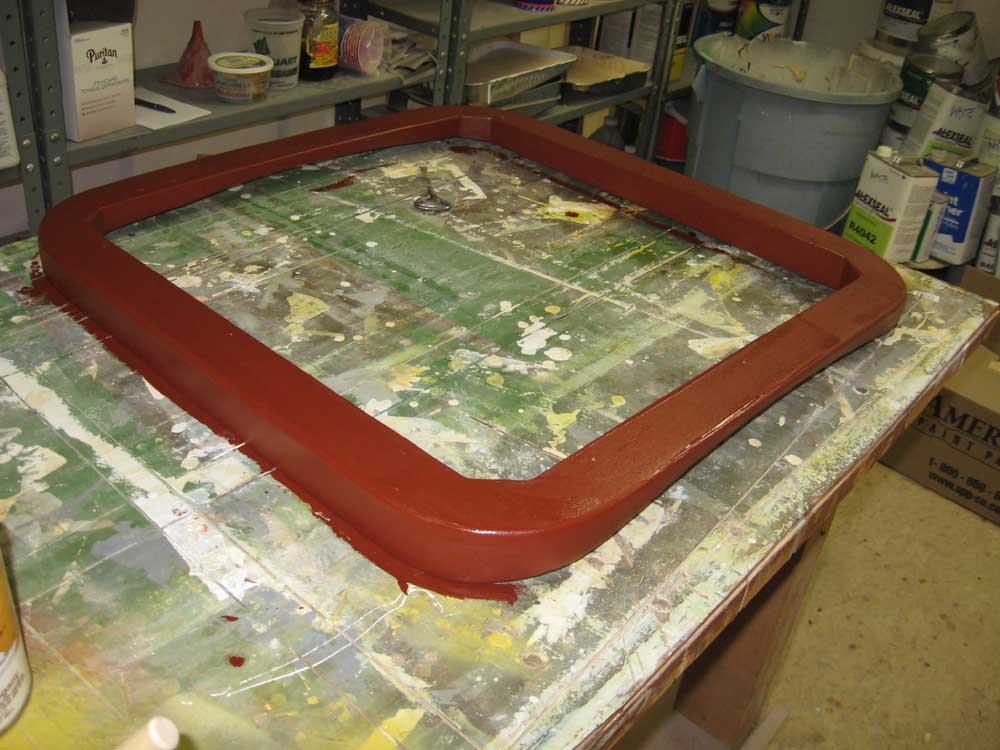
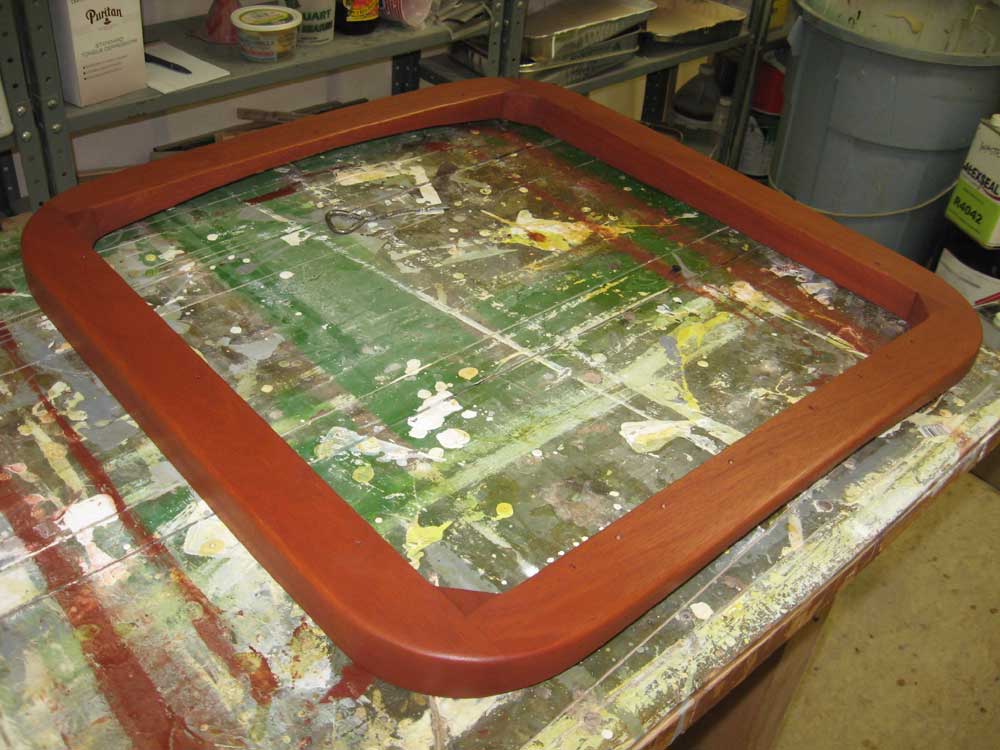
Because the owner had chosen to stain the other bits of exterior wood that he'd refinished, it made sense for me to also stain the new hatch surround so that it would match the other areas. The owner supplied me with a can of the paste filler stain that he used on the other woodwork, so my first step in finishing the hatch surround was to apply the stain and allow it to cure overnight. According to the product directions, I thinned the stain (enough for the job that I put in a small container) with the appropriate thinner (T-10) and brushed it onto the wood, allowing it to sit for several minutes before I rubbed the stain into the grain and then wiped off any excess with a clean rag, going with the grain. |
 
 |
|
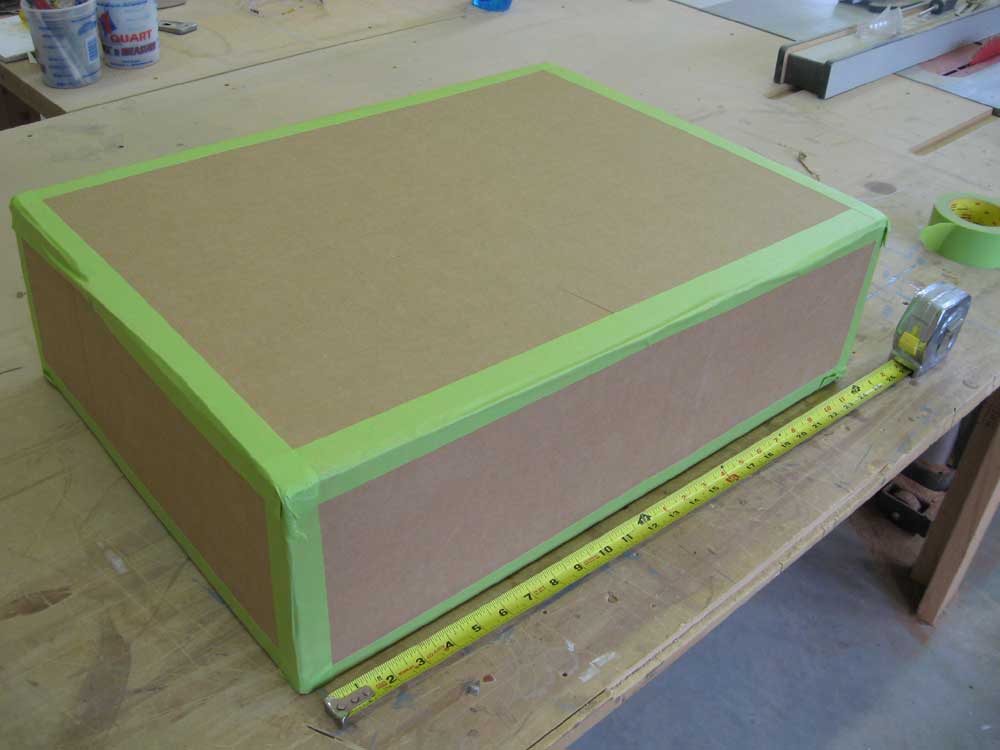
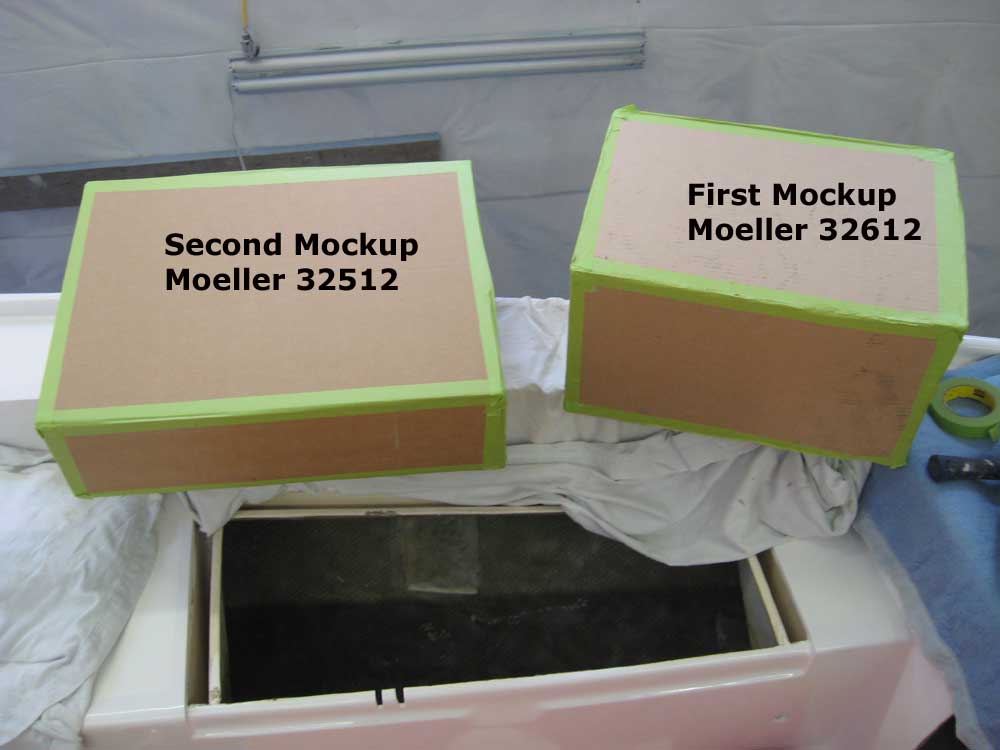
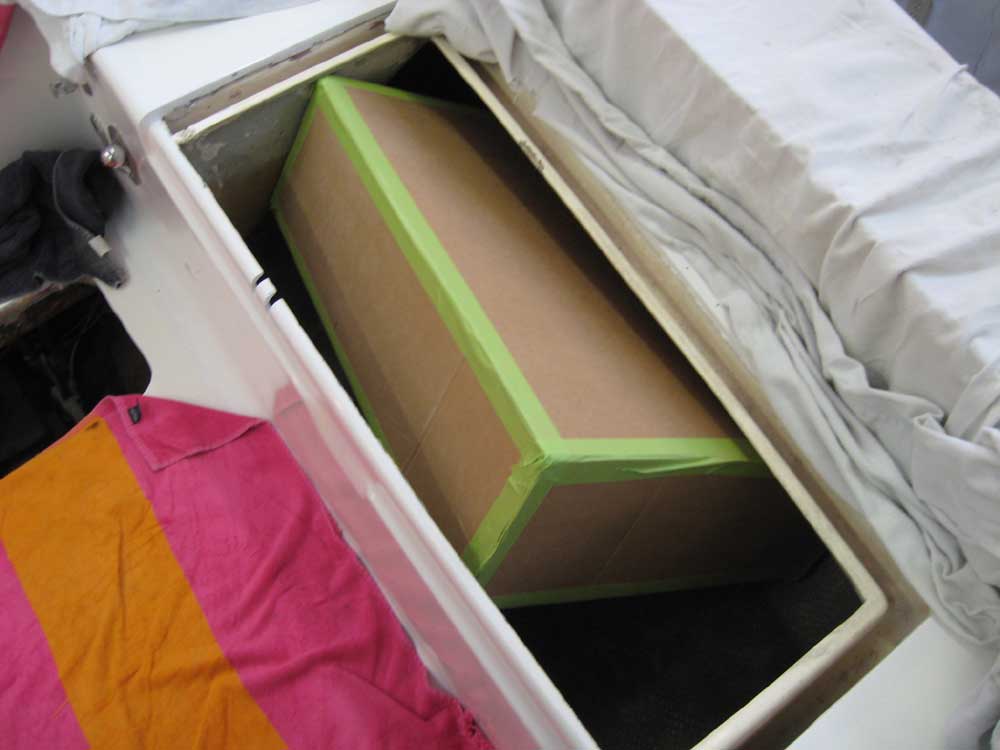
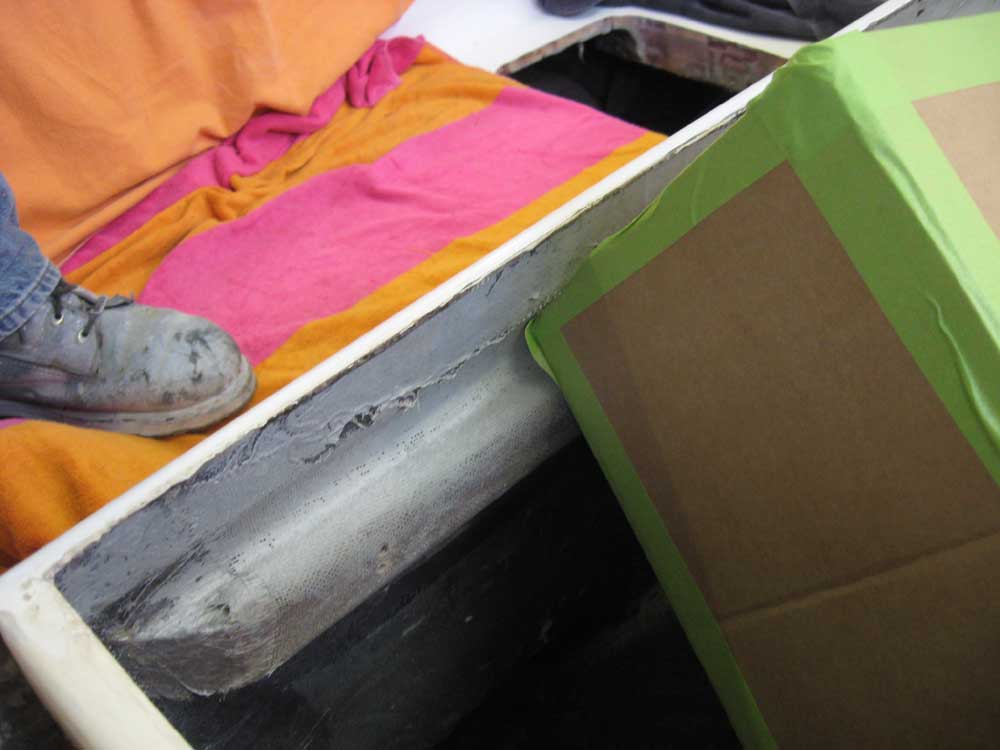
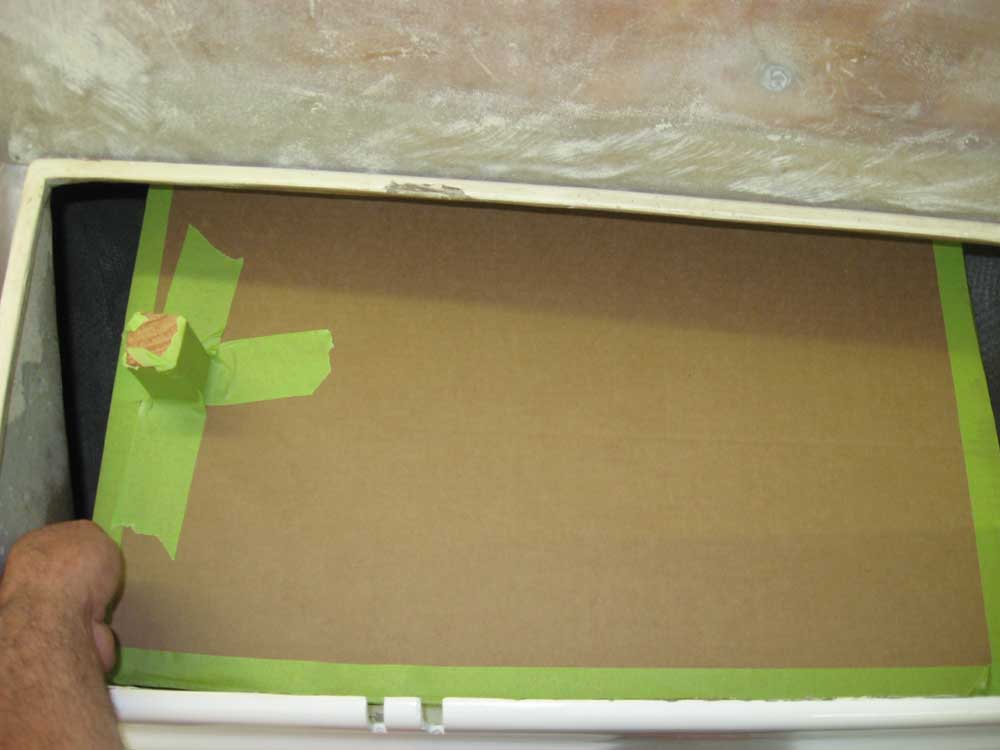
Next, I spent more time on the future fuel tank. I started by making a mockup of another stock plastic tank shape, since yesterday's tank clearly wasn't going to fit. The new mockup was longer and wider, but several inches less tall. Unfortunately, this tank didn't fit either. The curvature of the hull combined with the tapered, narrow cockpit locker opening--plus a glassed-in stiffener inside the locker--prevented the cardboard tank from slipping into the locker. It looked like I could pare away some of the stiffener if need be, and the tank might fit. But before making any determinations, I went online again to see if there were other viable options. |
 |
|
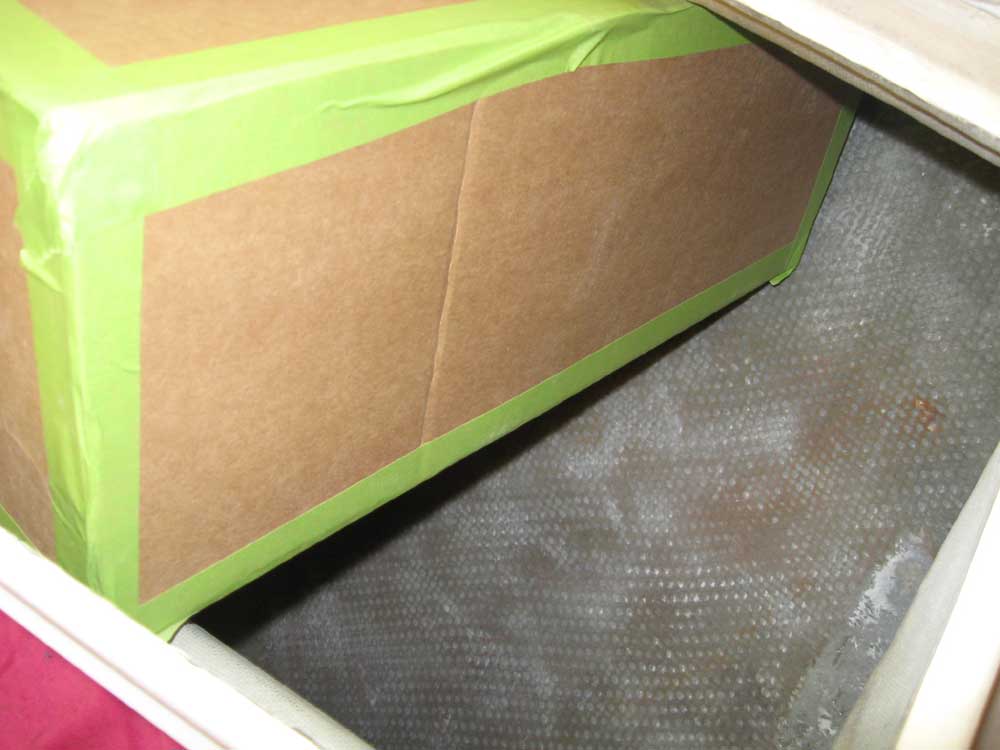
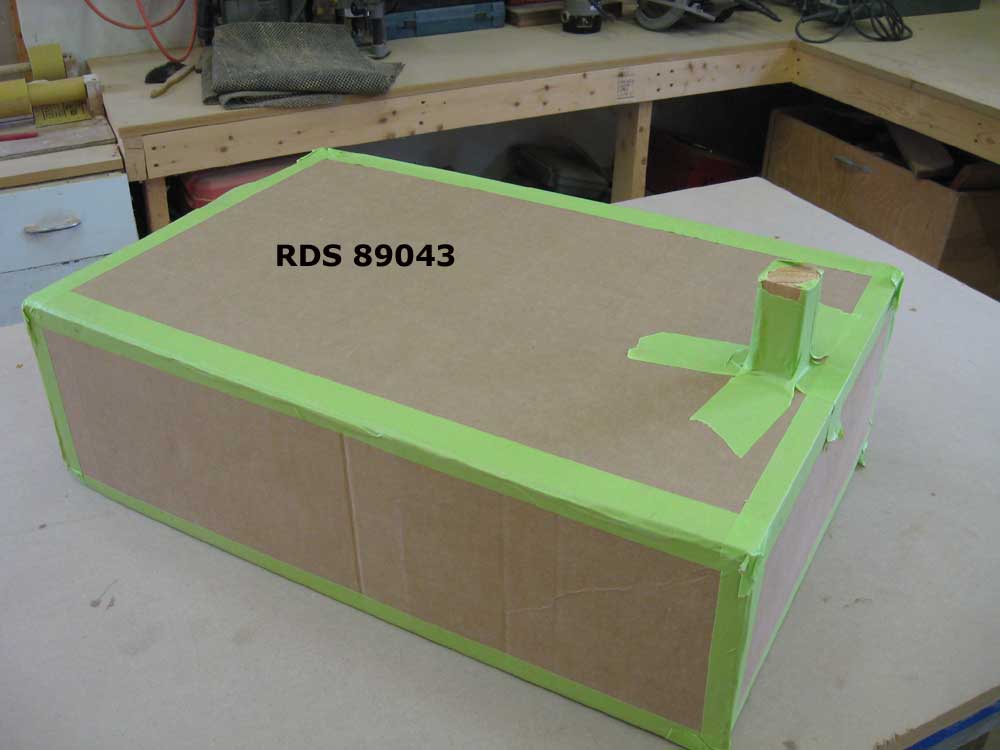
Eventually, I located a stock aluminum tank that appeared to be just the ticket. It was the same length as my second mockup, and roughly the same height (1/4" shorter, at 7" exactly, not including the hose fittings), but the width was over 1-1/2" less. I thought this would make it a perfect fit. I modified my mockup by slicing off one edge to reduce the overall width of the tank by the requisite amount, making the mockup only 16-3/8" wide (and 24-1/2" long and 7" tall). To be sure it would fit, I taped a 3" tall scrap to the top in roughly the position of the aluminum tank's fill neck. Fortunately, this tank fit nicely, and it looked like a keeper. I'd consult with the owner before the next steps. |

 |
|
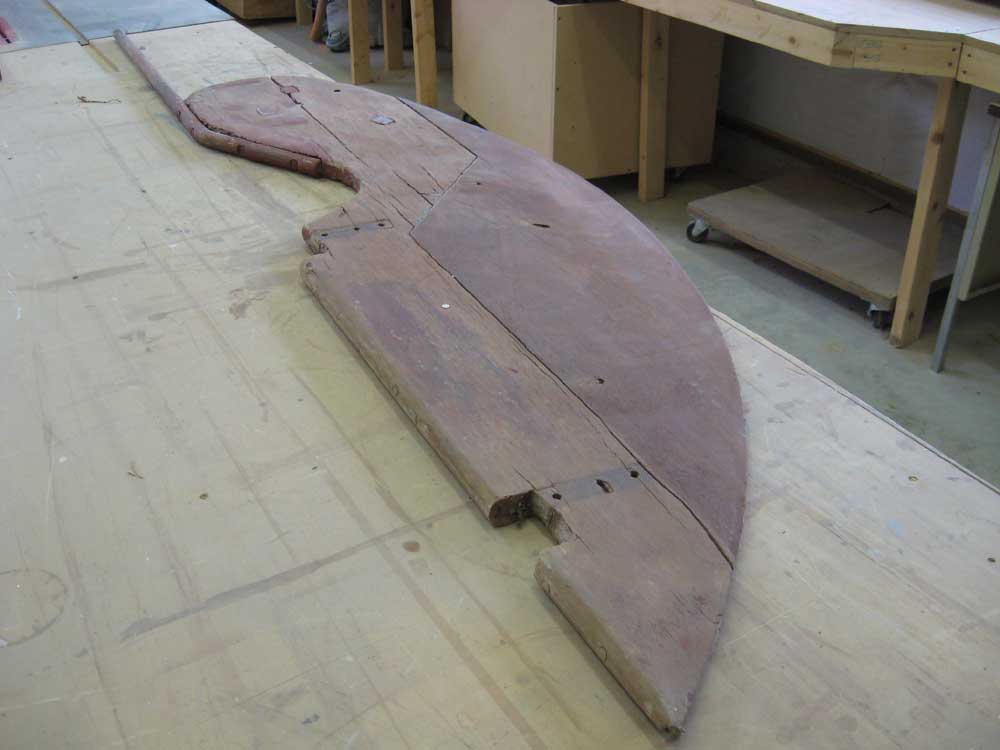
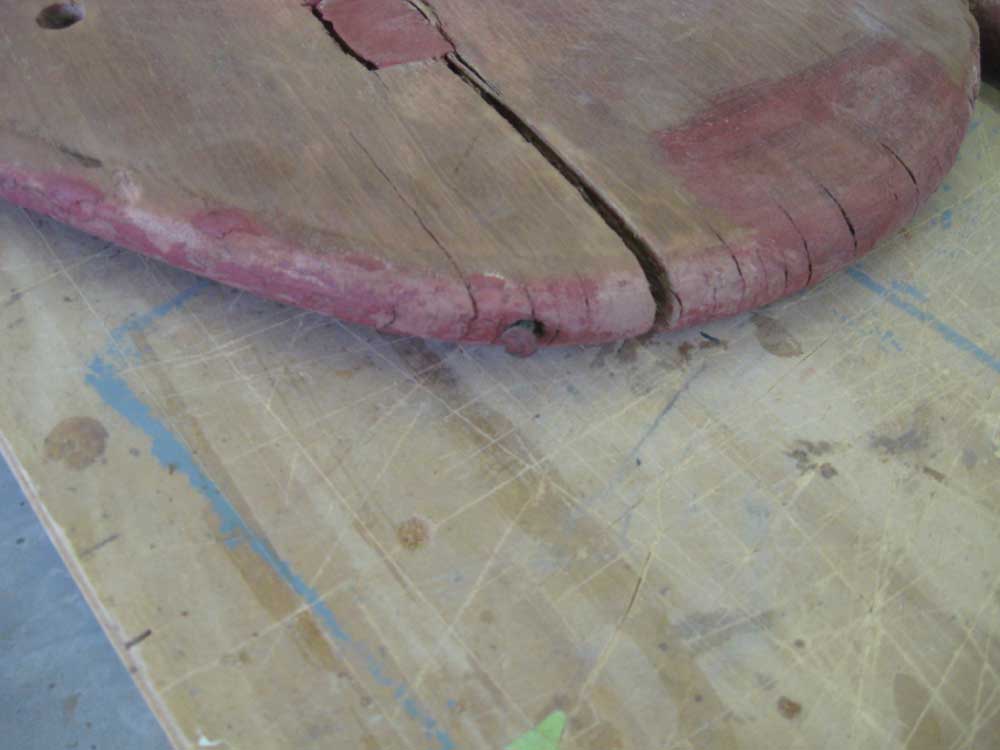
Anticipating reinstalling the rudder in the near future, I pulled the rudder from storage for an inspection. It looked like the rudder had been repaired in the past, with new wood added along the trailing edge. In general, the wood was all in good shape and sound, but one of the two planks making up the rudder--the older, forward section--had split beginning at the top of the rudder and continuing downwards through much of the plank length, passing right through one of the nut pockets securing the top drift pin. Someone had driven a ring-shank nail through the two sections once to ostensibly hold the split together, but obviously this hadn't worked. |
 |
|
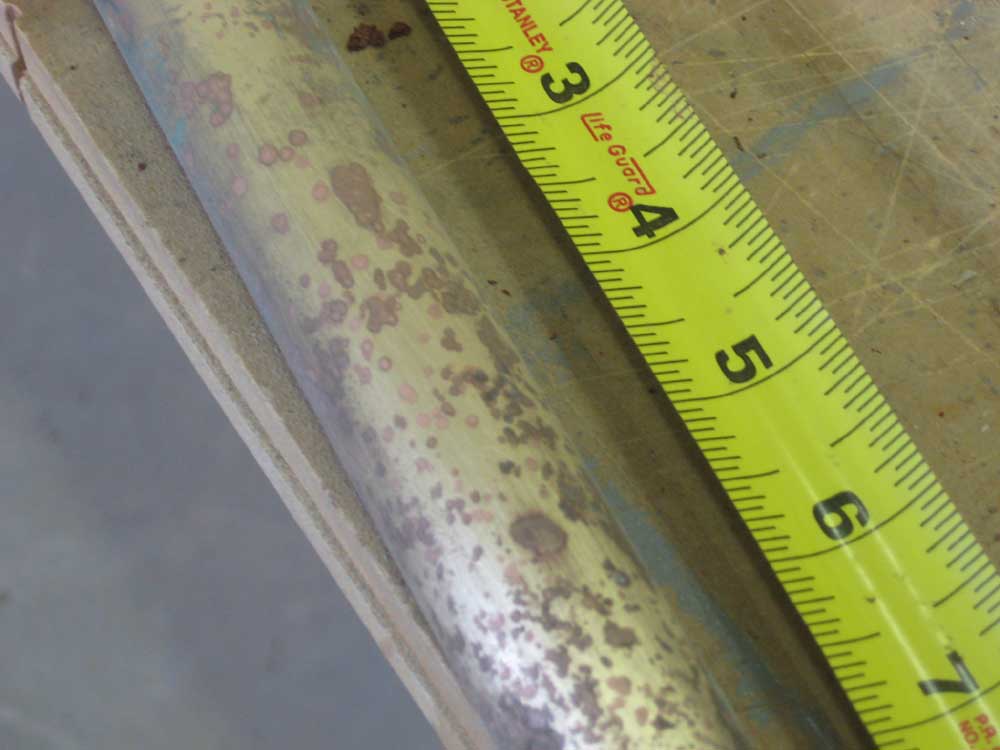
While I was considering the condition of the rudder itself, I decided to clean up the bronze shaft a bit to observe its condition. Unfortunately, I discovered the pink-colored pockmarking distinctive to the condition known as dezincification, signalling an unknown but clearly present level of deterioration to the metal. I thought it would be best to replace the rudder shaft, and told the owner so; we decided to hold off on the rudder reinstallation at this juncture and set it aside for later attention, and instead focus on other parts of the project with the scarce time remaining on the job. |

 |
|
The owner was coming up late in the day to sand the interior and remove some paint that had failed, all in ultimate preparation for the ports' reinstallation, which would have to occur soon. In anticipation of the dust this would create, I taped some plastic over the ports and other openings to limit the dust to the interior. |
 |
|
UPS arrived with my orders from yesterday, and with new material in hand I could now address some of the pending projects. First, I wanted to work on the shaft coupling. Armed with the proper bolts, I turned to the job. I had to use lock washers beneath the bolt heads, since the clearance alongside the coupling was too small for 3/8" flat washers. Over the next 2 hours, I slowly pulled the coupling forward. Progress was minimal at first, as tightening the bolts first had to compress the 10 or so lockwashers on each one before they would start to have a chance of pulling the coupling. Eventually, though, I heard a metallic snapping noise that could only signify one thing: the coupling had broken free (in a manner of speaking) from its longstanding spot on the shaft. |
|
Beginning:  |
|
This was good news, since it meant that the coupling would now continue to move and wasn't hopelessly corroded in place. However, progress was incremental, since as effective as this method is, it is far from quick. Tighten the bolts in sequence, till the threads extend beyond the transmission side of the coupling and threaten to hit the housing; back off one bolt at a time and add a washer; repeat the process in a slow, but progressive, manner. Over the two hours, I might have pulled the coupling off half of its total bearing surface. The owner's arrival late in the day, and subsequent conference, put an end to my coupling work for the moment, but I'd continue tomorrow and hopefully succeed in removing the coupling and shaft and related components in entirety. |
|
Two Hours Later: 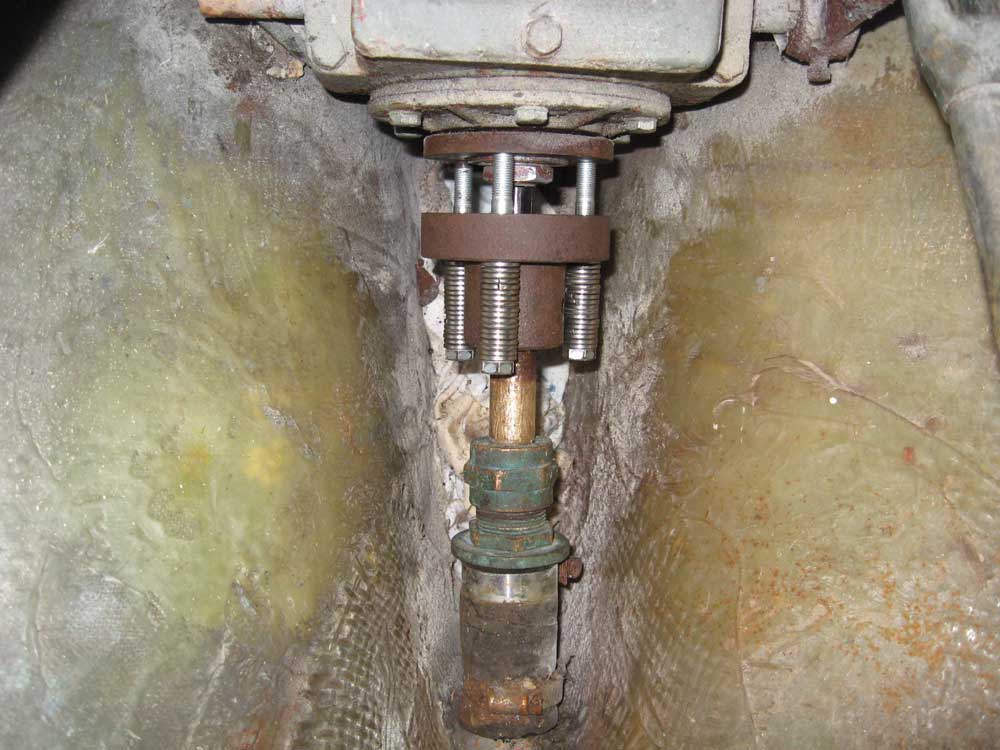 |
|
|
|
