
| Hattie
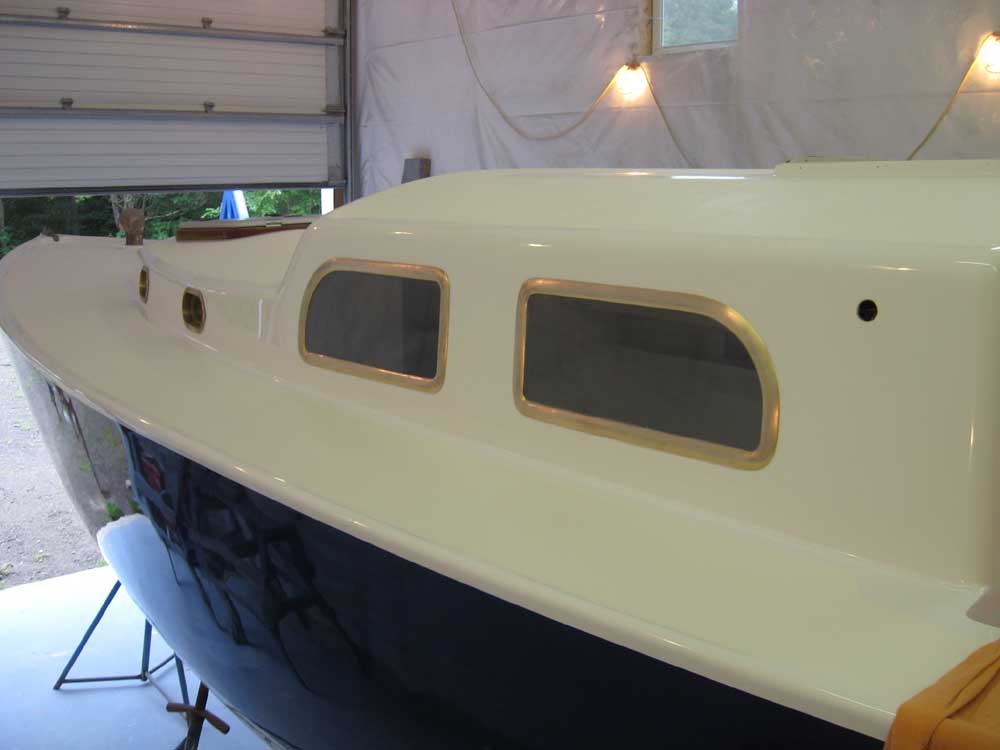
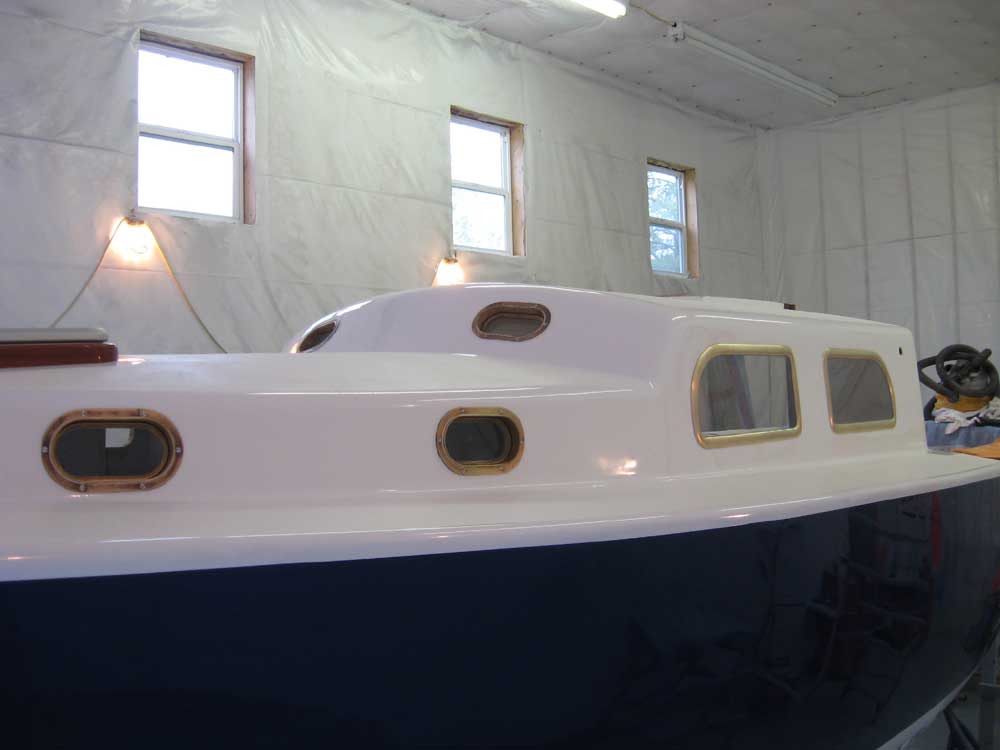
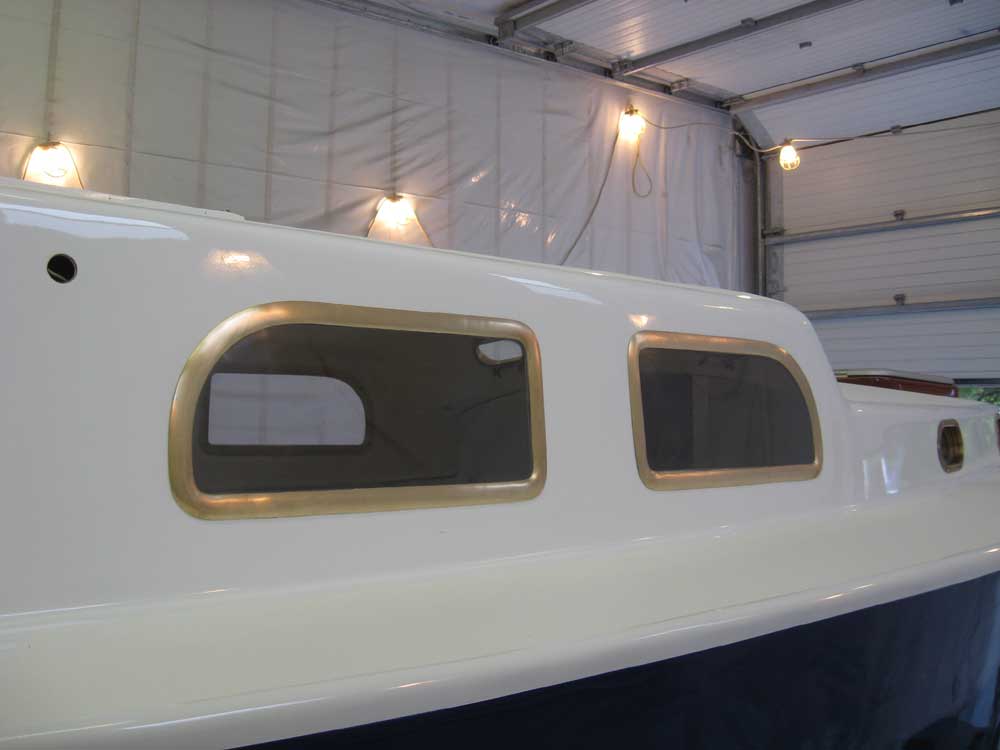
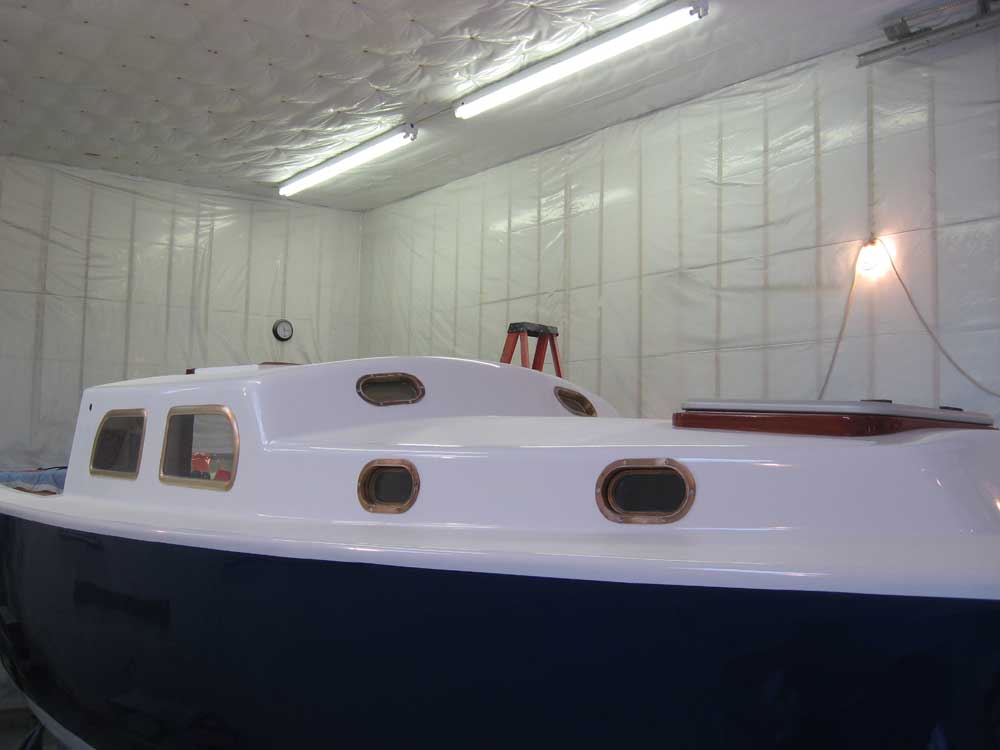
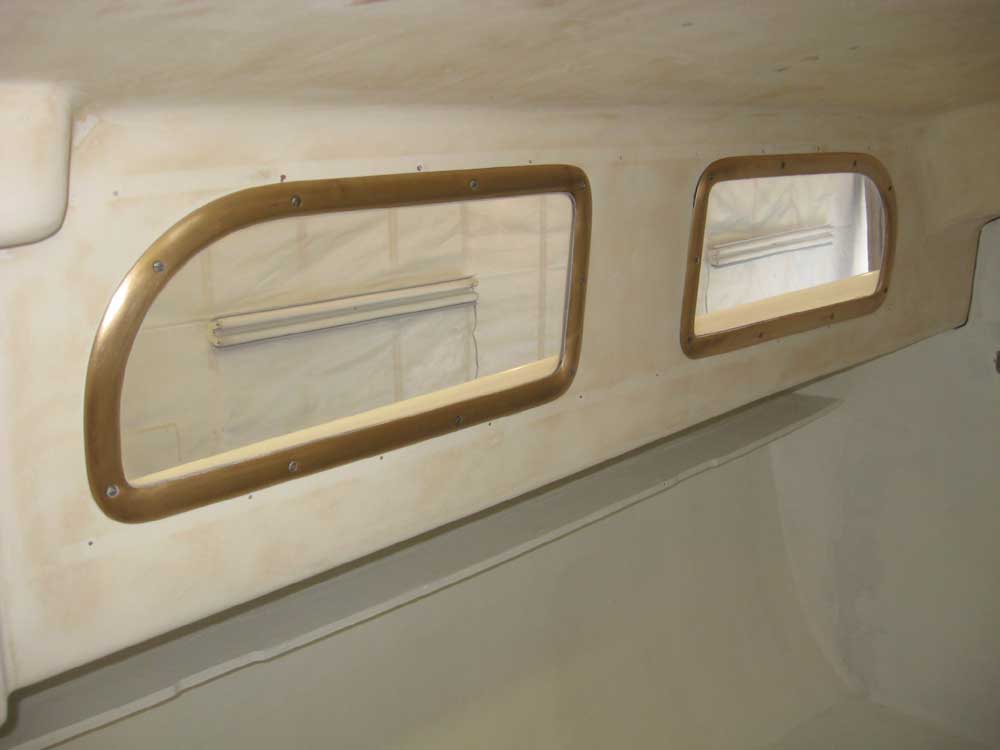
Mae | Thursday, July 2, 2009 Today, the owner came up to help me install the four deadlights, a process that simply can't be done alone. Over a period of just over 2 hours, we installed the four deadlights with minimal fuss, and cleaned up the excess sealant. I used butyl rubber to seal the ports, and effective sealant that is safe for use with plastics without leaving contaminating residue behind. Butyl becomes harder and harder to find, and is unpleasant to work with, but it works excellently. As always, the ports completely changed the appearance of the boat. In this case, although the frames had been cleaned up to bare bronze by the owner, they'd be left unfinished to weather naturally from this fresh starting point. |

 |
|
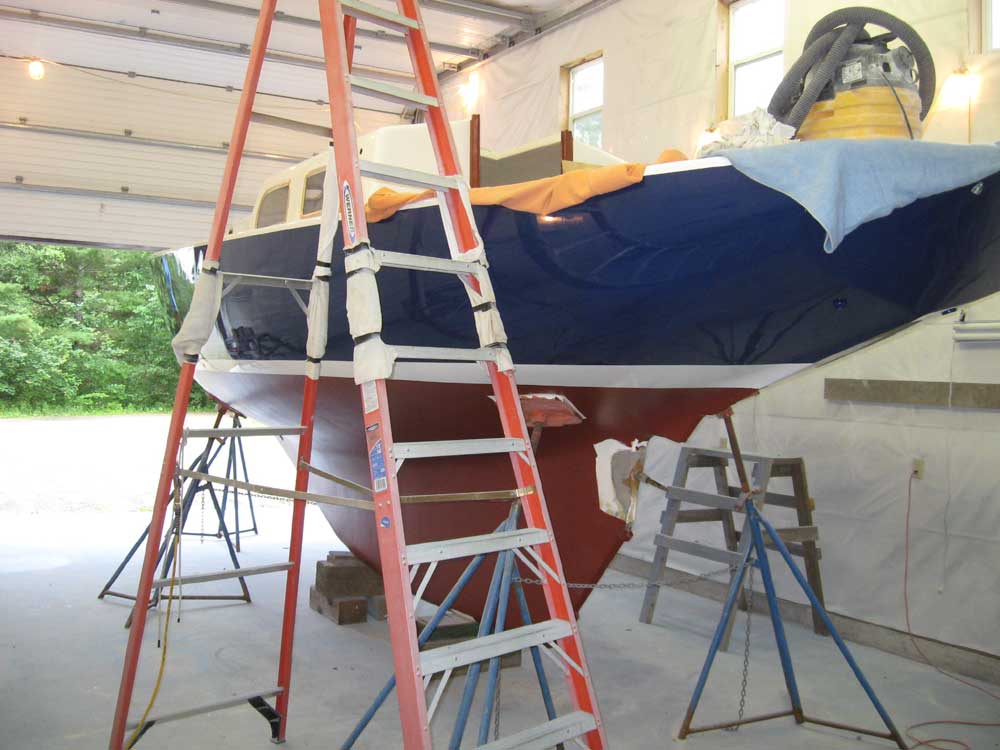
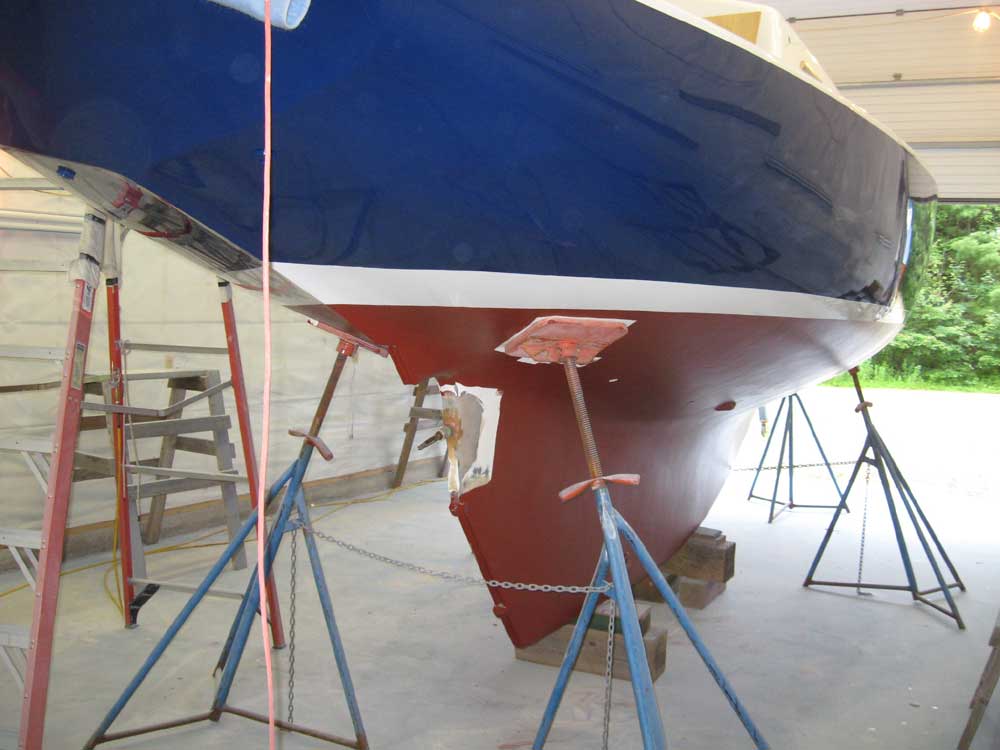
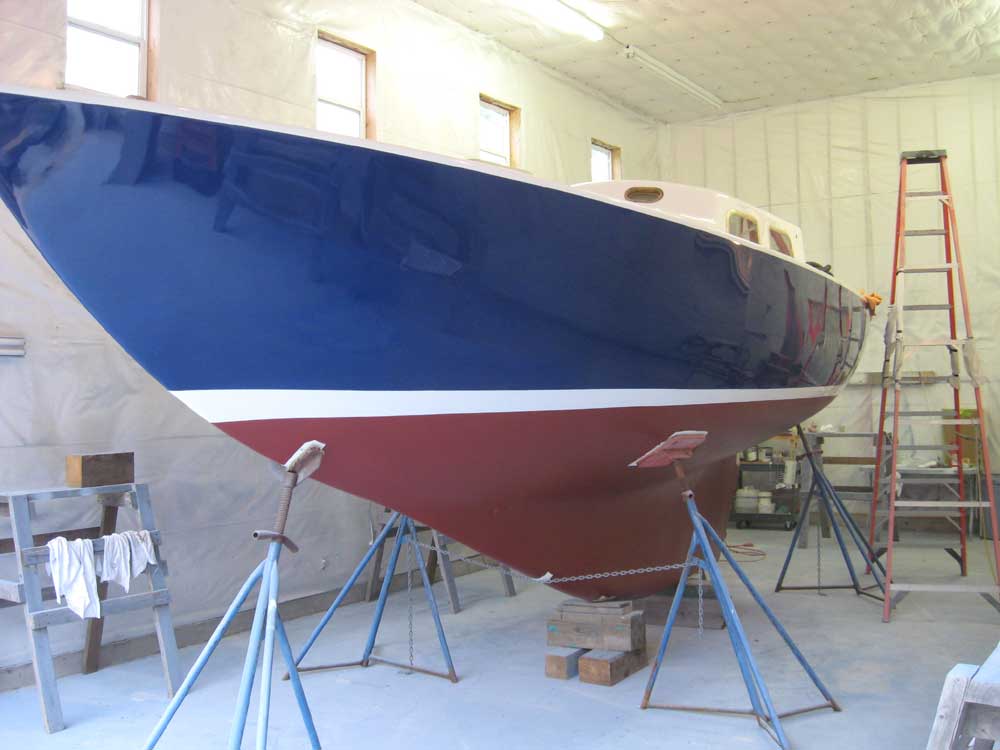
I was waiting for running gear parts--Cutless bearing and stuffing box hose--so that I could begin to install the new stern tube that I started the other day, and I expected the parts to arrive in early afternoon. In the meantime, there wasn't much I could do on the boat, but the owner took the opportunity to paint the bottom and pull together the boat's entire appearance. |

 |
|
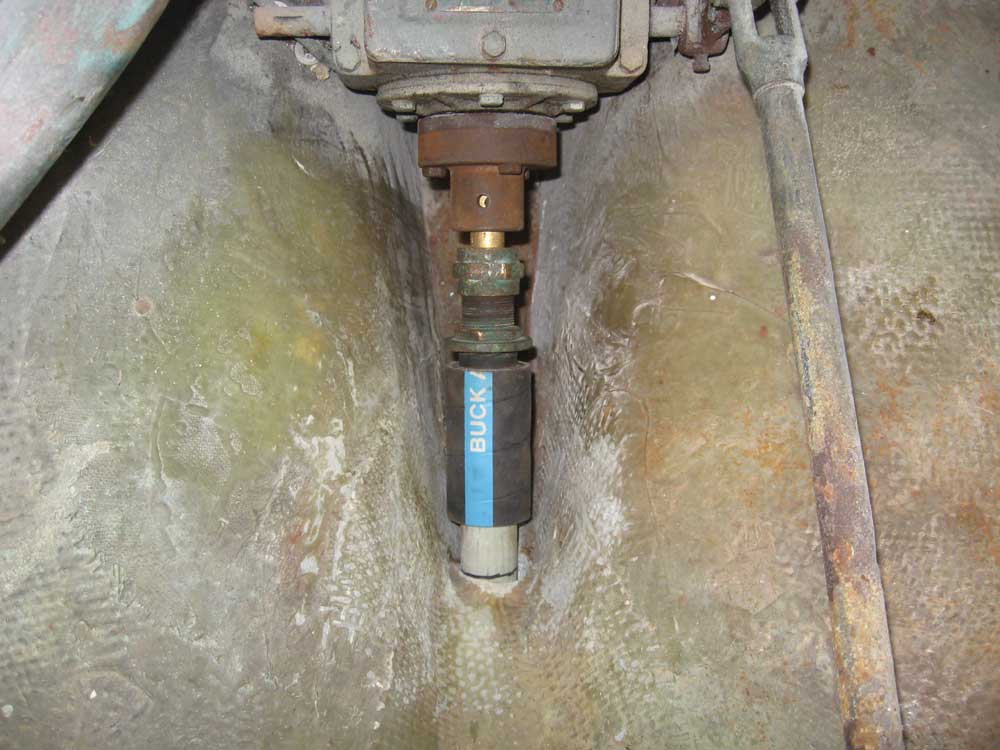
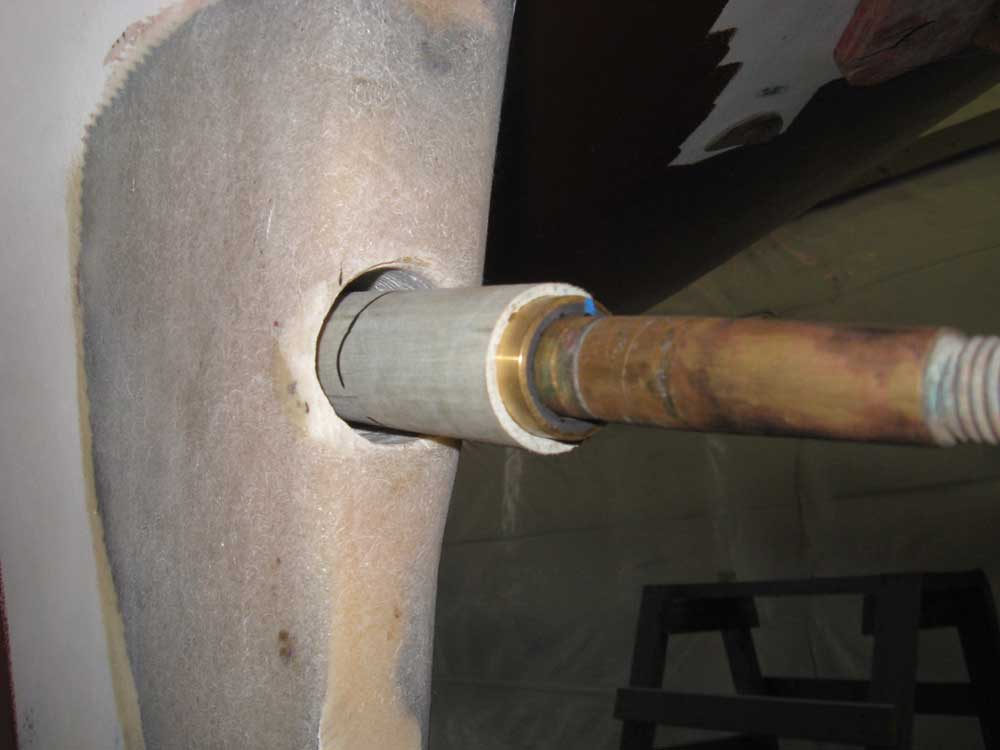
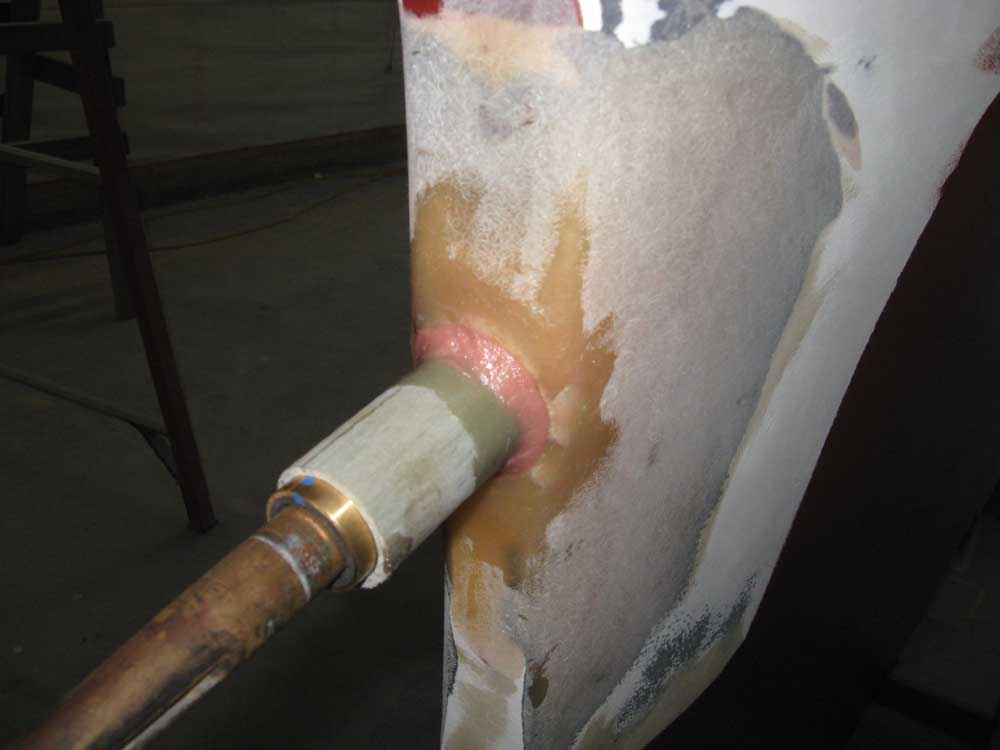
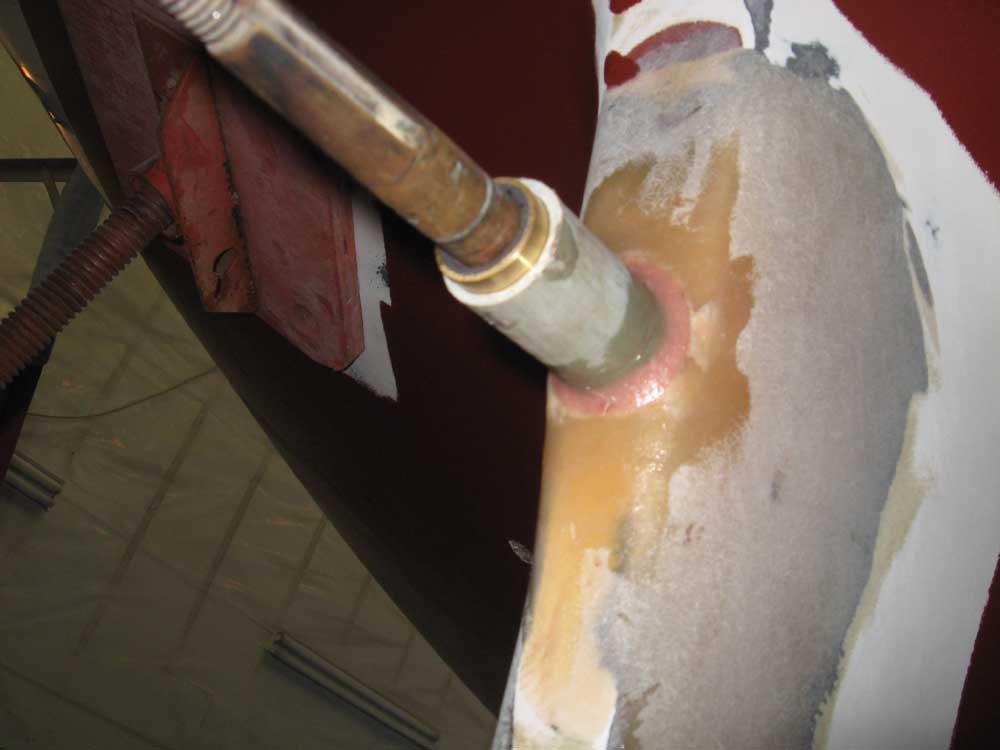
Later, once my parts arrived, I got to work on the stern tube. I temporarily assembled the various shaft components: coupling, shaft, stuffing box, stern tube, and Cutless bearing. By assembling the components together, I could hold the stern tube in place and ensure that it was perfectly aligned with the engine. I bolted the coupling tightly to the engine to hold the alignment properly. Earlier, I'd cut the stern tube to length and made some reference marks, so it was easy to place it in the proper position, with 3" protruding inside the boat and about the same amount aft. I used the old shaft to hold things in place, but we didn't plan to reuse it, thanks to the bad scoring and questions about the metal's condition after all these years. I'd located an old SS shaft of the same diameter and in good condition from some other long-gone boat, which we could have shortened to match the old shaft, and which we could take care of over the coming months before the boat's scheduled launching next season. With the stern tube in the proper position and suspended within the cut I made the other day, I filled the void with thickened epoxy using a syringe from both sides of the tube, created a smooth fillet on the outside of the deadwood, and left things to cure till tomorrow, when I'd fiberglass the whole area to add strength. |
 |
|
Earlier, I'd mistakenly epoxied some some wooden cleats to the underside of the companionway hatch, having forgotten (and neglected to research) the exact mechanism of how the original hatch slide was supposed to work. I knew that there were two aluminum channels, but thought that they must attach to the wood cleat on the bottom. In this case, the channels (pieces of modified aluminum angle, actually) were badly damaged, and one was missing; I planned to remake the pieces later. Thinking I was moving in the right direction, though, I pre-installed the wood cleats. What I'd forgotten was that these slim pieces were supposed to be attached to the outside (and inaccessible) side of the wood cleat. Having discovered this error during some random epiphany a day or two ago, I took a few minutes of my time at the end of the day to remove the wood strips that I'd just attached, using a bit of heat and chisels to pare away the wood. I'd remake the pieces and properly install the hatch slides once I had the new pieces made up. For now, at least, I could lay the hatch over the opening when I had to move the boat outside, and it would stay watertight (or as watertight as these hatches can be, in any case). |
|
|
|
