
110 Cookson Lane | Whitefield, ME 04353 | 207-232-7600 | tim@lackeysailing.com
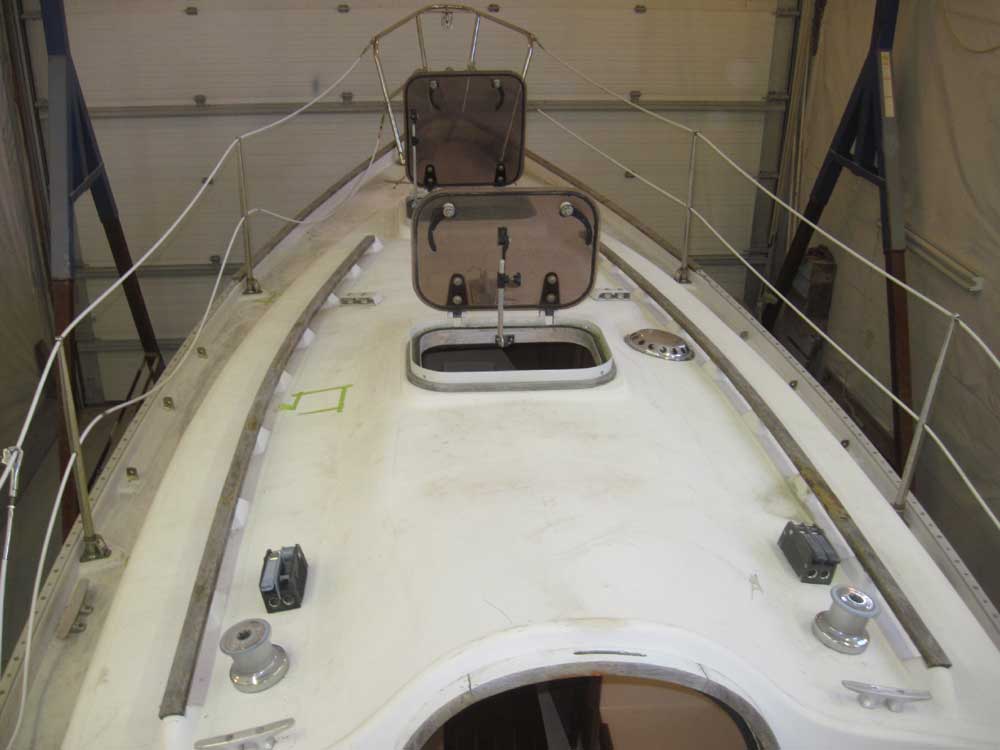
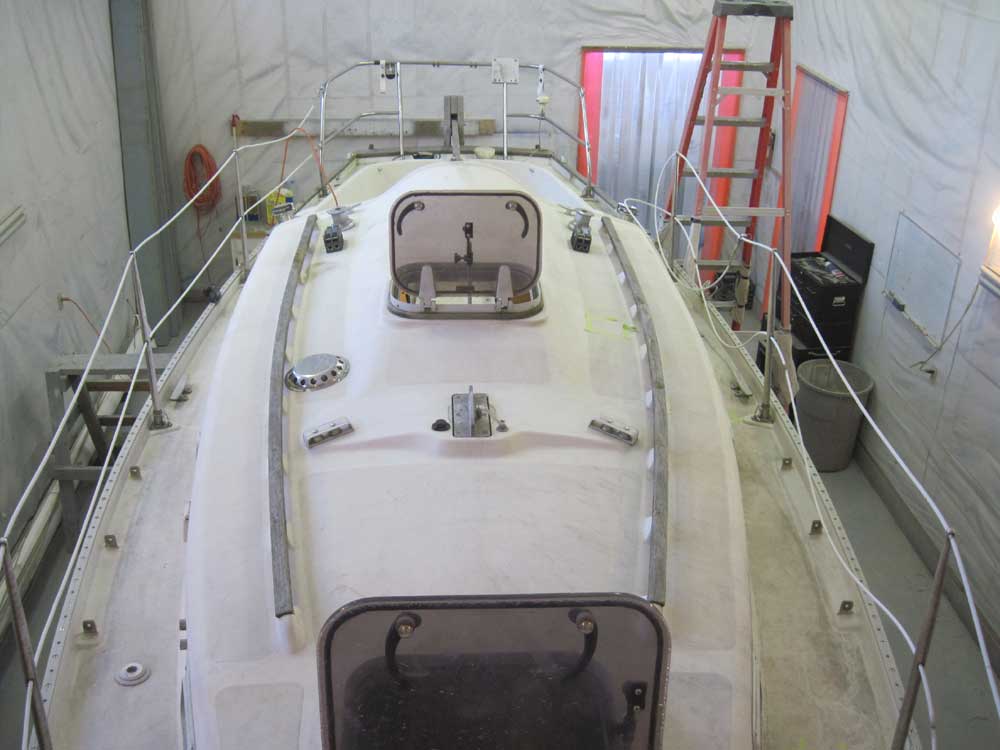
Now that the boat had finally warmed up and dried off, I could get going on the project. To begin, the owner requested that I give the boat--particularly the decks--a good once-over to look for any issues that might exist. To that end, I sounded all deck areas with a hammer and visually inspected the decks above and below, to the extent possible.
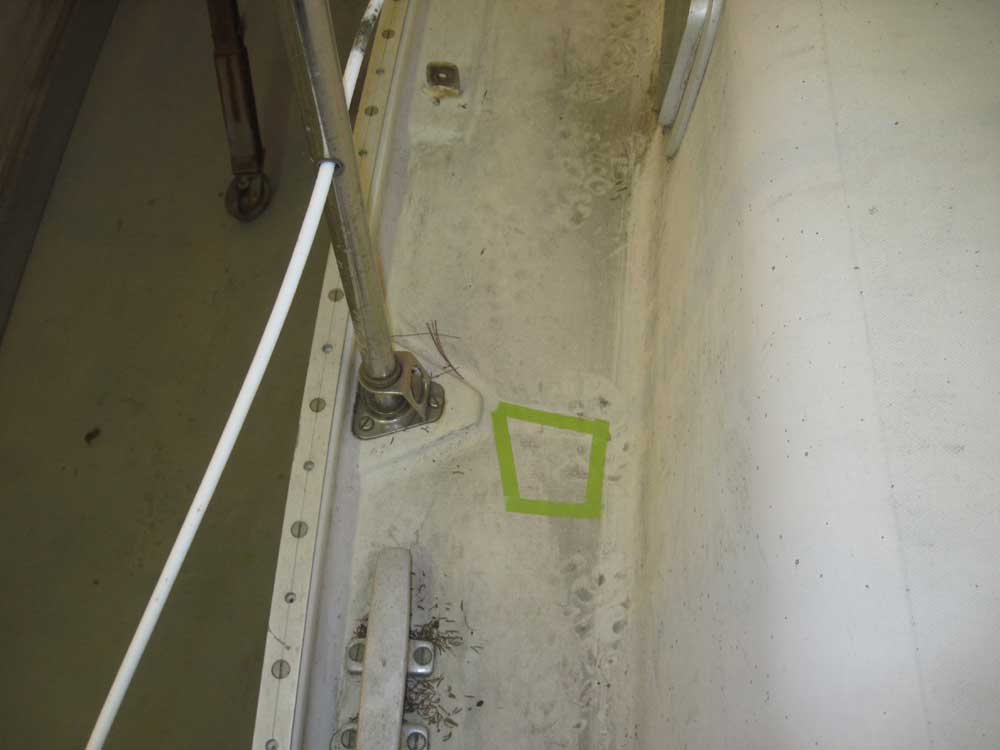
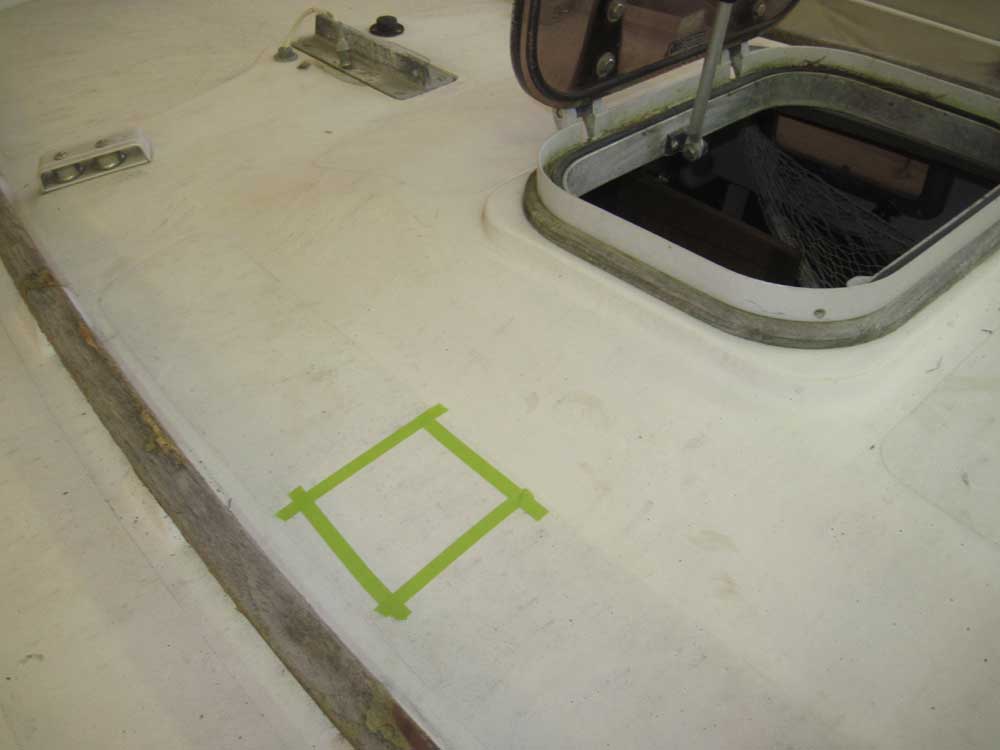
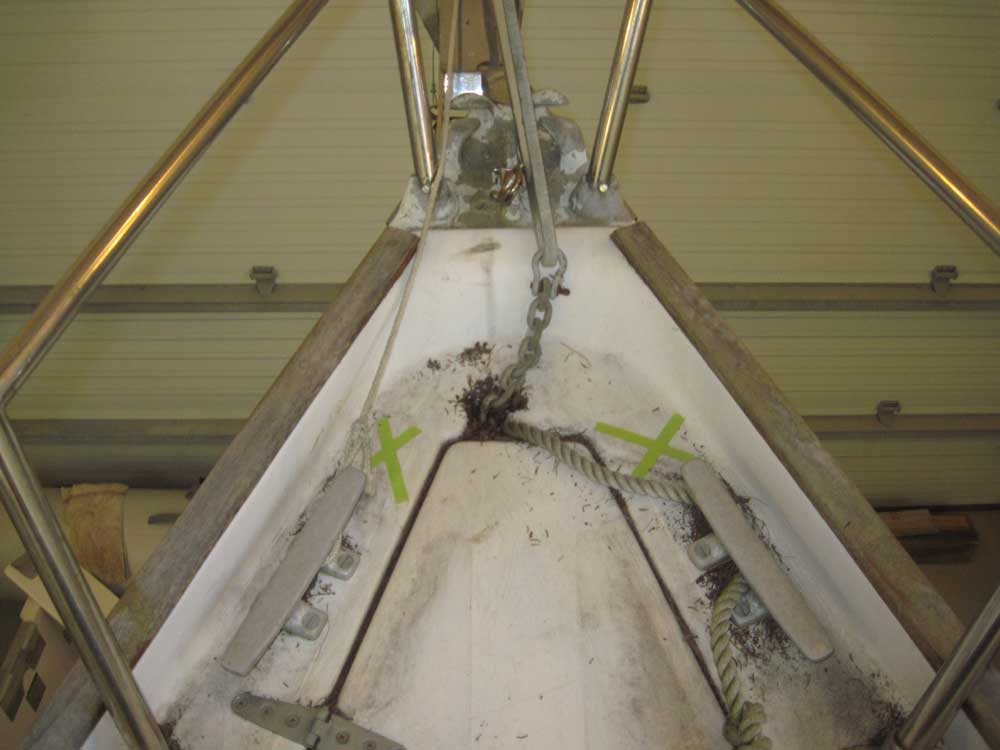
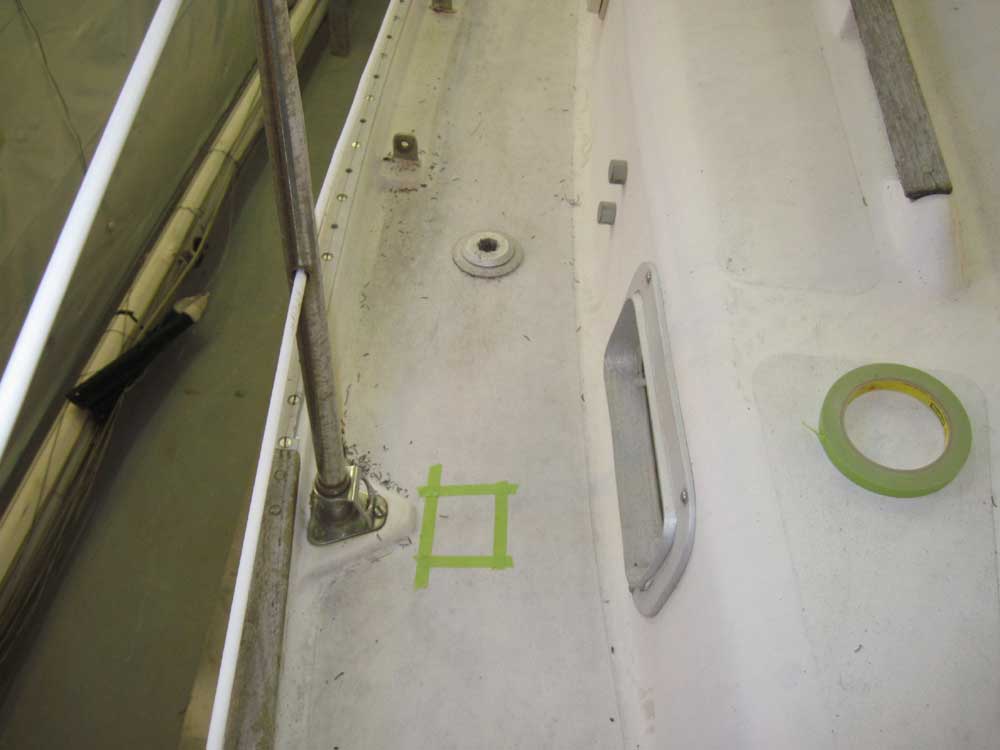
Sounding revealed several smallish voids, none of which were of particular concern and were likely latent construction defects. Their nature was such that they triggered no immediate alarm bells. I marked these on the deck with tape for reference purposes. In order below:
1. Port sidedeck amidships
2. Port coachroof
3. Foredeck
4. Starboard sidedeck forward
5. Poop deck

Trodding upon the deck, pulling on hardware, and other tactile sensations supported the thought that the small voids, as marked, were not indicative of a larger problem at the time. The inspection results also gibed closely with those from another Contessa 26 of immediately similar vintage that I'd inspected in a similar way earlier.
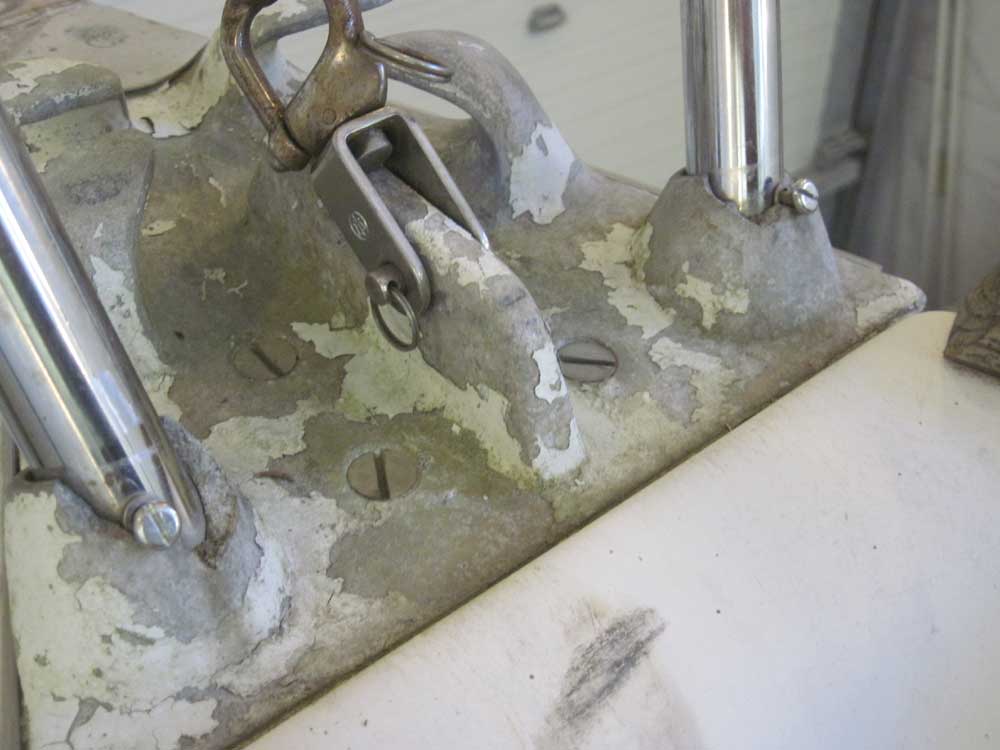
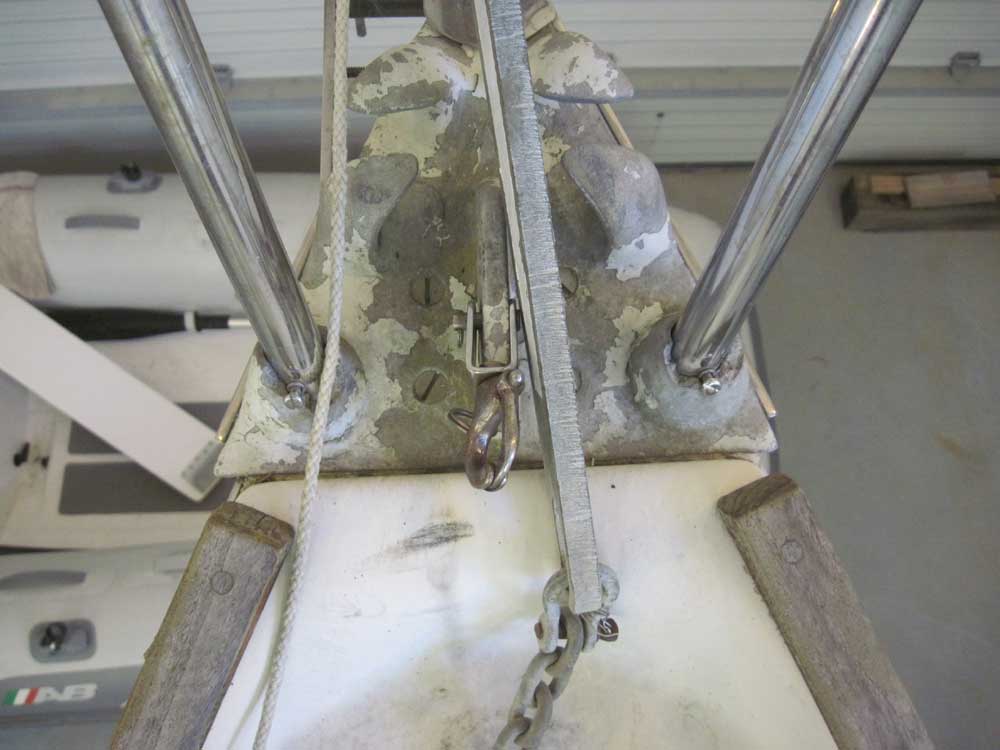
Another area of concern for the owner was the aluminum stem casting, particularly because the integrally-cast bases for the bow pulpit had broken at some time in the past. Since the headstay tang was also integrally cast, there was some concern as to the integrity of the overall casting.
Inspection of the area did not reveal any immediately obvious signs of pending failure of the headstay tang or other parts of the casting, but there were limits to what I could determine in this way.
I vacuumed the decks to remove residual dirt and debris, and cleaned debris from various locker drain channels and so forth, so that these areas wouldn't adversely affect work on any other parts of the project. No deck work of note was part of the project scope, so with the decks now taken care of I moved on to other portions of my list.
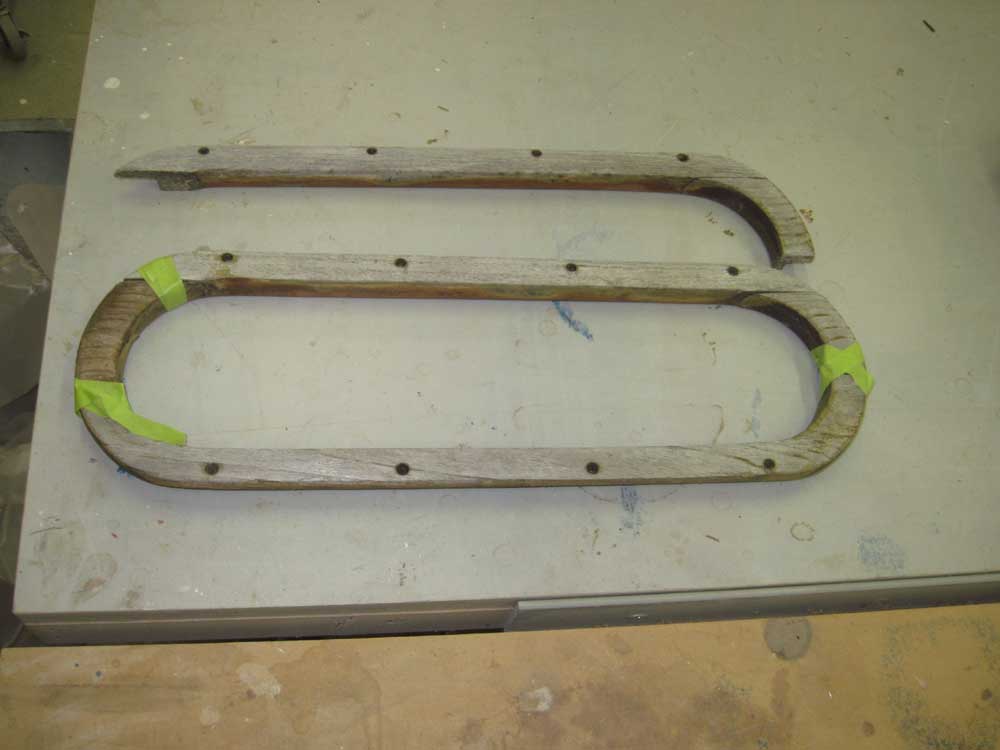
The old wooden trim rings surrounding the cockpit coaming storage pockets were broken and damaged, and the owner requested that I replace them, so I removed the broken bits remaining (managing to find all the pieces of one side for a template) and set them aside for replication.
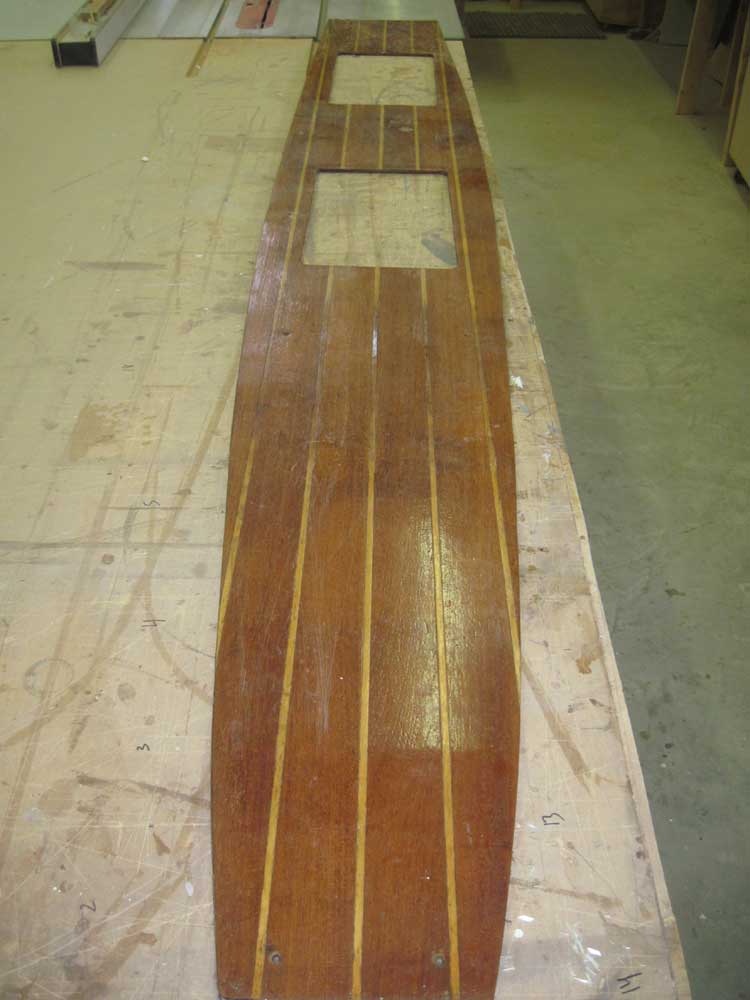
The teak plywood cabin sole veneer was damaged and the plywood delaminated, and replacement of this piece was one of the items on the project list. The plywood was secured with several screws and, I discovered, some flexible sealant beneath, but fortunately it came out without much of a fight. I set the old sole aside to use as a template once I acquired the appropriate new material.
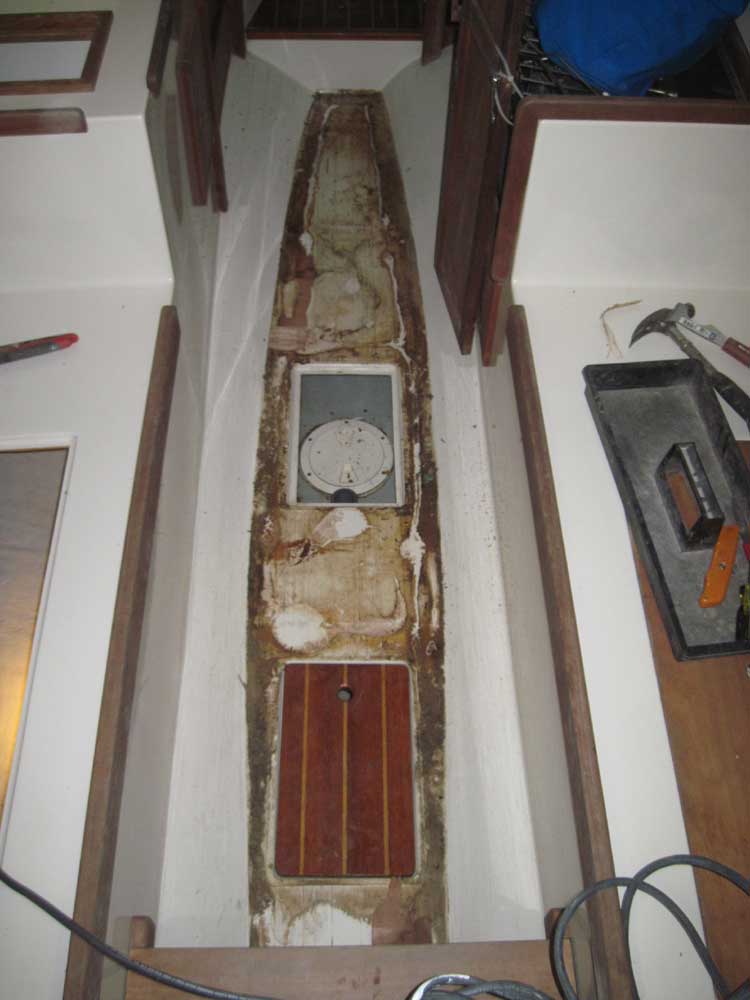
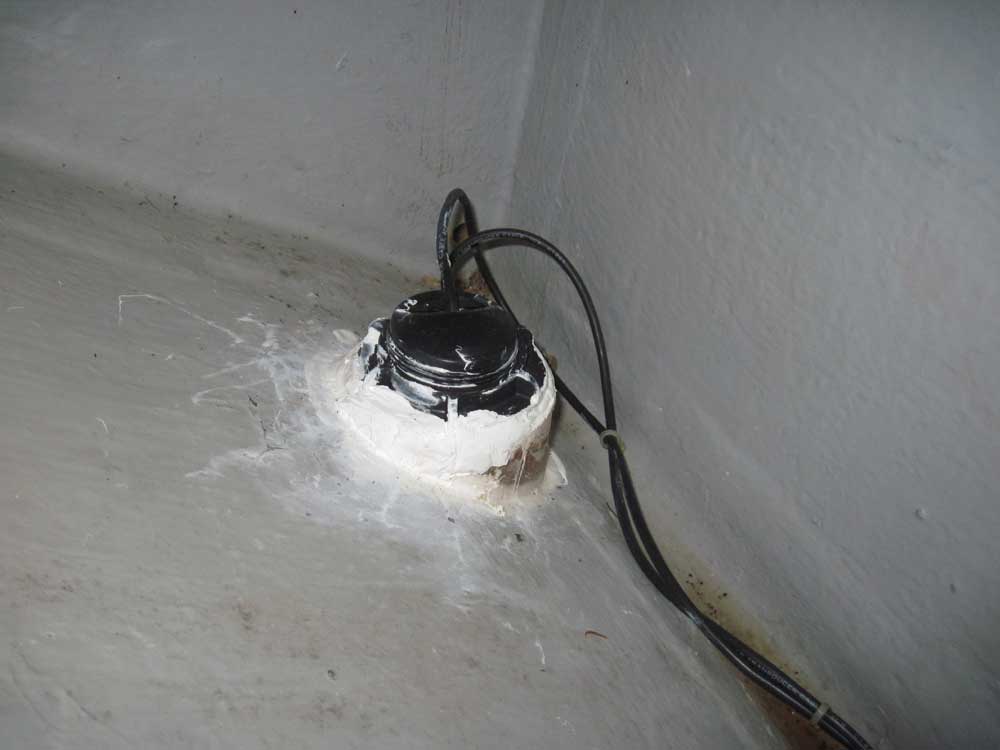
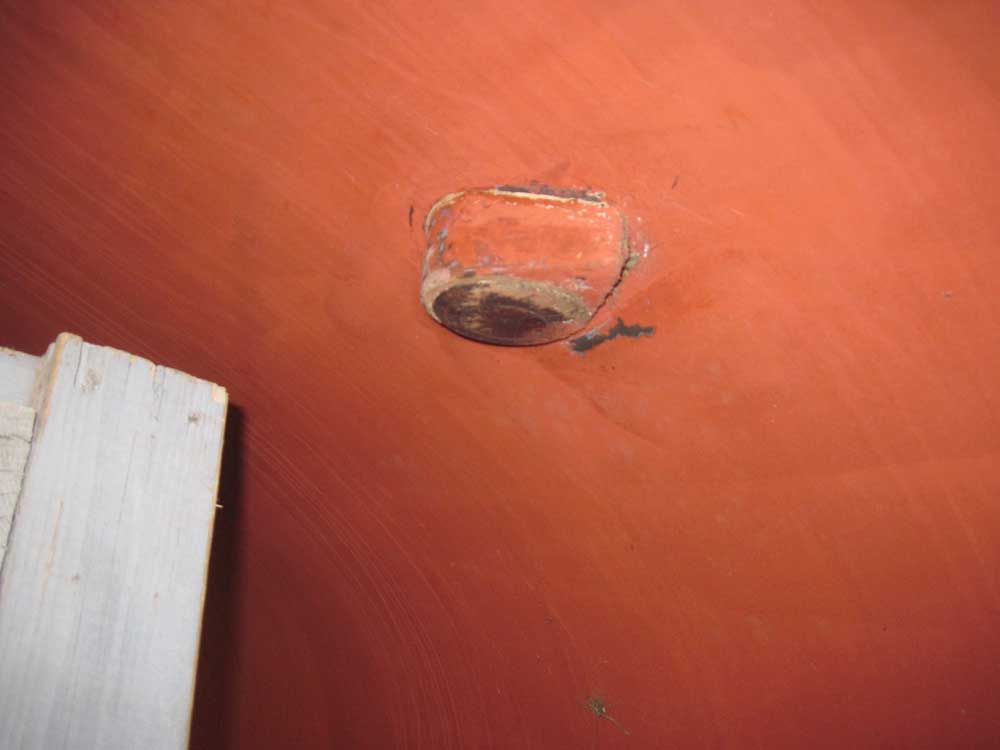
Another small item on the project list was the depthsounder transducer, which had apparently not been well sealed during its original installation at some point in the past. There was much external sealant applied over the plastic nut on the inside, which conspired to prevent me from unscrewing the nut. After some effort, I ended up splitting the nut to remove it--taking with it the inner part of the wooden fairing. The nut was expendable, and I still hoped I might be able to remove the plastic transducer intact.
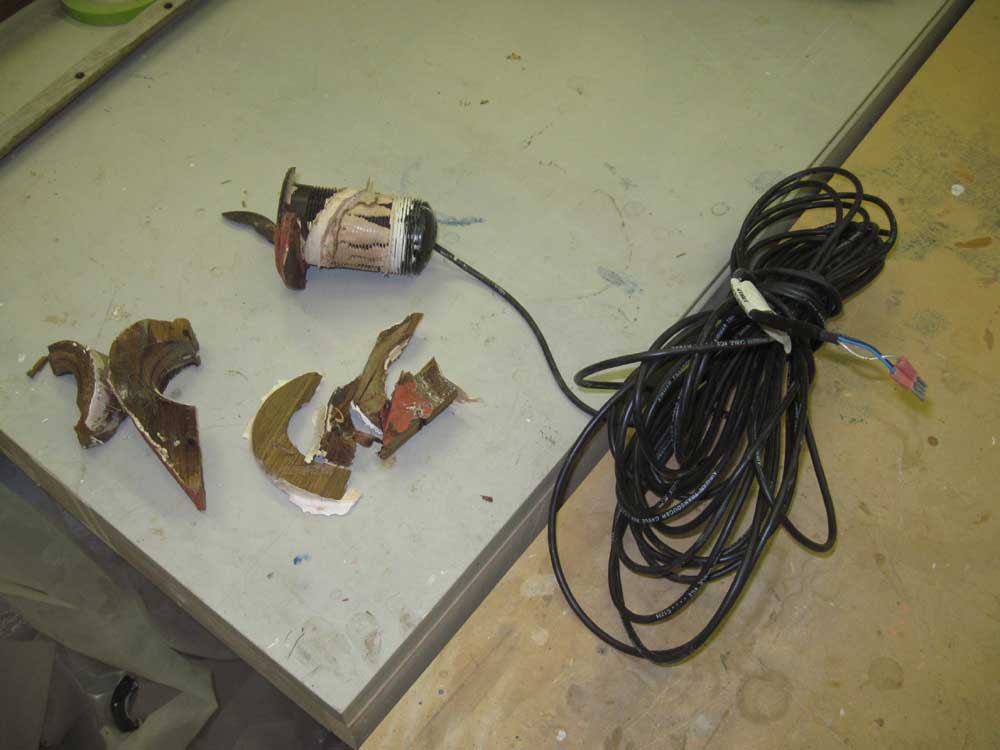
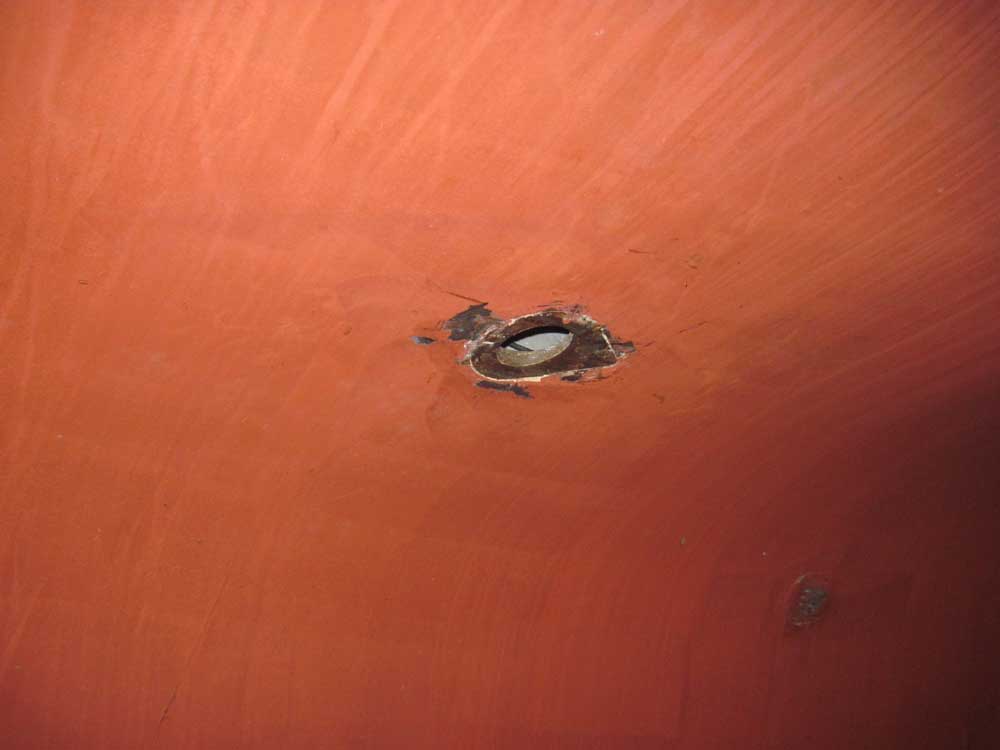
Unfortunately--but not unexpectedly--the final removal of the transducer from the boat damaged the transducer's flange, mainly because I was unaware that the exterior fairing block was screwed to the hull from outside, which prevented it from prying cleanly away even with care, and led to the damage of the transducer flange in the process. Since we'd already expected this (actually I came closer to saving the old transducer than I expected), I'd researched and found a replacement transducer with a built-in internal angle that would obviate the requirement for fairing blocks, which would streamline installation and also provide a smoother, cleaner end result.
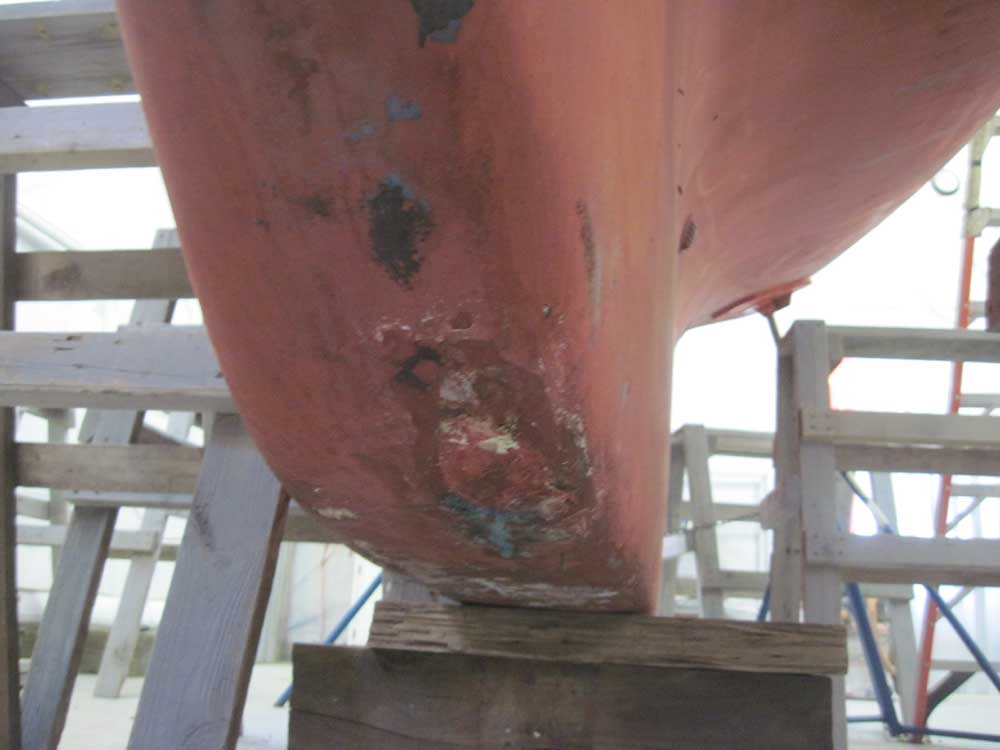
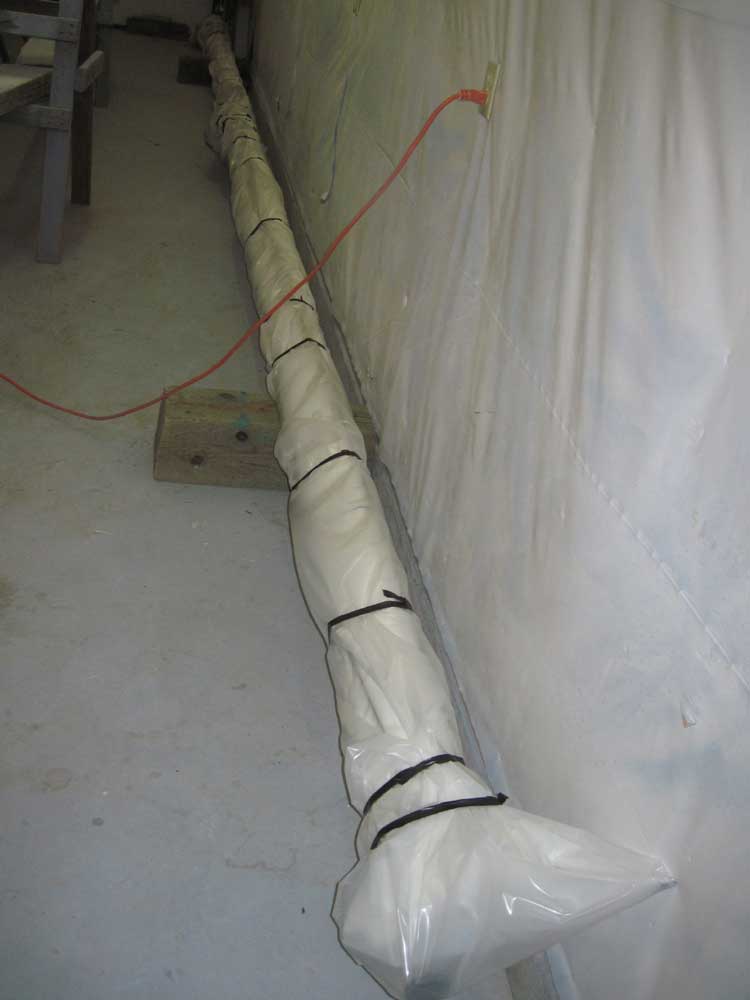
In and between these jobs, I made some preparations for some of the more major work ahead, which included a repair to a minimally-damaged section of the keel and, of course, new hull paint. I wrapped up the mast with plastic to protect it from dust and overspray, since I needed to leave it in the shop as I'd nowhere else to put it, what with copious amounts of piled snow outside. I also set up staging at hull height, and made some measurements of the existing waterline for future reference.
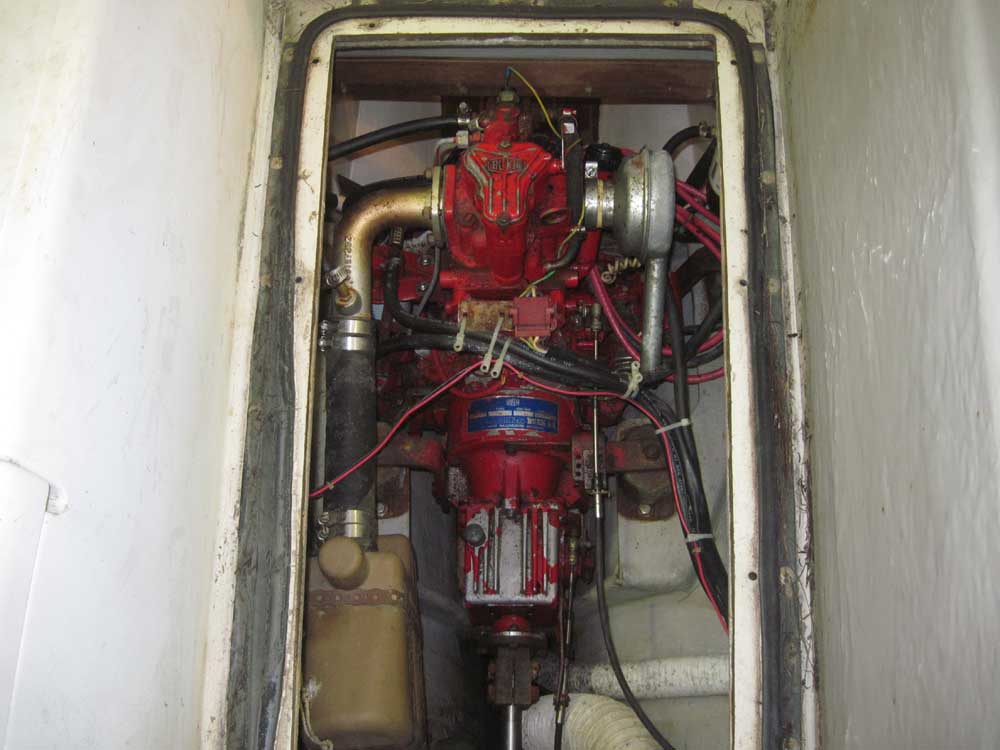
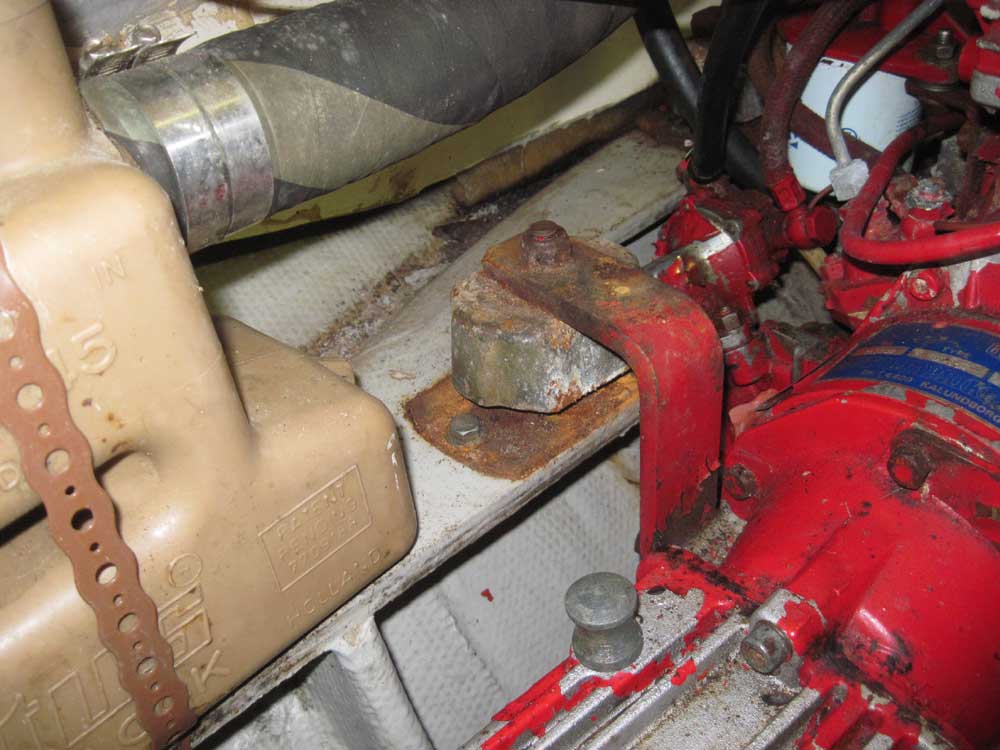
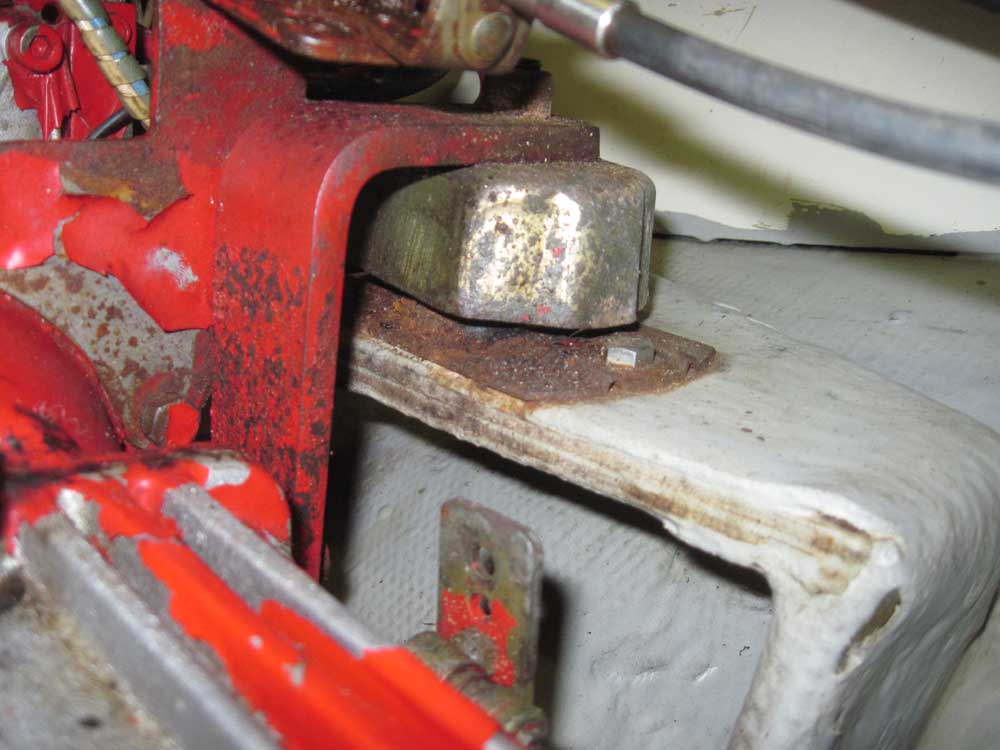
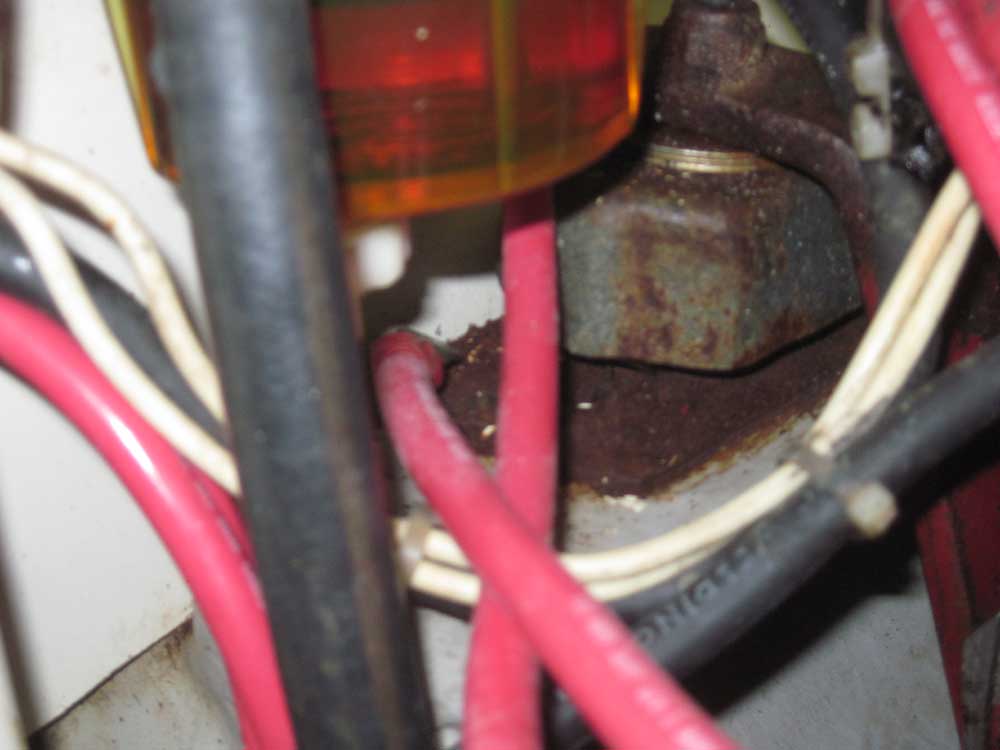
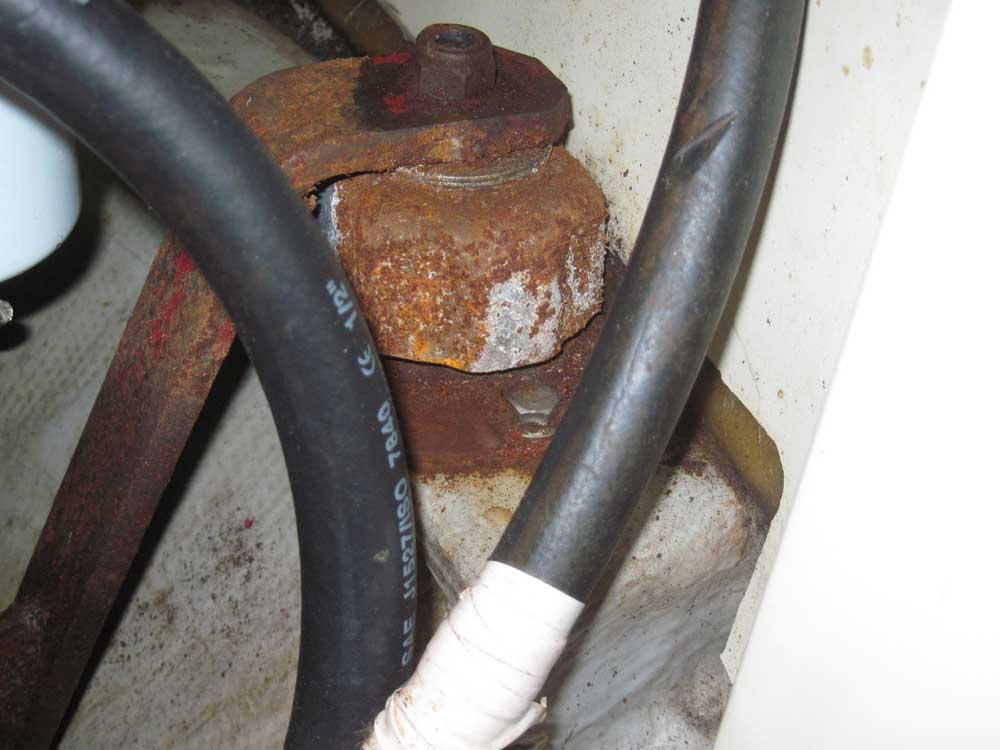
I looked over the engine compartment, specifically at the engine flexible mounts, to determine not only the overall appearance of things (generally in serviceable condition), but also specifically the state of the engine mounts and feasibility for replacement. I'd delve further into this later. The existing mounts featured some surface corrosion, but nothing that appeared to be detrimental to their function.
Total Time on This Job Today: 7.25 hours
