
|
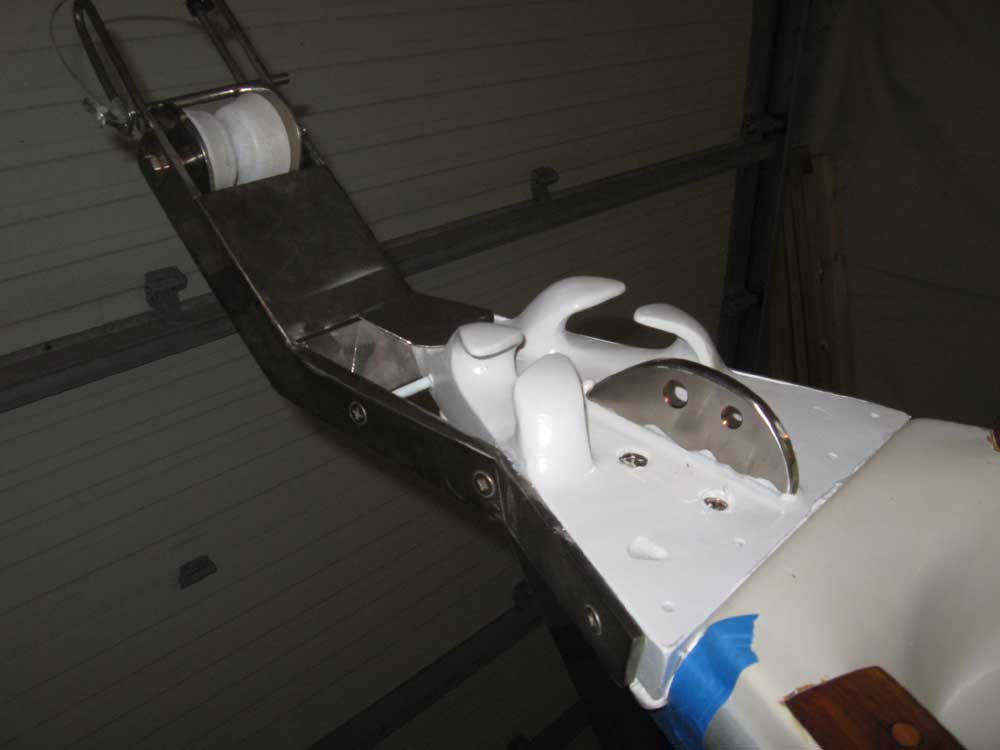
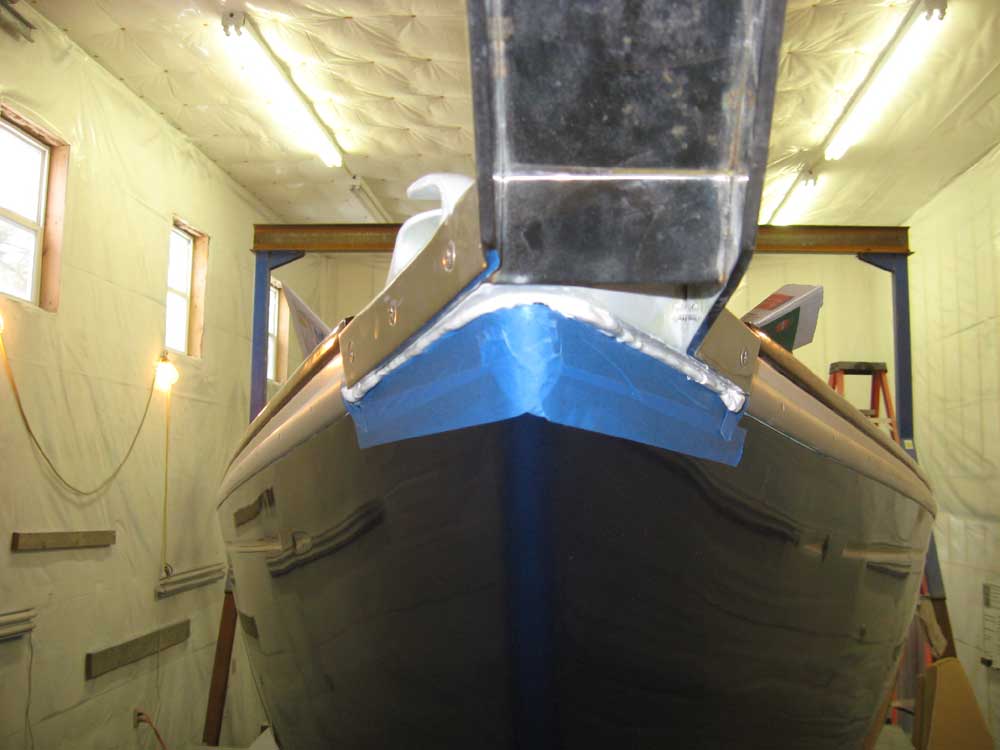
Equinox Project | Friday, March 27, 2009 Yesterday, I painted the stem casting, and with it now ready to go I installed it first thing. We had the original casting modified to include a new 3/8" SS tang secured from beneath the main casting, and which fit into a milled slot in the casting. I bedded the piece in 4200 for additional adhesive strength. |
 |
|
Afterwards, I installed the two forward bow pulpit bases to the casting, securing them with machine screws into their tapped holes, and then drilled, tapped, and countersunk fastener holes for the after bases and installed the pulpit in a bed of polysulfide sealant, leading the sidelight wiring down through the starboard pulpit base into the forward cabin. After cleaning up the excess sealant above deck, I went below installed nuts and washers to the pulpit fasteners. Finally, I installed 10-32 setscrews in the four pulpit bases to secure the rail, after enlarging the forward two holes to accept the same size screw as that in the after bases. |


 |
|
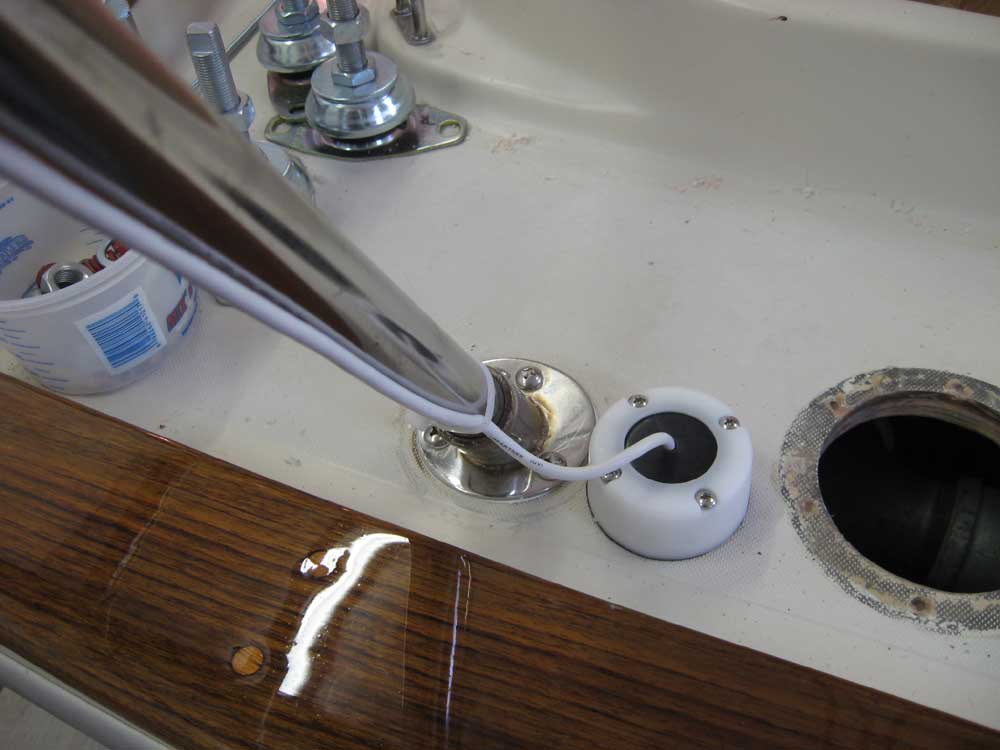
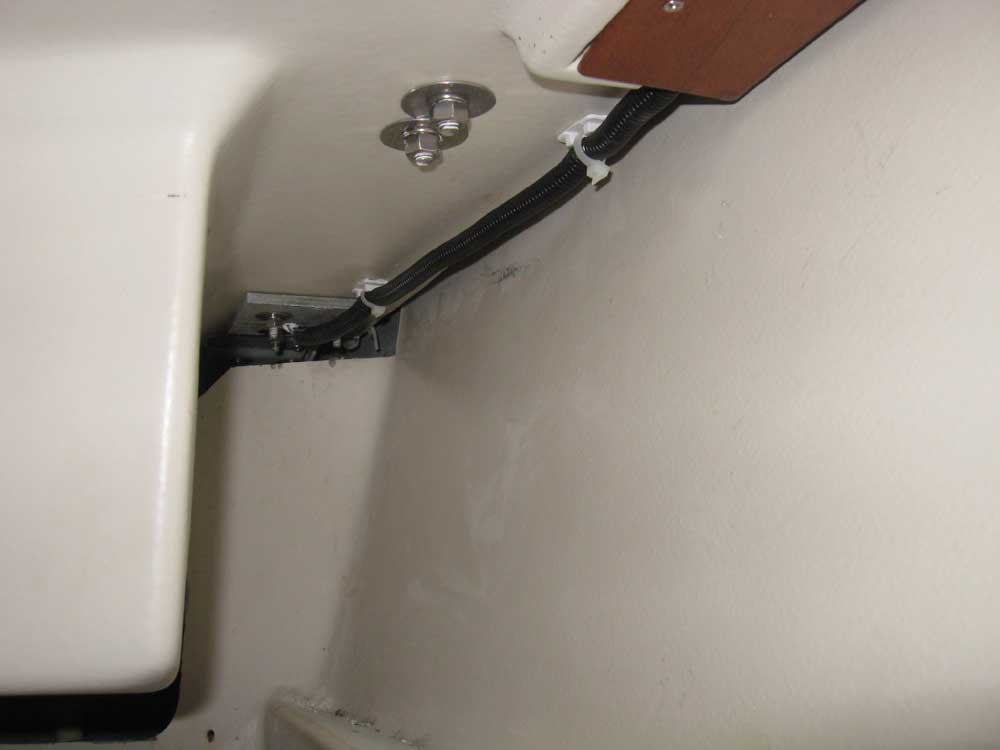
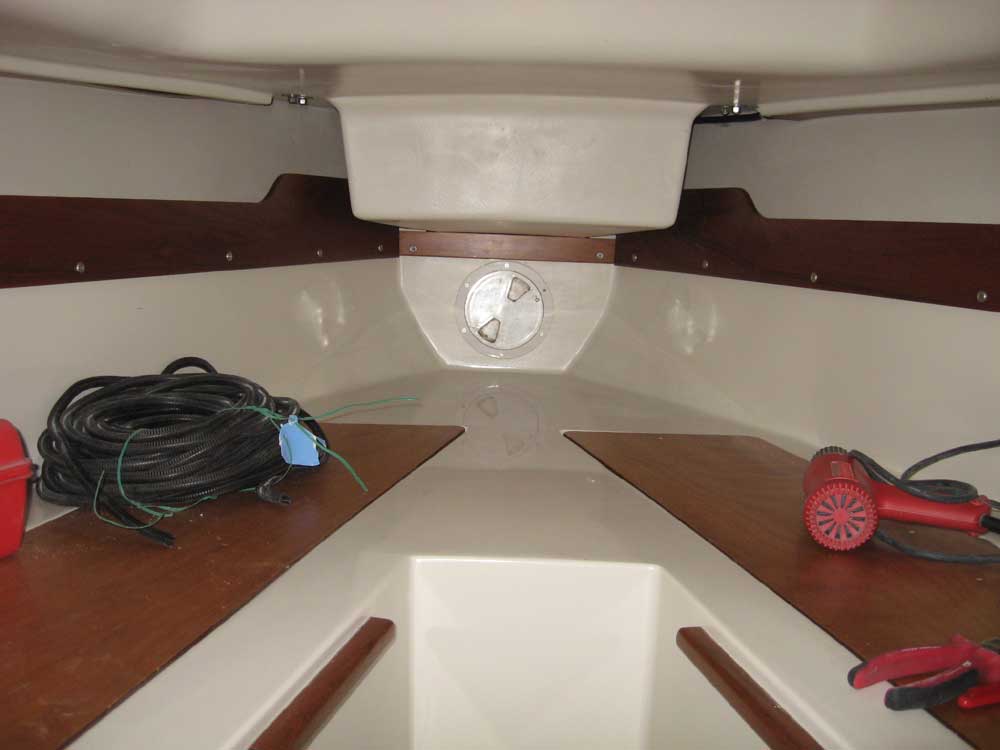
With the overbored holes epoxy-filled and now cured, I installed the cable clam and GPS antenna cable, leading the cable through the boat to the port side, where I left the excess for now pending installation of the GPS bracket, so I could determine the proper length to leave exposed. I glued in several wire tie bases to secure the cable along its run through the cockpit locker and elsewhere. |
 |
|
I had to postpone final installation of the tillerpilot plug since I wasn't happy with the connectors I'd attempted to use; the screw size on the plug was very small, and the smallest ring connector I had was a bit larger than I'd hoped. So I ordered tiny ones for Monday, and moved on. I'd ordered new sidelights (bi-color) and stern light for the pulpits, but because of a transcription error on my part I received the wrong light for the stern. However, the bi-color was ready to install, now that the pulpit was back in place. Installation was straightforward and un-noteworthy. Down in the cabin, I made up the final connection to the wires that I'd run along the starboard side earlier, and secured the wire in a cosmetic sheath where it was exposed forward of the liner covers. |


 |
|
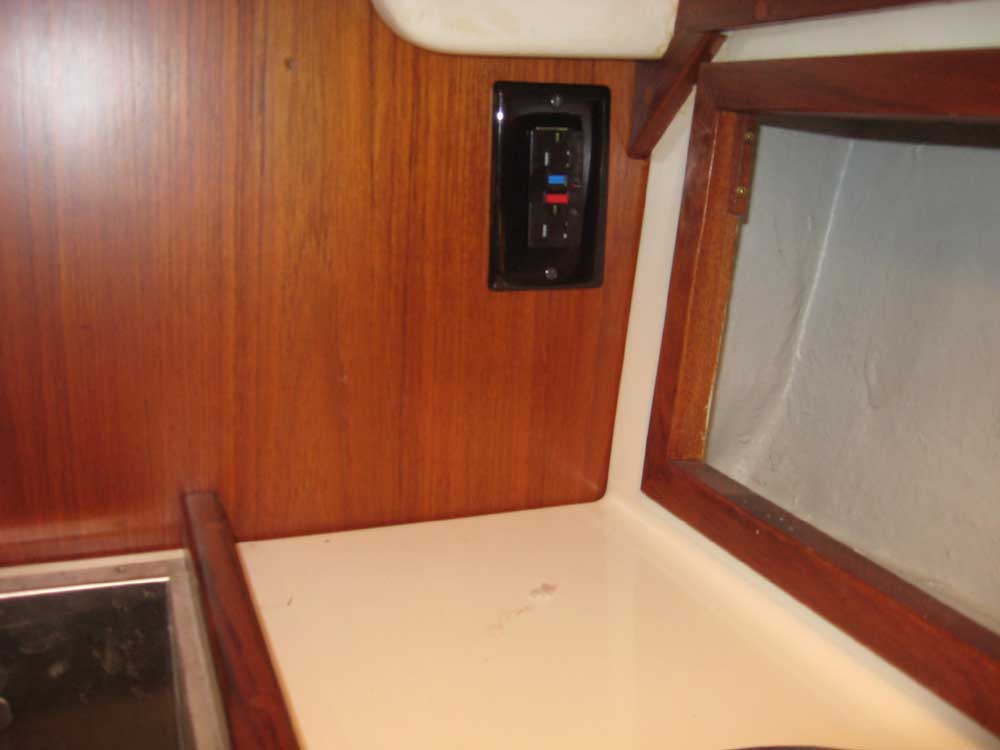
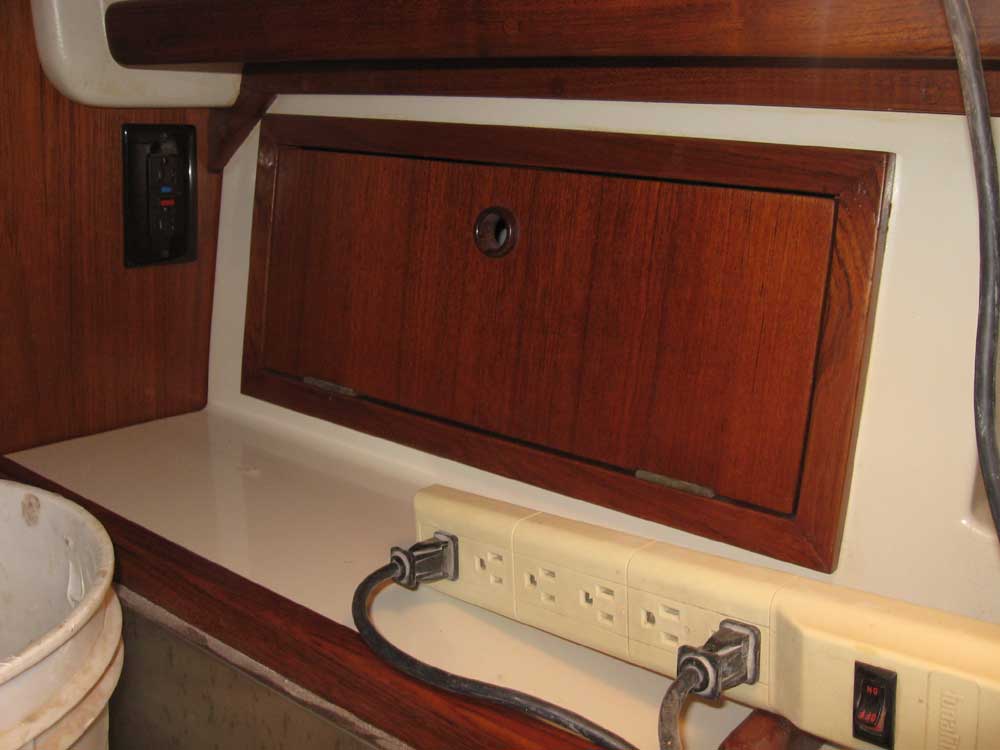
While I was in wiring mode, I installed a new GFCI outlet in the existing box in the galley, completing the AC side of the electrical system (other than eventual battery charger connections to the batteries). |

 |
|
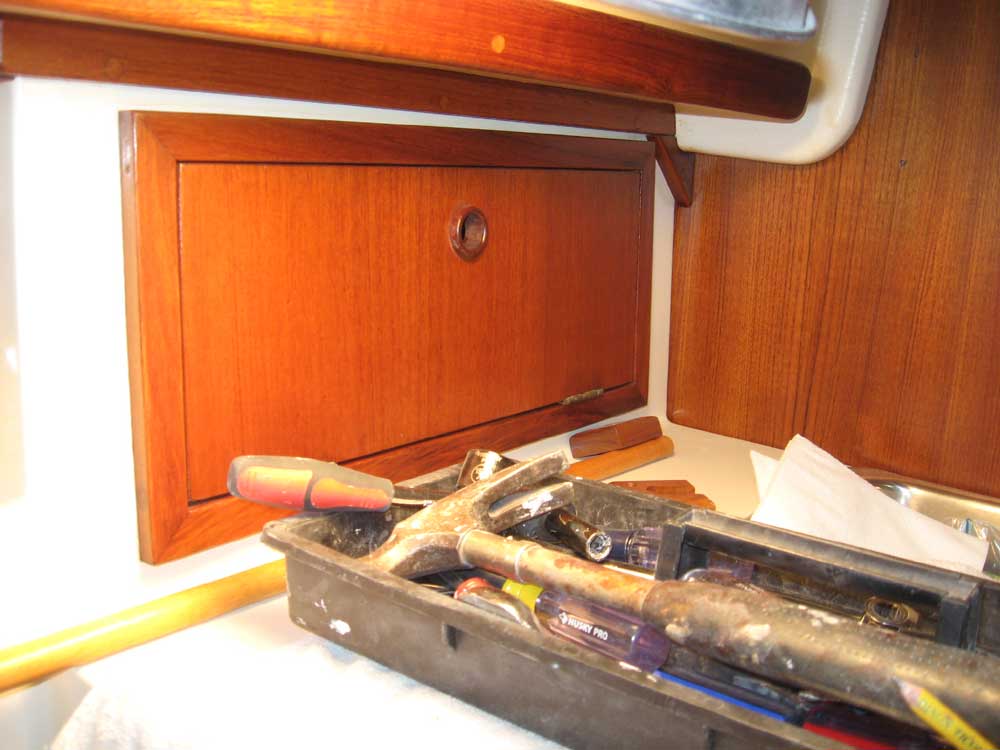
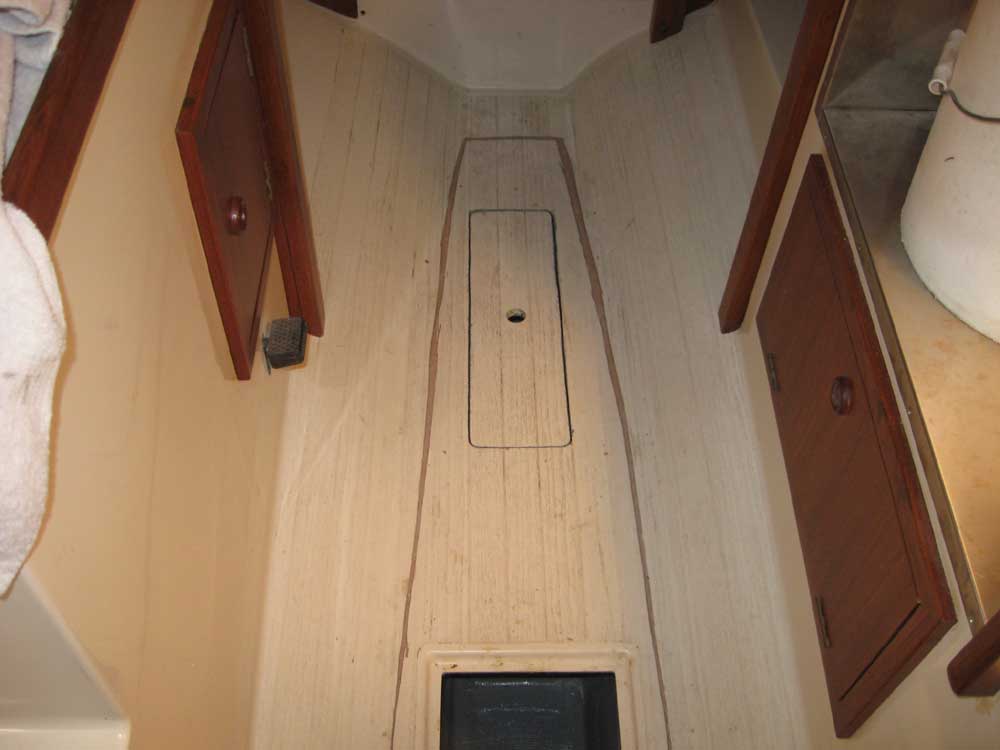
With all the work in the v-berth complete, as well as that in other lockers in the saloon, I reinstalled the newly-varnished trim pieces, shelf fiddles, and locker doors. |
  |
|
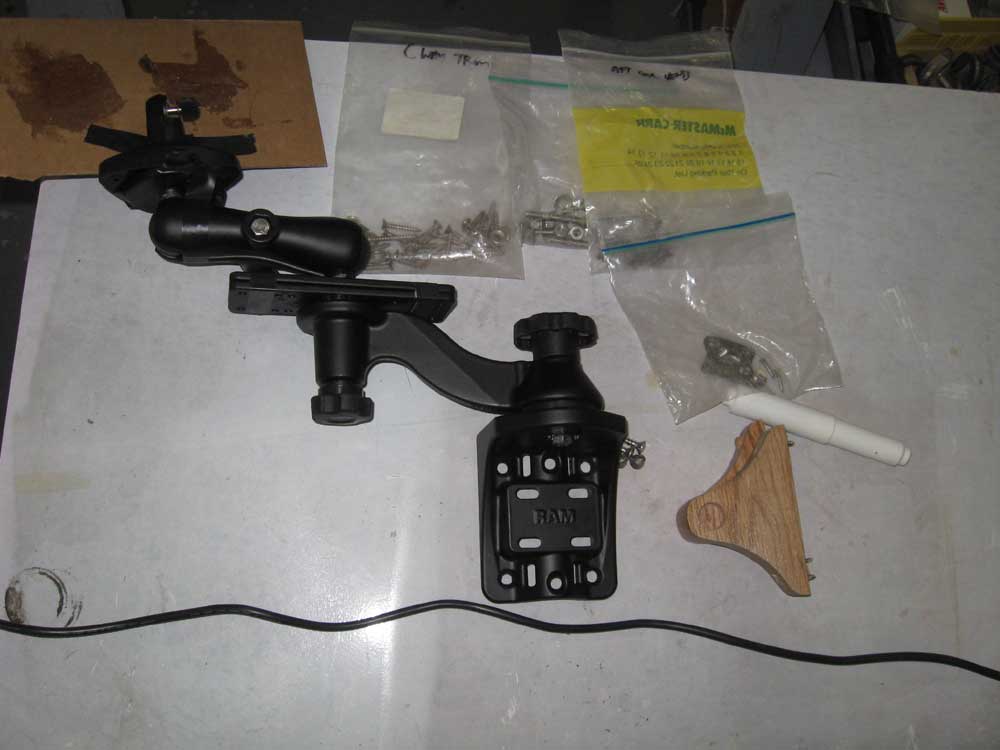
The RAM mount for the GPS arrived in the afternoon, and since this was critical to allow me to make up the final wiring connections and clean up the wiring on the port side, I pressed onwards immediately with its mock-up and the beginnings of installation. First, I made a wooden block on which to mount the swing arm base; I'd epoxy the block to the bulkhead, and then screw the base in place to the wood, as the only other alternative was to throughbolt through the bulkhead into the cockpit, which a previous owner had done but which we didn't plan to emulate. Next, I made a quick cardboard template of the basic shape of the GPS chartplotter and taped it to the various brackets in a position approximating that of the real thing, so that I could find the best location for the swing arm mount and wooden backing block. With the size of the chartplotter, and the combined heights of the brackets, the mount location ended up fairly low in order to clear the coachroof and VHF when swung inwards, but the display would be at a convenient height in the cockpit, as well as when the mount was swung in for storage in the cabin. I kept it as high as I could. After marking the location roughly, I removed the mount from the backing block and positioned the block carefully using a level. Then, I taped around it and scuffed up the gelcoat within to provide a suitable bonding surface for epoxy. After additional preparations, I secured the backing block to the bulkhead with thickened epoxy and clamped it in place to cure. |
 |
|
|
|
