
|
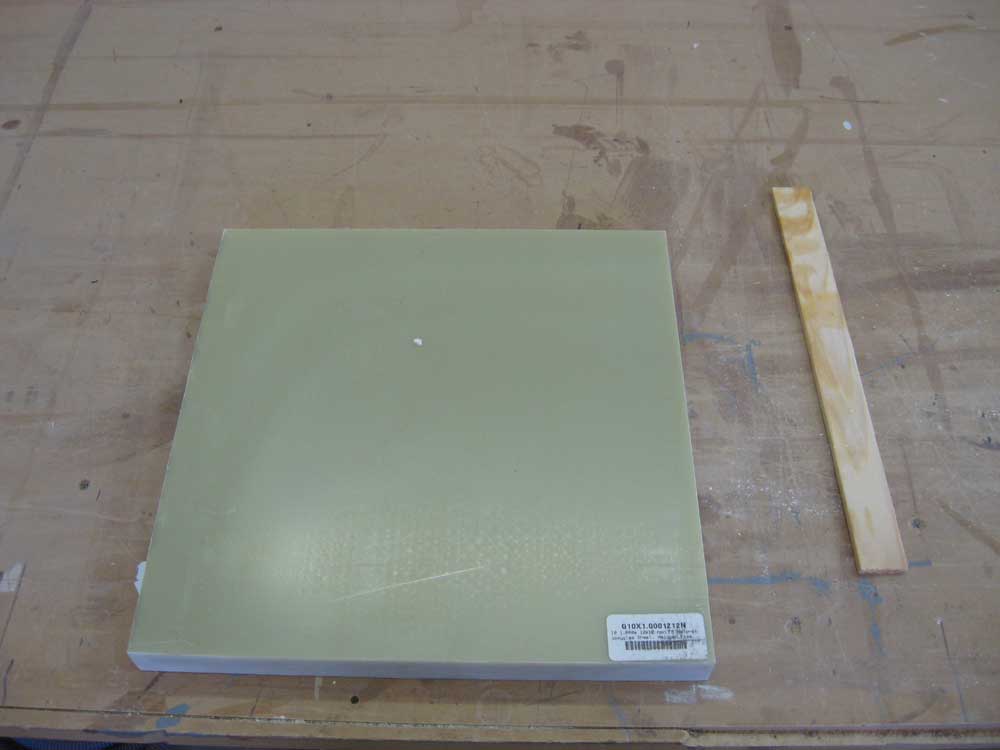
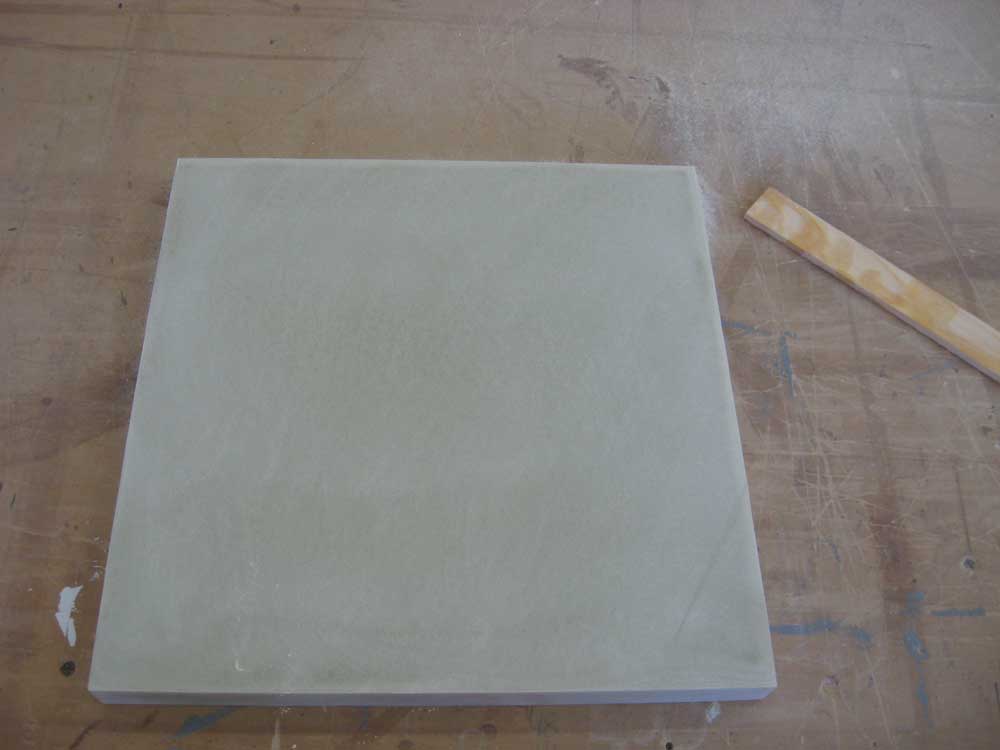
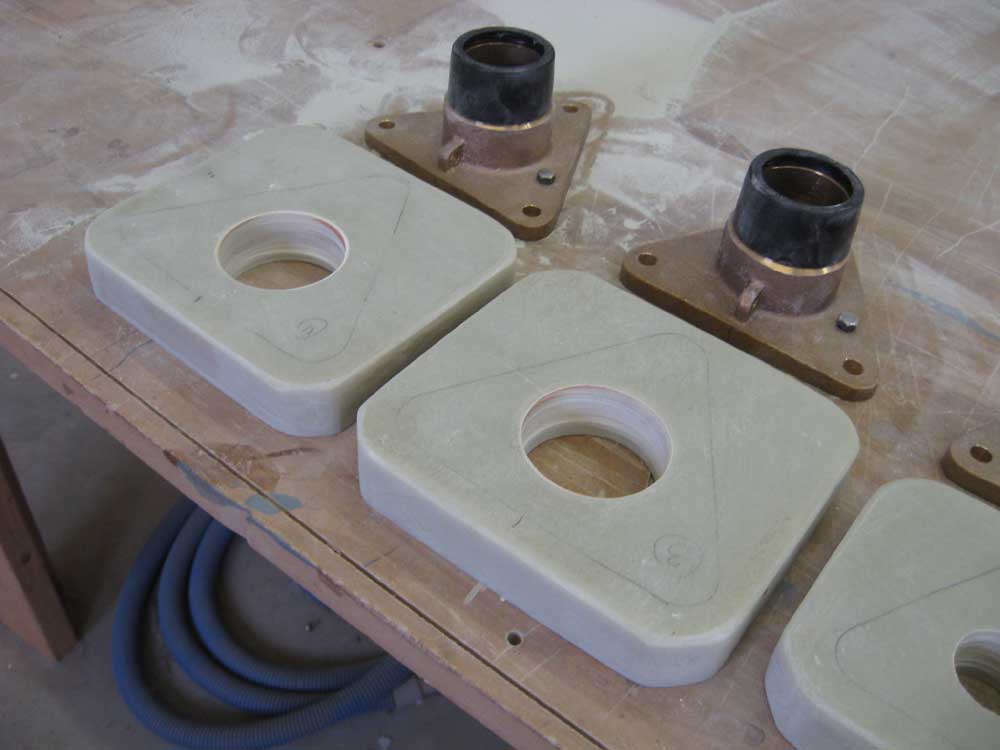
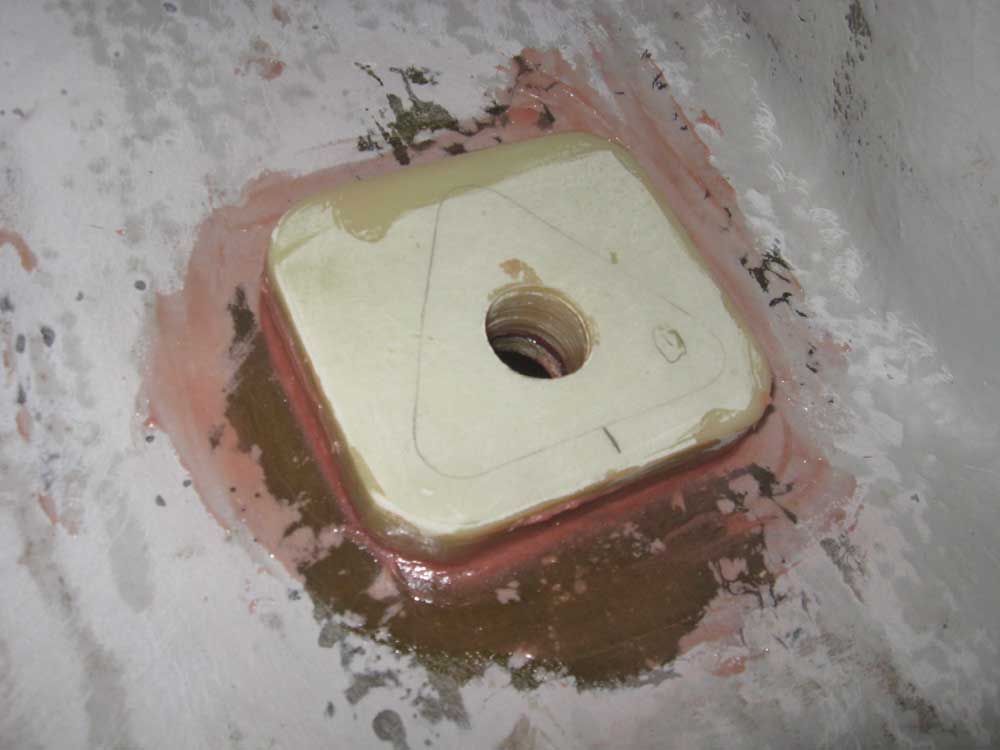
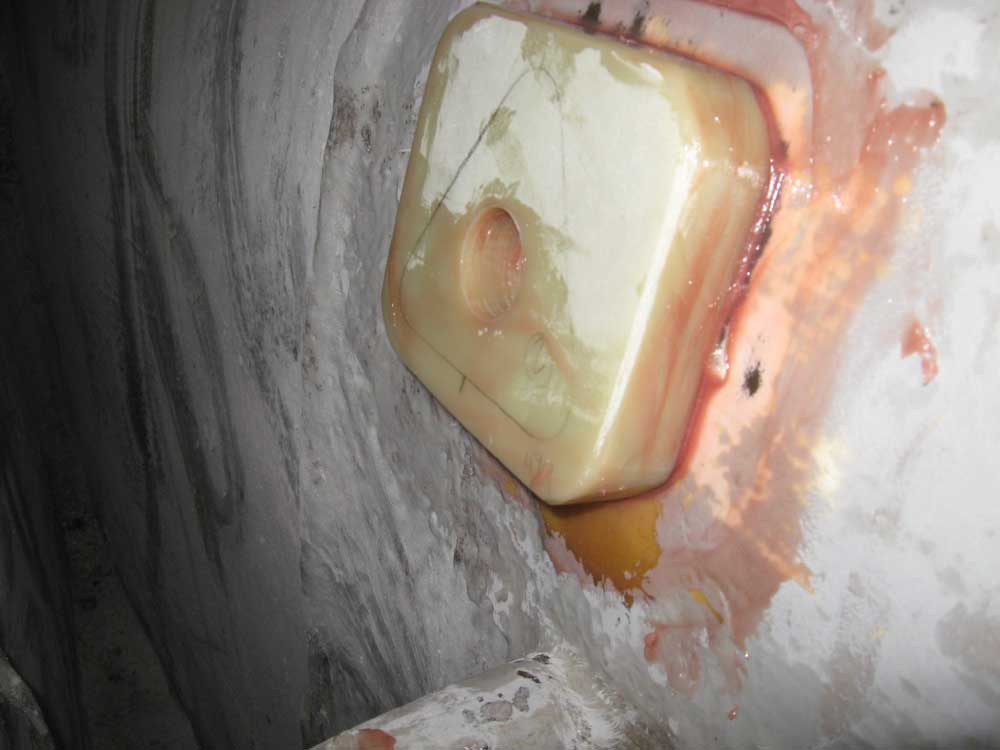
Equinox Project | Monday, February 2, 2009 I got started on the through hull installation in earnest today. My first order of business was to prepare the backing blocks for the mounting flanges. For this job, I chose the relatively new Groco IBFV mounting flanges, which accept the straight threads of a through hull fitting on one side and the tapered threads of ball valves on the other--a great concept that makes one wonder why such a thing didn't exist long before. I liked the idea of these fittings, as their installation would allow for easy removal or replacement of the ball valves themselves in the future, without a need to completely remove the bolted, flanged fitting and through hull. Earlier, I'd determined a need for a 1" thick backing block, and with the requisite piece of 1" thick G-10 laminate on hand, I began by sanding the factory surface to prepare it for later steps, after which I cut four pieces of the appropriate size for the four fittings involved--two larger, two smaller. I cut off the corners of the rectangular blanks and rounded over the cuts for pleasing appearance, to reduce potential stresses, and to avoid any sharp corners that might be unpleasant to encounter during future forays into the bilges during the boat's life. Finally, I milled holes for the through hull fittings, after first determining the position of the mounting flanges on the backing blocks. |
  |
|
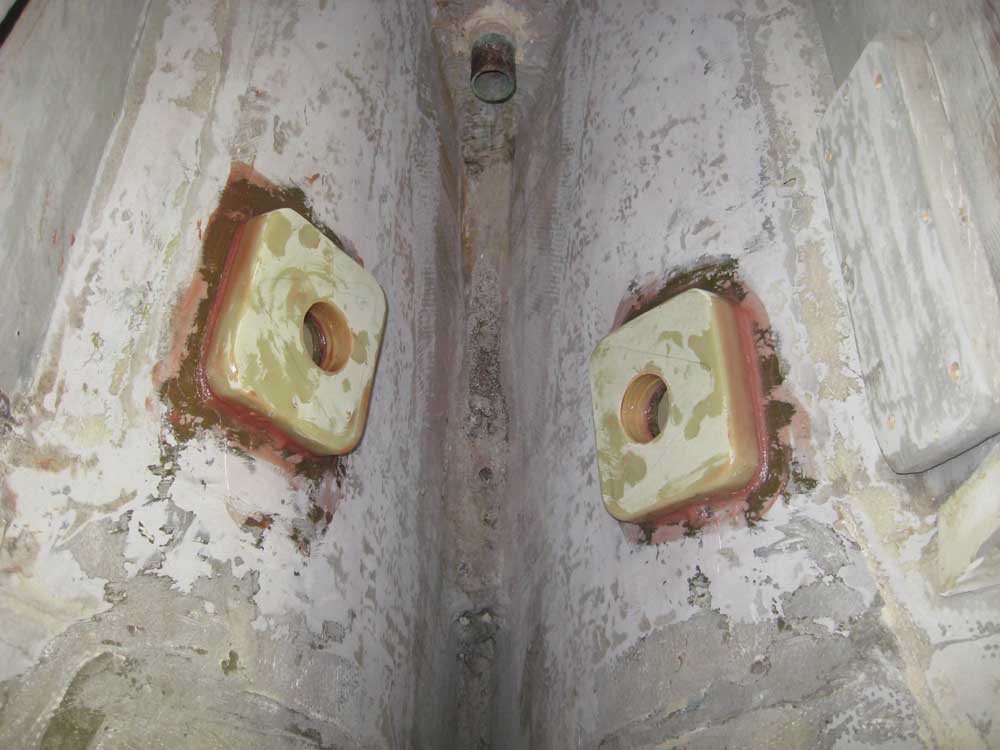
After cleaning the surfaces of the blocks and the corresponding surfaces of the hull with acetone, I installed the backing blocks in thickened epoxy, using small dabs of hot melt glue to hold the blocks in place while the epoxy cured. After allowing the initial installation to cure during the lunch break, I used more epoxy to create fillets around the edges of the blocks where they met the hull. |
 |
|
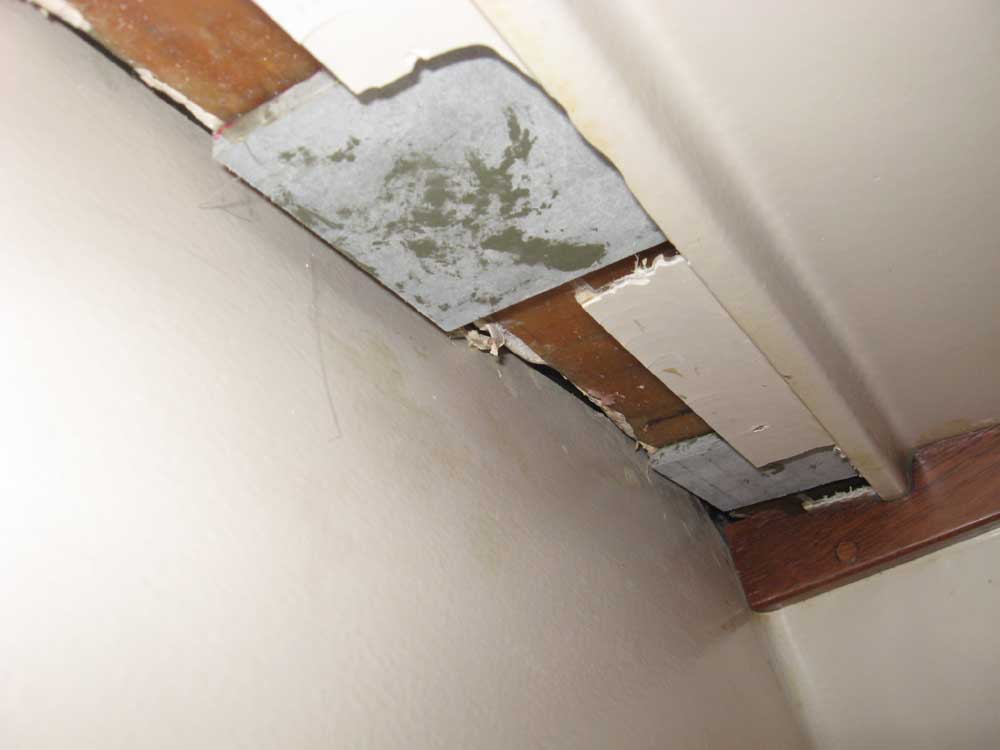
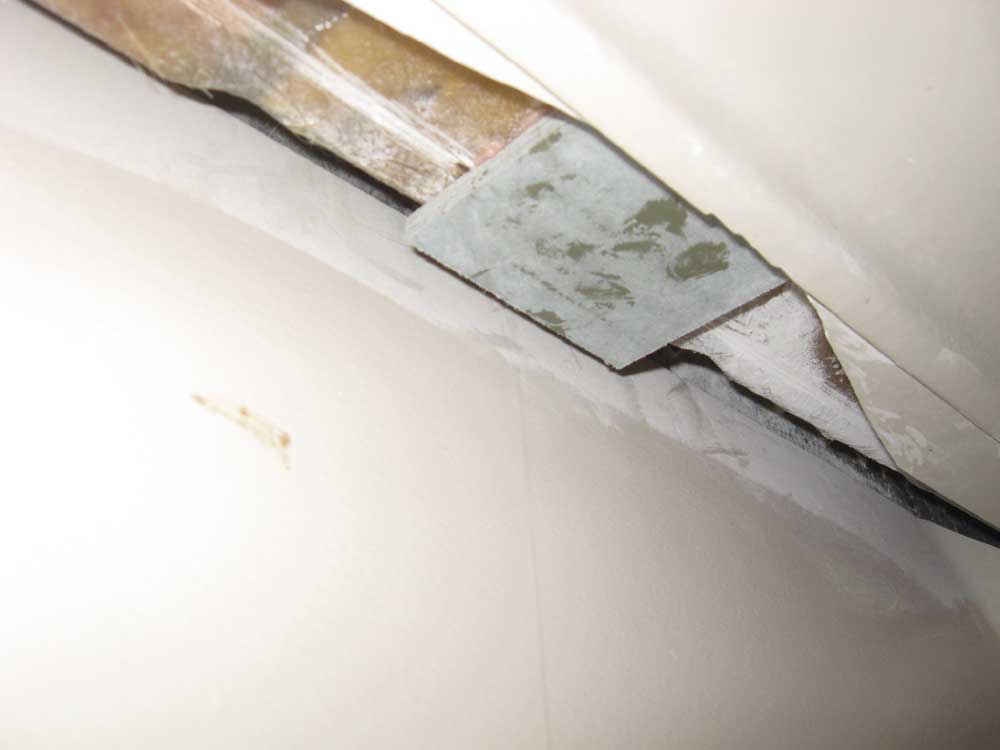
Next, I prepared a series of 1/4" thick fiberglass backing plates for some of the deck fittings, namely the stanchion bases, mid-cleats, and bow pulpit; later, I'd build the backing plates for other areas of the deck, but for now the areas forward of the cockpit were my focus. It appeared there'd be just enough clearance for these backing plates beneath the interior liner to allow nuts and washers to remain below the level of the trim pieces that would eventually cover the hardware. To make life easier, now and forevermore, I glued the backing blocks to the underside of the decks in the appropriate locations, using a bit of epoxy and some more hot glue to hold the blocks while the epoxy cured; there'd be no way to install the backing plates after the bolts were installed, thanks to the design of the interior liner and the access to the areas in question, and having the backing plate permanently installed would allow me to drill and tap threads all the way through the deck and backing plate for a nice, secure installation. I installed 10 backing plates in this manner. |

 |
|
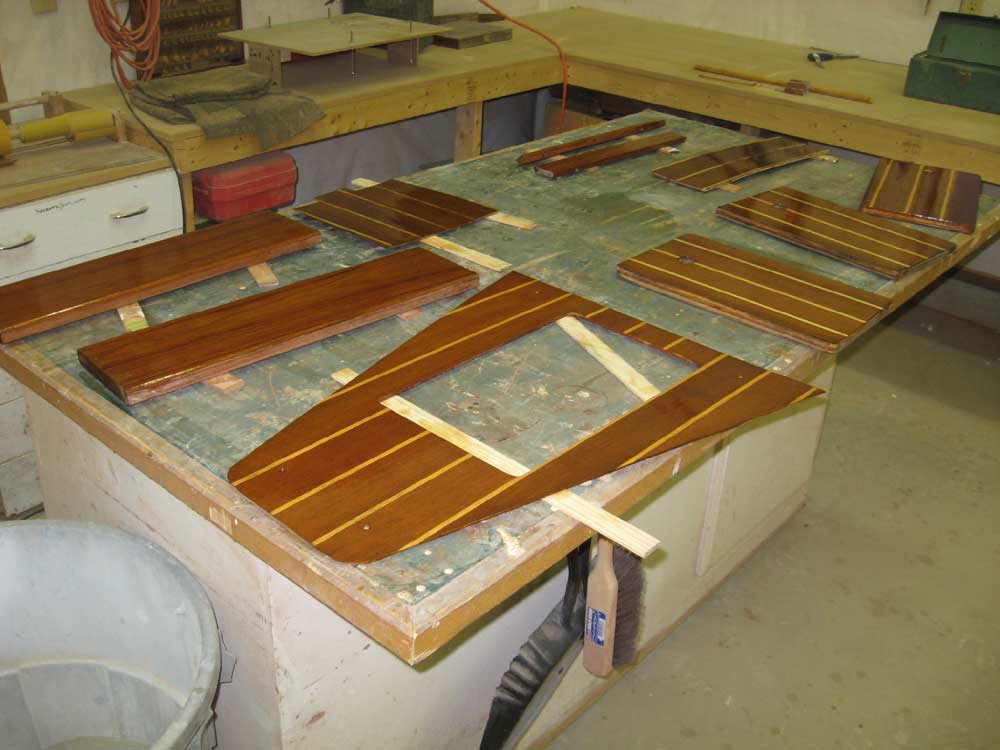
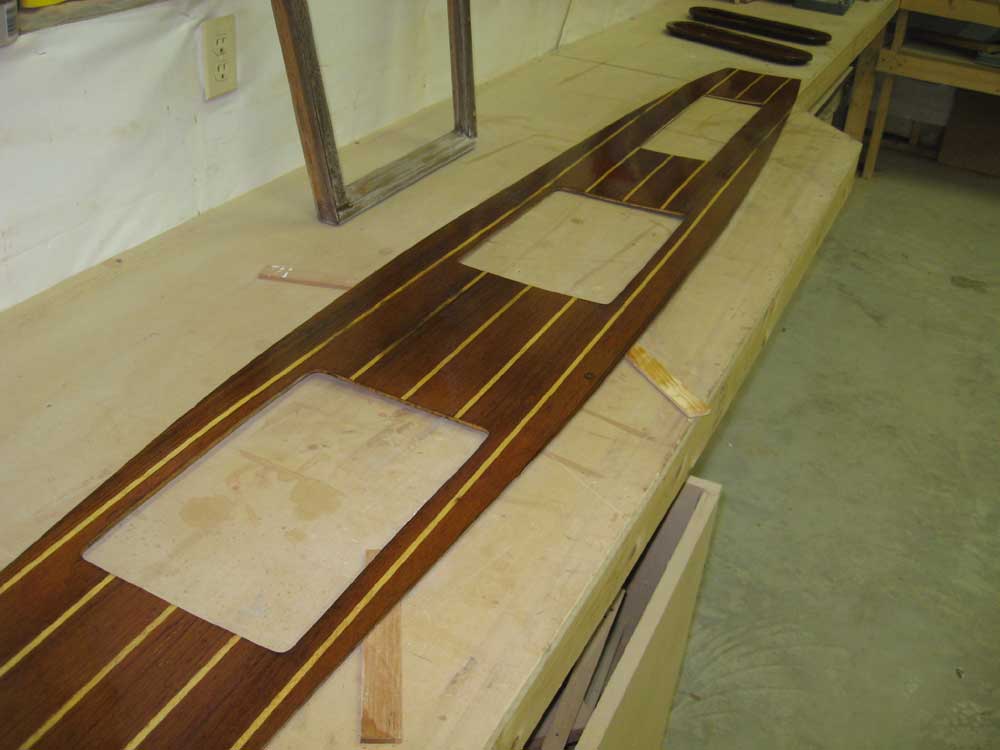
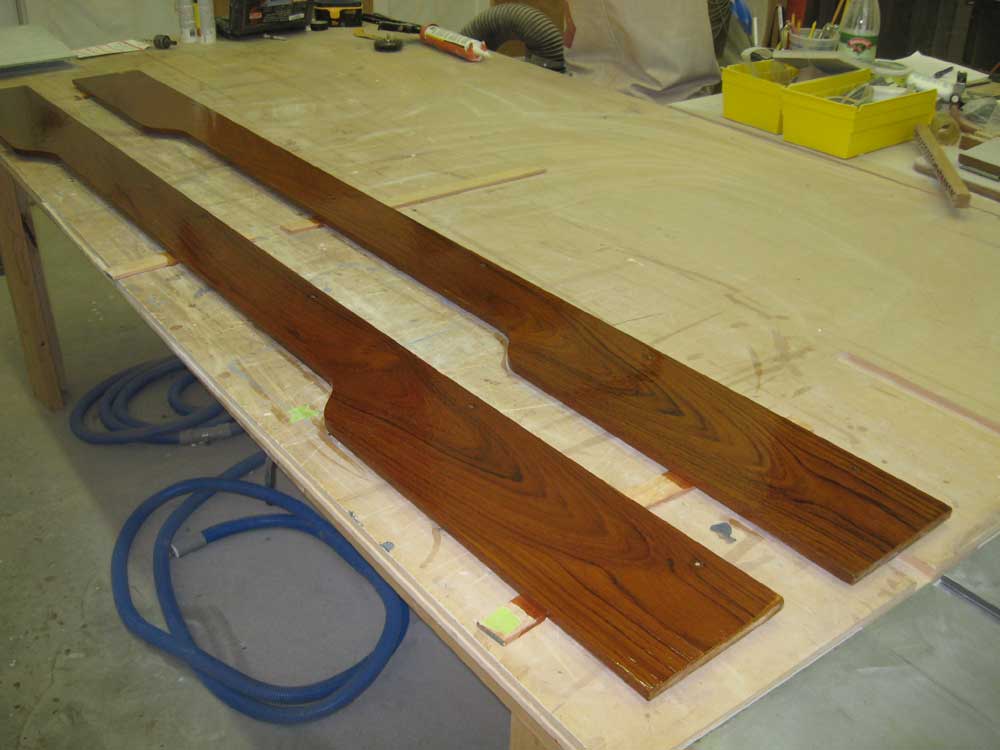
To complete the day's work, I sanded the cabin sole and other brightwork pieces on the bench and applied another coat of varnish. |
 |
|
|
|
