|
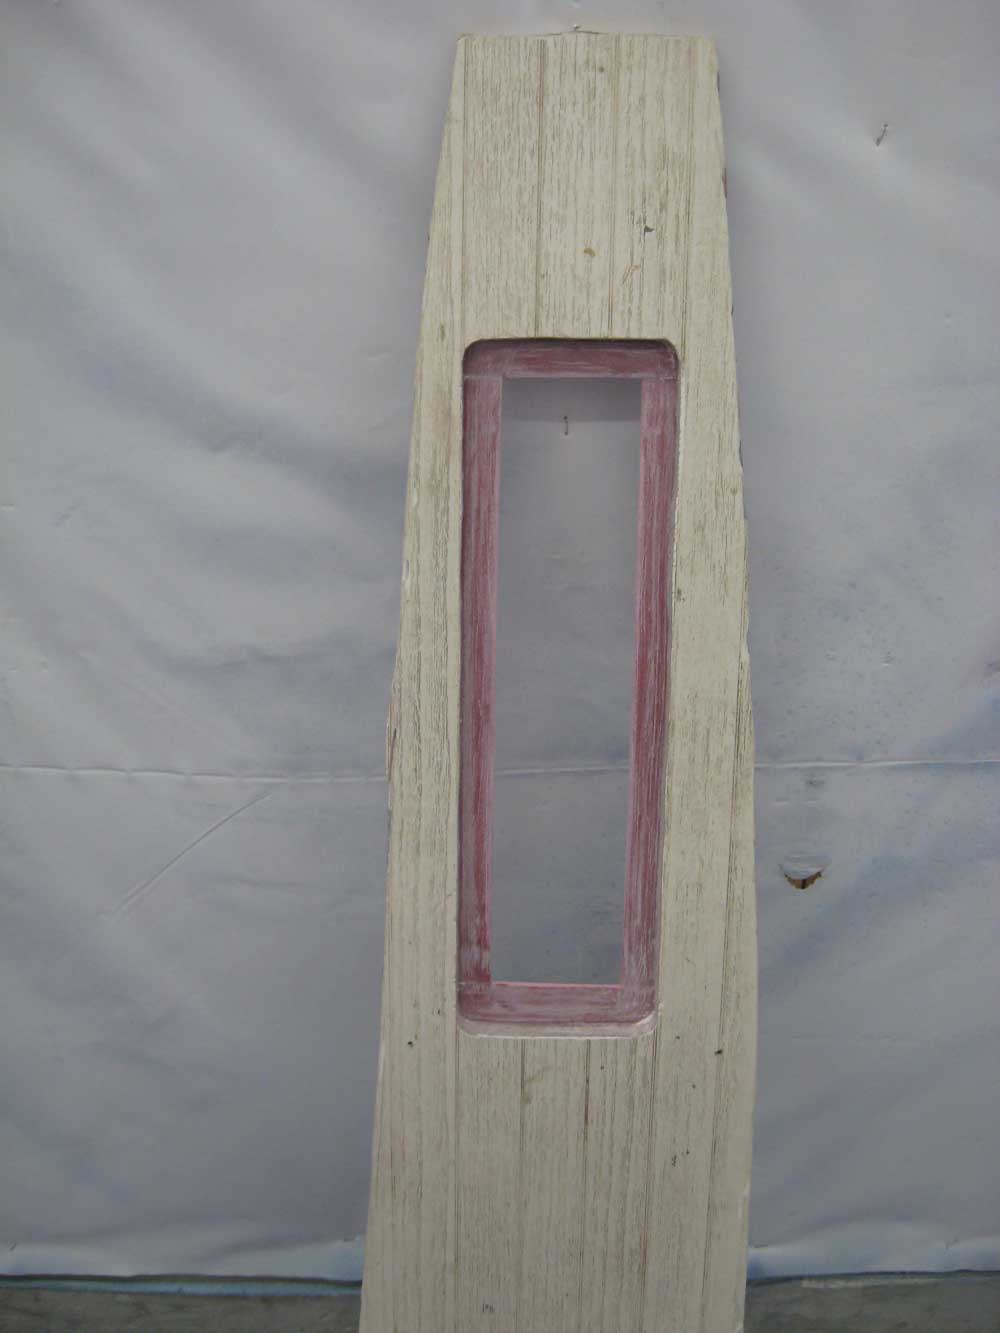
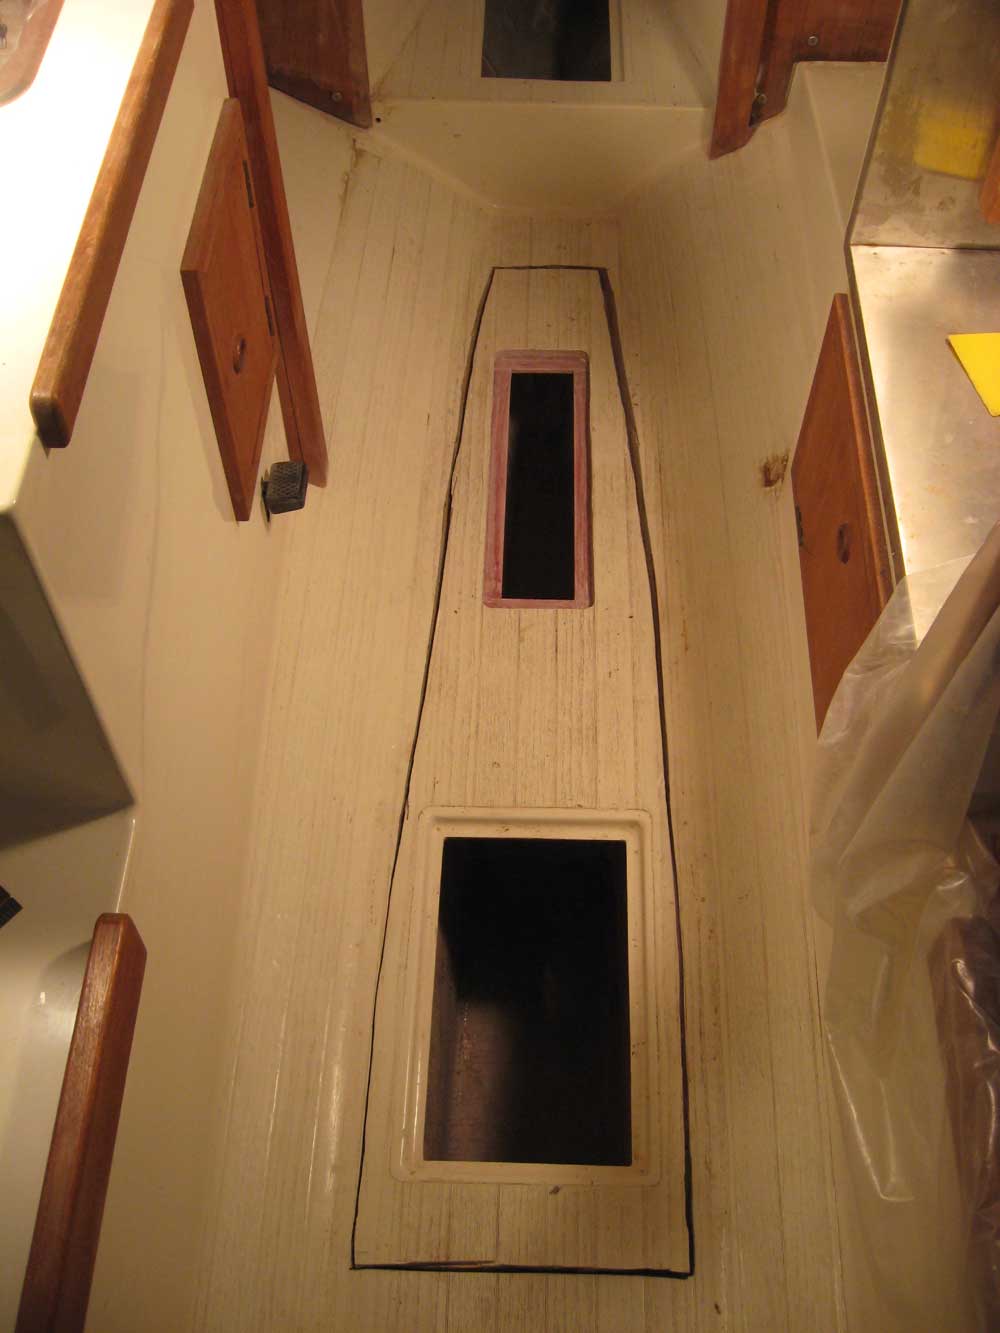
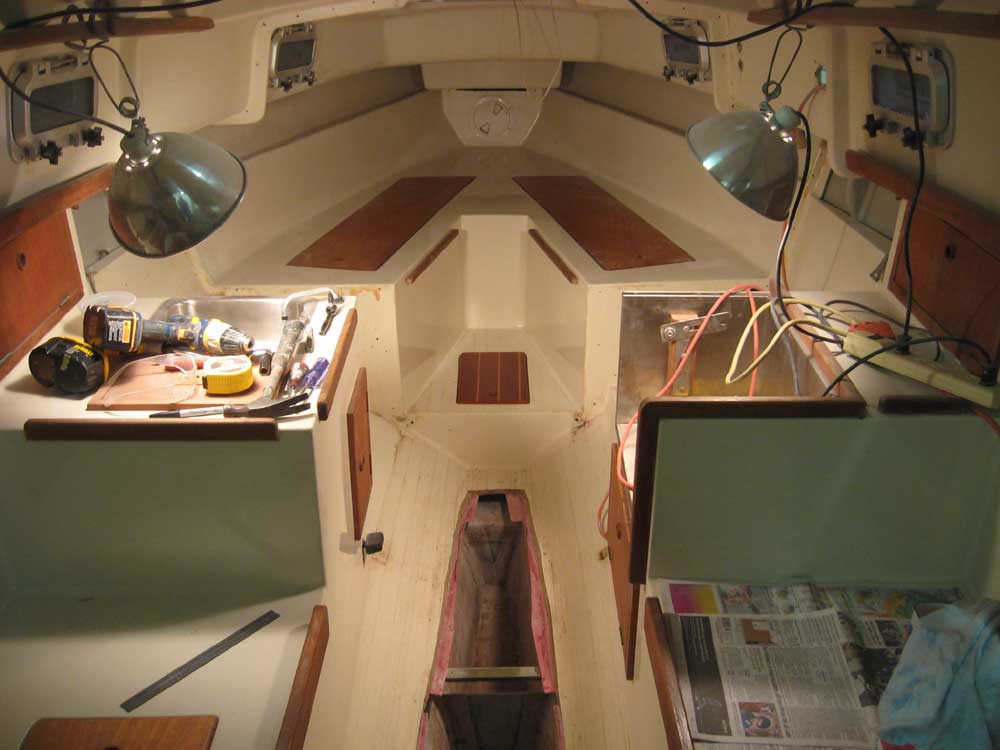
Equinox Project | Monday, December 29, 2008 Over the weekend, I moved the boat into my main work bay, and spent some time setting up staging and getting the boat ready for more significant portions of the project in the new space. After unclamping and cleaning up the fiberglass cleats on the cabin sole, I test-fit the sole in place once more. I found that the new hatch opening cleats on one side very slightly overlapped the cleats that I'd installed in the cabin earlier, despite having made allowances for this, so I trimmed a small amount off the cleat on the bottom of the cabin sole, after which the sole piece fit well. Final installation, which was coming soon, would fill the remaining gaps between the sole and the interior liner. |
|
|
|
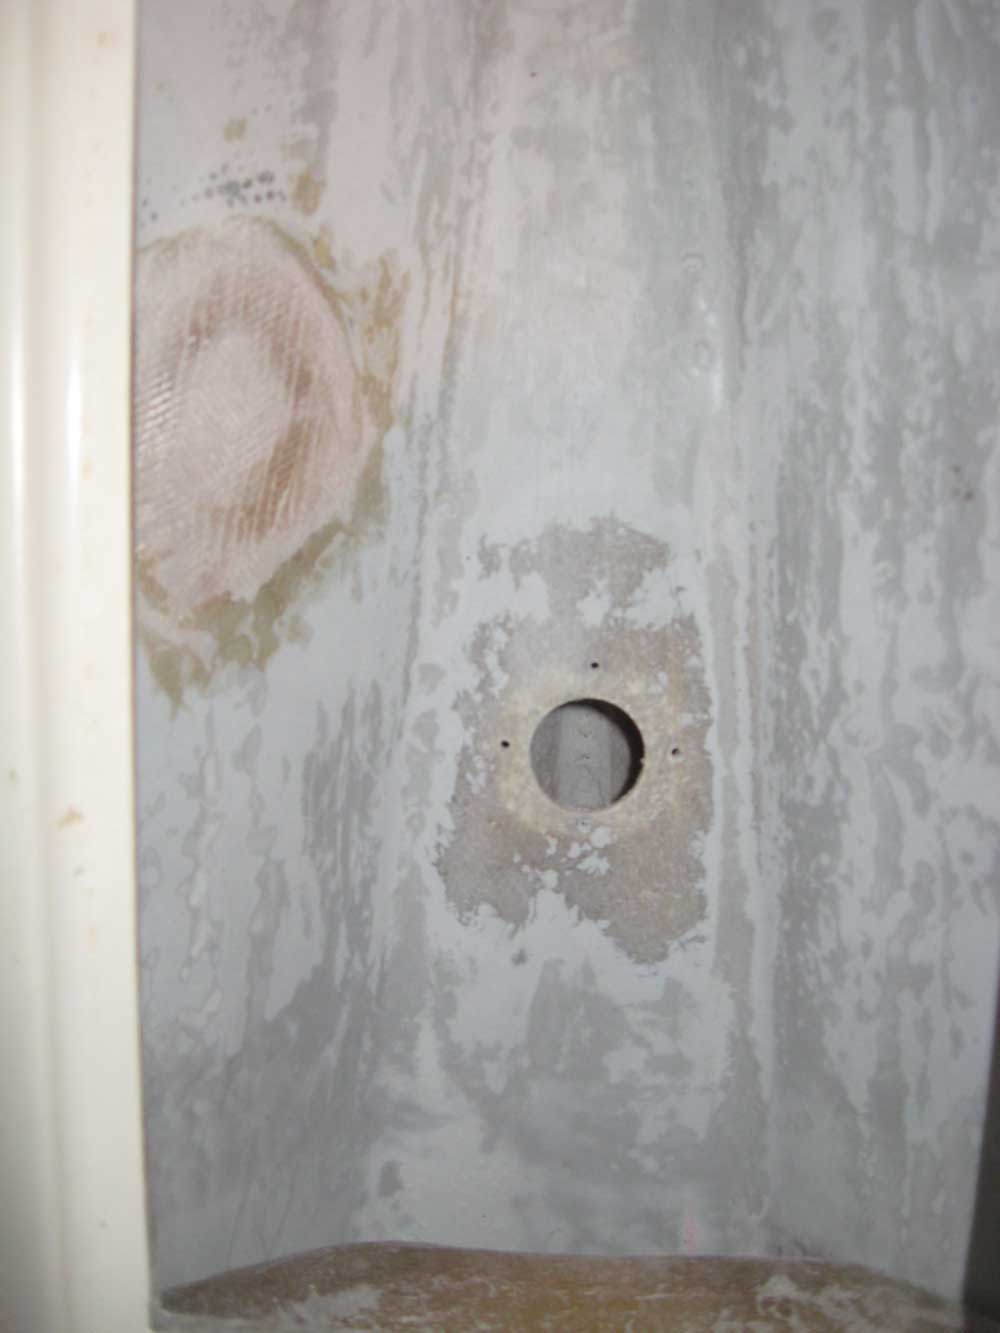
I did a little final sanding and cleanup in the bilge to ensure that anyone reaching through the cabin sole hatch openings would not encounter any sharp edges within their reach, and then moved on to the head through hulls up forward, which I needed to fill since they were no longer needed. To begin, I sanded the inside of the hull around each through hull to remove the gray gelcoat coating in the locker and prepare the area for further steps. |
|
|
|
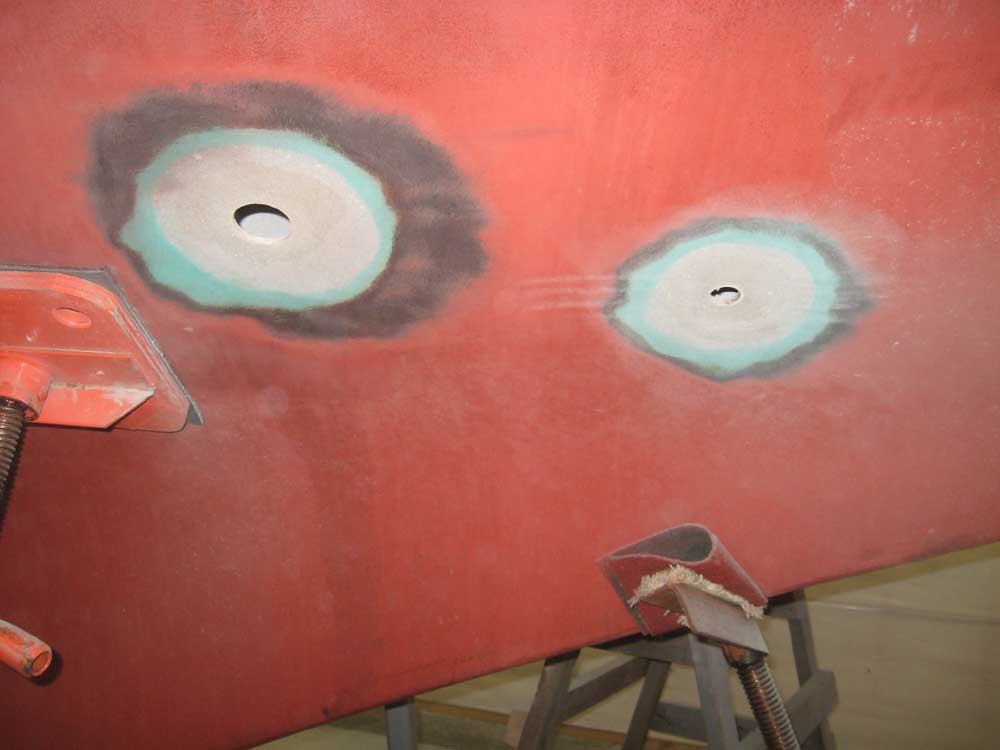
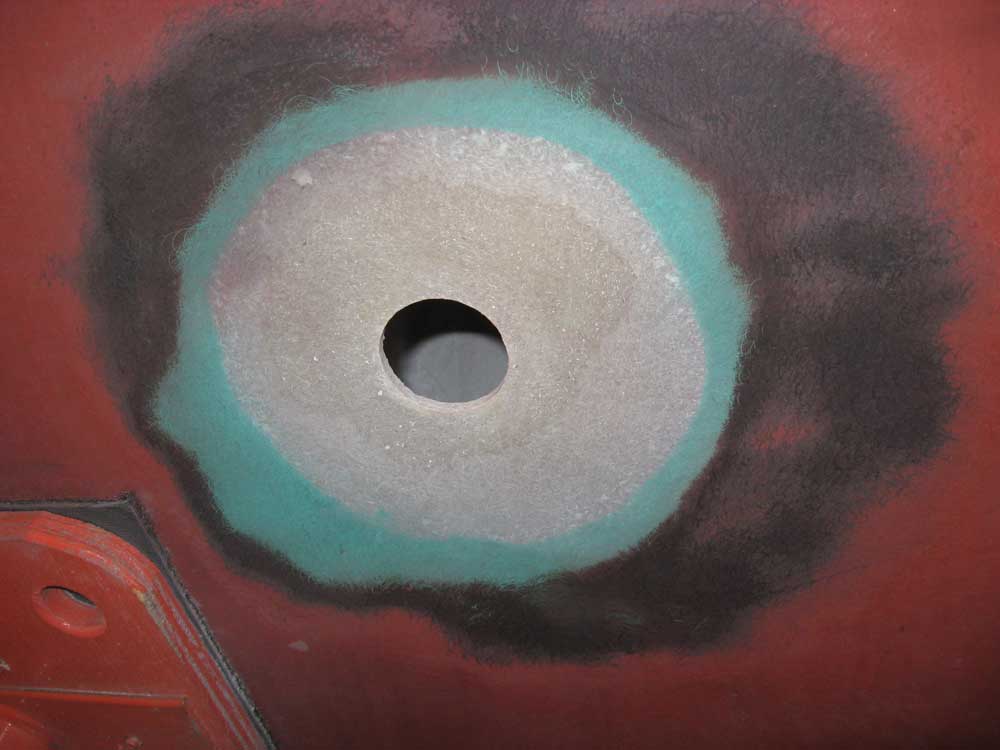
Next, I sanded away the paint from the outside of the hull, going through a couple layers of red antifouling, then into a black, unidentified layer that seemed to transfer when it got warm, staining adjacent areas. Some information seems to indicate that this black material could be a factory-applied barrier coat of some sort; in any event, the black layer, applied directly over the original green gelcoat beneath, was in good condition to the extent observed. I continued sanding and dished out appropriately-sized circular areas around each through hull hole, to provide space and proper bonding surface for new fiberglass. Then, I used a drum sander to clean up the insides of the holes and remove any old sealant; finally, I solvent-washed both inside and out, and applied masking tape tightly over the outside of the holes. |
|
|
|
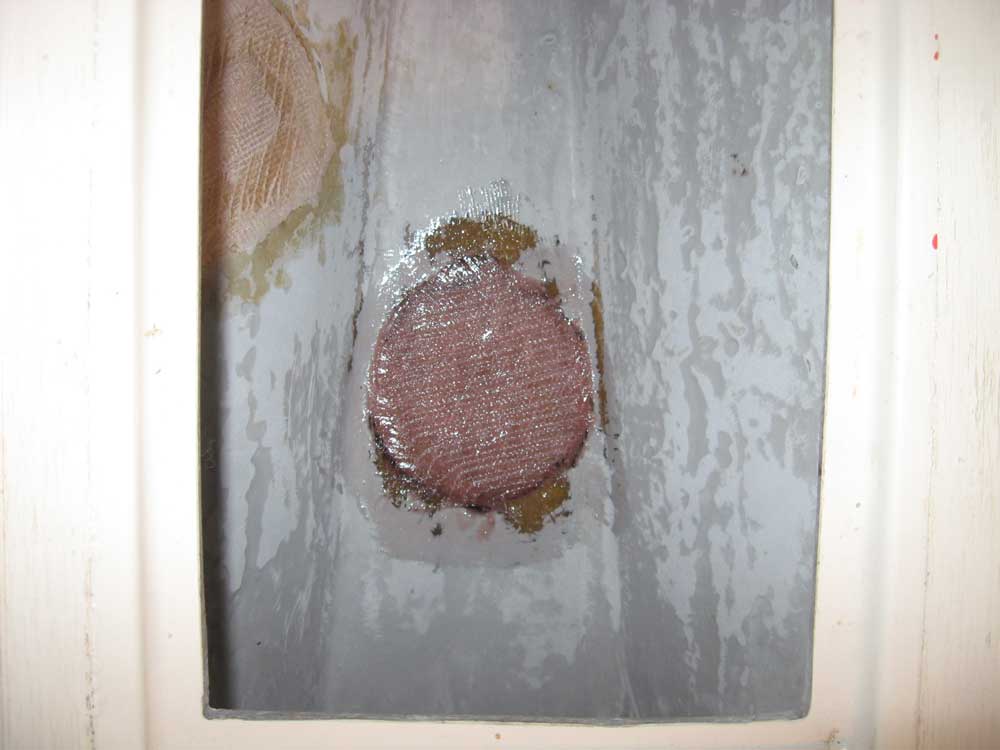
I filled the holes from inside with a thick epoxy mixture, and then applied a double layer of 1708 biax over the holes from inside, covering the areas I'd sanded earlier. I left it at this stage to cure for a time before continuing. I also patched a hole in the forward part of the old waste tank, where a presumed hose fitting had been installed. |
|
|
|
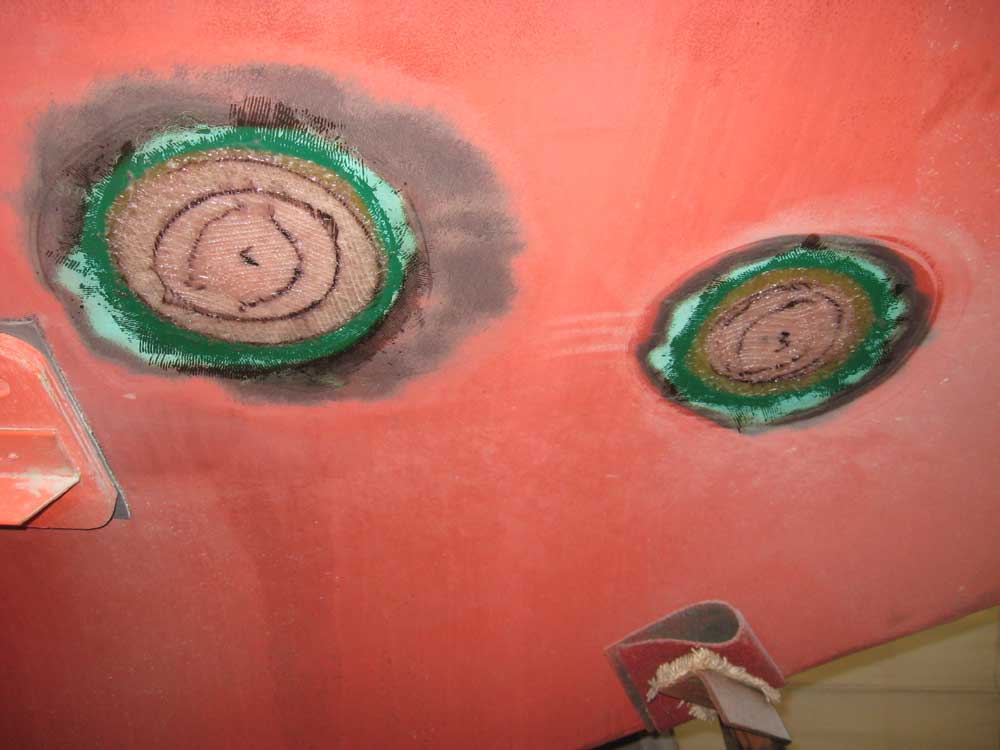
Later, the epoxy in the holes had cured sufficiently to allow me to remove the masking tape from outside, exposing the still-green epoxy in the holes. Then, I applied three concentric layers of fiberglass over the outside of the holes, wit plenty of overlap onto the freshly-ground hull adjacent to each hole, |
|
|
|
A combination of epoxy shrinkage and gravity caused several of the filled deck hardware holes from last week to sink somewhat during curing, leaving space at the top. I water-washed and lightly sanded, as appropriate, the epoxy in the holes, and then filled them to the top with additional epoxy for a flush fit. Meanwhile, I removed the remaining three bulkheads from inside the boat so that I could refinish and reinstall them. I'd withheld this step until I could set up staging around the boat, precluding a continuing need to walk on the decks, since some of the deck's support came from the bulkheads. As before, I unscrewed the visible fasteners and bore out any plugs for access to the screws beneath in several locations. I found one screw with a stripped head, which fortunately had just enough of its Phillips recess remaining and succumbed to the impact driver. I had hoped to remove the interior locker doors, but found that the screws required a very small #0 square head driver, which I did not have, so I ordered what I needed and held off on the doors' removal. |
|
|
|
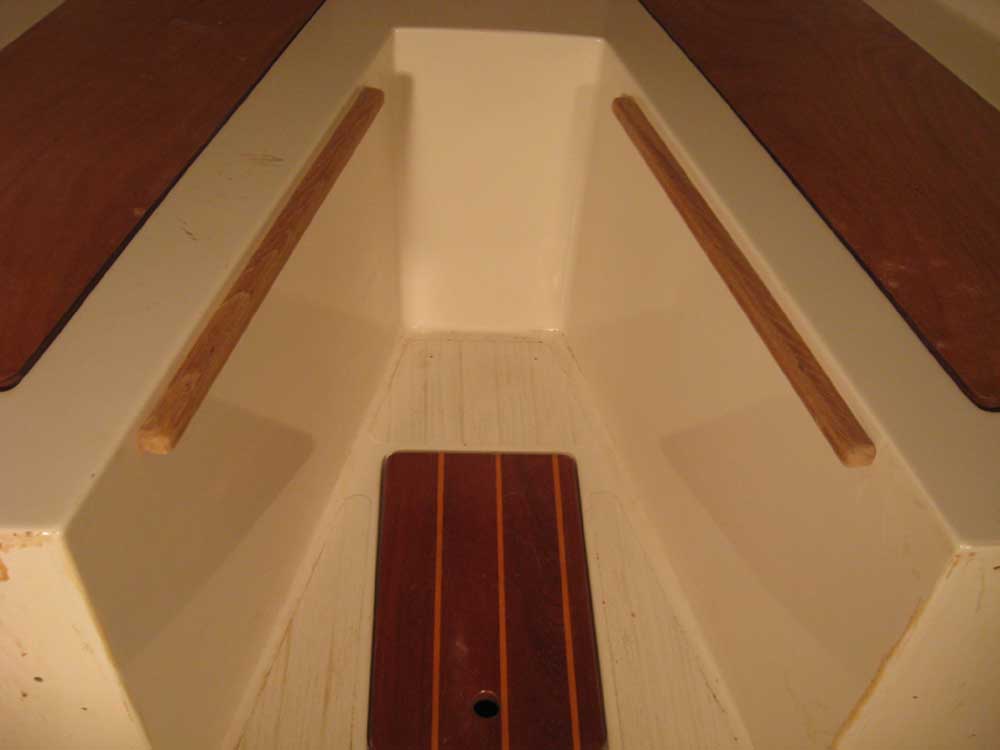
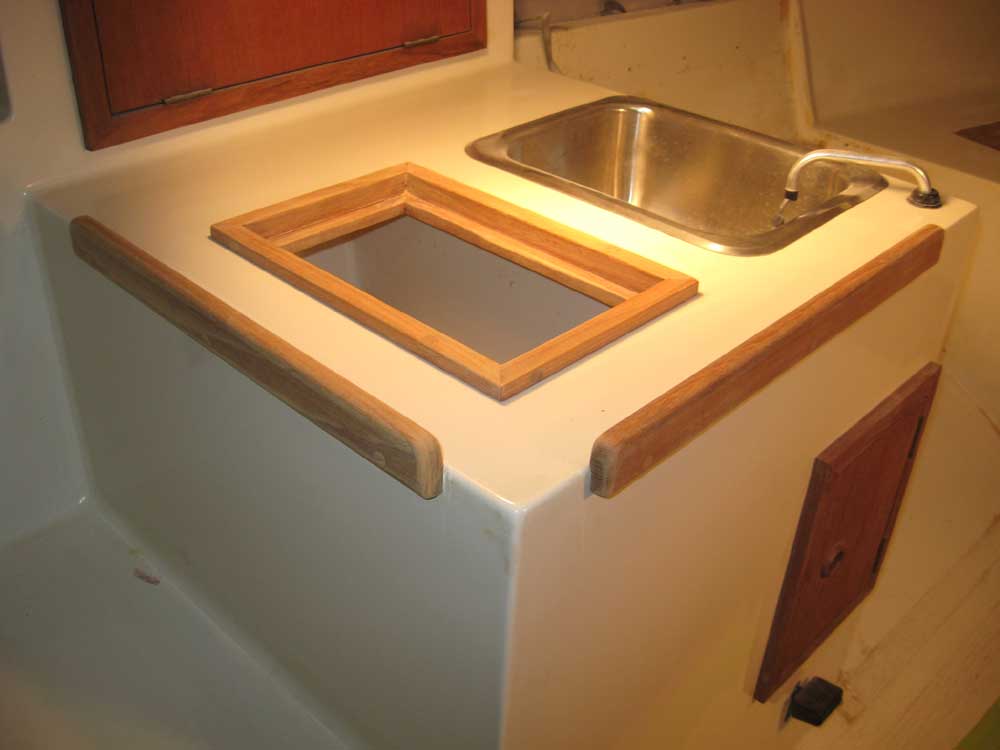
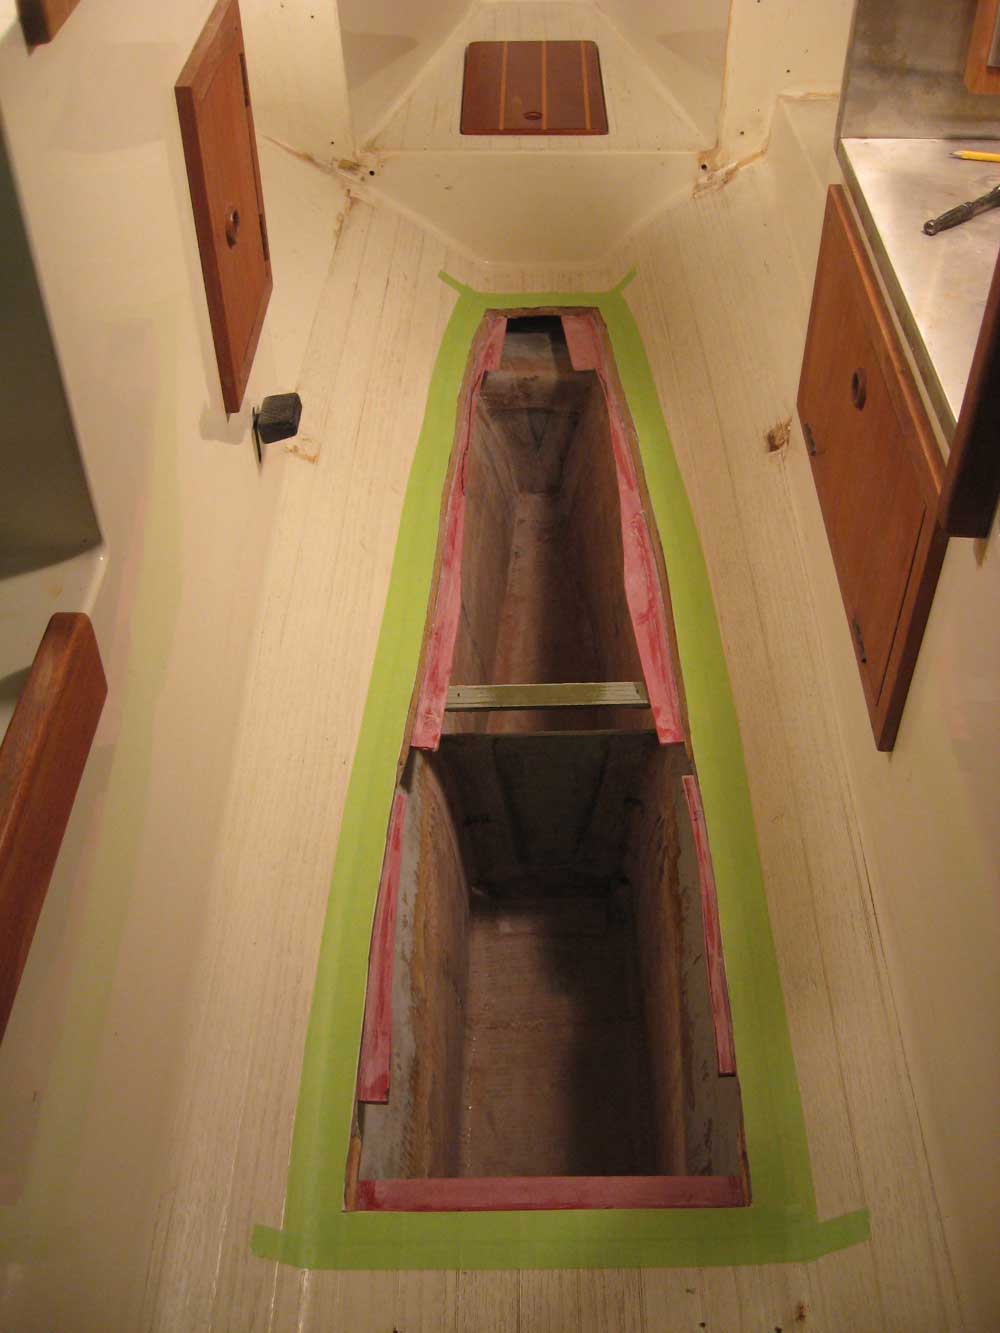
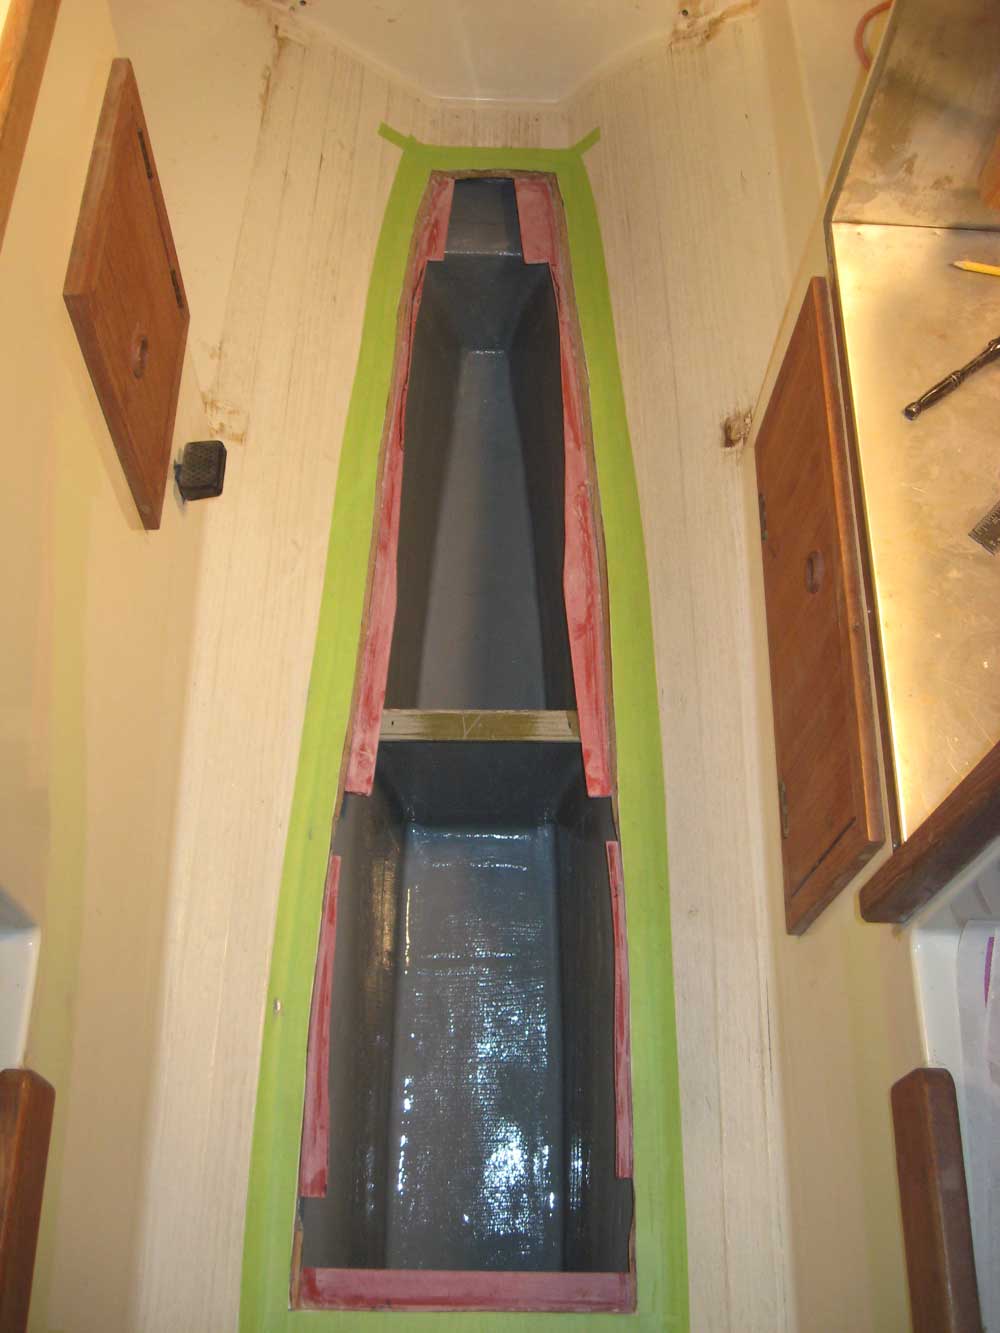
I began to sand and prepare the interior teak for refinishing--that is, those pieces of trim that were permanently installed, and which I did not plan to remove. The teak was in good shape, but a little worn, dirty, and tired. Sanding with 120 and 220 grits seemed to clean it up nicely, and without too much effort. In the time I had available, I sanded the v-berth trim and some of the trim around the galley and icebox, but had to quit in order to clean up and paint out the new bilge area, which was my last chore of the day, and was required before I could reinstall the cabin sole. Before painting, I taped around the edges of the cutout in the sole, which I needed in place for the cabin sole installation later; it was easier to do this taping now, while I could still easily walk in the bilge area. |
|
|
|
|
|