|
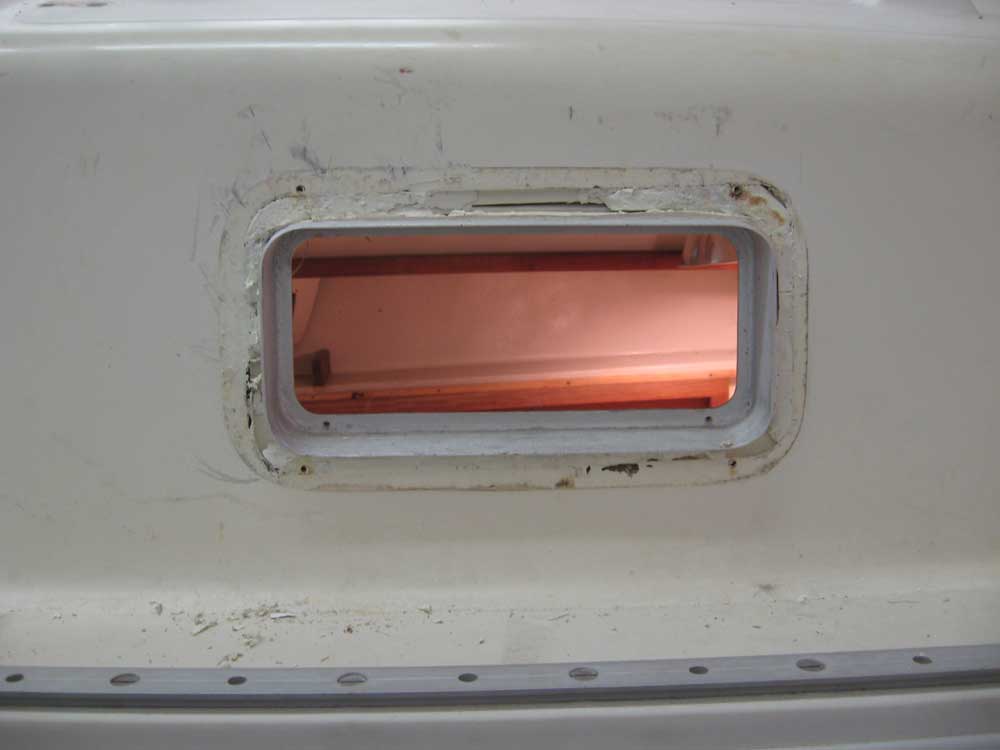
Equinox Project | Tuesday, December 9, 2008 I worked on various miscellany today. I began by completing the removal--with effort--of the one trim ring on the starboard aft port, which I'd started yesterday. I only removed this trim ring because I'd compromised the seal during my initial efforts and felt I had no choice but to proceed, but clearly based on my experience with the removal I didn't plan to remove any of the other ports or their trim rings; doing so seemed unnecessary, given the firmness of the representative seal, and continuing to remove ports would likely result in damage to either the ports or the boat, or both. I set the single trim ring aside for cleanup and eventual reinstallation. Meantime, I made no attempt to remove the body of the port from its opening; it was securely adhered in place with sealant and not in the least bit loose. |
|
|
|
From the onset of the project, the owner had expressed a desire to maintain the deck's external appearance as is. The molded nonskid pattern appealed to him, and since the original gelcoat on the deck was in good condition overall--dirty and oxidized, but otherwise showing minimal evidence of its age--it seemed that there was a good chance that the gelcoat could be restored, thereby eliminating the need for new paint on the decks. These facts, coupled with the results of my deck inspections--which generally revealed that the structural condition of the deck was far better than initially feared, and probably didn't require invasive repairs--made it clear that restoring the gelcoat was going to be the way to go. To that end, I used a few restorative products that I had on hand to test-buff a small area of the deck in order to determine restoration feasibility. Doing this small area by hand indicated that clearly the gelcoat could be satisfactorily restored in color, depth, and shine. Machine buffing, which would be the means of choice, would provide even better results. The pictures fail to show the results adequately, but it looked like cleaning and buffing would be the means of choice--good news, as it would save significantly on the scope of the project. |
|
|
|
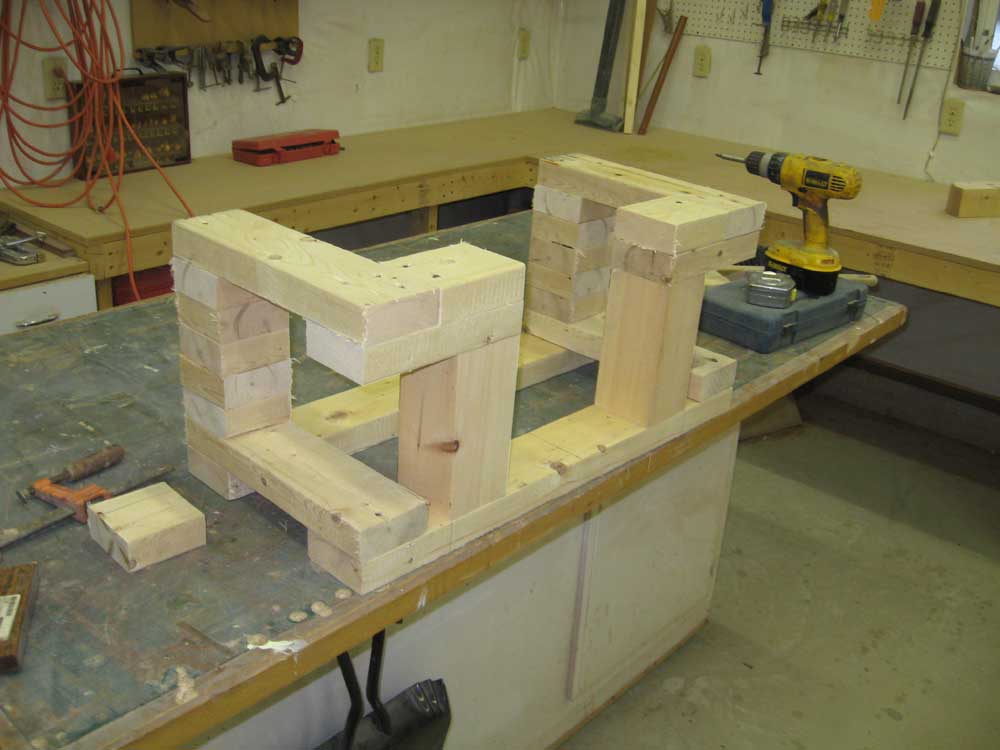
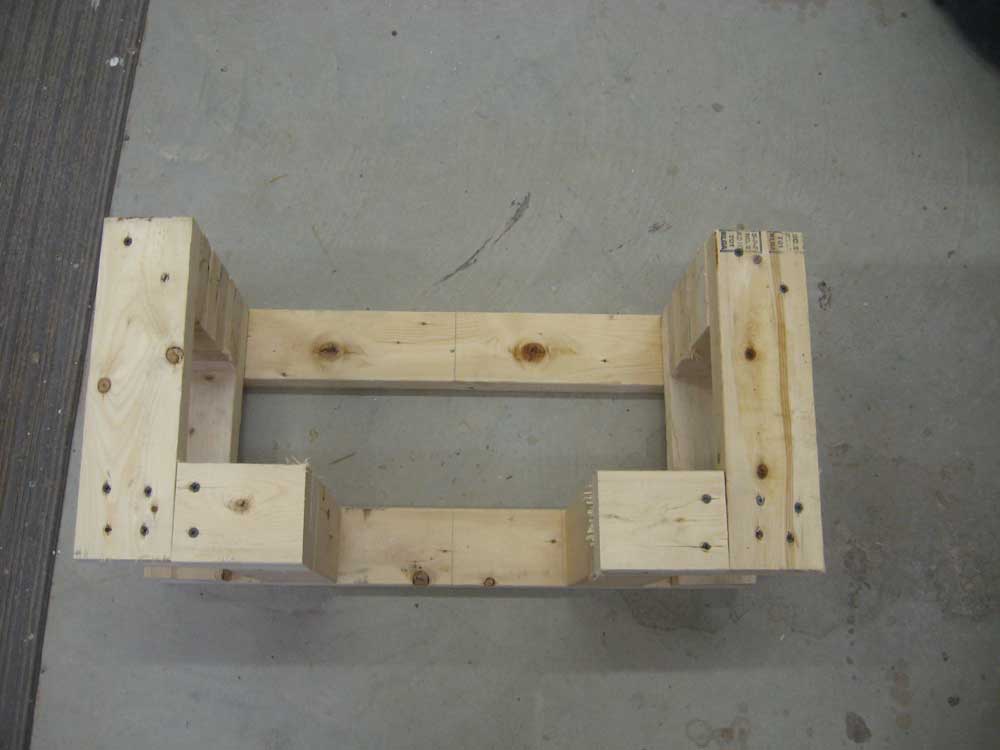
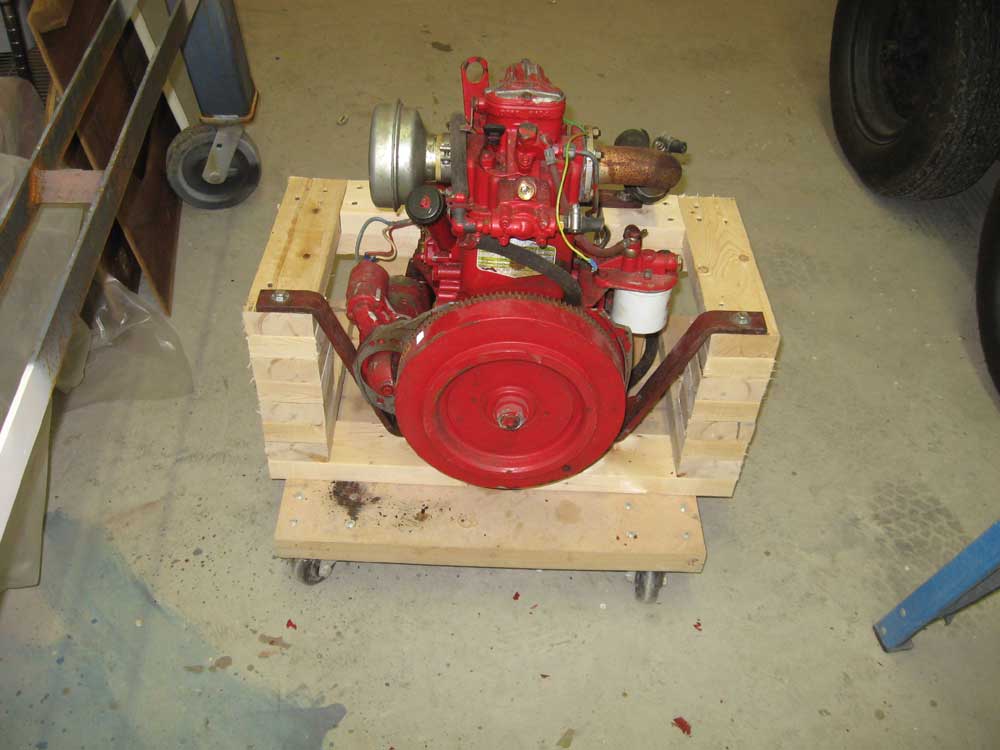
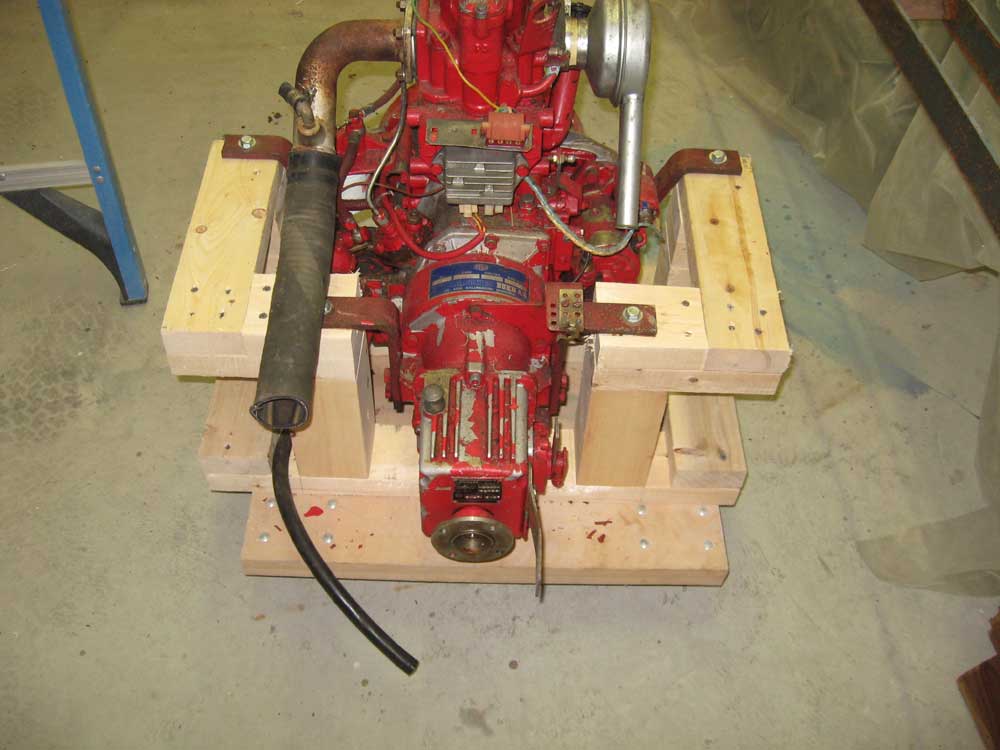
Next, I constructed a rudimentary stand for the engine, to support it both during a bench test, which I planned to undertake soon, and also for future storage or transportation as other events would dictate. I constructed the stand from 2x4 lumber, and installed the engine in place, leaving it on a rollaway cart for now so I could move the engine easily about the shop. |
|
|
|
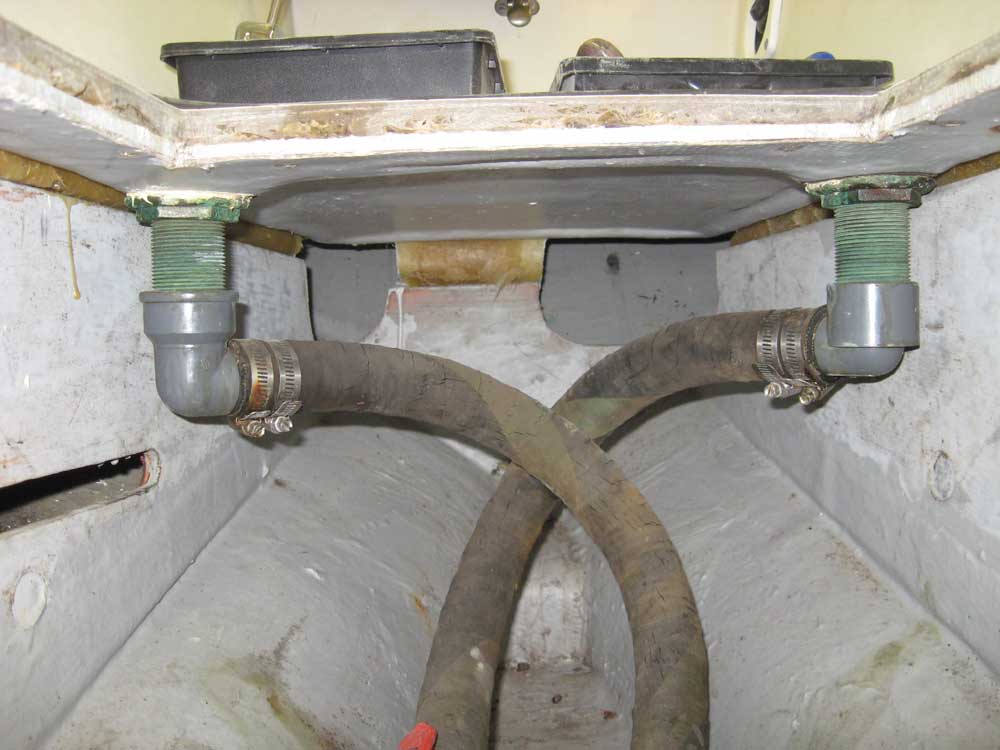
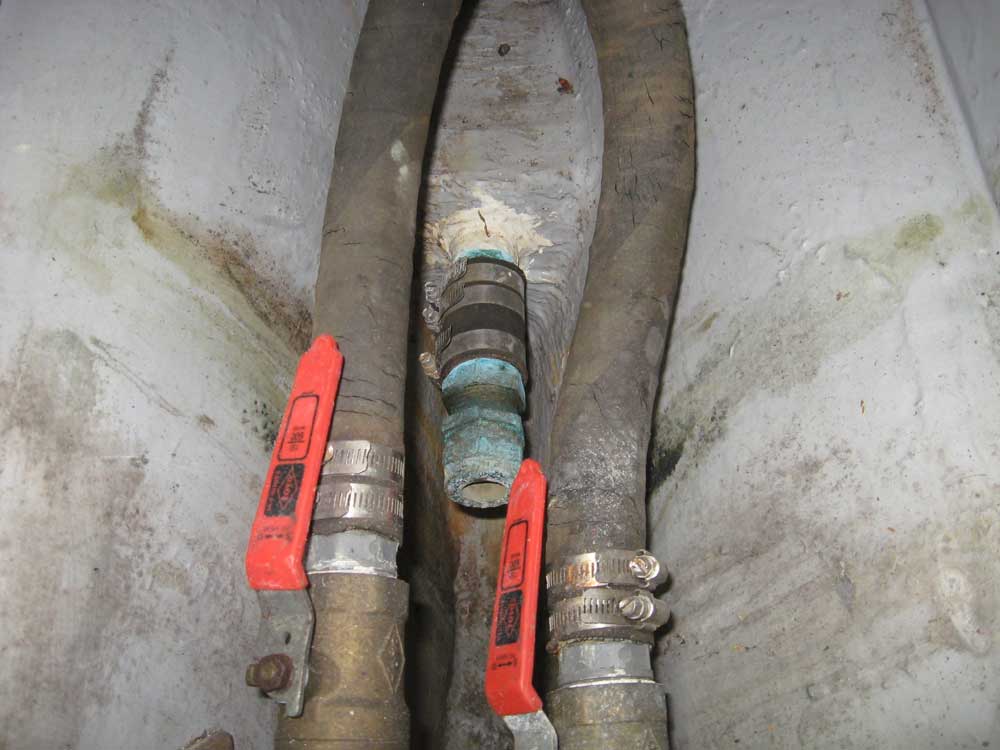
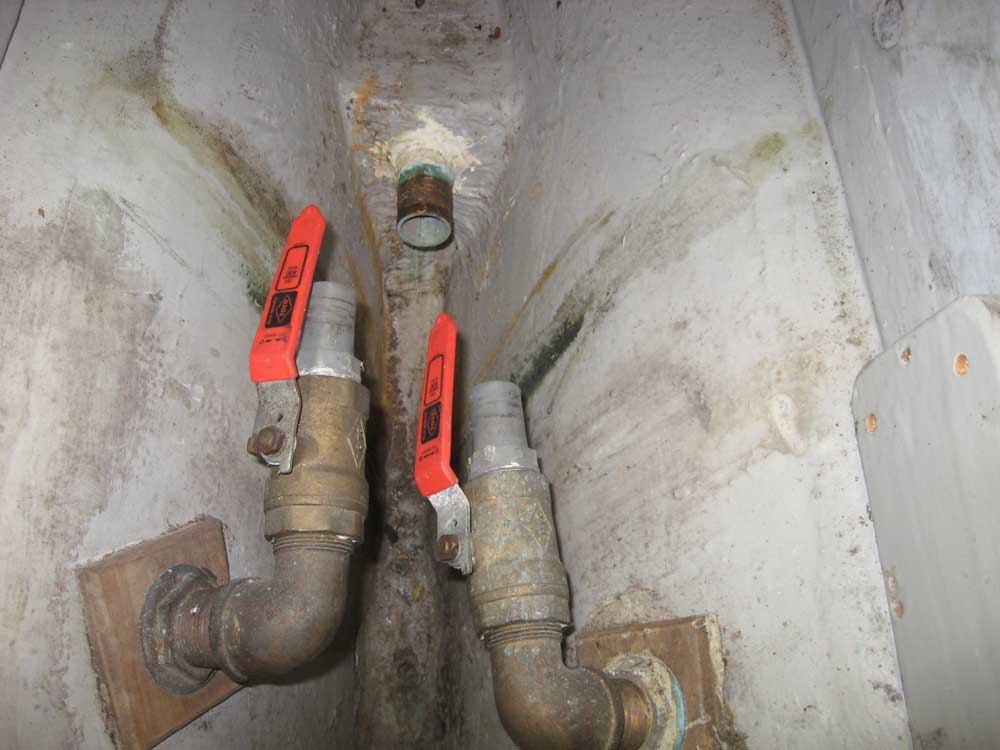
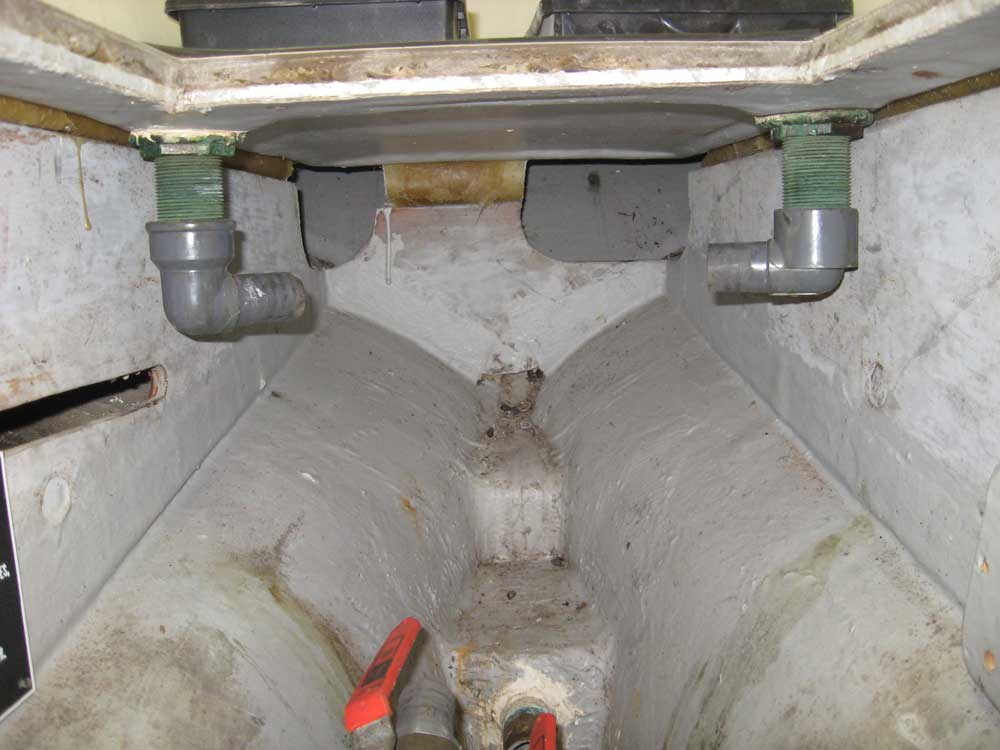
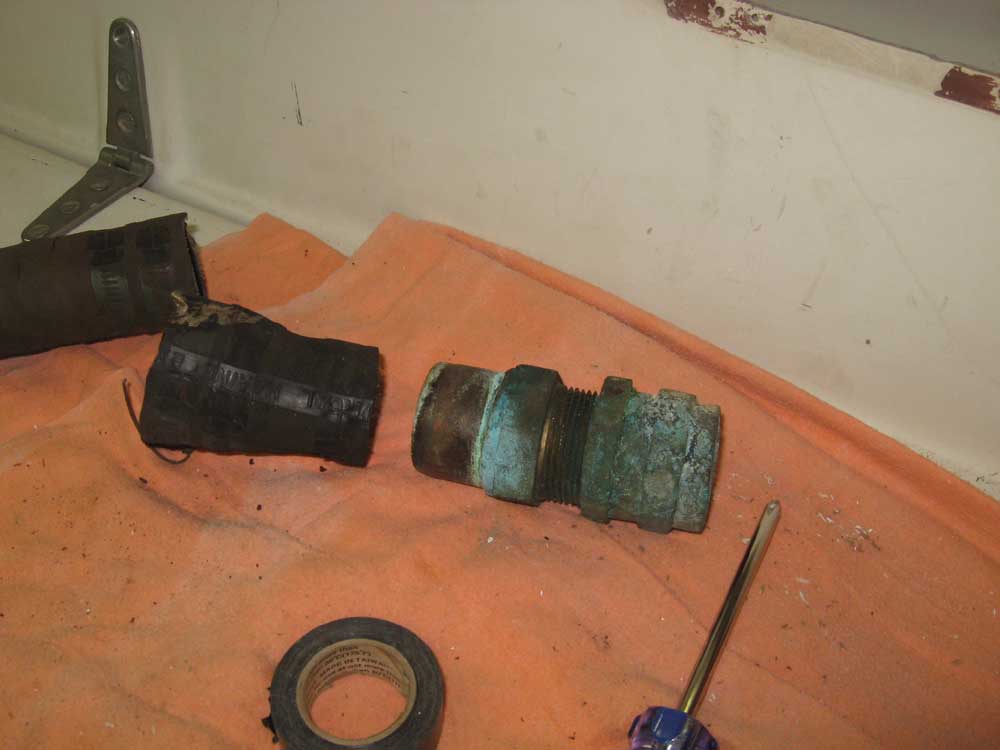
Finally, I removed most of the remaining hoses and equipment from the engine room, including the remains of the exhaust system (waterlift muffler and hose), the cockpit scupper hoses (which were badly cracked and in terrible condition), and the stuffing box. I left the four flexible engine mounts in place for the moment, until we determined the course of the engine work or repower. The waterlift muffler, a standard and relatively inexpensive Vetus model, contained a fair bit of rust and debris from the engine's exhaust system (I could hear it rattling around, and also poured a fair amount out through the hoses), and also lacked a cover for the drain plug opening. It seemed likely that we'd have to replace this item in kind. |
|
|
|
|
|