| Circe
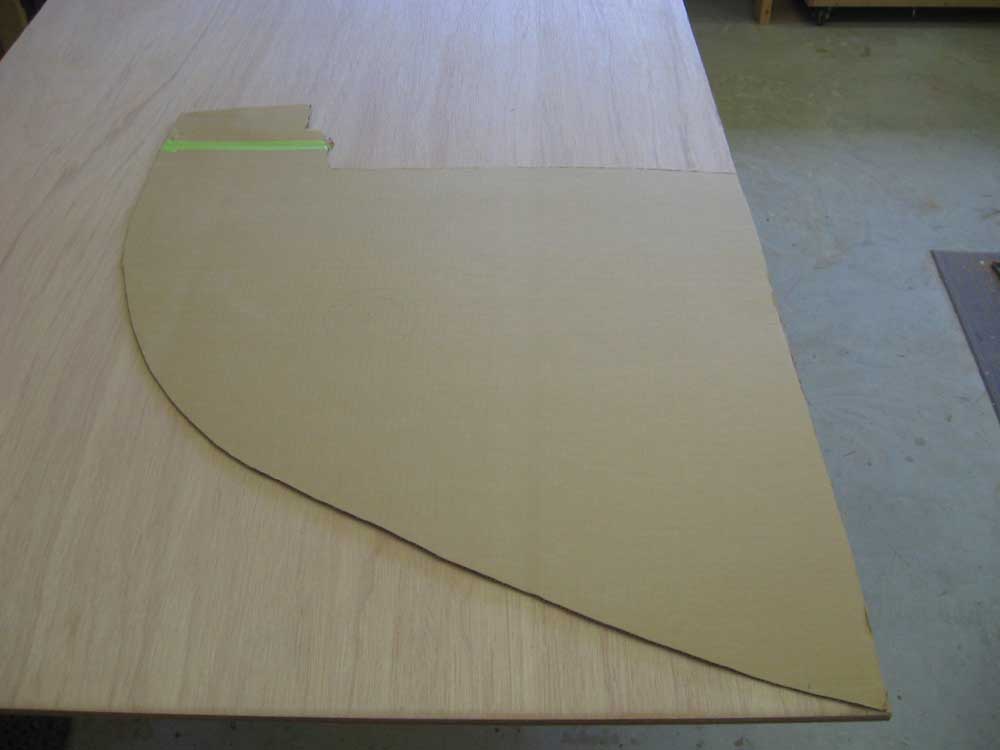
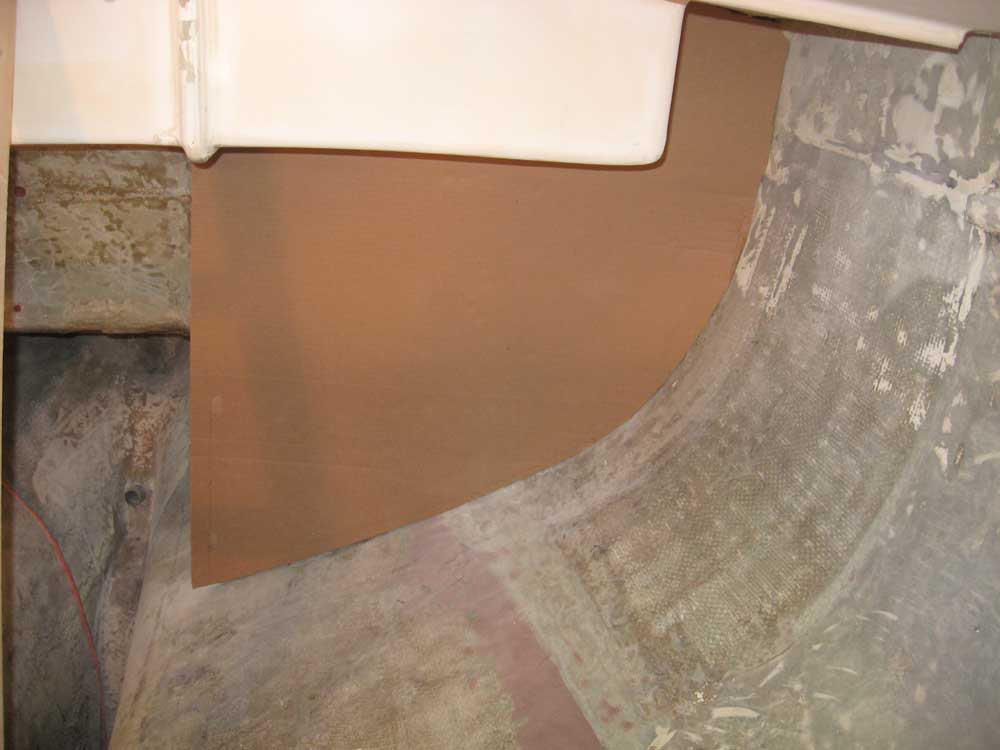
| Tuesday, October 6, 2009 After a few days away from the shop, I was back to work today and picked up where I left off last week. Earlier, I'd had a few minutes to remove the clamps, braces, and temporary blocking that I'd used to secure the settee fronts and bulkheads during their installation, so to continue I prepared to work on extending the starboard settee front all the way to the aft bulkhead. Almost immediately, however, I realized it'd be smart to first install the new aft bulkheads, since the starboard settee would rely on the bulkhead for some of its support. Much earlier in the project I'd made the decision to retain short "ring frame" sections of the original aft bulkheads, and now I used these as the rough basis for the new ones. For the moment, I planned to build solid bulkheads, through which I'd later cut access holes as necessary once other elements of the interior structure were in place. The port side would be covered by the eventual galley cabinetry, but to starboard I planned an access port to the forward portion of the cockpit locker, or possibly a settee extension. I hoped to also arrange access to the port cockpit locker from the engine room or galley, but the details of these openings would work themselves out as the process continued. Beginning on the starboard side, I created a cardboard template of the new bulkhead and fine-tuned the shape before transferring it to a sheet of 12mm plywood. For now, I left the inboard edge oversize for later trimming once I determined where the settee front would fall. |
|
|
|
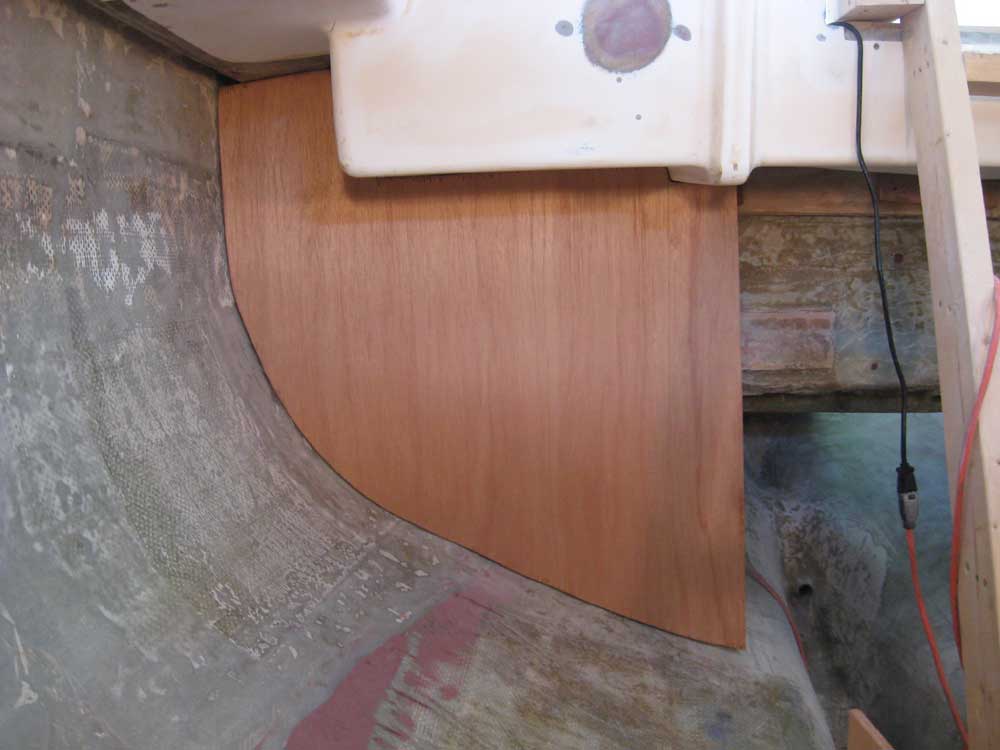
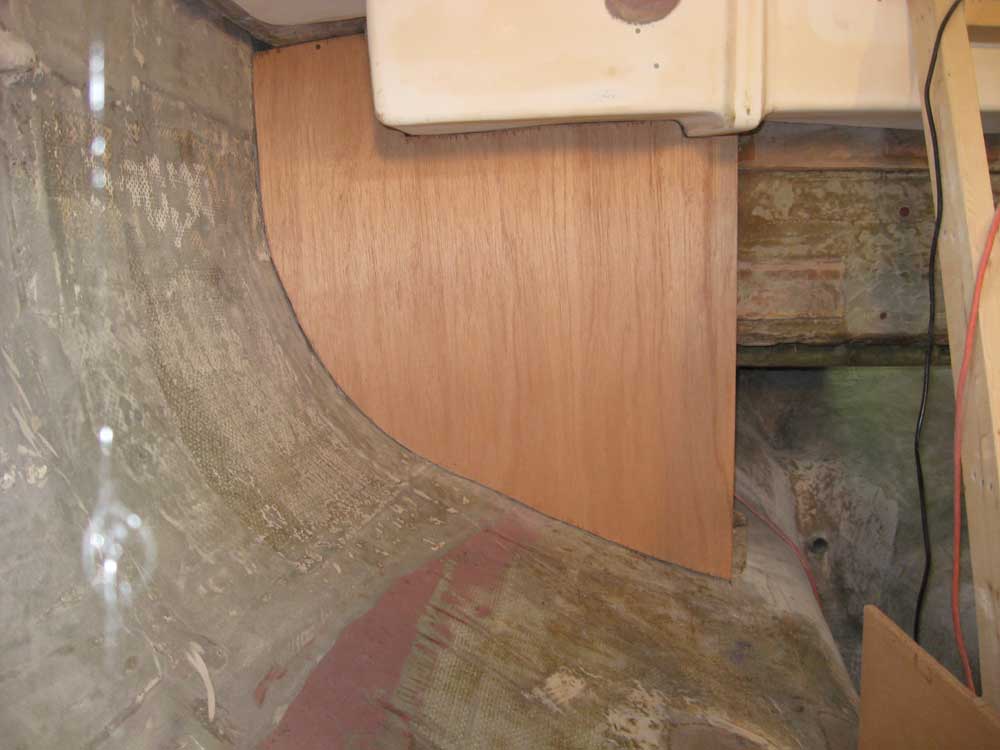
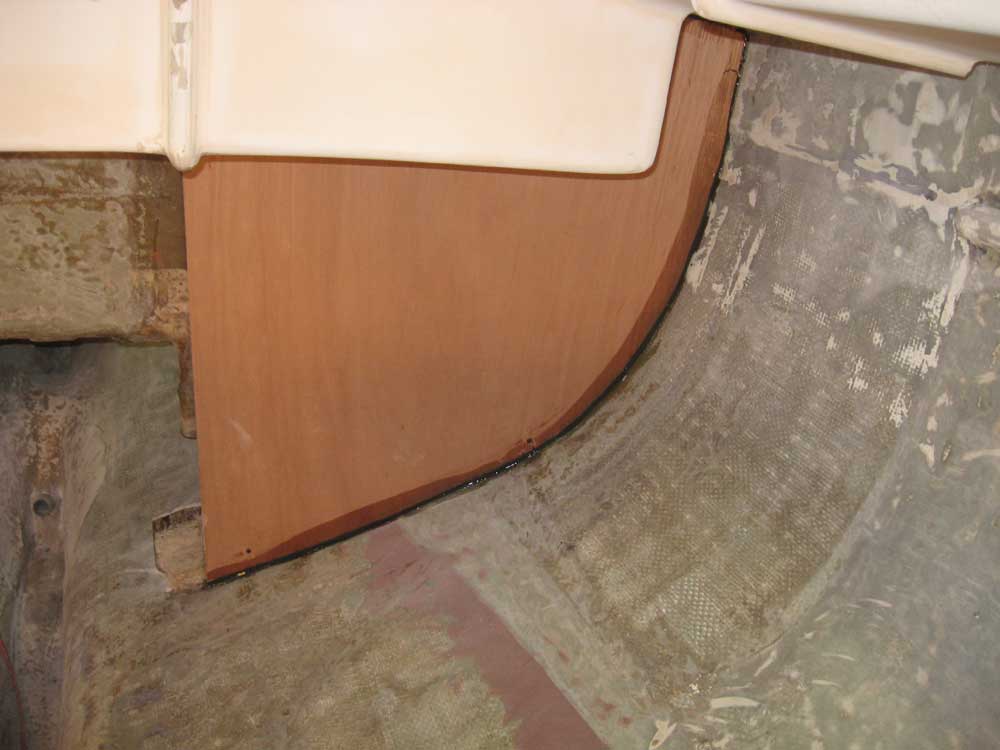
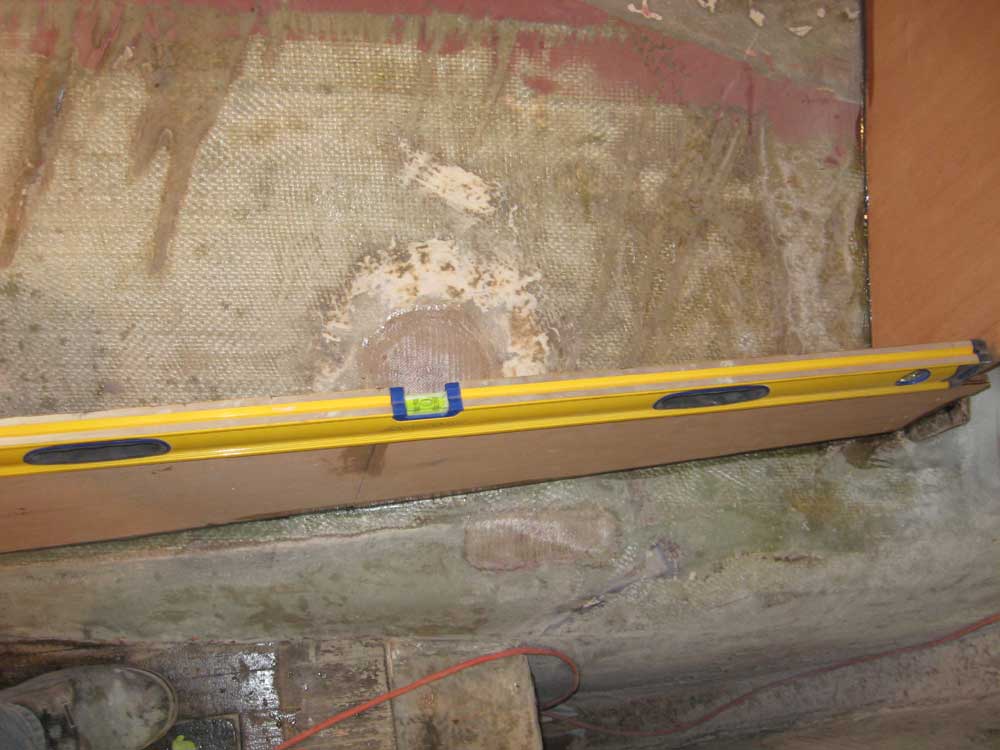
I held the bulkhead plumb and made some reference marks, then glued some small temporary blocks in place as needed to register and hold the bulkhead in the proper position during installation, and temporarily secured the bulkhead in place. Then, I transferred the position of the settee aft and marked the bulkhead where I needed to cut the inboard edge; I made a plumb line with a level before removing the bulkhead for final trimming. |
 |
|
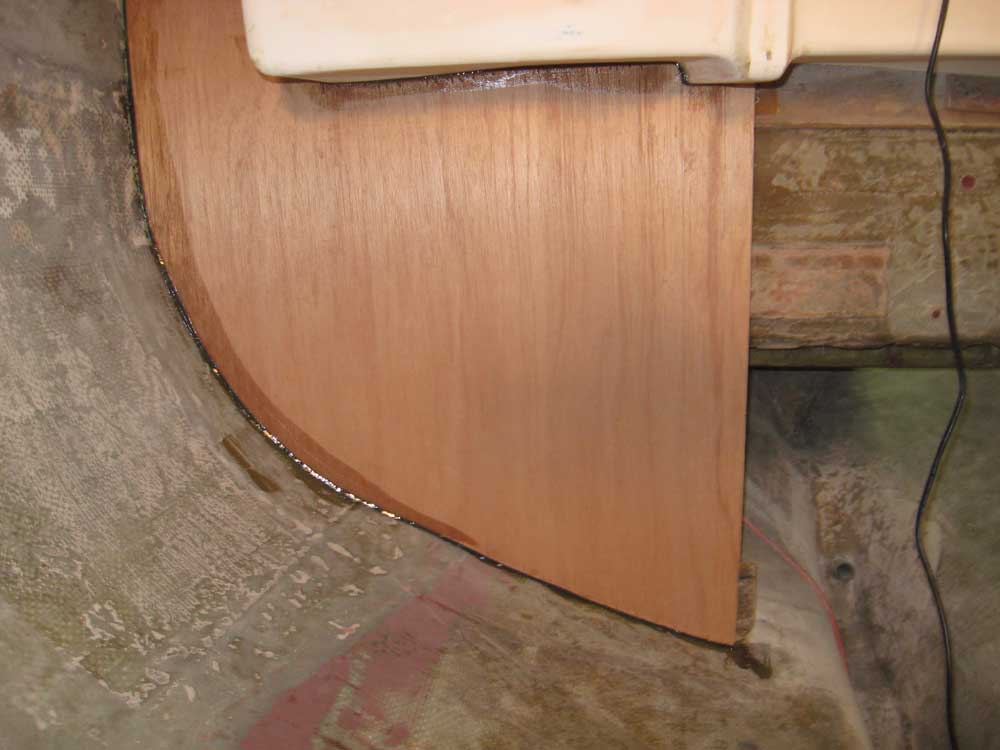
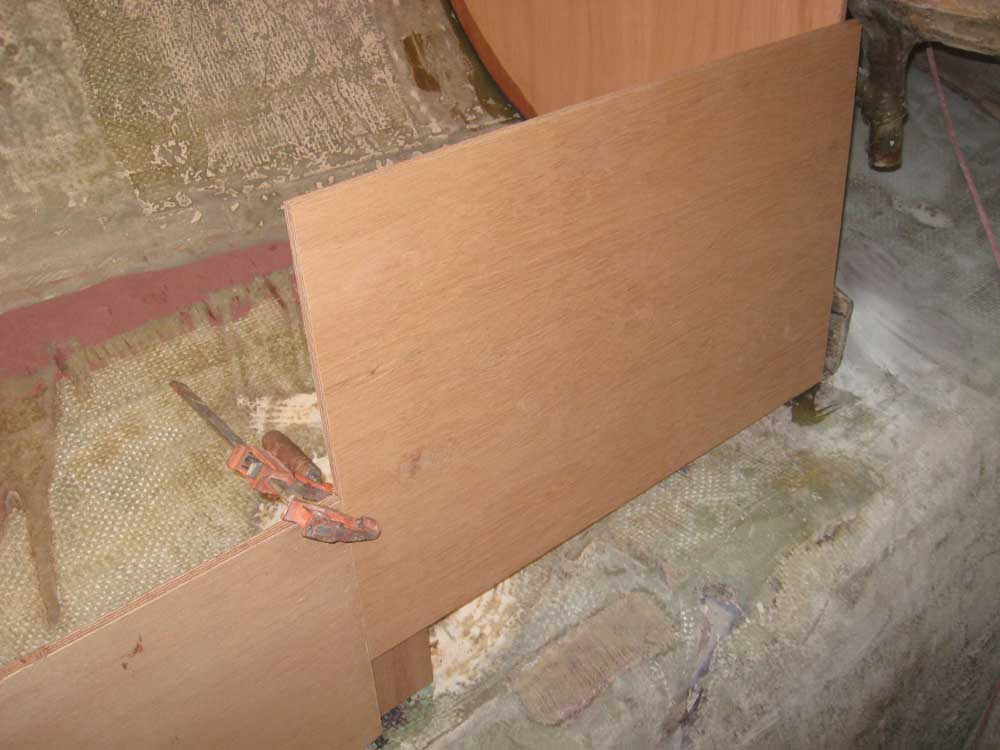
I installed the bulkhead with epoxy adhesive and temporary screws and left it to cure for a bit before I continued work on that side. Meanwhile, I repeated the process on the port side: template, fine-tune, final trimming, and installation. Later, I'd reinforce these new bulkheads--along with other interior structures--with fiberglass tabbing. |
 |
|
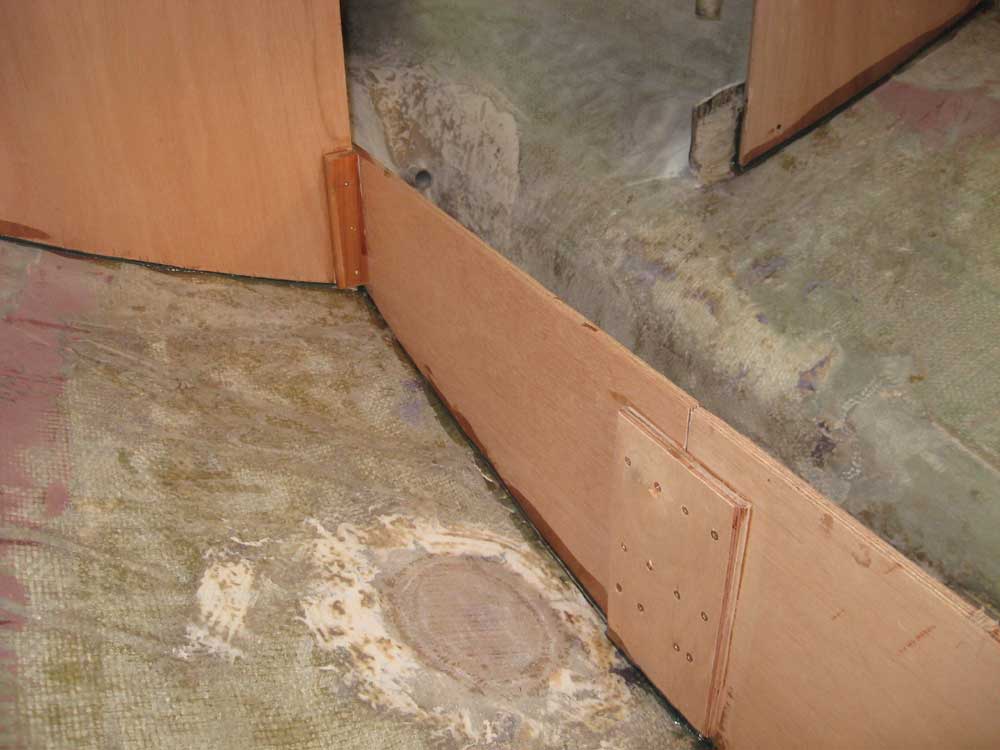
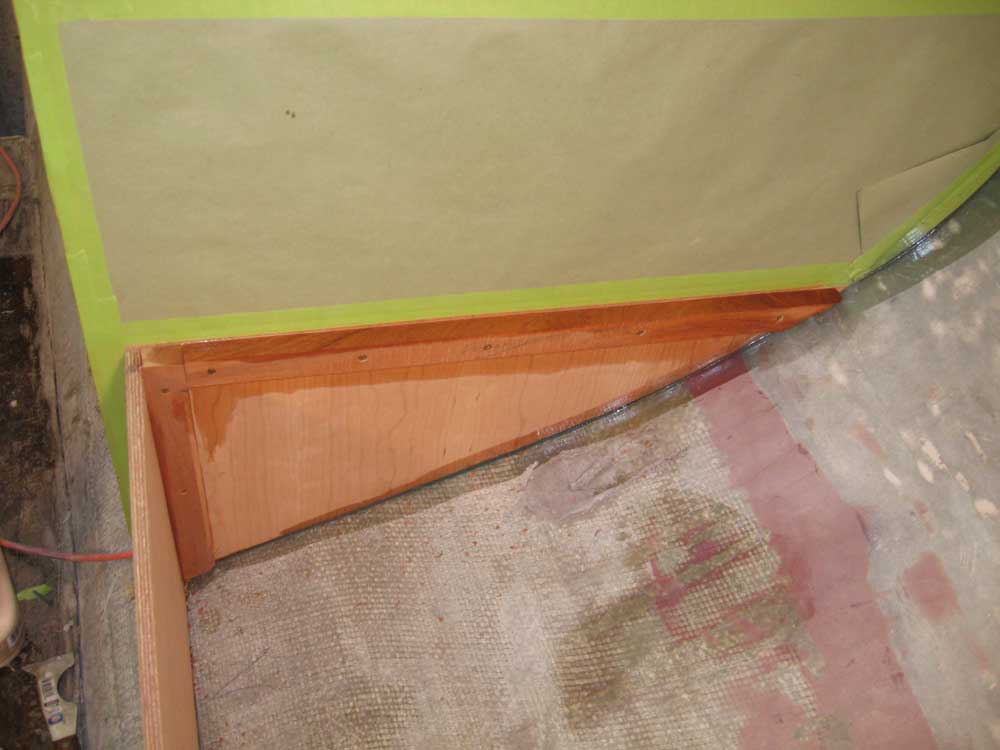
By now, the adhesive on the starboard bulkhead had cured sufficiently for me to continue related work, so I laid out, scribed, and cut to fit the final section of the starboard settee front, joining it with the existing forward section with a glued-and-screwed plywood splice on the inside. I added a mahogany cleat to the new aft bulkhead, and secured the settee front to the cleat with glue and screws. Later, I'd trim the excess "ring frame" that extended past the new aft bulkheads. |

  |
|
This brought me nearly to the end of the day, but before knocking off I installed a cleat on the forward side of the port galley bulkhead, forming the aft horizontal support for the settee top, which I was anxious to install soon so that I'd have somewhere to stage tools and equipment during the continuing interior installation. |
 |
|
|
|