| Circe
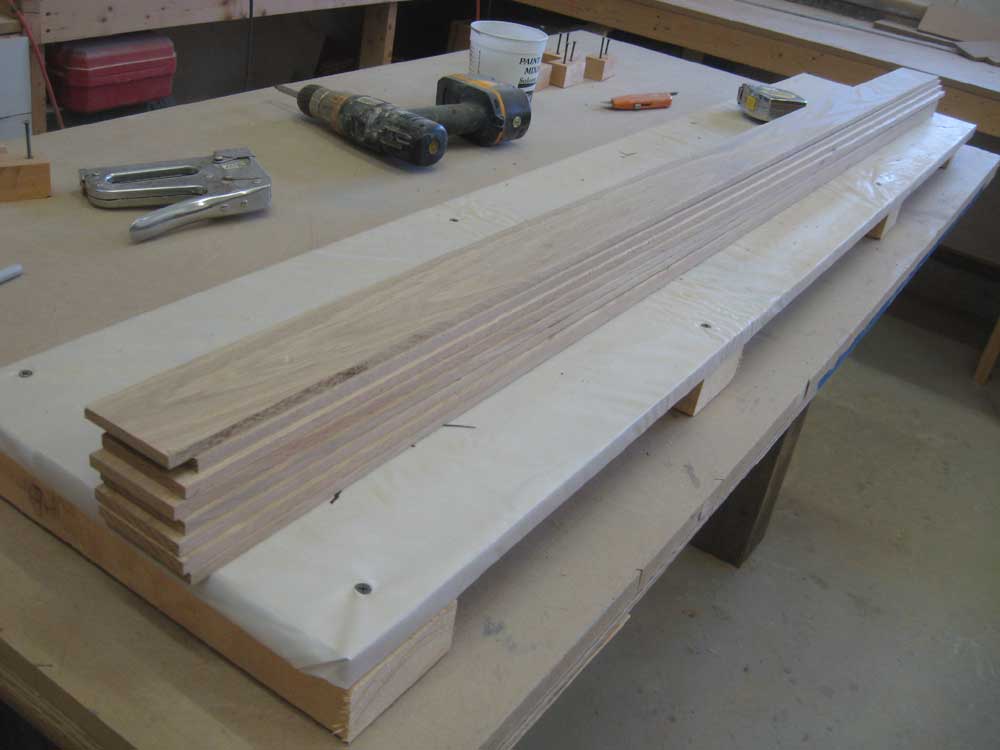
| Wednesday, November 11, 2009 First on today's agenda was the mast beam. To begin, I resawed two white oak boards into the eight smaller pieces I needed for the lamination: about 66"+ long, 3" wide, and close to 5/16" thick. Glued together, these strips would form a beam slightly larger than I needed to allow for trimming, planing, and smoothing. |
|
|
|
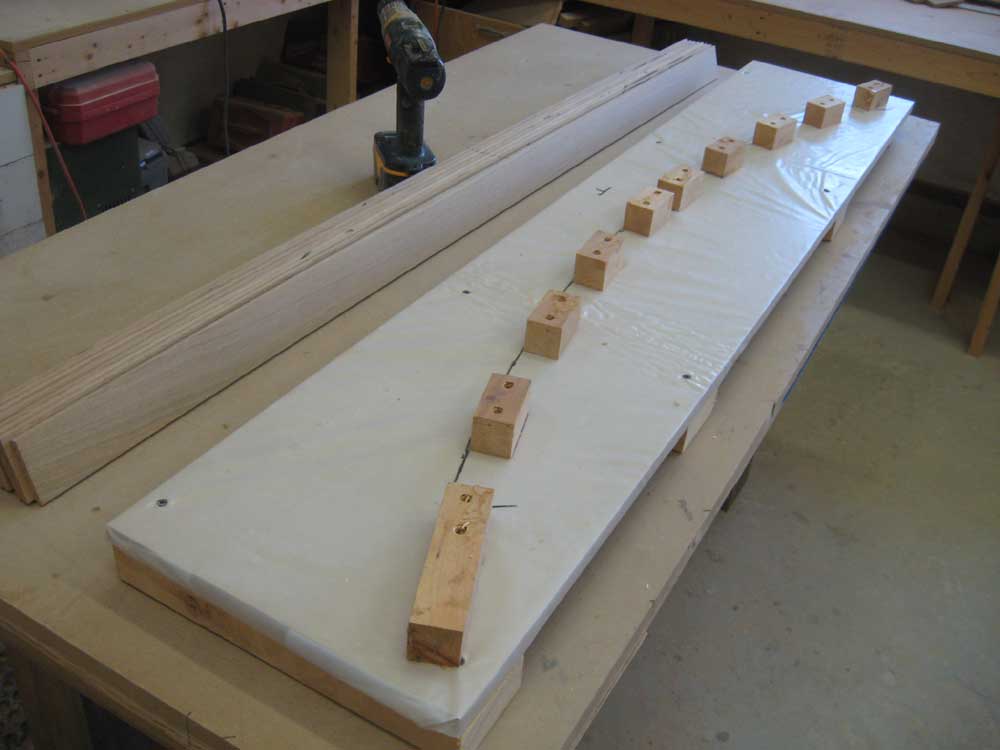
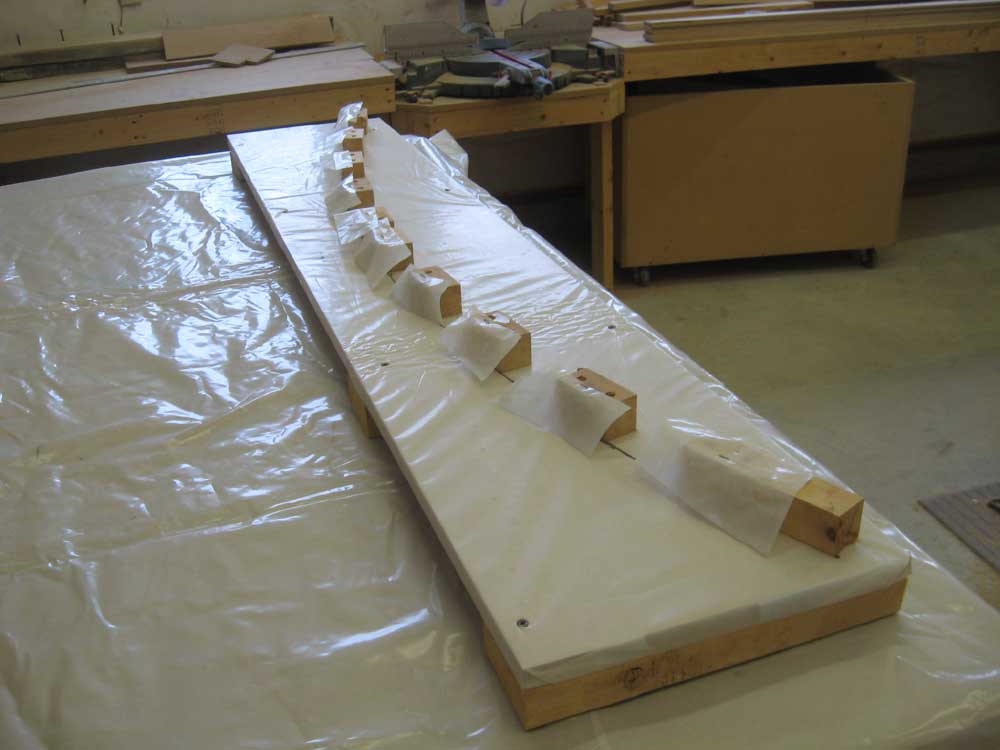
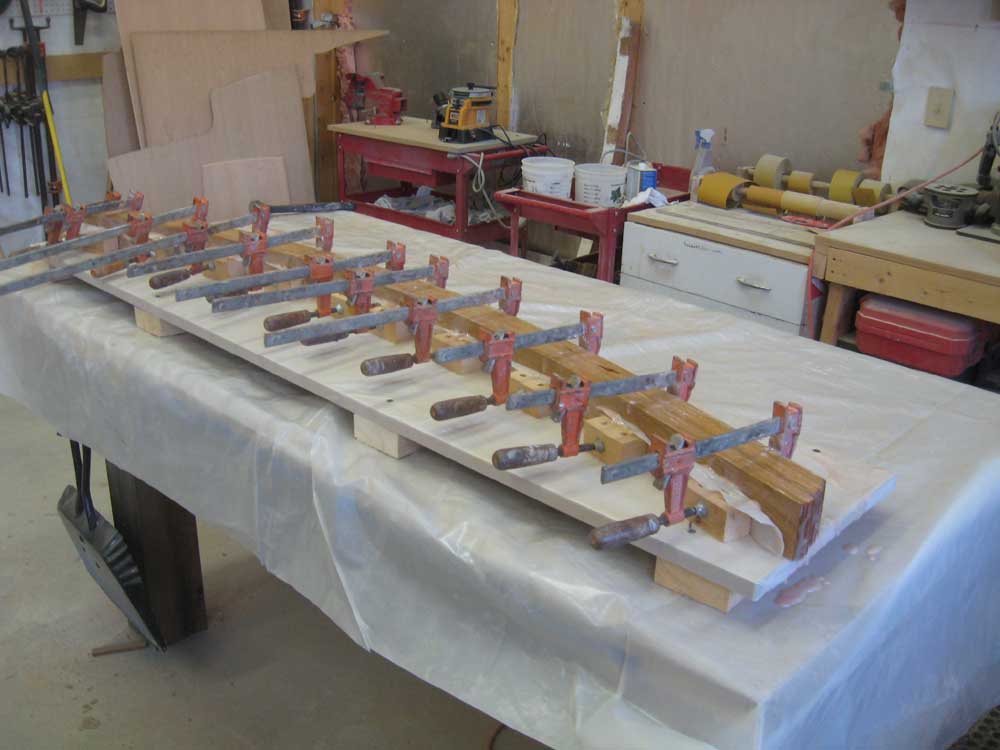
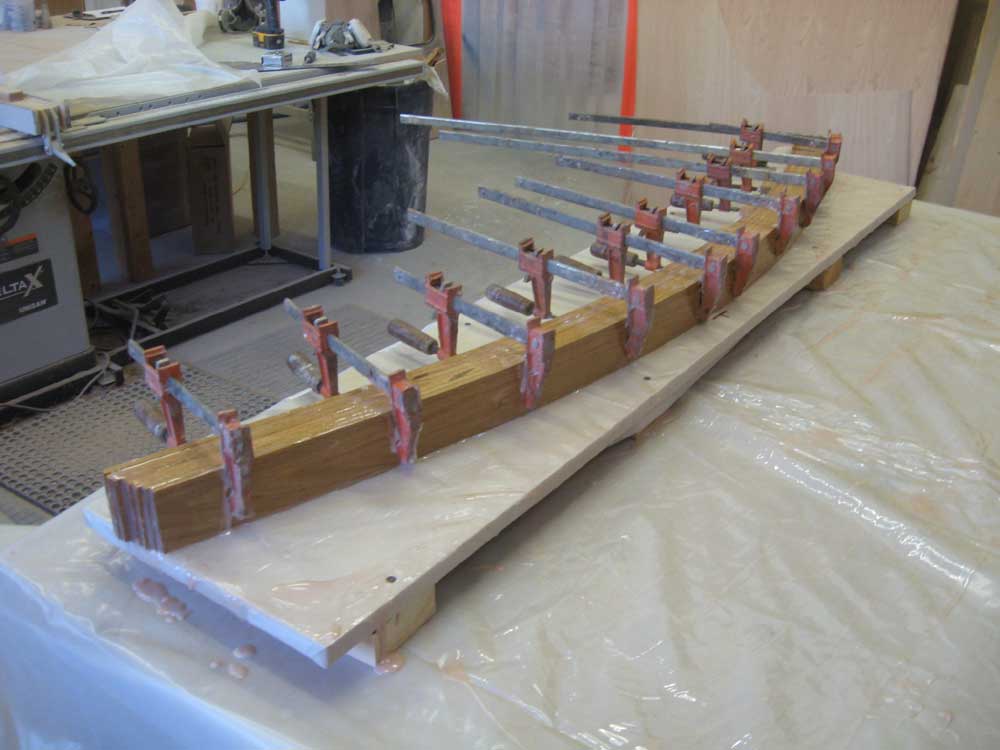
Next, I attached wooden blocks to my laminating jig, following the curve that I'd previously marked. I tacked small strips of plastic over each block to help prevent the beam from sticking to the blocking during lamination. |
 |
|
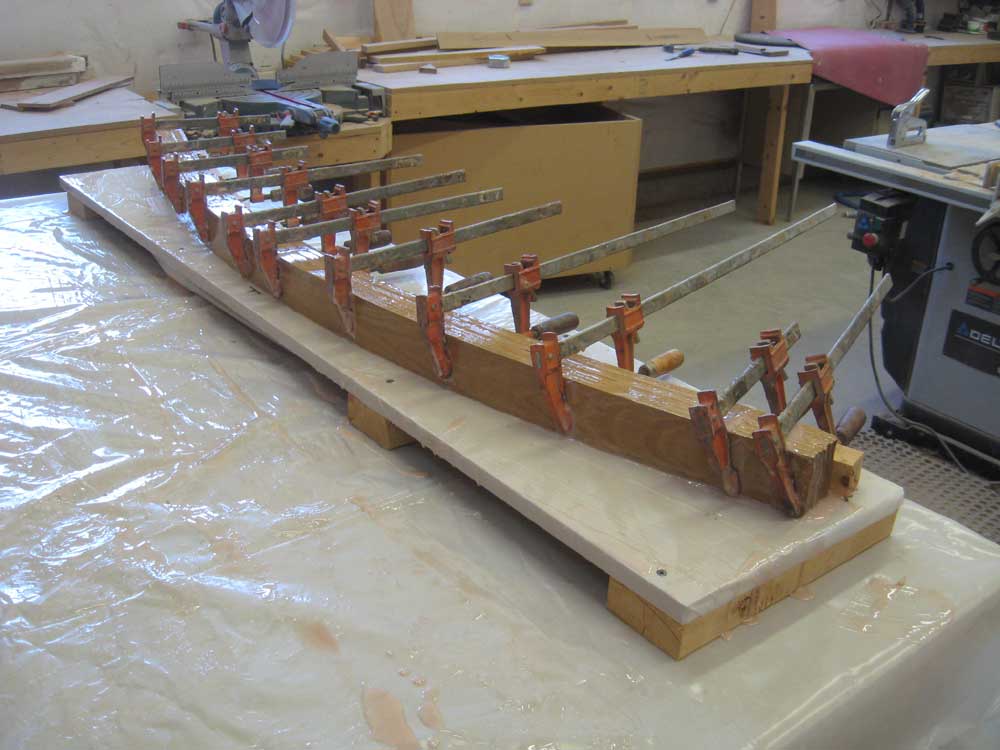
After solvent-washing the oak strips, I applied slightly thickened epoxy adhesive to the mating surfaces, stacking the strips as I went, and then transferred the pile to the jig, where I clamped them in position and tight to the curve. After ensuring everything was securely clamped, I set the assembly aside to cure. I'd leave the glue-up in the jig for a couple days to ensure adequate cure time for the epoxy. |
 |
|
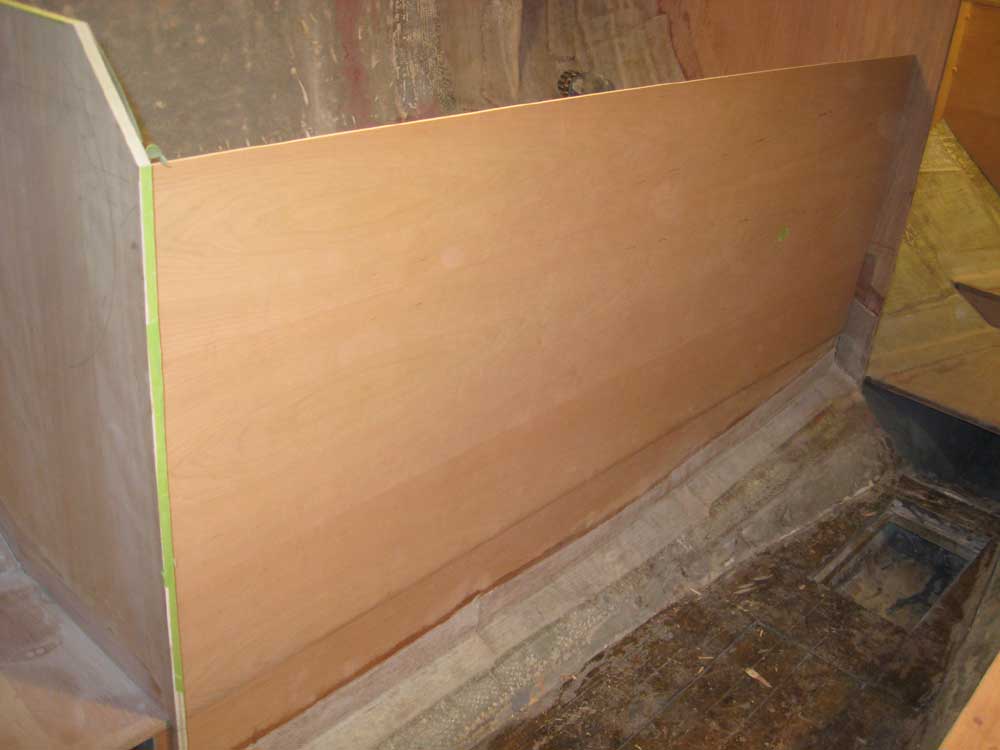
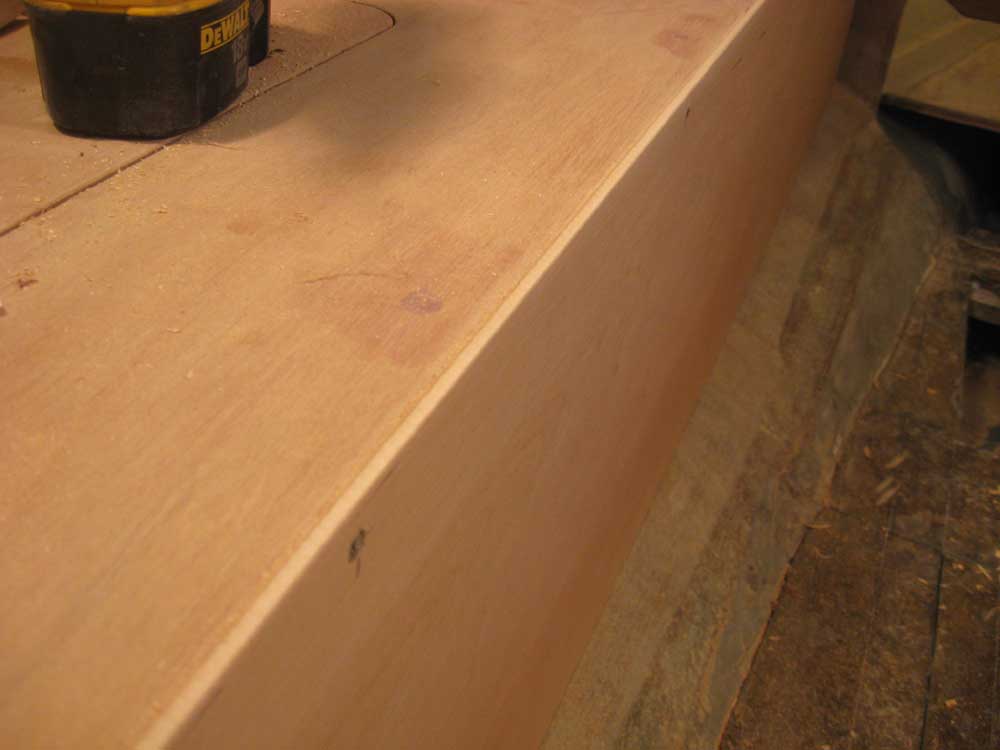
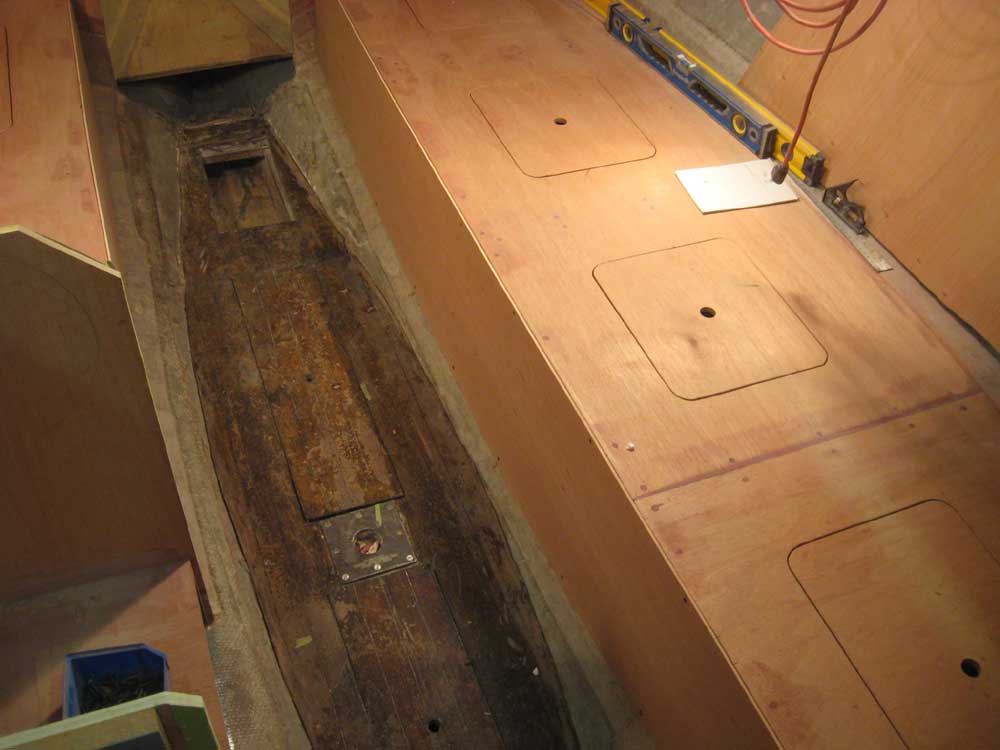
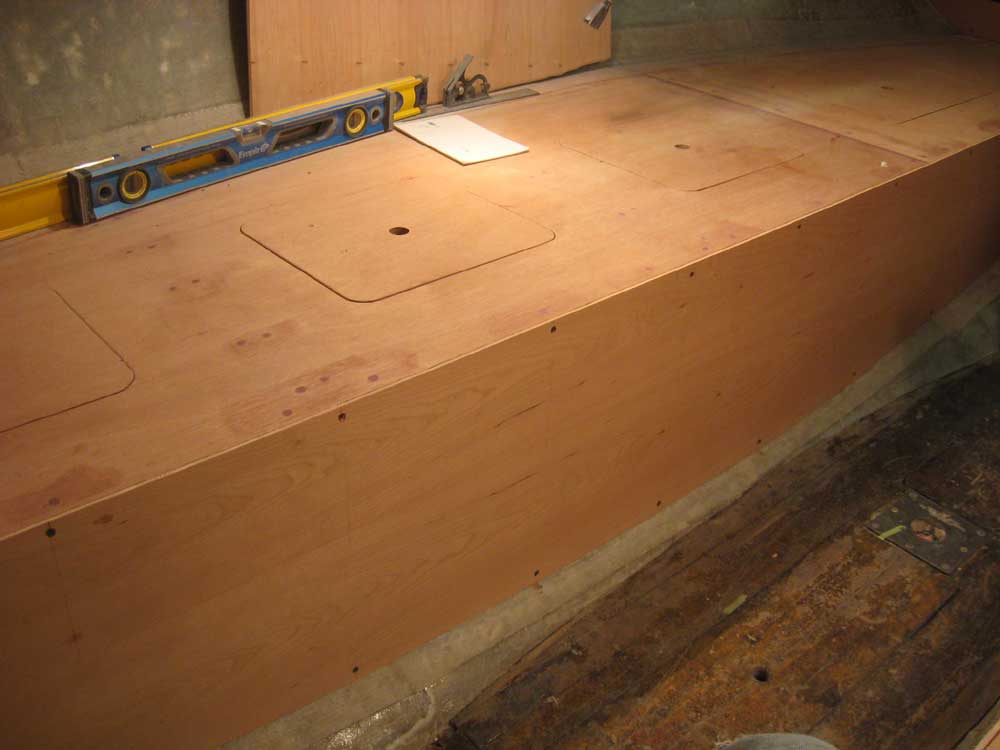
Inside the boat, I removed the temporary screws from the two aft bulkheads, and reamed out the holes to accept 3/8" bungs later. Continuing my efforts to cut and install the cherry veneer plywood over the various interior surfaces that required it, I cut a sheet in half to make two pieces for the settee fronts, and then cut, scribed, and fit each side as necessary. In this case, it made sense to simply use the oversized blanks as their own patterns rather than making separate templates. After a rough initial contour cut to bring the blanks down close to the hull curve, I scribed the actual shape on the plywood and made the final cuts, after which the pieces fit with only a little fine-tuning. When the fit was good, I temporarily secured the veneers to the settees with screws. I had cut the top edge of the blanks slightly oversize, so with the pieces temporarily secured, I trimmed the excess flush with the settee top, using a small router. |
 |
|
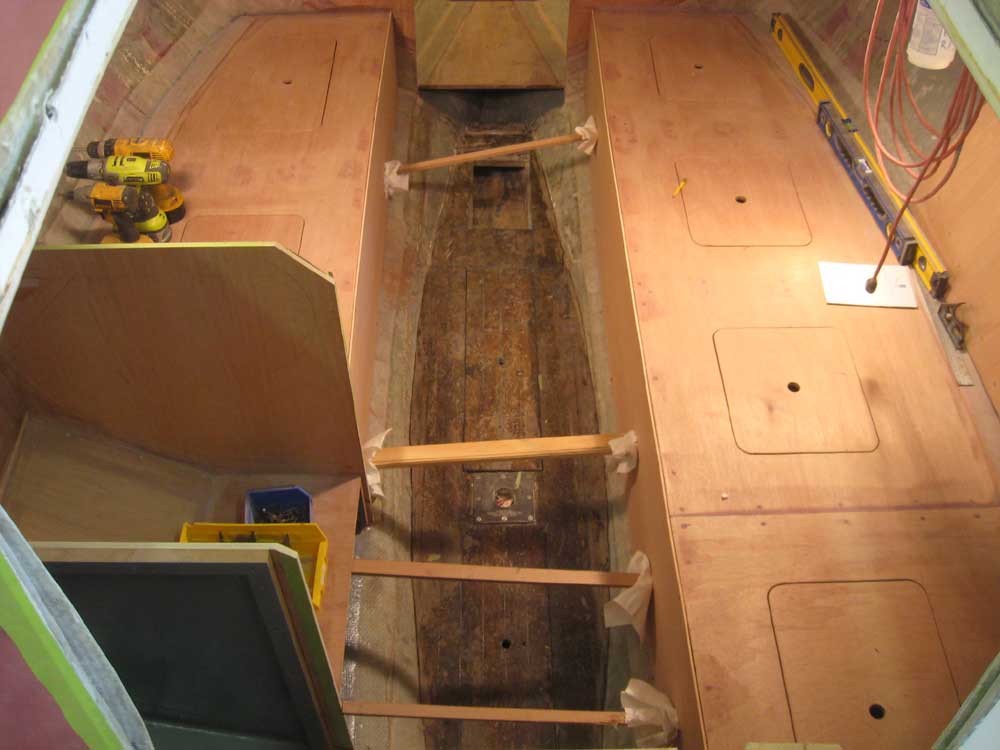
Finally, I transferred the upper screw locations down to the bottom edge, where I marked for additional screws, and then permanently installed the veneers with epoxy adhesive and the temporary screws to hold them while the glue cured; I also found I needed to install some bracing to push some of the middle portions of the larger, starboard piece tightly into the adhesive. |
  |
|
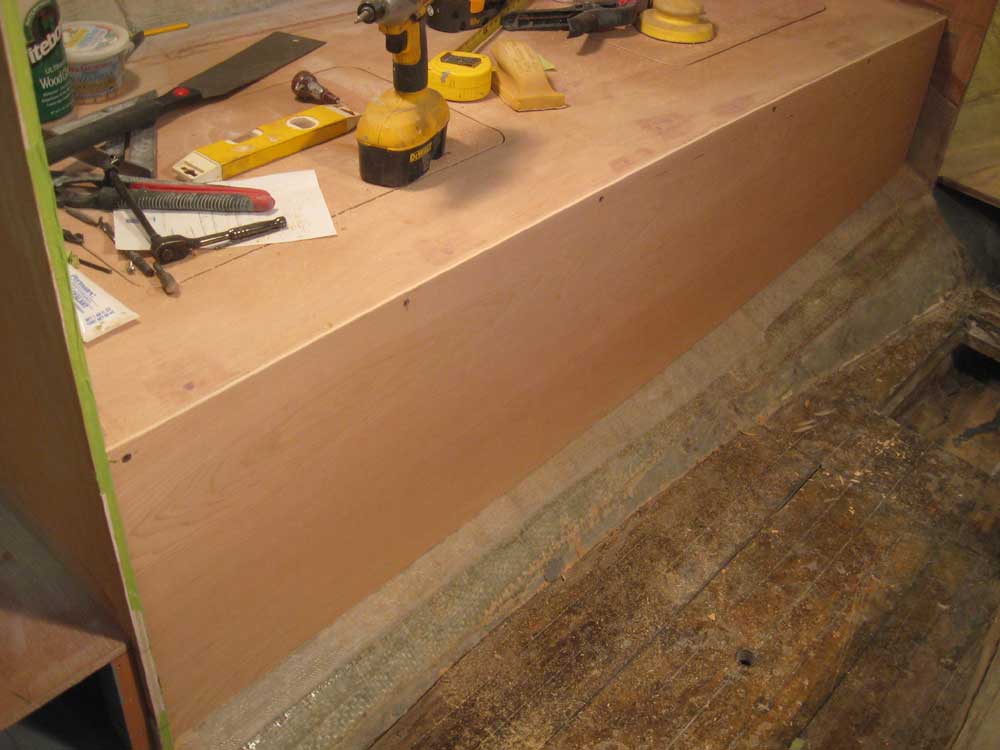
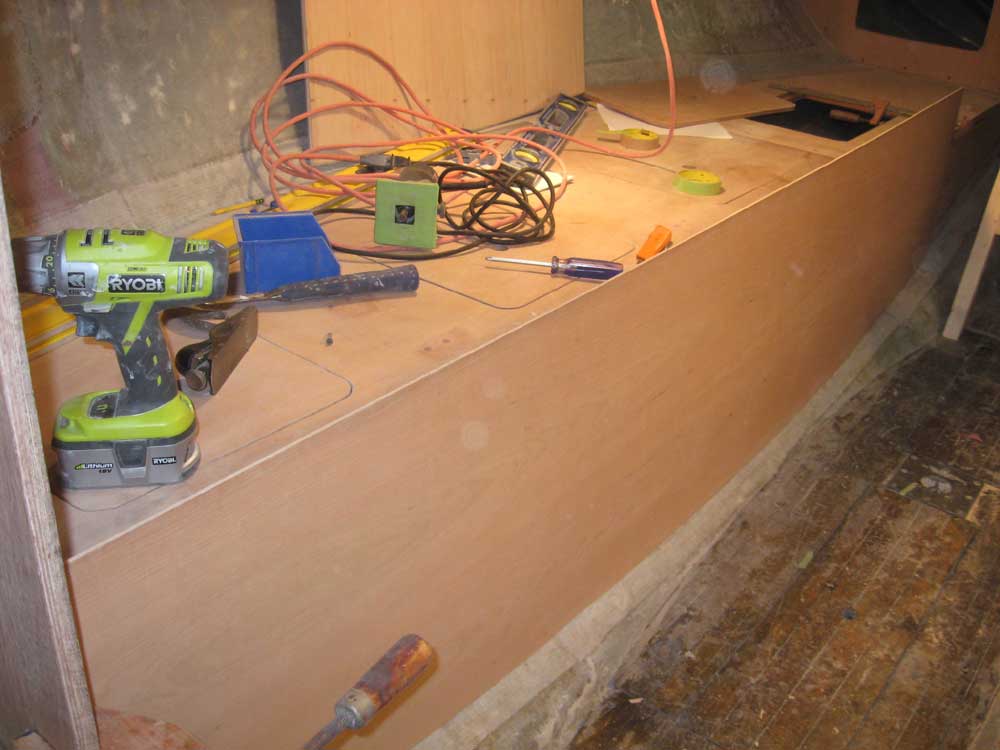
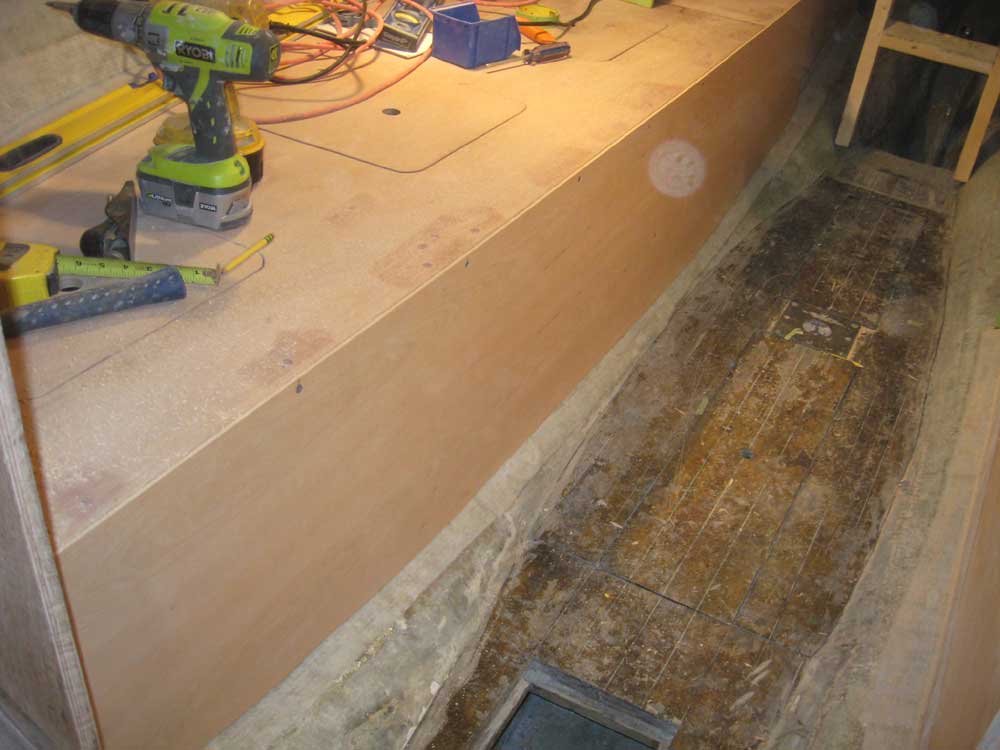
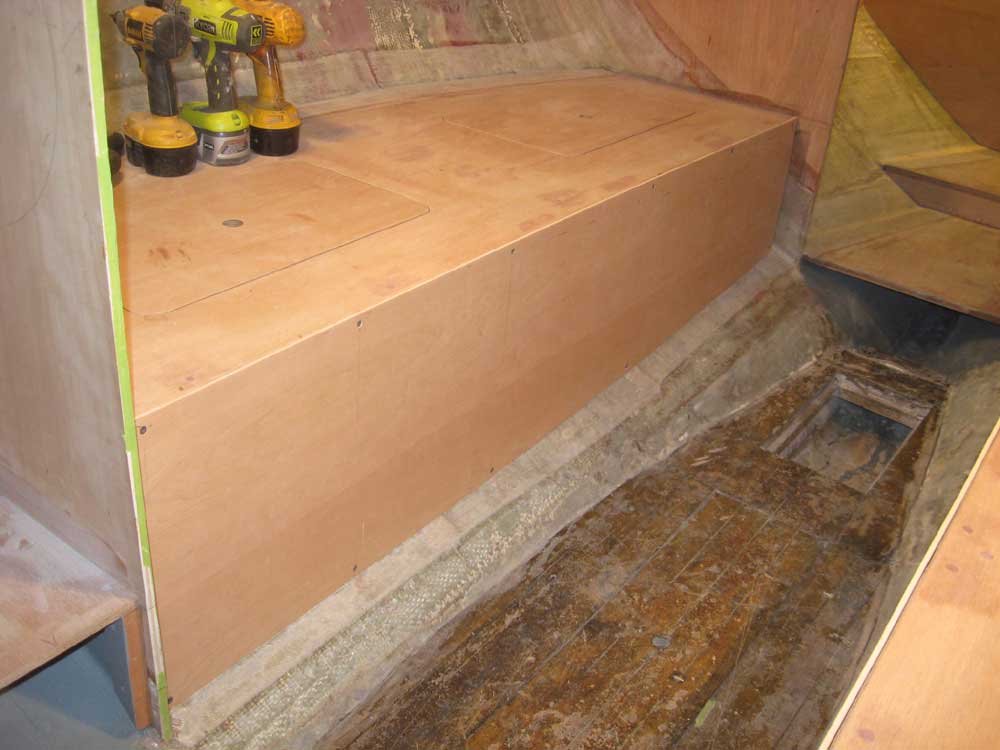
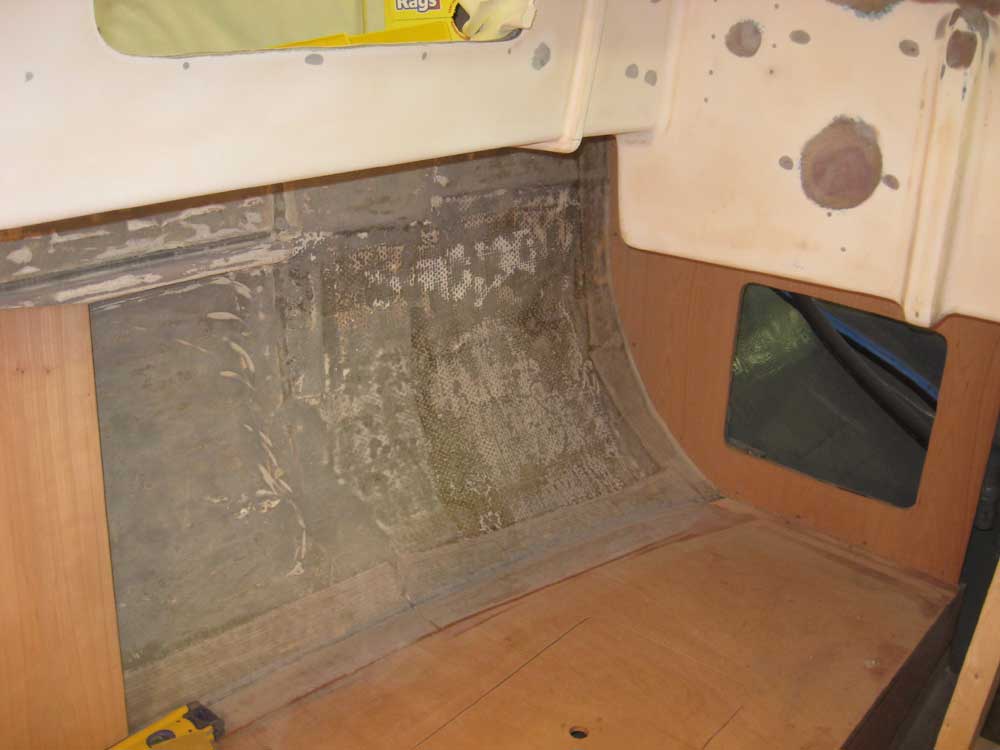
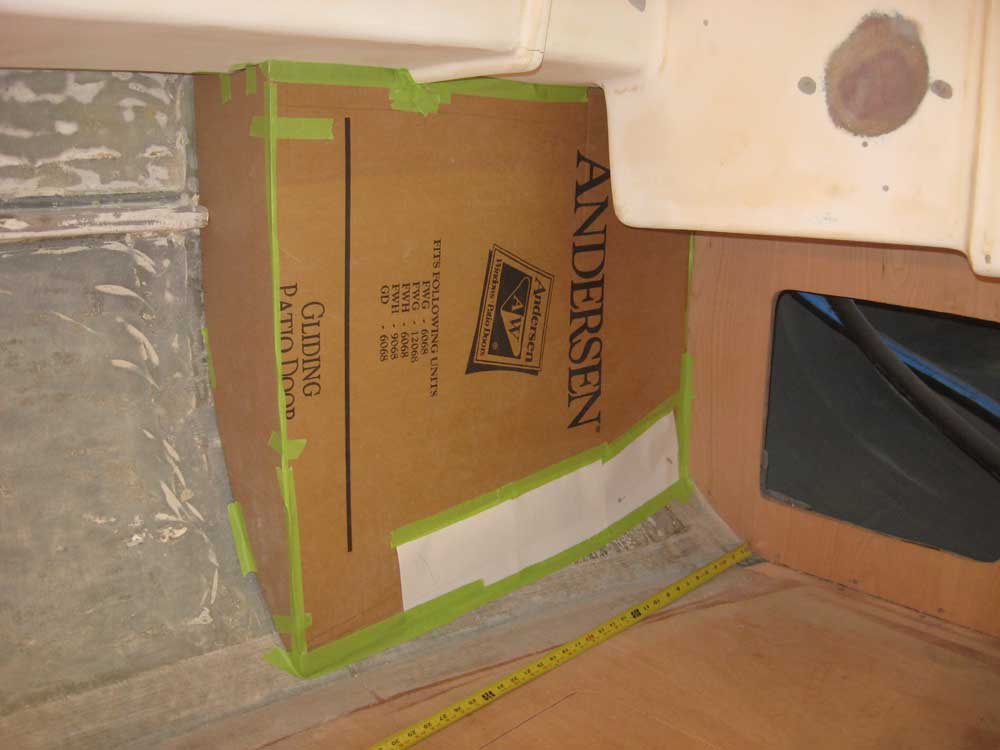
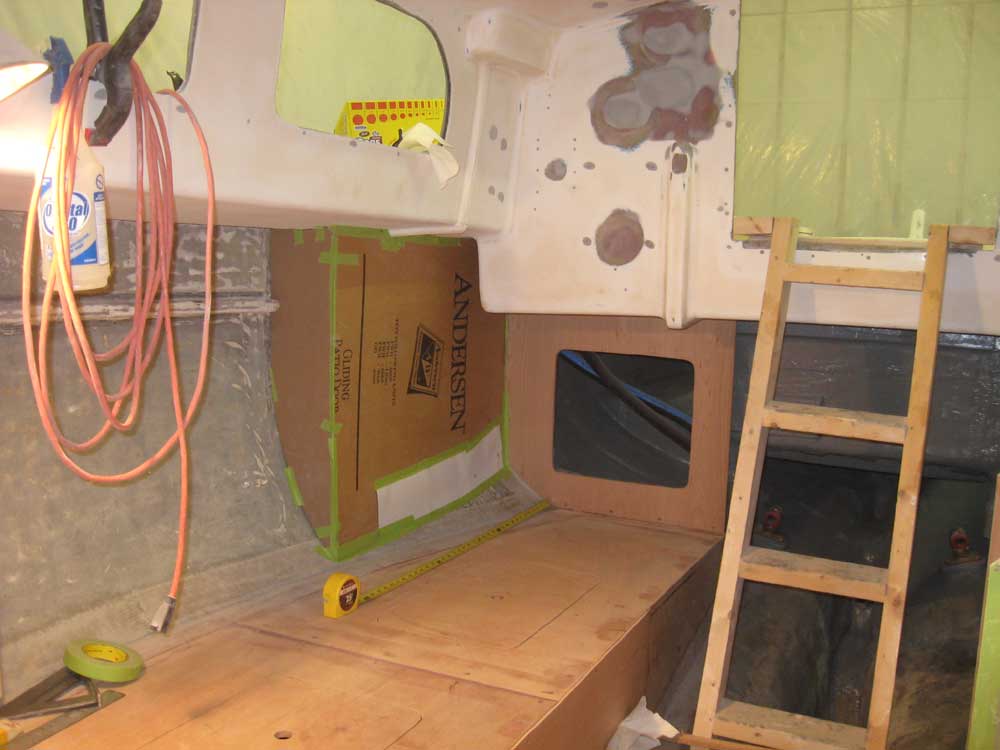
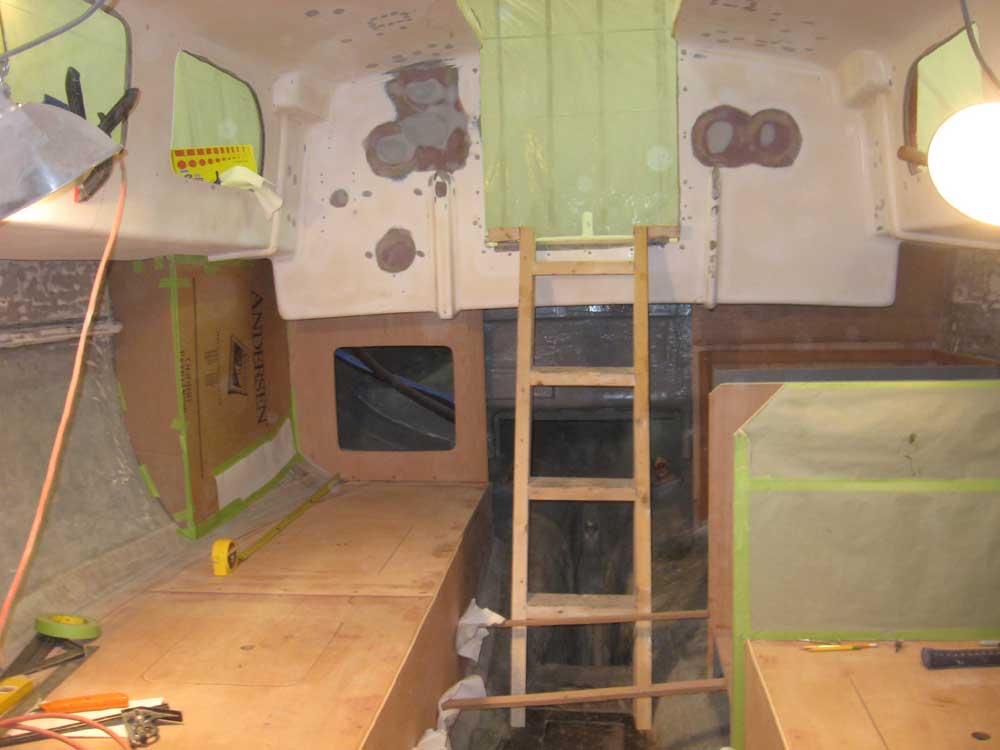
Most of the major interior structures were in place, save for the engine box (the engine was due at the shop late this week or early next week), but we determined a need for one additional cabinet to house the eventual electrical system. After some discussion, it was decided that this cabinet should be located aft on the starboard side, in the space beneath the sidedeck. To that end, I spent much of the afternoon constructing a mockup of the proposed cabinet so we could see how it fit, and how it looked. I spent the time to make the template fairly accurate, particularly the small bulkhead that would define the forward edge. so that if we decided to go forward the templating would basically already be done, streamlining the construction process. The cabinet featured a broad face that could contain various electrical panels and other necessities, which would run back to the after bulkhead and die naturally into the hull curvature as it went. |
 |
|
I had a little time left in the day, so I straightened and milled an 8/4 white oak board into two pieces, each 2-3/4" wide, which would eventually become the compression posts beneath the mast beam. |
|
|
|
|
|