

| Circe
| Wednesday, March 31, 2010 Before moving on to other tasks, I wanted to get the rudder post cover cut and glued up. Using my cardboard template, I cut out the two sides from their glued-up blanks and, after a test fit and measure, cut the top piece to fit, boxing in the unit. I dry-secured the top with screws and checked the overall fit in the boat before taking it apart and gluing it together with epoxy, using the screws to hold it together. I also bunged the screw holes, and set the assembly aside to cure till tomorrow, when I'd sand and shape it. |
|
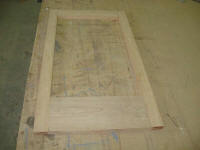
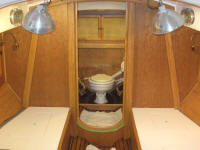
I took some inside measurements of the head doorway trim so that I could begin building the door. Long ago, shortly after the plans for the forward head location had come together, I decided that a Dutch door would be just the ticket for this opening. A Dutch door is split horizontally, roughly halfway up its height, so that the top section can be opened independently of the lower section. One of the pitfalls of the forward centerline head is that it tends to be the first thing one sees when glancing below--possibly not the ideal situation. Ergo, the ability to keep a partial door closed to screen the view while leaving the top section open for ventilation through the hatch and preventing the overly closed-off feel that a full door would contribute seemed to be a worthy goal. In any event, the time had come to build the door. Having decided upon the overall height of the lower section, based on what was needed to hide the head from the cockpit, I milled the rails and stiles to the appropriate size, using a wider stile at the bottom of the door to allow for the required curvature later. |
 |
|
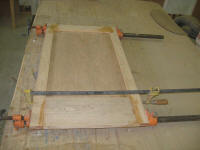
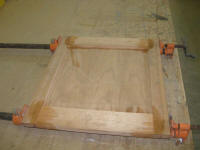
I milled grooves in the inside edges of the frame to contain a 1/4" plywood panel and, after test-fitting the pieces, secured the frame together with glue, with the panel inside the grooves. |
 |
|
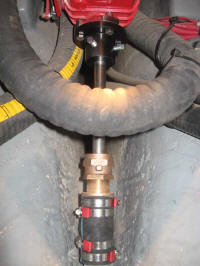
While I waited for the glue to dry enough to continue work, after lunch I spent an hour or so adjusting the engine to align it with the shaft properly. I permanently installed the shaft coupling and bolted it to the transmission flange once I'd completed the adjustments and tightly secured all the engine mount bolts. I didn't have any mousing wire handy for the coupling set screws, so I'd take care of that later. |
 |
|
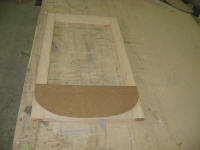
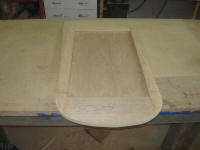
By the time I was done with the engine work, the lower door was ready for more work. Beginning with a cardboard template of the inside of the opening, I marked and cut the lower part of the frame as needed to match the opening. |
 |
|
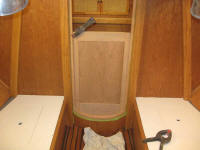
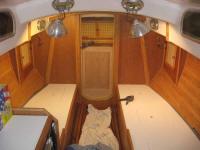
I test-fit the door in place, and made some marks at its upper extent so I could measure for the top section of the door. The two sections would meet in a rabbetted joint, with the upper door overlapping the lower door, so I allowed some extra height for this. |
 |
|
Then, I milled the rails and stiles for the upper door and, in a repeat of the lower door's construction, cut and fitted a plywood panel and glued the assembly together. In the morning, I'd complete the milling operations and sand the doors smooth for varnish. |
 |
|
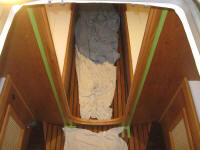
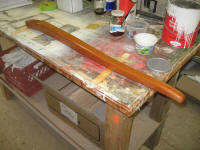
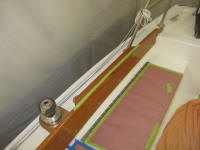
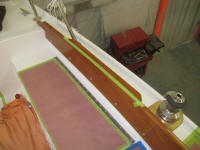
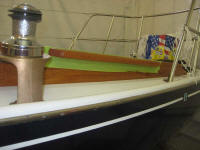
To complete the day's work, I varnished the head door trim, coaming seats, and tiller, and painted the bottom of the icebox lid with white enamel. |
 |
|