
| Circe
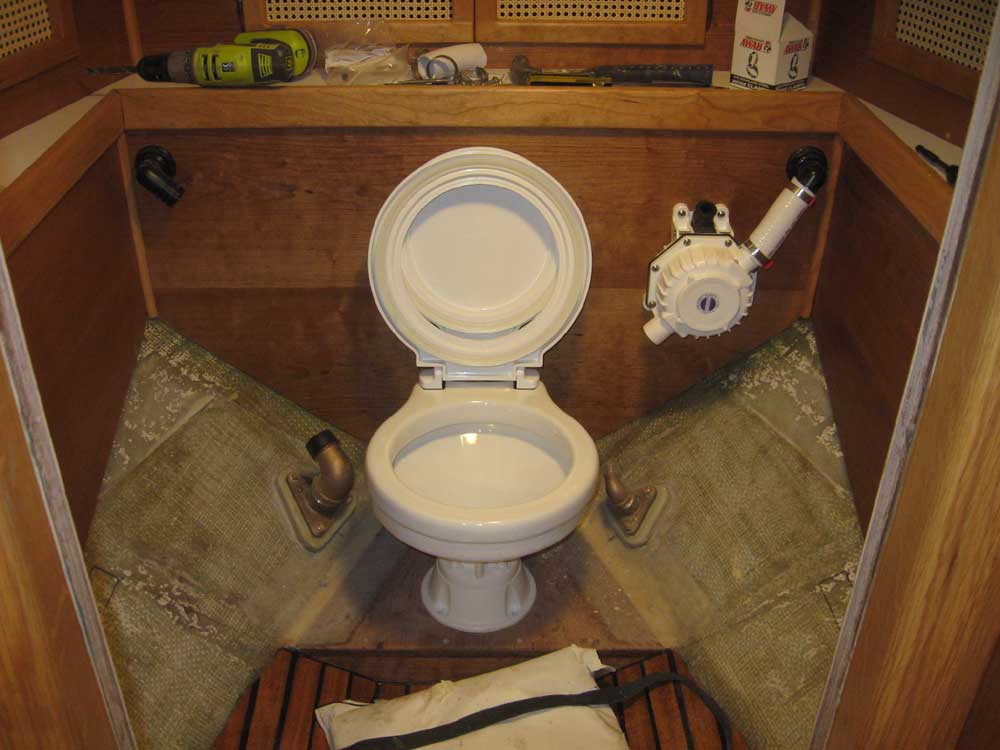
| Monday, March 22, 2010 The first item on the agenda was to work on the final head installation--or at least the steps leading up to the final installation. I'd held off on these final steps throughout the interior construction and finishing process, but with that wrapping up, I could press on with the remaining punch list for the head. Most of the head plumbing was already complete, inside the locker forward of the space with the tankage. What remained was to install the large diaphragm pump required for the Lavac toilet, as well as a few hoses to connect the toilet to the pump, to a salt water intake, and to make the final connection to the overboard discharge from the holding tank. To begin, I installed the pump. I'd earlier determined roughly where it would go, so installation was straightforward. I installed it on the forward bulkhead using stainless steel inserts that I installed in the plywood, after marking and drilling the holes; this would allow the pump to be easily removed for service or replacement if needed, and would hold it more securely than screws. Throughbolting was not an option. I installed a short length of hose between the pump and the through-bulkhead fitting that I'd installed much earlier; the final hose connection to the toilet discharge would wait till the toilet was permanently installed in a few days. |
|
|
|
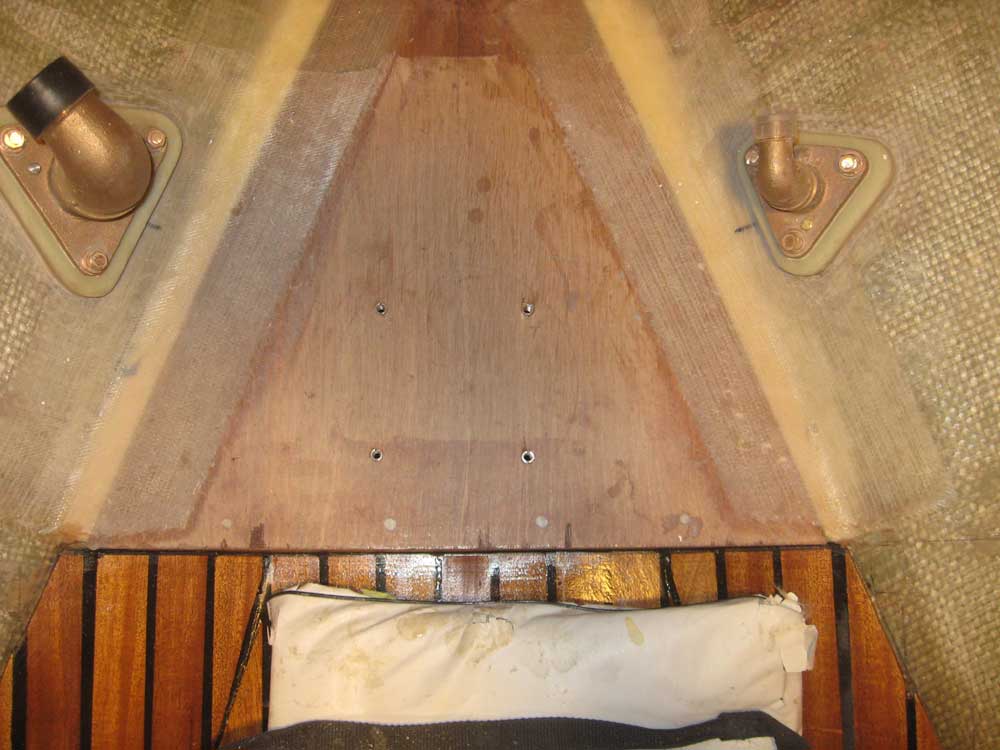
Next, I placed the Lavac toilet on its platform and determined its best position, far enough aft so that the lid could angle back slightly and rest against the bulkhead without a propensity to fall closed. I marked the holes through the base, and installed more of the threaded inserts in the plywood platform, into which I'd later secure the toilet. For now, I left the toilet off pending final painting of the head area. |
 |
|
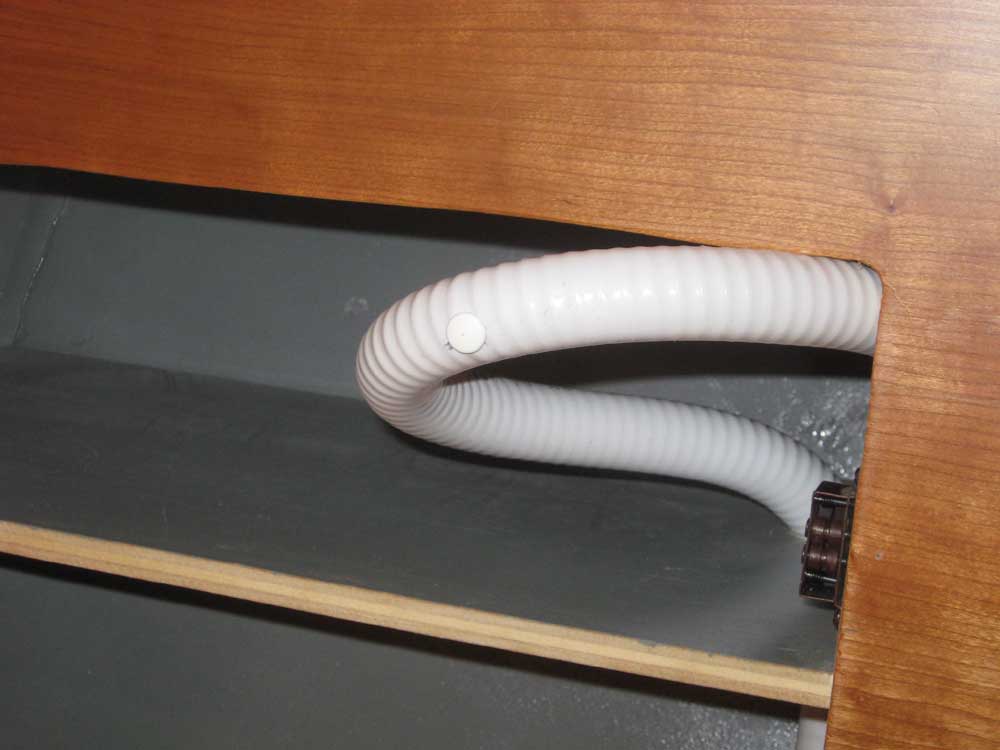
The raw water intake line needed to form a high loop in order to function properly, so I drilled a series of holes in the starboard vanity lockers to run the hose from the through hull fitting (to which I did not yet secure it, pending paint), up through the locker and back out again. At the top of the loop, I installed one of the plastic air vent plugs supplied with the Lavac toilet: white, in this case, since the toilet installation was above the waterline. Or at least the top of the bowl was. I installed a mount to secure the hose within the locker, but had to wait for the adhesive to cure before I could tie the hose up permanently. I don't seem to have a picture of this. |
 |
|
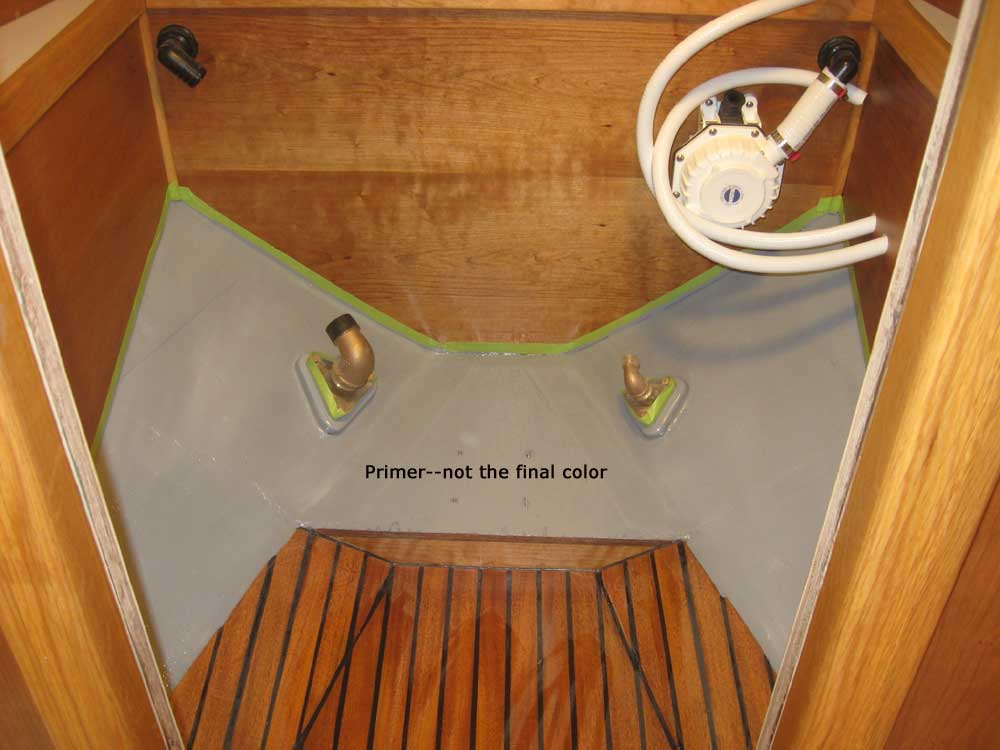
Finally, with all the preliminary head installation work complete, and requiring only final installation of the toilet and hoses later, I prepared the remainder of the head sole--really the exposed portions of the hull plus the head's own platform--for primer and final paint. I applied a coat of gray primer for now, and would complete the final paint over the next two days, after which I could permanently install and connect the toilet. |
 |
|
There remained a number of small trim pieces and minor installations to complete, and I spent some of the remainder of the day working on these items. Earlier, I'd milled a basic profile on some cherry stock for trim pieces required at the aft edge of the head platform, and on the edge of the stove cabinet base. Now, I cut these to size for their respective locations and sanded them smooth to prepare for varnish and installation. I also built a box on top of the engine box top, which box would hide the raw forward side of the cockpit well and the back of the engine instrument panel from view when installed. I chose to install this on the engine cover itself, so that it could all be removed in a single unit for ease of access. Using hardwood cleats, I secured the new plywood box to the top of the engine box cover, and set it aside to begin the varnishing process. |
 |
|
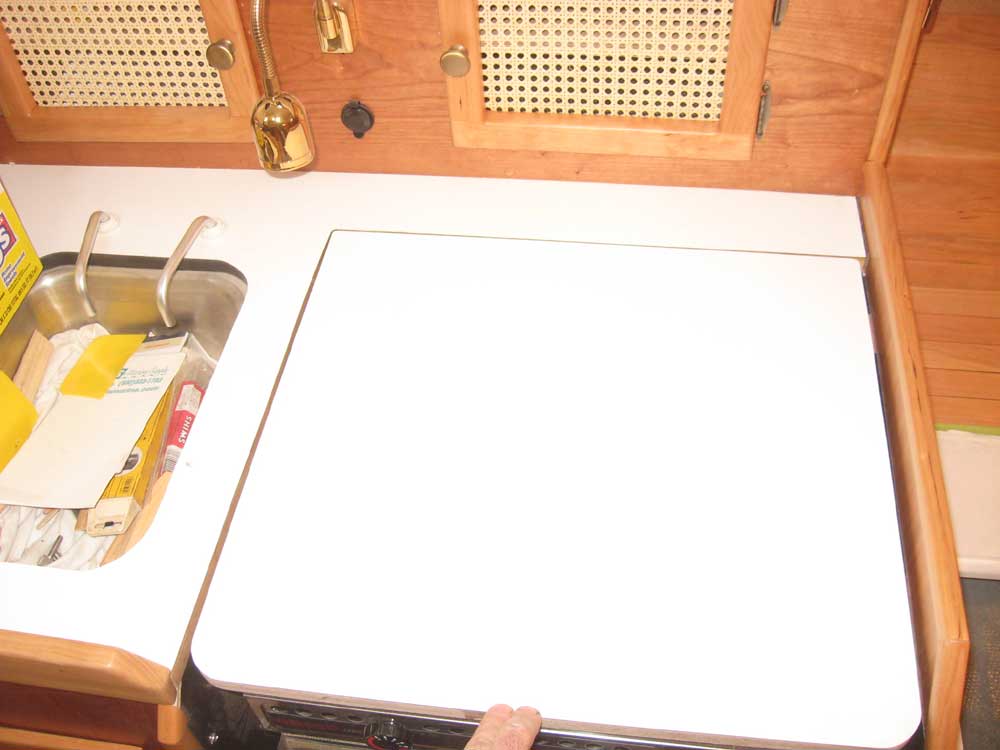
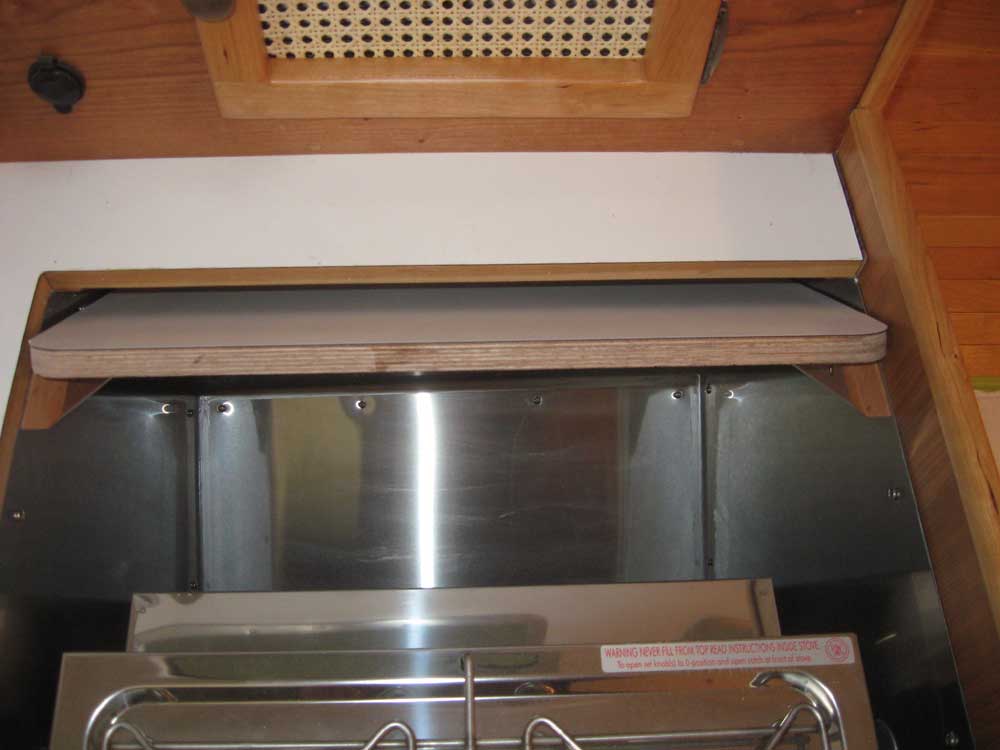
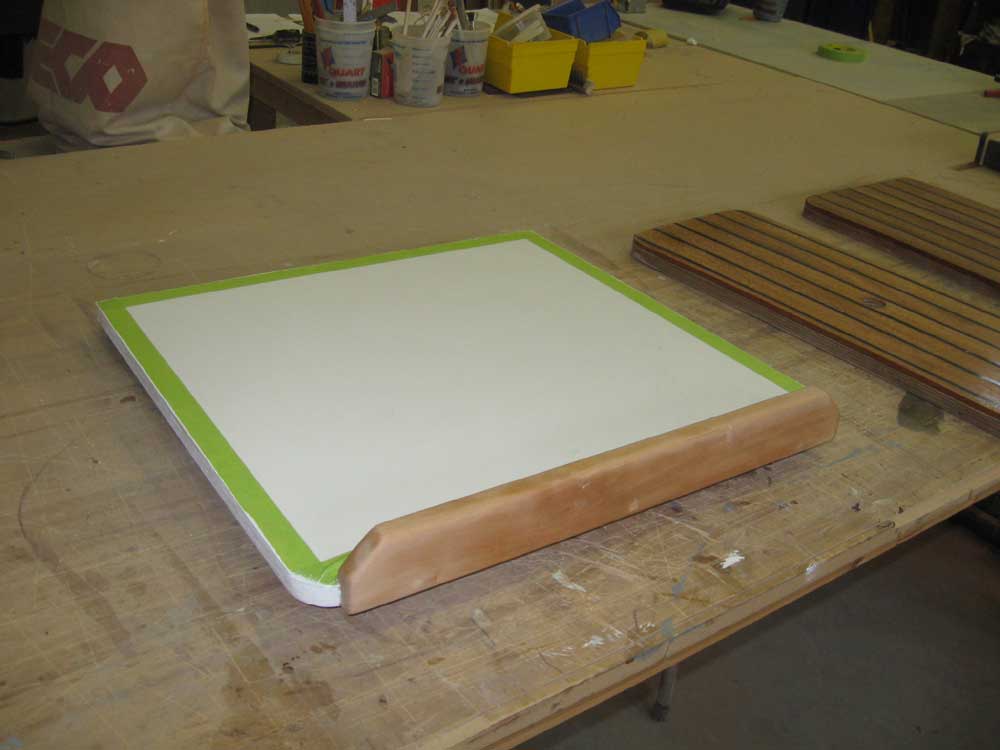
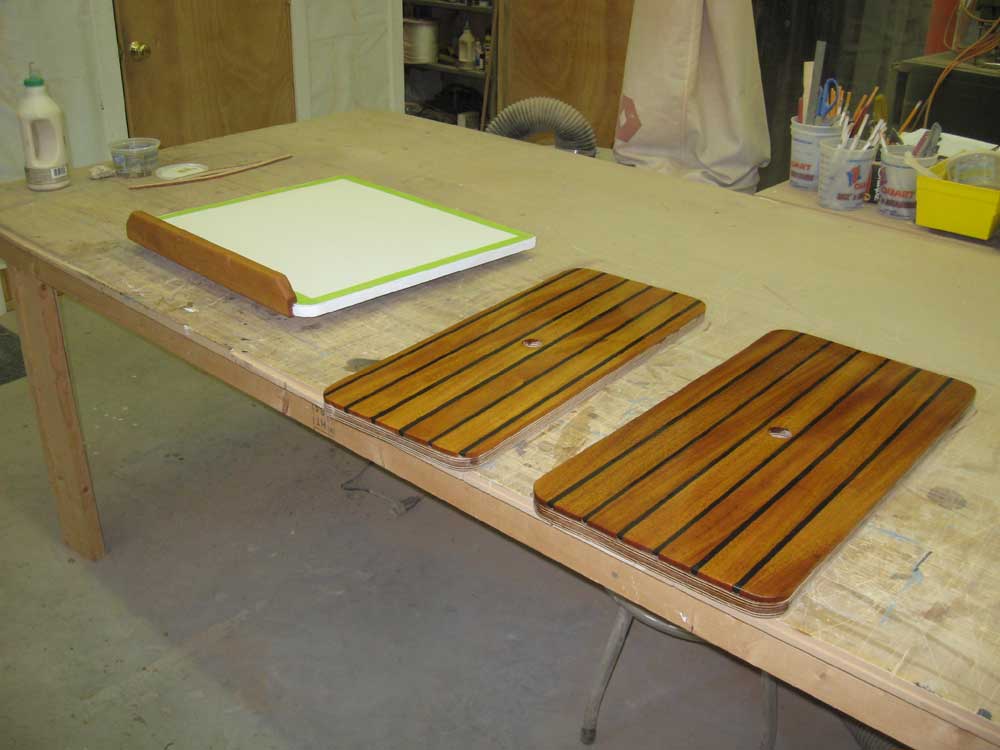
I test-fit the stovetop cover that I'd built earlier. To secure this in place on the stovetop, yet make it easy to remove and store, I installed cleats on the bottom of the panel that rested on and fit between various sections of the stovetop grille, but which would also be out of the way of the cleats leading to the top's storage area behind the stove. Finally, I milled and installed a section of fiddle to the front of the panel, which matched the size and profile of the fiddles used elsewhere on the galley countertop. I began the varnish process on the fiddle along with several other trim pieces. |
 |
|
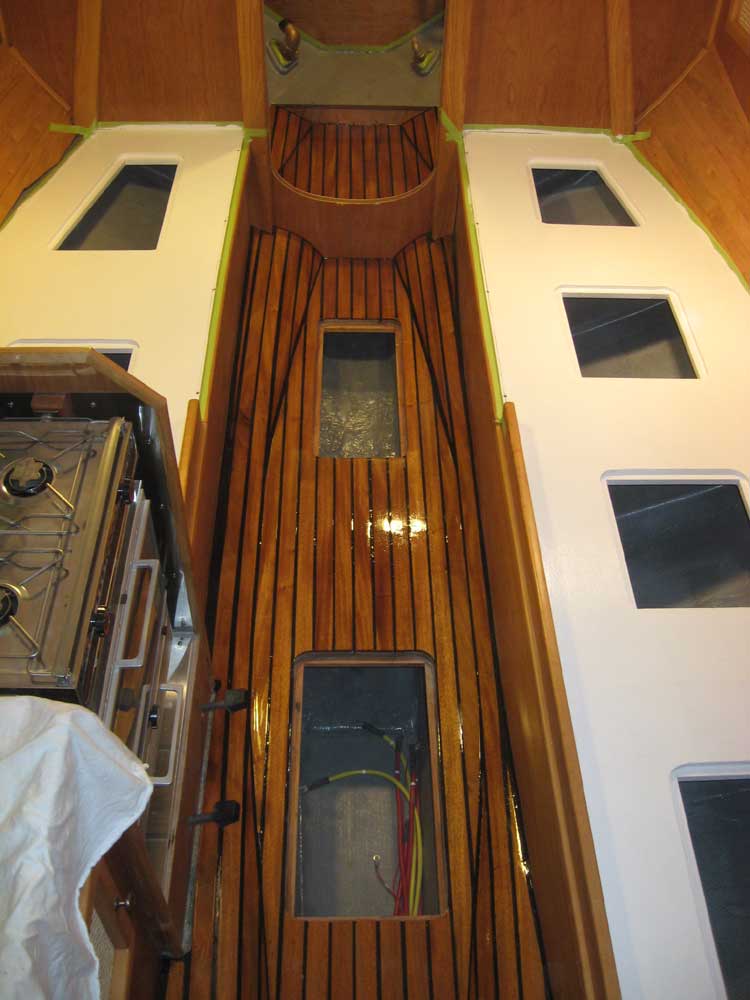
By this time, it was time to turn to the day's requirement for paint and varnish. I sanded the cabin sole, concentrating on those areas with new epoxy from yesterday, and, after cleaning up, varnished the sole once more, after first applying a coat of white finish paint to the settees and hatches. |
  |
|
|
|

