| Circe
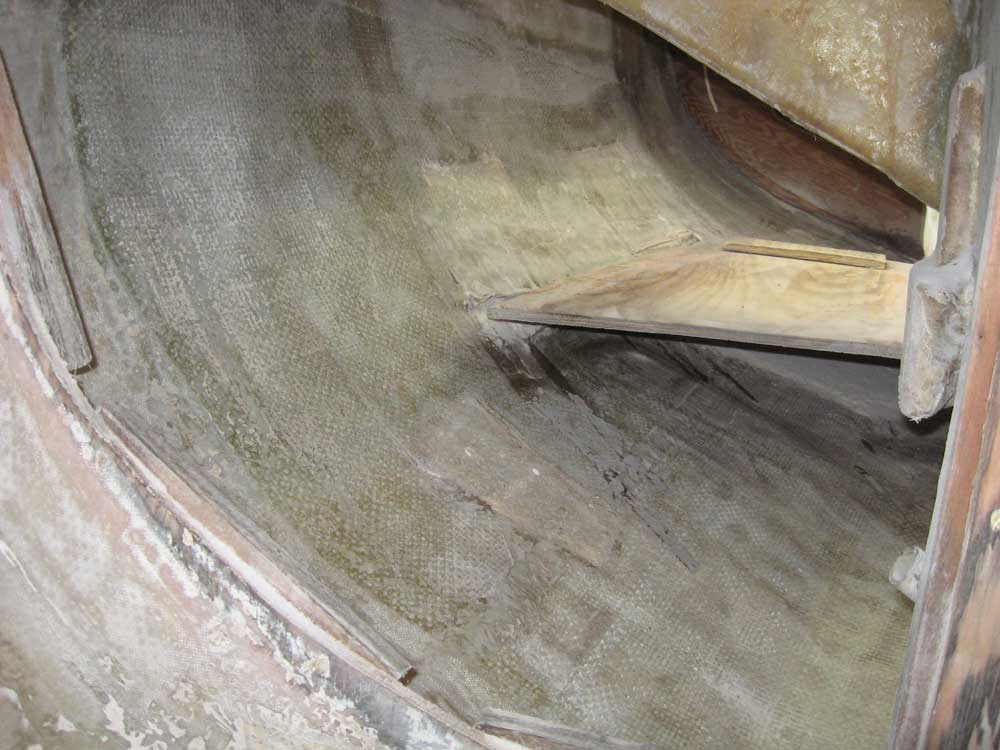
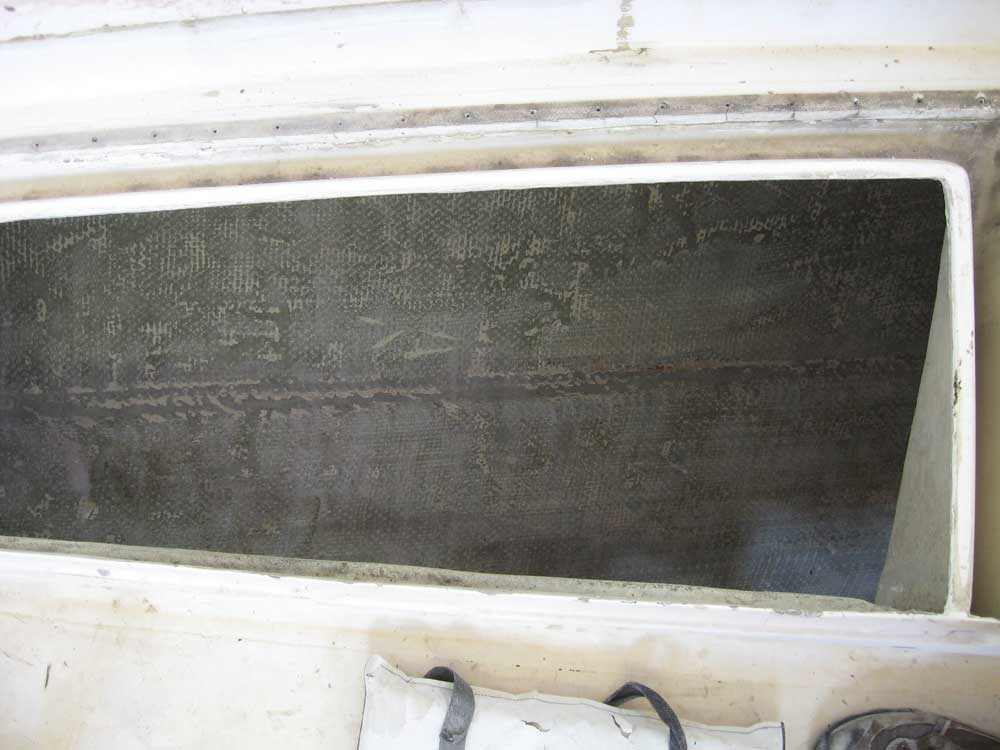
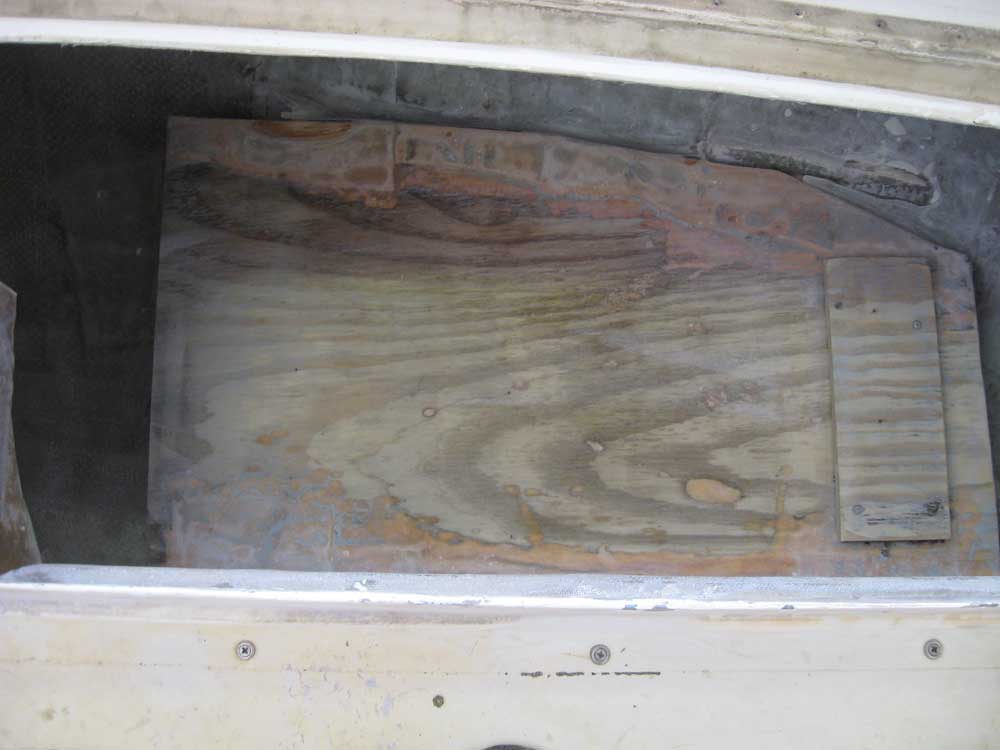
| Monday, July 27, 2009 After a week's vacation, I picked up where I left off, with the goal of completing the major interior grinding/sanding this day. To begin, I sanded the port and starboard cockpit lockers, working from the interior and through the locker openings as needed to remove the paint and clean up the surfaces. The plywood fuel tank platform in the port locker, which had been installed fairly recently when the fuel tank was replaced, was not going to be acceptable as is, but for now I planned to leave it in place and simply reinforce and re-tab it, as the basics seemed sound enough, and we expected to re-use the relatively new tank. I also cleaned up some of the worse detritus on the underside and insides of the cockpit seats and cockpit well, which surfaces were a veritable nightmare of dry, hanging mat fibers, rough edges, and general sloppiness I didn't spend a lot of time or finesse on these areas--just enough to remove the worse of it, and prepare the surfaces for eventual paint. These areas wouldn't ever be visible when the boat was rebuilt, but I couldn't leave them as they were. |
|
|
|
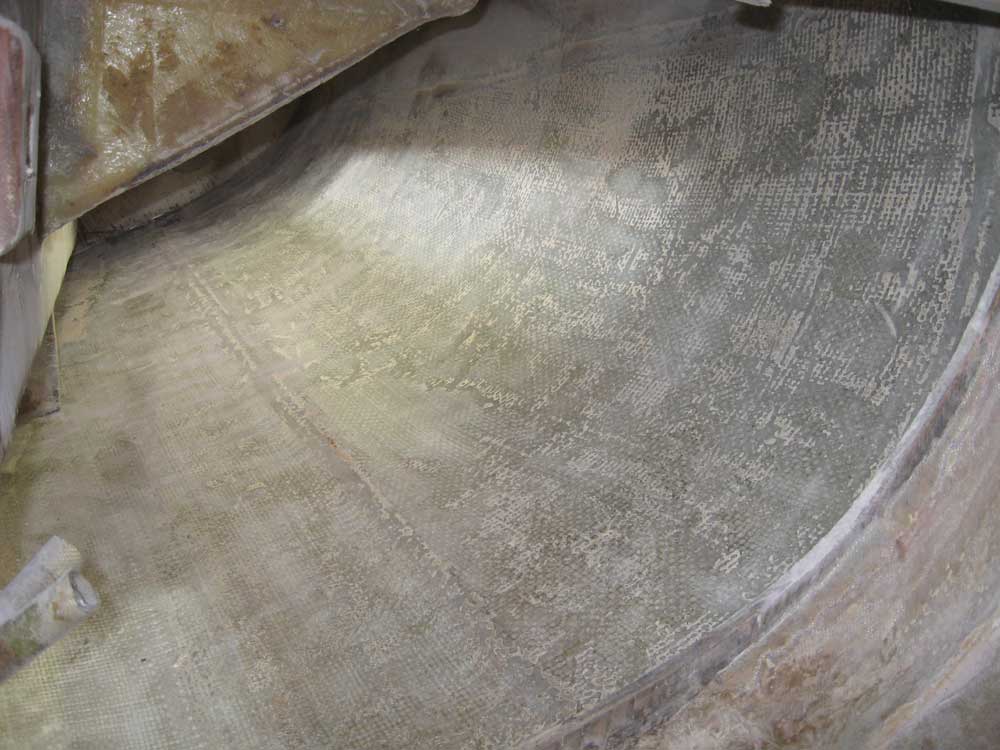
Next, I sanded the chain locker to remove the worse of the paint and grime. As in other interior areas, some former person had already violently attacked these surfaces with a heavy-duty grinder, leaving behind his signature of half-moons and scarring. In this area, I sanded enough to ensure good adhesion for eventual paint, but didn't concern myself with taking it any further than necessary, as there'd be no new structural work occurring in the chainlocker. |
 |
|
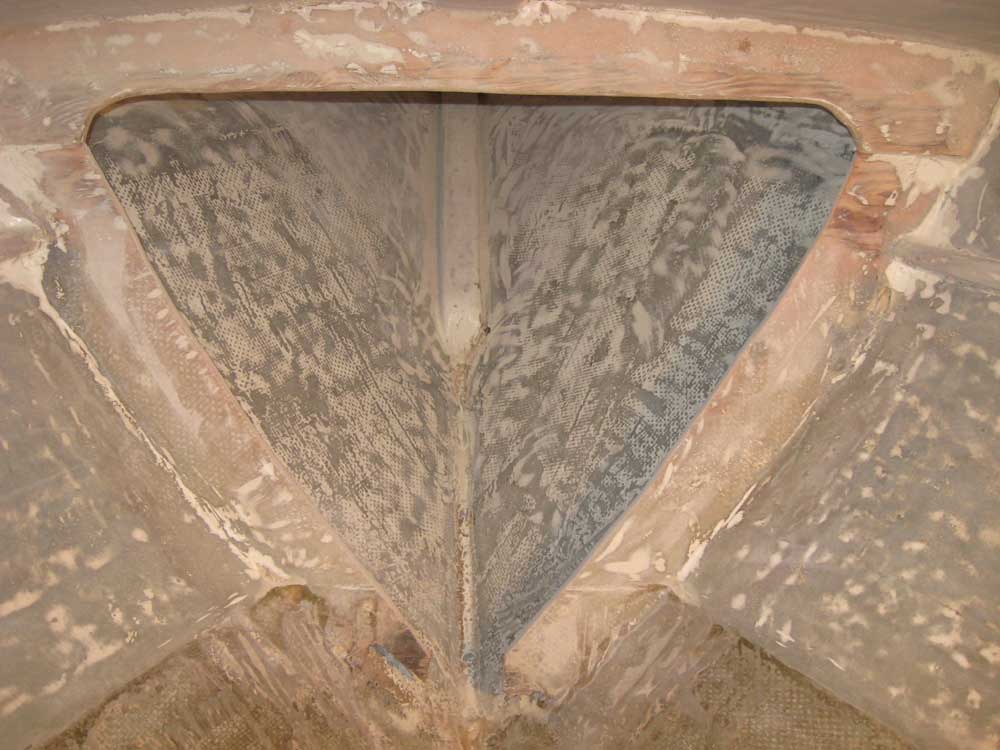
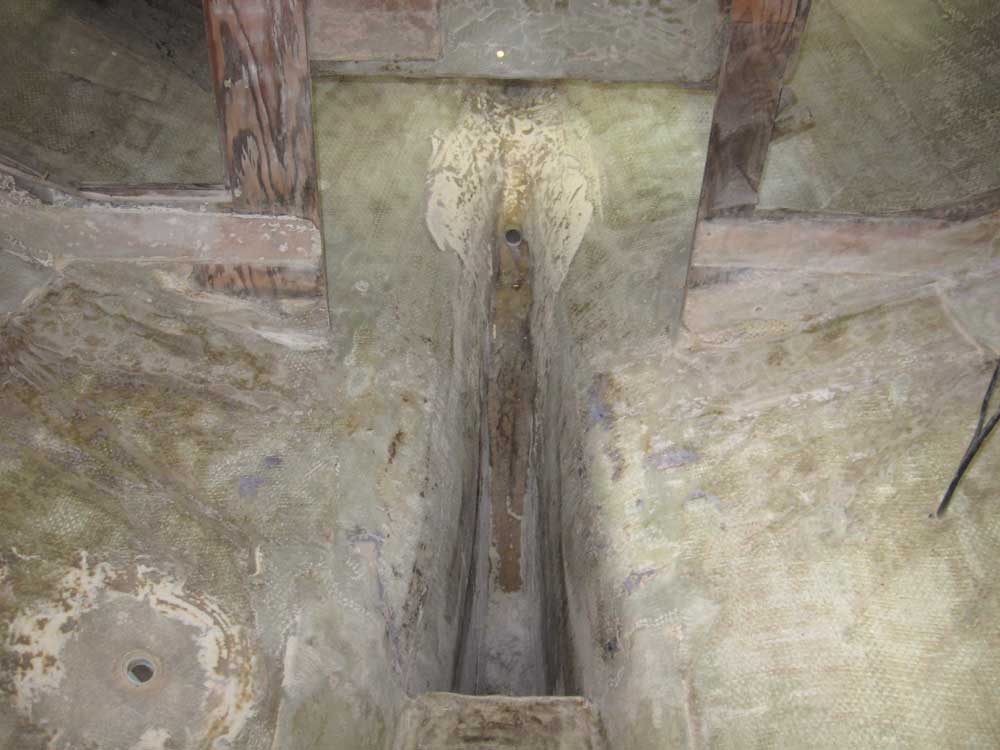
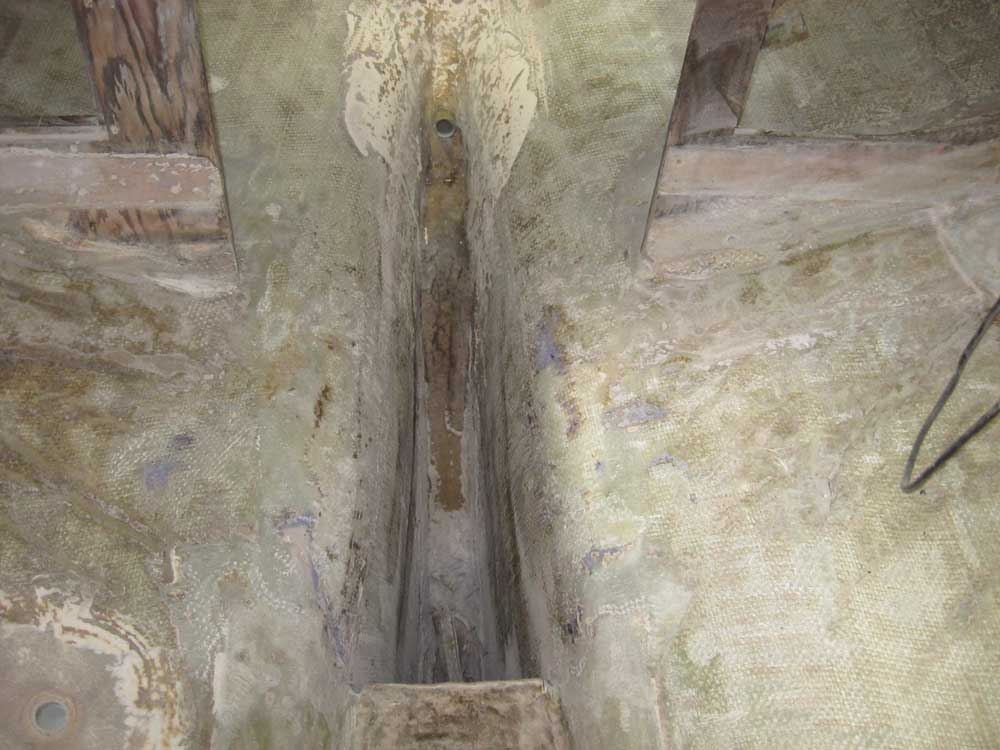
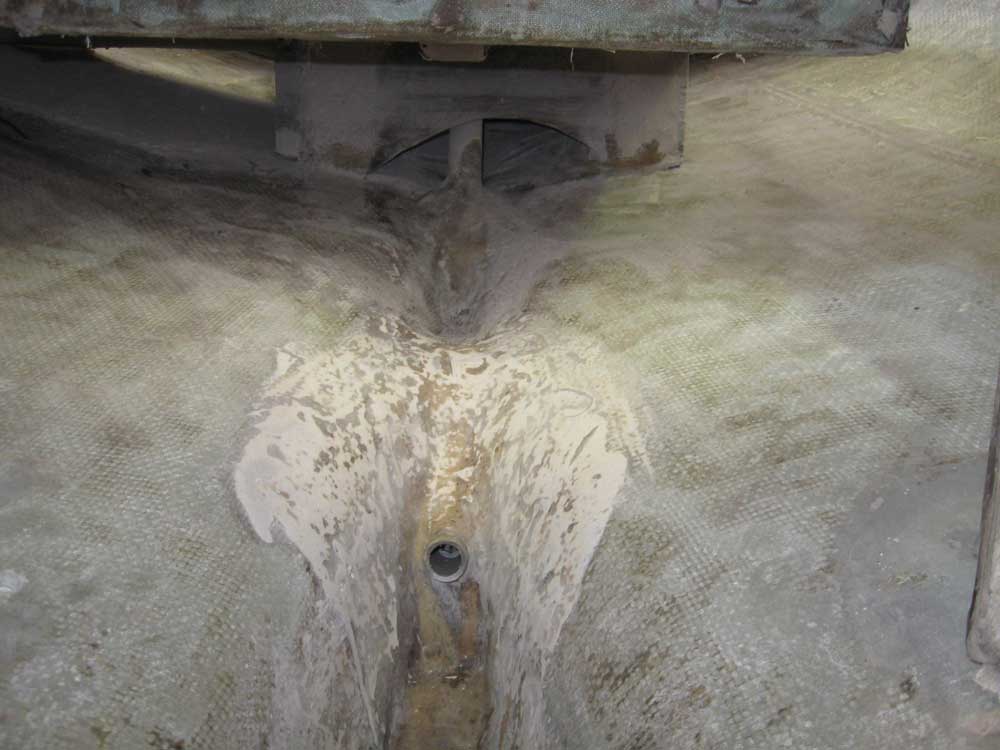
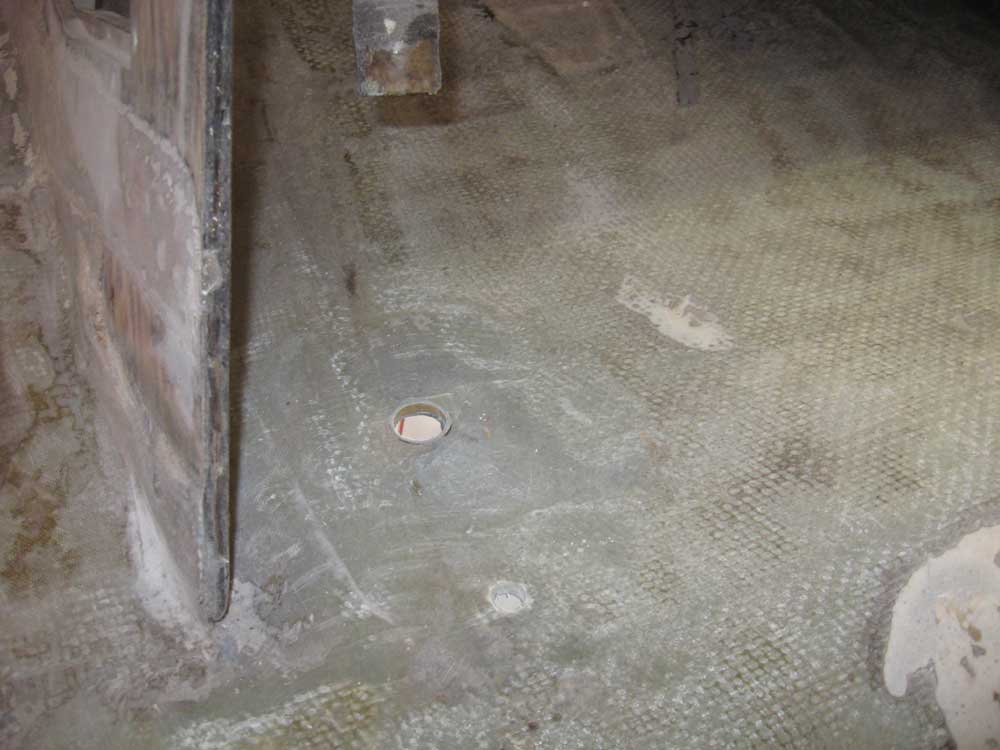
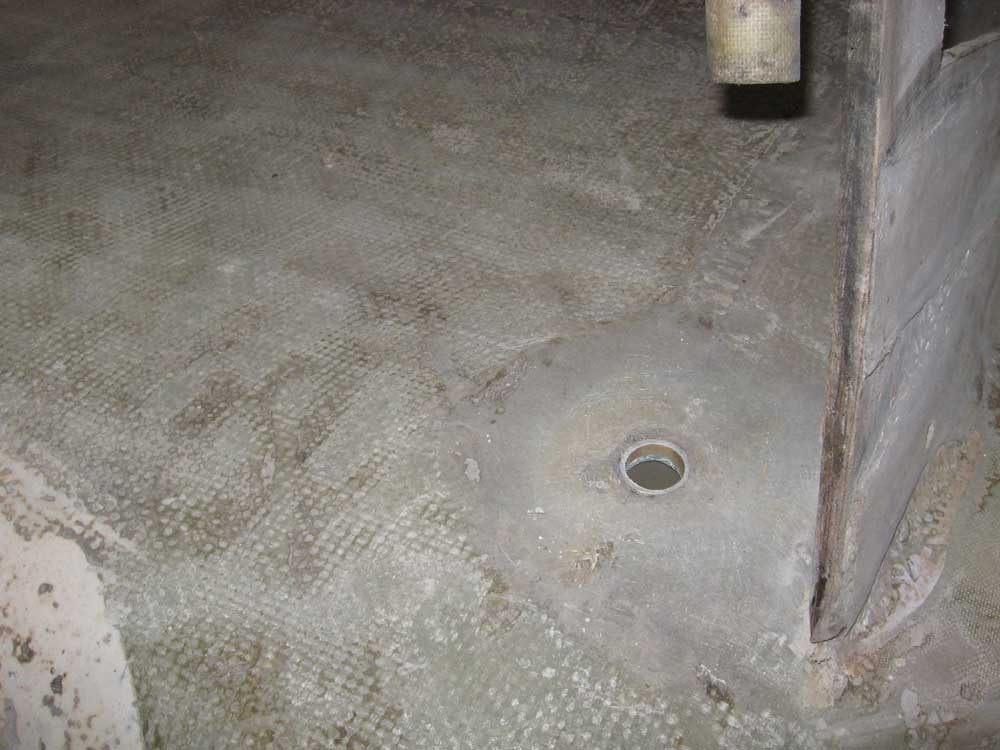
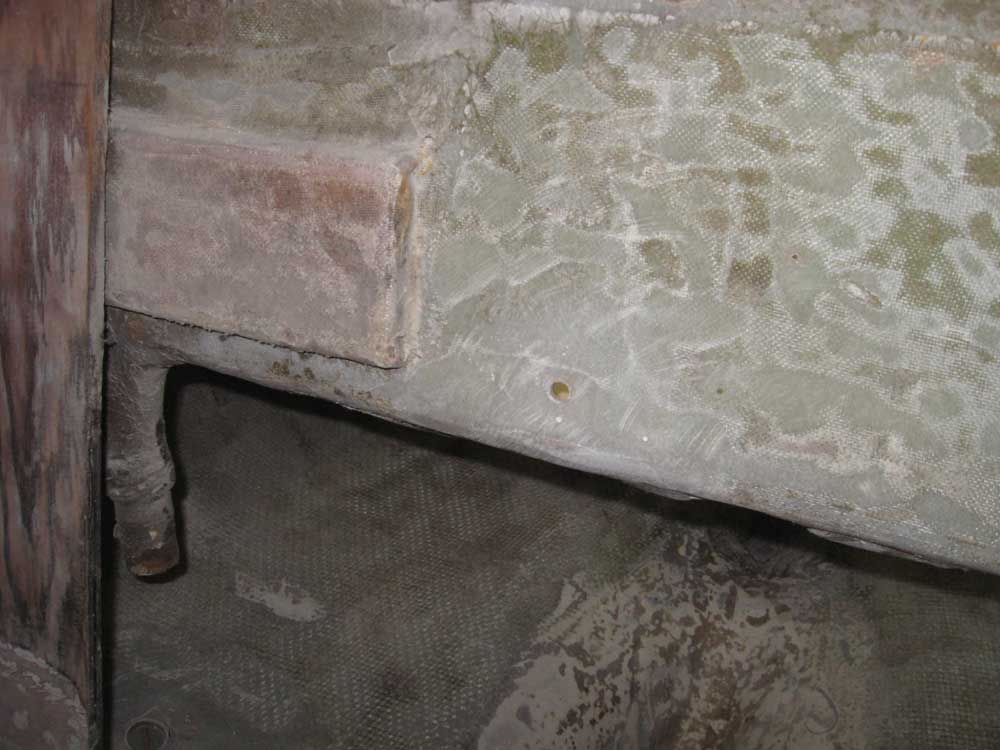
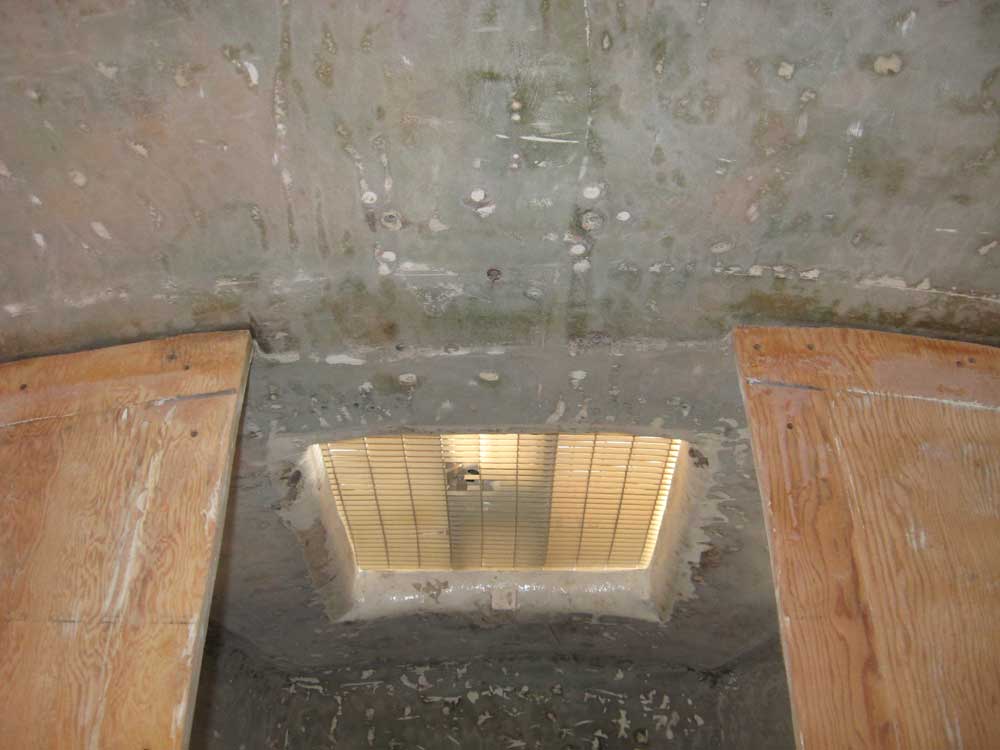
After cleaning up from the morning's grinding, I turned to the engine foundations. With a reciprocating saw and carbide blade, I removed the old fiberglass foundations, cutting as close as I could to the hull; unfortunately, this still left a fair bit of material. I'd burned up my small grinder during the demolition period just before vacation, and didn't have a newly-ordered one yet available for cutting through the remaining material in my usual way, so instead I simply ground away the remaining tabbing and the gobs of blue quick-adhesive material that Pearson used throughout the boat to hold various components in place before the final glassing. There was a significant amount of material remaining, which required substantial grinding with very coarse discs, and I ended up removing all of the old foundation tabbing, since it was poorly bonded to the hull beneath (secondary polyester bonds)--although not so poor as to cause any problems with service over the past 43 years. I also cut off the remaining fiberglass tubes that had once been the cockpit scupper outlets, as well as an old fiberglass elbow in the cockpit well that had been part of the icebox drain system. Then, I ground the these areas flush with the surrounding surfaces. Afterwards, I sanded the engine room and areas beneath the cockpit to smooth and clean up the last remaining areas, and fine-tune the areas where I'd had to remove the engine foundations and fiberglass through hulls. Later, I expected to remove (and then rebuild) the aft bulkhead, but for now I left the two pieces in place. For the moment, the only interior area I'd not yet addressed was the lazarette, but since we had bigger plans afoot for this area, I refrained from attempting to sand through the existing opening, choosing instead to wait till access was improved during later construction steps. |
 |
|
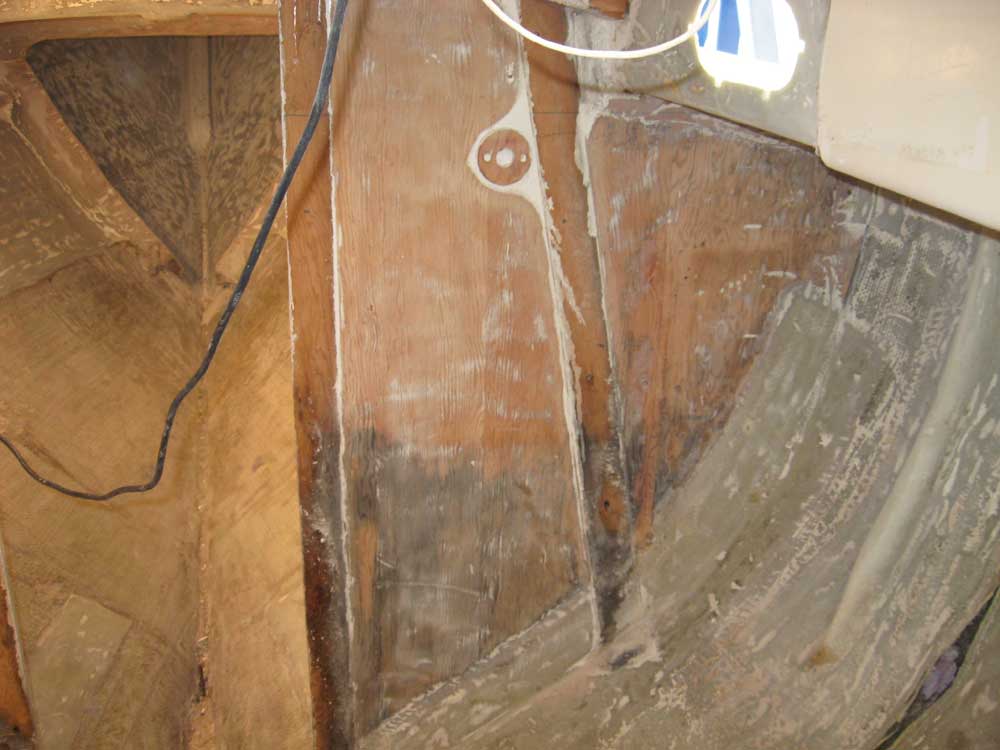
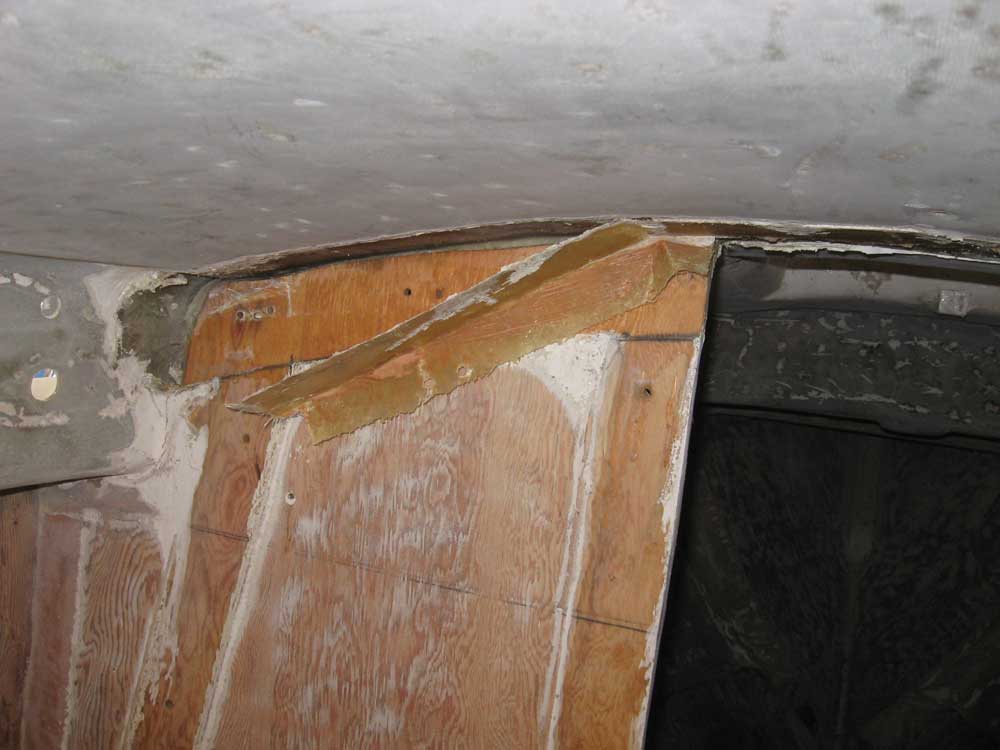
After cleaning up the mess created during the above work, I worked to remove the mast support beam and vertical support posts from the main bulkhead. After removing some weak and ineffective tabbing at the ends of the beam, a number of bolts, and half a dozen screws, the mast beam continued to be well-stuck in place. Meantime, I removed the screws securing the four upright support columns, which came away easily. |

 |
|
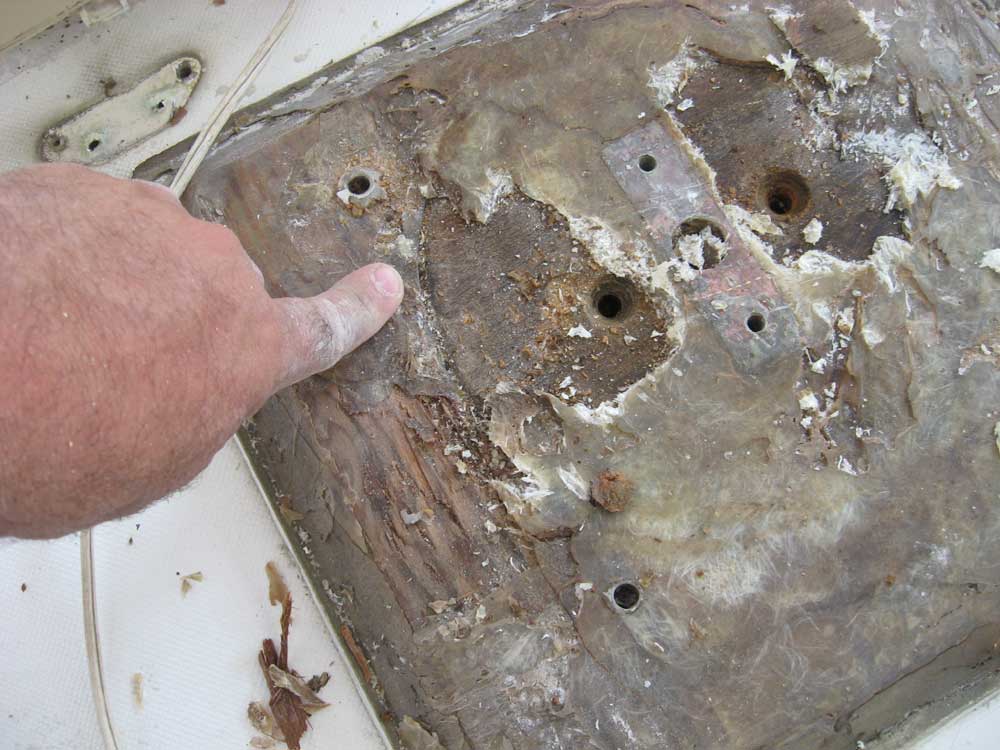
Then I realized that it might well be secured from above, at the mast step; I hadn't immediately considered it at first because the mast step had been previously modified, and I'd not spent any time looking at the new structure once I'd removed the aluminum cover several weeks ago. It turned out that the built-up step on the deck was simply plywood, cut to fit around the original plywood-laminated round mast step, and covered in a slurry of polyester resin. I chipped away some of the resin to reveal the expected pair of screws securing the original round mast step, which penetrated through the deck and into the mast beam. |

 |
|
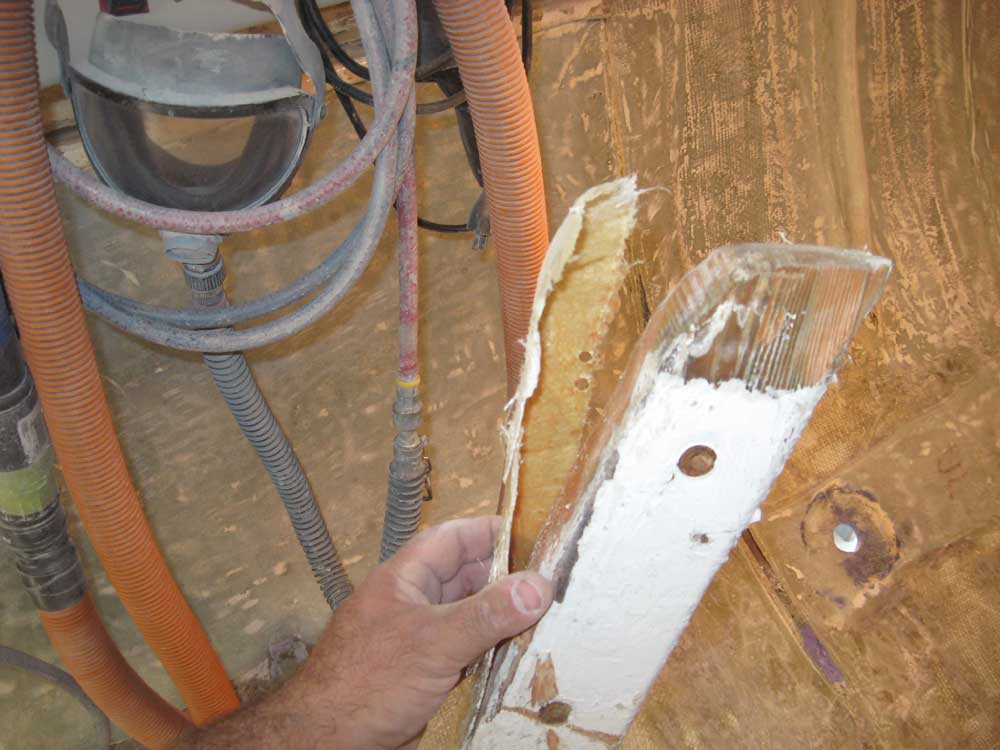
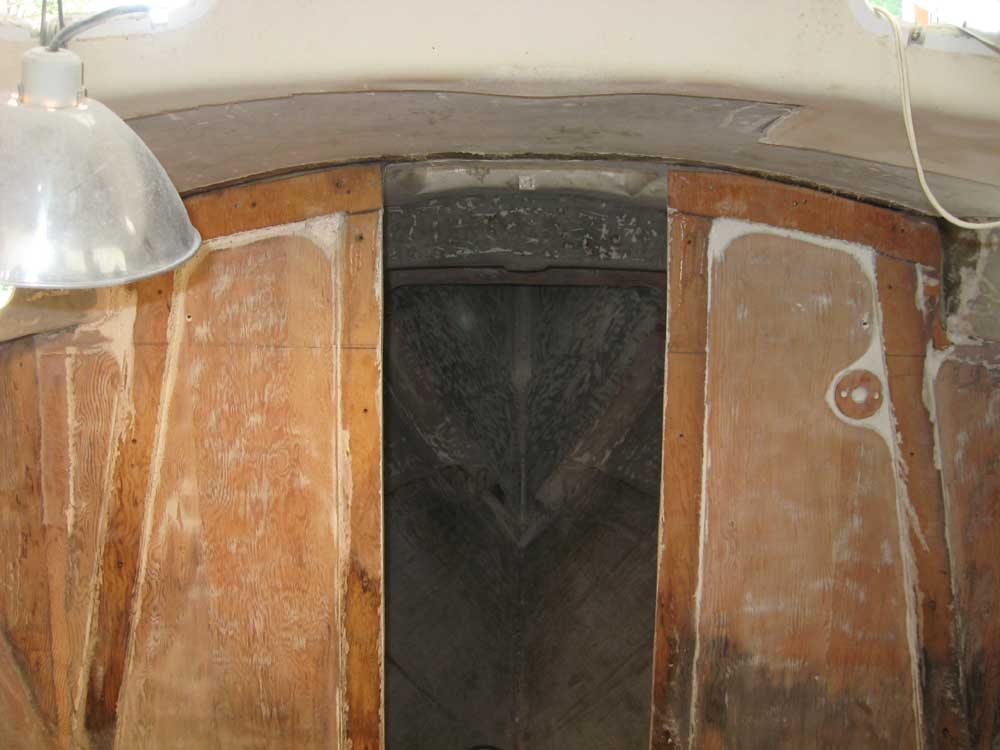
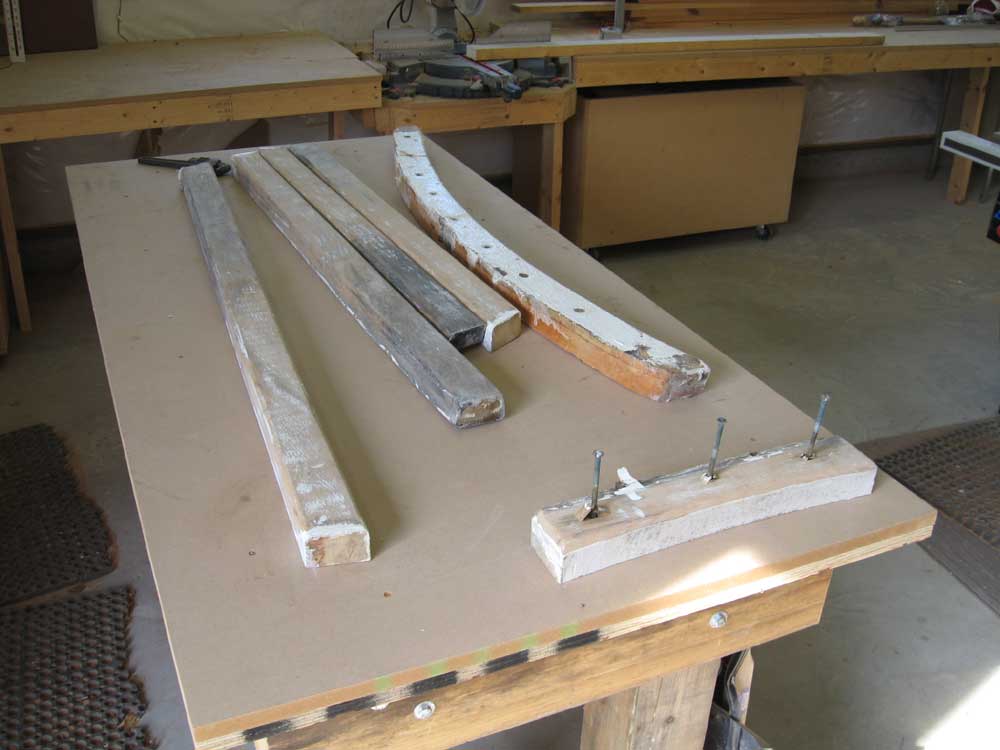
I removed these screws--thankfully they came easily, and were in excellent condition--and returned below to pop out the beam. It still held fast, but after carefully looking things over, I determined there was not any other mechanical fastener holding it in place, so I gently pried it hither and thither to loosen the grip of whatever was holding it; presently, the beam began to come free, and in short order I'd removed it entirely. It turned out that the beam had been set into a strip of wet mat, which had sort of held it in place. The mat, saturated in laminating resin, had not bonded particularly well to either the overhead, the bulkhead, or the beam itself, and the residue left behind was still sticky after all these years. |
 |
|
The beam appeared to be in good shape, but I expected to build a new one if only for the sake of appearance. Similarly, I expected to build new upright posts, mainly to improve their looks, and because the port center post was now too short, with the removal of the old head platform upon which it had rested before. |
 |
|
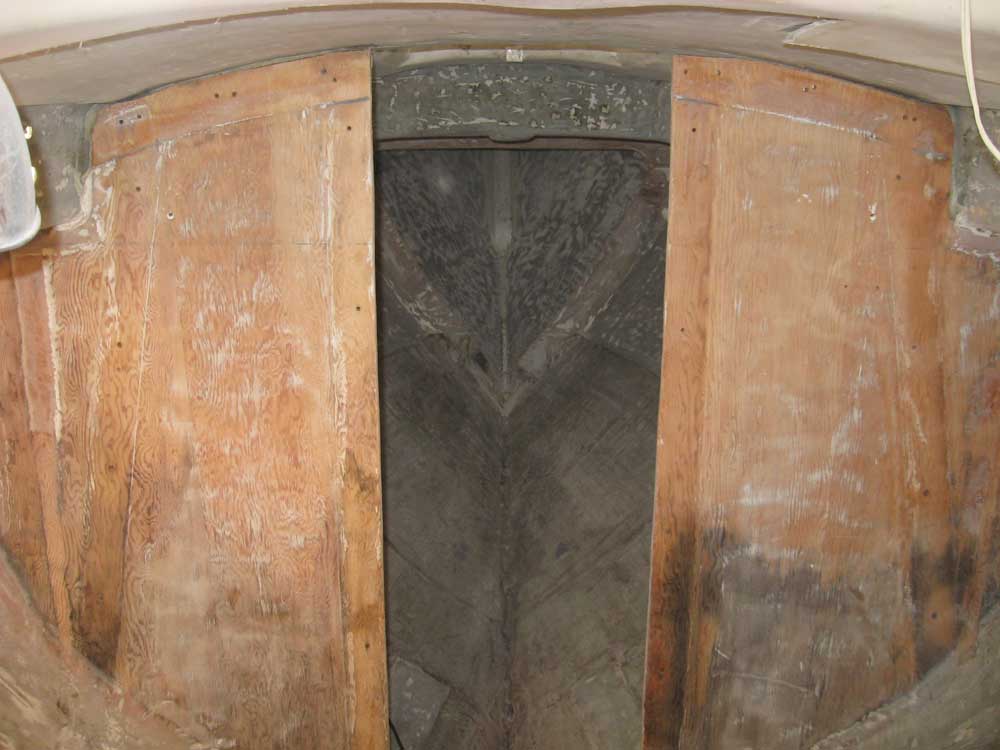
I finished up the day by sanding the now-clear bulkhead and surrounding areas to remove the final vestiges of old paint and fiberglass. The plywood bulkhead, despite some obvious water staining from the flood, appeared to be sound, and although I planned to re-tab several areas, I saw no reason at this point to replace this particular bulkhead. |

  |
|
|
|