|
Circe
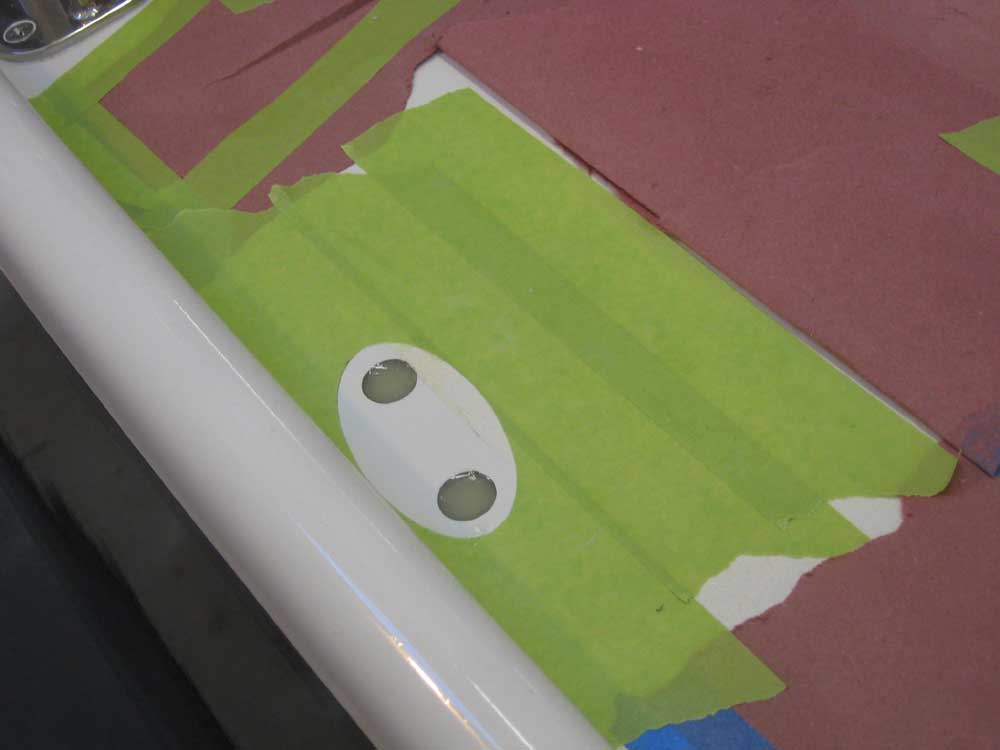
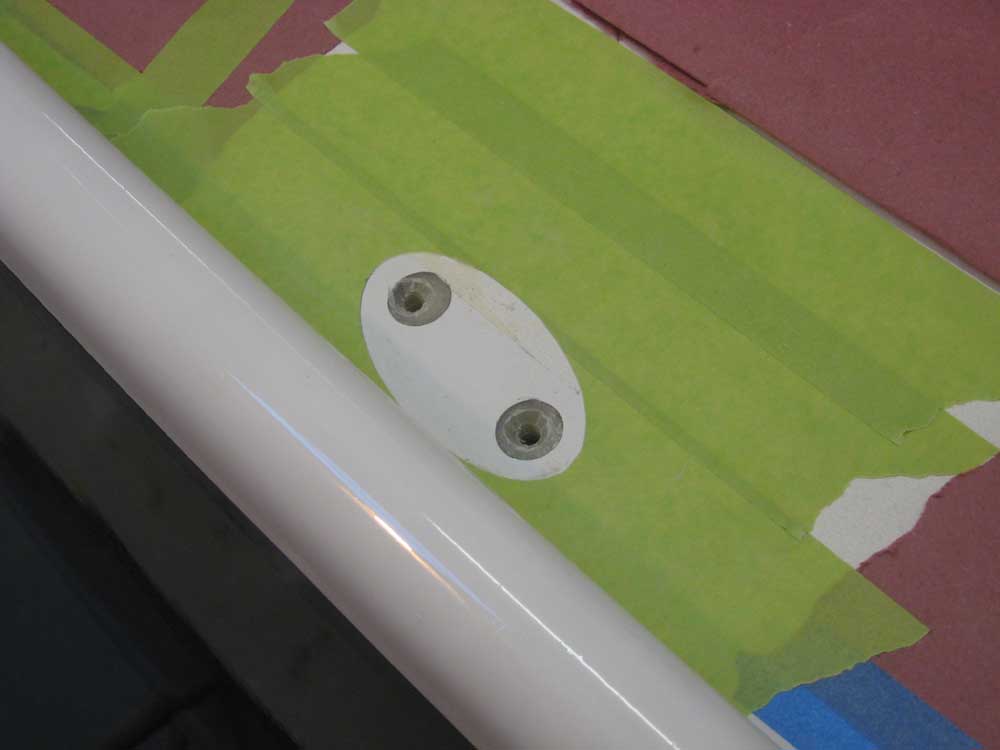
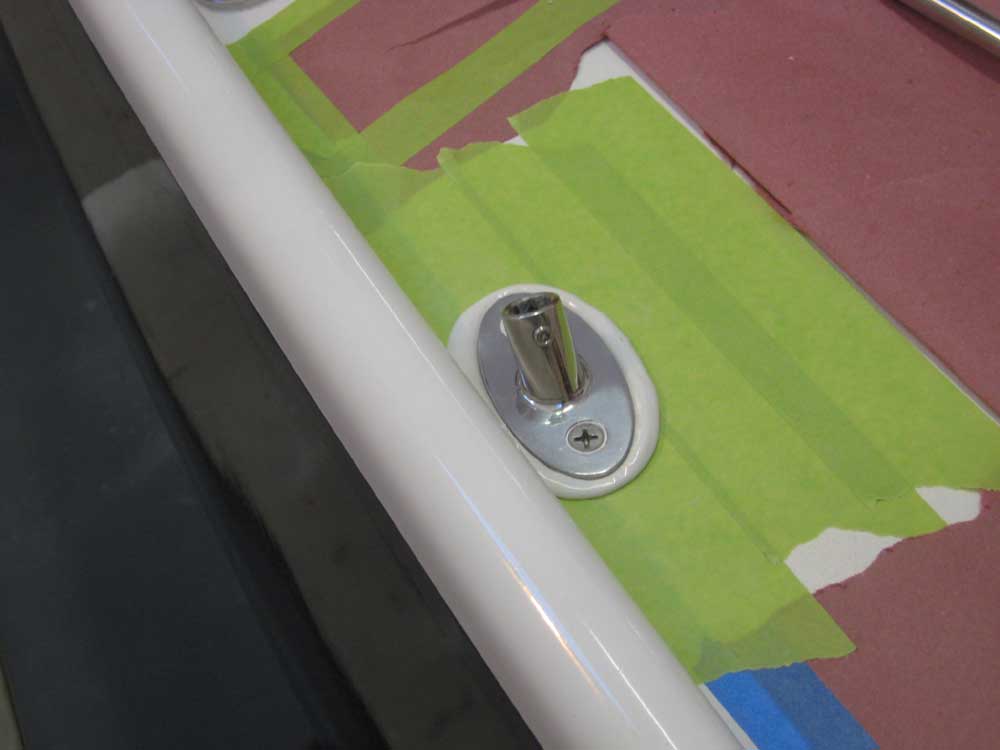
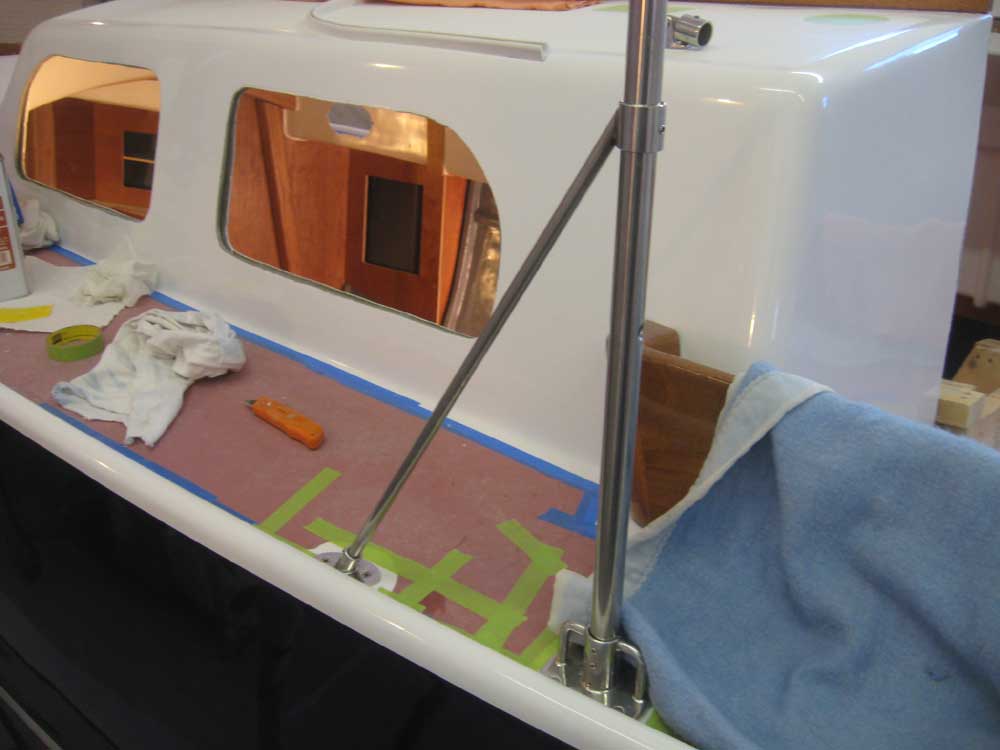
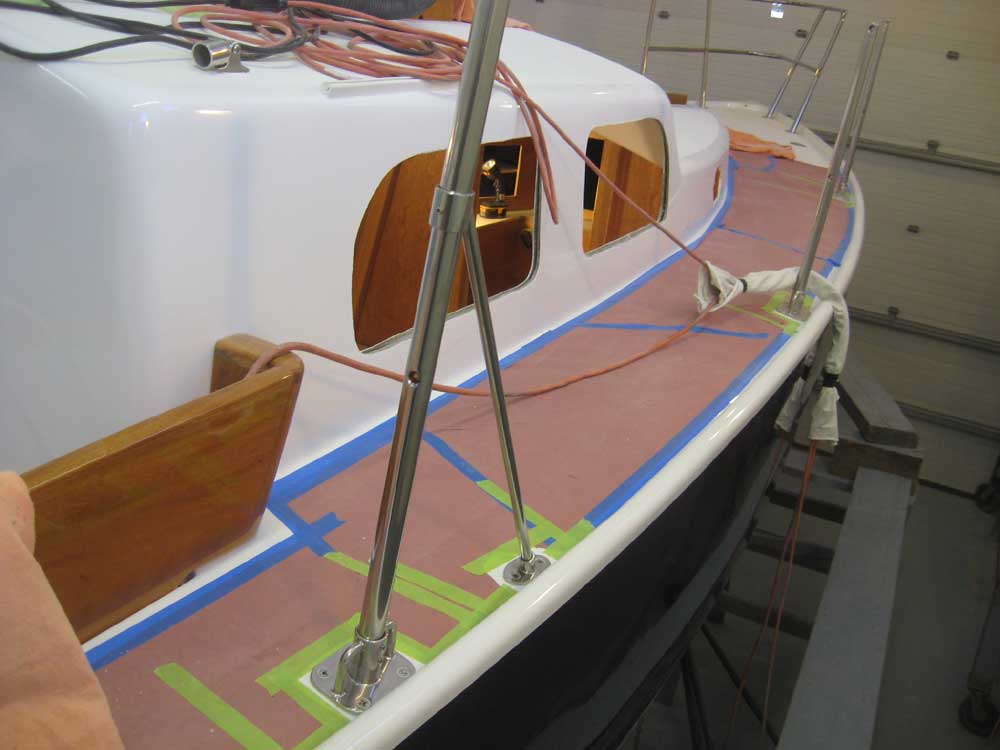
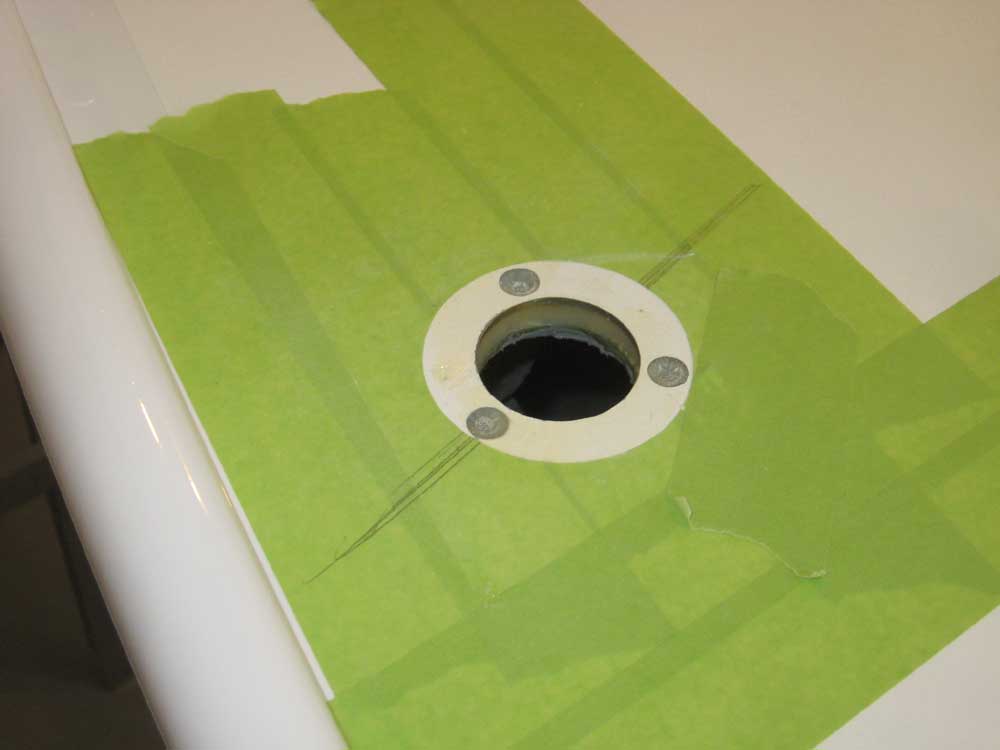
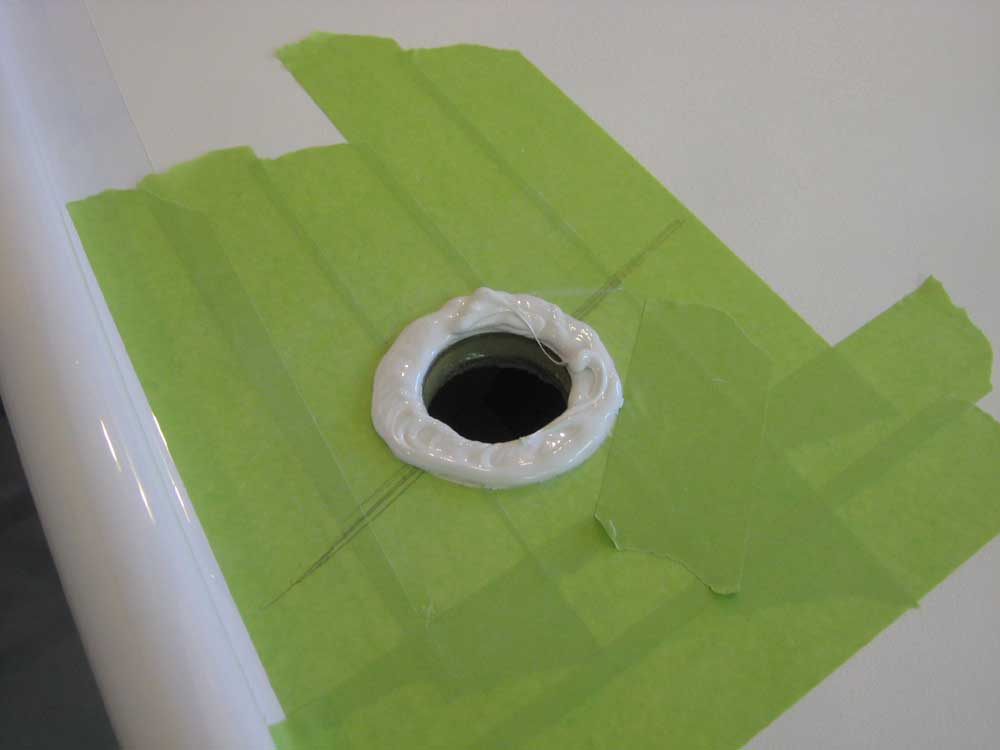
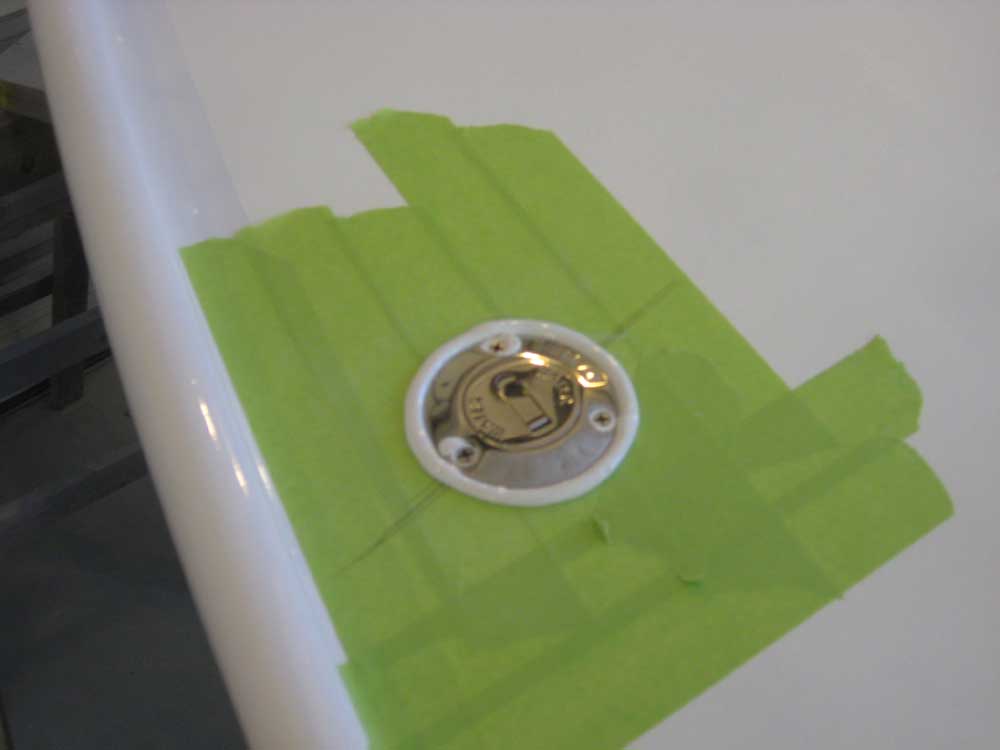
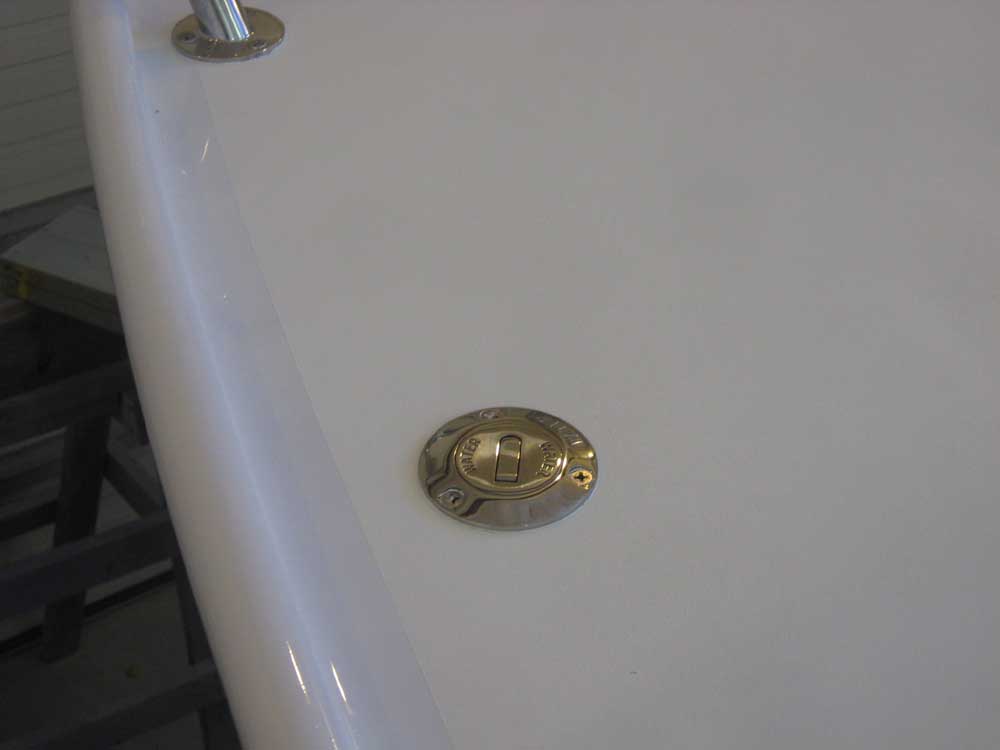
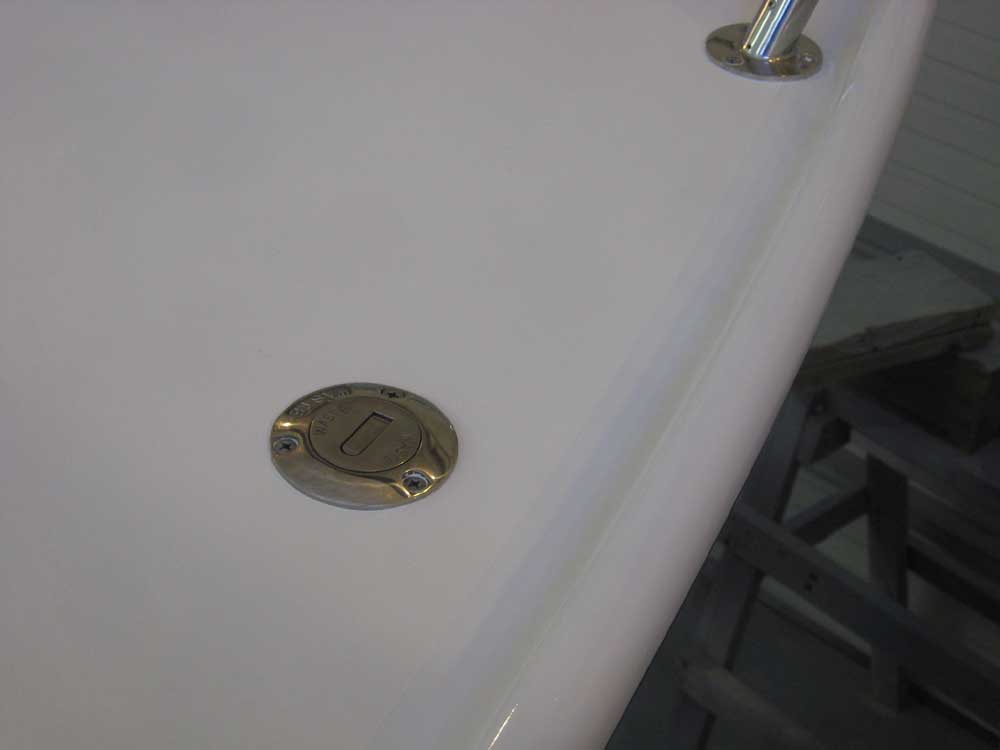
| Tuesday, February 9, 2010 I got started with the final installation of the two deck fills forward, and the stanchion gate braces aft. For each fitting, I prepared the fastener holes by drilling the appropriate pilot hole, tapping threads into each hole, and milling a small countersink at the top edge to hold extra sealant. With the holes thusly prepared, I installed the four fittings in a bed of sealant and cleaned up. |
|
|
|
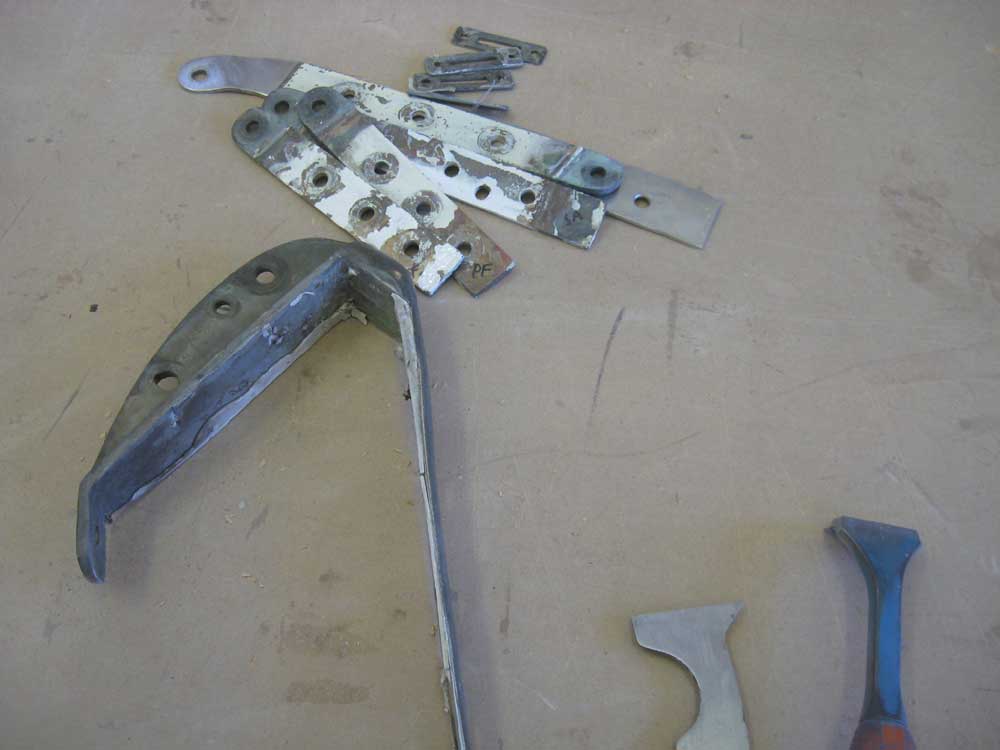
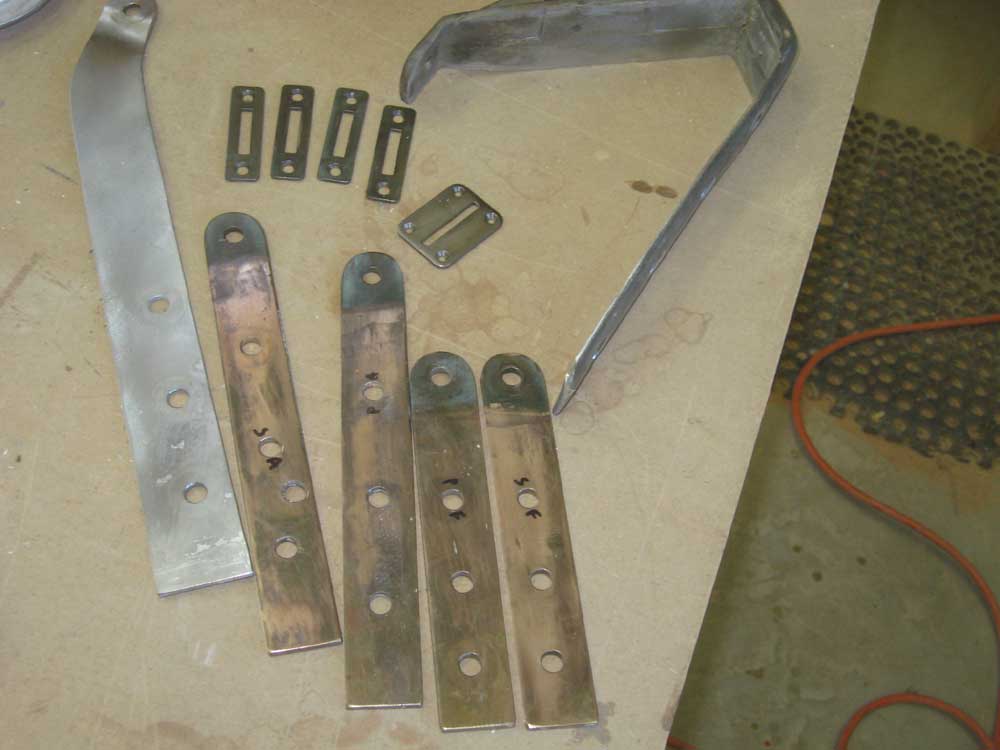
During several sessions divided throughout the day, I cleaned up the chainplates and six opening ports to prepare for reinstallation. The chainplates were bronze (other than the backstay chainplate, which was stainless steel), and were in good condition. To prepare for reinstallation, I cleaned them up with a wire wheel to remove old silicone sealant, paint and tarnish as needed. |
 |
|
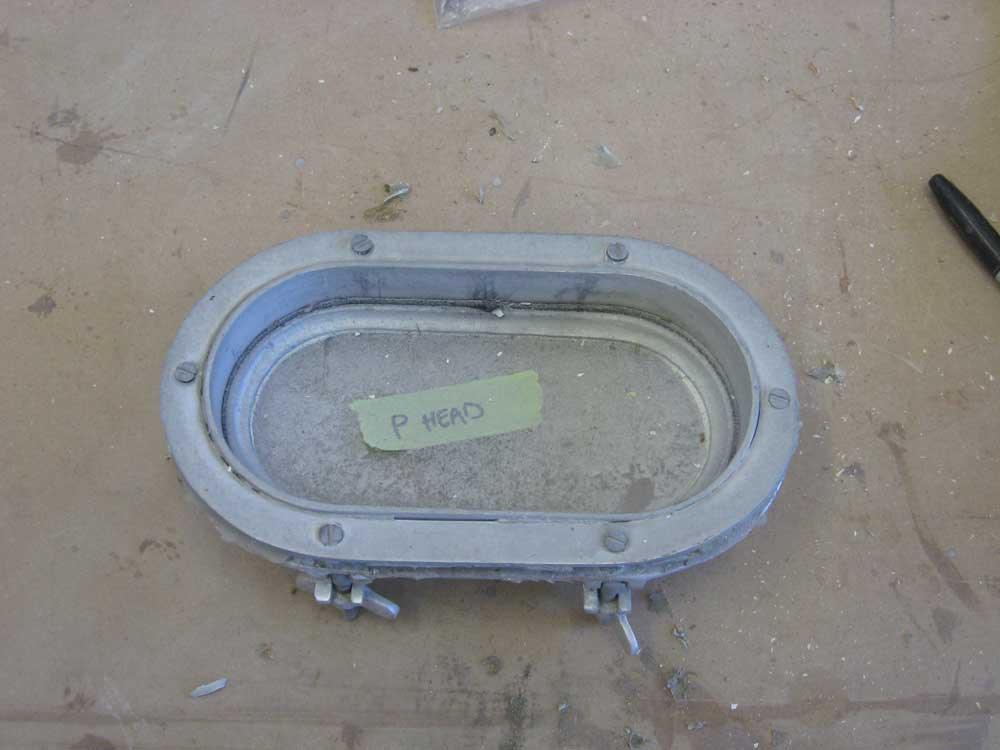
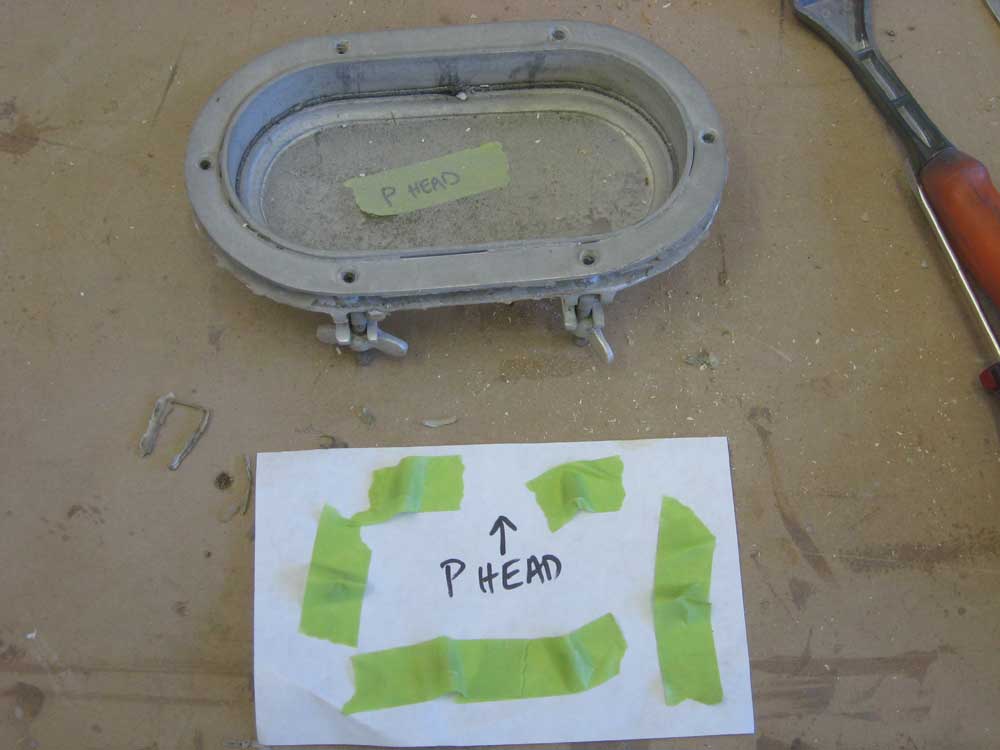
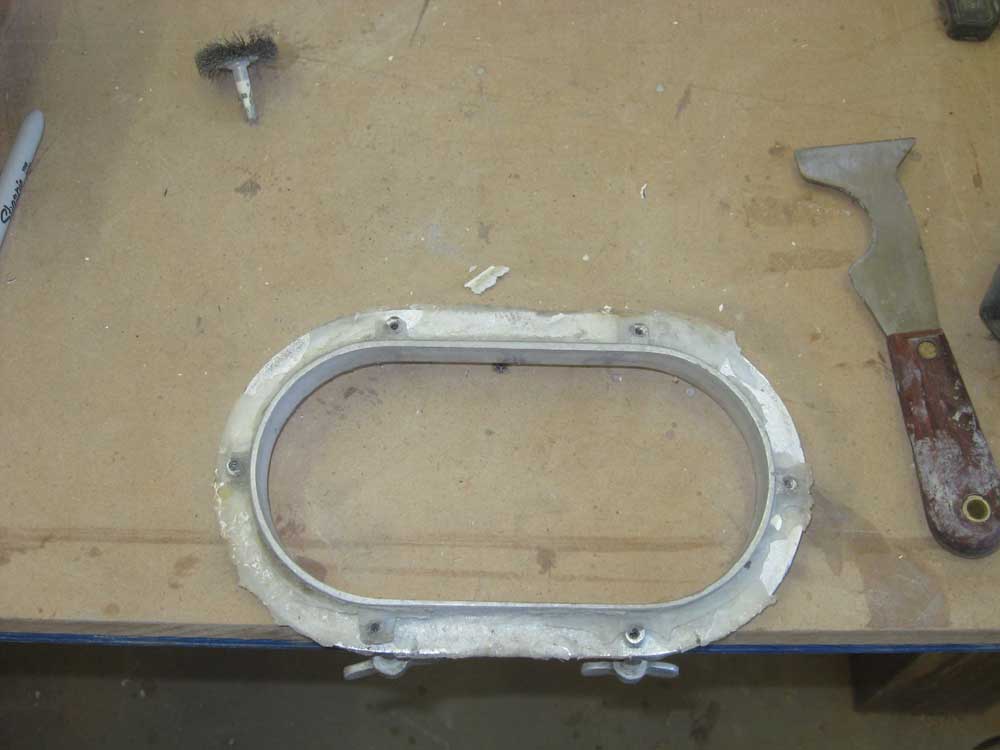
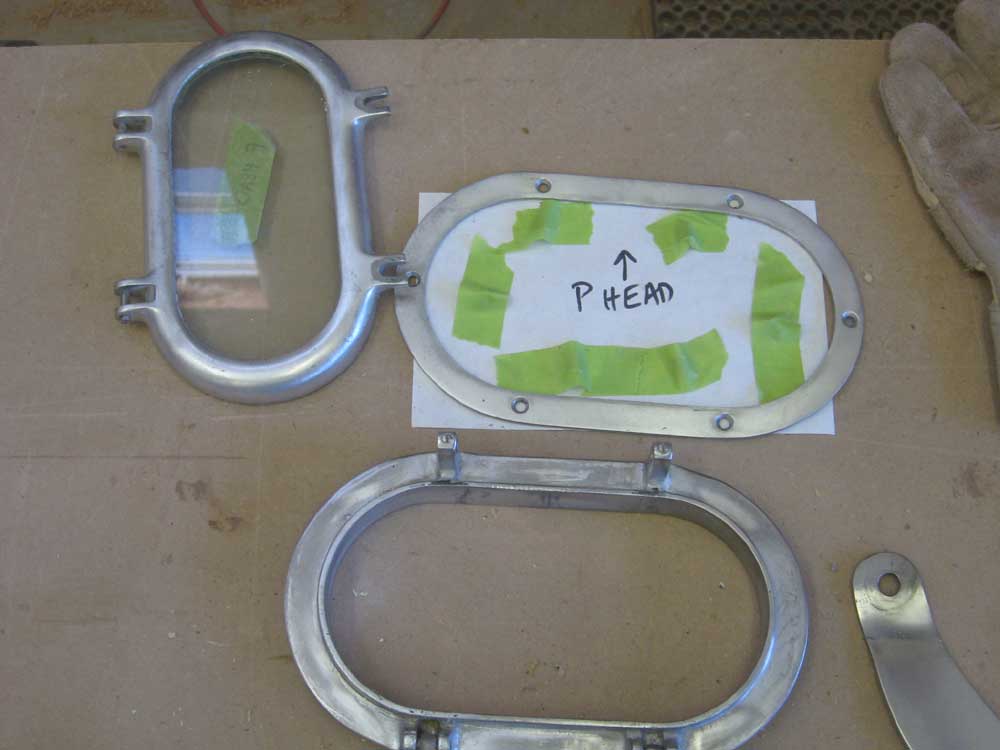
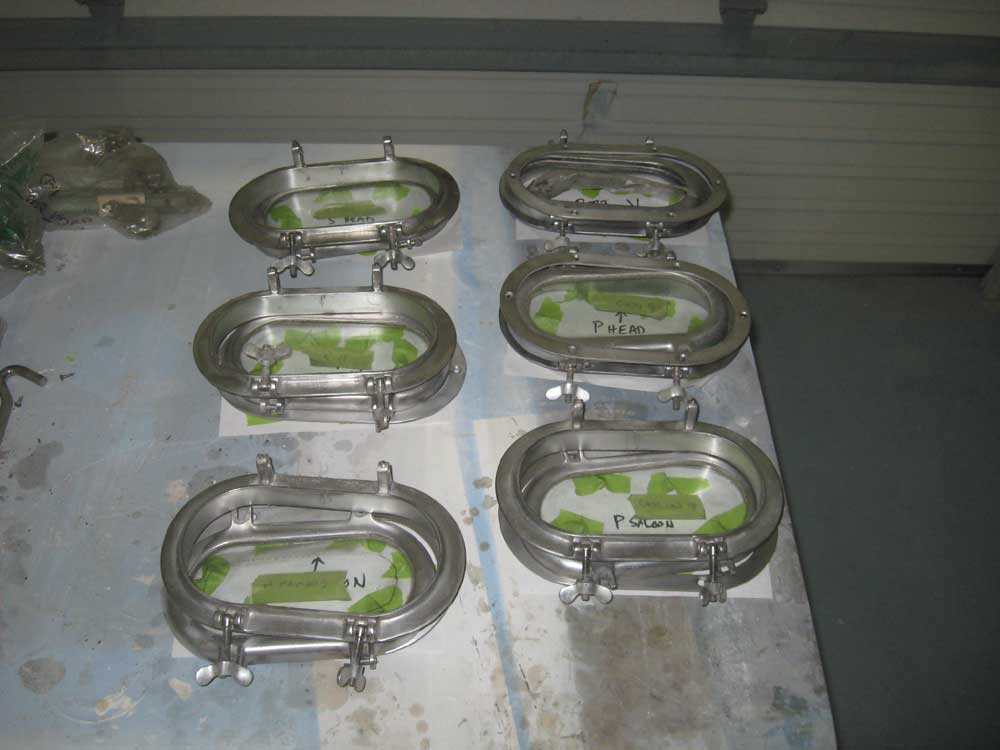
The aluminum opening ports were in generally good condition, thanks to their pampered lifestyle in a fresh water environment over the years, but they required some cleanup to prepare for reinstallation in order to remove minor pitting, interior paint, and especially the heavy application of silicone sealant. Removing the silicone took a lot of time. For each of the six ports, I disassembled the port as needed, removing the opening portion from the main body, and removing the trim rings. The position of each screw in the trim rings was important since many of them were custom-cut to a specific length, so I attached them to a piece of paper in the appropriate position as I removed them (I'd carefully reassembled each port when I first removed them last July). I removed the old gaskets, and then cleaned up all the pieces as needed, from a light cleaning with a fine wire wheel (to remove oxidation) to scraping and brushing as required to remove the tenacious silicone from the mating surfaces. ver the course of the day, in a few sessions, I completed all six ports. |
 |
|
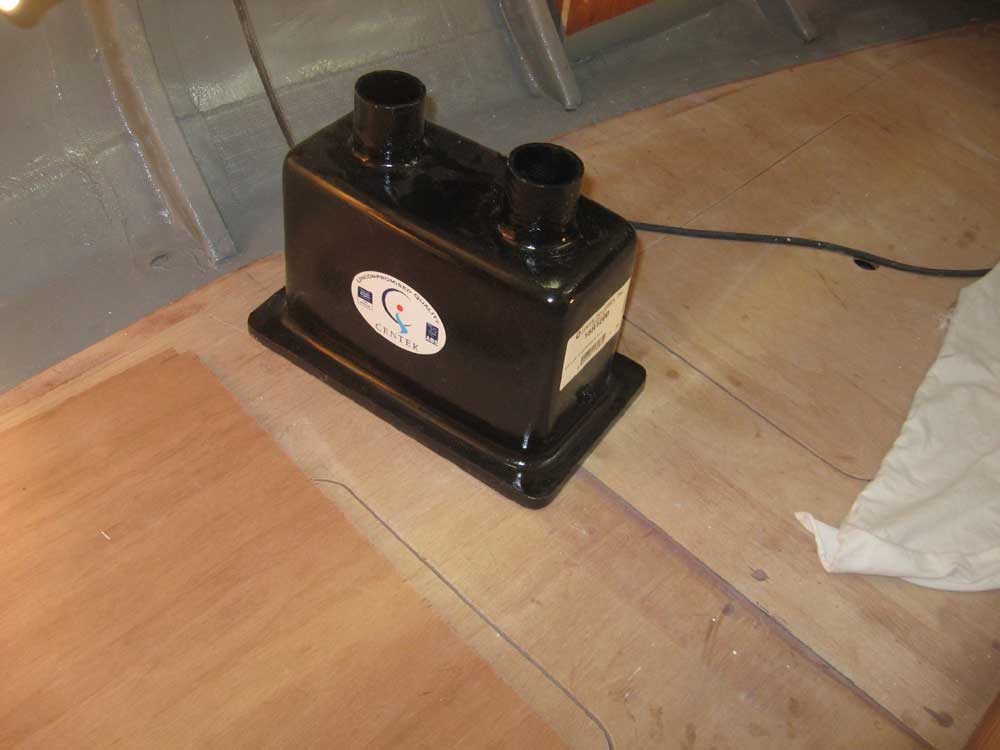
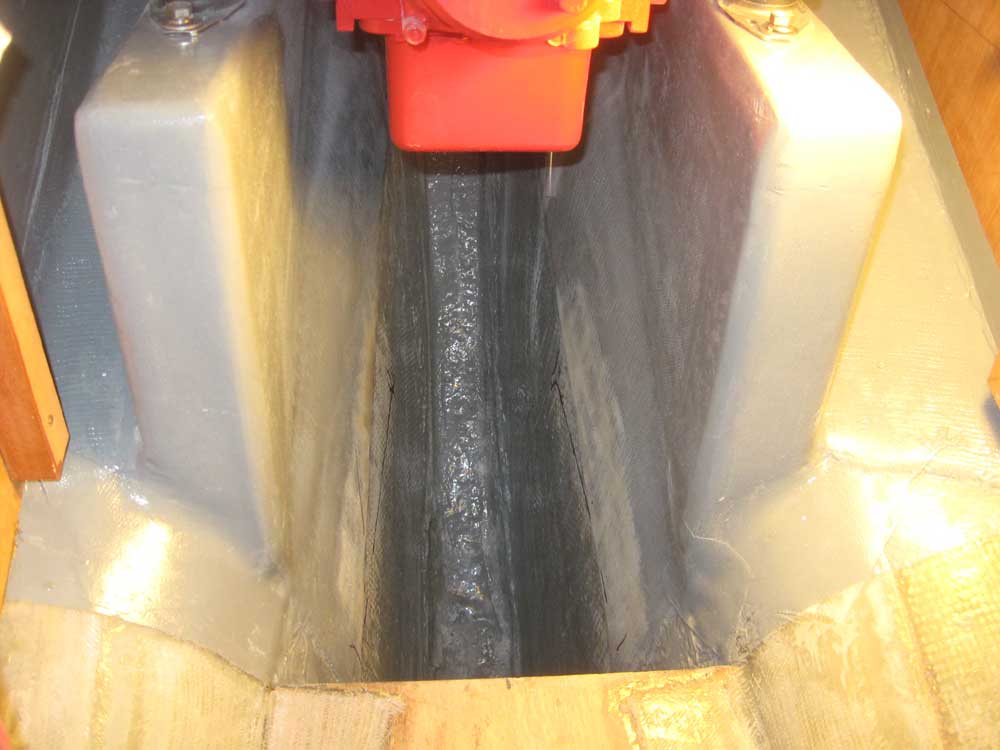
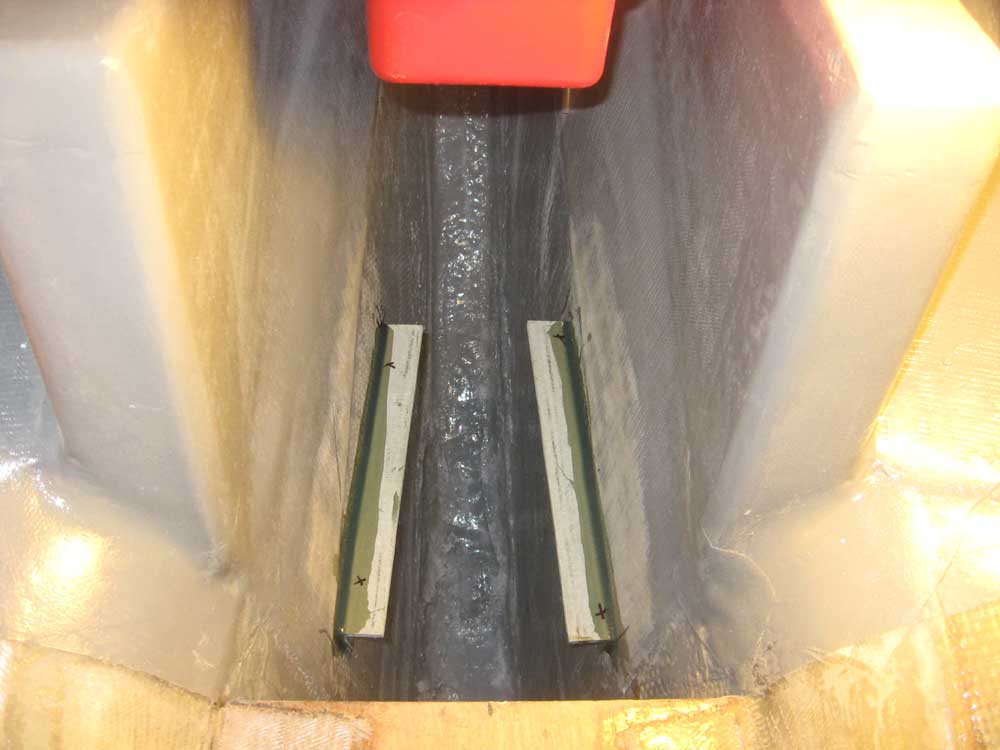
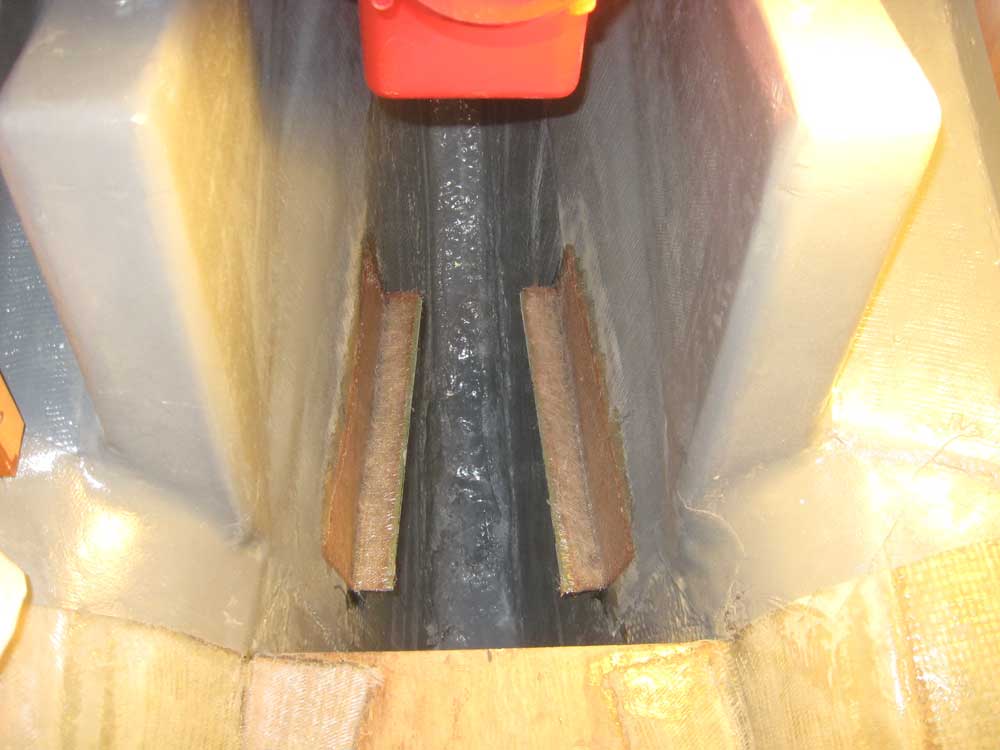
With an eye towards completing various engine-related systems in the near future, I turned my attention to the waterlift muffler. I'd be mounting this beneath the engine, a convenient and unused area which would also keep the muffler the prescribed distance beneath the engine's exhaust manifold outlet. To mount the muffler here, I needed a simple platform. After determining where the muffler would go--its width naturally limited its position in the bilge to about the right spot anyway--and making some reference marks, I sanded away the paint from the future bonding surfaces on each side of the hull, and glued in a pair of fiberglass angles to provide the main support for the removable muffler platform. I secured the angles with epoxy adhesive and dabs of hot glue to hold them while the epoxy cured. Later, towards the end of the day, I installed a layer of fiberglass tabbing over the angles, to better secure them to the hull. The filled muffler wouldn't be overly heavy, but I wanted to be sure it was installed on a secure platform. I left the fiberglass to cure overnight. |
 |
|
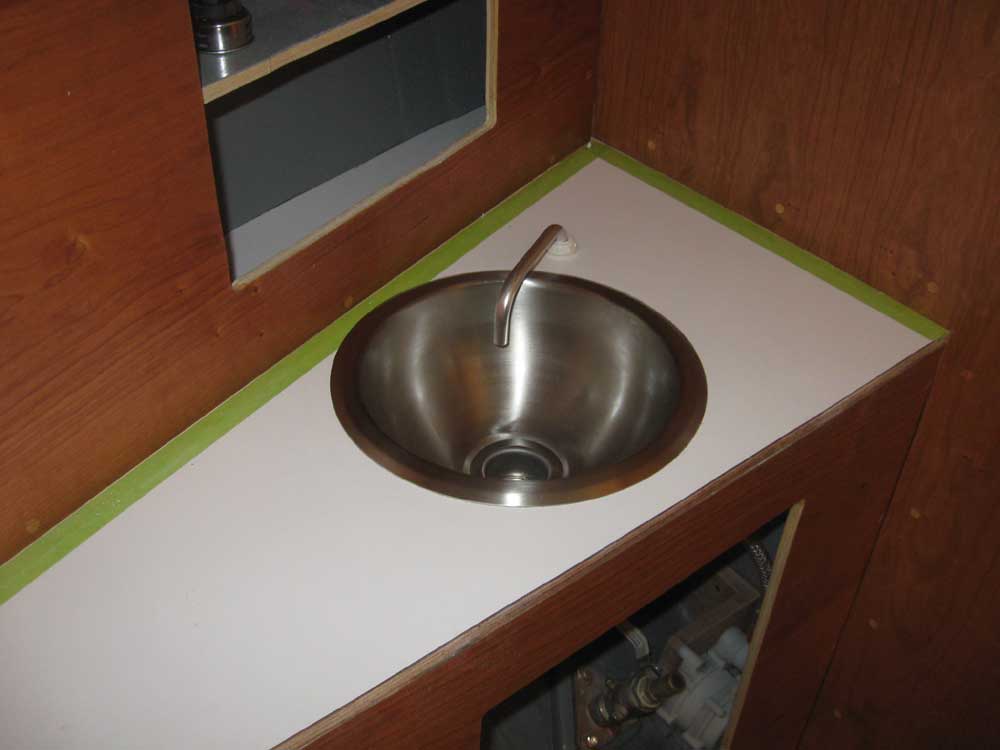
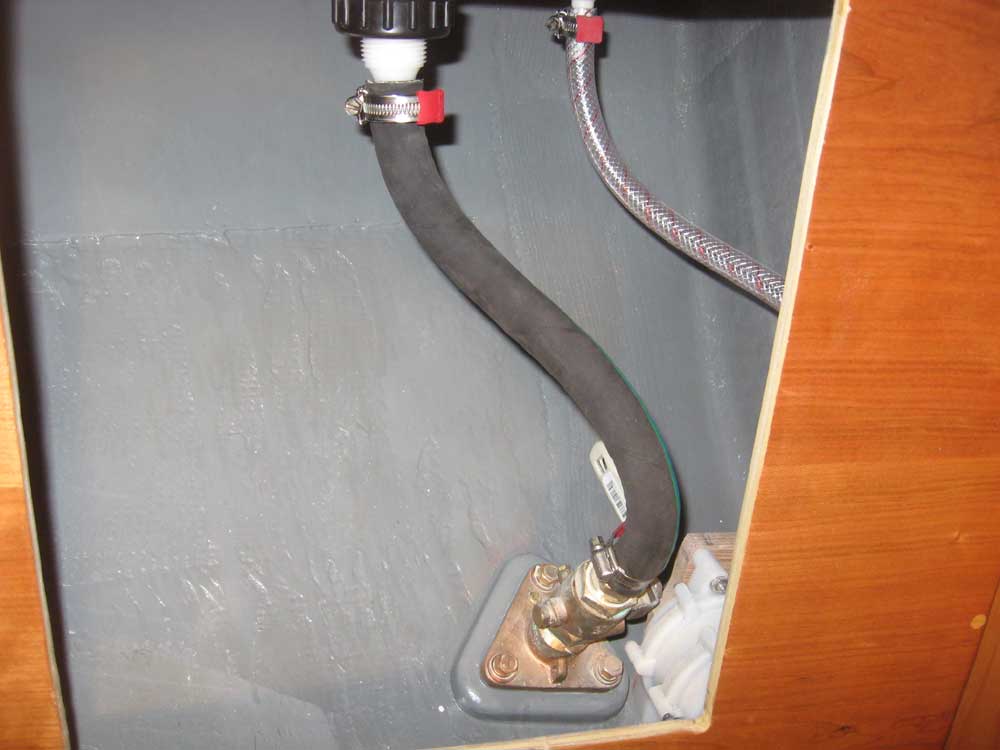
At some point during the day I also cleaned up the cured sealant around the head sink, and installed its drain hose, completing the installation. |
 |
|
|
|