| Circe
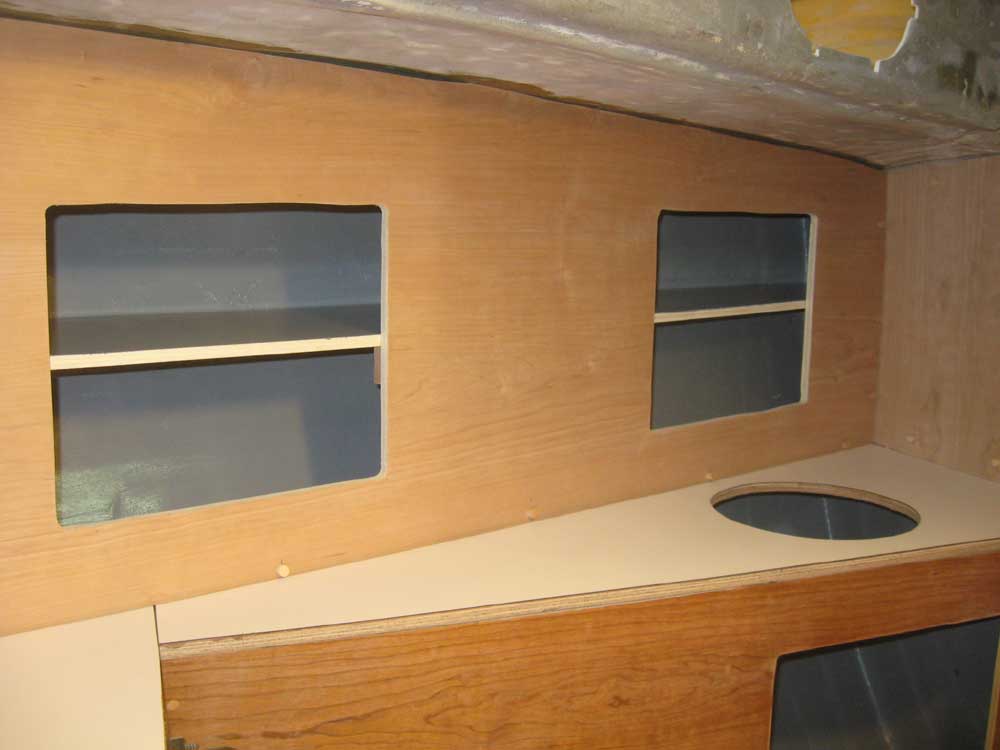
| Tuesday, December 29, 2009 To begin, I placed the head locker facades in place against the new shelves, and marked the inside of the front panels where the shelf intersected; then, after removing the front panels, I cut and installed cleats beneath the new mark to support the inboard edge of the shelf. |
|
|
|
With the cleats installed, I could go ahead and permanently install the front panels, with epoxy adhesive along the top edge and screws into the cleats along the bottom edge and short sides. |

 |
|
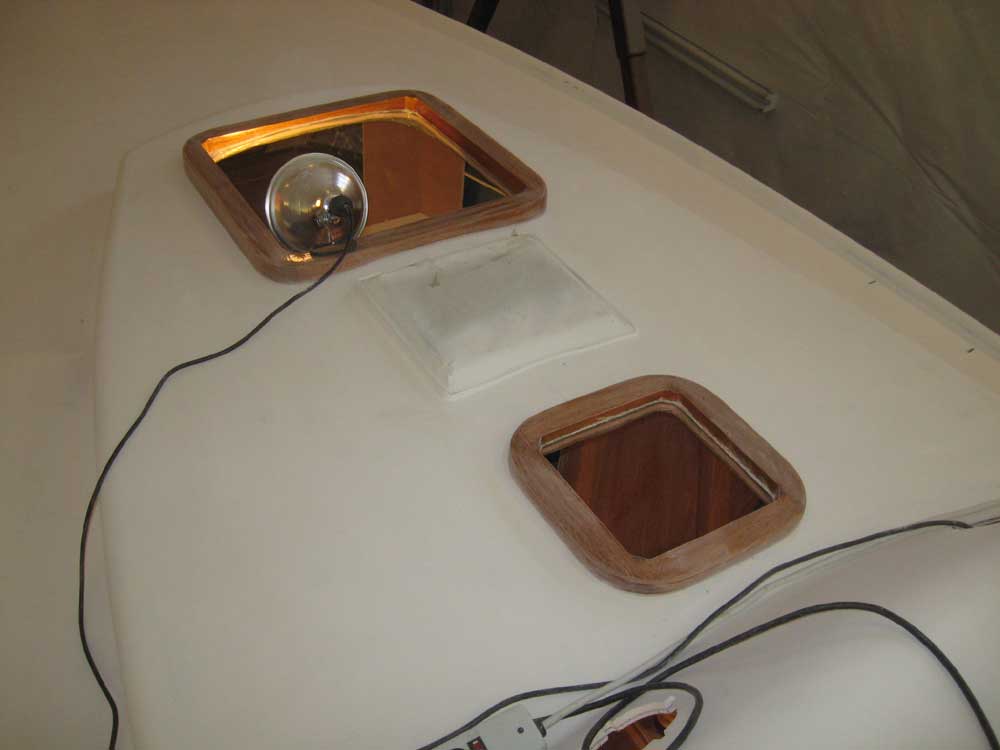
I removed the clamps and tape from the two deck hatch frames, and lightly sanded around the edges as needed to clean up any epoxy residue. While I was there, I lightly sanded the varnished frames as well to prepare them for their next coat of varnish. |

 |
|
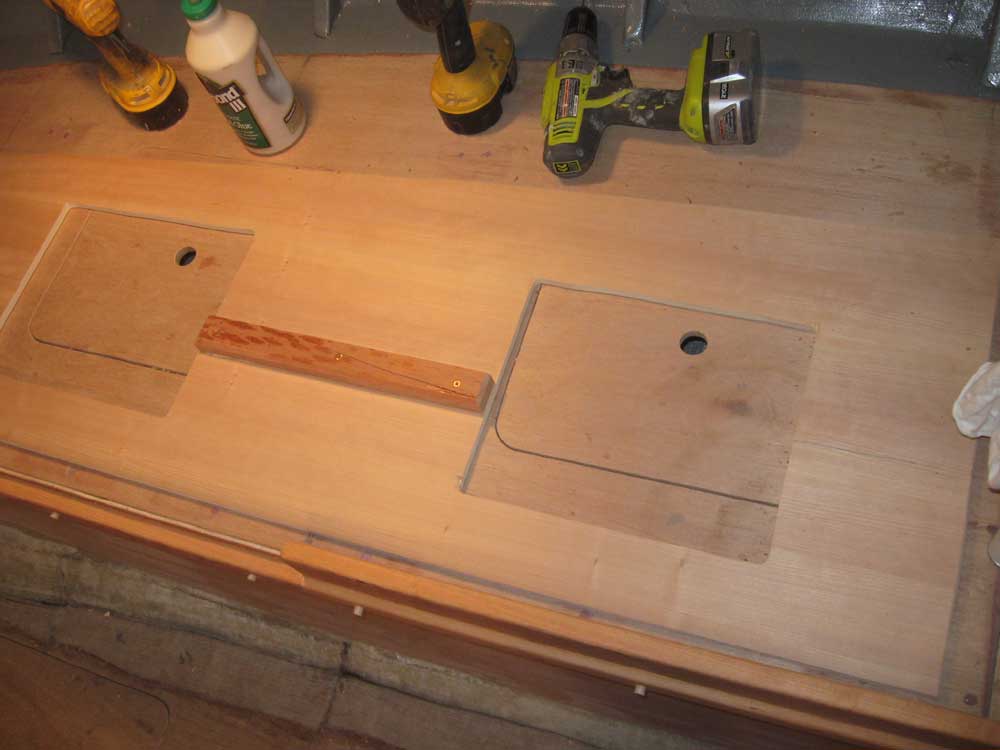
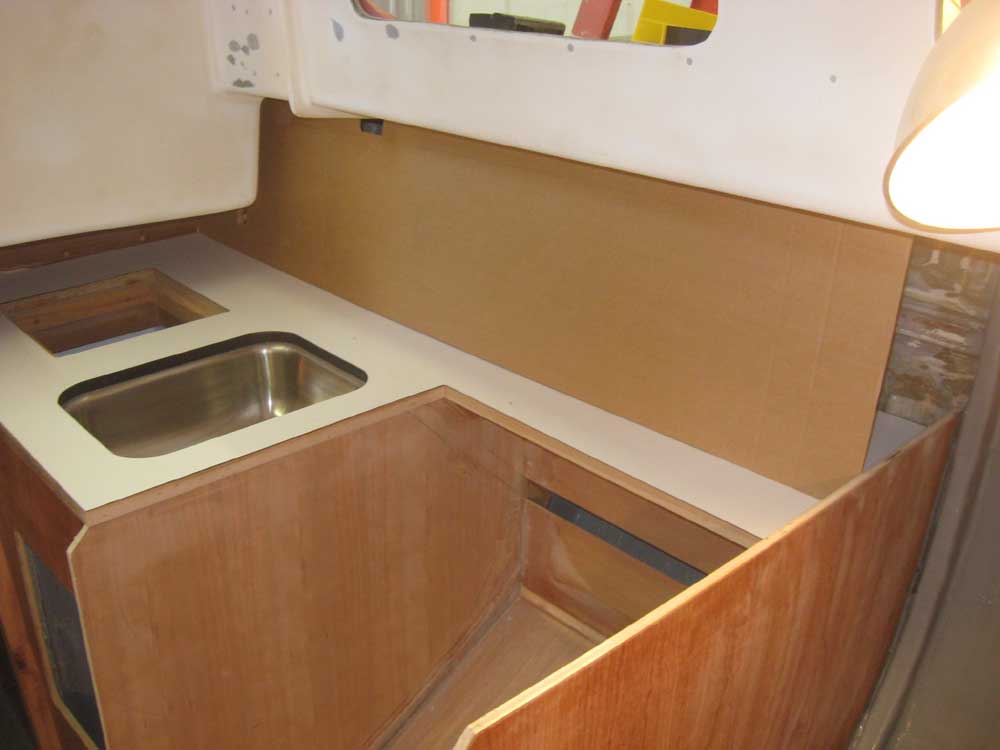
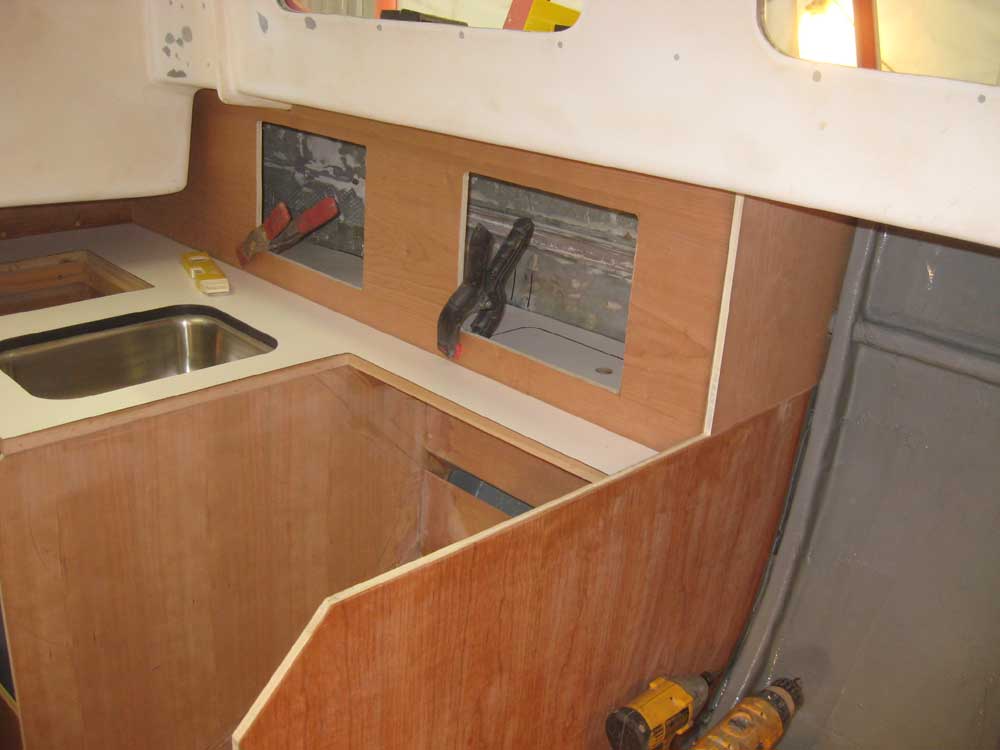
The galley required an additional storage locker above the countertop, similar to those in the head, and as this would be the final cabinet to construct, I was looking forward to completing it by day's end. After determining the general location of the new locker front, I constructed two cardboard templates: first a rough scribing template, then a more accurate template to simulate the actual panel shape. The small holes in the template were so I could get a finger hold as I positioned it. |
 |
|
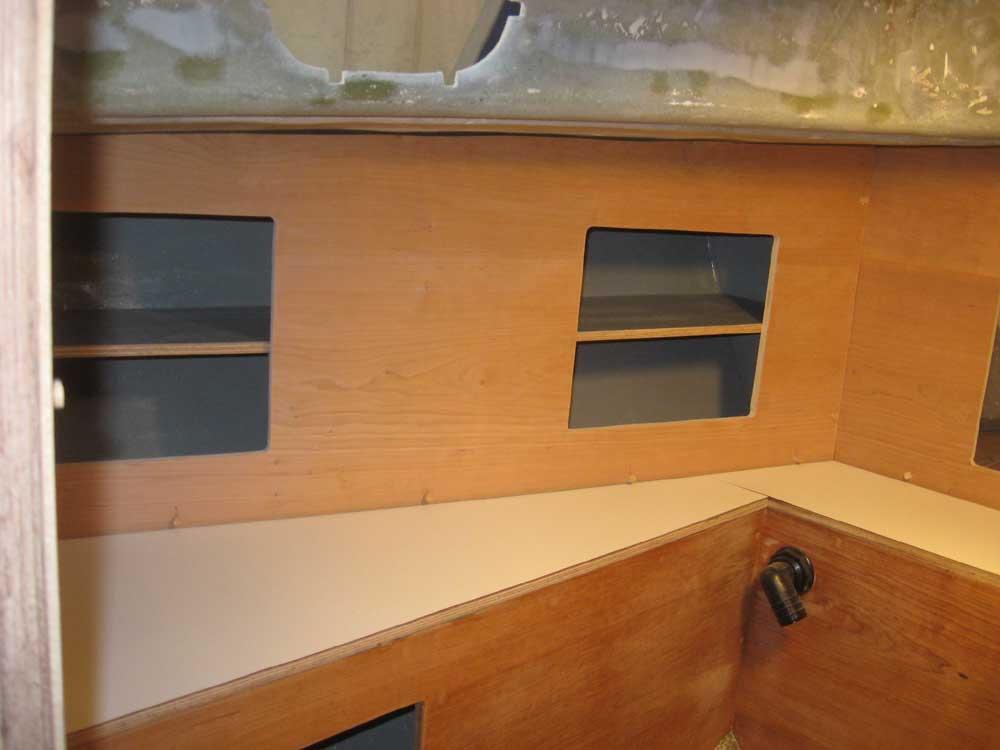
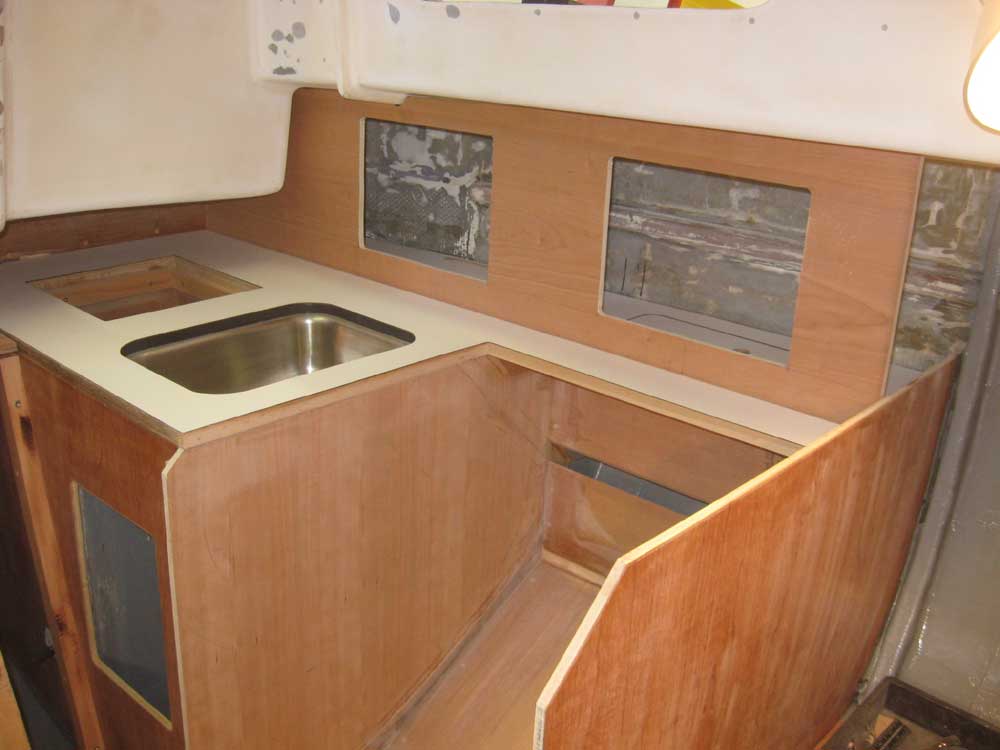
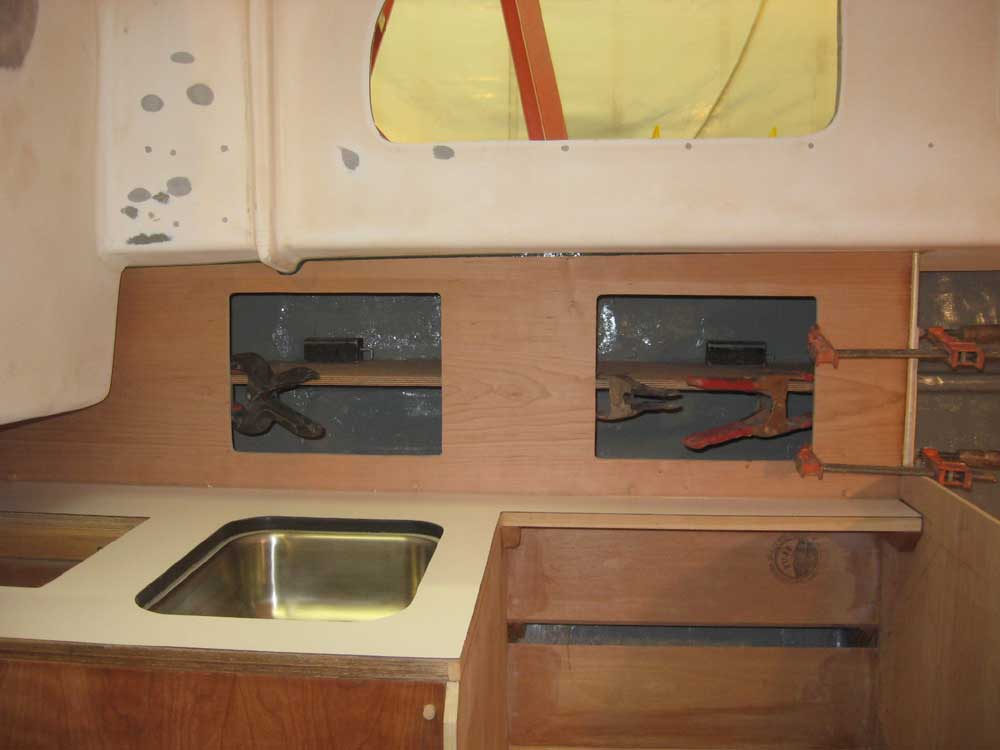
From there, I marked for and installed a hardwood support cleat on the countertop in the correct position, and then cut and fit the front panel from 1/2" cherry plywood. I cut two large openings in the panel for access to the storage within. |
 |
|
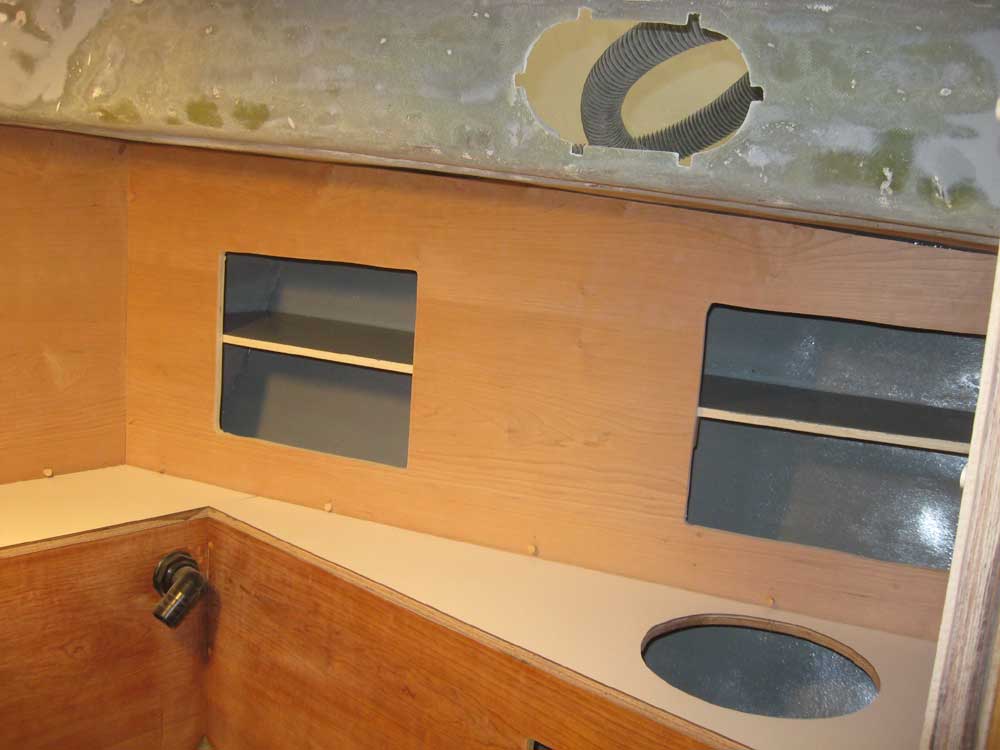
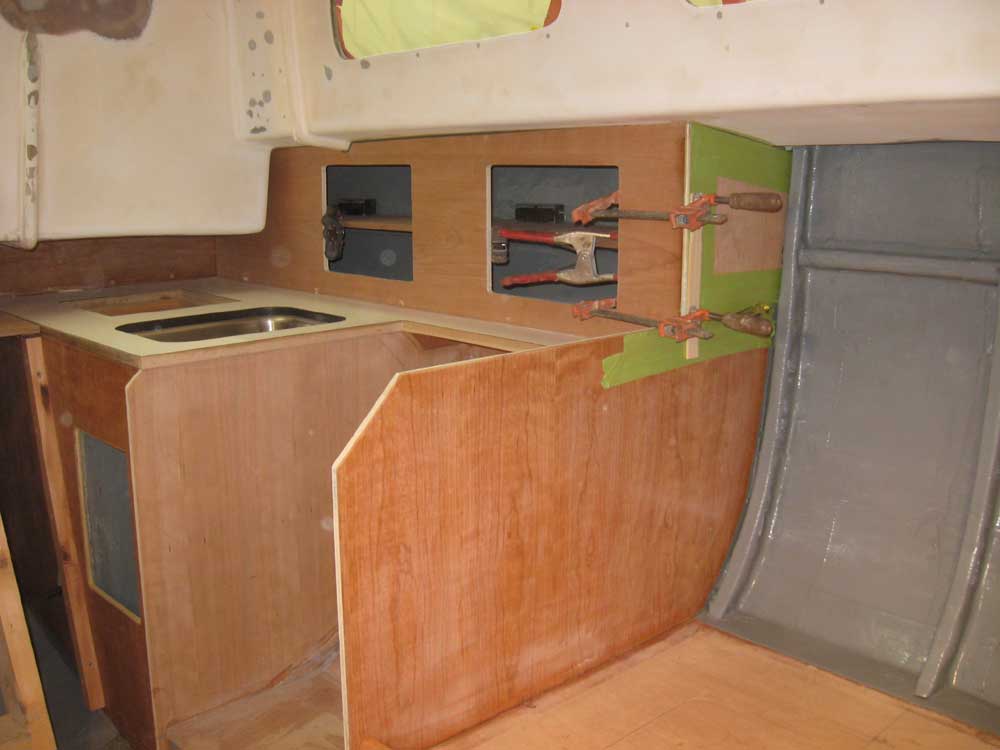
Next, I templated and cut a small panel to close off the forward end of the cabinet. The locker over the galley was an addition that came up later in the overall interior design process, after construction was well underway, so I'd not built the forward galley bulkhead with a cabinet in mind. Fortuitously, this was just as well, since otherwise it'd have been very difficult to install the other portions of the cabinet. In any event, The short seam between the two pieces on the forward side would be easily and logically covered with trim that I'd extend beyond the top edge of the stove enclosure later. |
 |
|
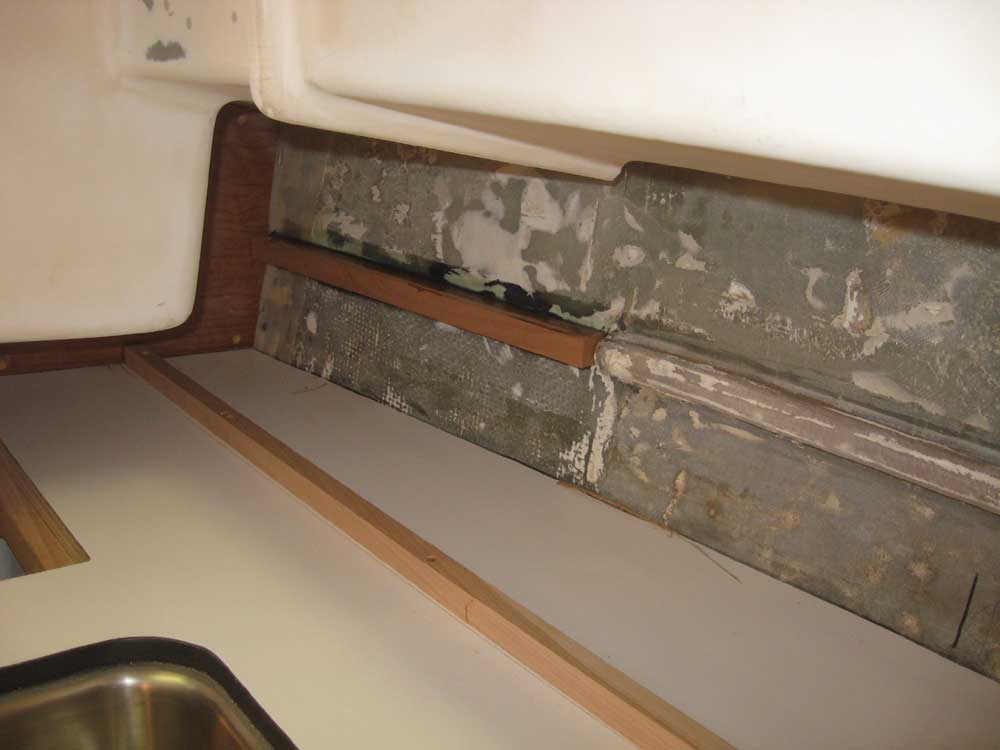
To maximize the usability of the new locker, I needed to divide the relatively tall space with a shelf. As in the head, there was already a hull stiffener in place along much of the length of the locker, located at a logical shelf height. Since this stiffener didn't extend all the way aft, I began by installing a small extension, a wooden cleat that I cut roughly to the same size as the existing stiffener. I secured the new cleat in place with epoxy adhesive and a couple dabs of hot glue to hold it while the real adhesive cured. |
 |
|
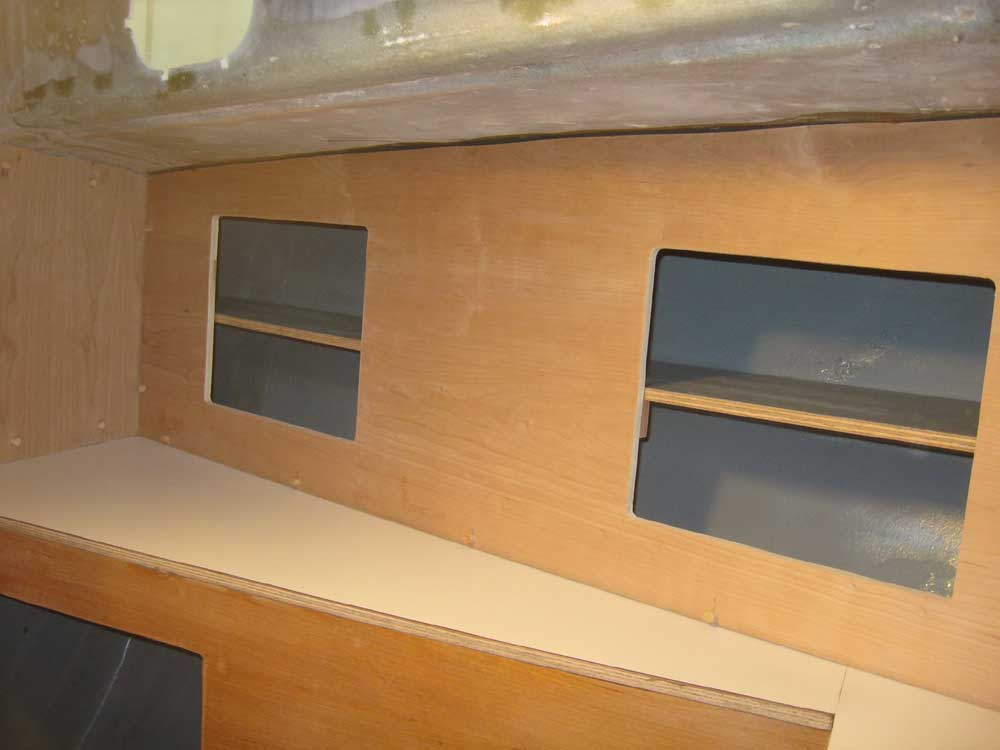
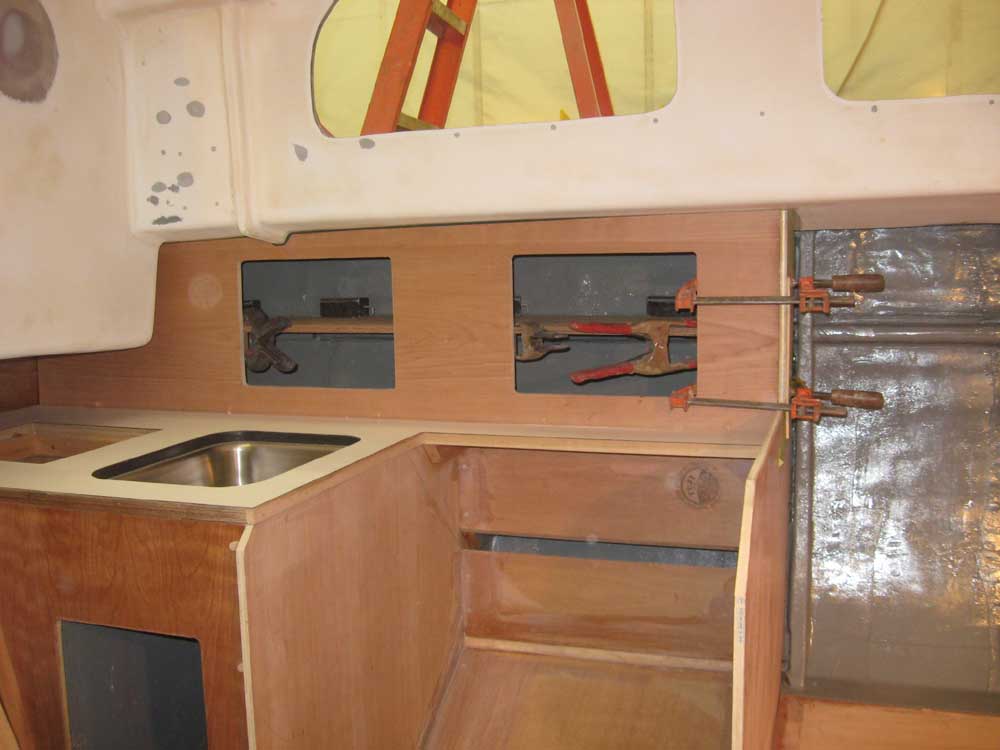
Installing a shelf raised some installation issues. Because this cabinet extended into a blind nook at the aft end, I had to install the front panel in a very specific way in order to make it fit; this precluded any chance of pre-installing the shelf, or transverse support cleats, or the transverse end panel of the locker. Therefore, I determined that I'd need to install the shelf after the front panel was in place, sliding it in from the short forward end before I installed the short end panel. Since the locker became narrower at the aft end, this sort of installation would be possible without too much trouble. With the front panel clamped in place, I took several measurements of the interior width so I could rough out a cardboard template of the shelf. I used the template to mark the inside of the front panel with the shelf location, which I could use to install support cleats, since the shelf would be supported entirely by the hull stiffener on the outboard side, and cleats on the inboard side, on the inside of the front panel. Satisfied with the cardboard template, I transferred the shape to a piece of 12mm Meranti plywood and cut it out. On the front panel, I cut and installed support cleats along the marks I'd made earlier. After testing the fit in place, I was ready for the final installation of the various locker bits, after first sanding the panels and protecting them with masking tape where I'd be using adhesive. Before installation, I painted the inside of the hull inside the locker, since reaching it after the panels and shelf were installed would be difficult at best. I left the tops of the support cleats unpainted in order to better accept adhesive. Finally, I applied some epoxy adhesive to the hull cleat, as well as to the tops of the cleats on the inside of the front panel, and then installed the front panel, using epoxy adhesive along the top edge; I temporarily clamped the lower edge to the countertop cleat while I slipped the shelf into position and weighted and clamped it down as needed. Then, I installed the short end panel, again with epoxy adhesive on the bearing surfaces, and wrapped up the installation by installing screws along the bottom edge of the front panel, into the support cleat beyond. I bunged the screw holes, removed tape, and the installation was complete for now. |
  |
|
|
|