| Circe
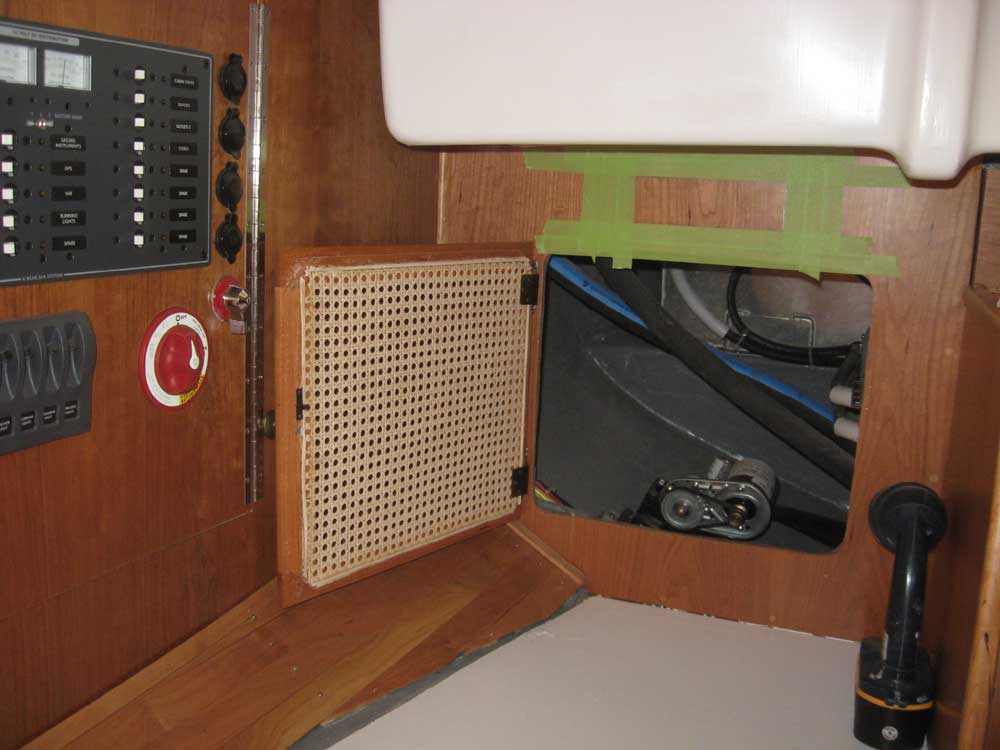
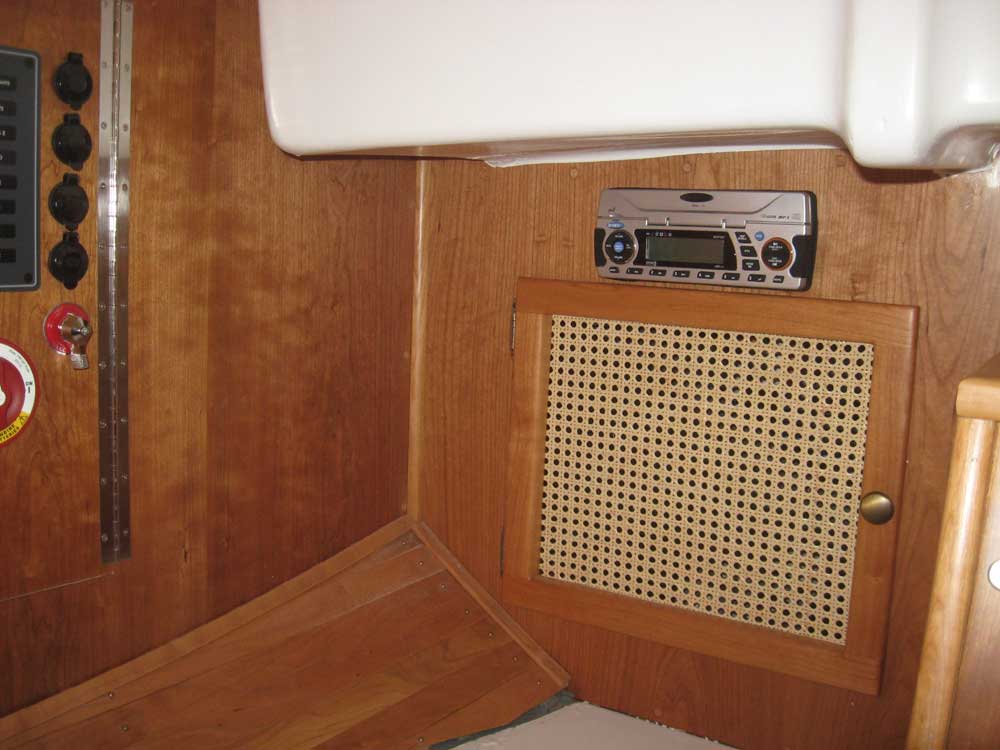
| Tuesday, April 27, 2010 Installing the stereo was one of the final odds and ends remaining to address. The various components selected by the owner arrived last week, but I'd not had an opportunity to get to the installation till now. The equipment included the control head with CD player, satellite radio transceiver and antenna, and a separate dedicated port for connecting an MP3 player. Determining where to mount the stereo was a challenge. As it was flush-mount unit, I'd hoped to mount it in the face of the electrical cabinet, aft of the main panel area, but I eventually determined there simply wasn't enough clearance behind the panel for the unit, as much as I wanted there to be. To increase available space, I considered building a cherry trim ring to allow the control head to stand an extra bit proud of the panel surface, thereby gaining a corresponding amount of room behind, but even with an extra 3/4" - 7/8" in this way, it was simply too tight and the stereo would have interfered badly with the existing battery cables and other wiring already in the tight space. After considering options, none of which were particularly savory, I noticed an inviting space above the access door in the aft bulkhead adjacent to the electrical locker. It looked like there was enough space in the bulkhead above the door for the control head, and after inspecting the inside of the space I determined that there was plenty of clearance within for the back part of the stereo and its associated wiring, and that the space was out of the way, dry, and otherwise completely suitable and convenient for both installation and normal operation. After several measurements and mockups, I reassured myself that the control head would fit well above the door, and, after some basic layout to locate the centerline of the door, I laid out the cutout opening using a supplied template to mark the outline, then masked off the cherry around the cut for protection before cutting it out. |
|
|
|
With the opening cut, and the debris cleaned up, I installed the control head using six screws through the face plus the supplied back bracket to support the aft end of the control unit. |
 |
|
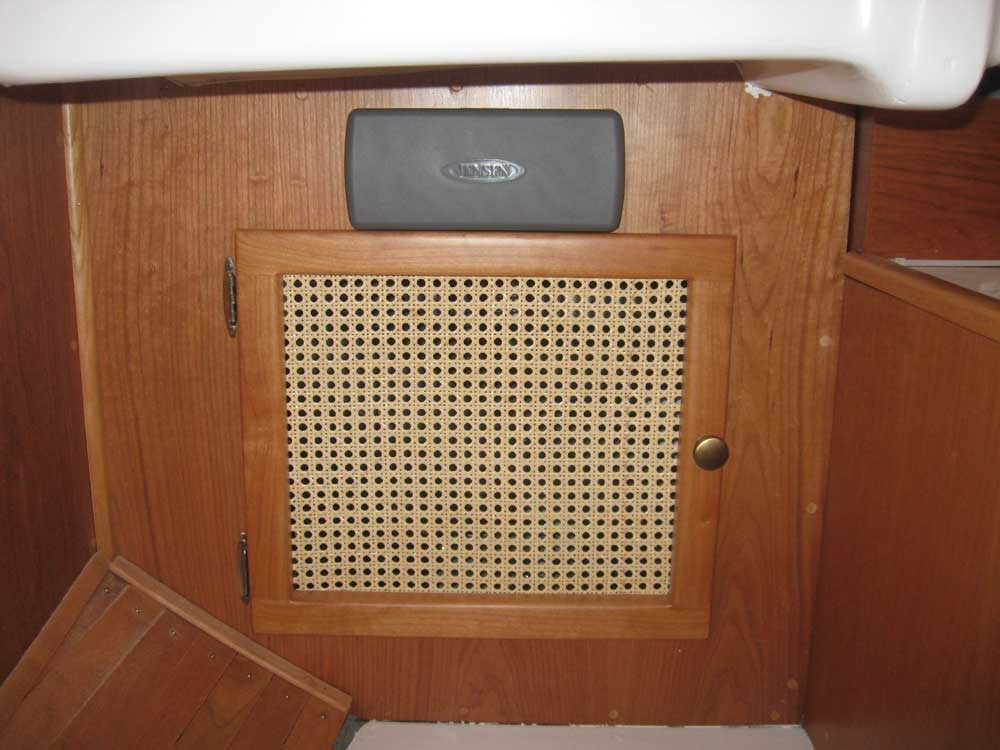
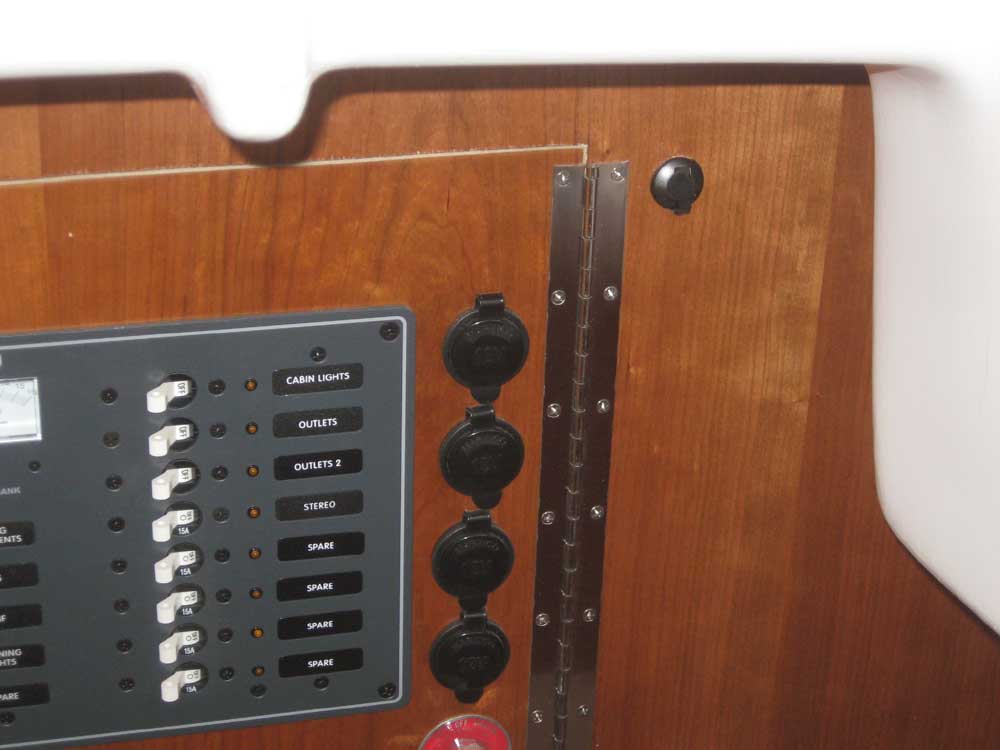
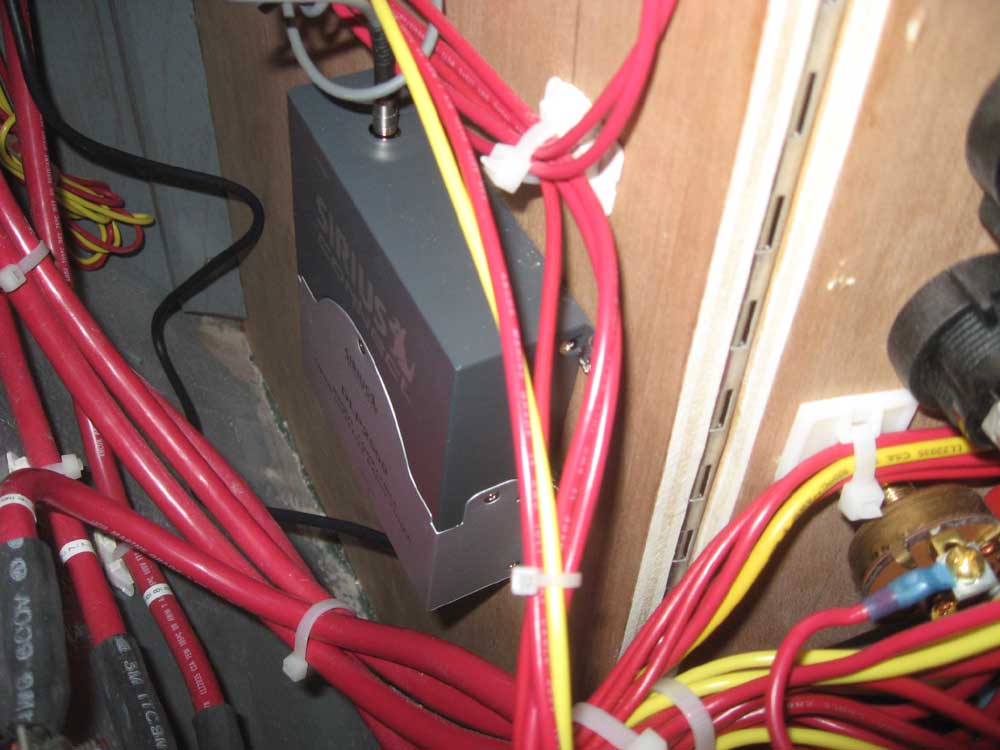
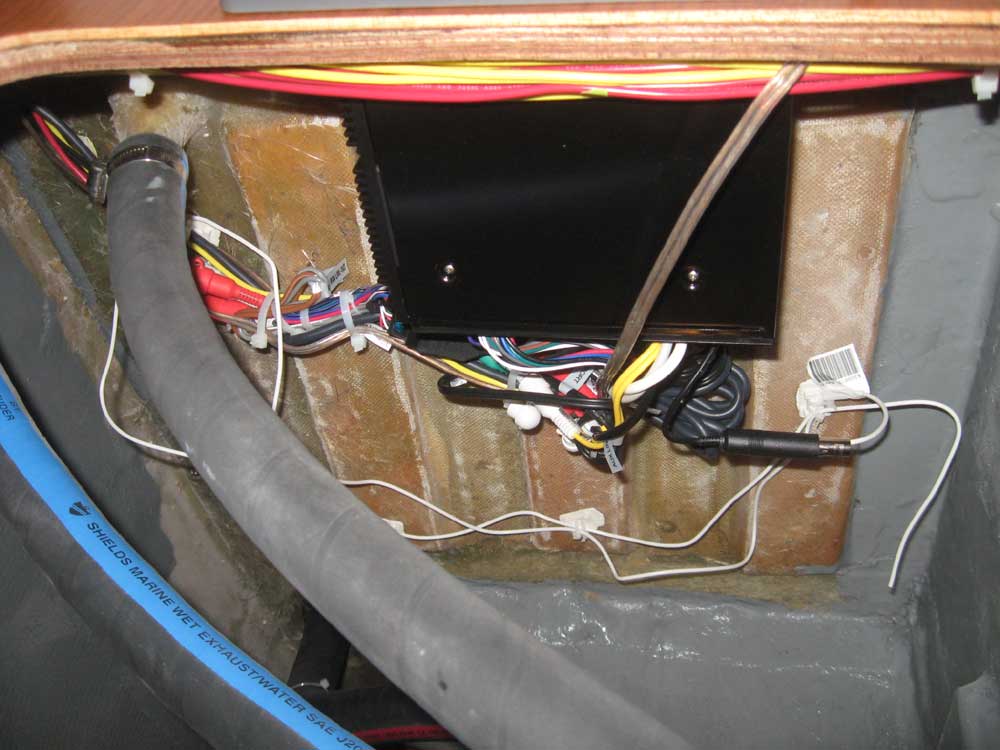
Next, I completed the various wiring required for the stereo, connecting the power supply and speaker wires as needed. I ran the supplied cabling for the satellite transceiver, which I installed inside the electrical locker, and chose a location at the upper corner of the electrical panel--convenient to the 12V power outlets--for the external MP3 connector, which led to the appropriate connectors on the stereo control head. I ran the supplied radio antenna wire around beneath the cockpit, and tied up the remaining wires. |
 |
|
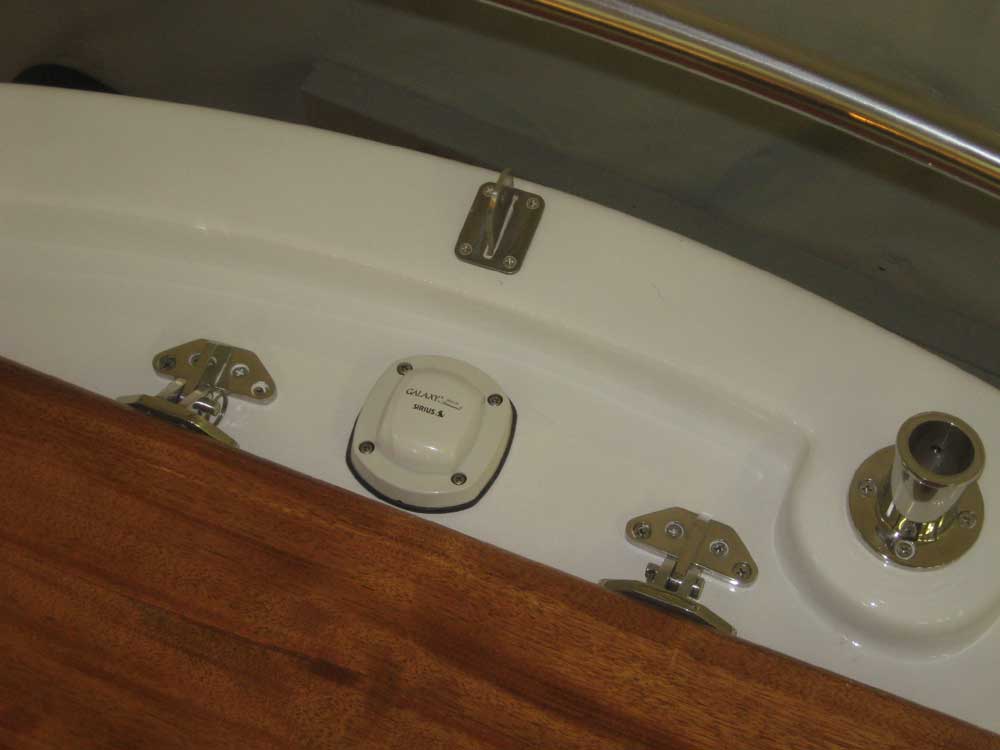
Finally, I chose an out-of-harms-way location for the satellite radio antenna, on the poop deck aft of the lazarette locker, and ran its cable forward to the transceiver as required. |
 |
|
|
|