110 Cookson Lane | Whitefield, ME 04353 | 207-232-7600 | tim@lackeysailing.com
Ashantee | Thursday, January 8, 2015
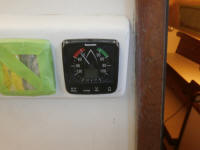
Before beginning the sanding work on deck, there were a few final preparatory steps I wanted to complete, starting with the sailing instruments. I'd left these in place during my earlier round of hardware removal, since, frankly, I couldn't figure out how to remove them at the time, as I'd not seen this type of instrument firsthand before. A little online research and the simple answer became apparent: the mounting screws were hidden beneath an exterior trim ring.
From there, removal of the three instruments was straightforward. I marked the various wires as needed, and wrapped each set in plastic before tucking them within the housing on the bulkhead, before masking over the holes for now to keep most dust out.
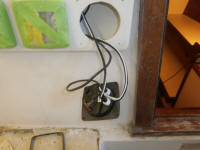
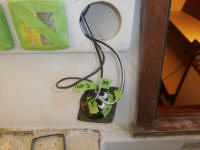
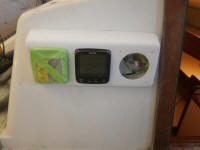

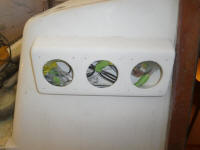
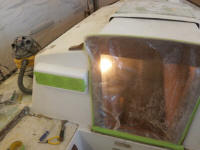
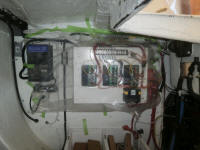
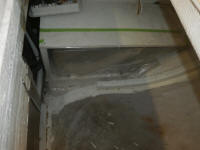
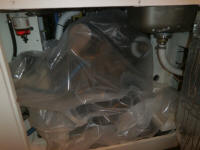
I covered the engine and some electrical work with plastic to keep these areas as clean as possible during the work ahead.
Meanwhile, I drilled test holes in areas of the poop deck where sounding had indicated possible core issues, marking an area on the port side where I'd need to replace the core. Despite the weathered appearance of the core inside a large vent hole on the starboard side (which hole would be patched during this process anyway), nearby samples on this side of the deck revealed clean, dry core.
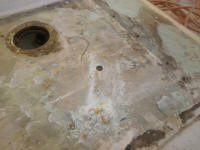
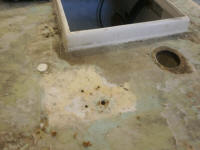
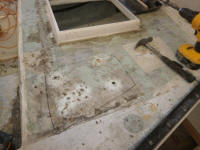
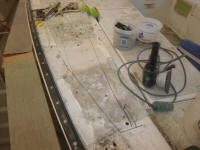
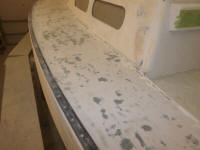
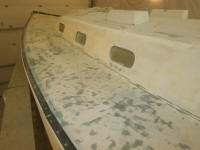
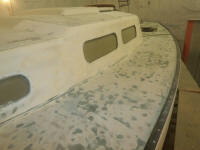
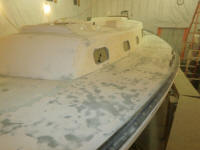
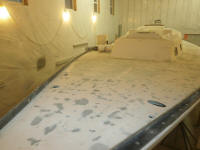
Starting on the port side just ahead of the area I'd marked for repair outboard of the cockpit, I spent the remainder of the day sanding the sidedeck to remove the remnants of adhesive and other coatings and get the surface down to a reasonable substrate. Starting out, I tried a few different techniques to clean up the decks: light sanding pressure; heavy sanding pressure; sanding including heat and scraping, which provided minimal benefit that was not worth the effort involved, and ultimately it seemed that the only way forward was a combination of aggressive sanding, scraping, and more sanding--and plenty of sandpaper and time.
At issue in particular was the layer of green gunk found all over the decks. I'd noted this material earlier, as the heat-removal process for the rubbery deck appliqué had clearly softened the green layer beneath. At first I thought it was gelcoat, as this happened to be a common-enough deck color from the 60s era, but as time wore on it became clear that it was not gelcoat. It just didn't act right. It was a rather thick, soft-ish material that immediately gummed up the sanding discs, therefore making sanding an arduous process. At least the work was down-hand and relatively comfortable, so I didn't have to hold the weight of the tool as well as apply the necessary pressure for sanding off the bat material. Had I encountered these conditions on the hull, it might have prompted a quick but flamboyant suicide.
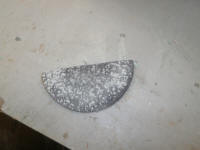
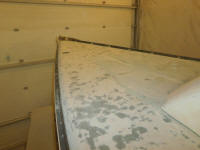
Beneath the green gunk lurked the original deck, a combination of off-white and gray, with evidence of the original nonskid pattern visible. Clearly the decks had been heavily sanded sometime over the life of the boat, probably before application of the green whatever-it-was, but deck forensics wasn't my goal: just getting the decks ready for the work ahead. There was no choice but to remove all this suspect material through whatever means.
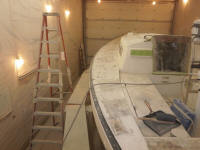
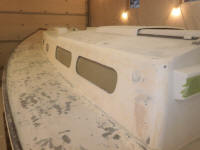
The work was slower than I liked, and I would have preferred not to need to remove so much material in an overall sense, but I did make progress, and by the end of the day I'd worked up to the stem on the port side (including the side of the cabin trunk), and just a bit of the starboard foredeck as well, reaching in towards the center of the foredeck as far as I comfortably could from the staging, removing all the old paint, adhesive, and green gunk and ending up with a sound, generally smooth substrate of original gelcoat (and plenty of bare laminate), and a final pass with 80-grit paper to dress it up for now.
Total Time Billed on This Job Today: 8
Hours
