


April 15, 2025
Miss Helen 20
Tuesday
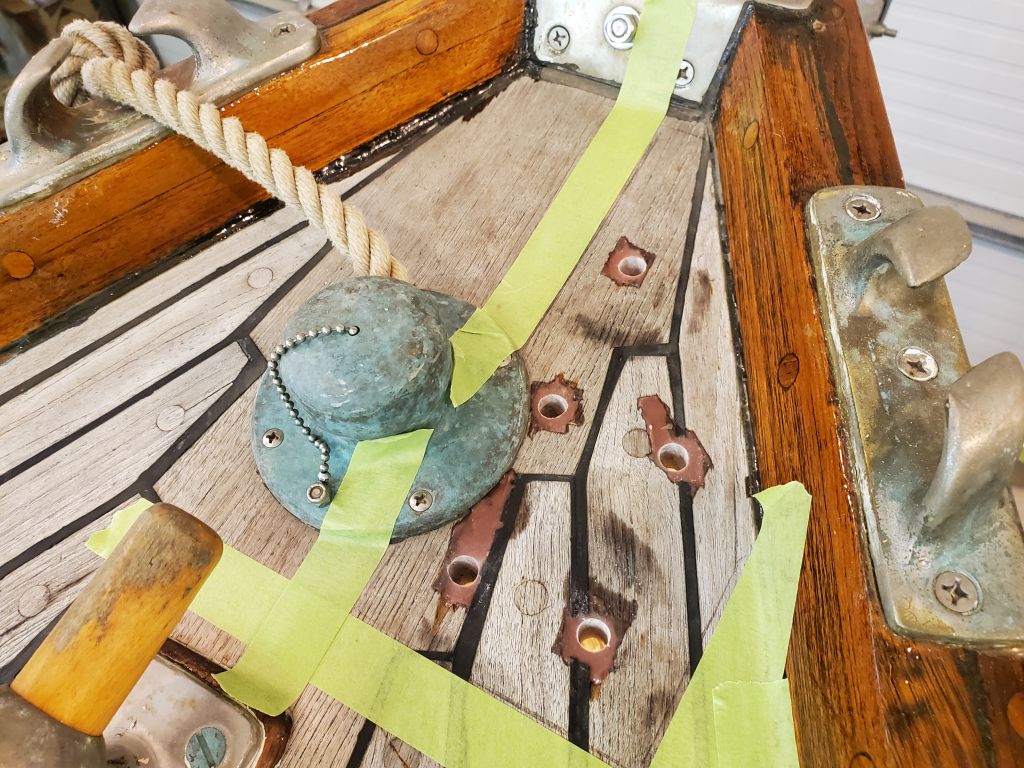
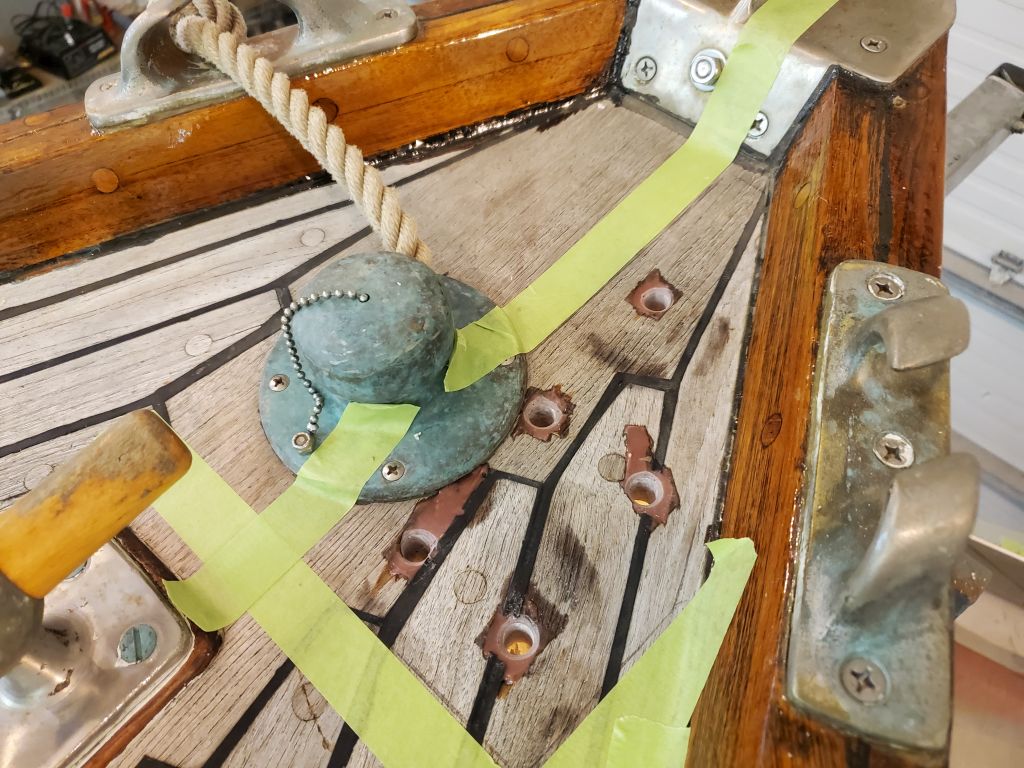
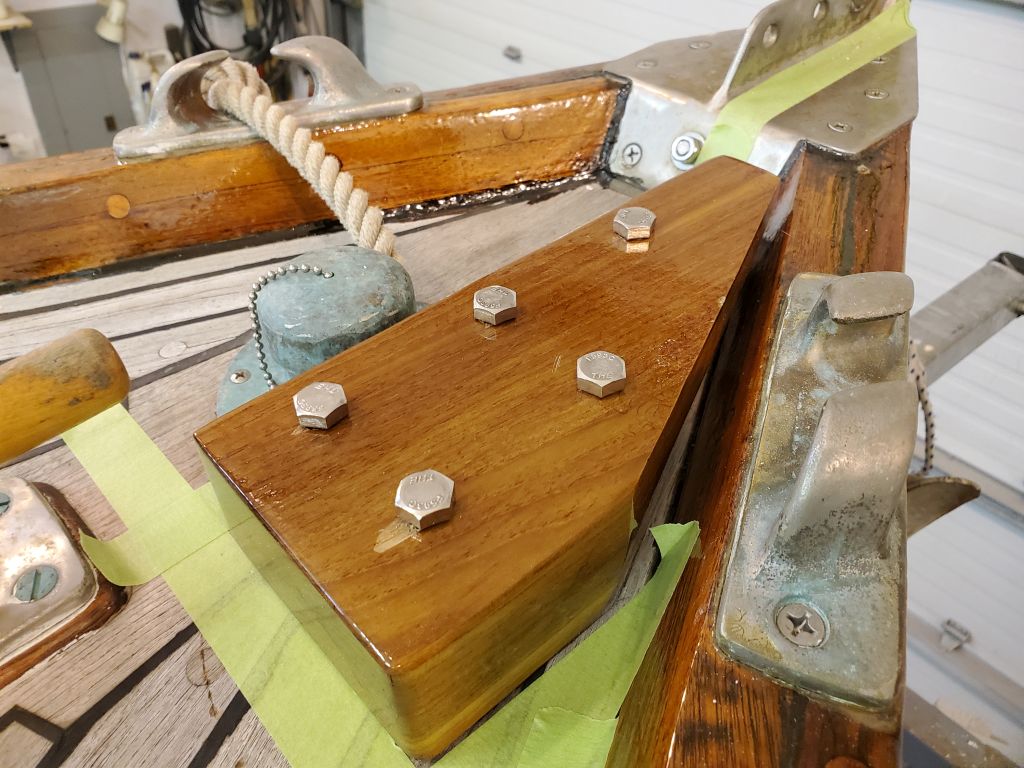
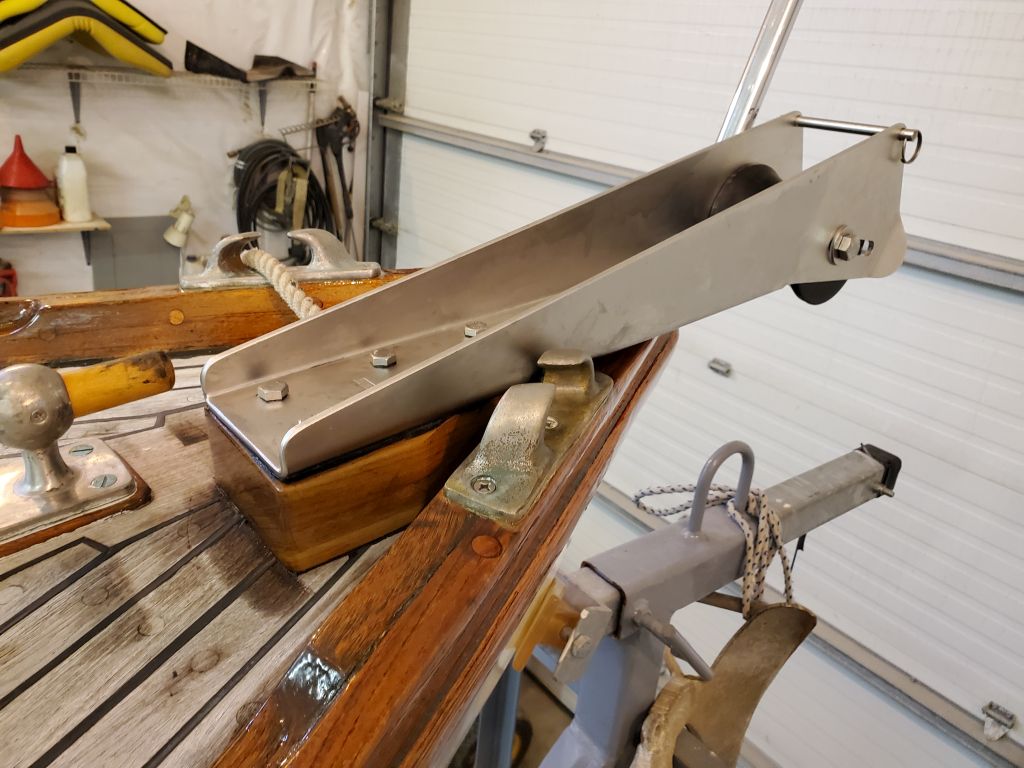
Now with the epoxy cured overnight, I was ready for the final anchor roller installation. I lined up the roller assembly and support block, and dropped in four of the five bolts, just allowing them to rest on the deck; this helped hold the block in alignment with the roller itself. I carefully lined up the whole thing with my various reference marks on the deck and elsewhere, then, with a 3/8″ bit, I drilled one hole all the way through the deck, and inserted a bolt to pin things.
Next, I removed one of the remaining four bolts and, after double-checking the alignment, drilled a second hole all the way through the deck, which pinned the assembly firmly and allowed me to more easily drill the remaining holes, first marking them by lightly drilling through the roller and block, then removing the assembly to finish the drilling through the deck.
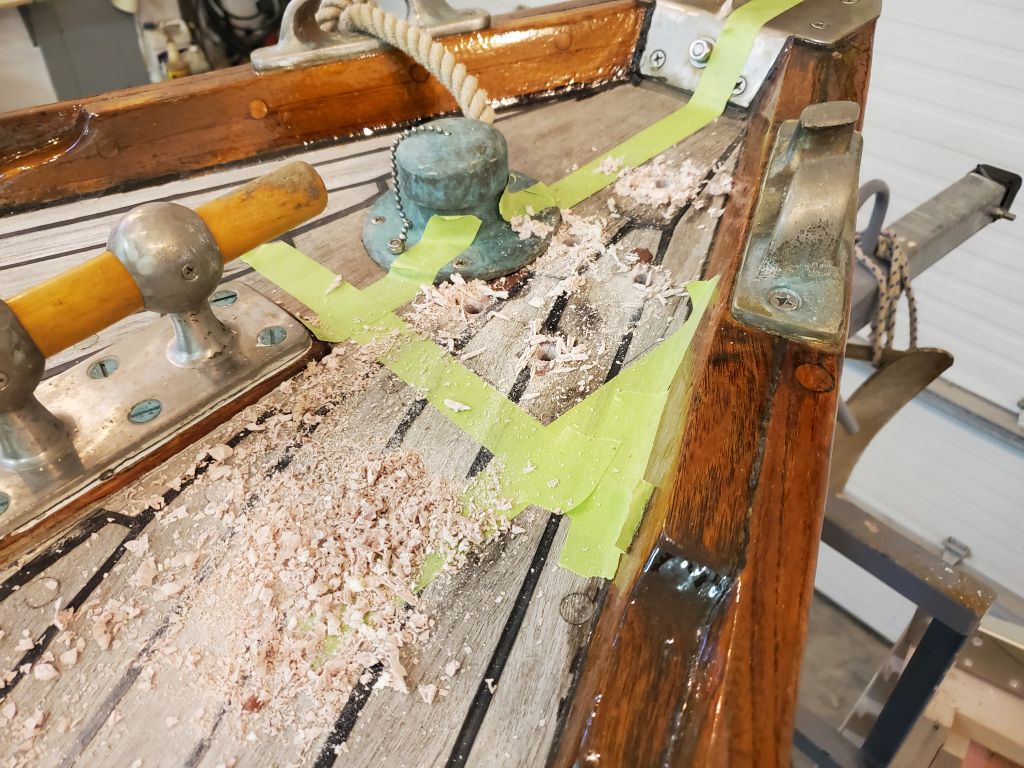
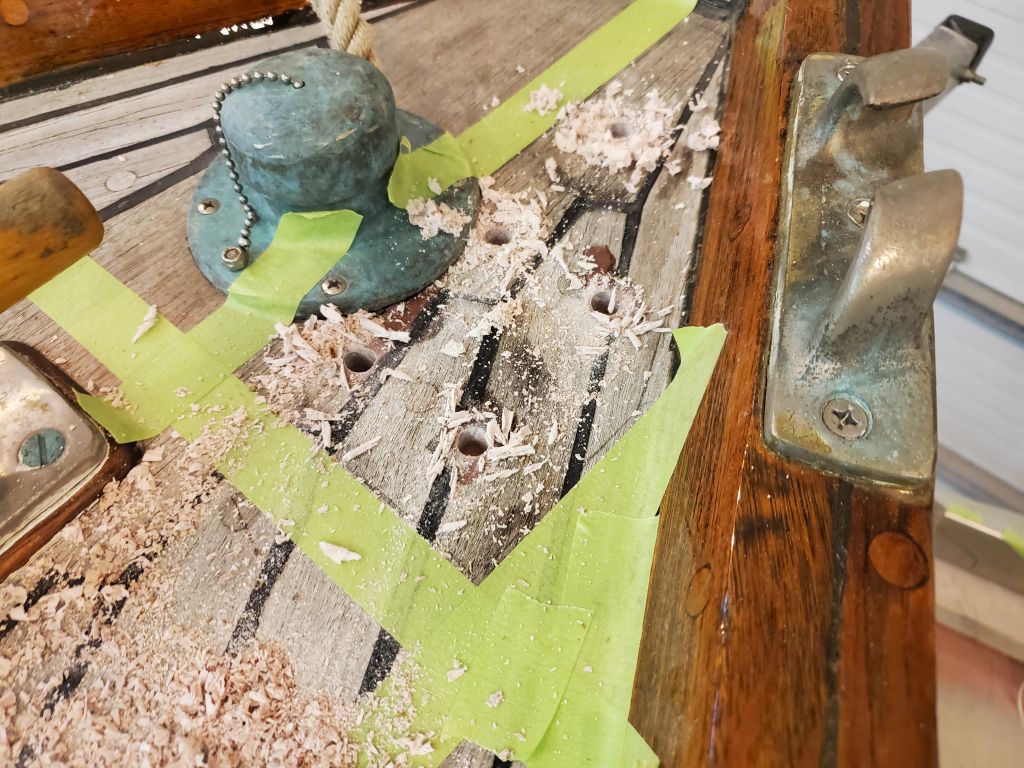
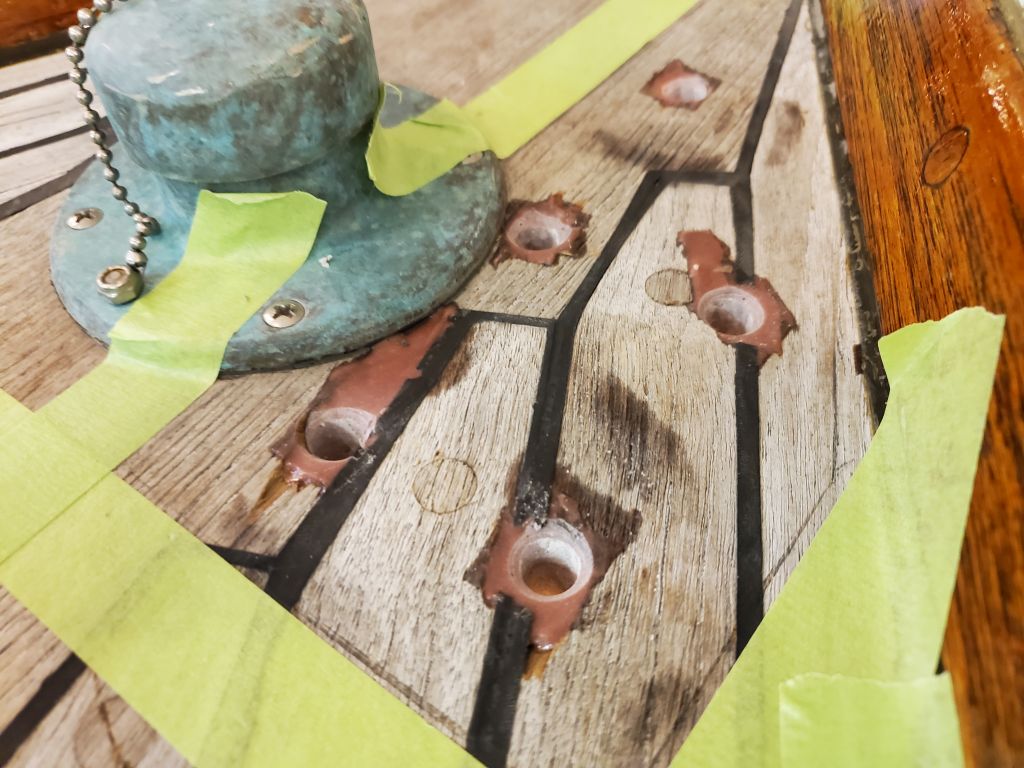
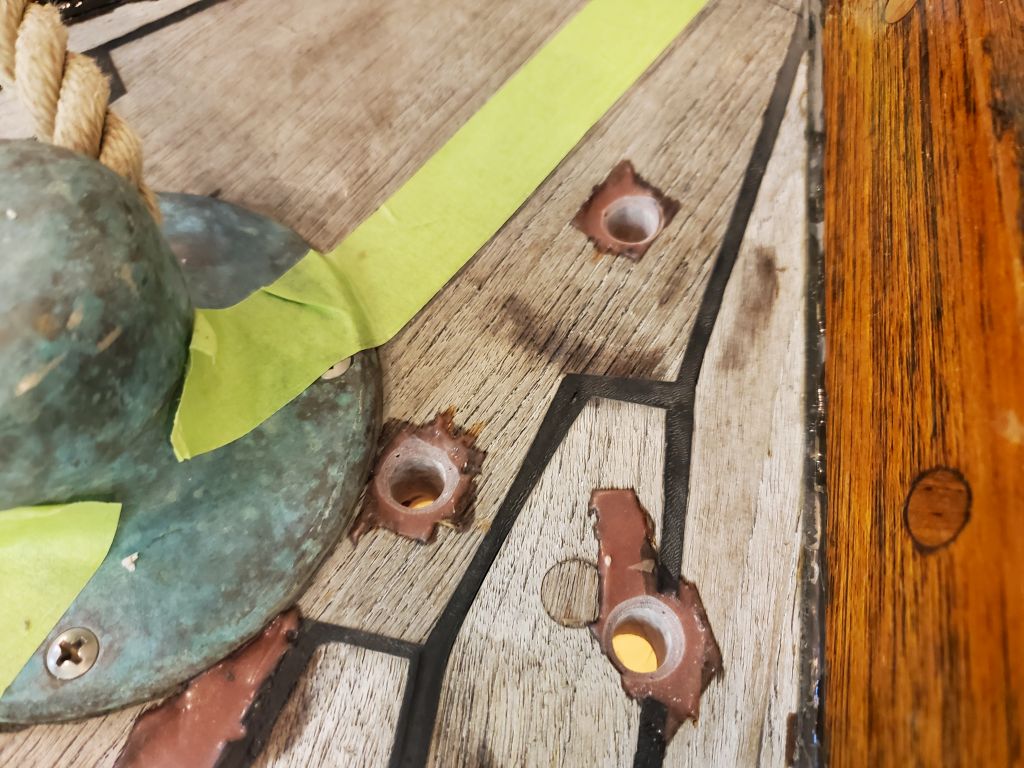
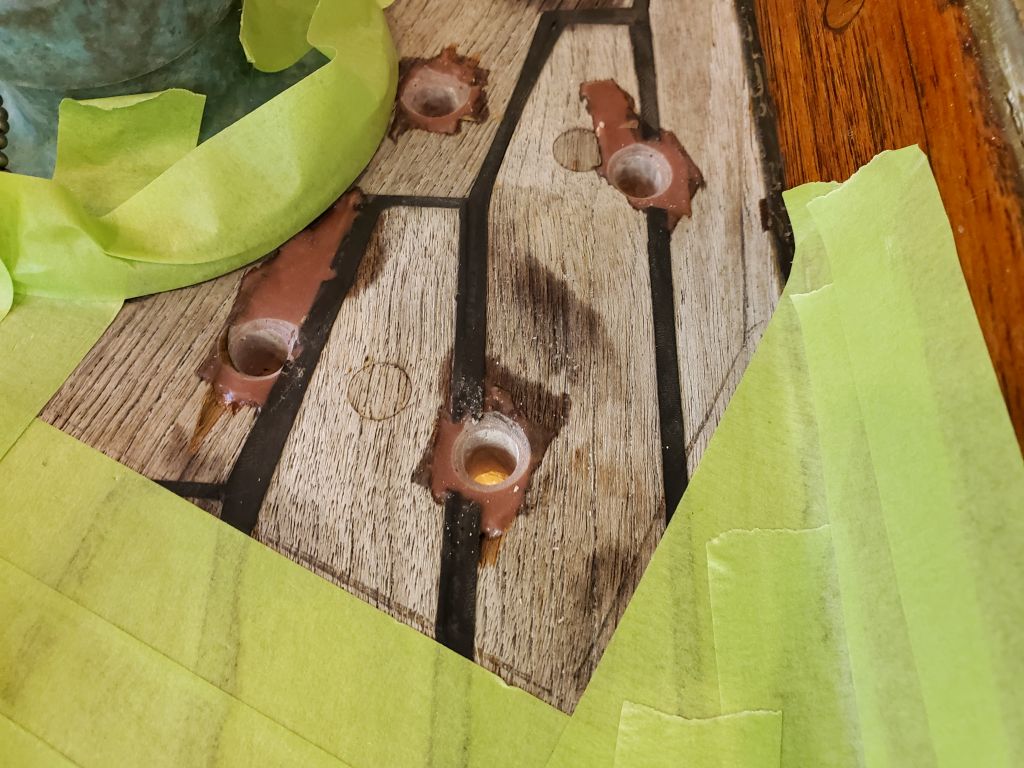
Afterwards, I milled small countersinks on each hole at deck level, allowing additional room for sealant at each hole. The drill spoils were all epoxy, meaning all the overfilled holes lined up as expected and desired.
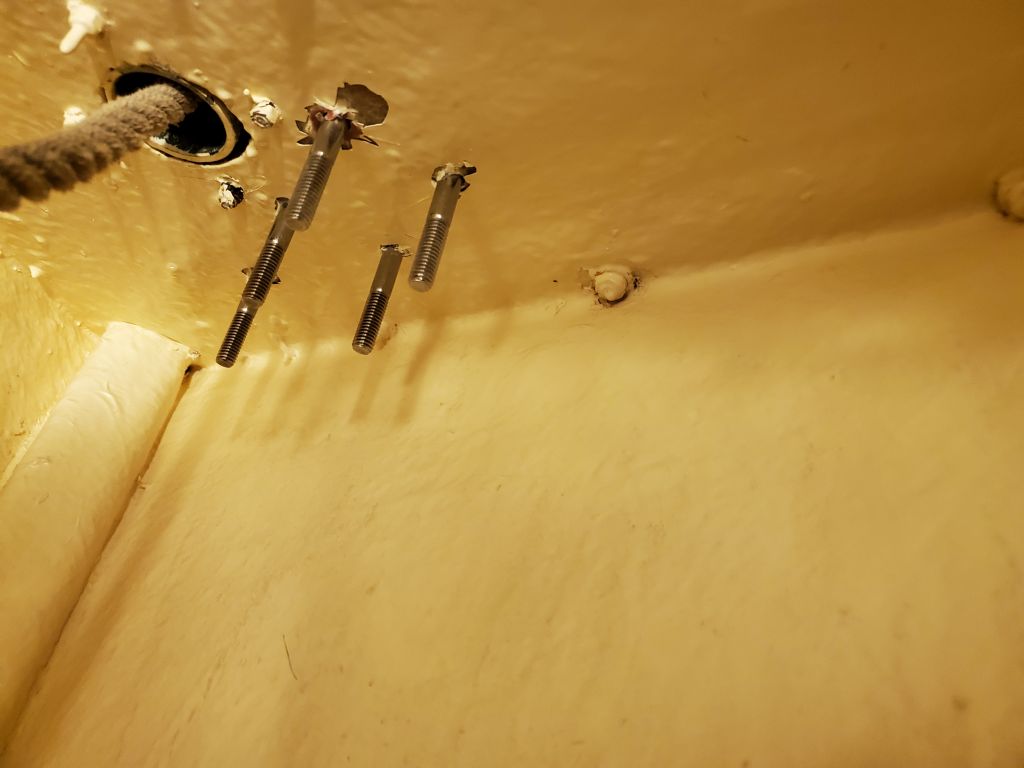
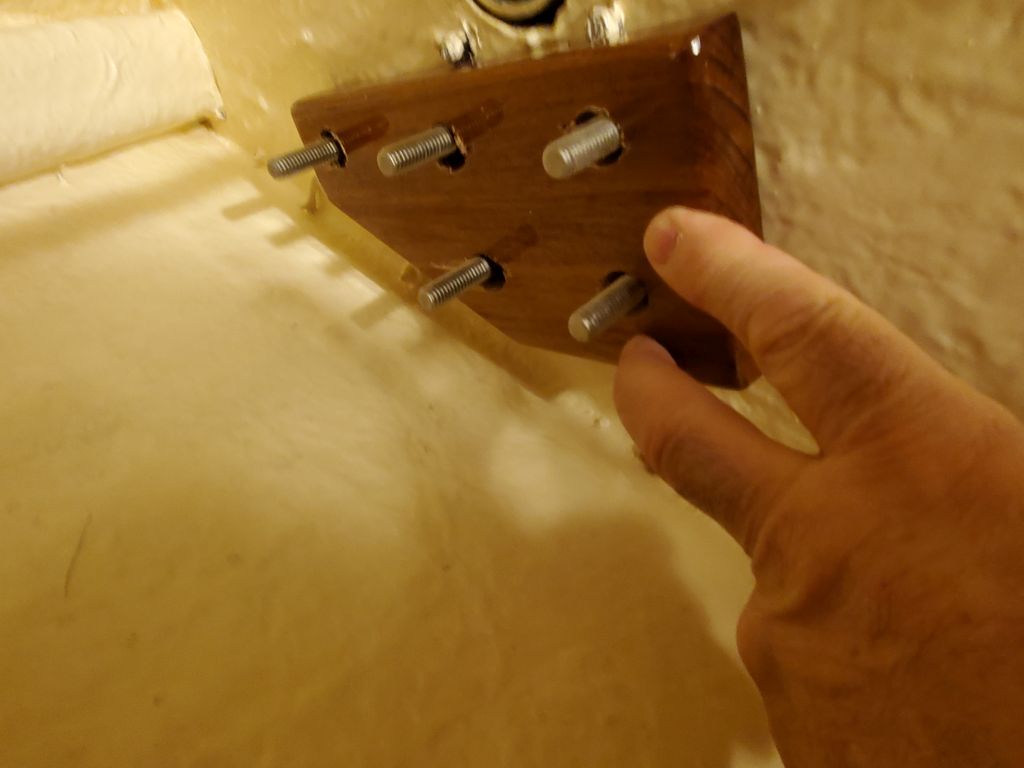
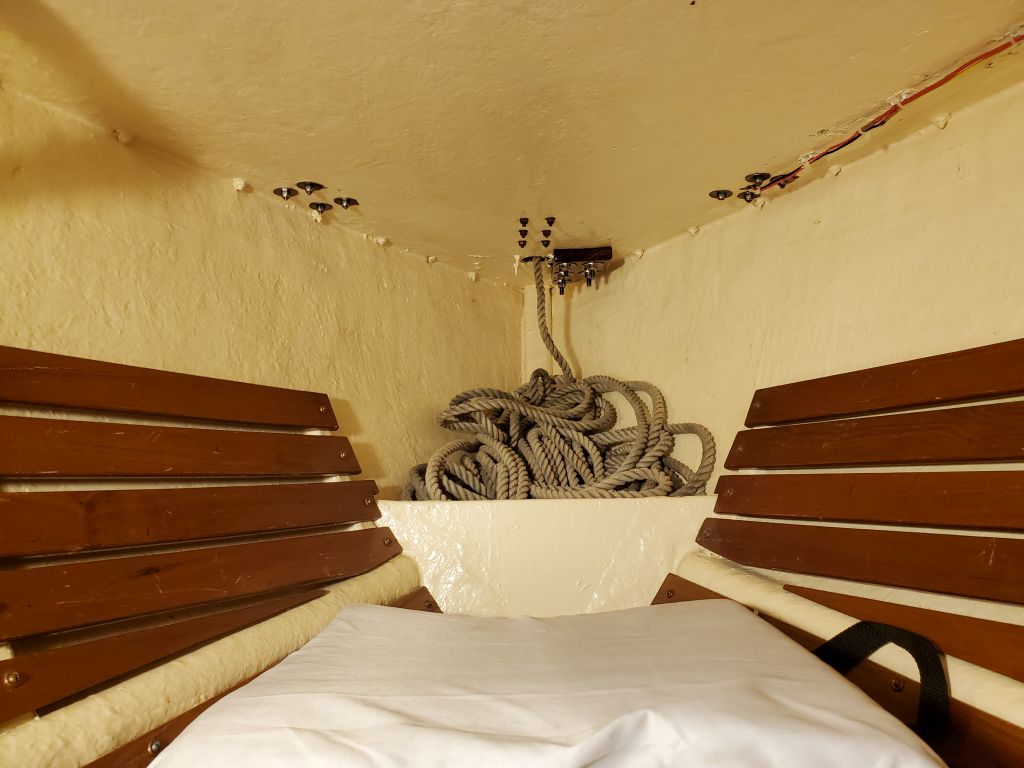
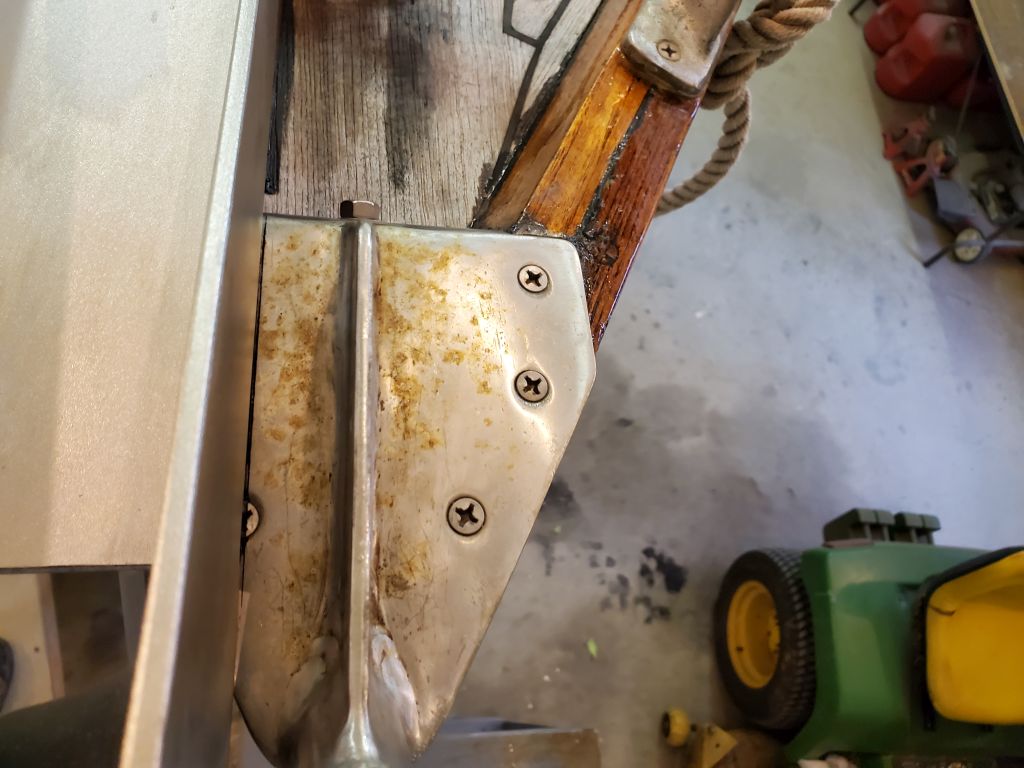
Next, I dry-fit the support block and all the bolts, and from inside the chainlocker test-fit the backing plate. I’d already made a small modification by relieving part of the underside to clear some of the nuts securing the adjacent hawsepipe, but found I had to trim the forward end, where it angled into the side of the hull, just a bit for clearance before the backing plate would fit.
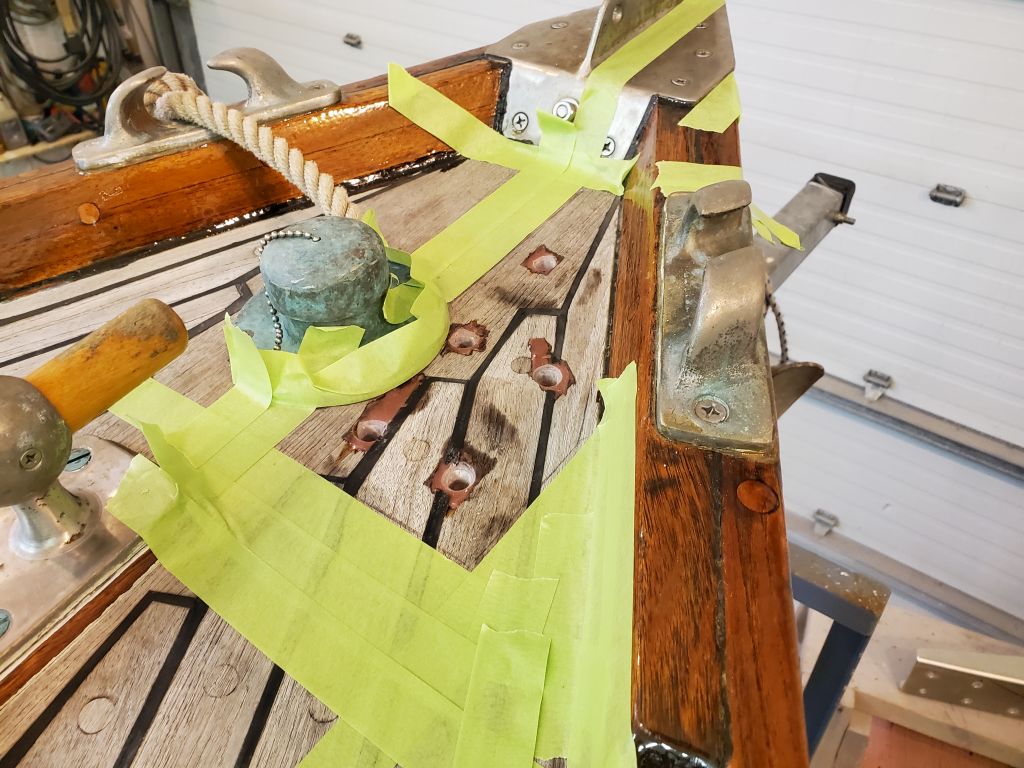
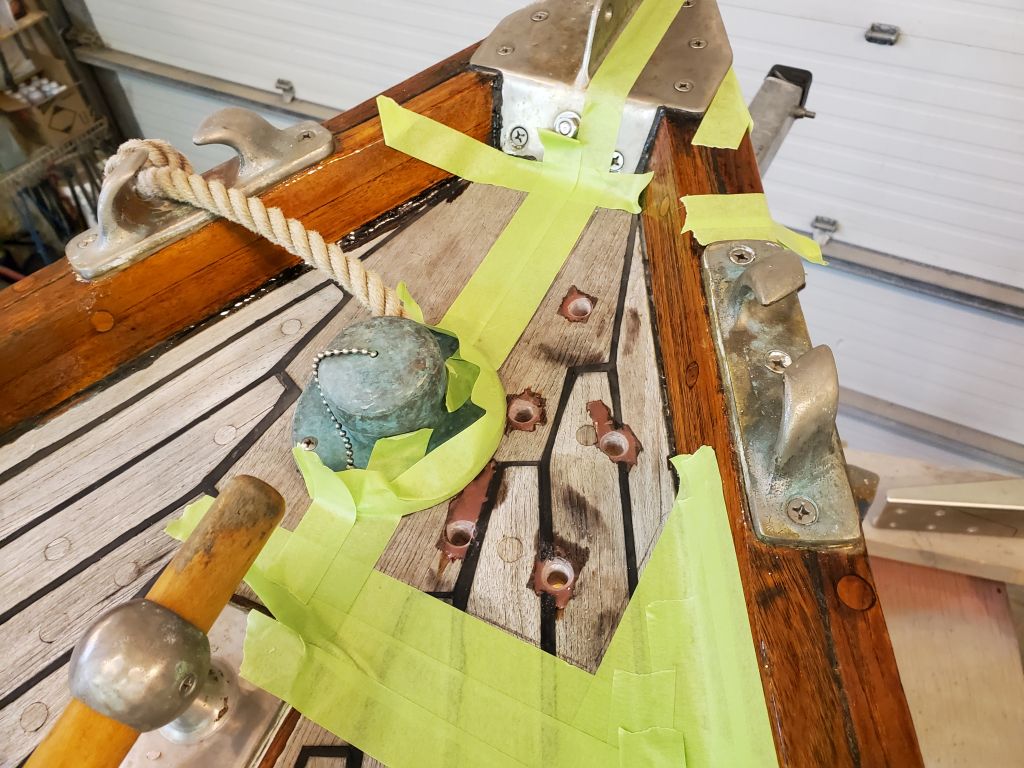
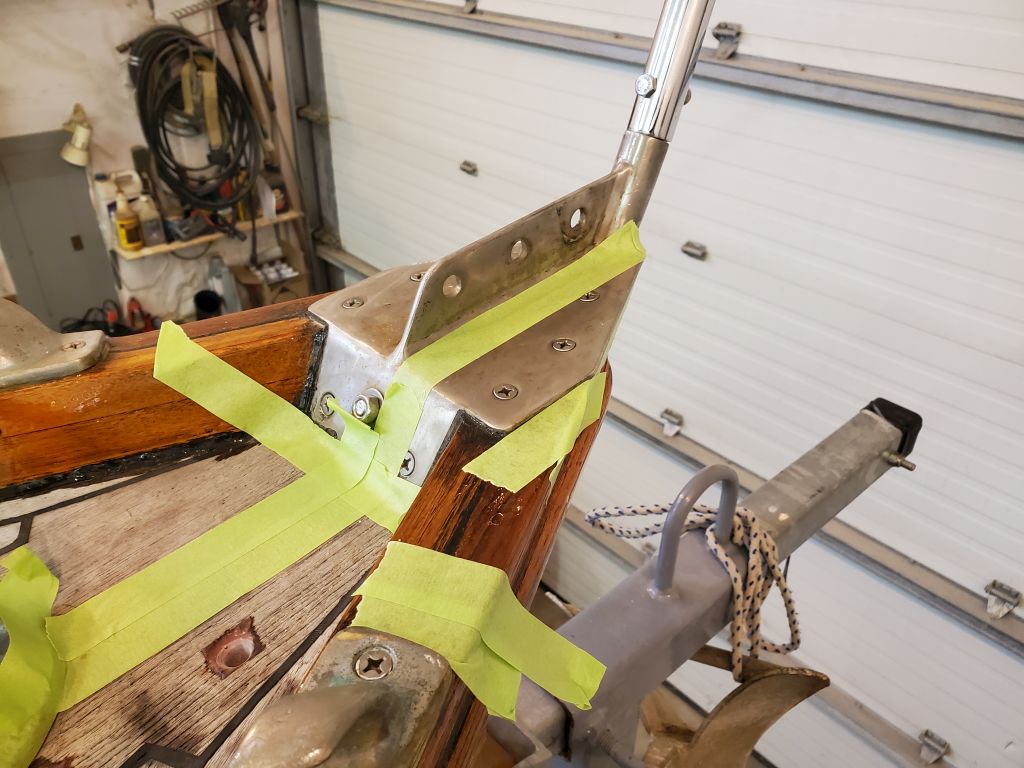
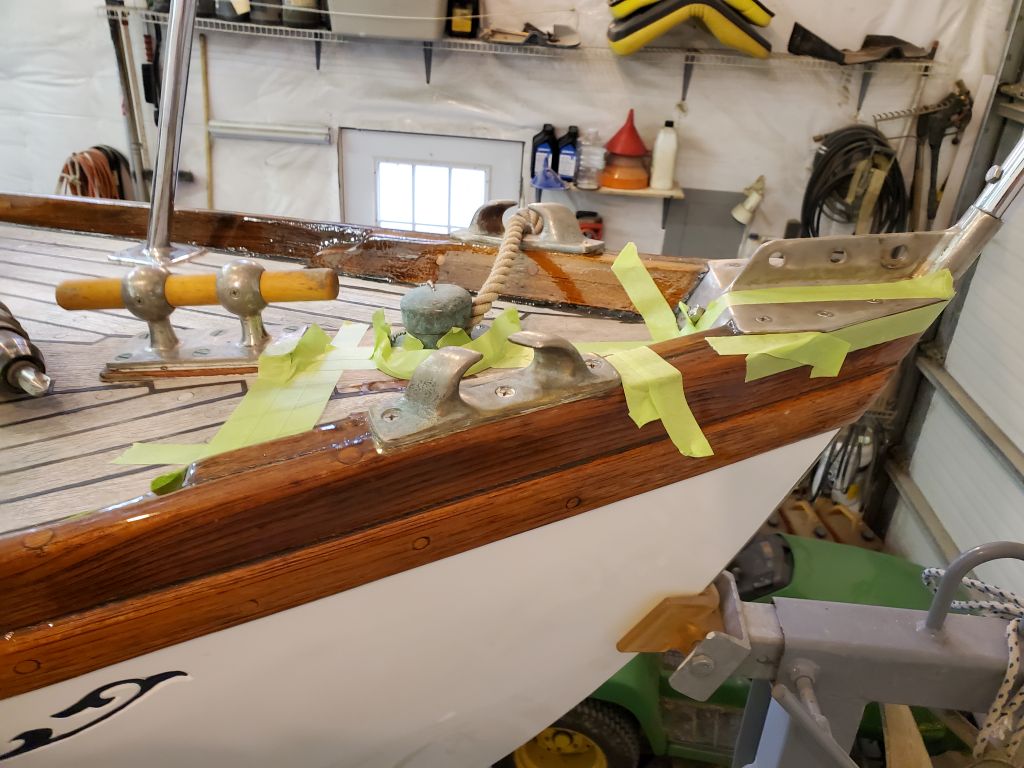
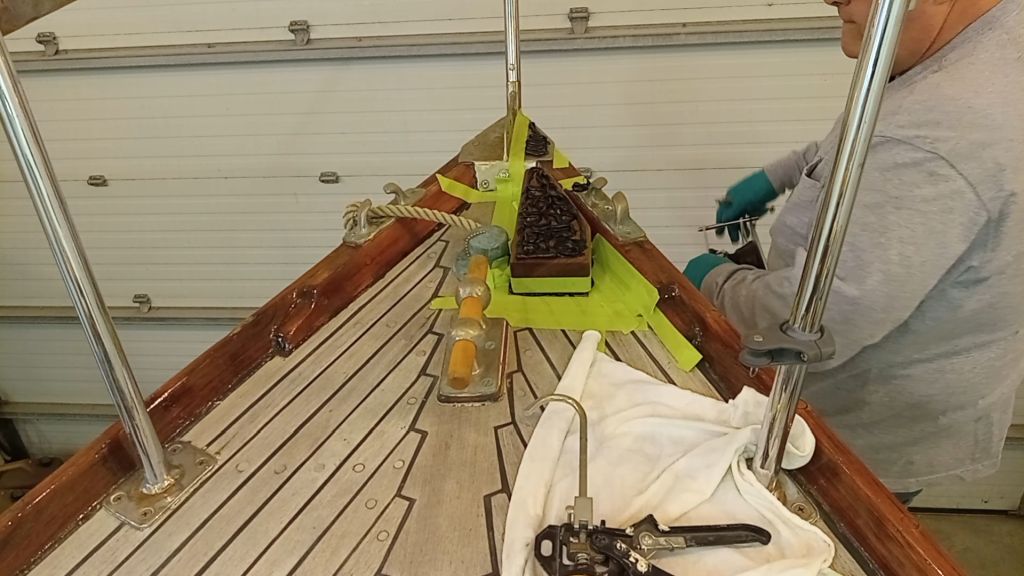
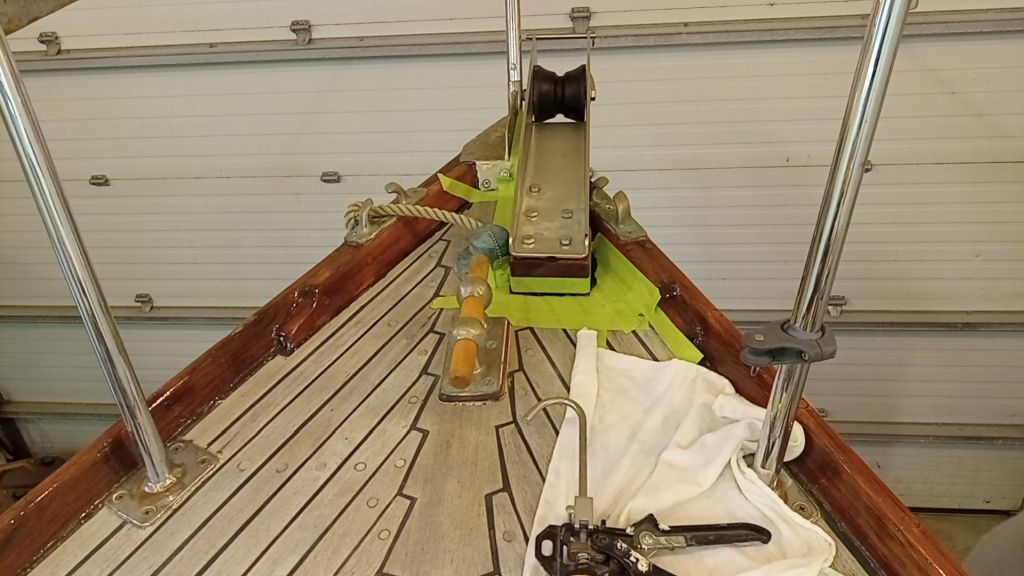
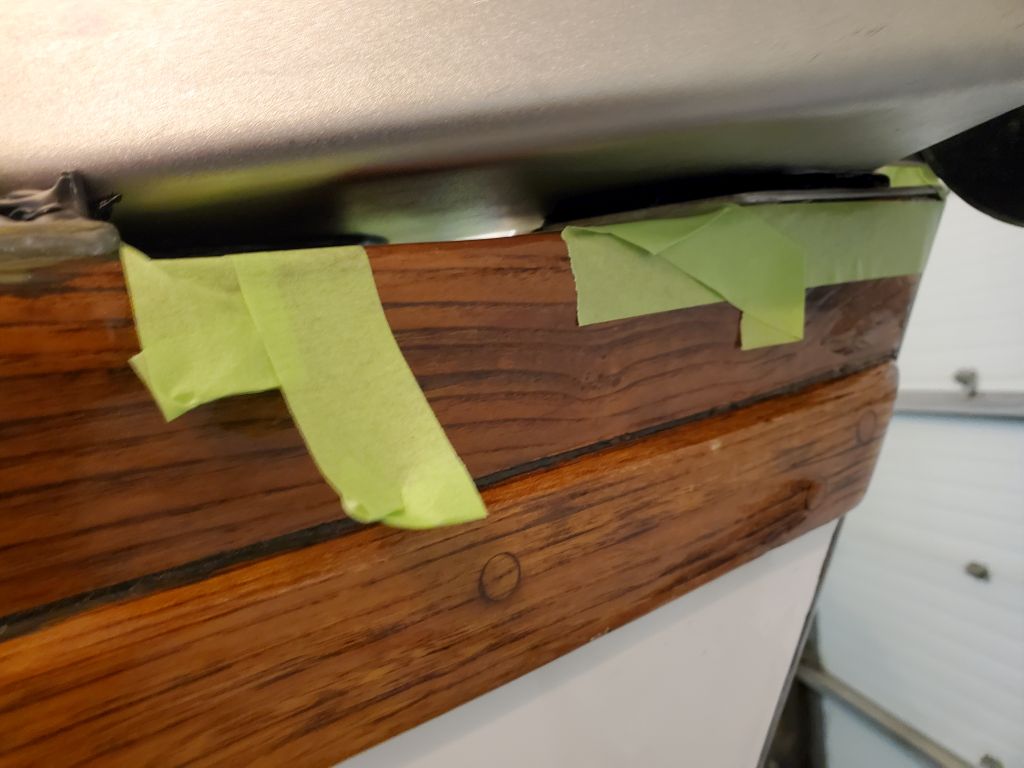
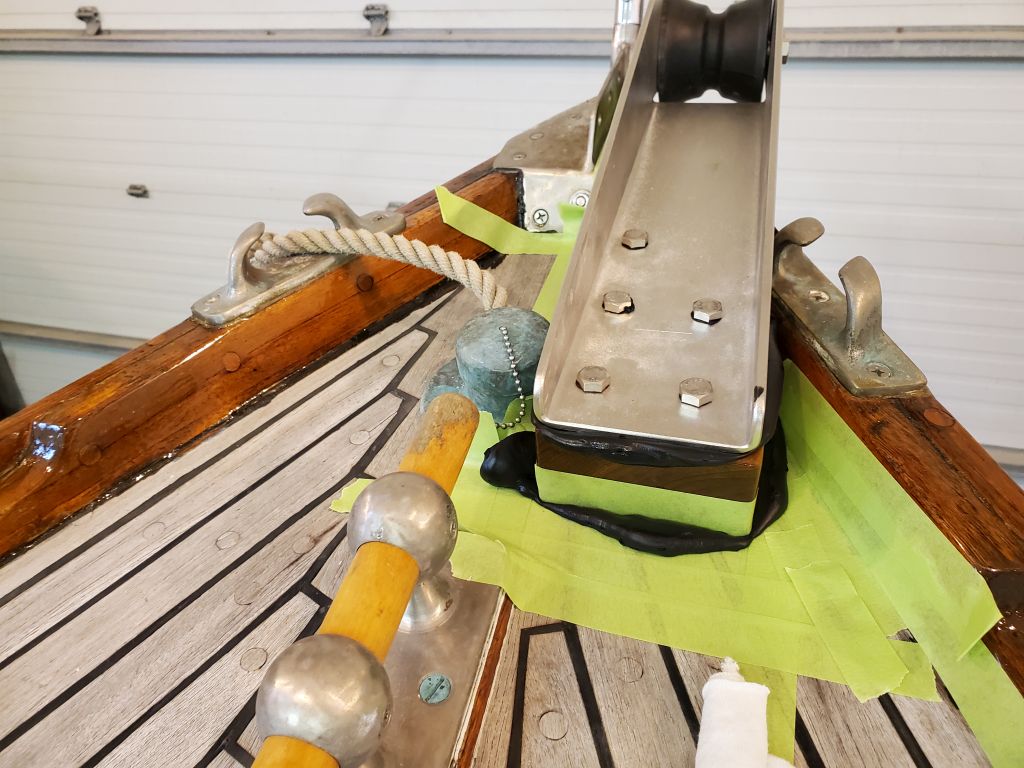
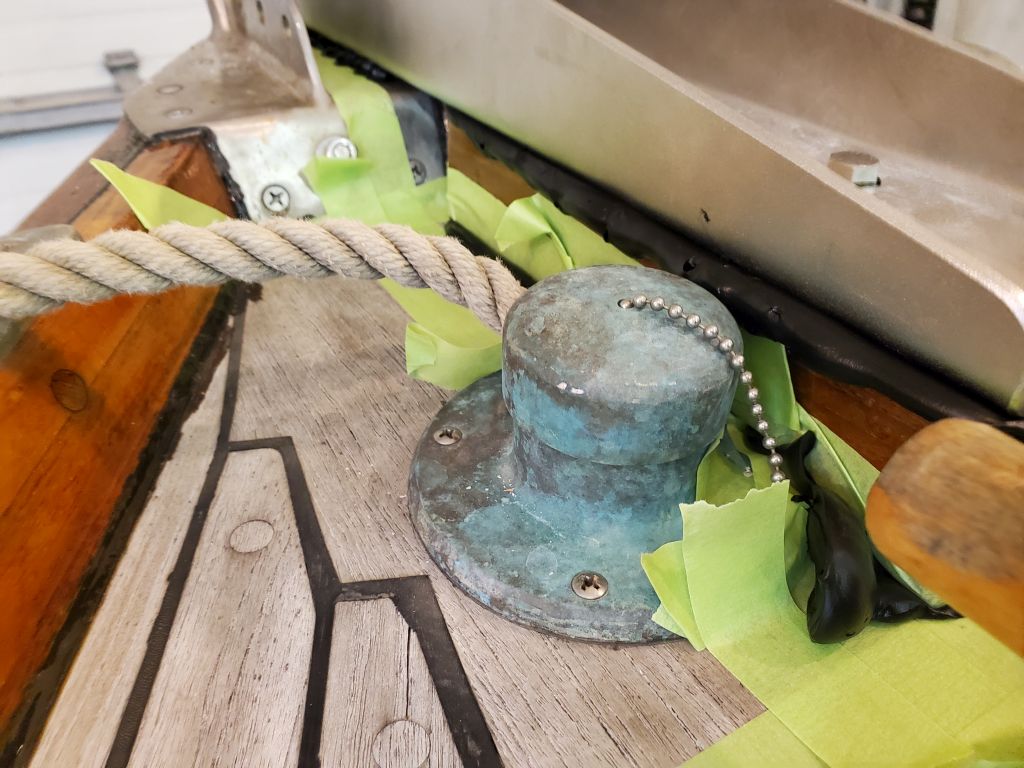
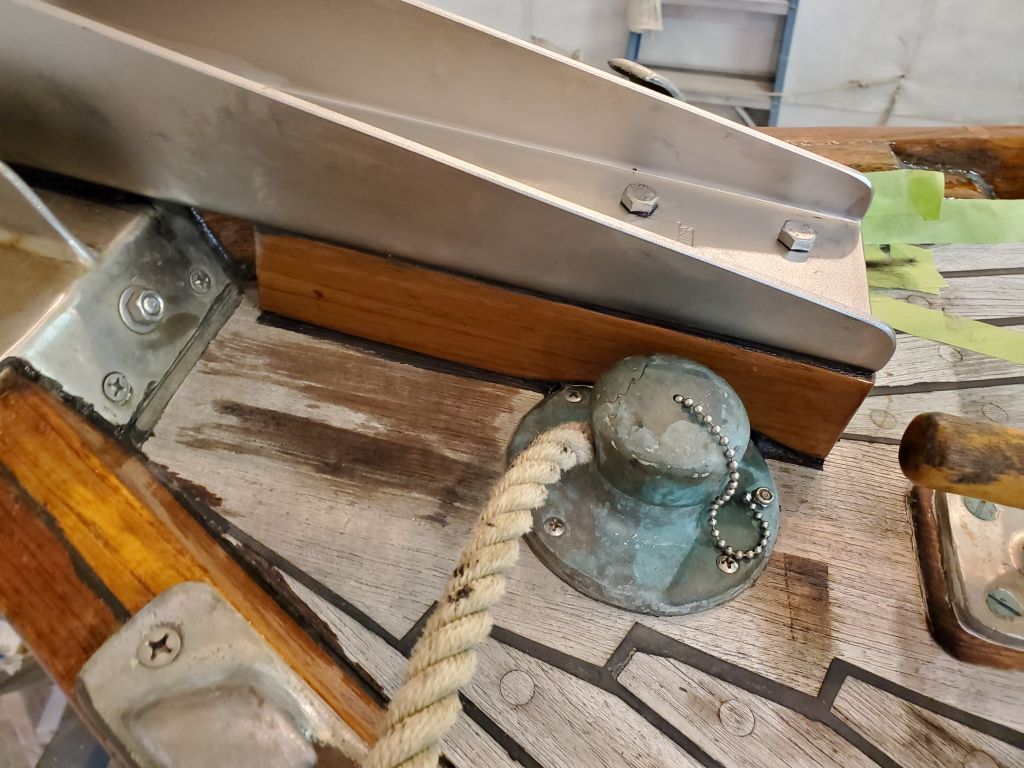
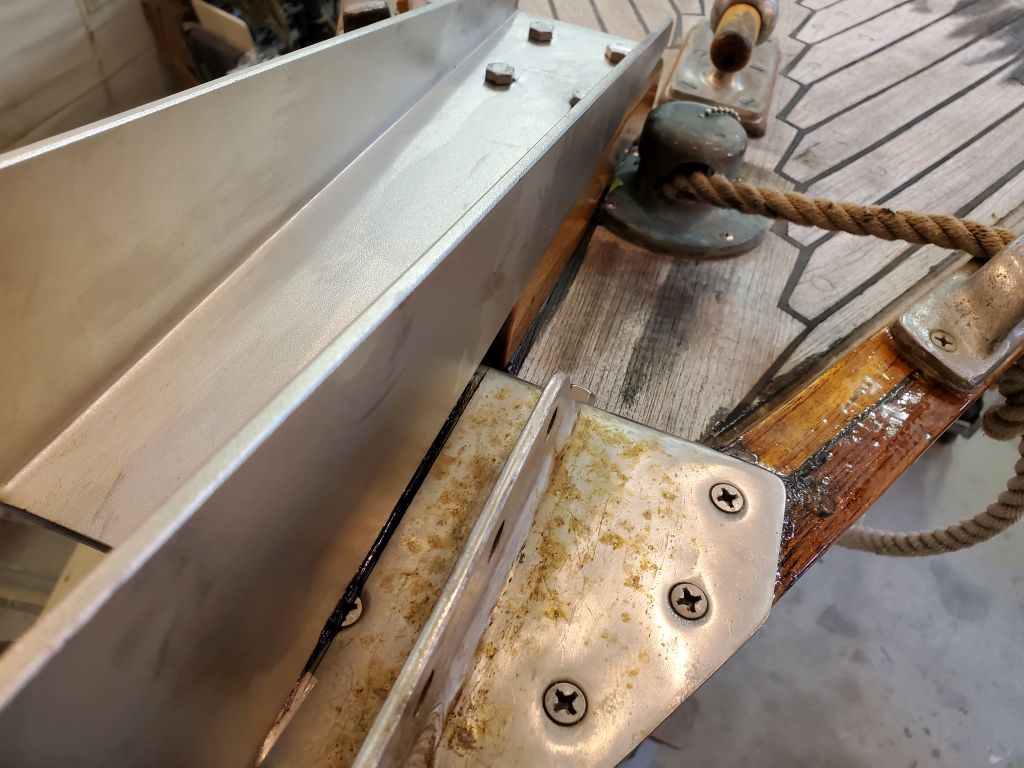
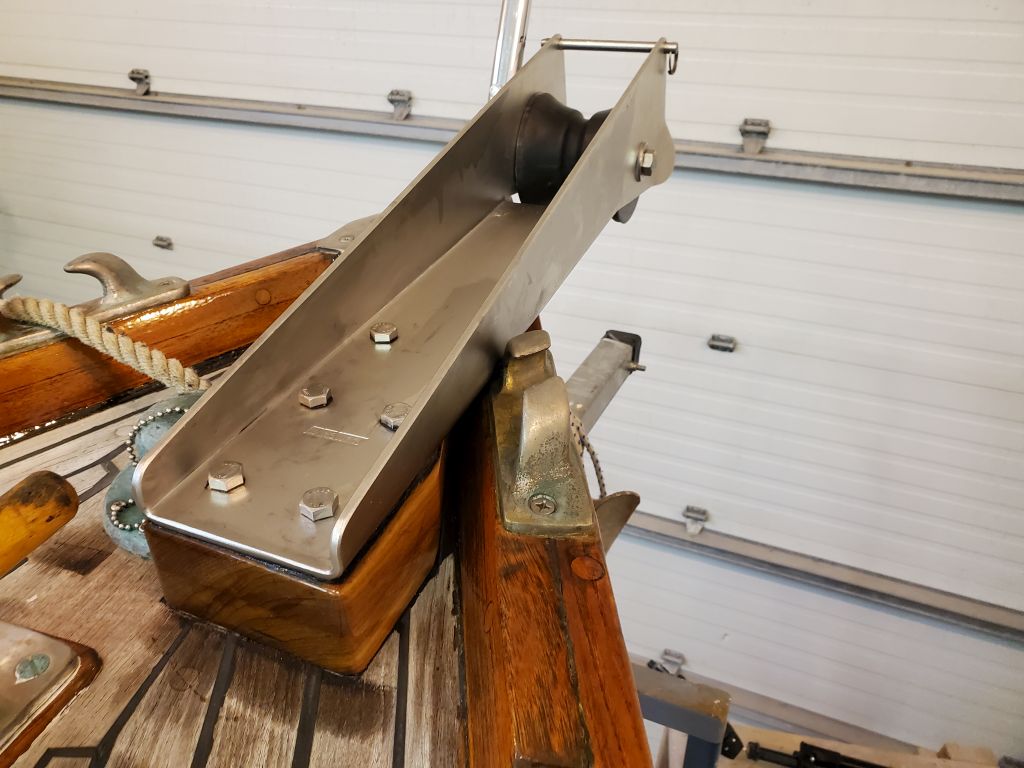
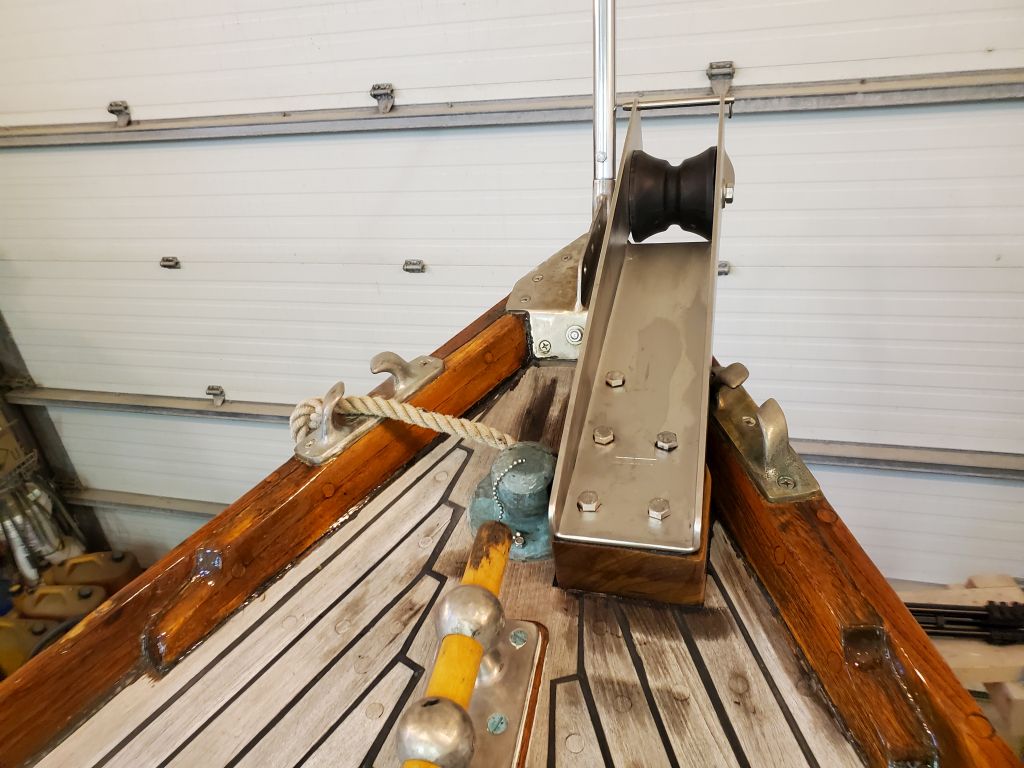
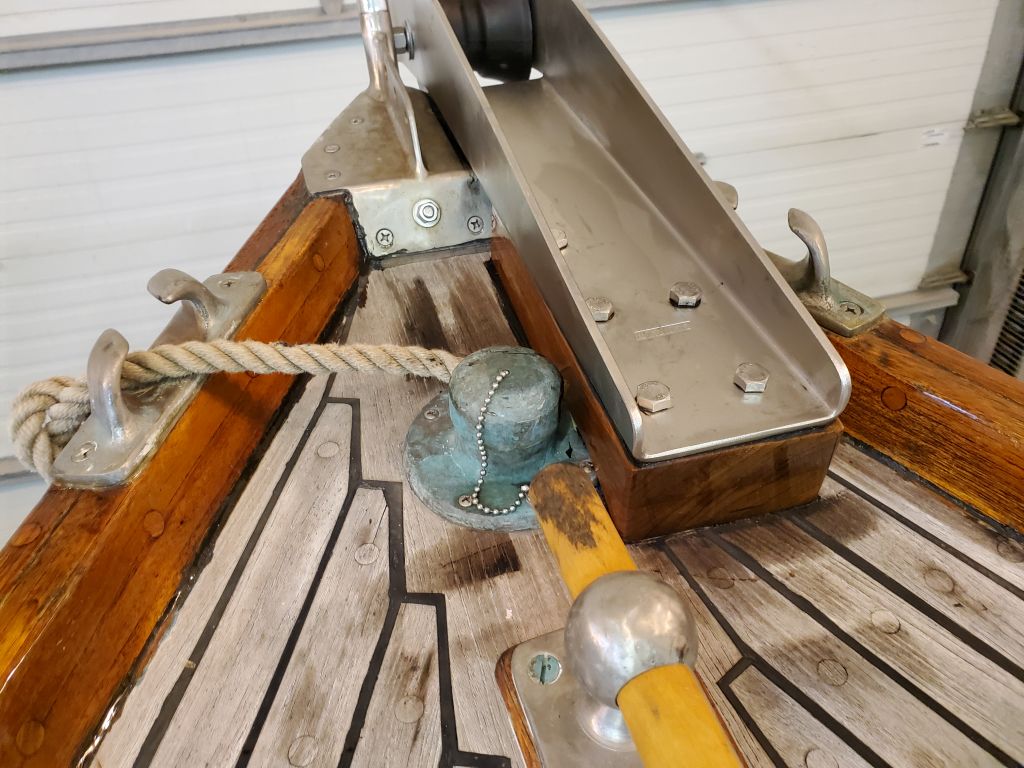
Back on deck, I made final preparations for the installation, setting up required tools and supplies, and adding some masking tape to increase coverage for deck protection. Then, I heavily applied black sealant–chosen because of the use of black sealant throughout the rest of the boat, and especially on the deck seams–to the deck before pressing the support block into position. Then, I applied more sealant atop the block and also to the stem plate and corner of the starboard chock, on which the roller itself also bore, and installed the roller and five bolts. I pressed this all down as much as possible, but tightening the bolts from beneath would really bring things home.
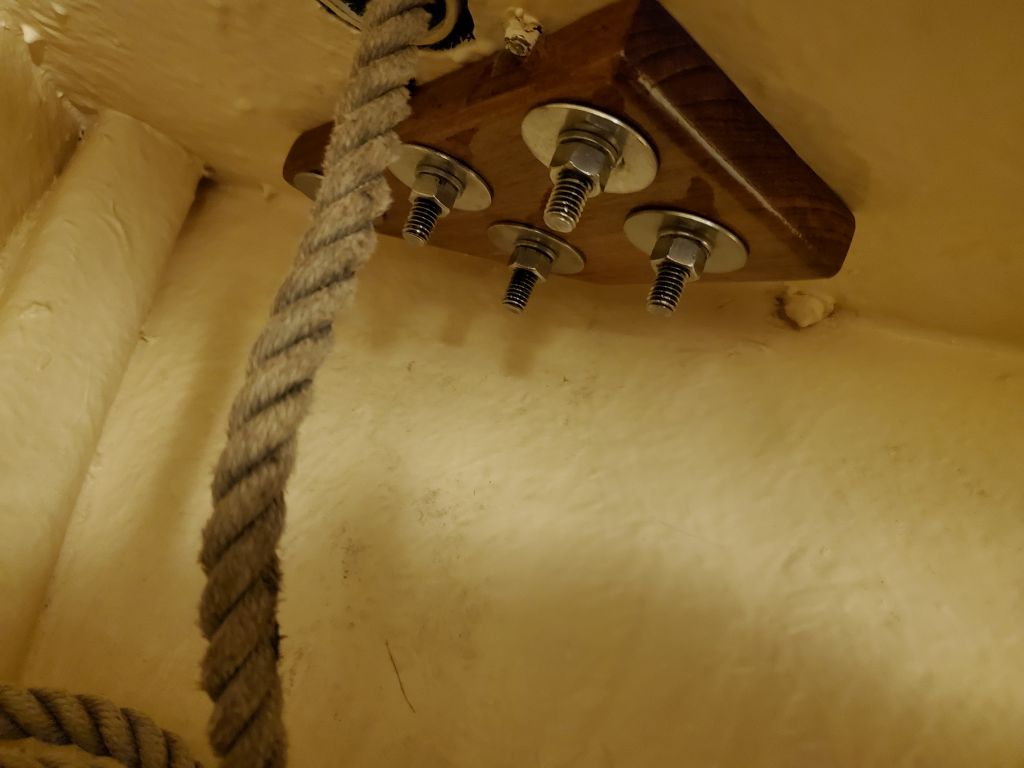
Now working from the chainlocker, I installed the backing plate and nuts, lockwashers, and fender washers on all the bolts, tightening them all securely. If the bolt spun at all, I used locking pliers on the exposed threads to hold it while working the nut with a ratcheting box end wrench. This allowed me to relatively easily complete all the work alone.
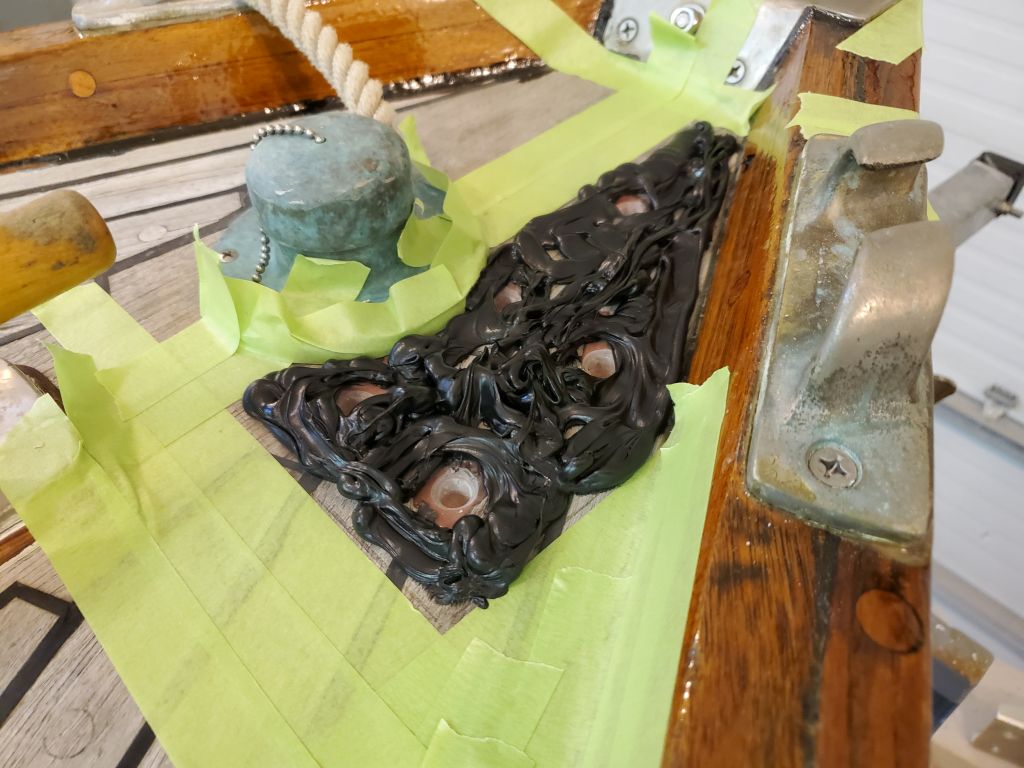
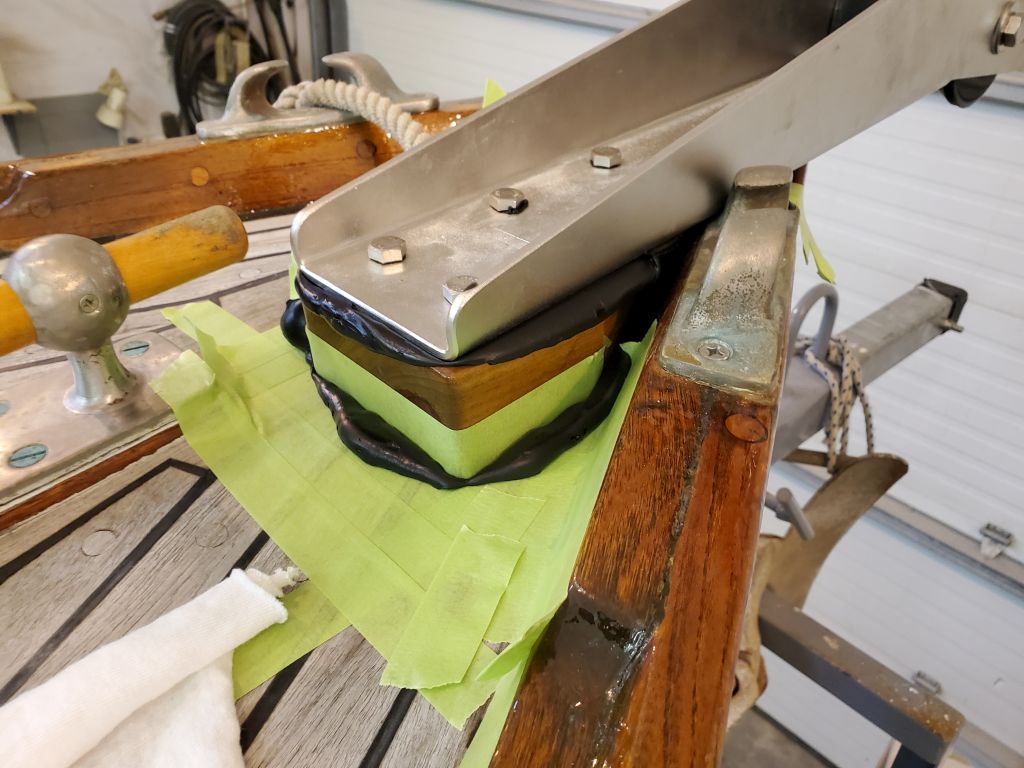
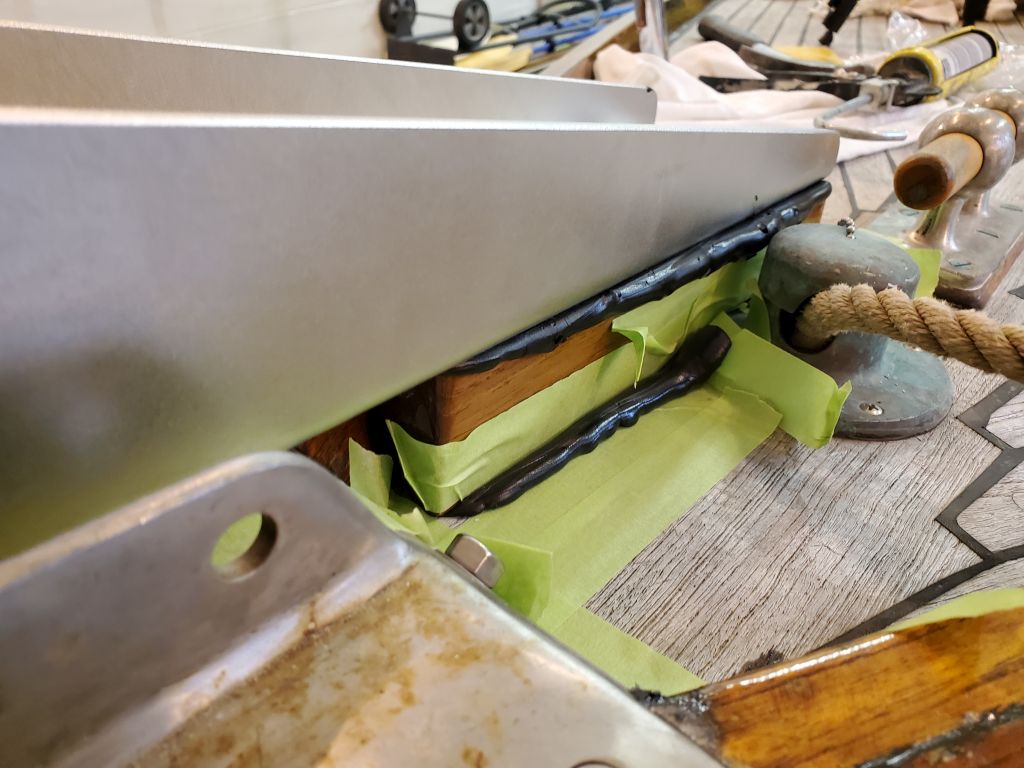
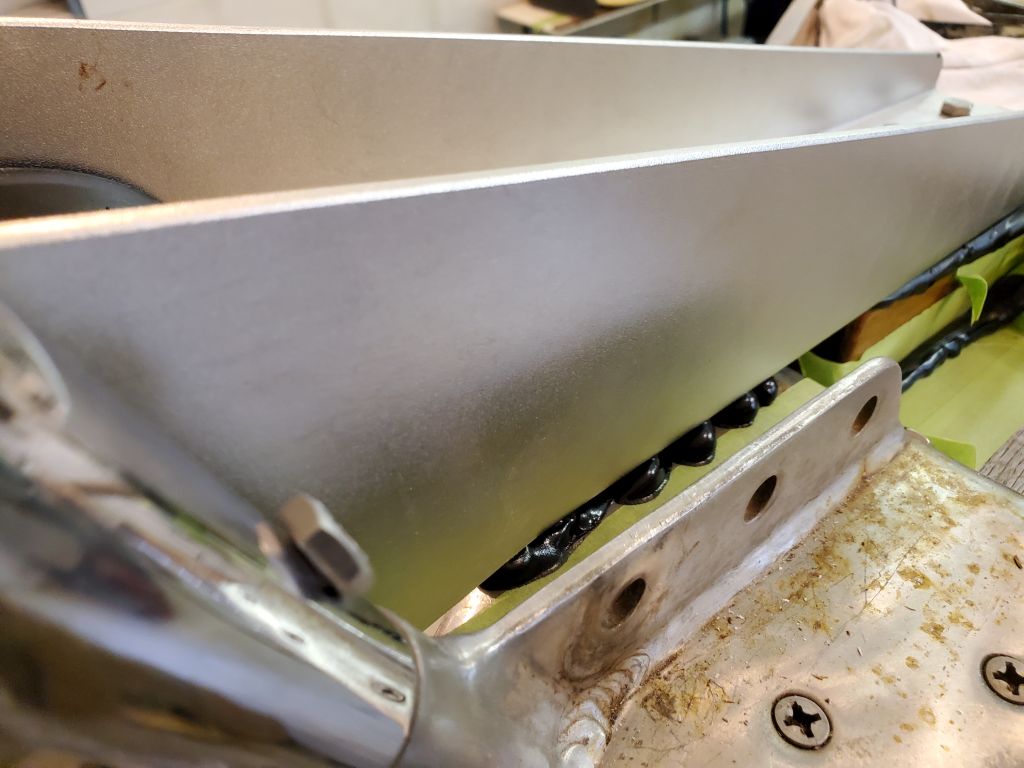
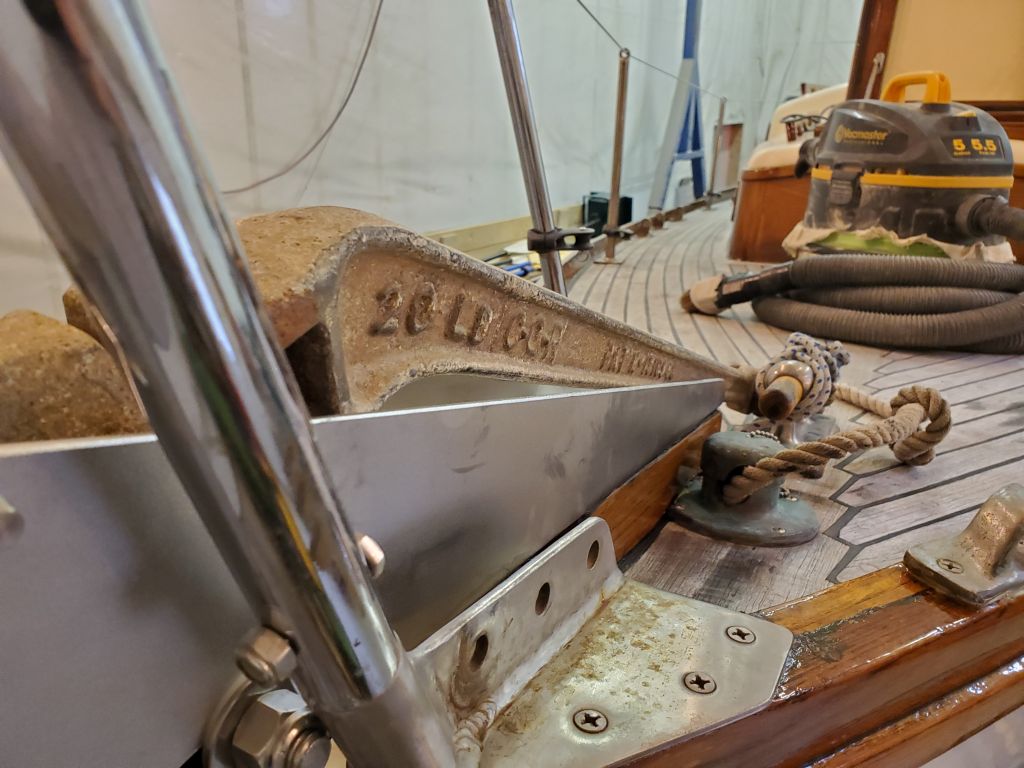
With all the bolts securely tightened, I returned to the deck and was happy to see lots of good squeezeout everywhere.

To finish the installation, I cleaned up all the sealant and removed the masking tape.
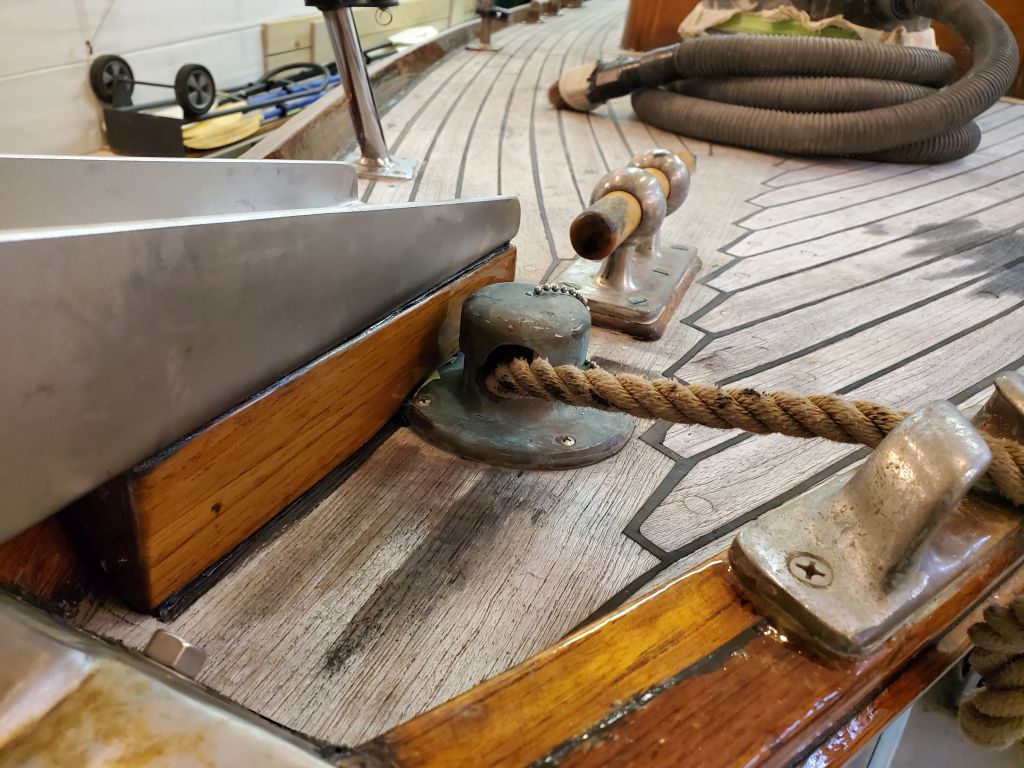
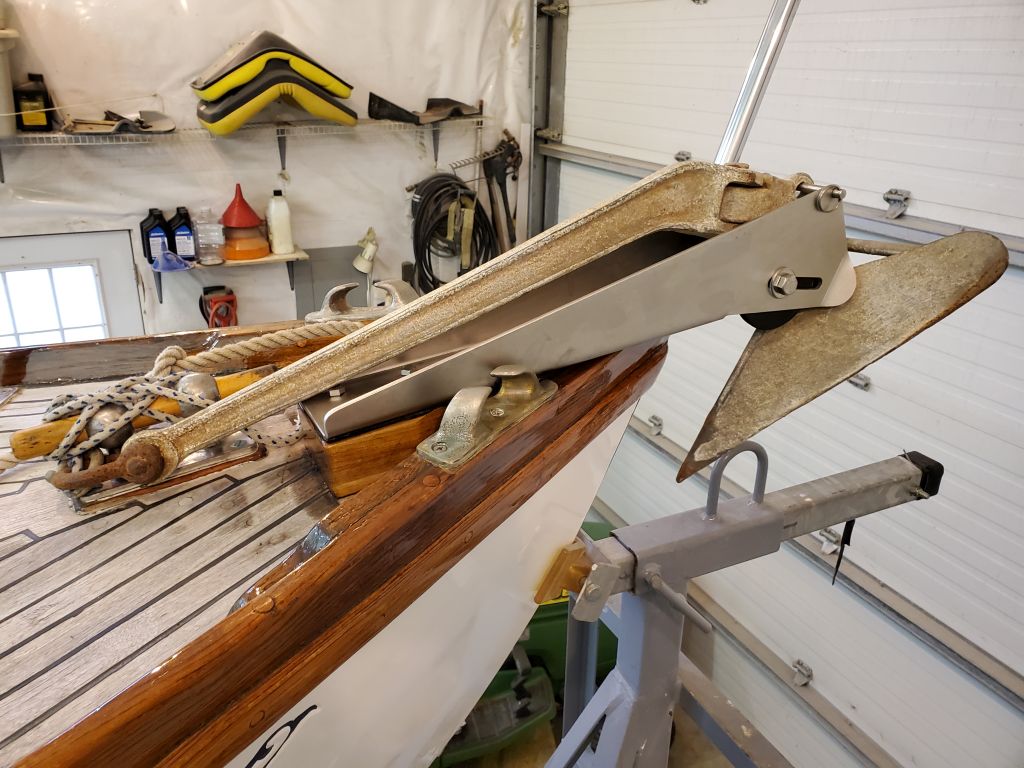
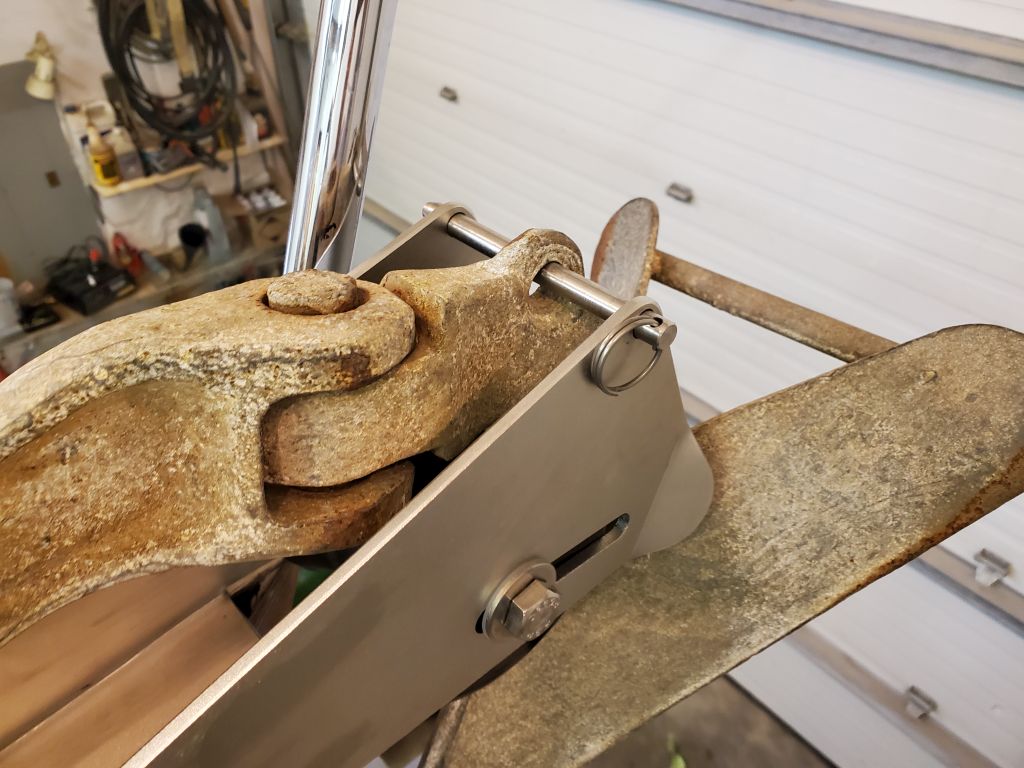
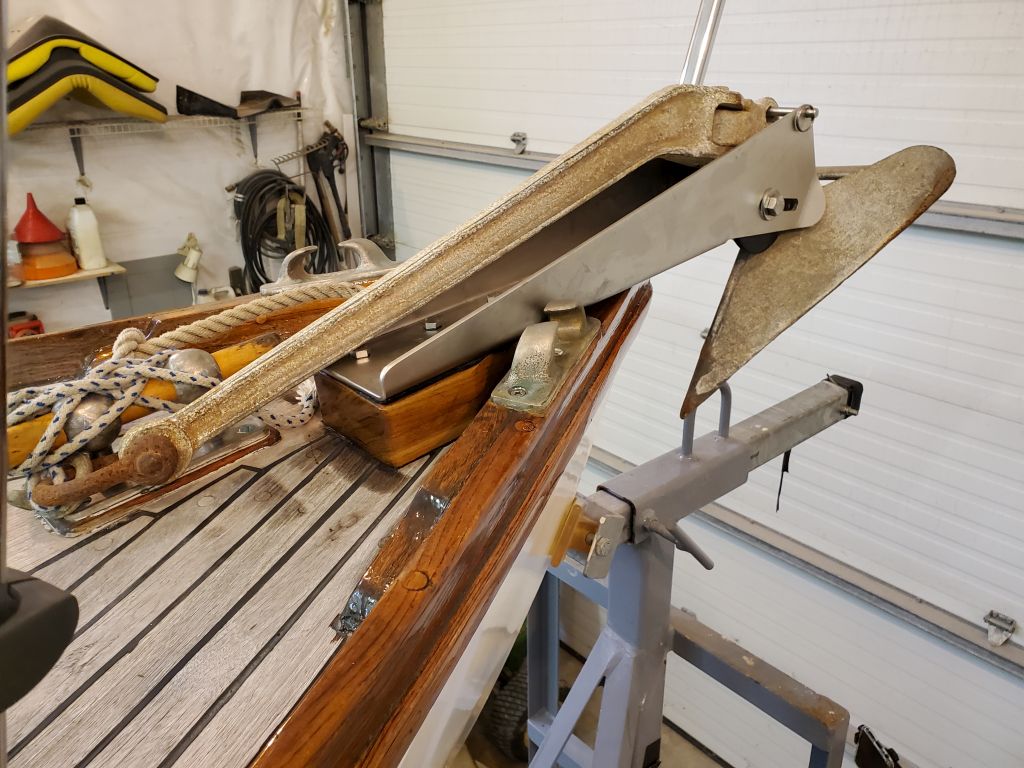
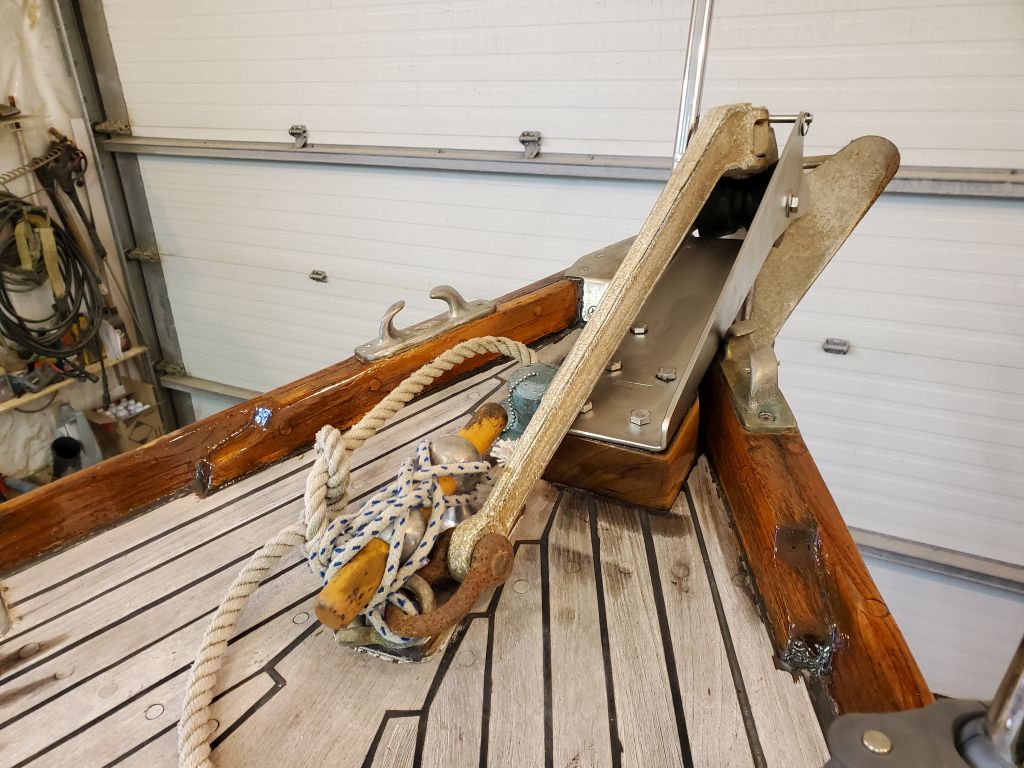
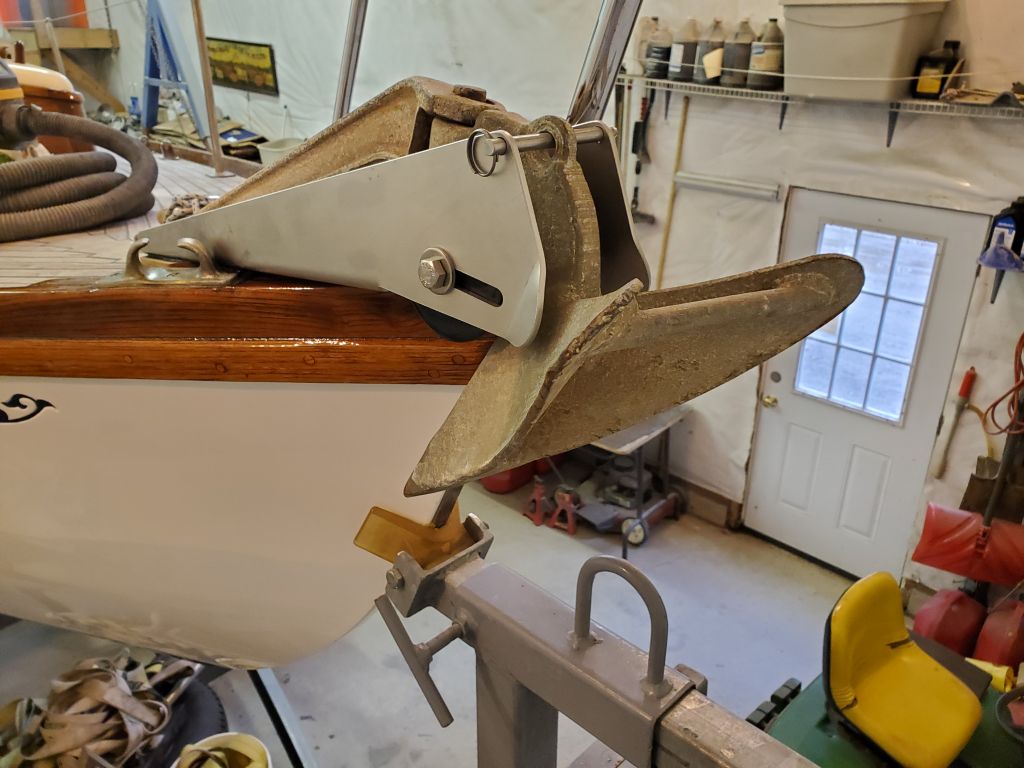
I double-checked the anchor fit in the roller afterwards.
Total time billed on this job today: 2.75 hours