


April 14, 2025
Miss Helen 19
Monday
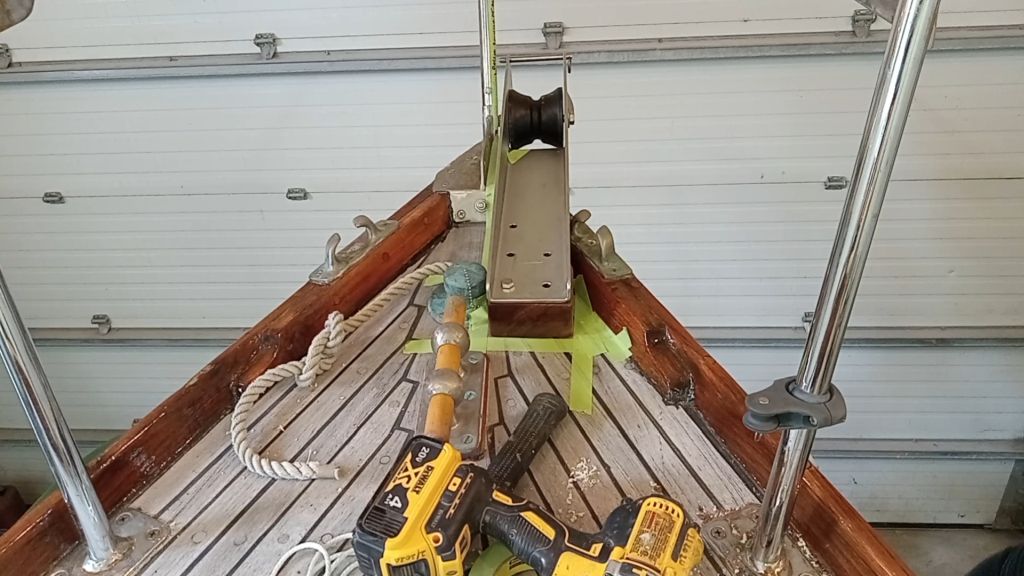
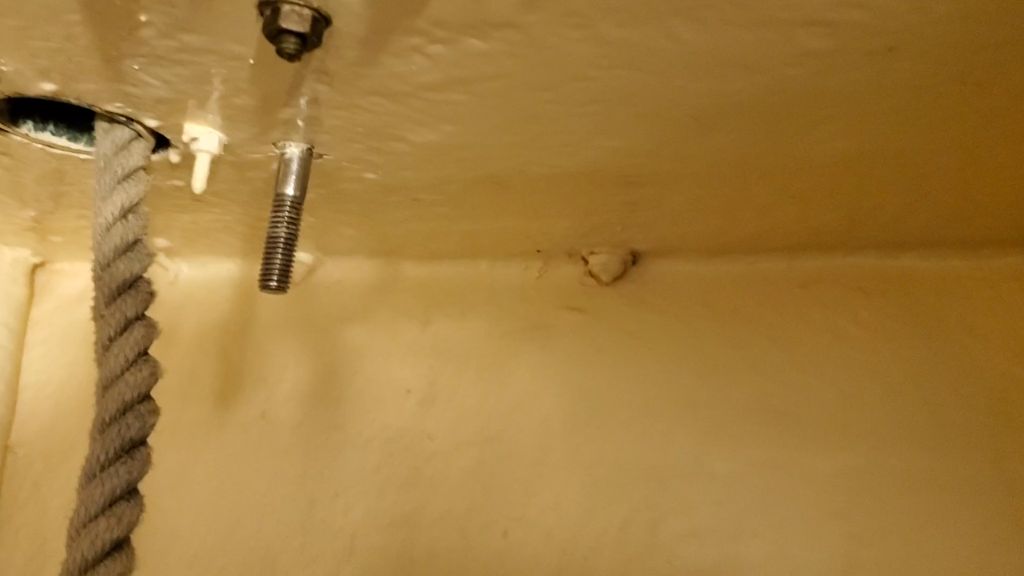
The next step towards final installation of the anchor roller was to locate and prepare the bolt holes through the deck. For this, I laid out the support block and used the roller to ensure it was aligned properly, then used a drill with a 3/8″ bit to mark and drill one hole all the way through the deck. This allowed me to install one bolt to help hold everything in position while I marked the rest, and also to confirm the length of the bolt I’d ordered, since I’d had to “educationally guess” the length since I didn’t know the overall deck thickness. As it happened, my guess (5″) was accurate, and with the roughly 1″ thick backing plate installed (not shown), the bolt length worked out well.
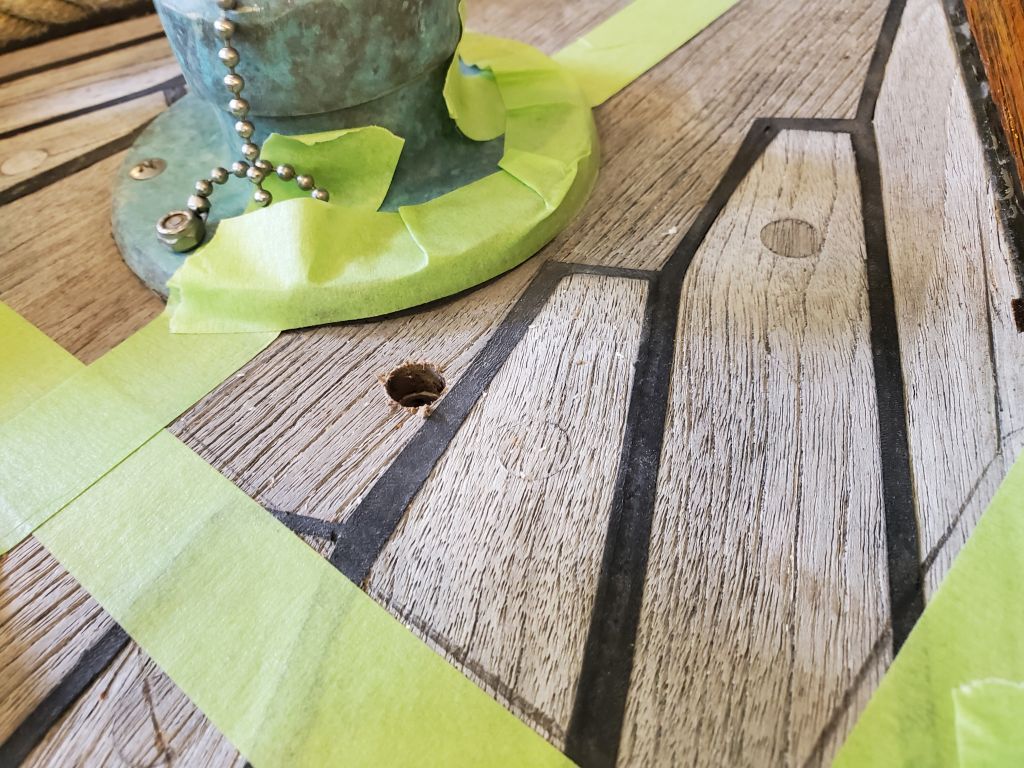
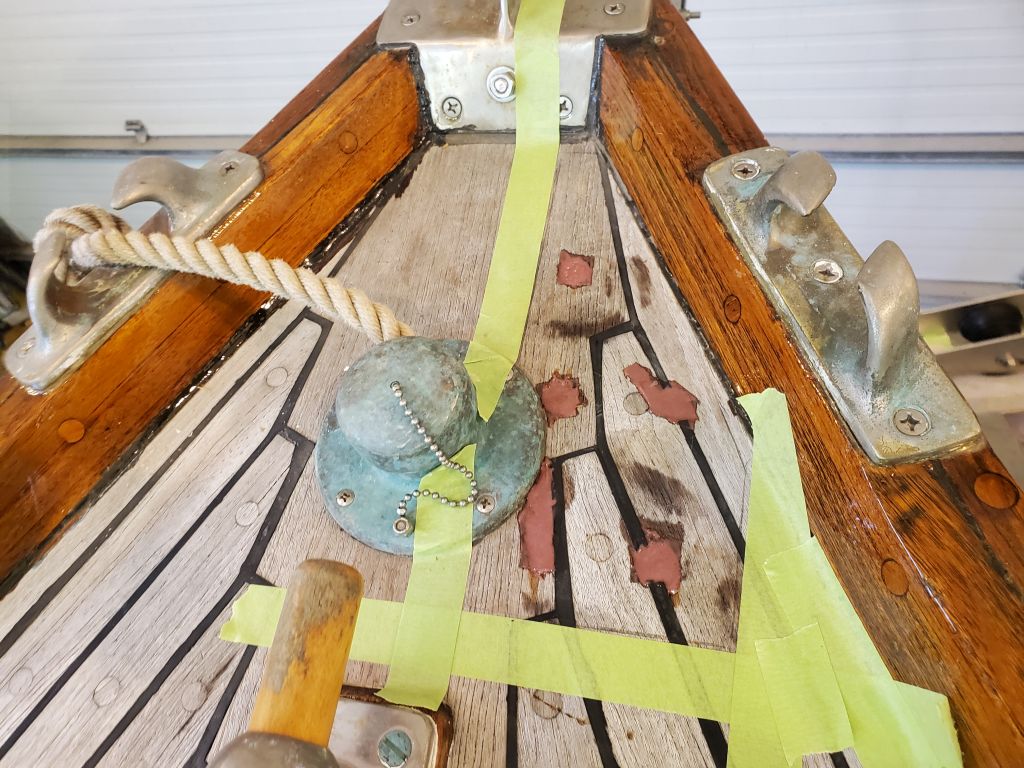
With one bolt pinning everything in place, I marked the remaining four holes, just into the deck, then removed the roller and base so I could prepare all the holes. Beneath the teak veneer on this deck was a “normal” fiberglass deck with core material, so I wanted to overbore the holes and fill with epoxy, to allow for a solid epoxy water barrier around each fastener when permanently installed. With all the holes just marked with the 3/8″ bit, I used a 5/8″ bit to drill further into the teak, enough so that I then had a starting point to use a 5/8″ Forstner bit to drill through the deck, core, and as far down as the inner skin, without going through. This removed all the core material and left a flat bottom in the holes. This would give me roughly 1/8″ of epoxy around the fastener in each hole.
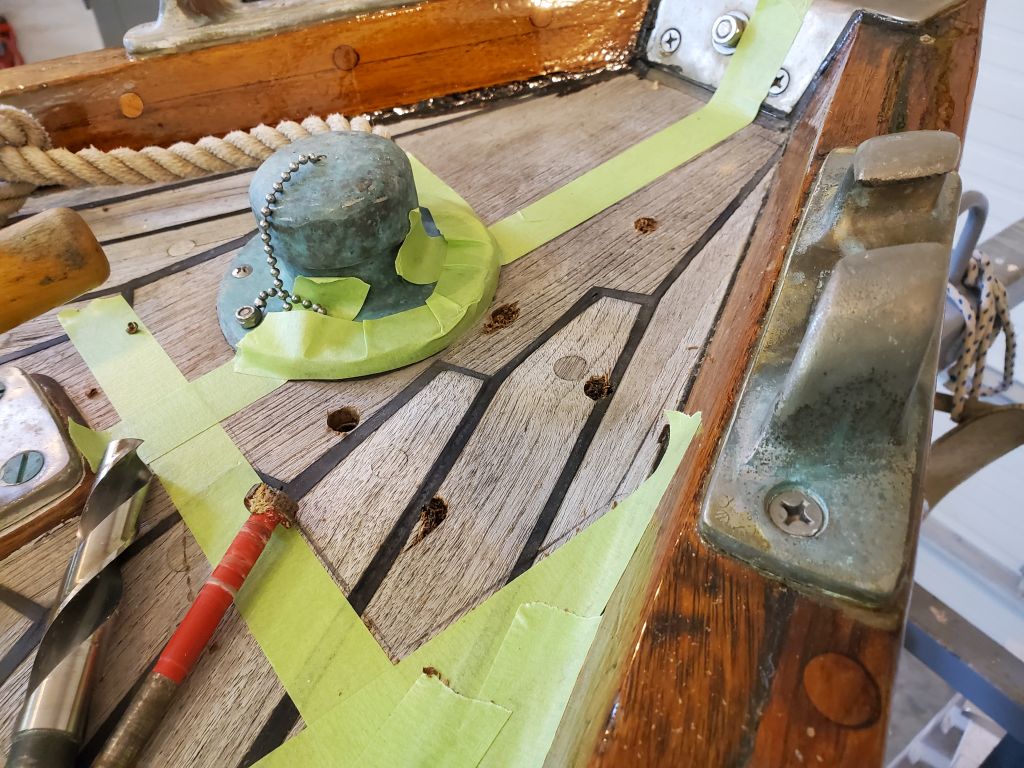
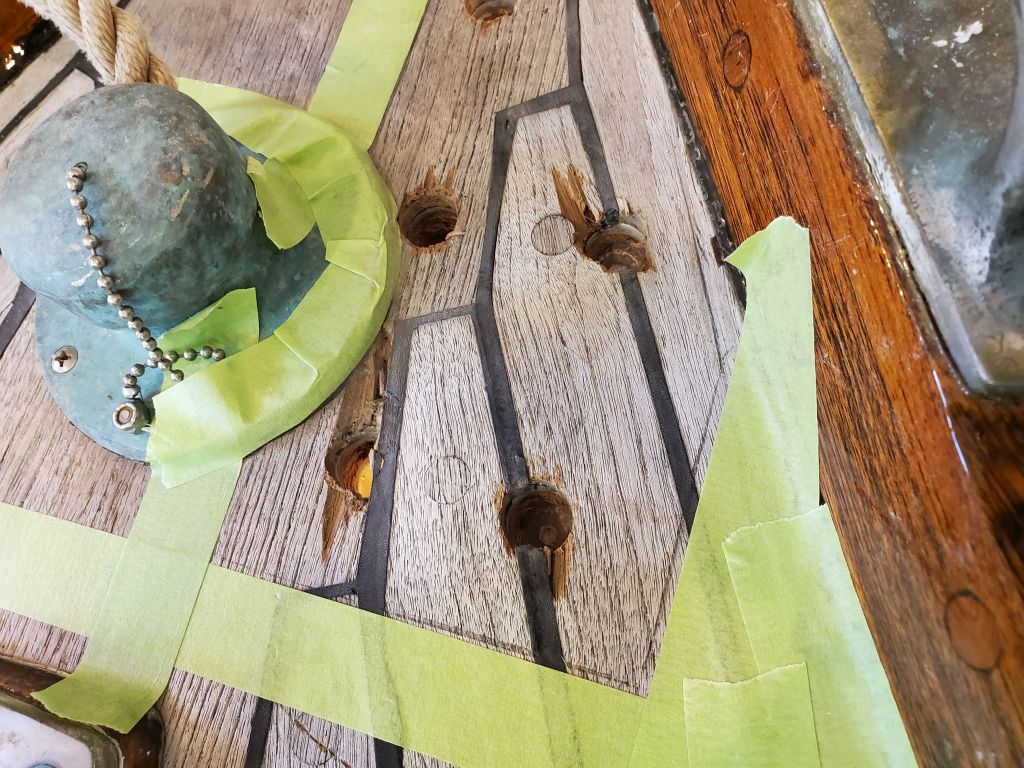
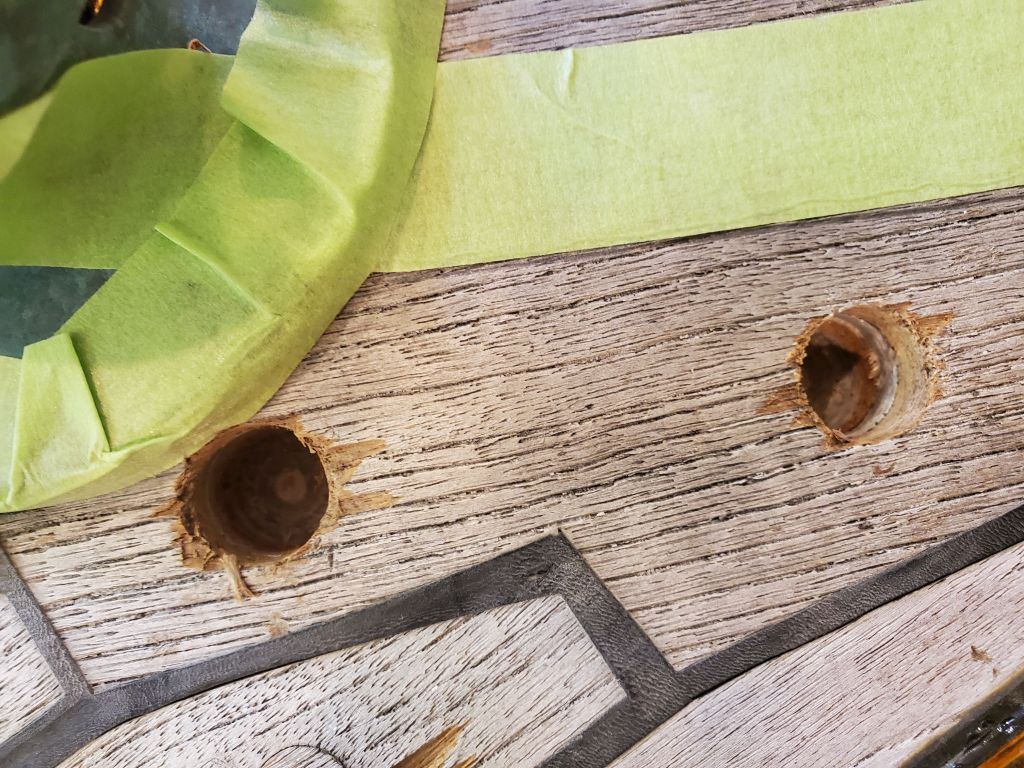
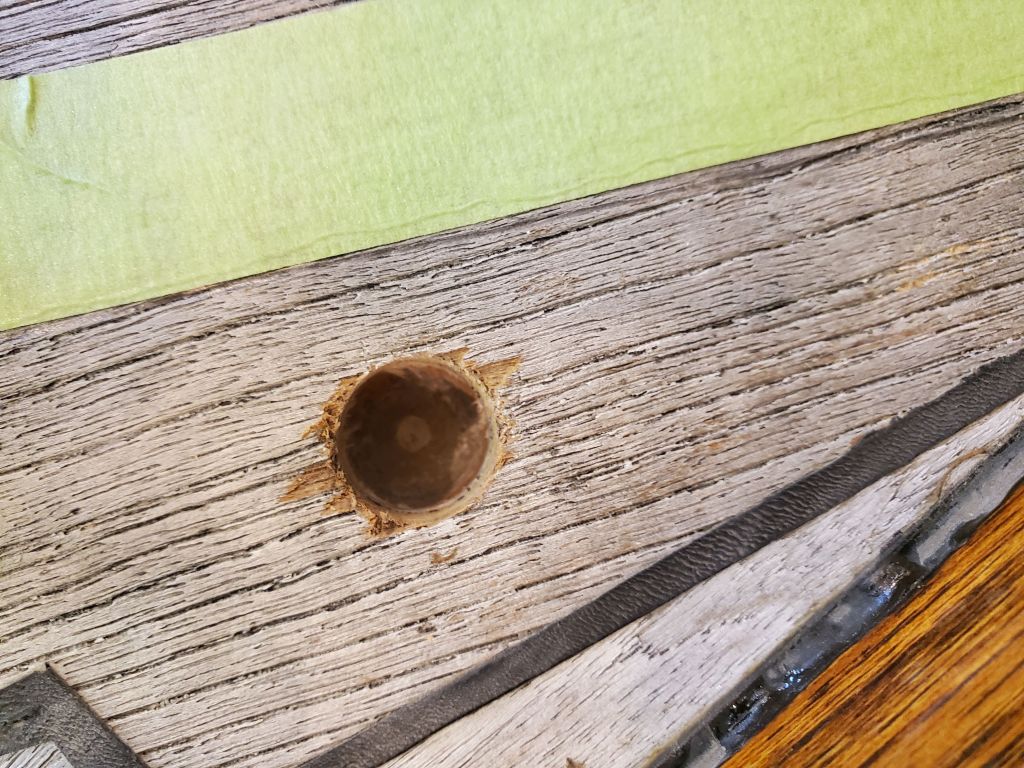
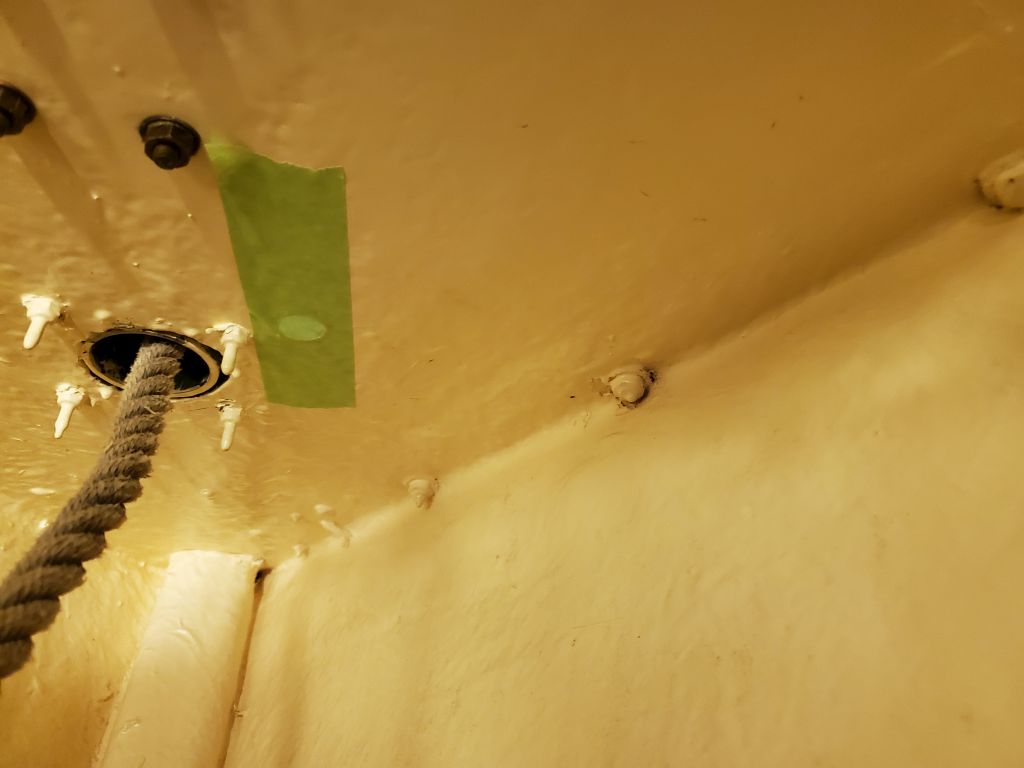
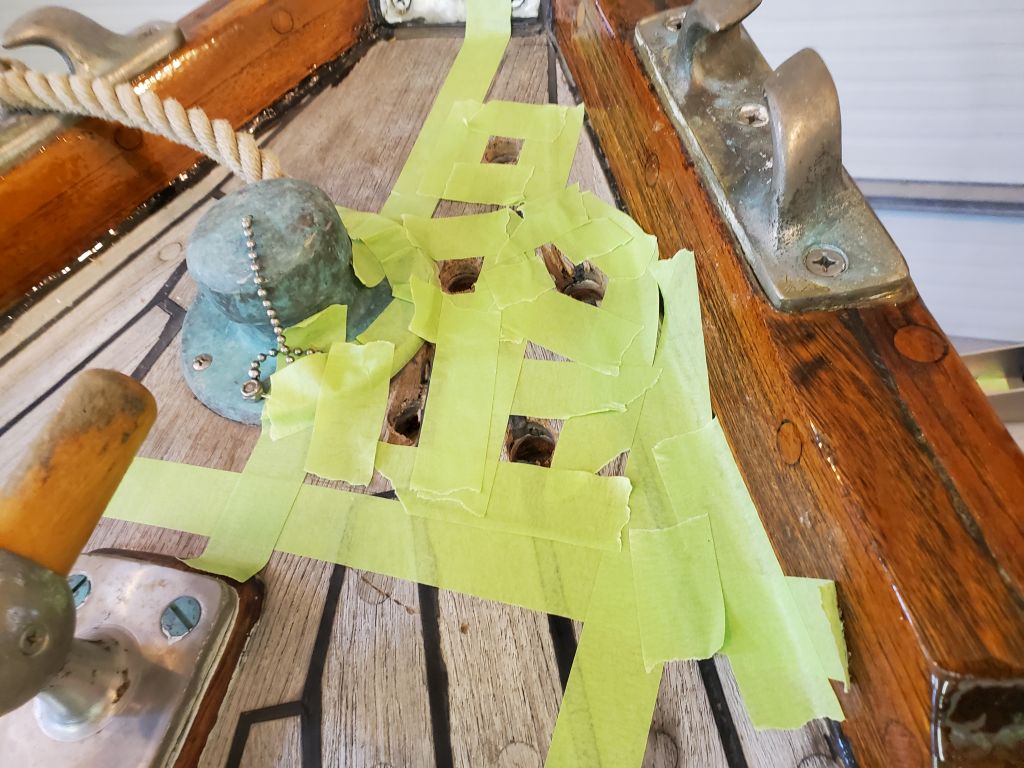
I also drilled out the initial through-hole, then covered it with tape from beneath to hold the epoxy, and I also masked off the deck around the holes, though this whole area would eventually be covered by the roller support block. I filled all the holes with a thickened, strengthened epoxy mixture, leaving it to cure overnight.
Total time billed on this job today: 1.25 hours