


April 10, 2025
Miss Helen 18
Thursday
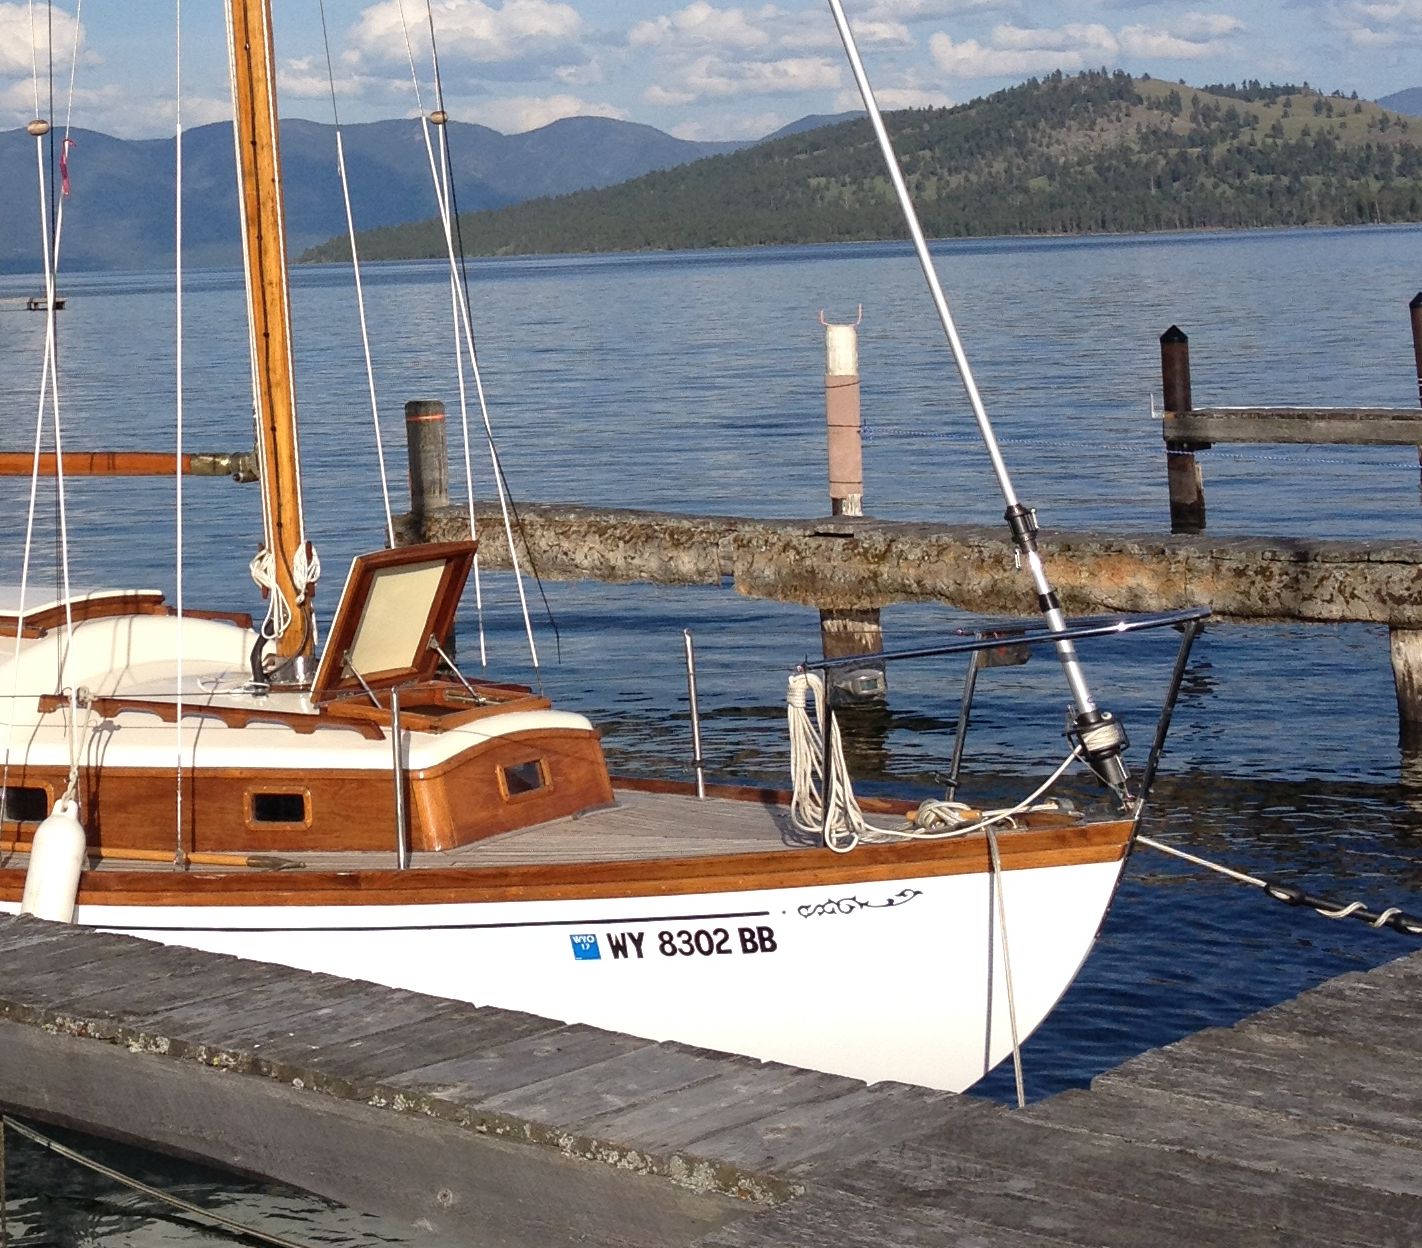
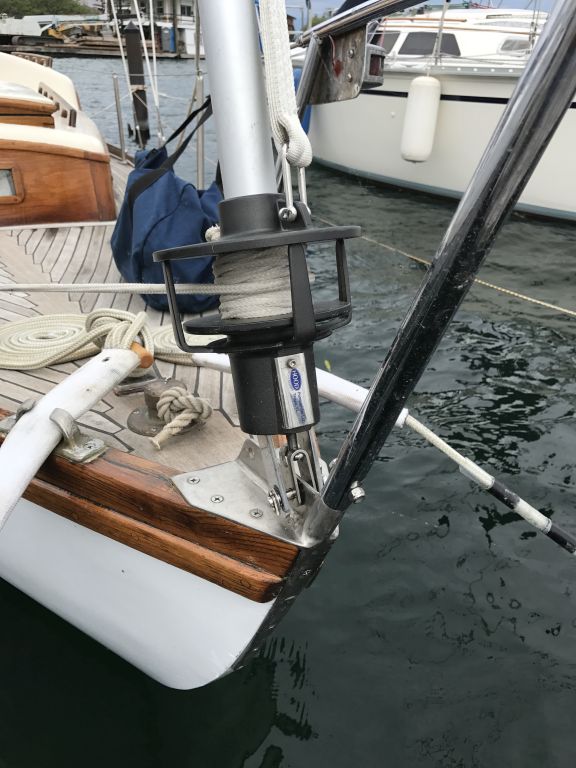
A helpful rigger at the boatyard where the mast was stored got some measurements of the drum and height for me. The bottom of the drum turned out to be 7″ above the pin at the headstay, and the diameter of the vertical cylinder (and also its height) beneath the drum was approximately 3″. These were the two crucial measurements I determined I needed to see how well the anchor and roller cleared.
To help me make a mockup, I also found some basic dimensions for the furler–or one similar to it–online. This gave me an idea of the diameter of the furler drum–9″.
From these measurements, I built a crude mockup from cardboard and a roll of black tape that happened to be 3″ in diameter. I attached the components to a wooden stir stick, and clamped the arrangement to the stem plate at the approximate angle of the headstay, which I could figure from the ghost of the headstay fitting visible on the plate.
With the anchor and roller in place where they belonged, I was happy to see that there appeared to be no clearance issues with the drum (most important) and the cylinder beneath it (just about as important). Even better, there was plenty of room for error in the setup, in case my mockup was off (how could it be?) or to allow for other minor variations. I thought my drum mockup was a bit large in diameter, but it was the best information I could find and I’d rather it be too large than not large enough. In any event, the furler drum was well clear of the anchor, other than during times of manipulating the anchor in the roller itself, where (as is typical) some care would be required to keep the shank away from the drum when transitioning between anchor storage and deployment.
The first two photos show the actual furler in place for comparison against the mockup.
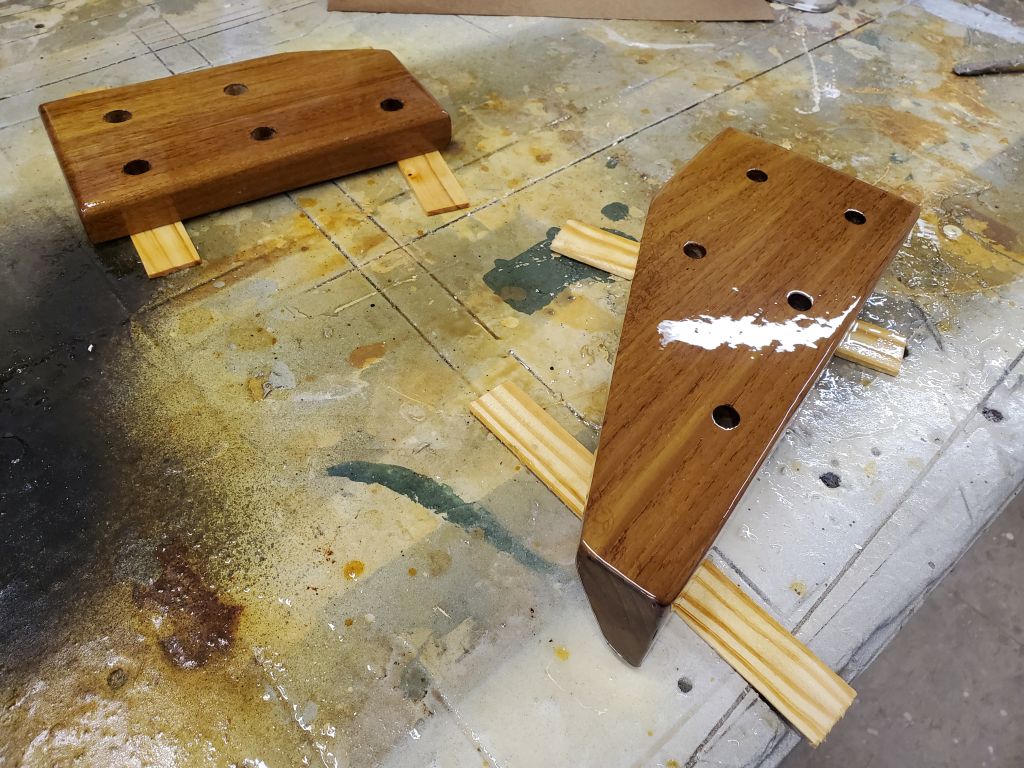
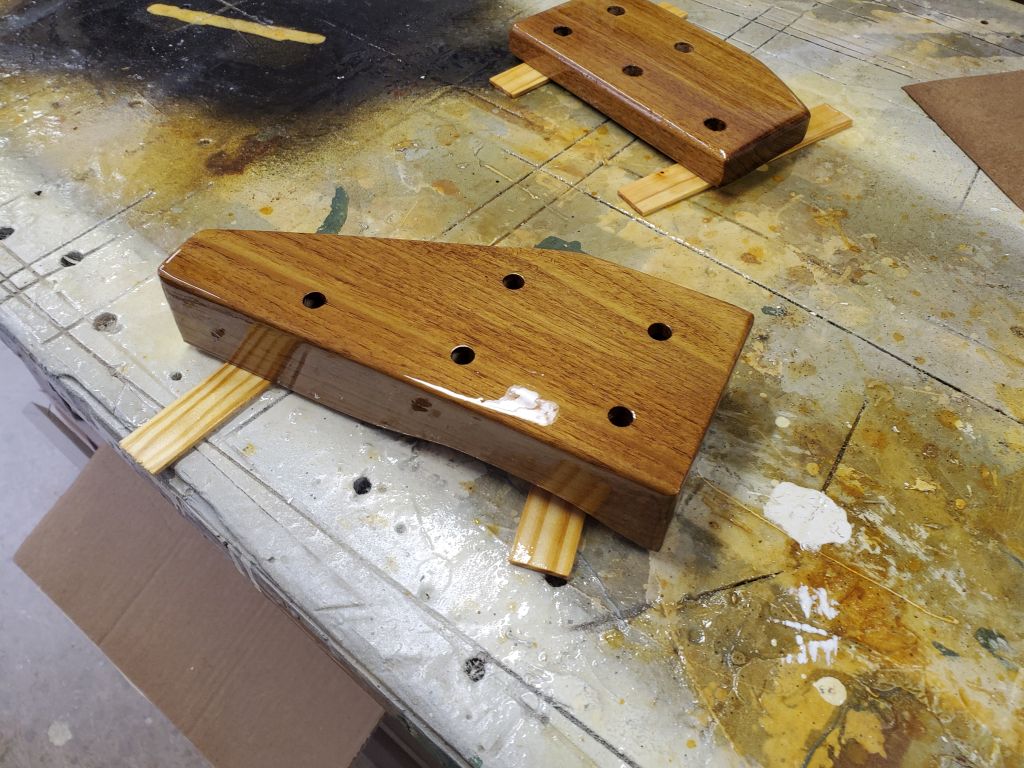
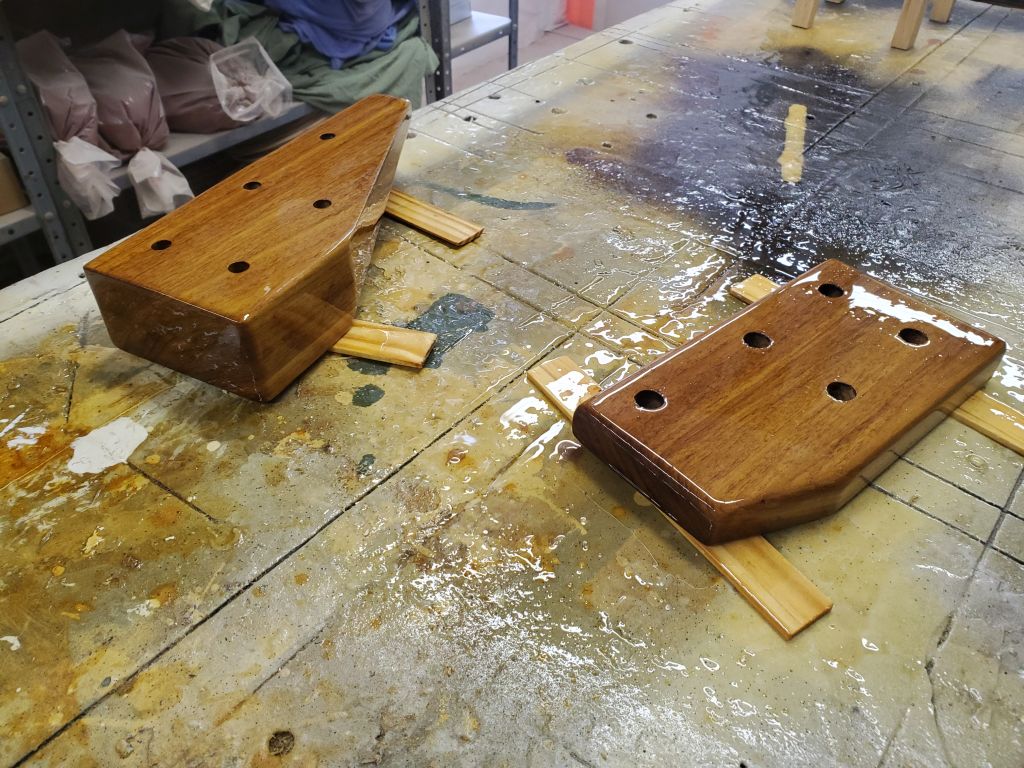
Given these findings, I planned to proceed with the final installation once the support block and backing block were ready for installation, after a bit more varnish, which process I continued now.
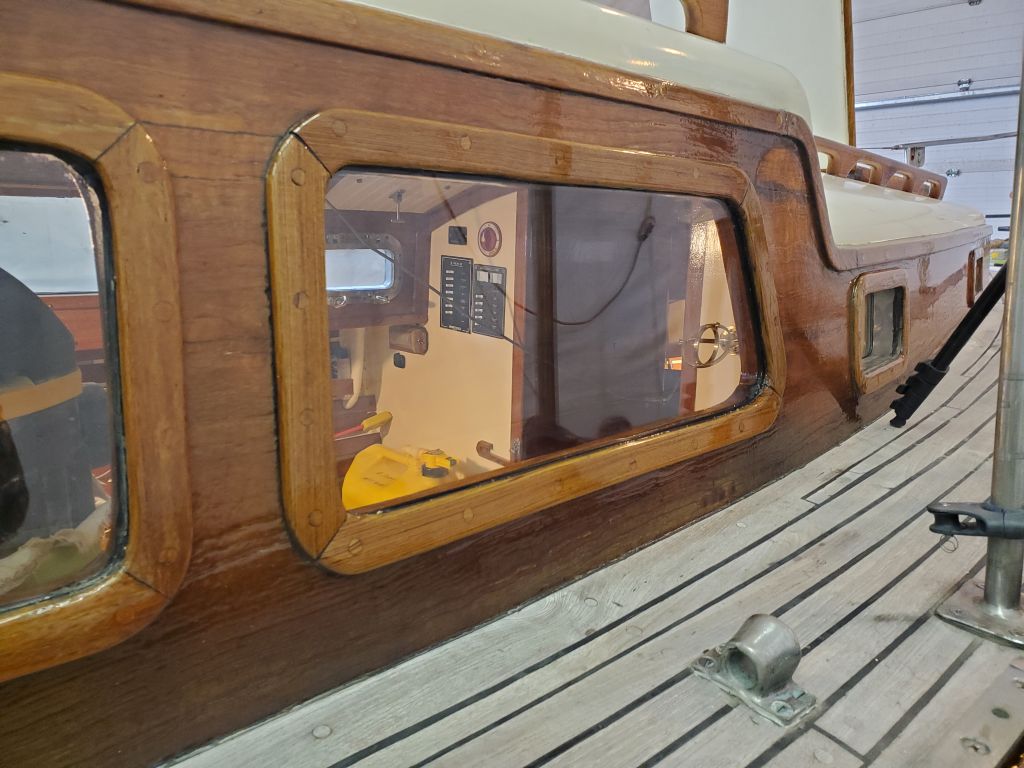
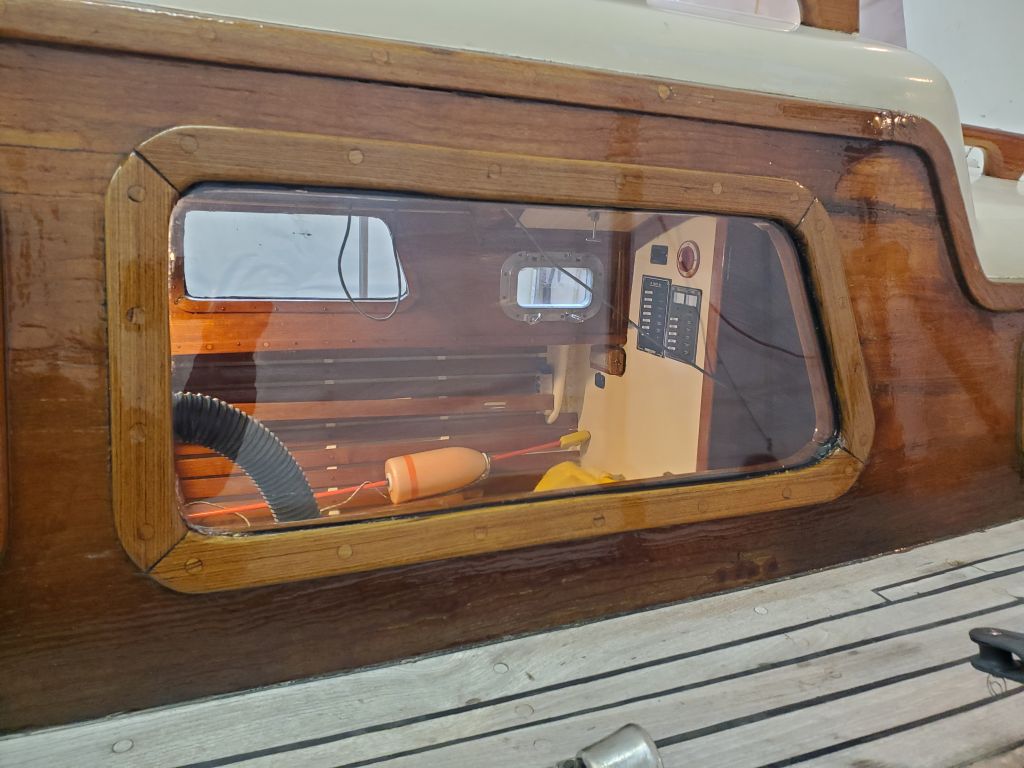
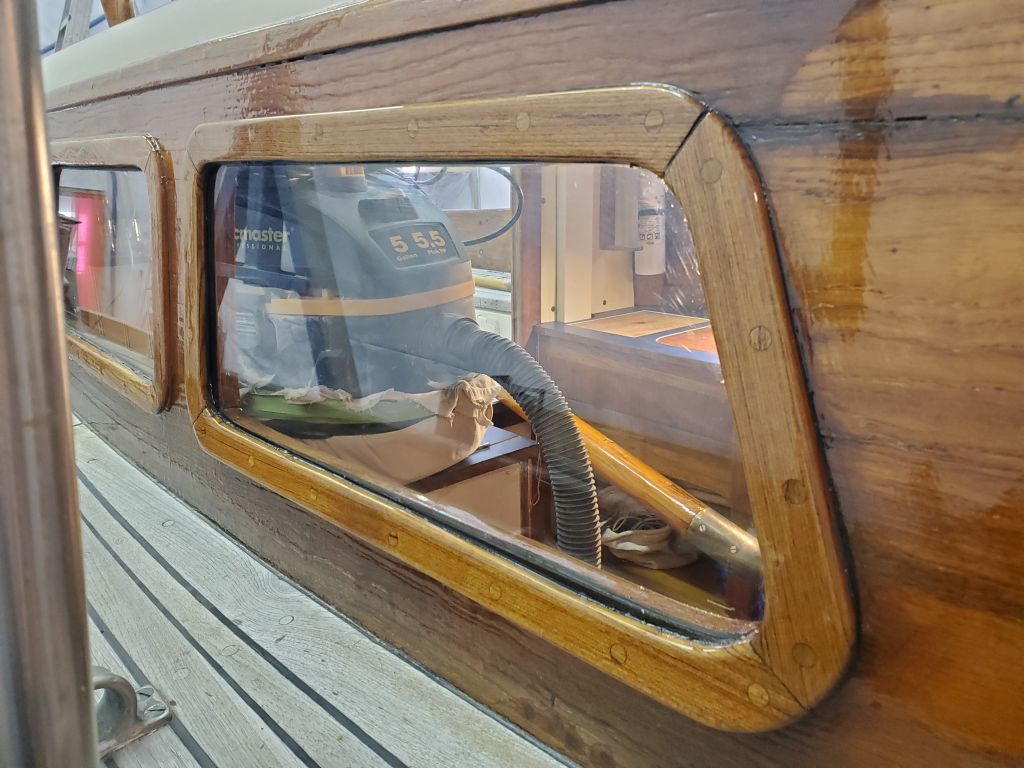
Finally, I removed the tape from the starboard deadlight, now that the trim and bungs had ample varnish buildup.
Total time billed on this job today: 1 hour