


April 8, 2025
Miss Helen 17
Tuesday
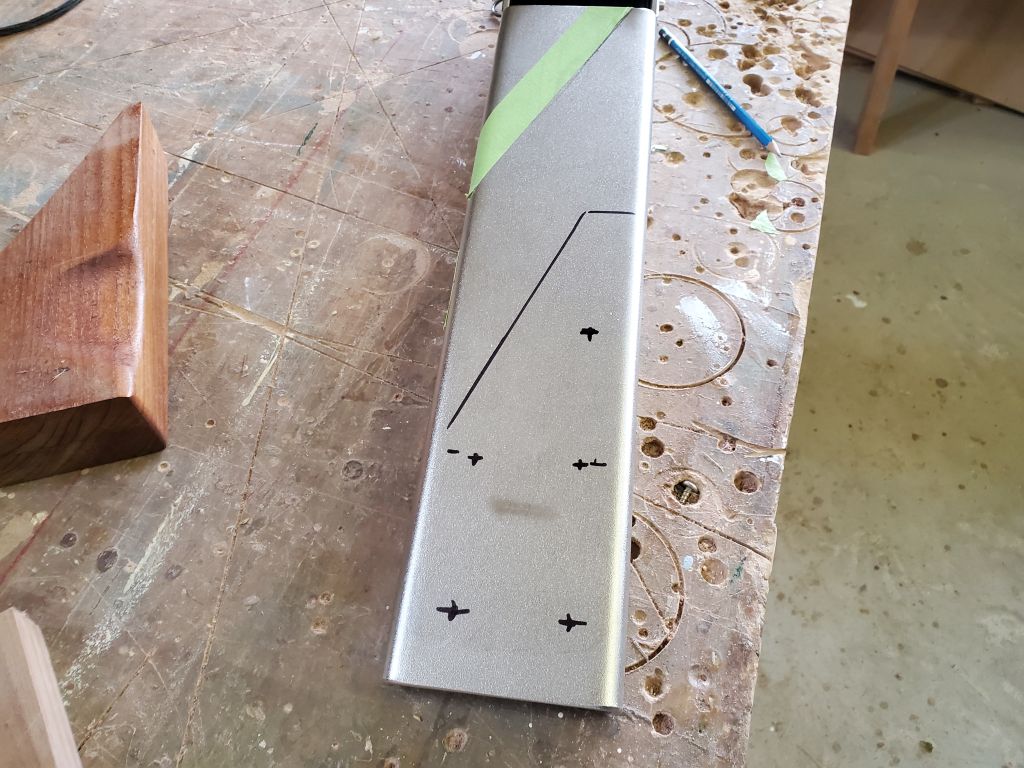
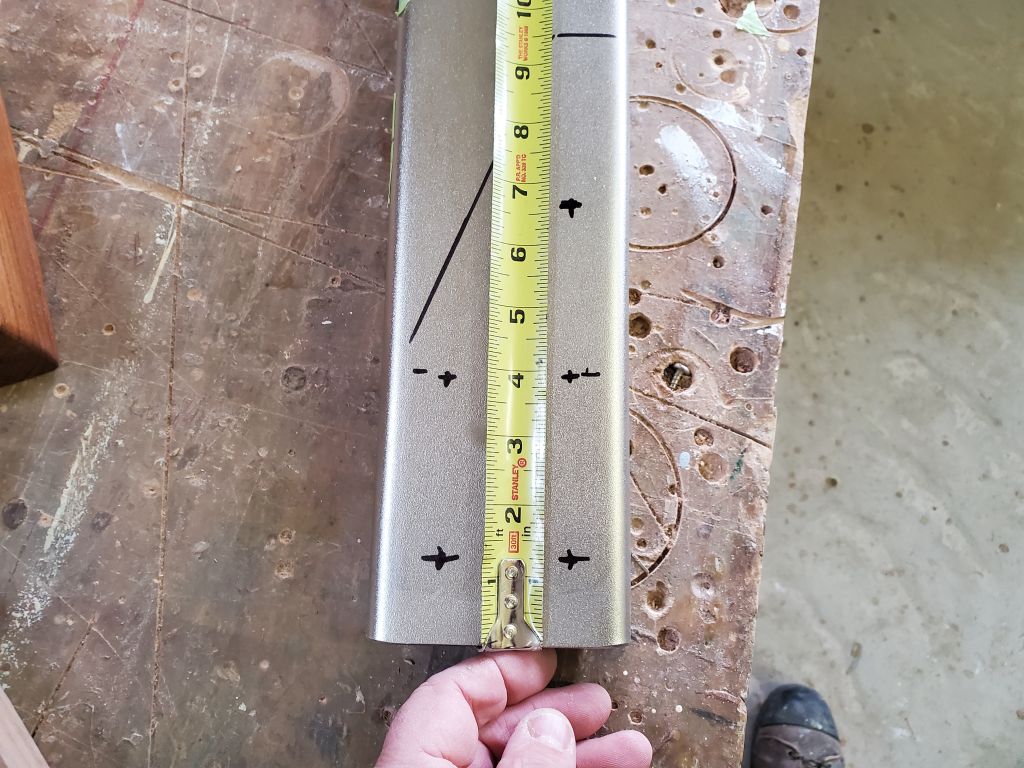
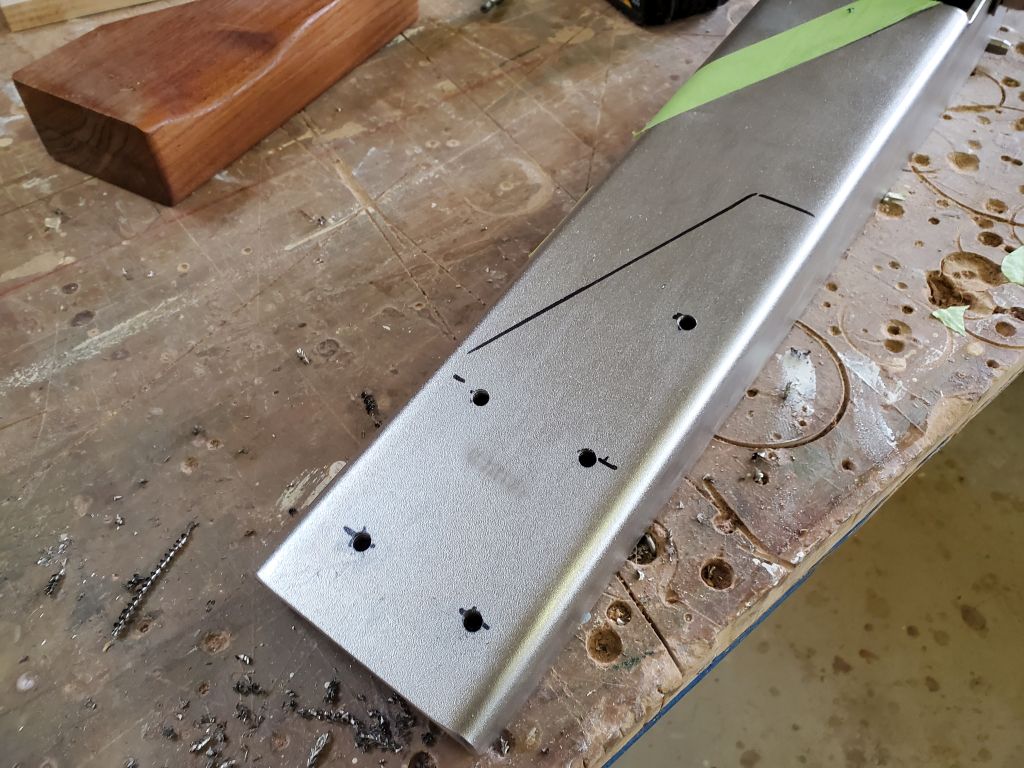
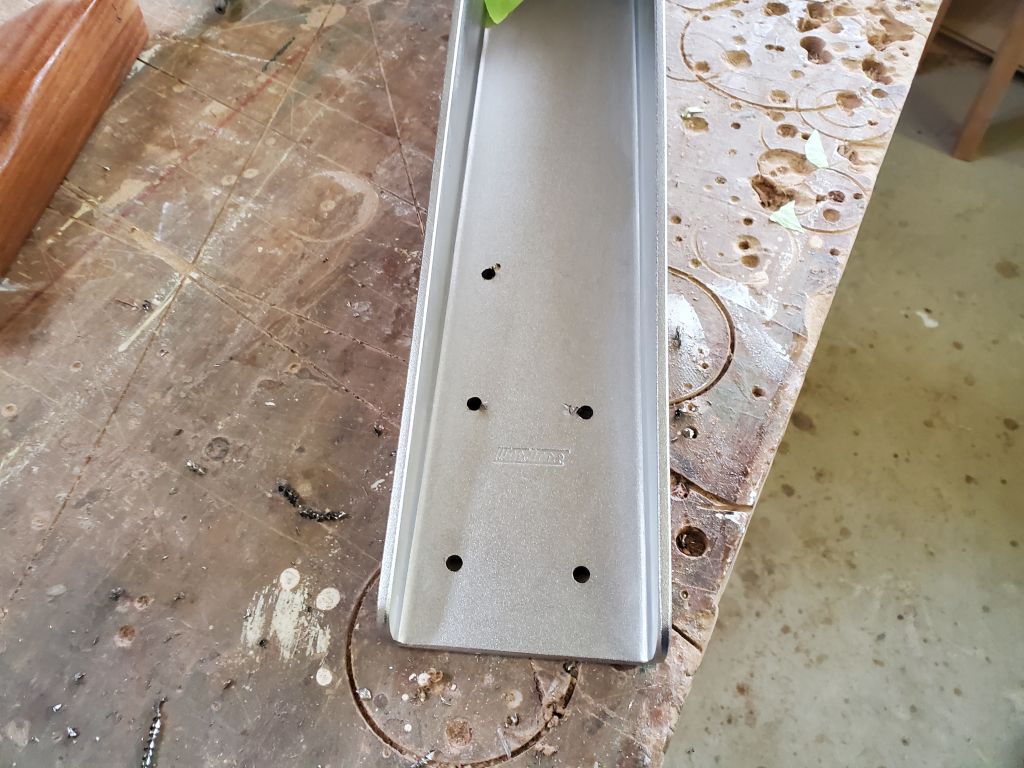
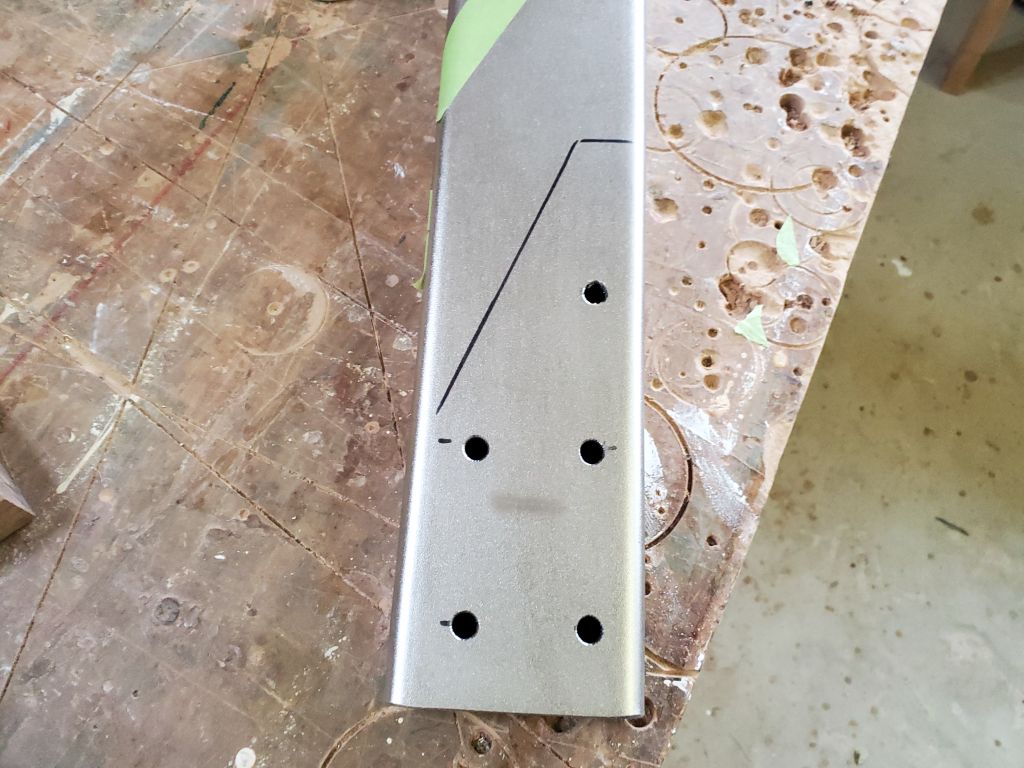
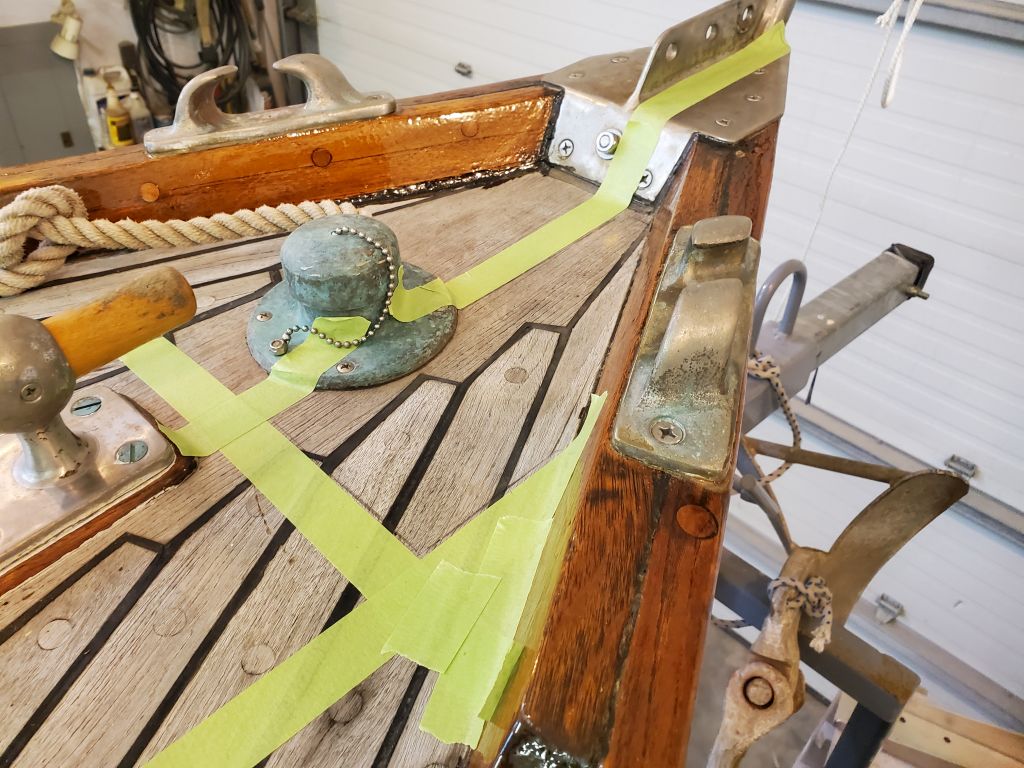
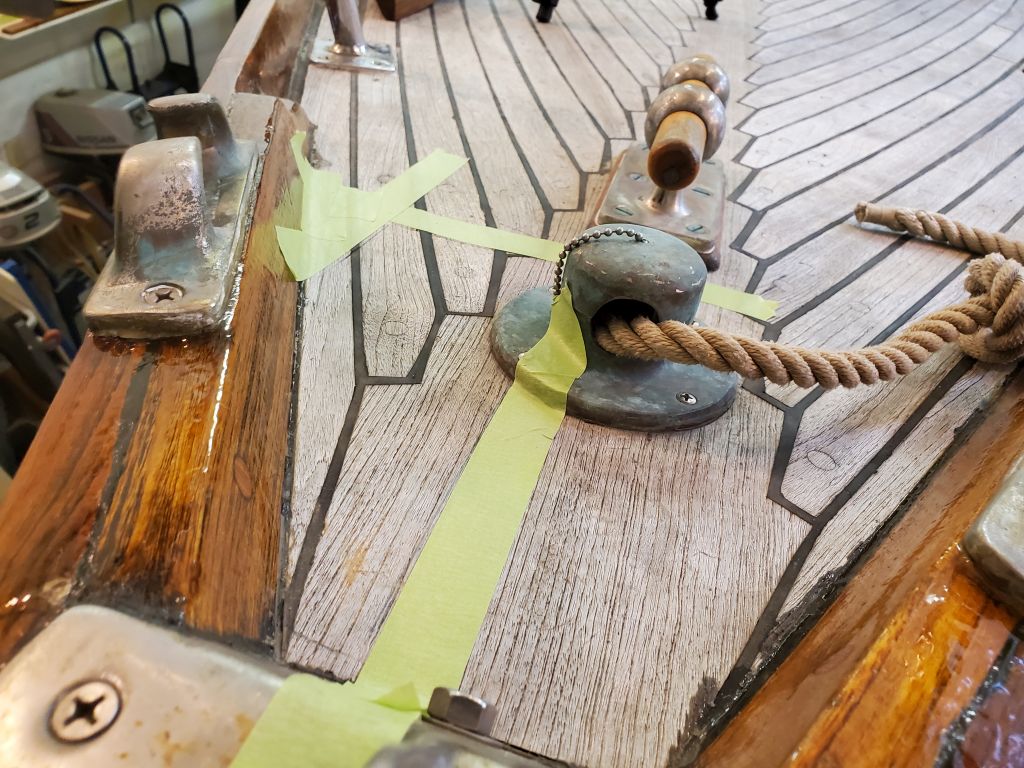
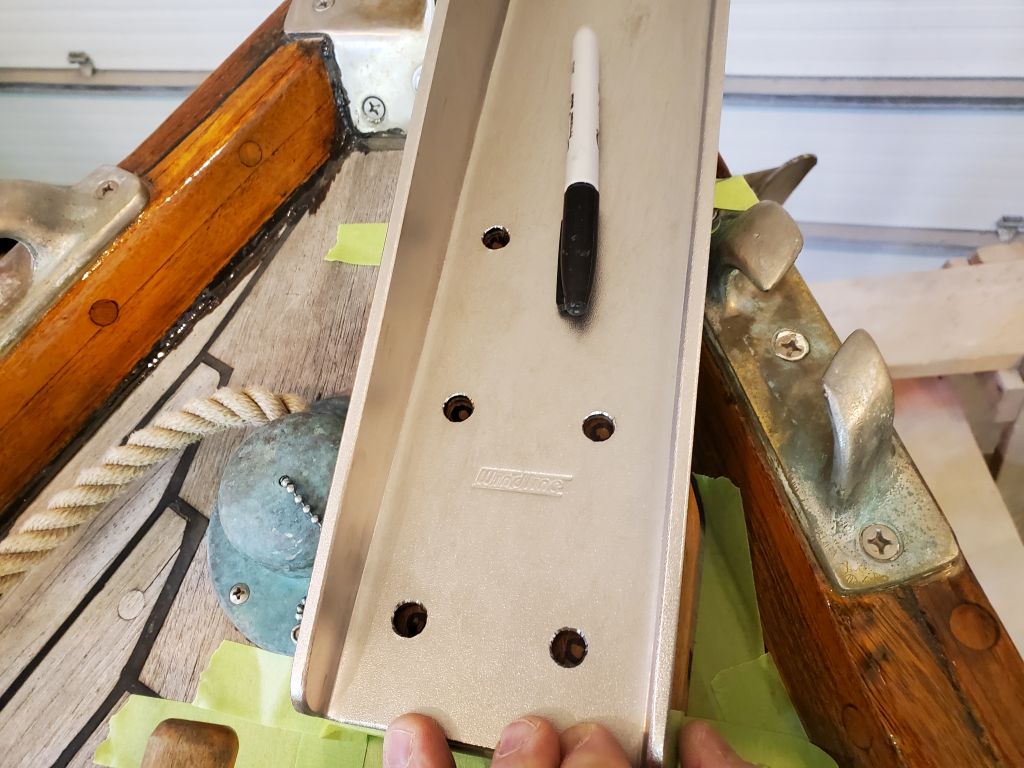
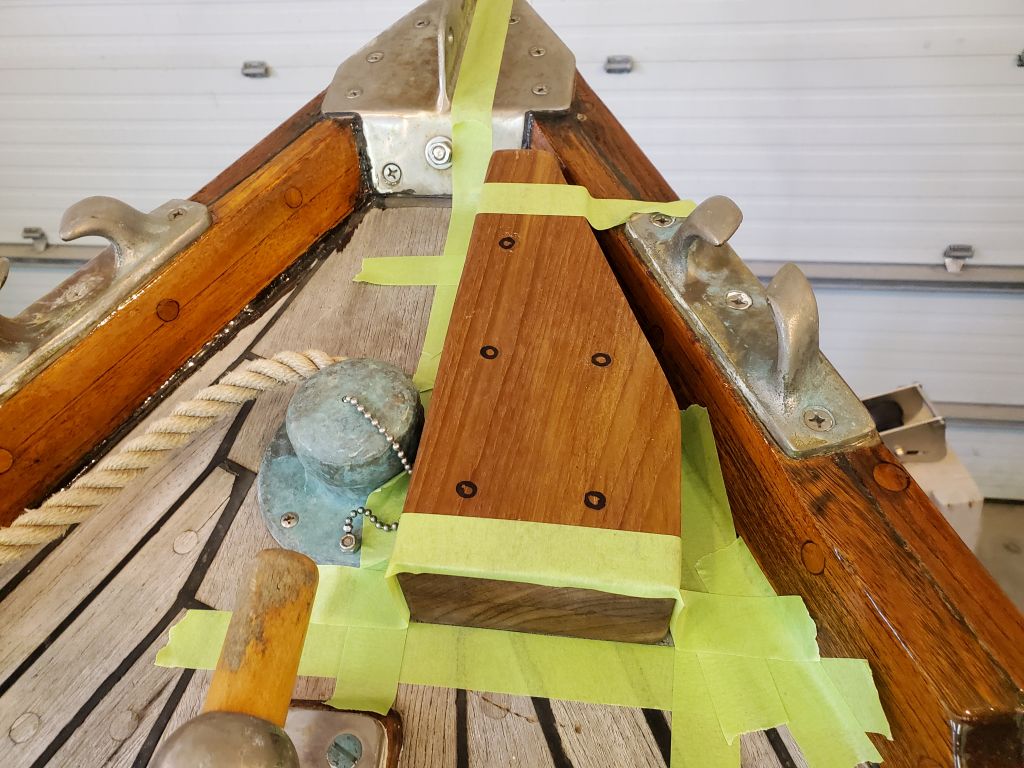
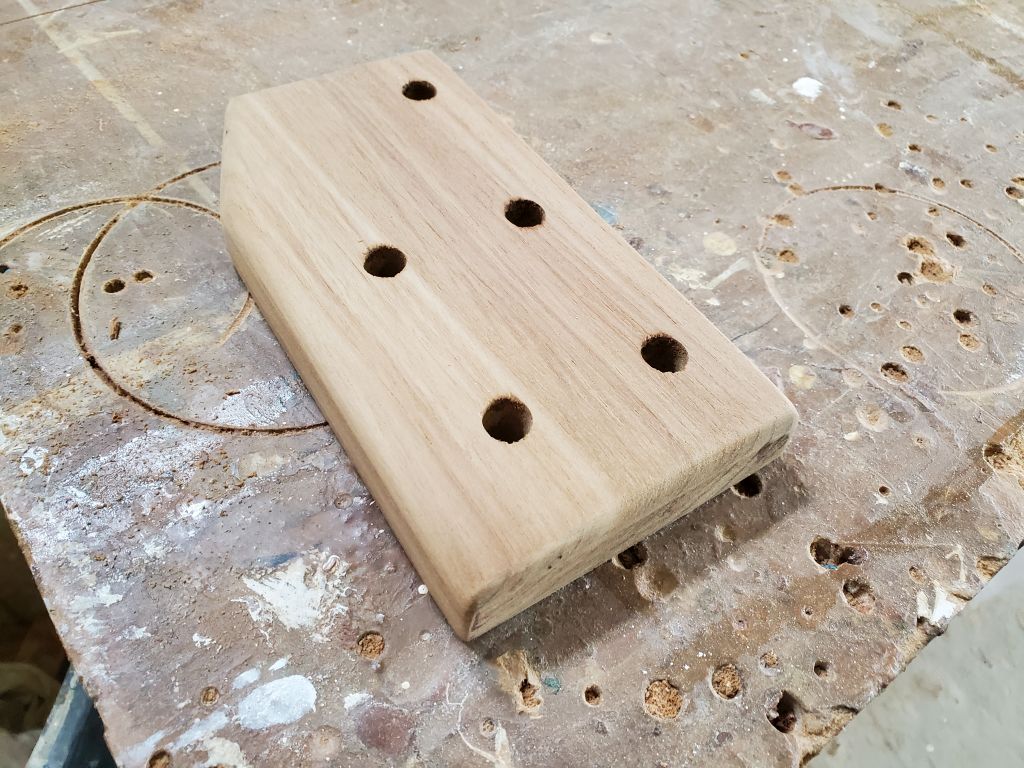
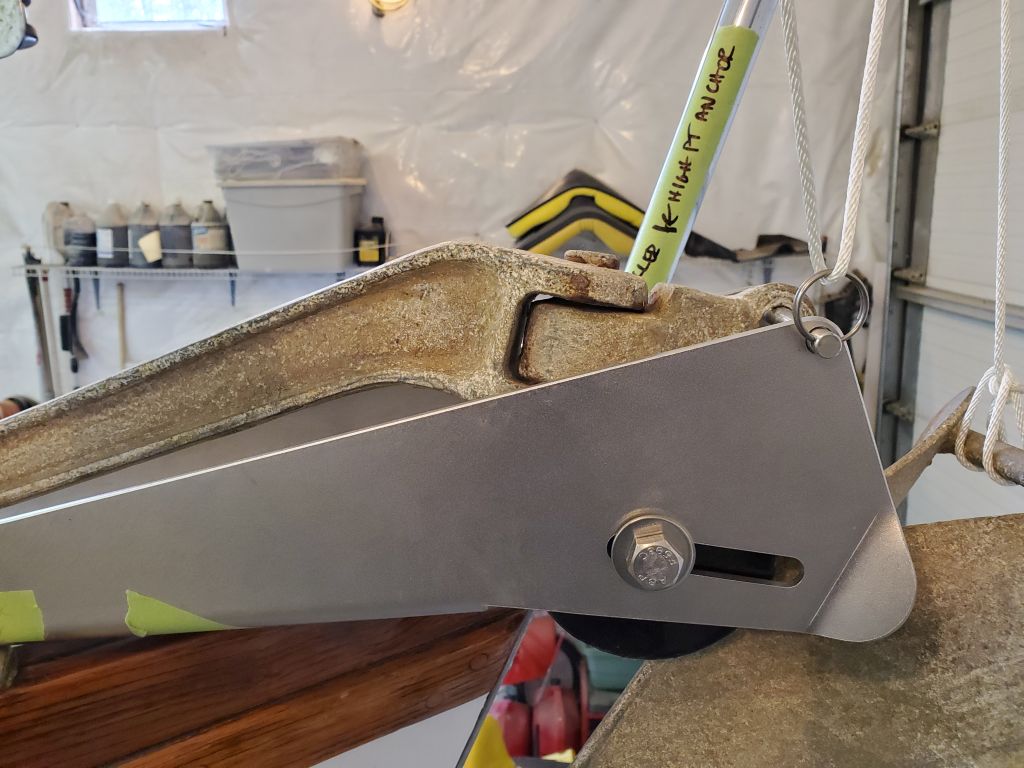
It would be a few days till I was ready to finalize the installation proper of the anchor roller, but to prepare now as much as possible, I used the teak spacer block against the bottom side of the roller to mark the fastening limits, then laid out four holes for fasteners that would ultimately secure the assembly to the deck. After center-punching, I drilled out the holes in the stainless steel in two stages, with brand-new bits: first a 1/4″ pilot hole, then a 3/8″ hole to accept the bolts later. I lightly chamfered both sides of each hole to remove burrs.

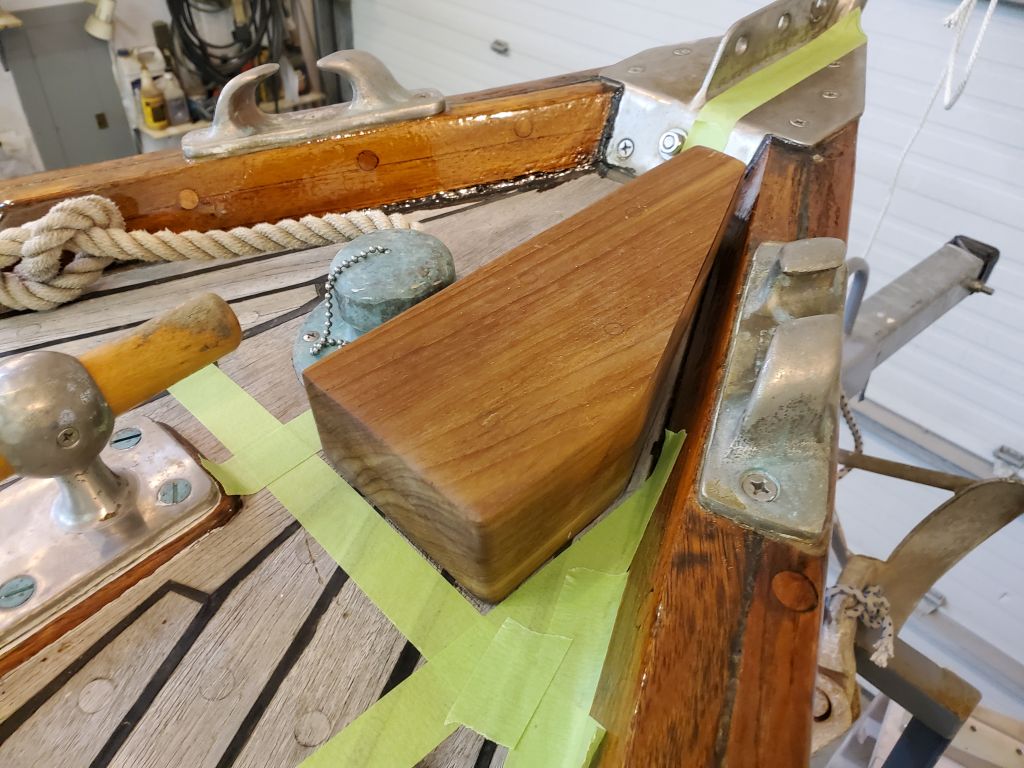
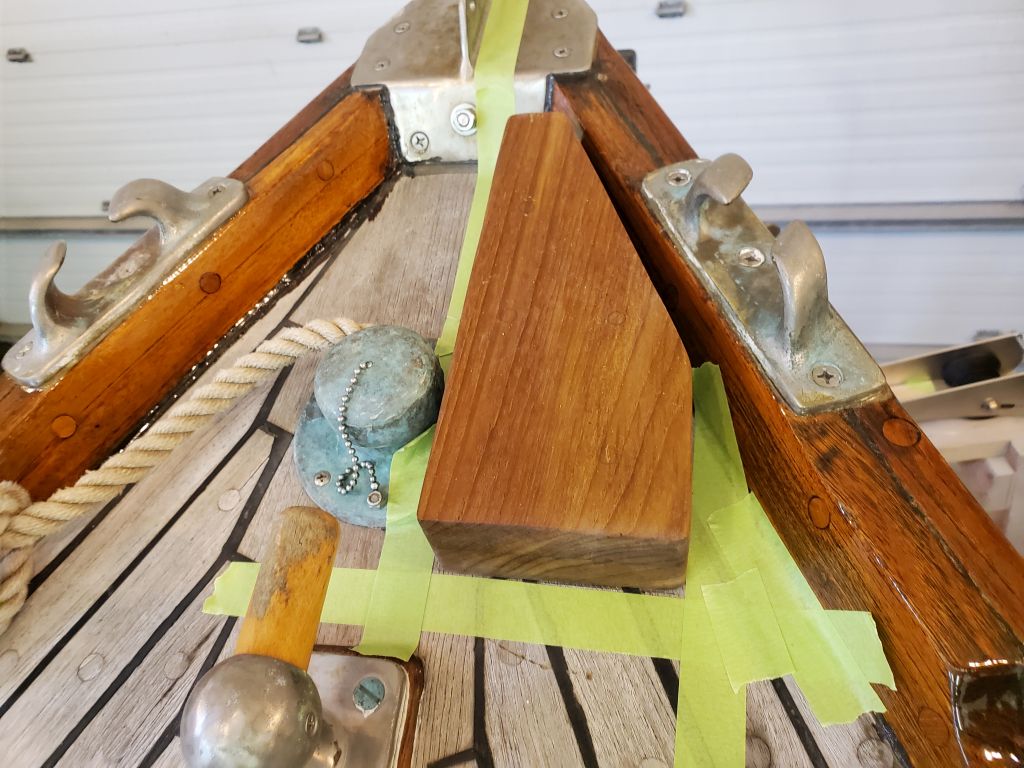
Now I set the spacer block and roller in place on the foredeck and carefully aligned it properly so I could mark the position of the block accurately, and a final time.
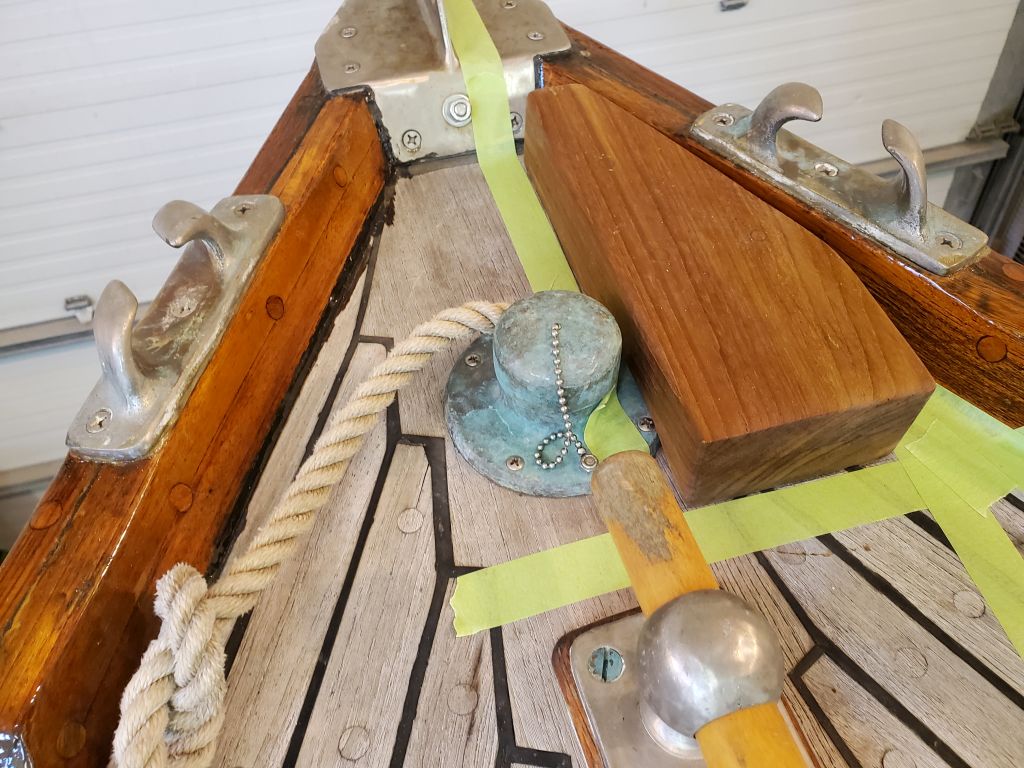
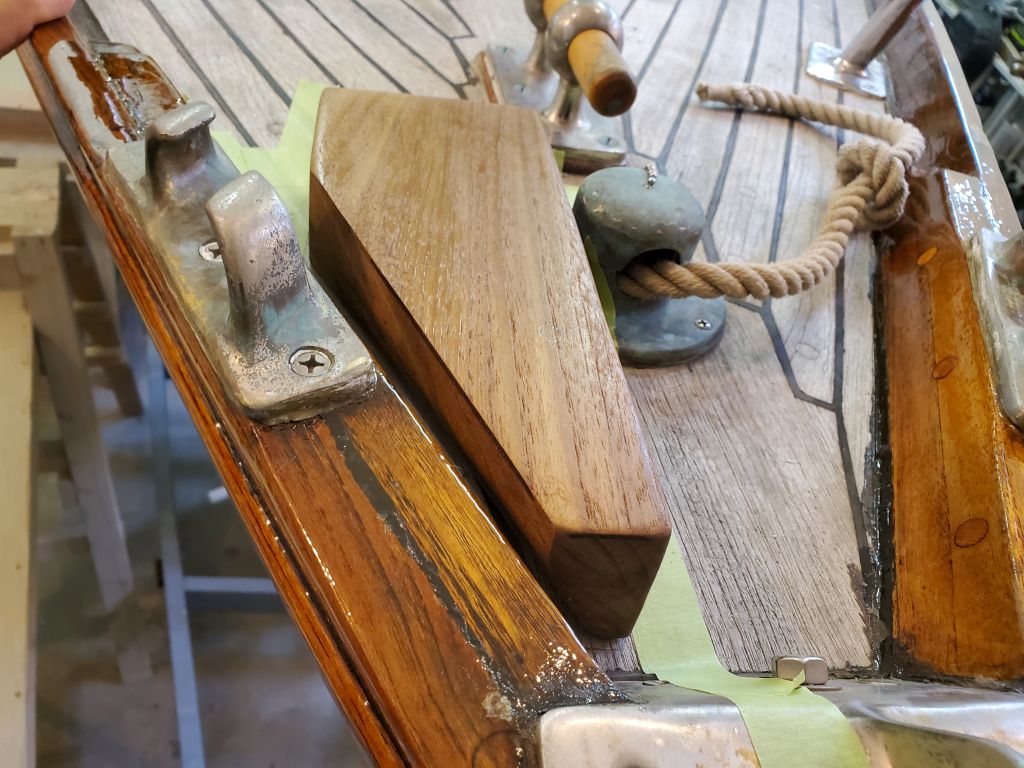
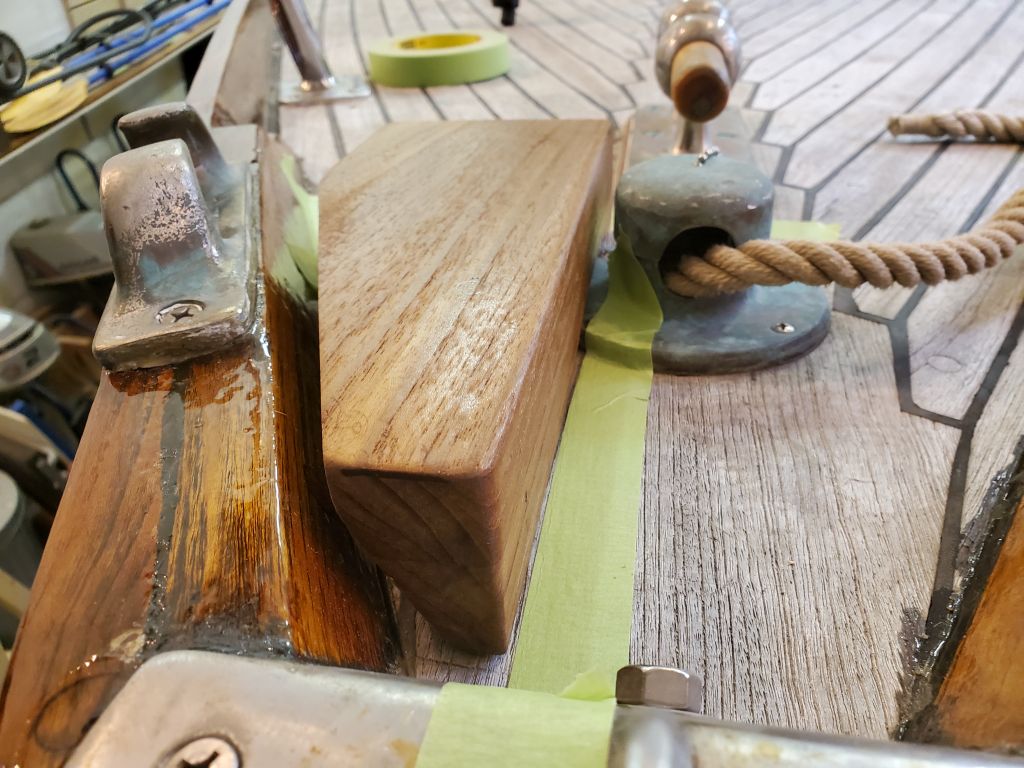
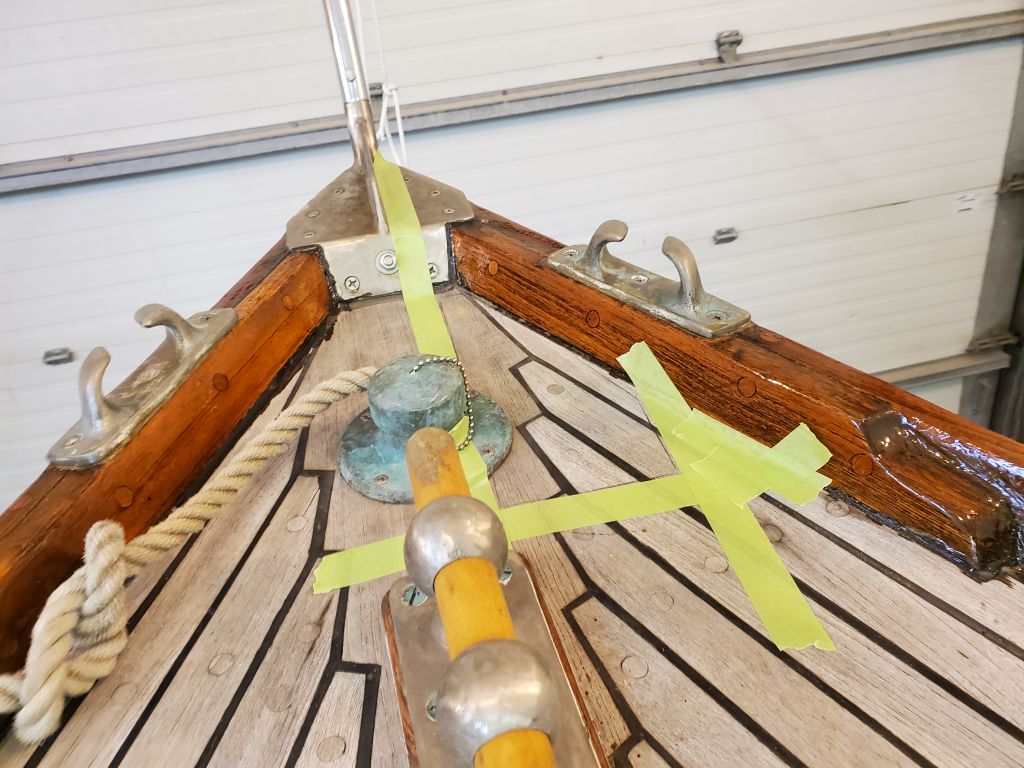
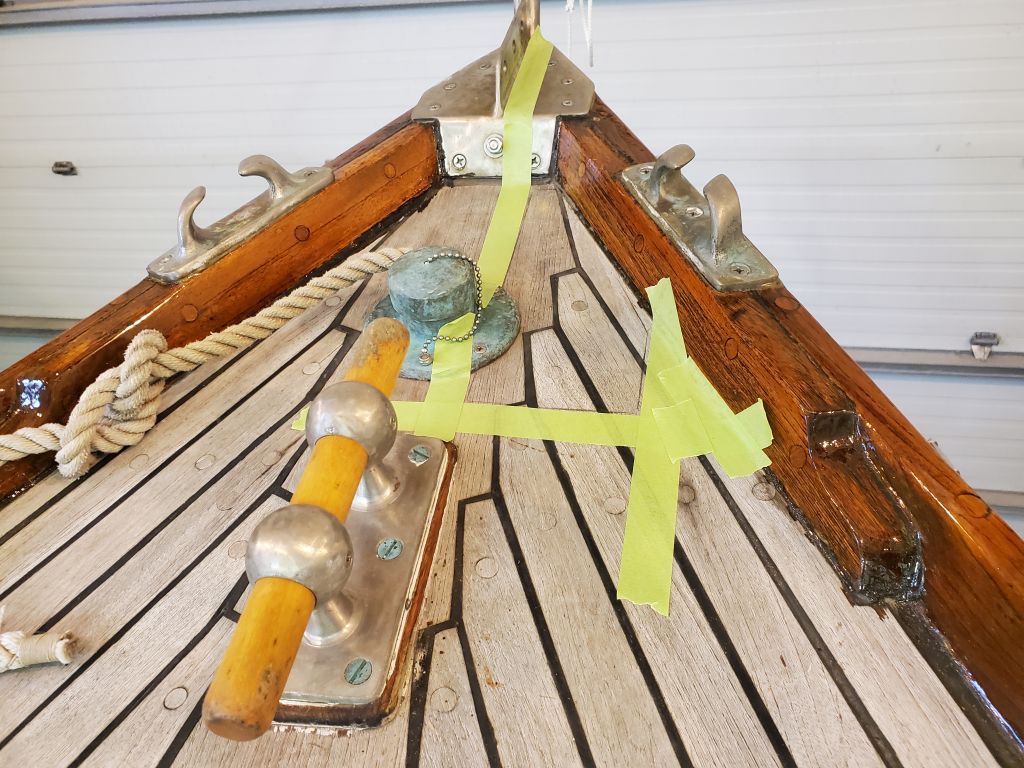
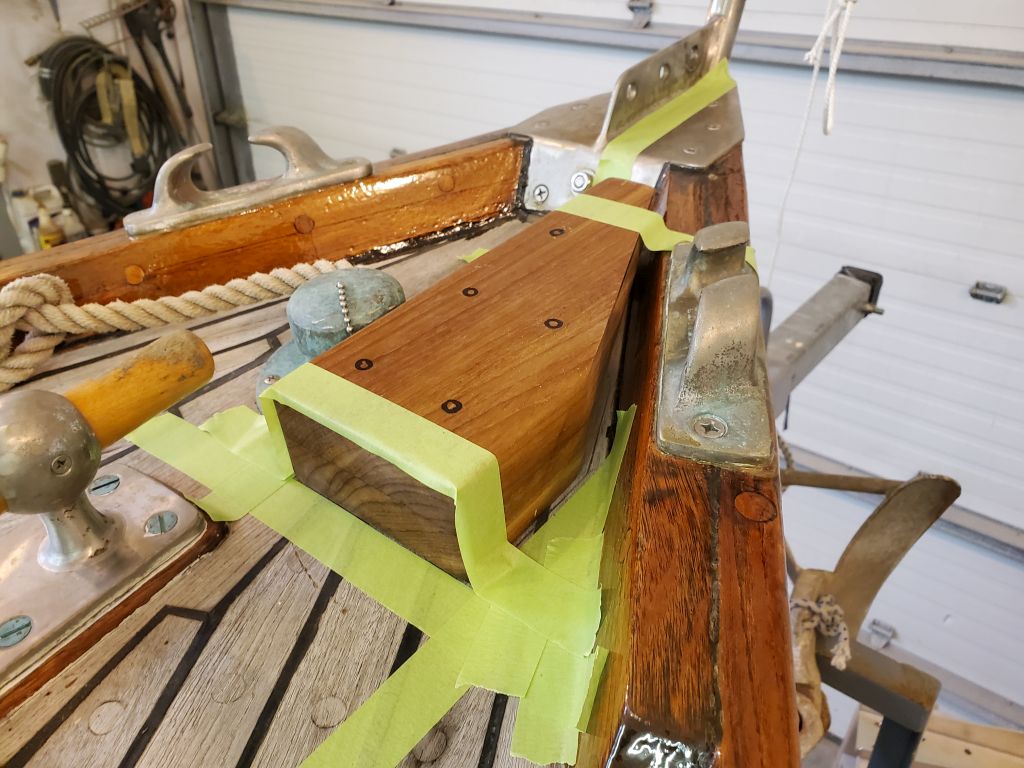
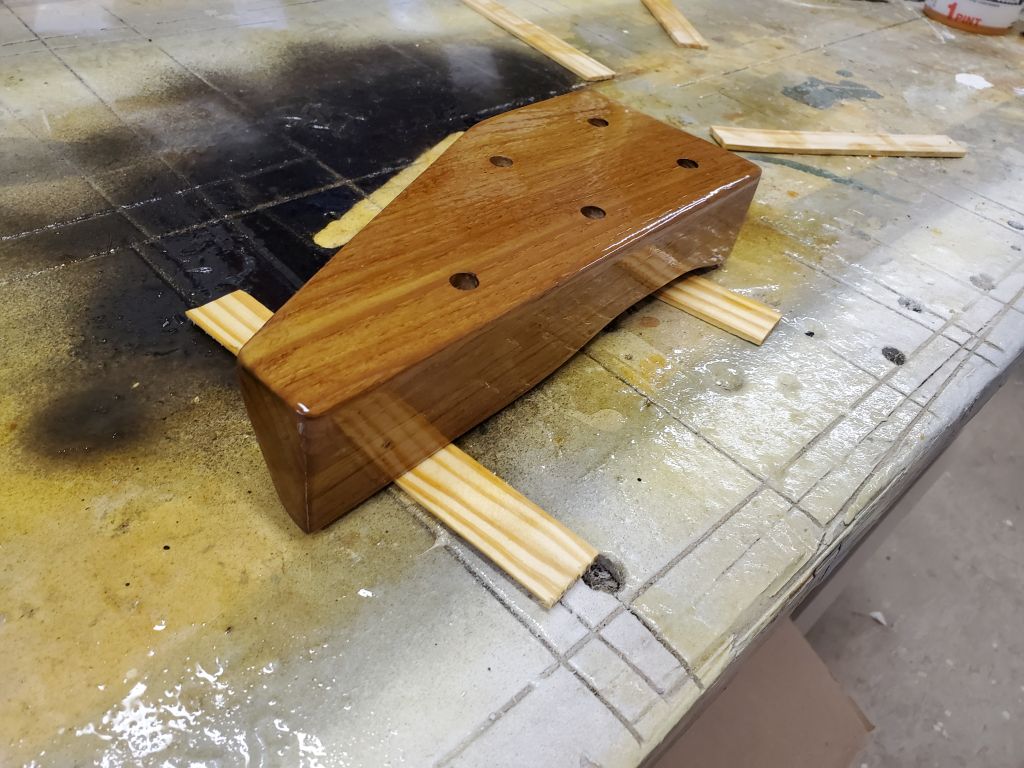
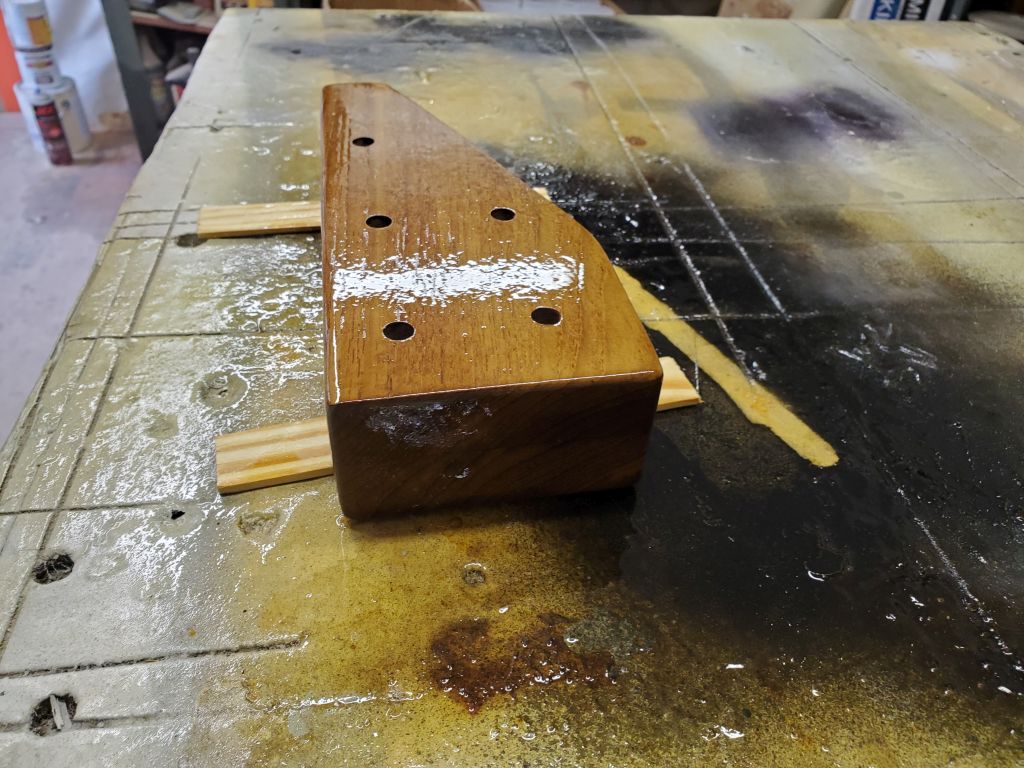
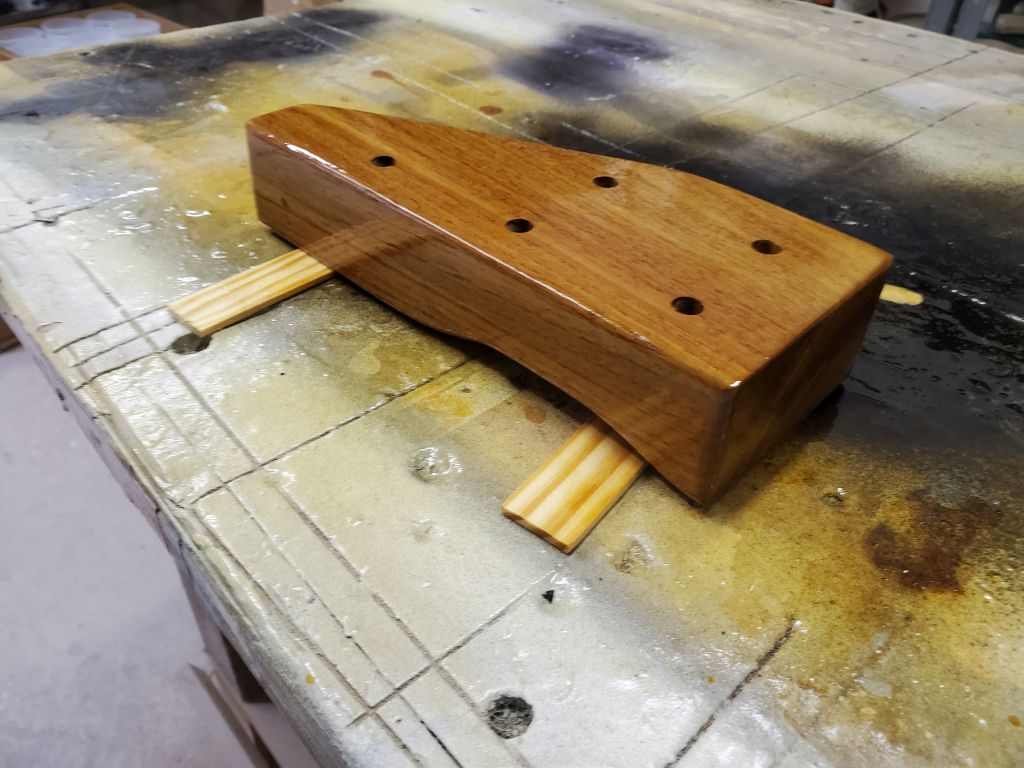
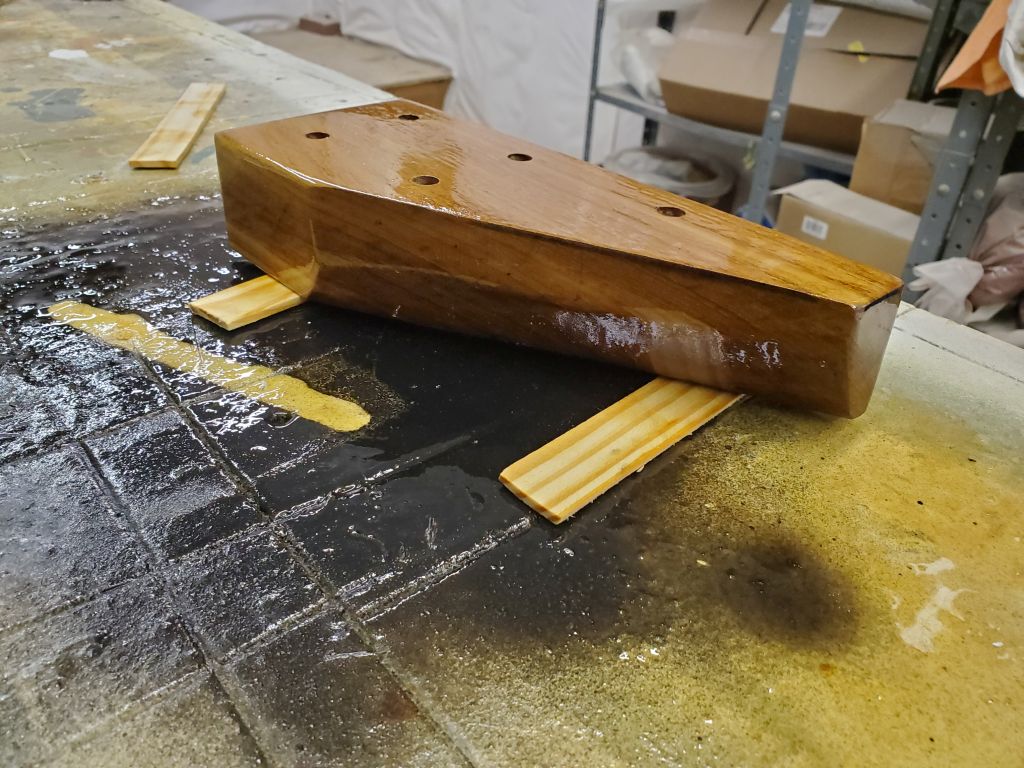
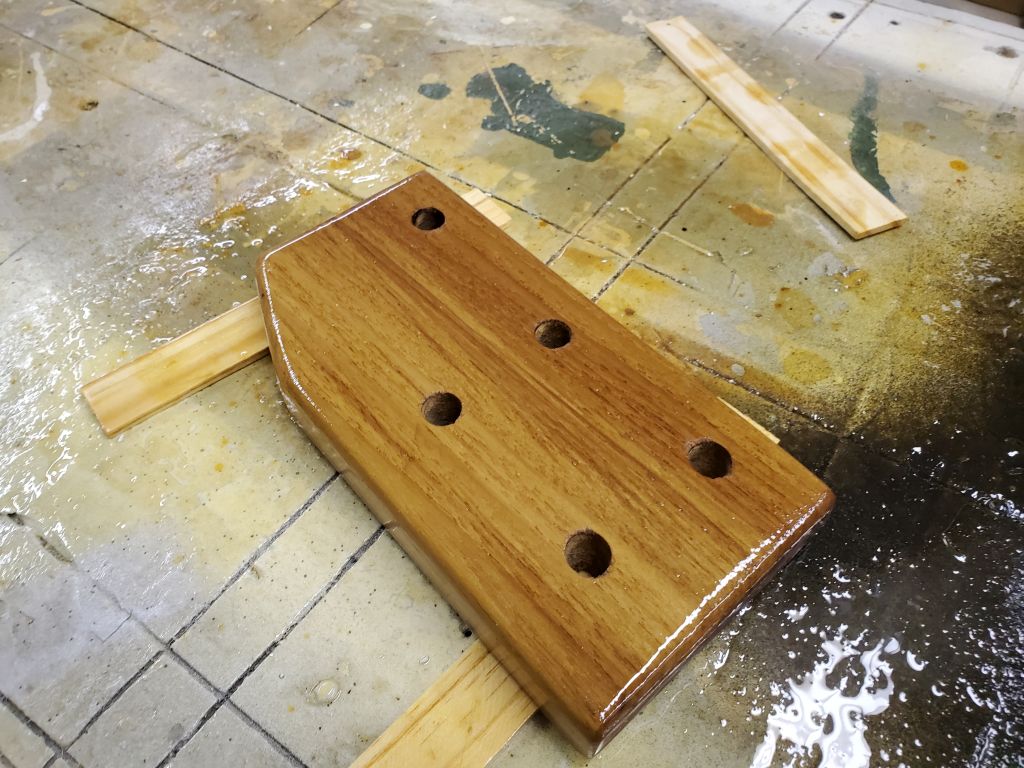
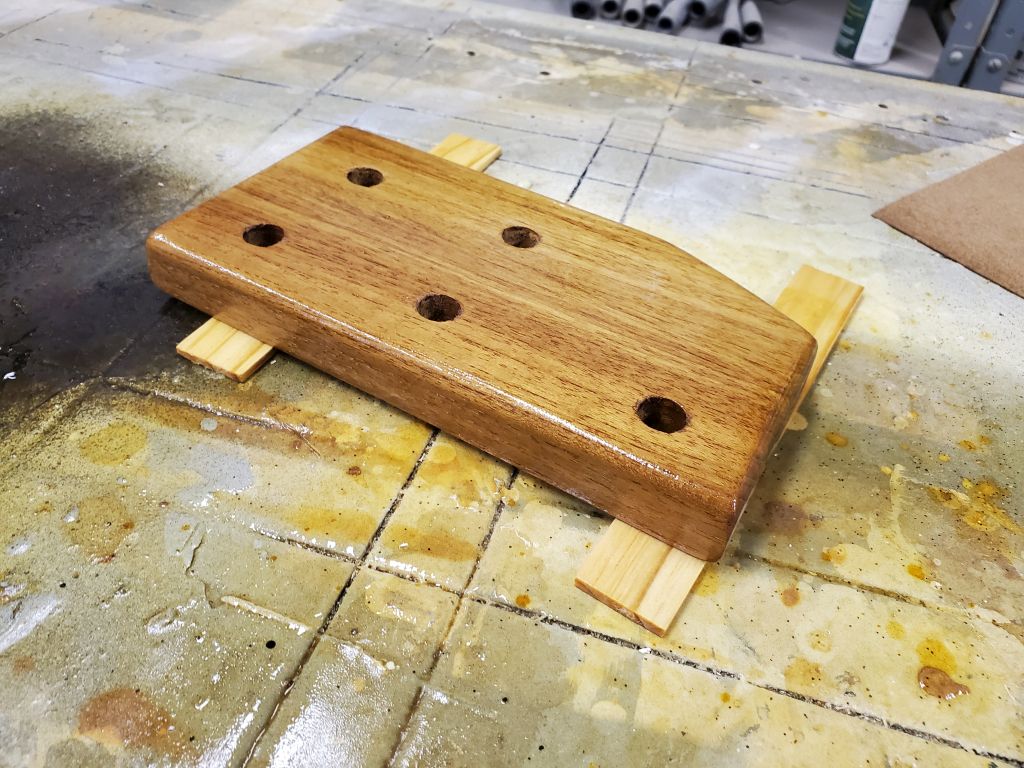
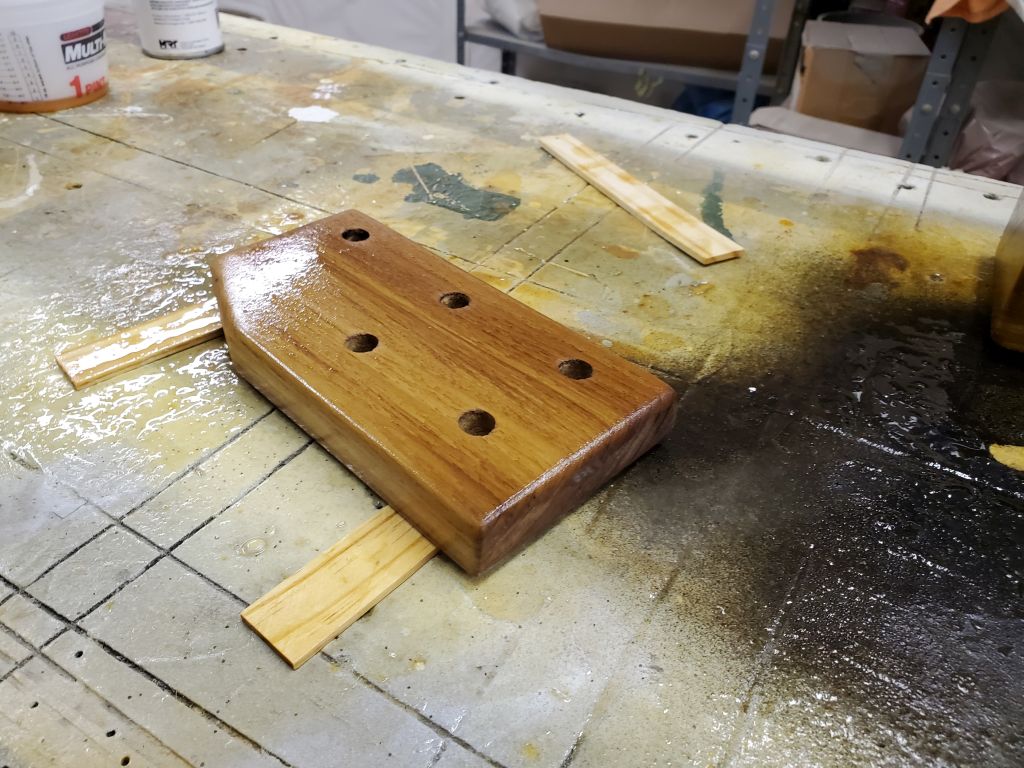
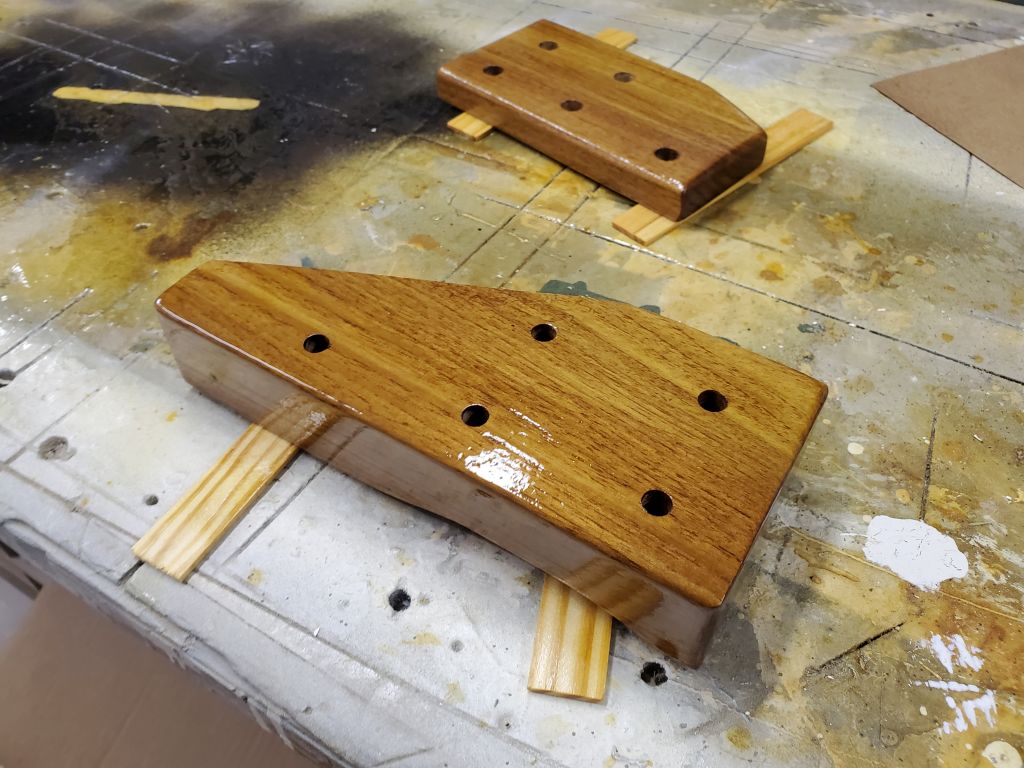
With the roller back in place and positioned accurately, I marked through the holes I’d drilled, leaving the position of the bolt holes on the spacer block. Then, I drilled these holes on the drill press, using the next size up from 3/8″. From there, I used the offcut from the spacer block–leftover from when I dimensioned the block to the correct height–as a backing block to use belowdecks, and marked and drilled the holes in the backing block (1/2″). I cleaned up and sanded the backing block to prepare it for varnish, since the way this chainlocker was laid out the backing block would be visible from the forward cabin. These blocks required several coats of varnish to finish up before I could contemplate installation.

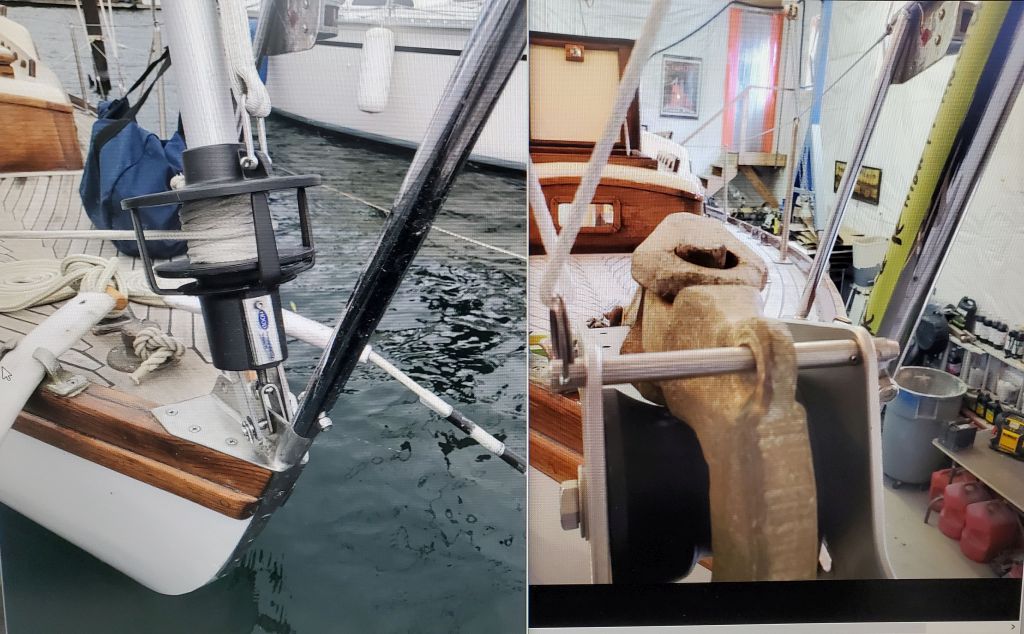
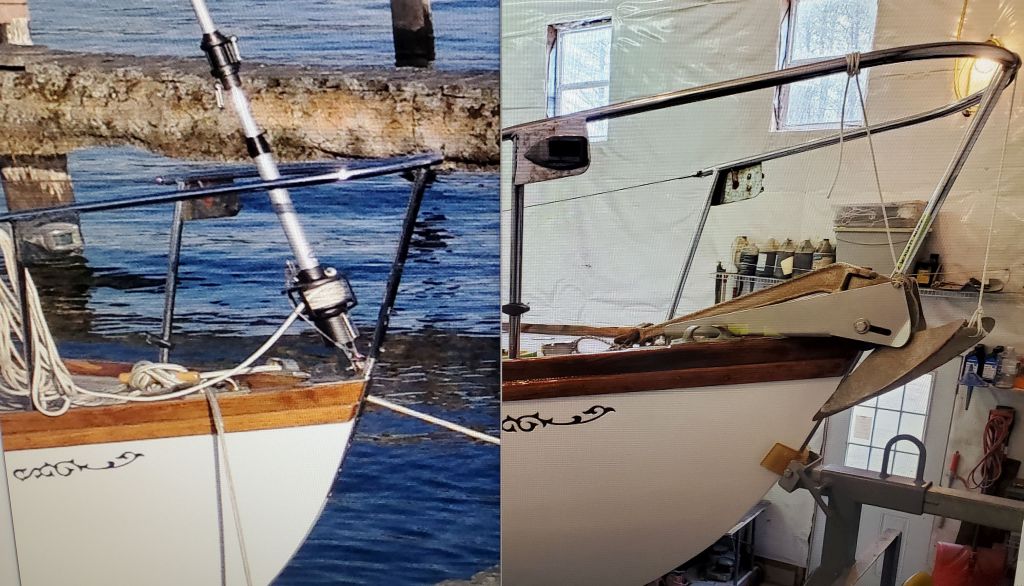
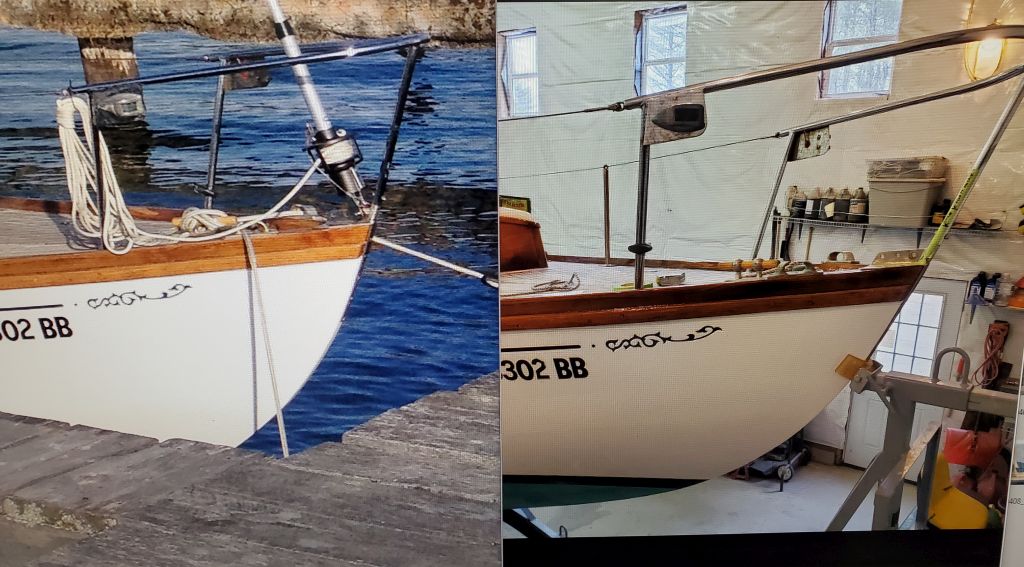
It occurred to me sometime during the morning that the boat might have a roller furler on the headstay, and when I checked the one photo the owner had sent me of the boat in the water, I saw a furler. I couldn’t zoom in well enough on the photo to determine the drum height, but this was a question I needed to resolve before doing anything permanent to the boat. I sent a message to the owner to see if he had any other photos of the furler or knew how high it was, and fortunately he was able to send me several useful photos.
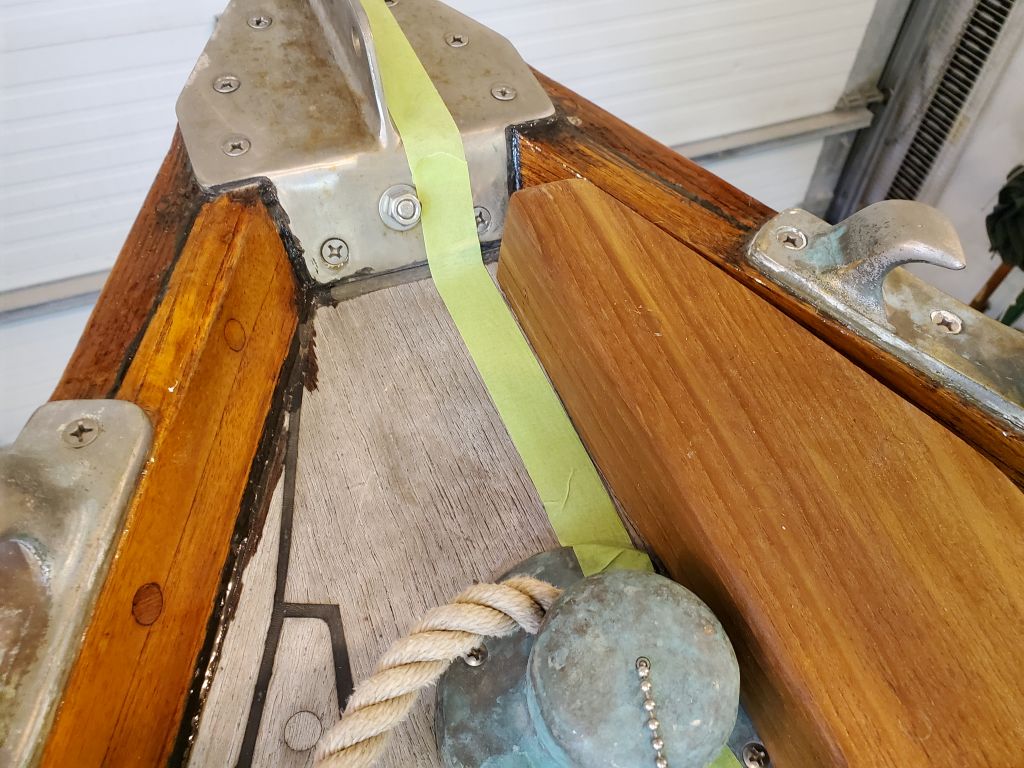
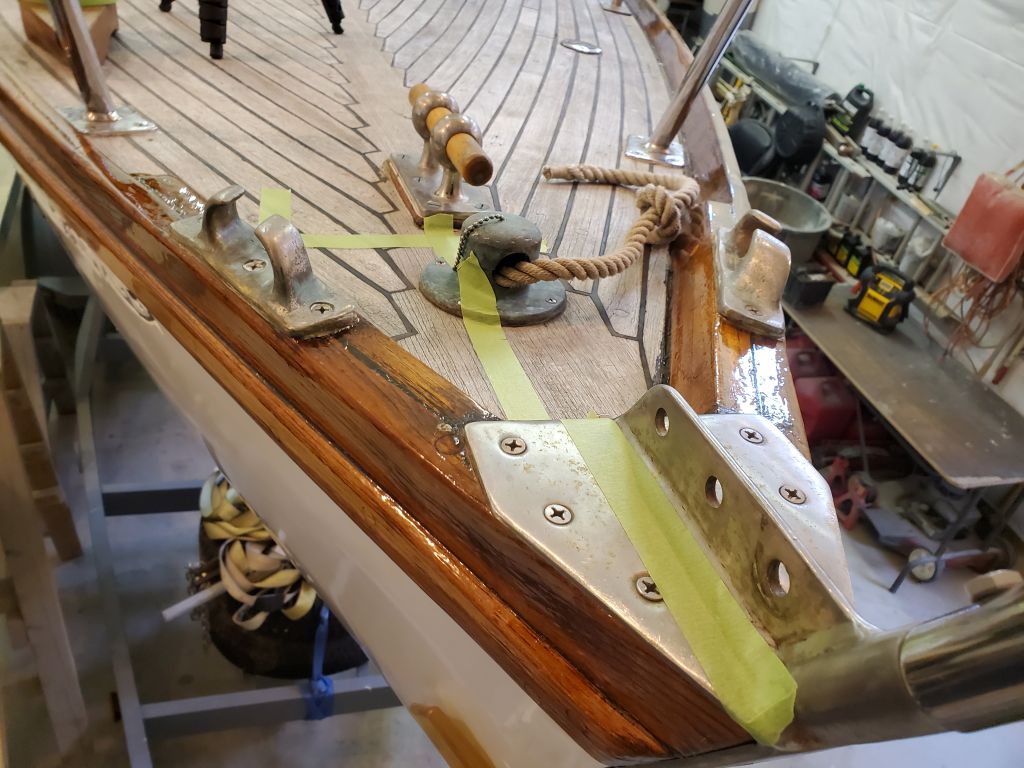
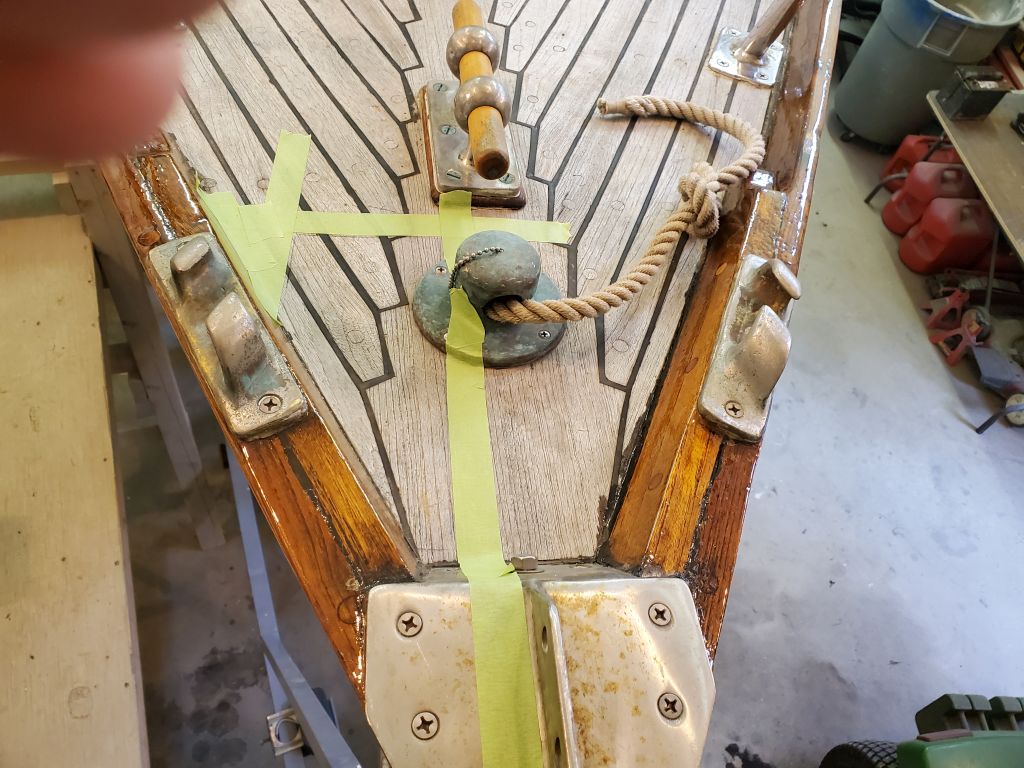
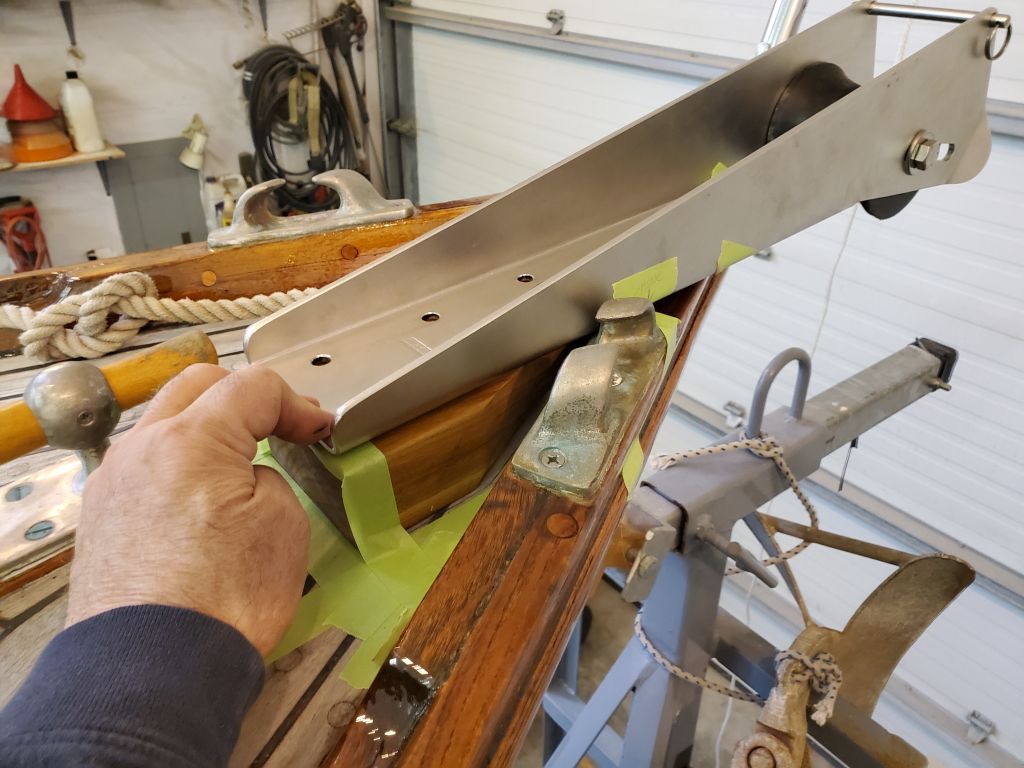
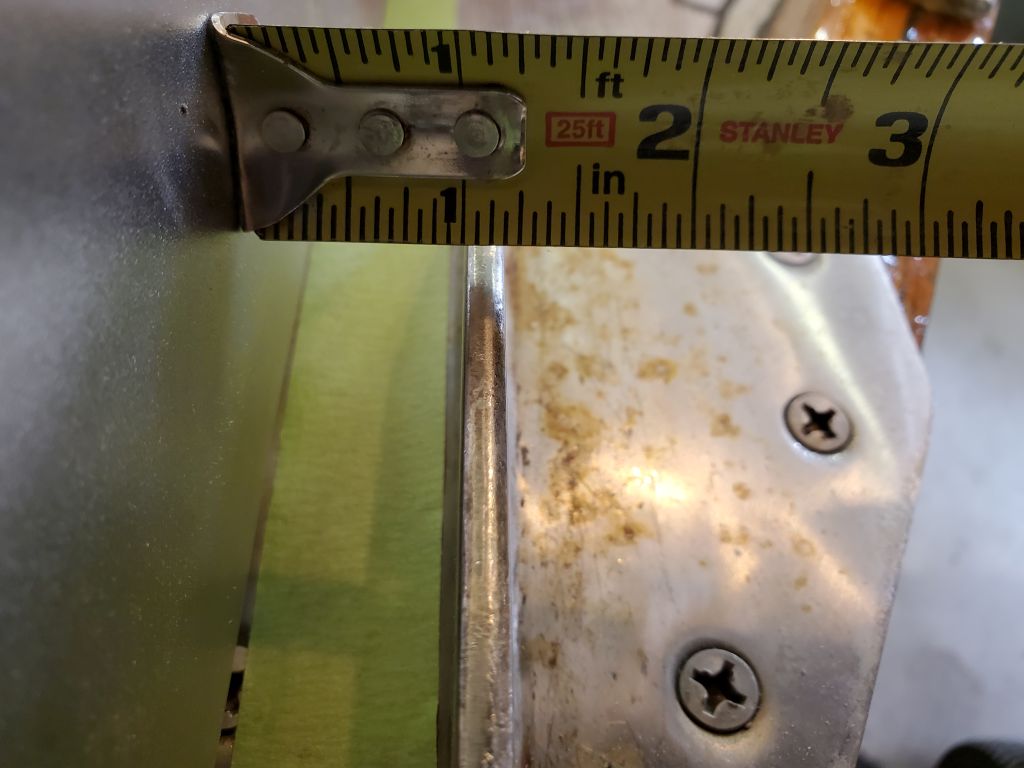
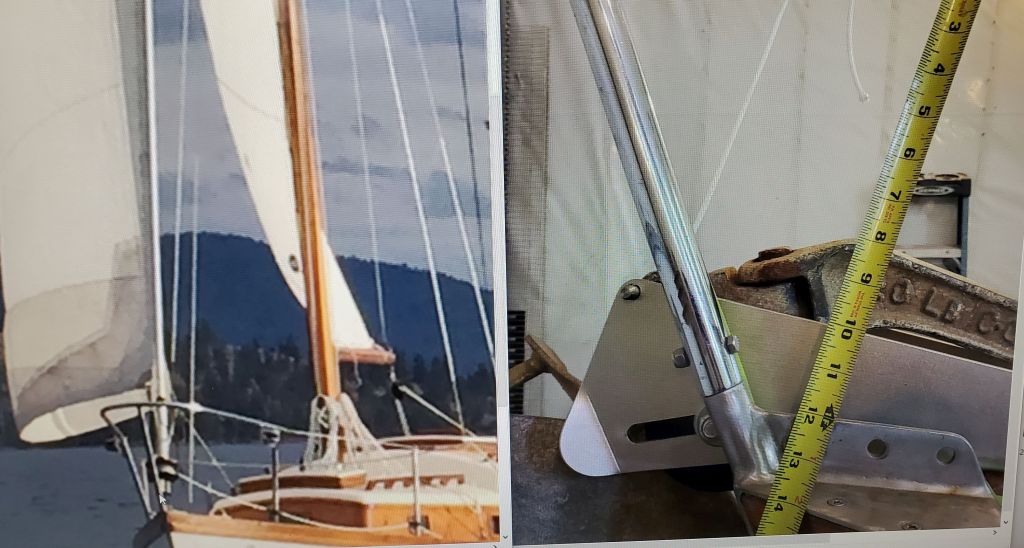
So now I mocked up the roller assembly on the bow again so I could get some measurements and try to determine anecdotally how the furler and anchor and roller setup might interact.
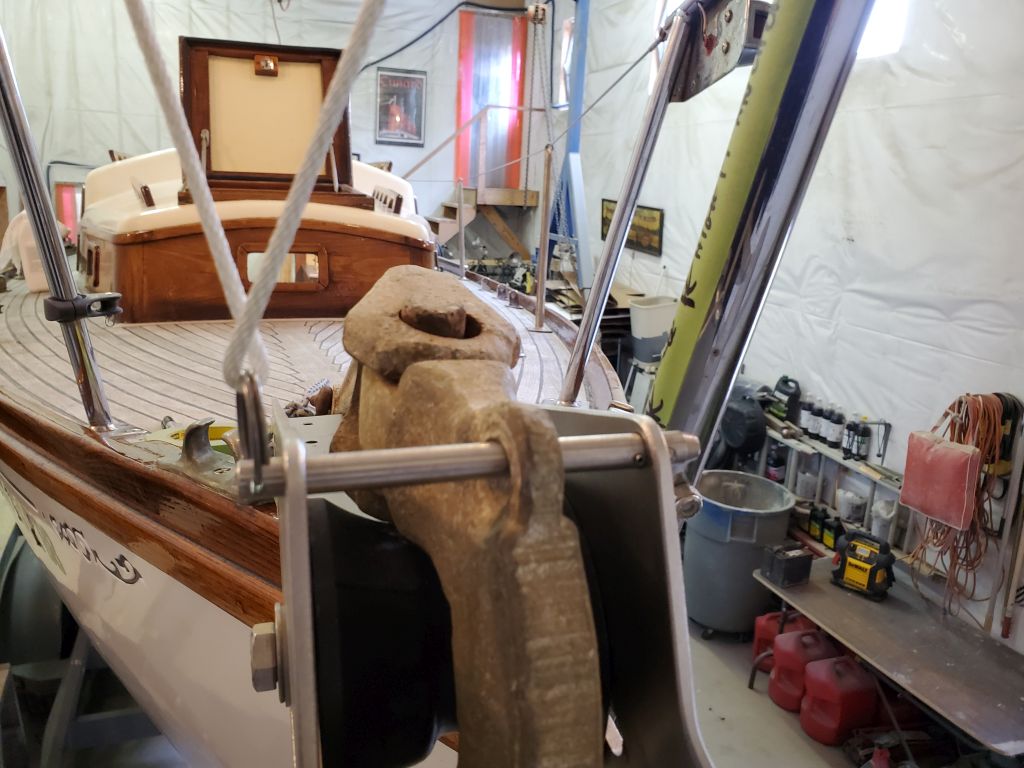

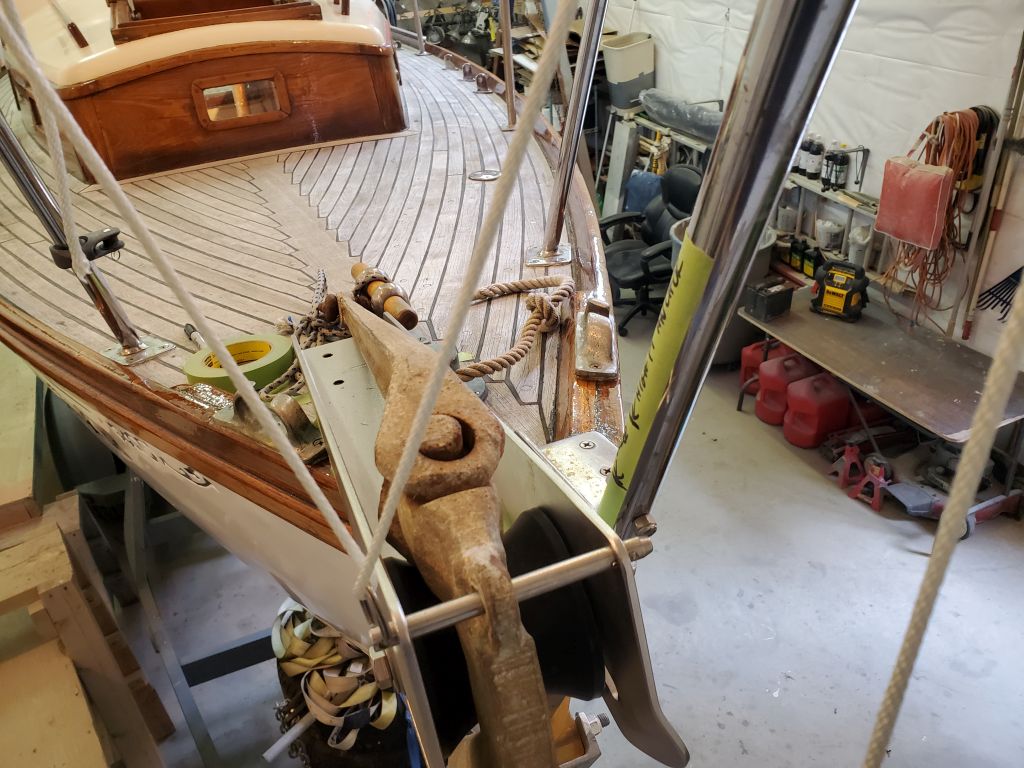
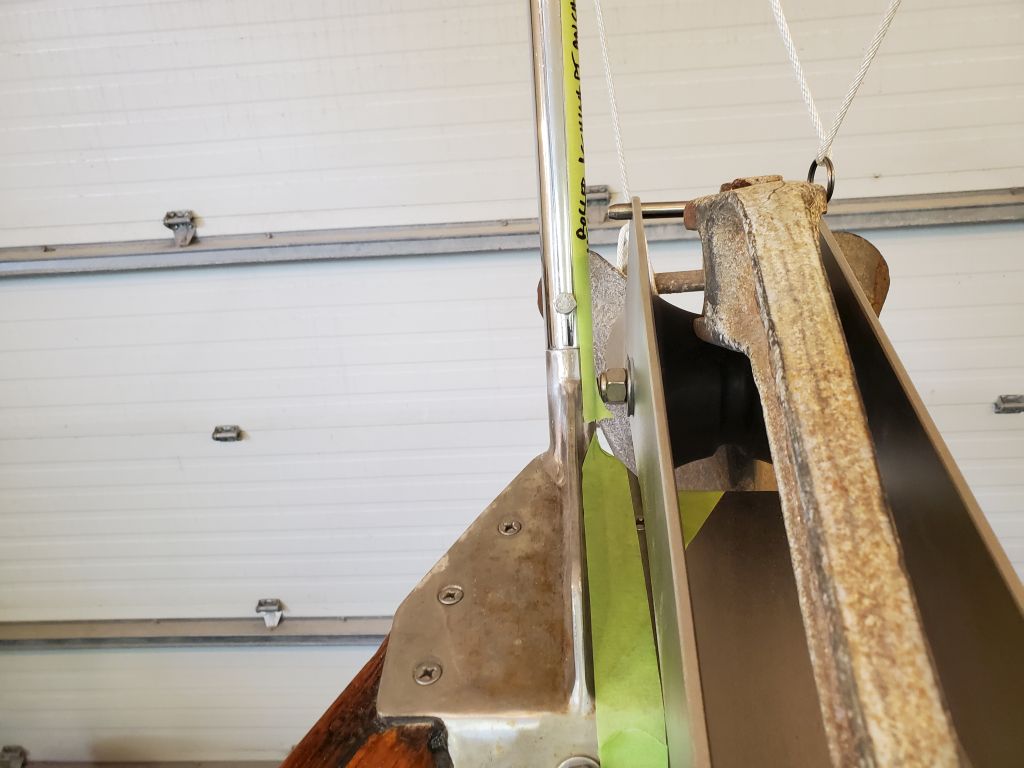
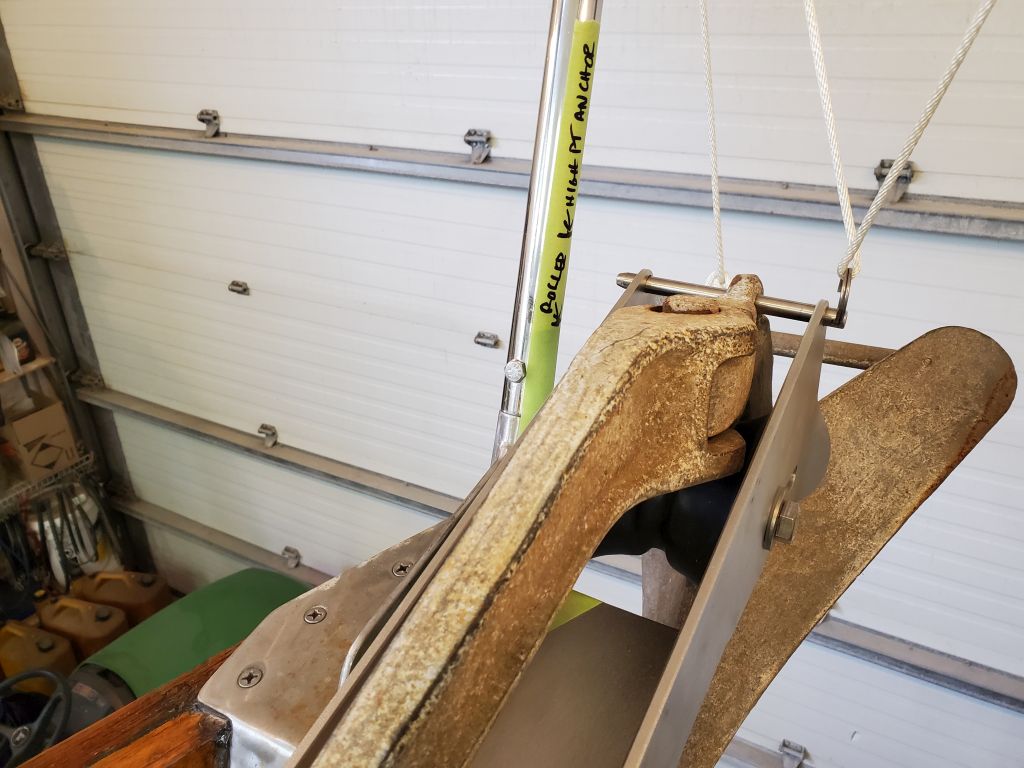
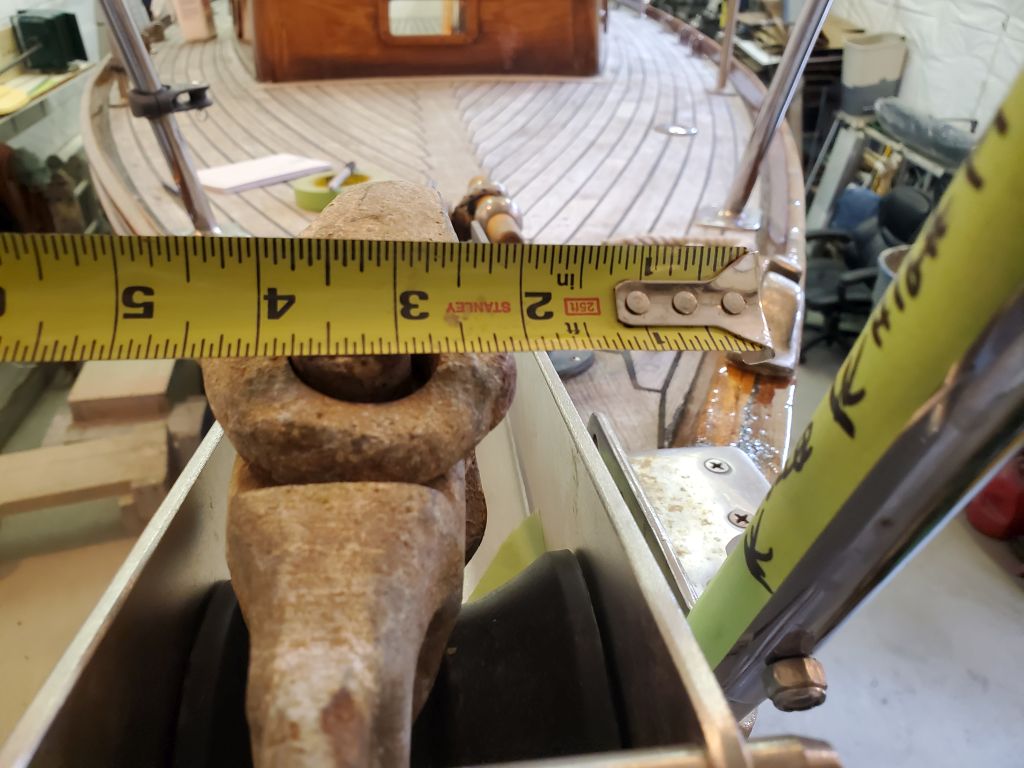
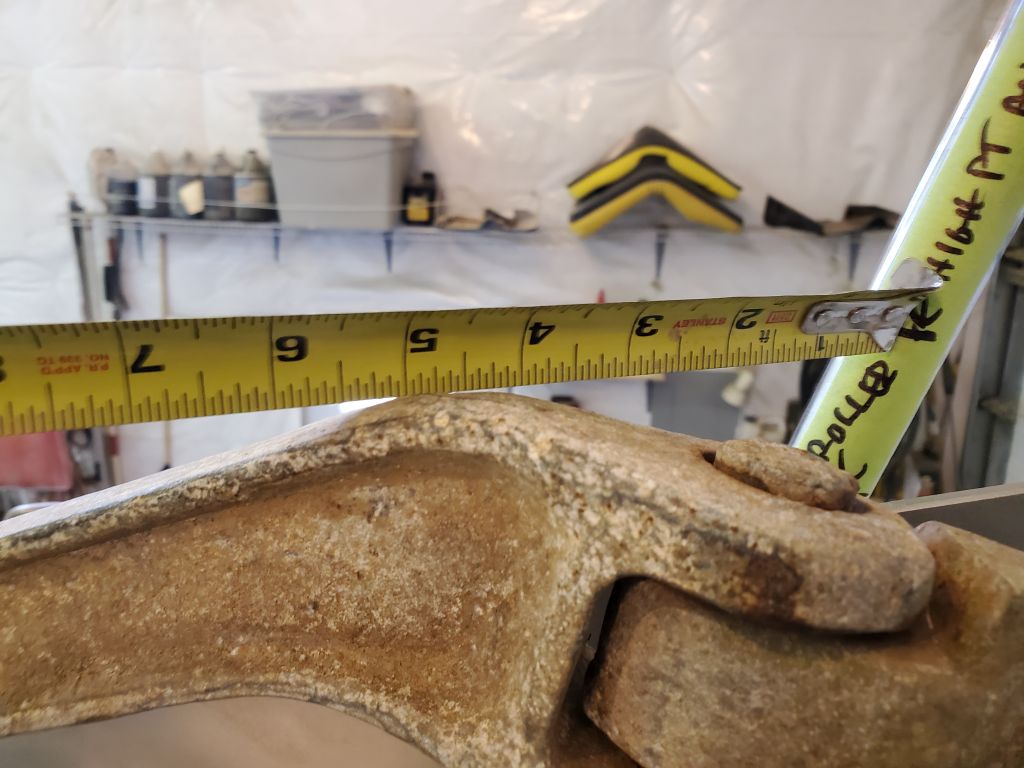
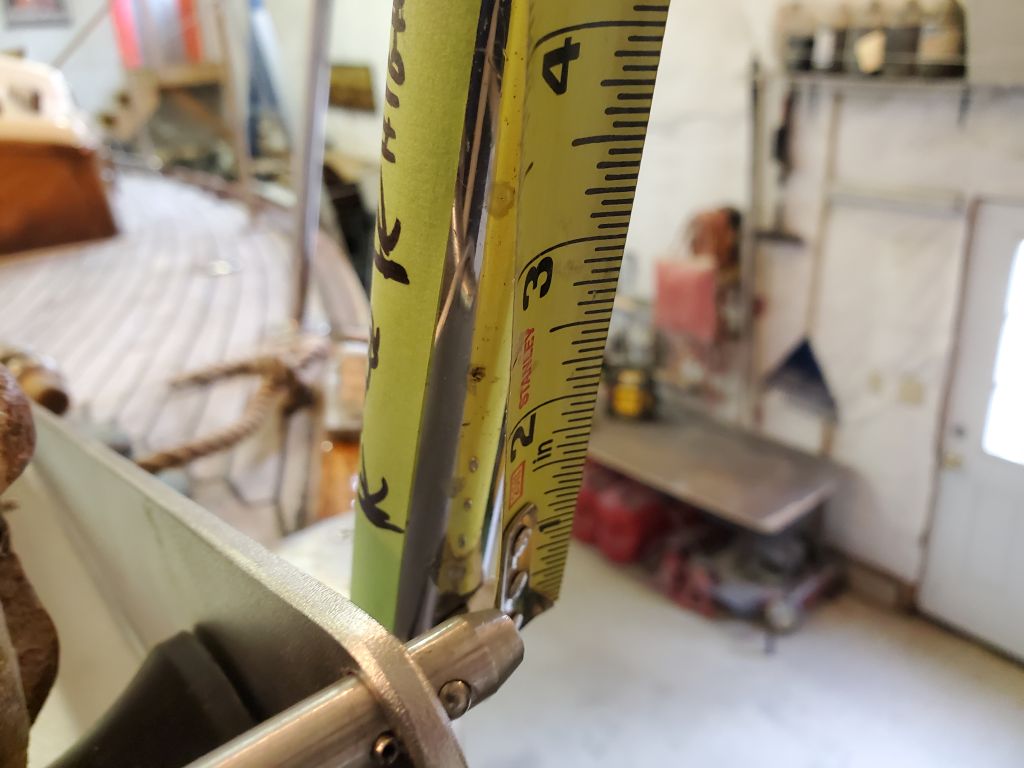
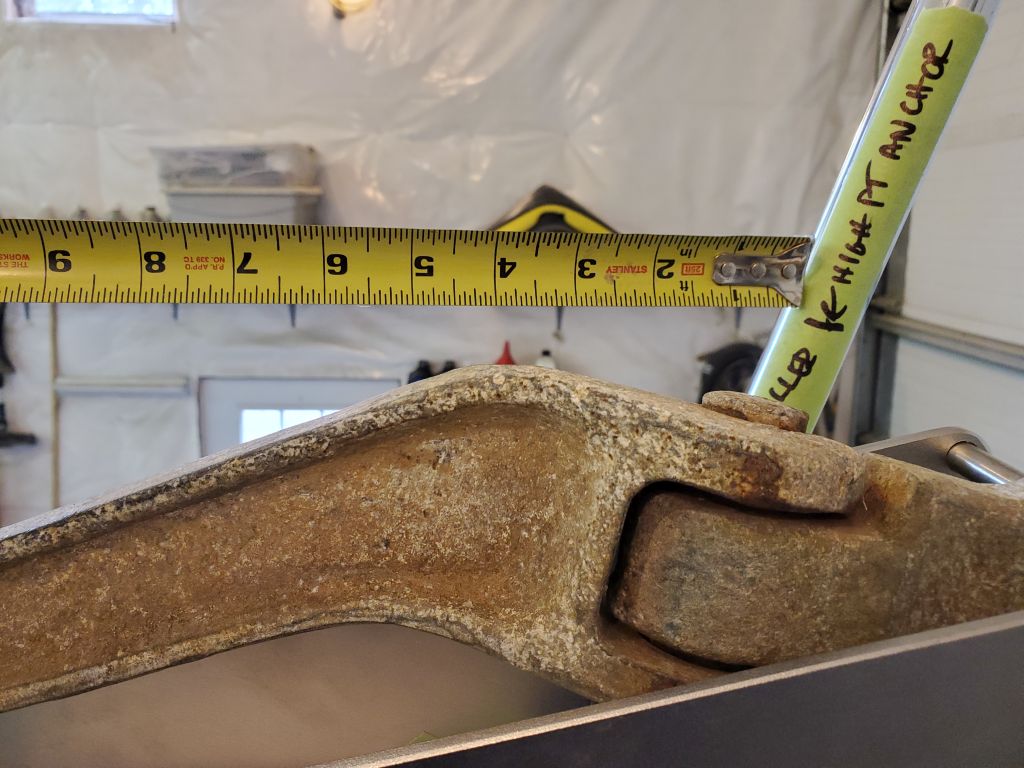
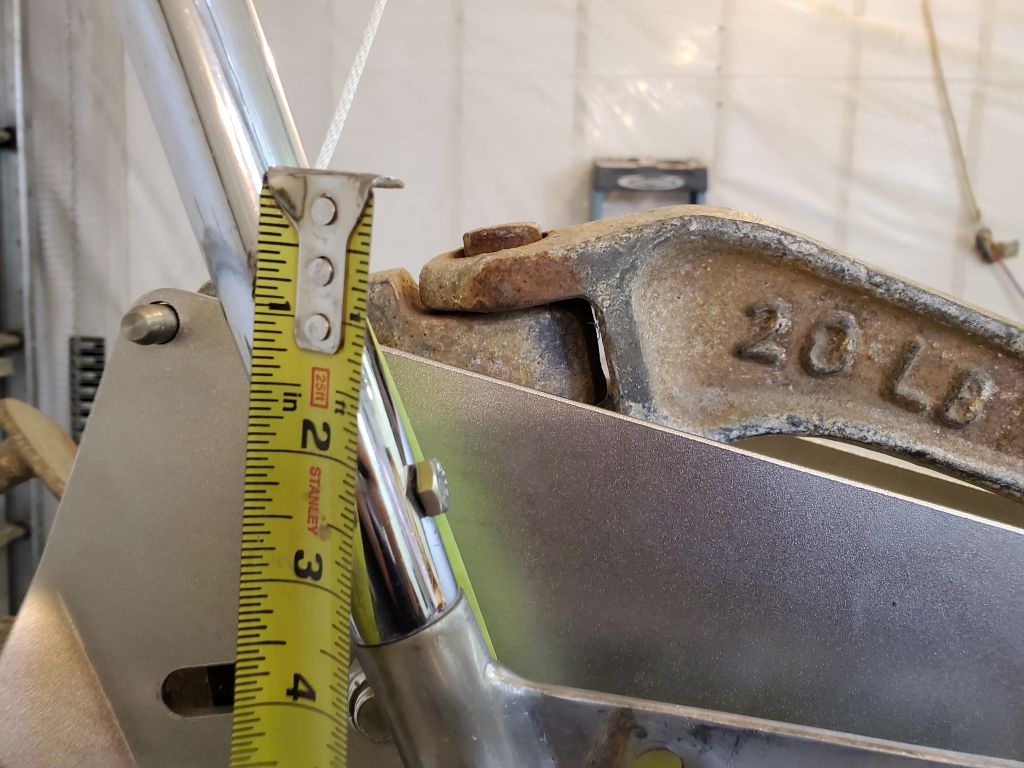

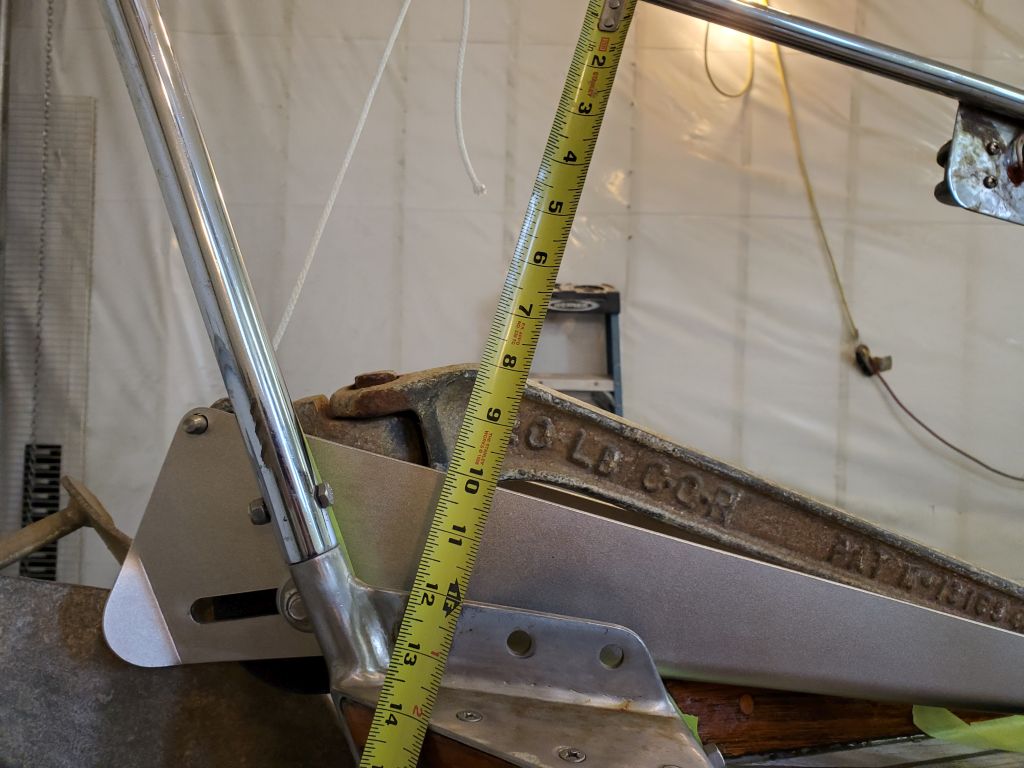
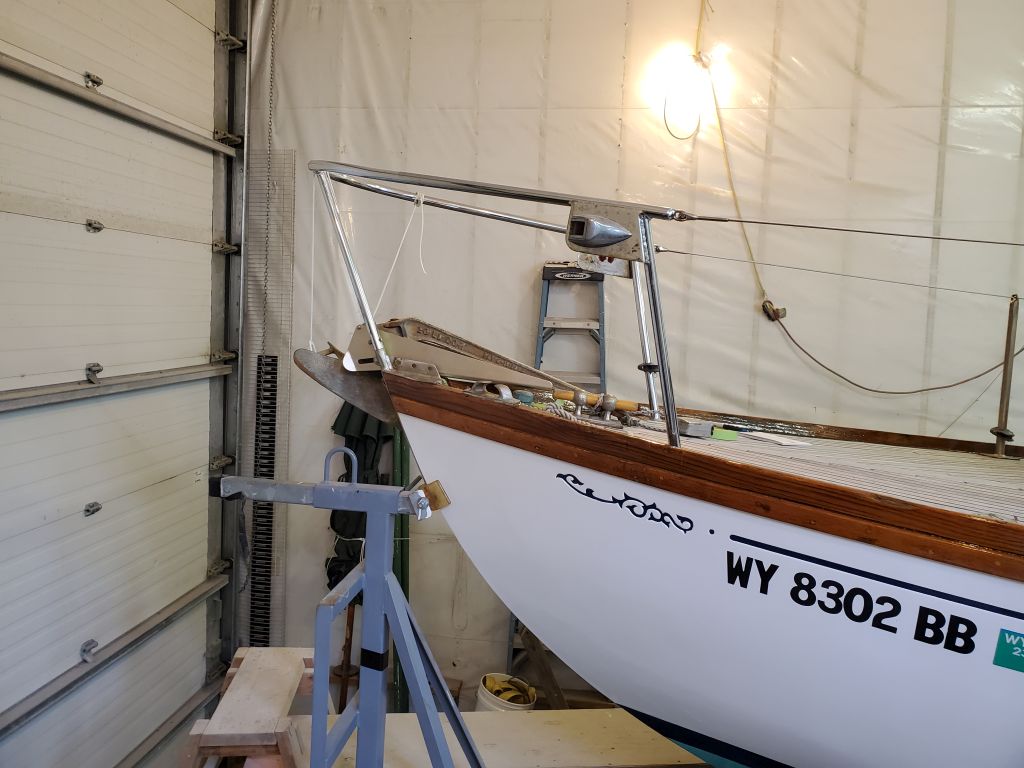
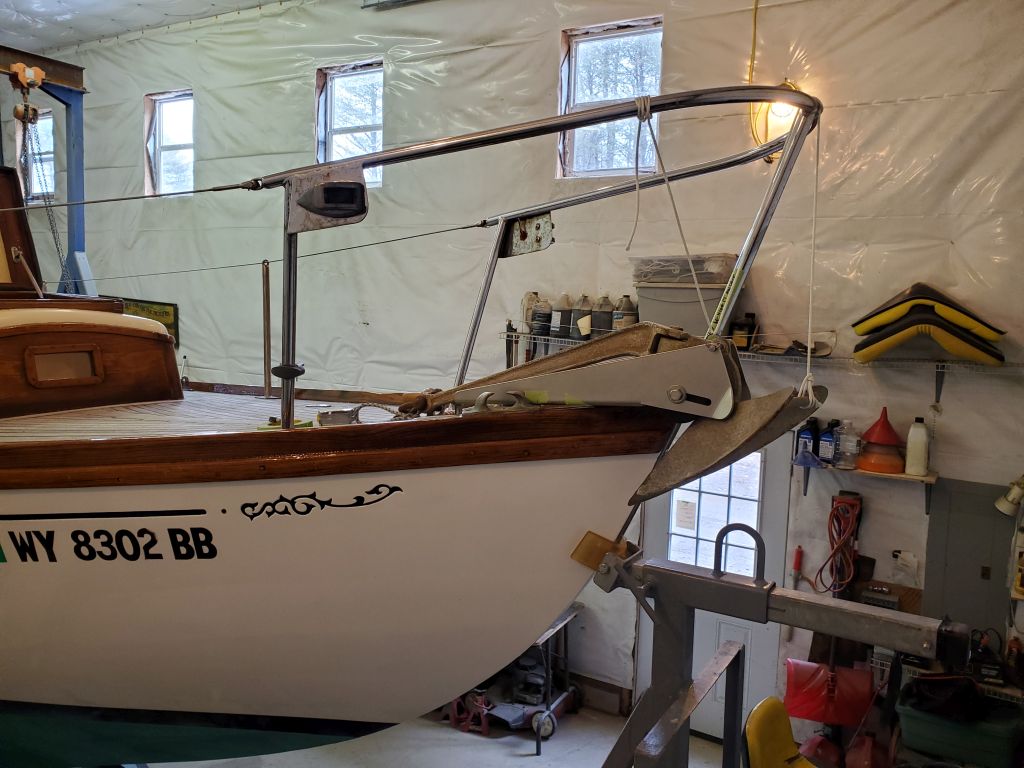
I used some of these photos to directly compare with those the owner sent me, creating a series of quick collages that I sent to the owner. These are down-and-dirty, just photos of my monitor with the applicable photos arranged next to one another–I didn’t take the time to combine them in a nicer or more permanent format–but they were as effective as anything in helping gauge whether there would be a clearance problem. Among other things, there was a through-bolt through the forward pulpit support that helped register the position of things between the various photographs, and worked as a good reference point.
My gut feeling was that the furler drum would clear the anchor and roller, but after discussions with the owner, we decided the prudent thing would be to physically measure the furler on the mast itself; it was stored at a boatyard relatively close by, and to start the owner got in touch with the yard to see if they might be able to take some quick measurements, or if I’d need to go there myself to have a look.
In any event, for the moment the final installation was on hold anyway, as I needed time to get the varnish finished on the support block and backing block, and in the meantime had done nothing permanent to the deck in case it turned out that clearance was an issue. Hopefully we’d work out this final and important detail in the next couple days.
For now, I got more varnish done on the blocks.
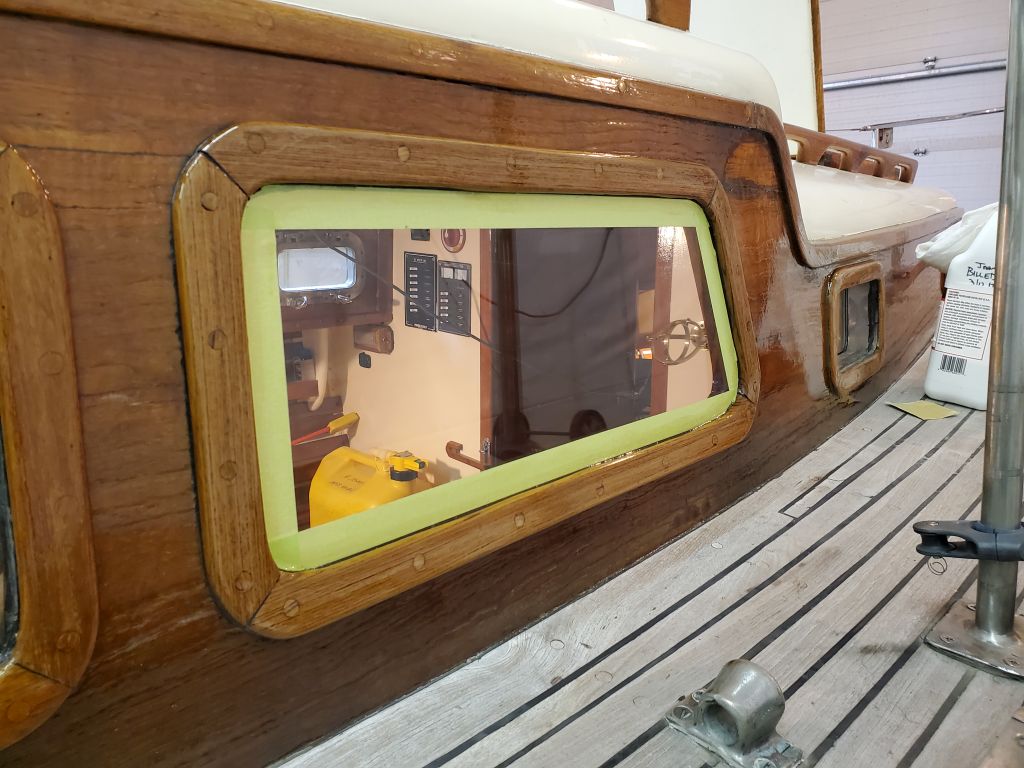
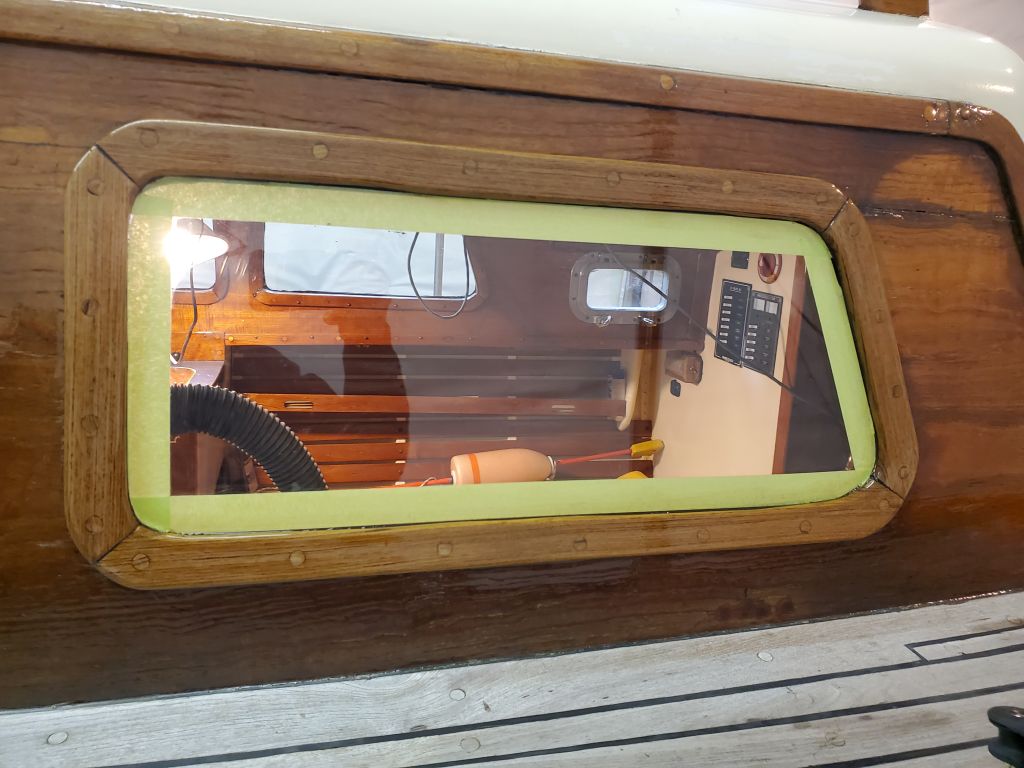
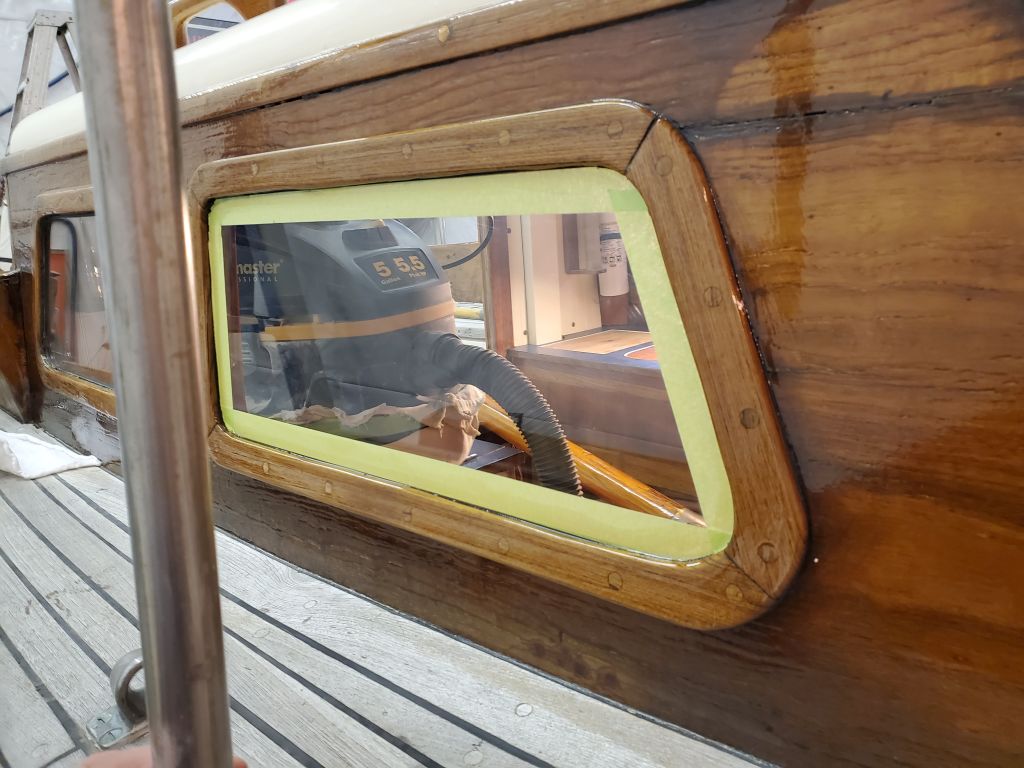
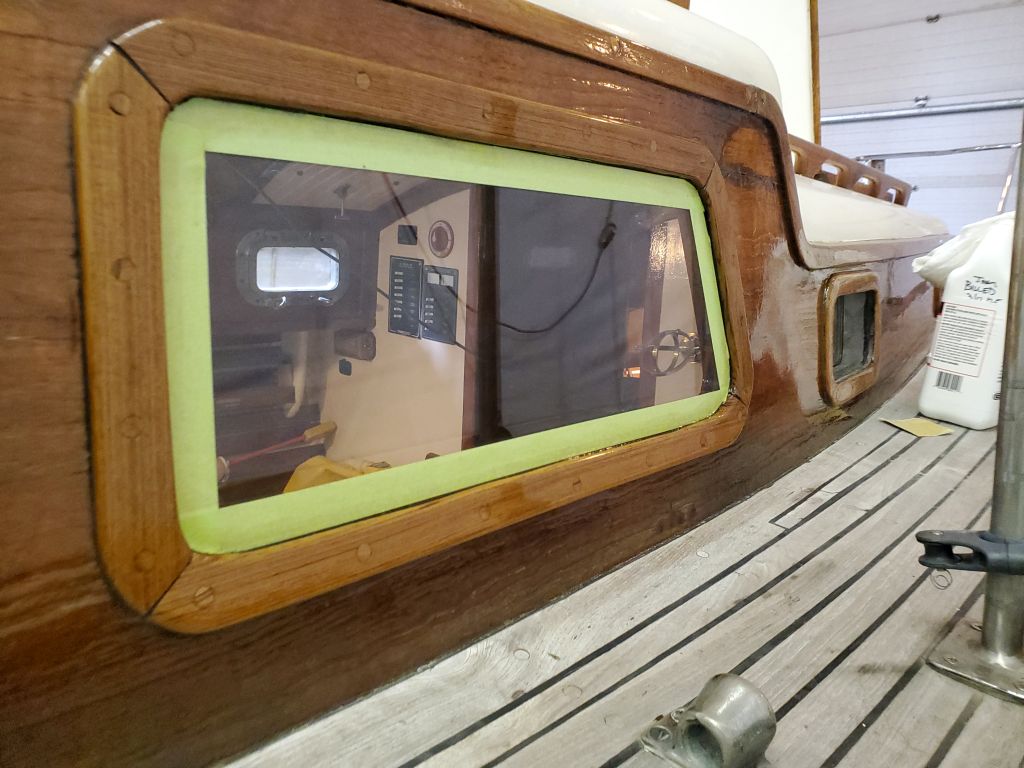
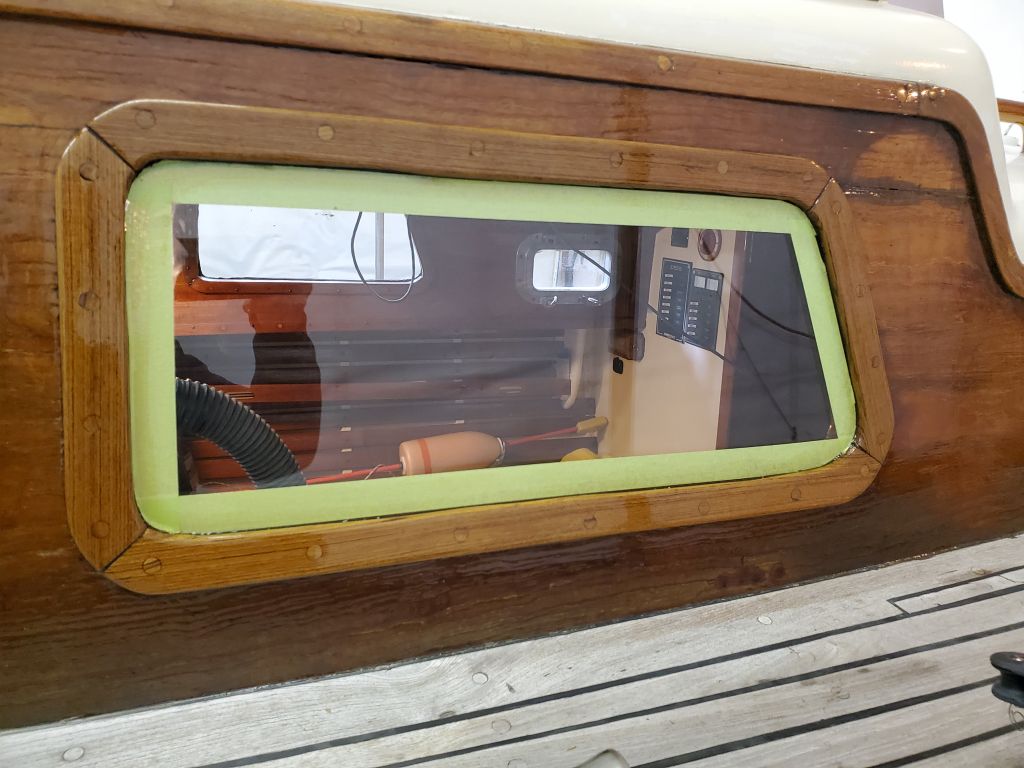
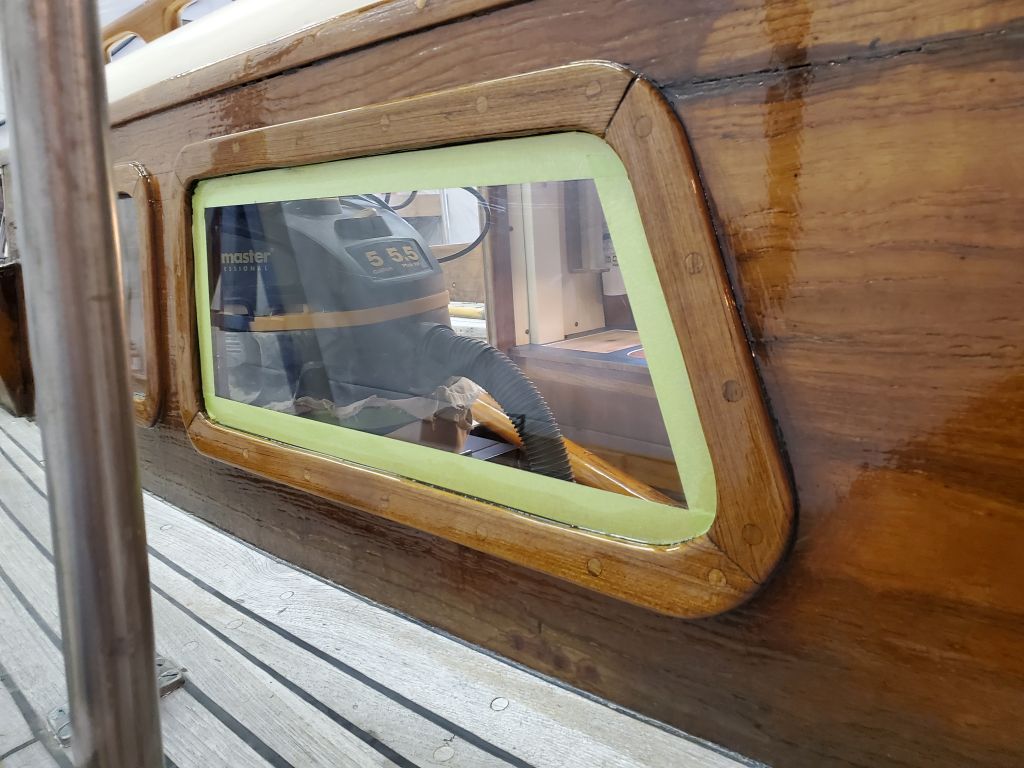
Finally, I lightly sanded then revarnished again the starboard deadlight frame. I’d lost count, but I thought this was coat seven: six had been my goal, but either way I figured one more coat was a safe bet.
Total time billed on this job today: 3 hours