

February 26, 2016
lh5
Friday
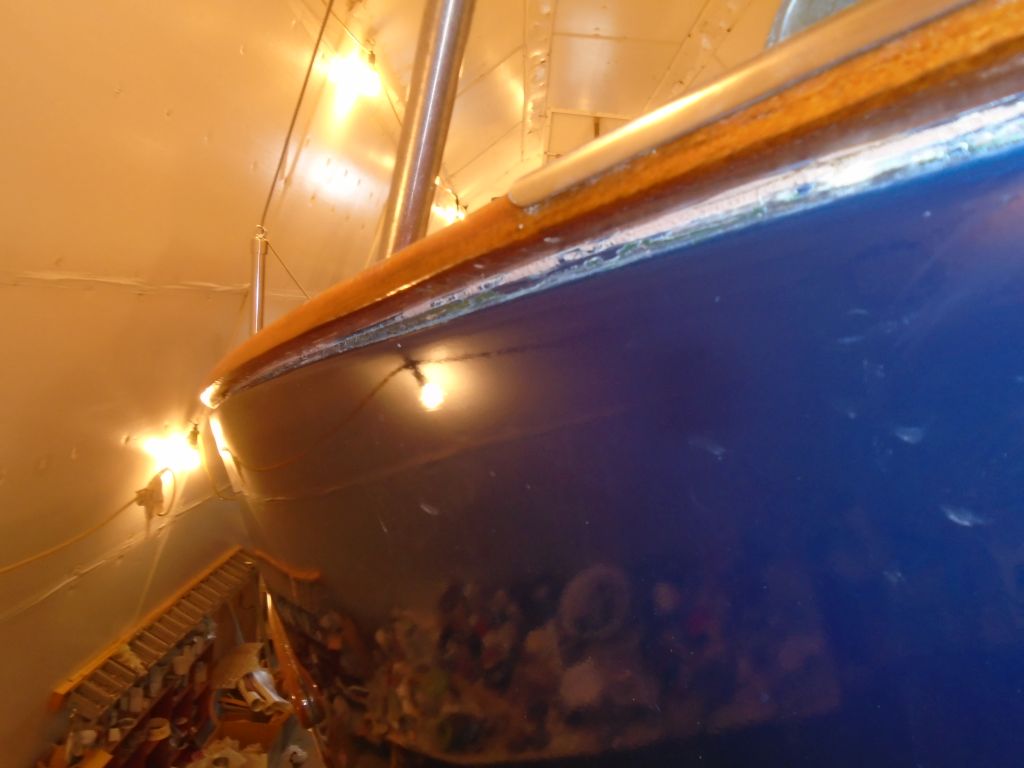
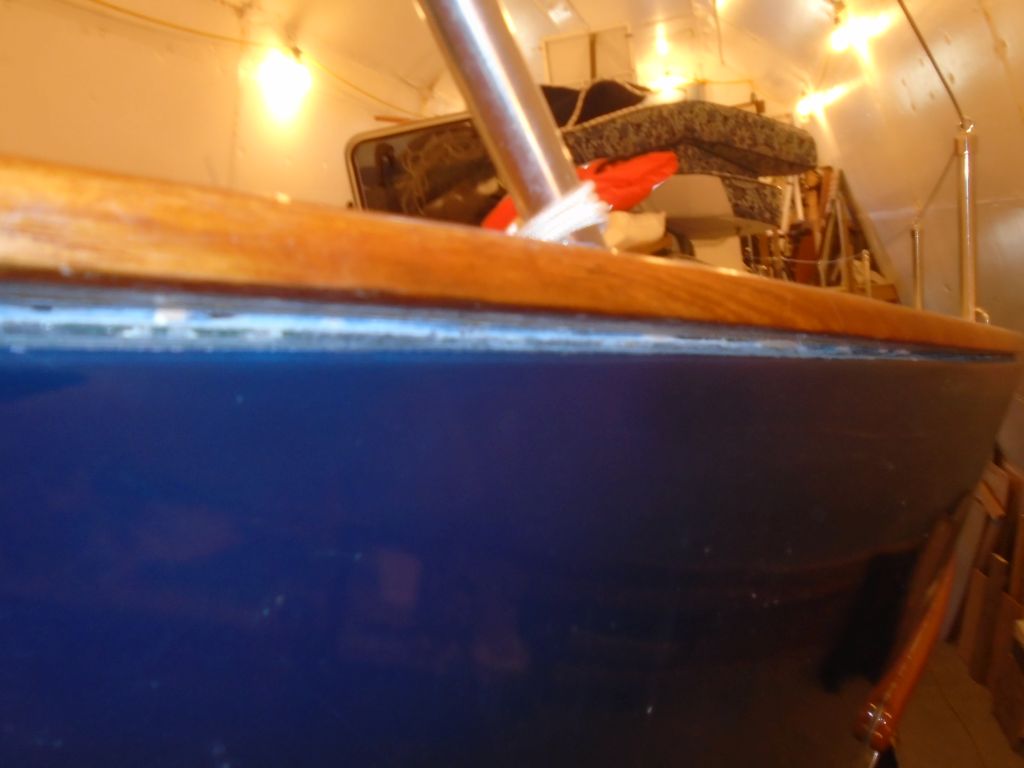
During his first season with the boat, the owner had found that in certain sea conditions, water found its way into the forward cabin. Investigation at the time suggested that the source of the leakage was the hull/deck seam at the bow, beneath the caprails, and indeed these areas did appear to have issues with old and failing sealant readily visible from the outside. The space between the hull and the bottom of the caprail was large, and in places I could see gaps both above and below the otherwise-hidden deck molding beneath the caprails. During my initial construction project on this boat, I’d rebedded the caprails, and also repaired and rebedded the hull/deck seams at all the freeing ports and other areas beneath the wooden bulwark planks, but these bow seams had not received the treatment. The seams in question ran from the forward edge of the varnished bulwarks to the stem on each side, a distance of perhaps six or eight feet.
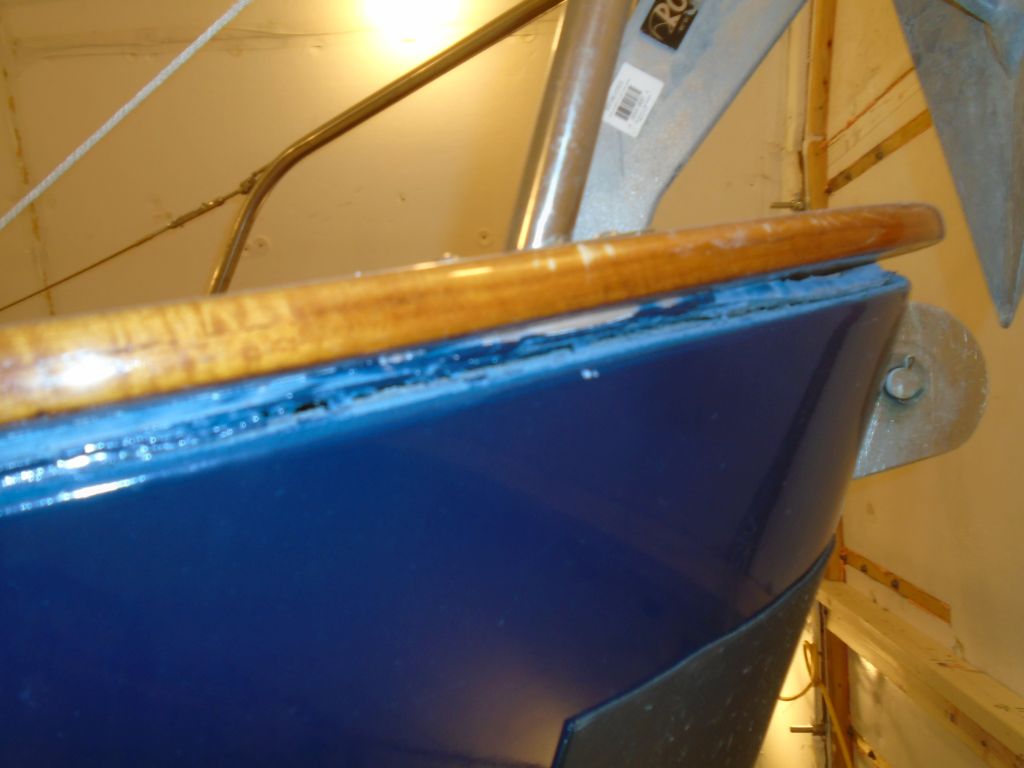
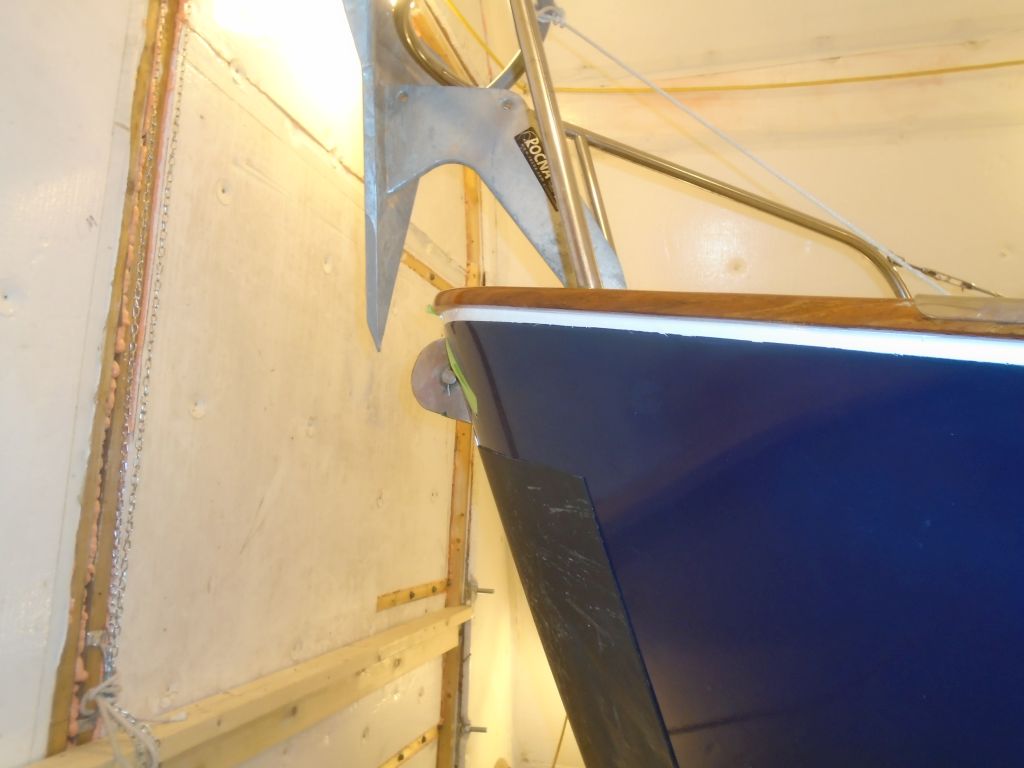
Starboard side:

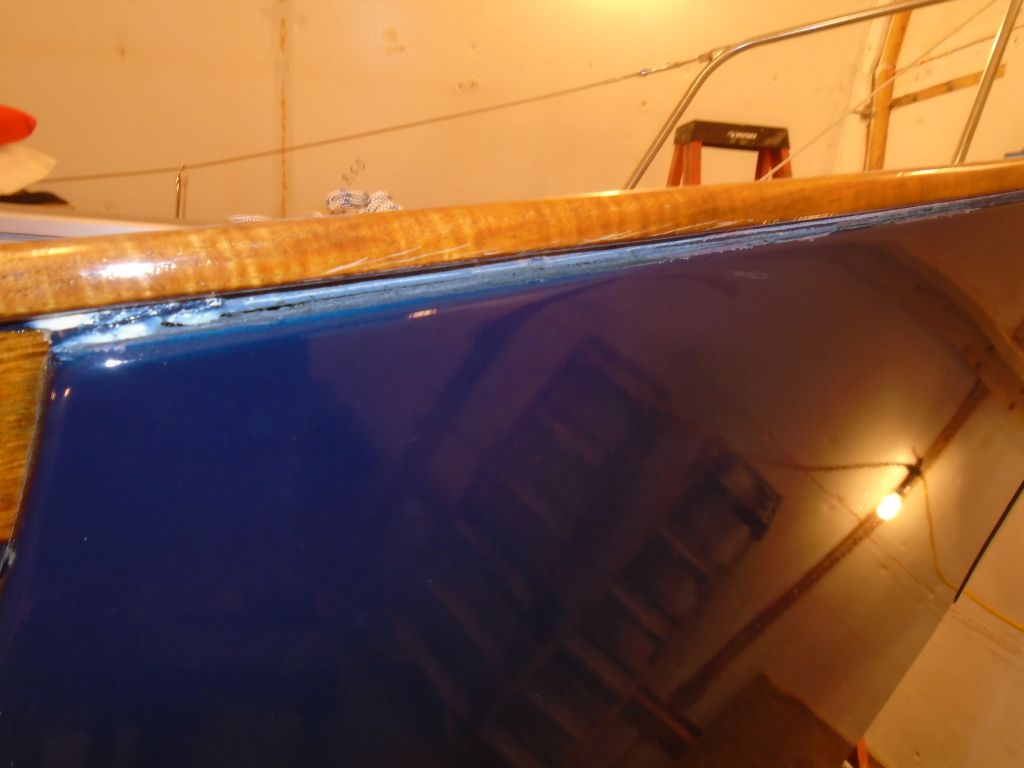
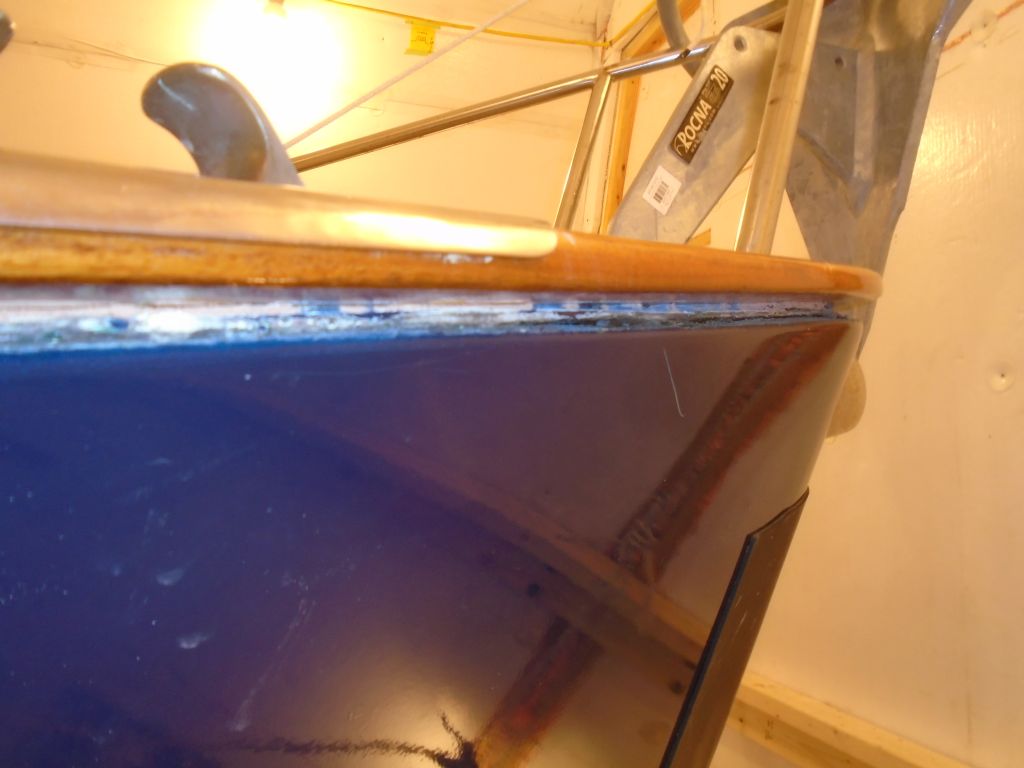
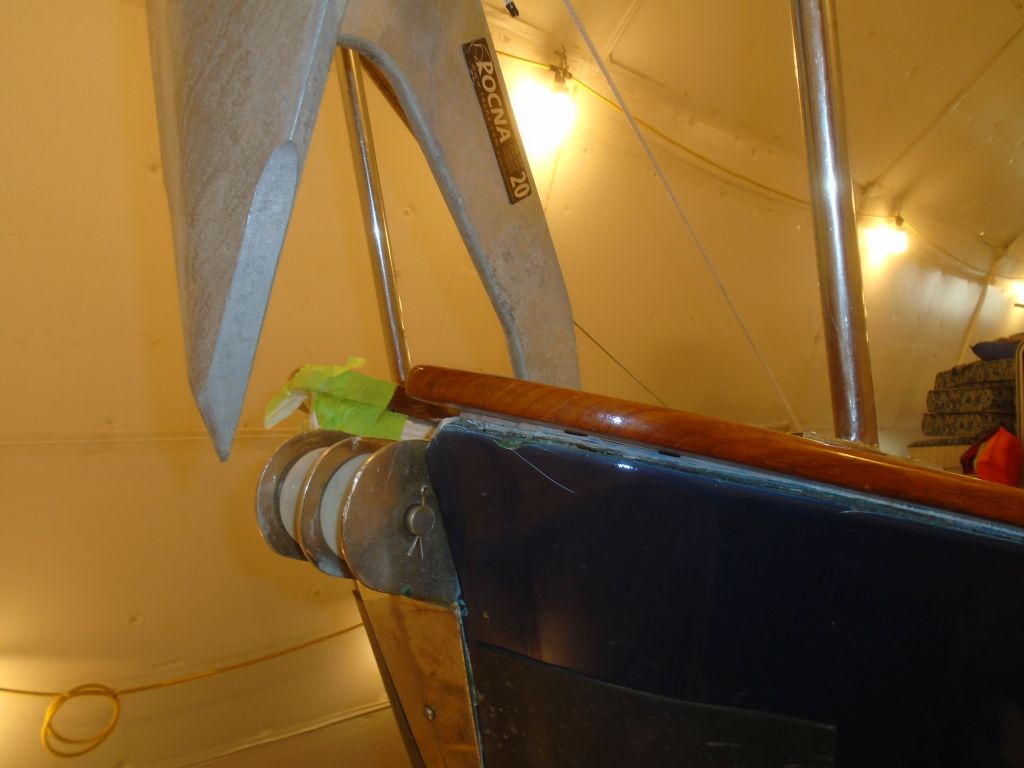
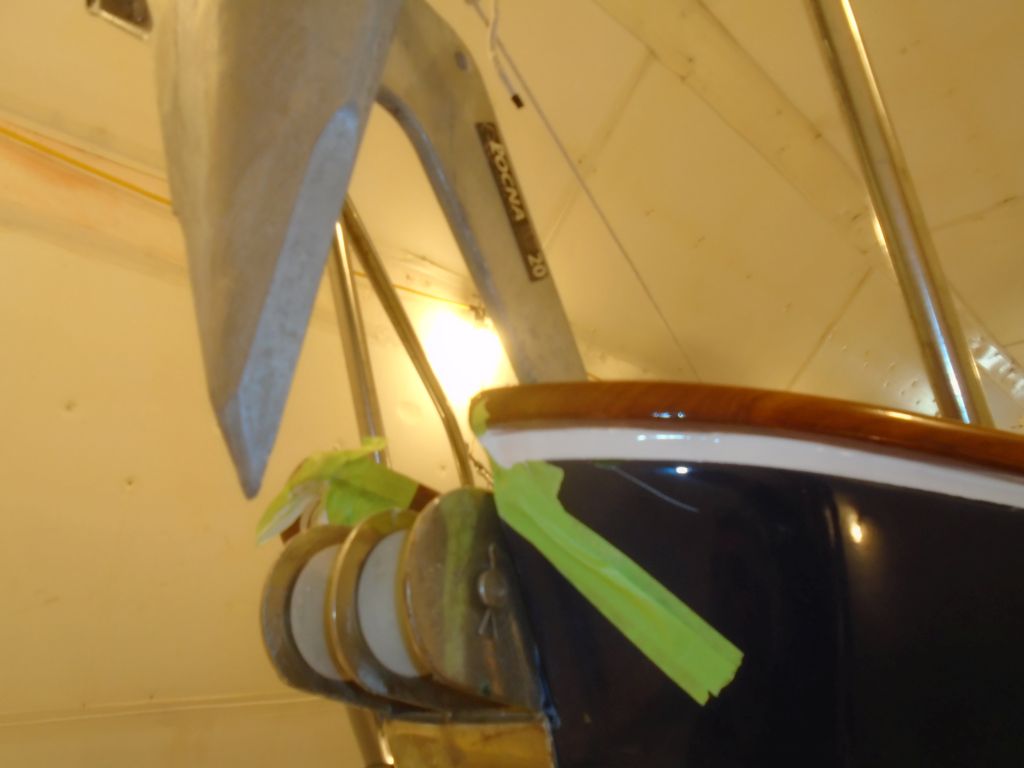
Port side:
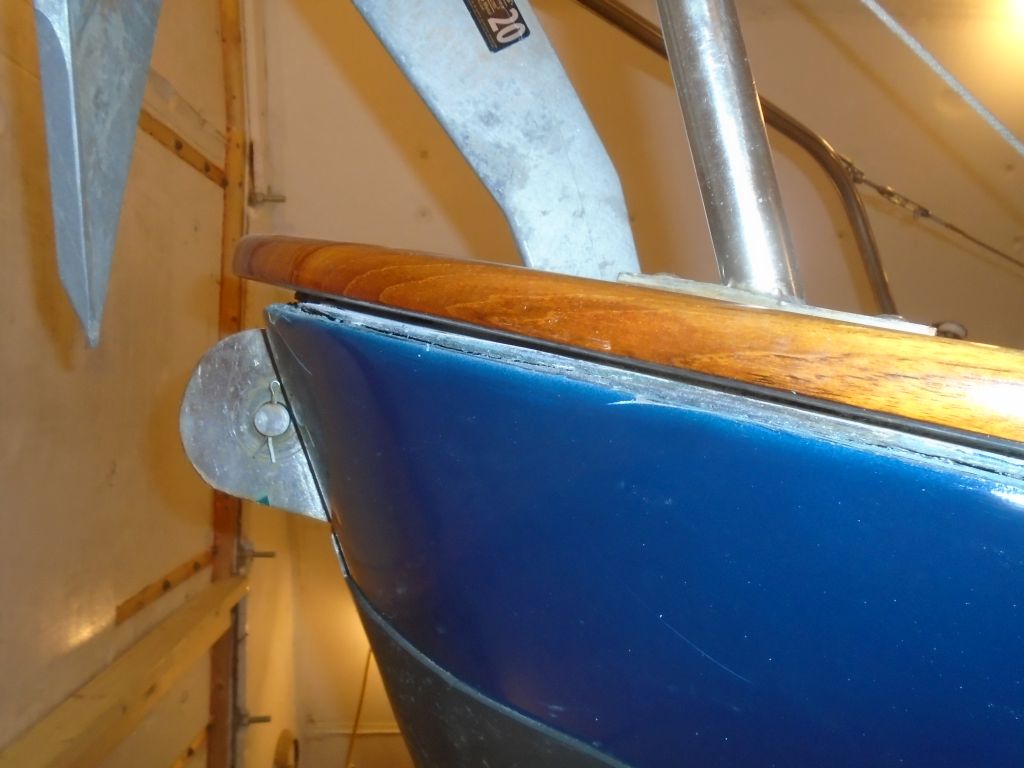
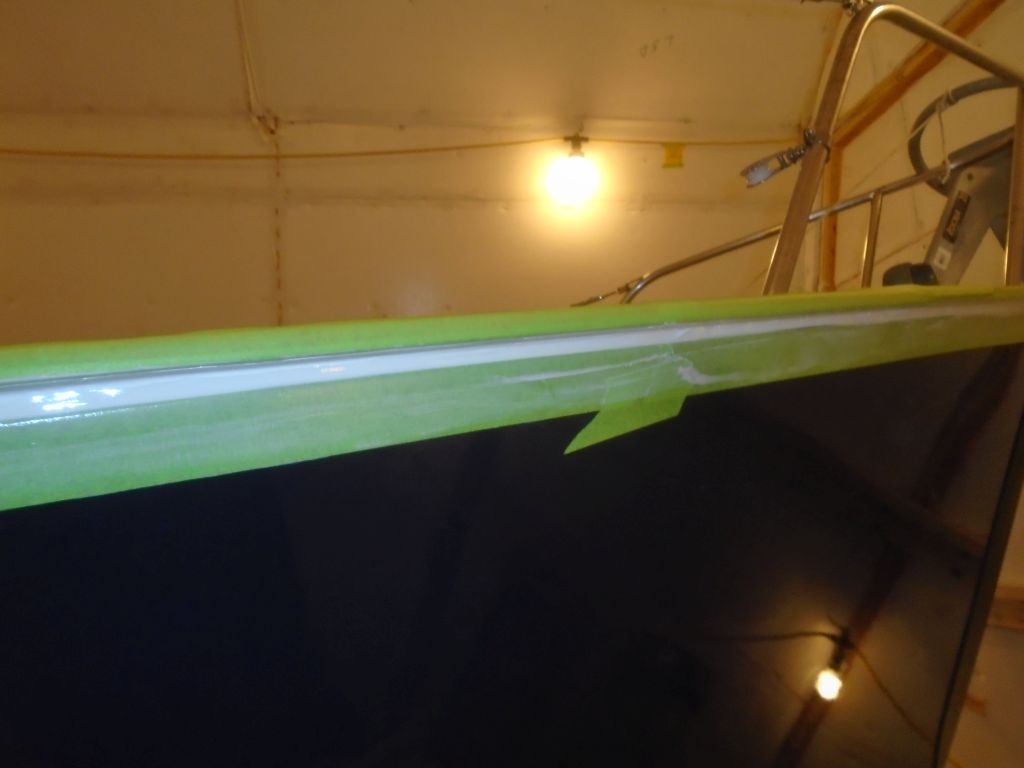
Starting with the starboard side, I used various tools to clean out and ream out the seam, removing old and failed material as required and generally cleaning up the area to prepare for new adhesive sealant. Once I’d cleaned out everything I could and down to sound material, I solvent-washed the seam and masked both above and below it to prepare for new sealant.
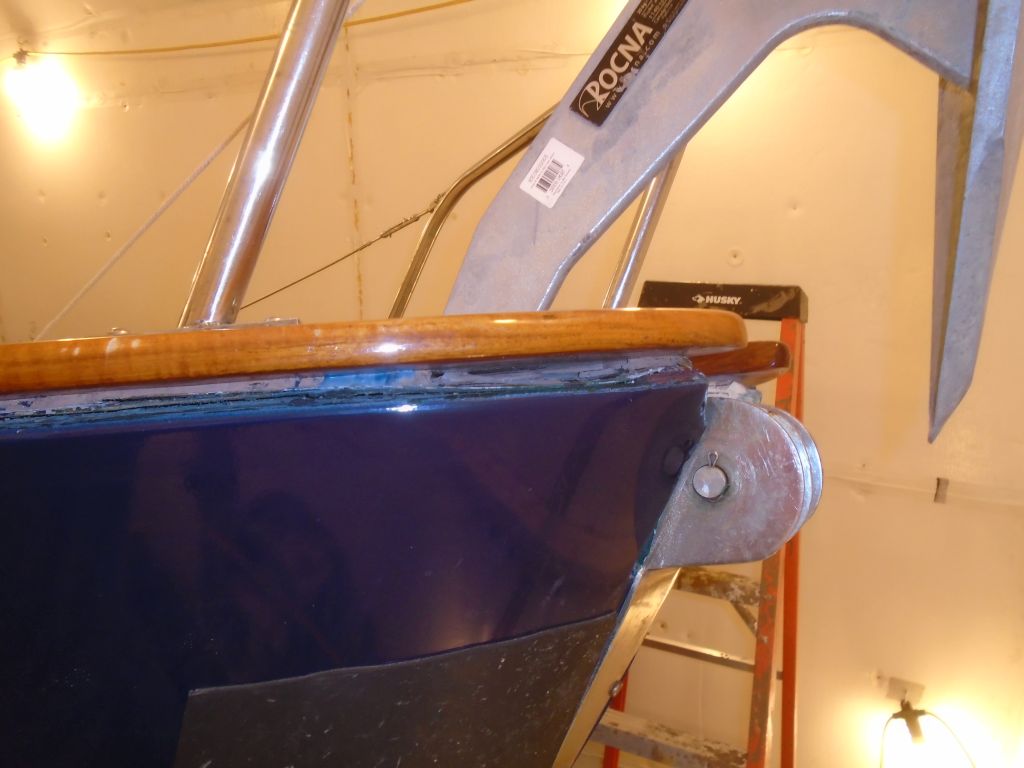
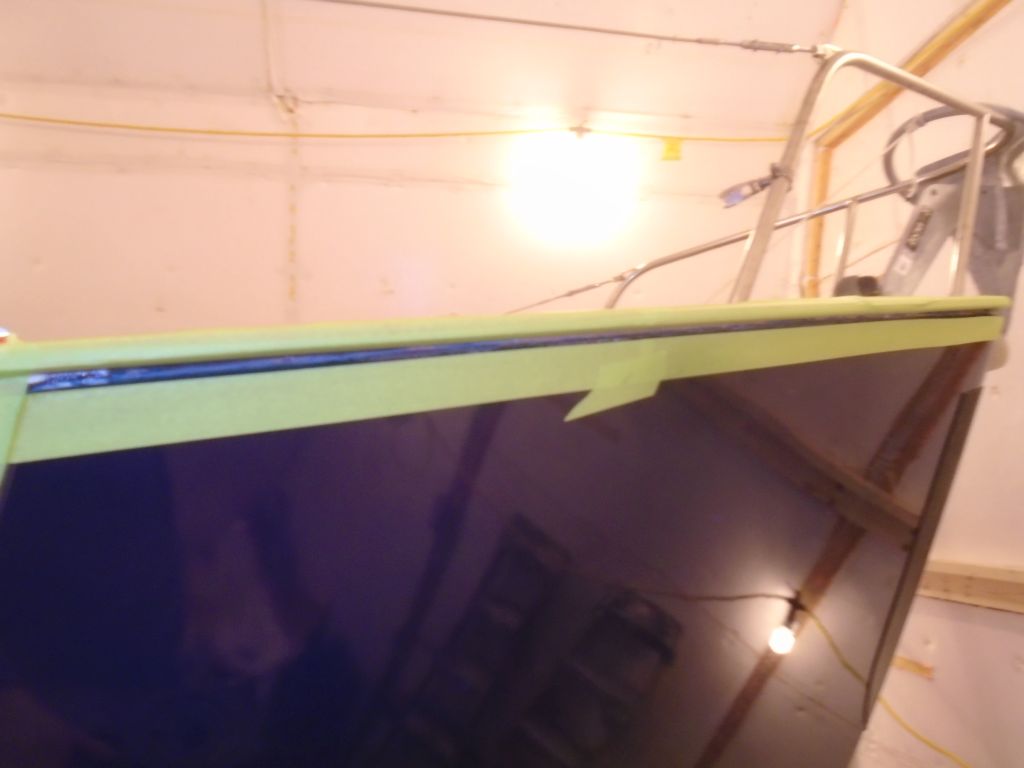
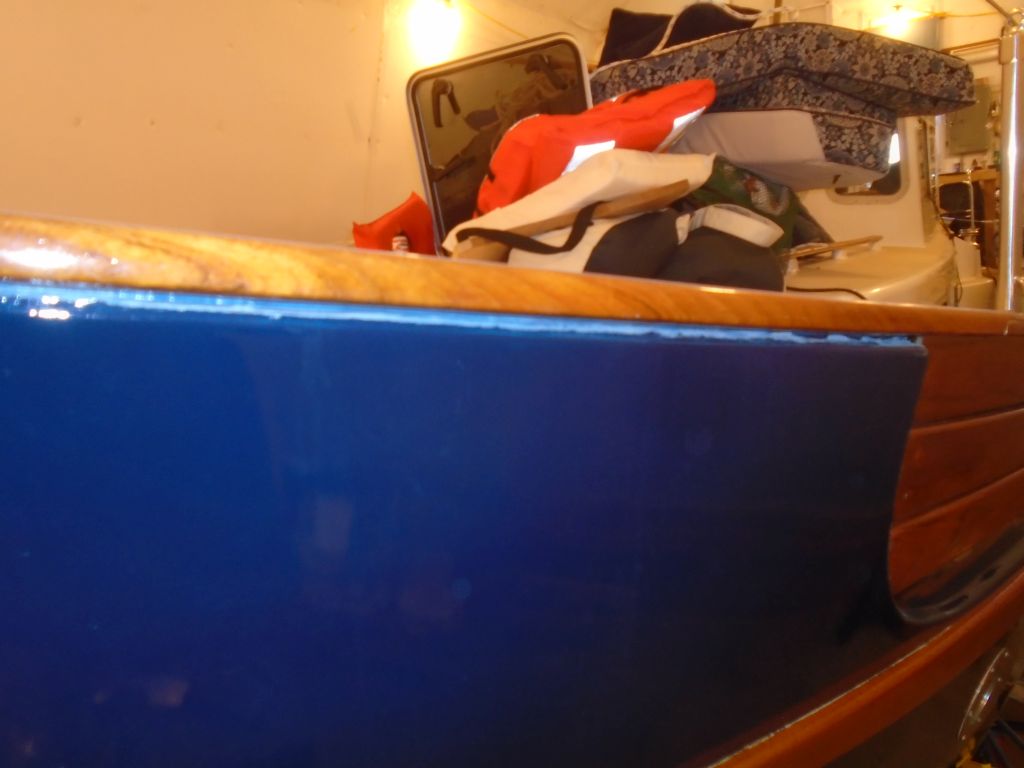
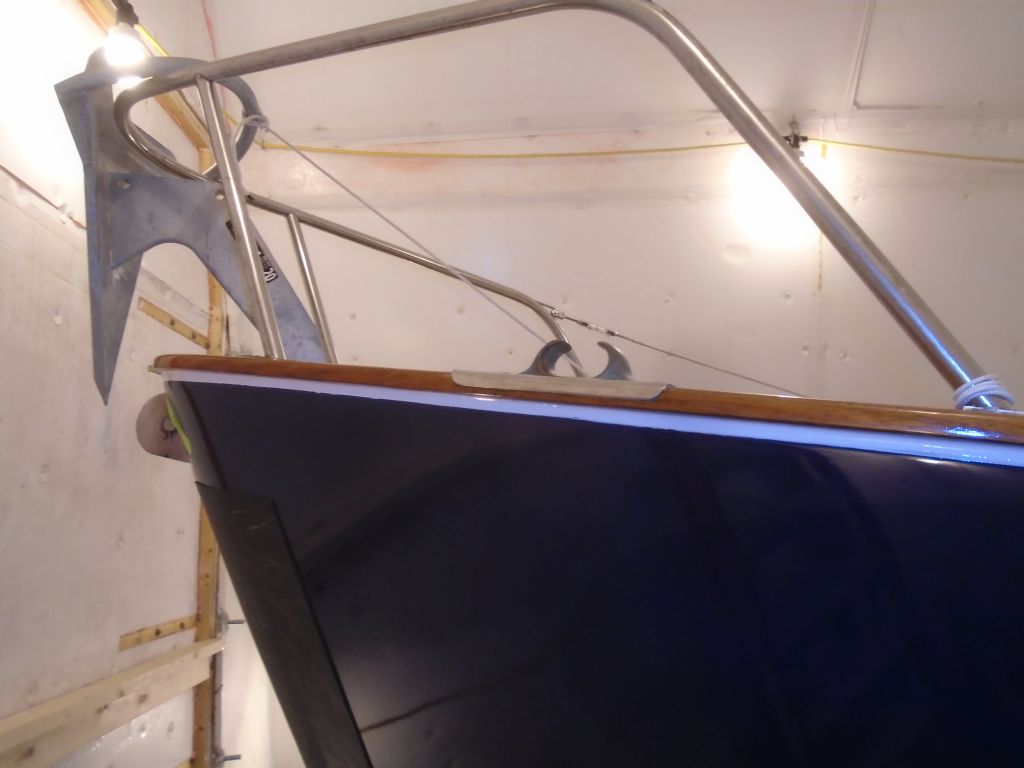
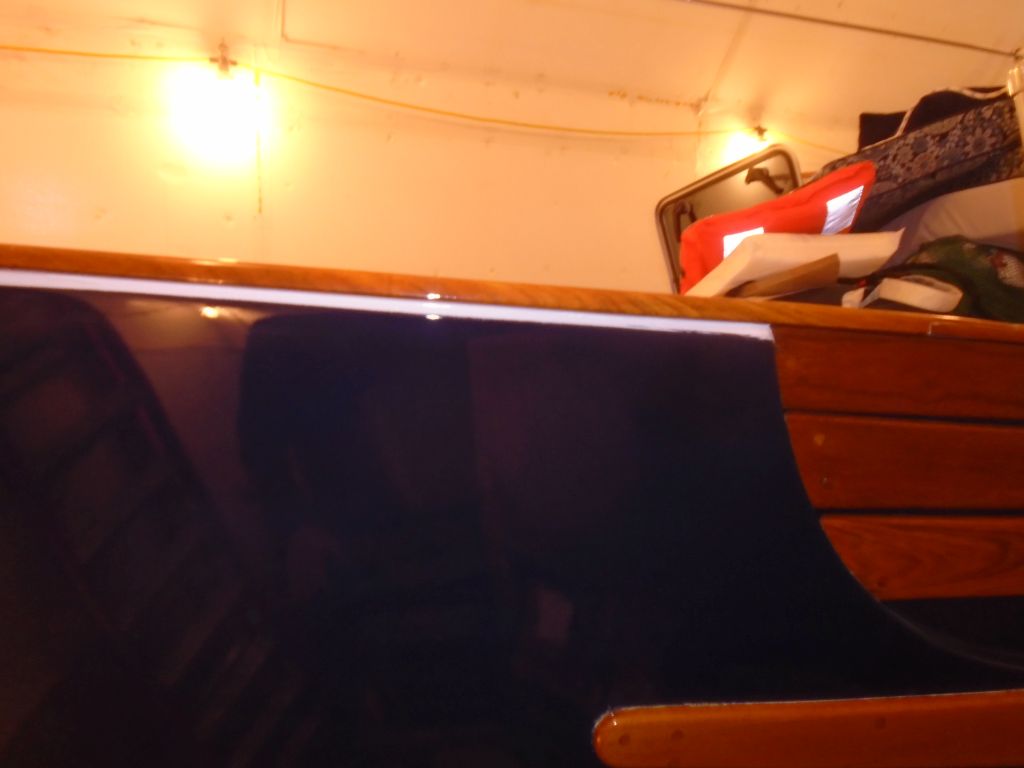
I chose 4200 polyurethane adhesive sealant for this job since it possessed all the properties desired in this case: proper texture (i.e. stiff enough to remain in the seam); adhesive quality; flexibility; durability. I’d used the same product on all the other visible seams during an earlier part of the project, before paint work. With a caulking gun, I forced the sealant deep into the seam and into the gaps where the deck joined the hull, and filled the seam flush and completely between the bottom of the caprail and the edge of the topsides, using a plastic squeegee to form the final shape.
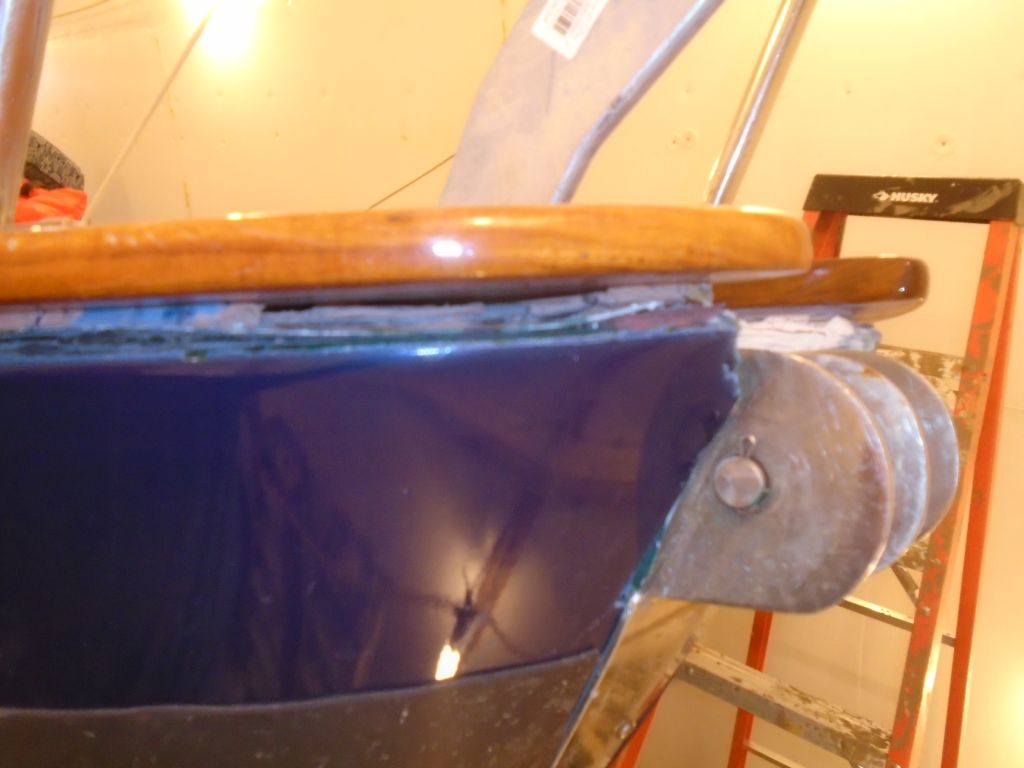
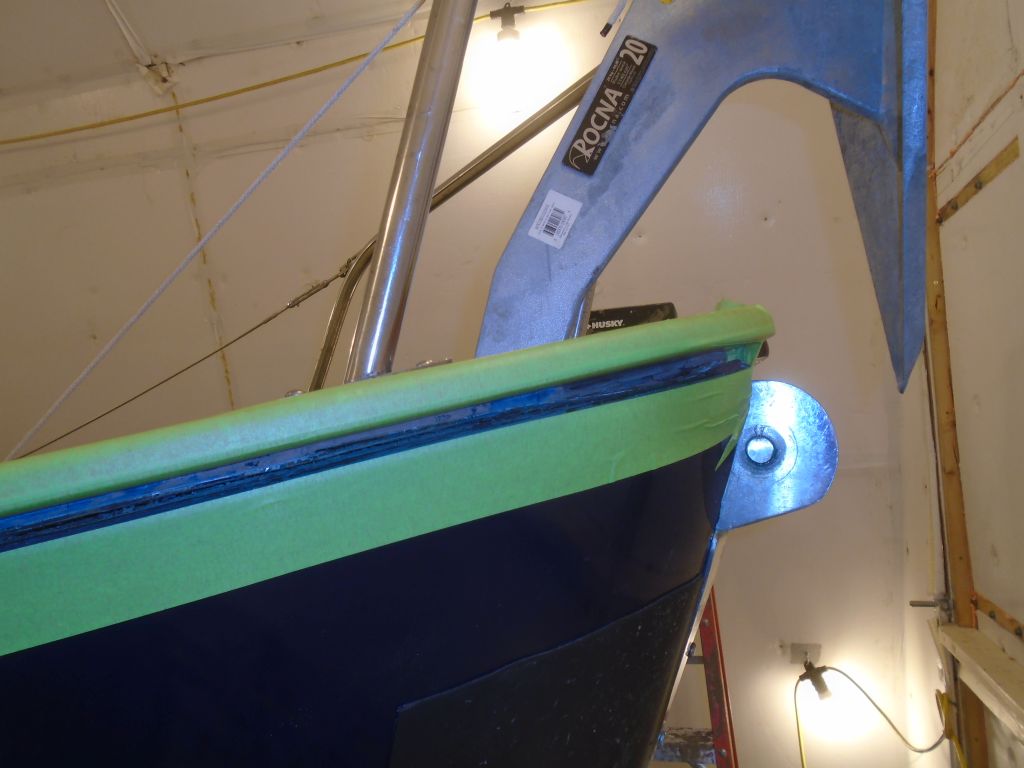
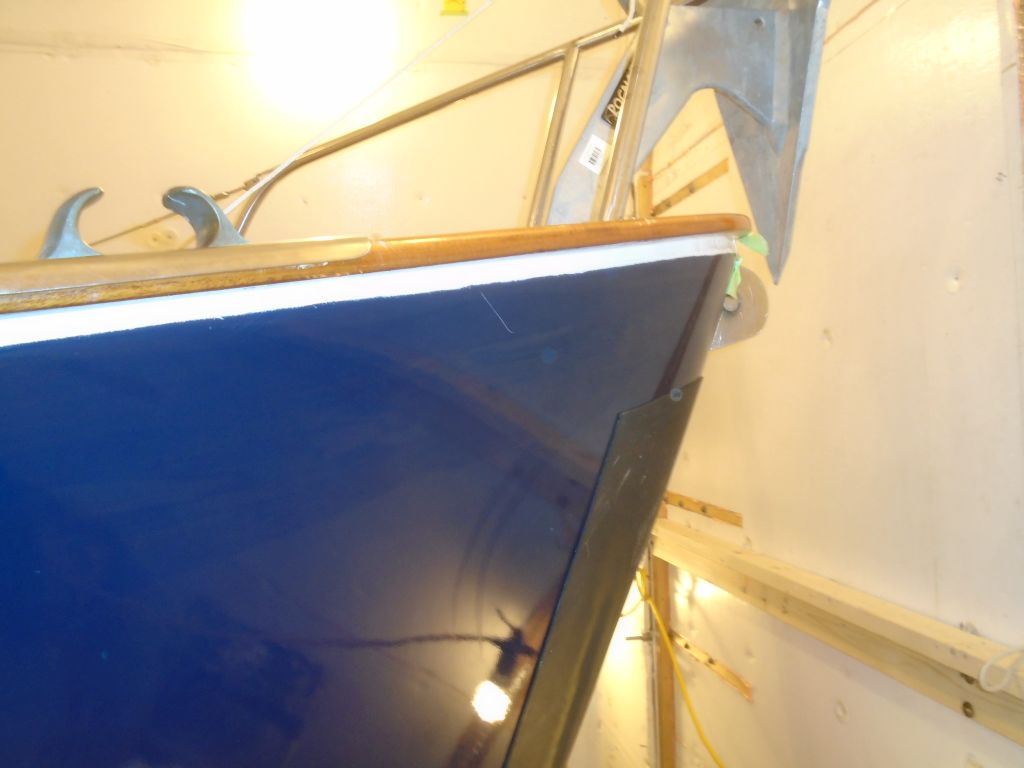
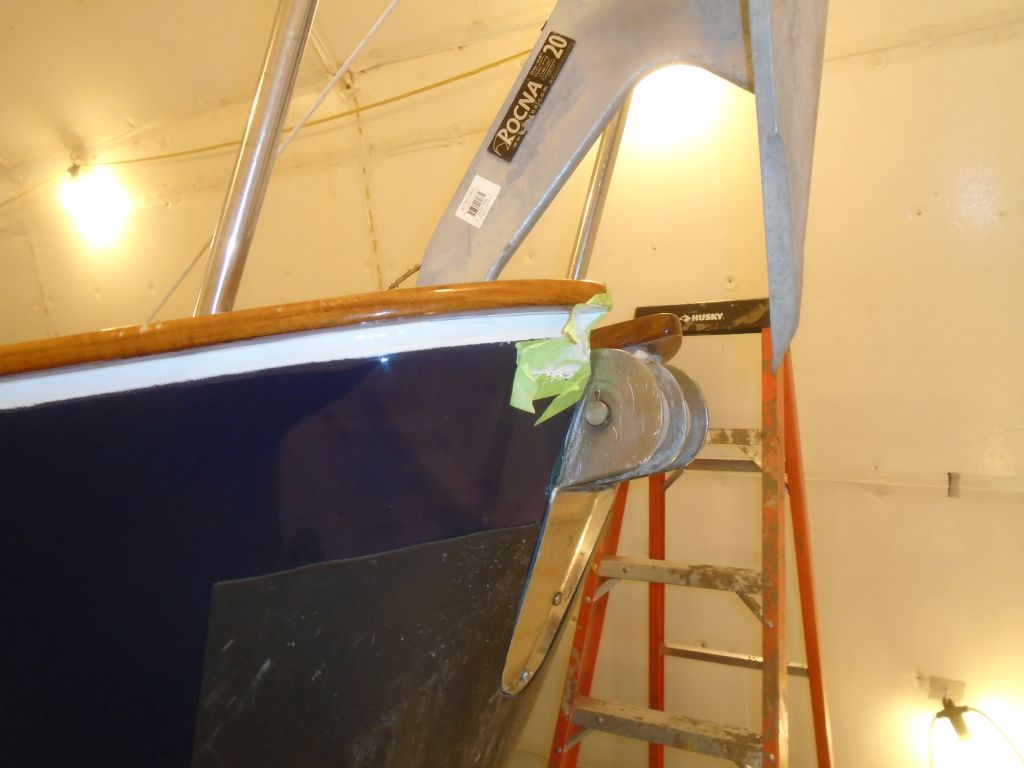
At the stem, I used masking tape to form a wall or dam at the edge of the seam, as this area was wide open, and while I removed all the tape from the other areas of the repair as soon as I was done, I left the stem masked off for now, till the sealant cured completely, to hold the end in place. The stark white sealant could be painted, and we planned to do so later, after it cured, as the seam was quite wide and now starkly visible.

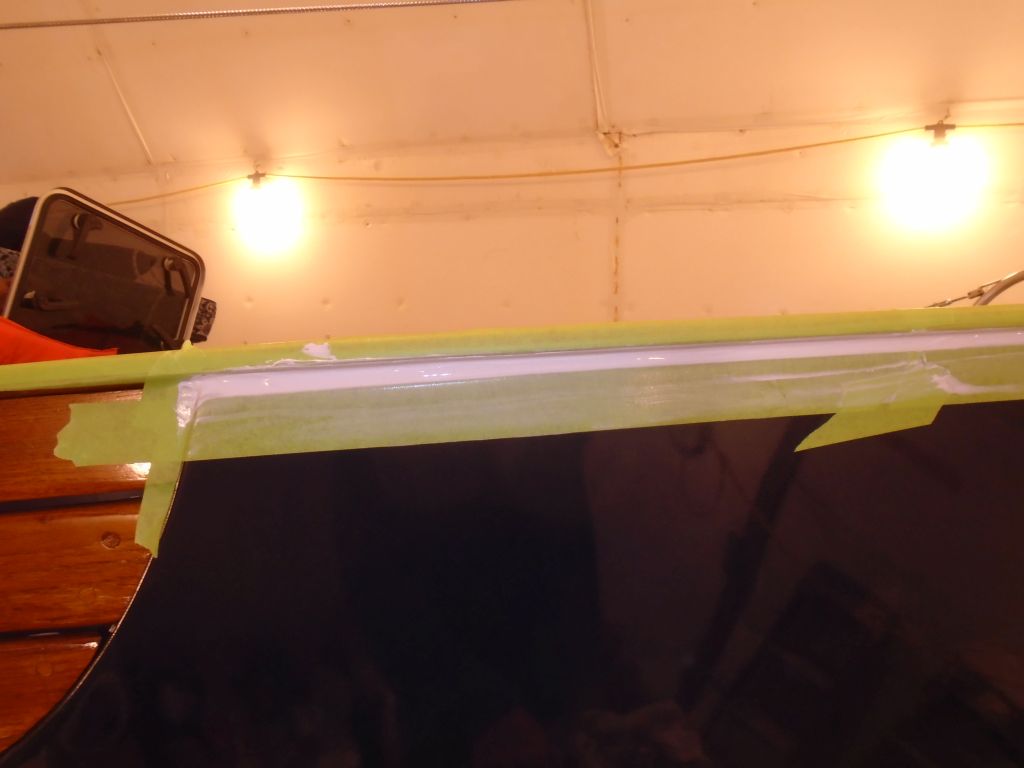
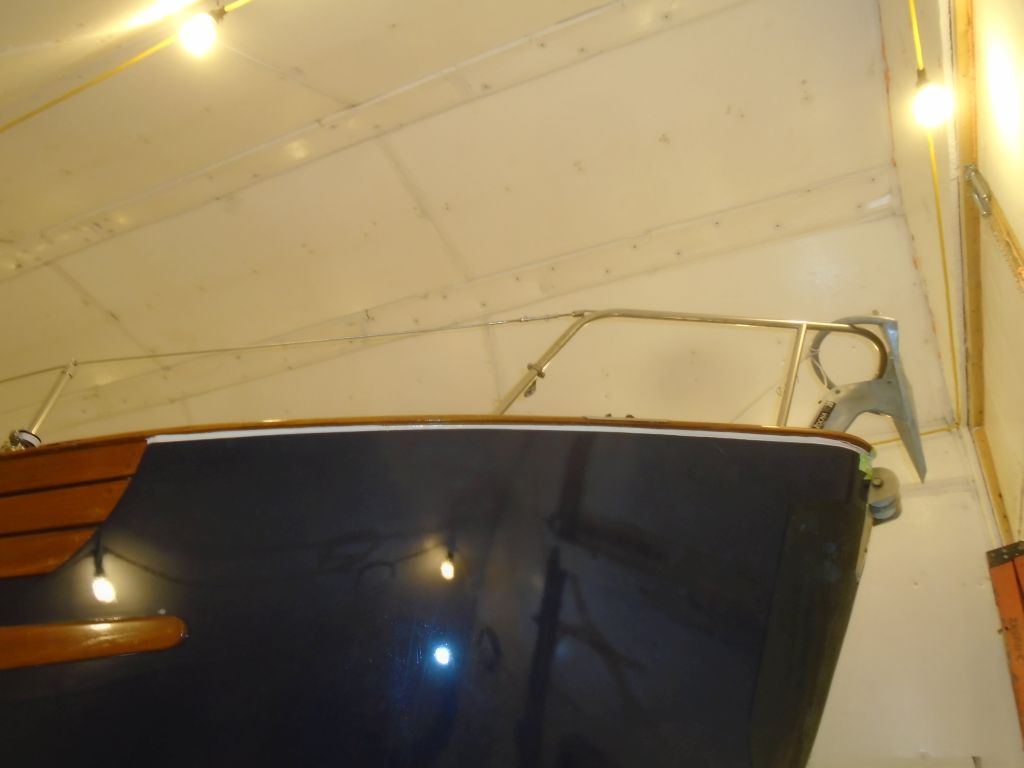
I repeated the process with the port seam, first cleaning out the old sealant and masking off, then filling the open seam with more of the 4200 before removing the tape (except, again, at the very stem). The job required one full tube of sealant on each side.


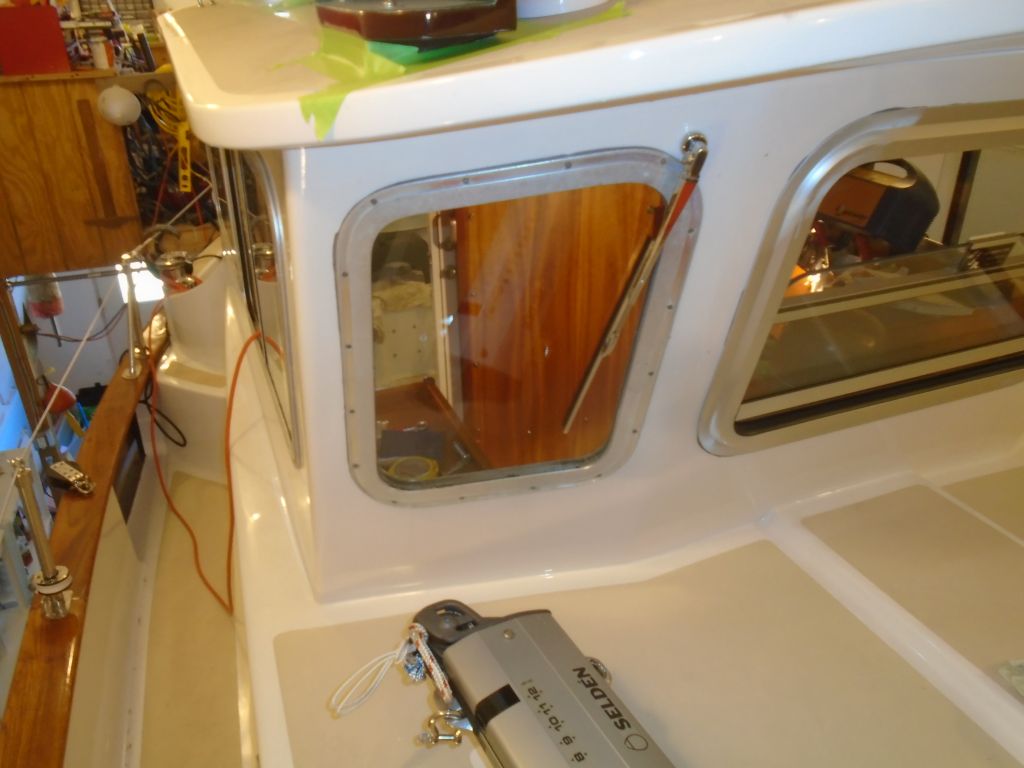
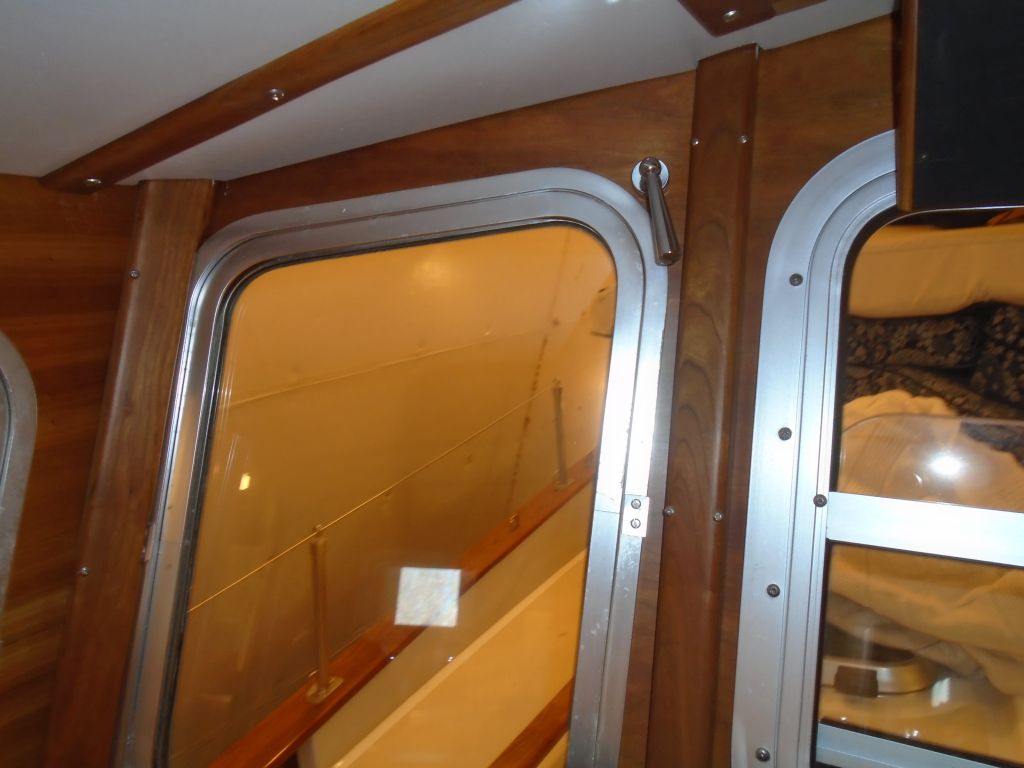
The last item on my list for the boat herself was to install a pair of manual wipers on the two small forward pilothouse windows. We’d discussed electric versions, but there was limited space for wiper motors, and wiring would pose complications and challenges, and given the generally minimal need for wipers thanks to the forward-raked windows, the simple manual versions seemed like they’d be adequate. Installation was straightforward: a single 7/16″ hole in the proper position, through which the wiper assembly threaded.

The owner and I had planned to do some preliminary mast work–before launching we’d be installing new mainsail and mizzen tracks for the sail slides–but a measuring tool required before placing the order hadn’t yet arrived despite more than a week’s lead time, so we’d continue that project another time.
Total time billed on this job today: 3 hours
0600 Weather Report:
30°, snow shower. Forecast for the day: sunny, high around 32°