

March 12, 2018
Jasmine 69
Monday
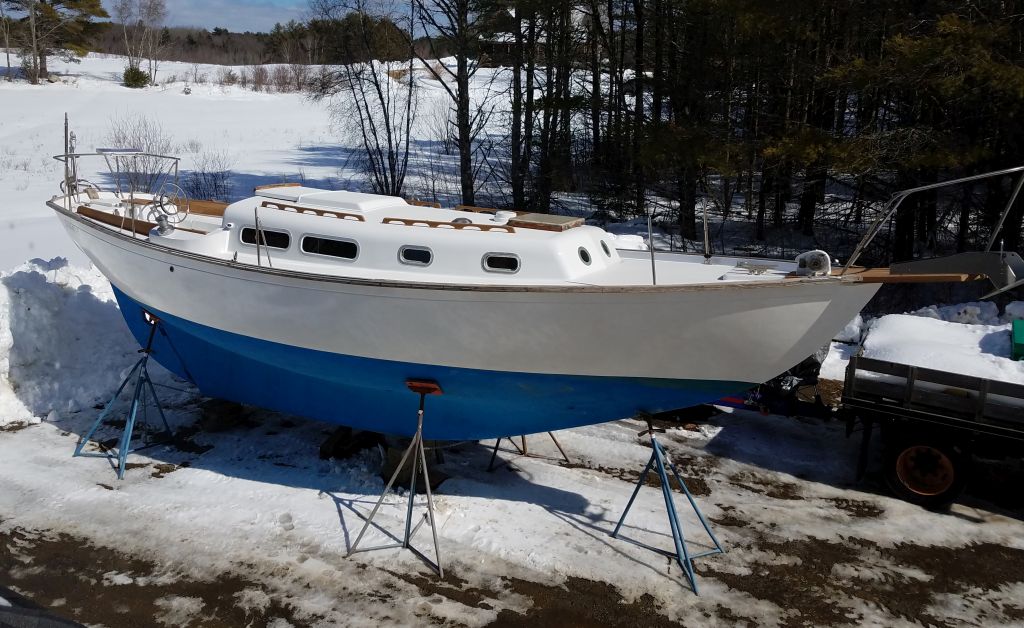
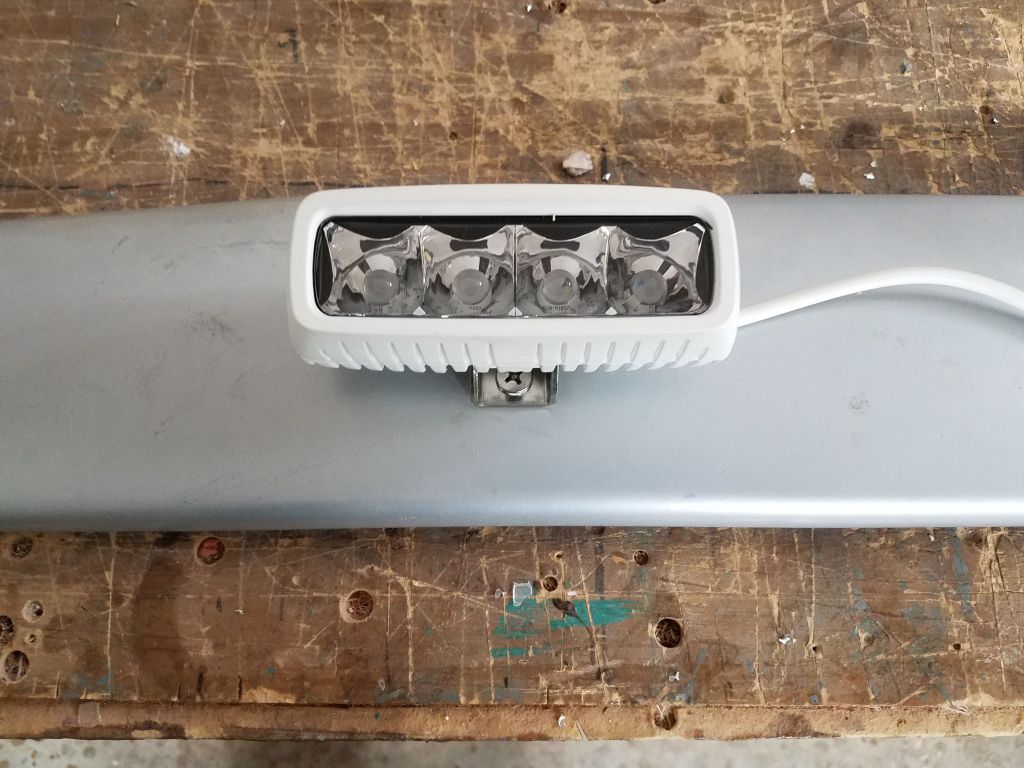
The owner requested spreader lights, and I found some nice little aluminum-housed LED lights that would do the job well. With the spreaders on hand in the shop, I began with the basic installation and spreader-side wiring.
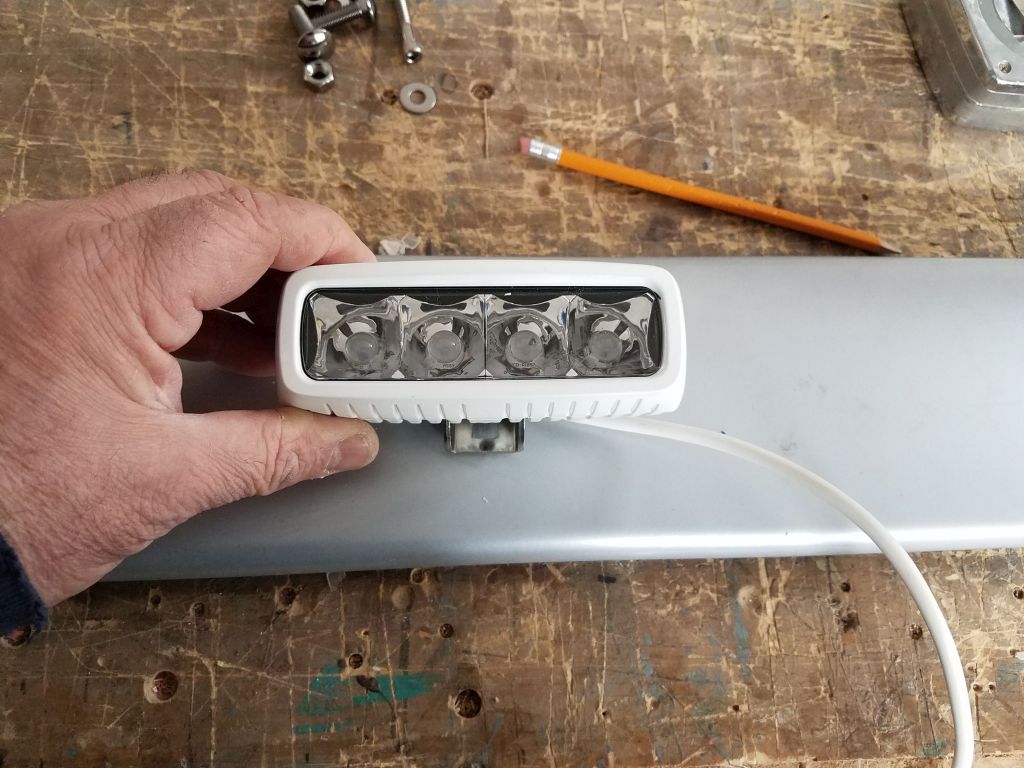
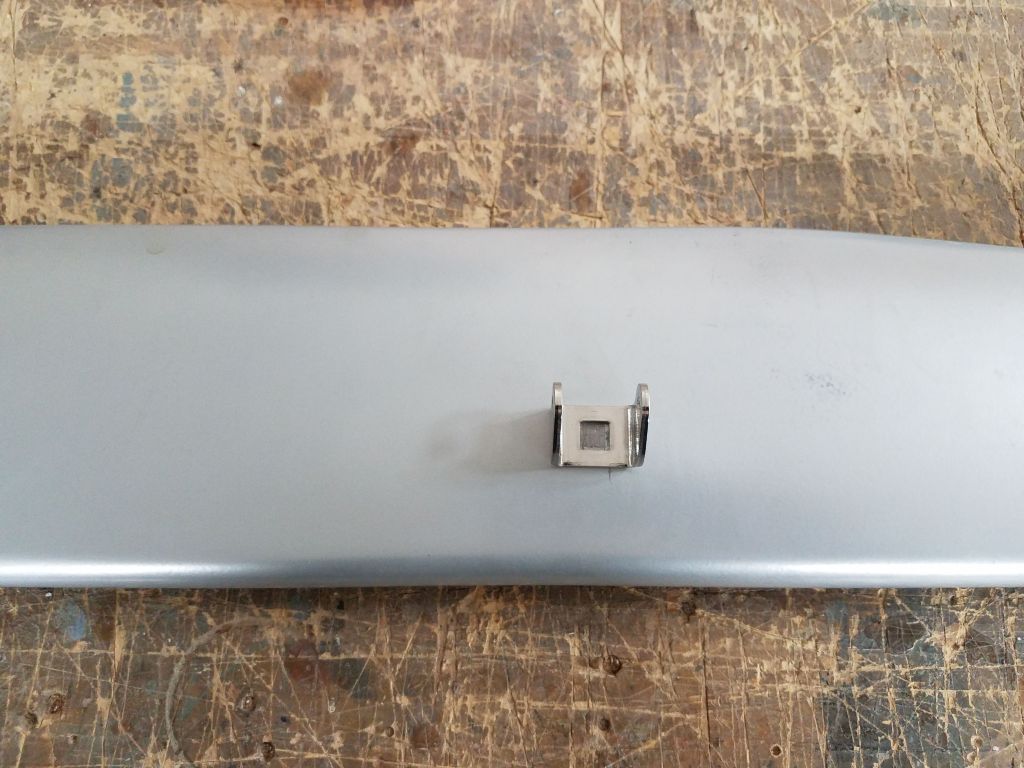
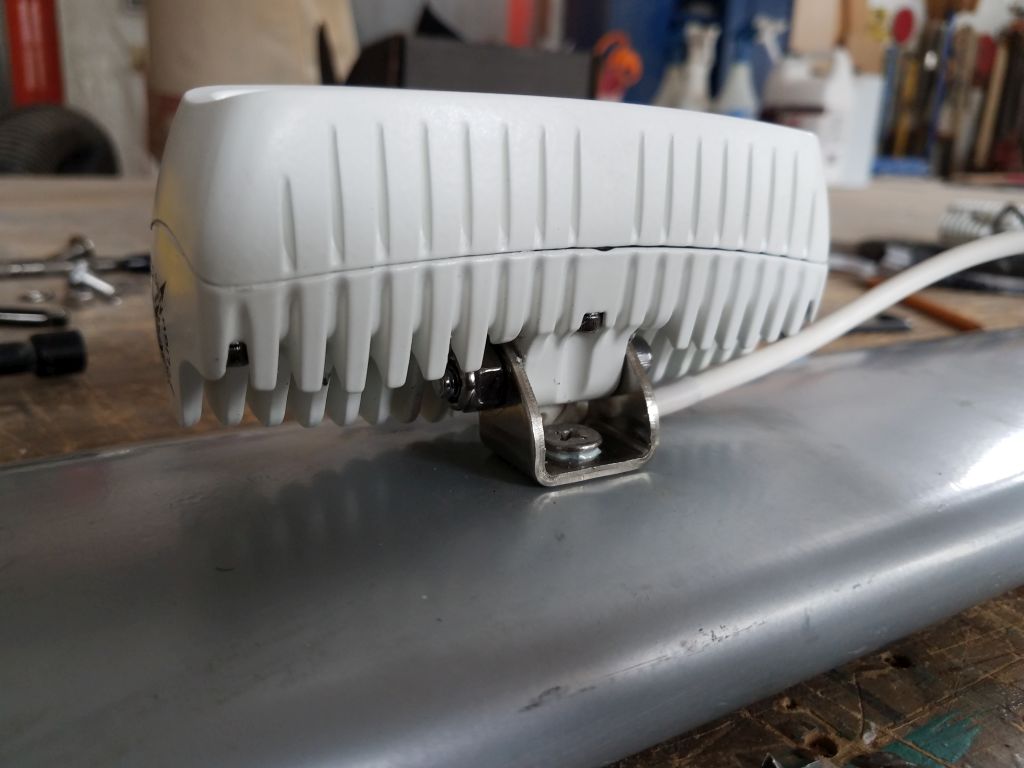
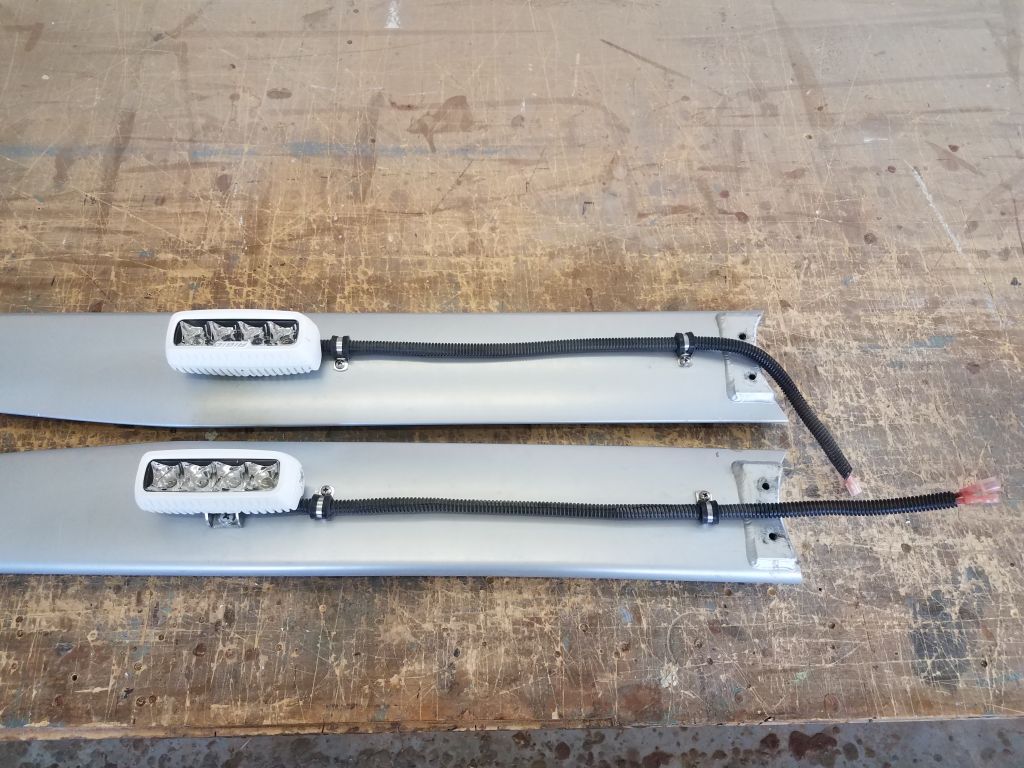
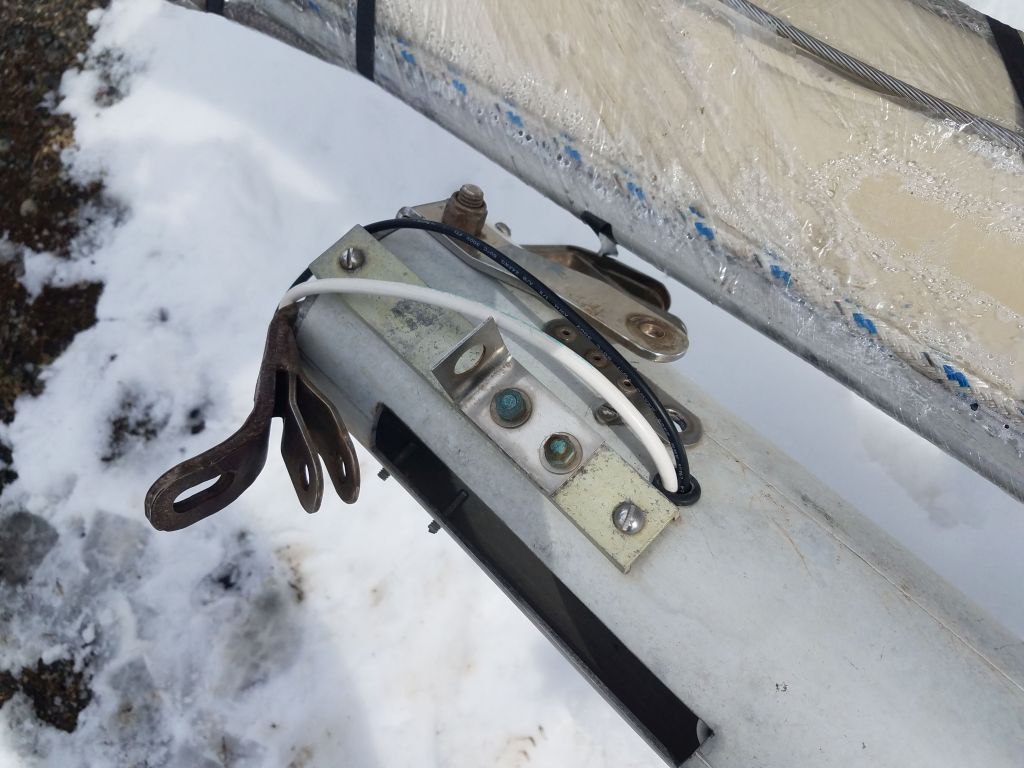
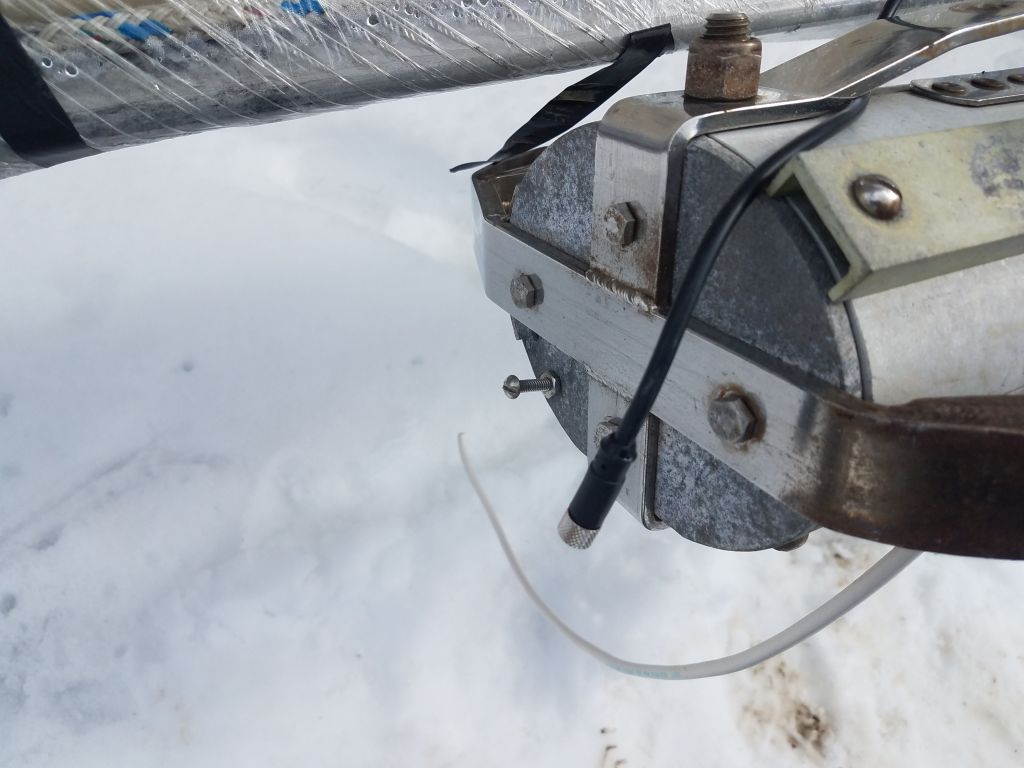
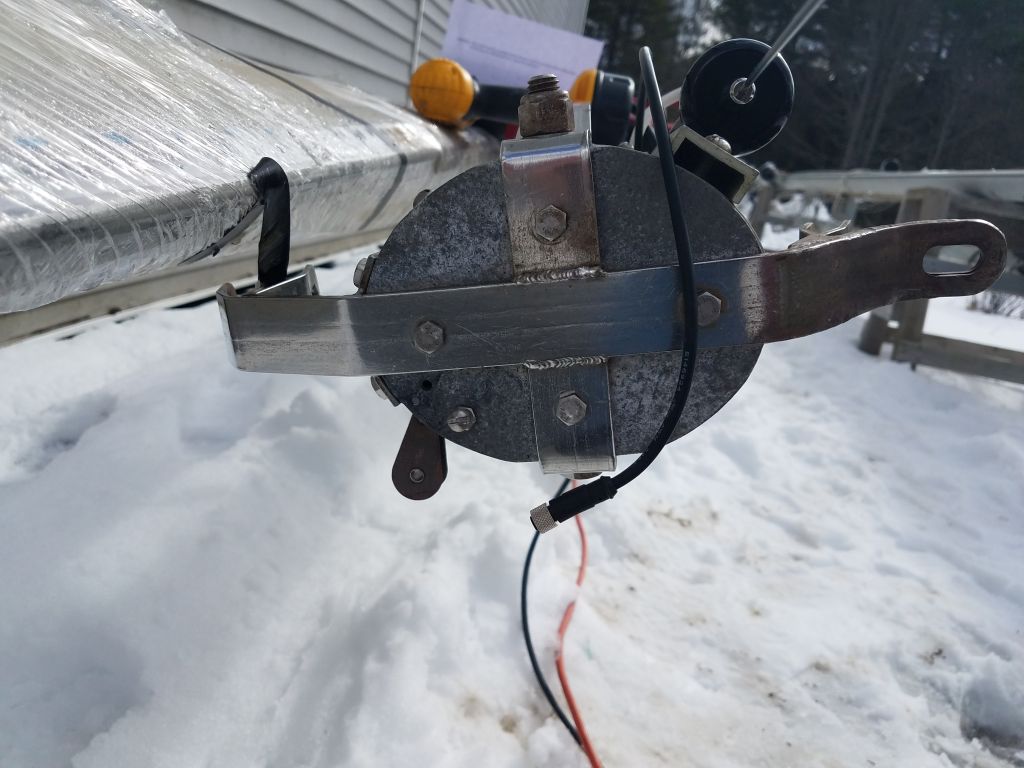
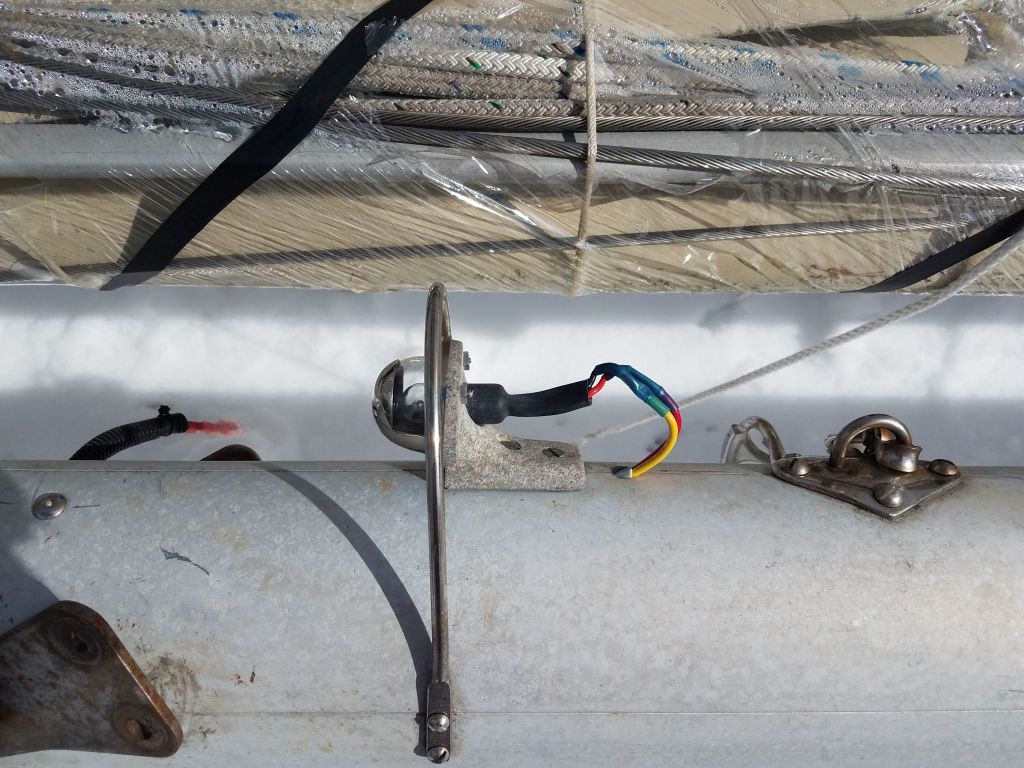
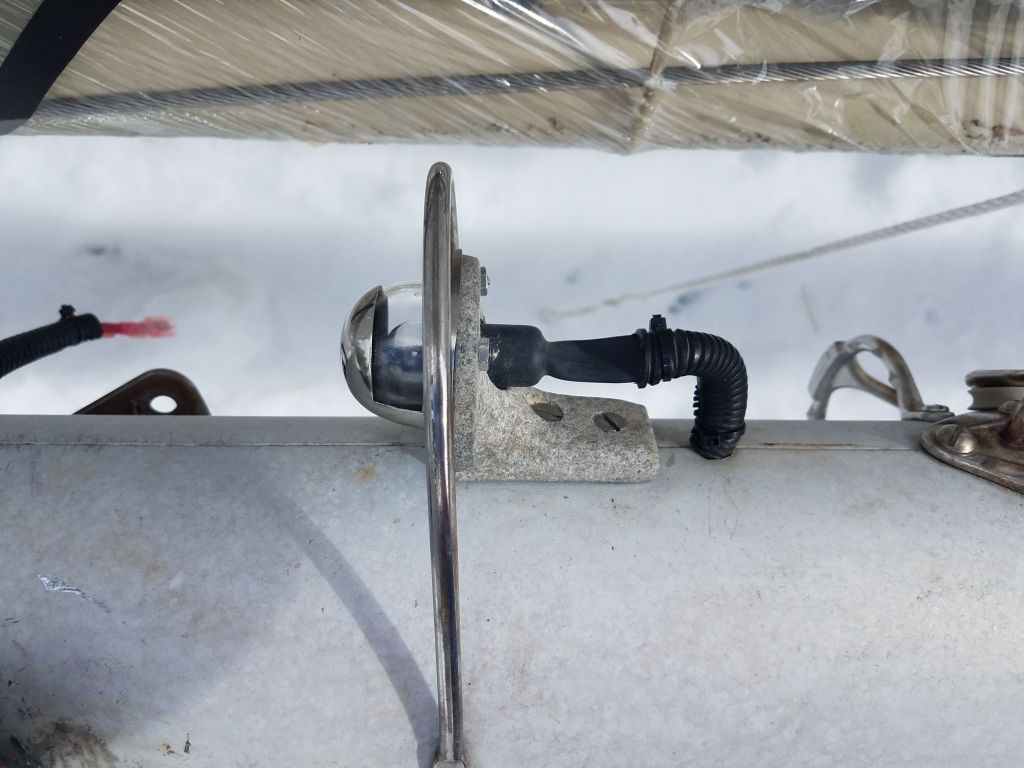
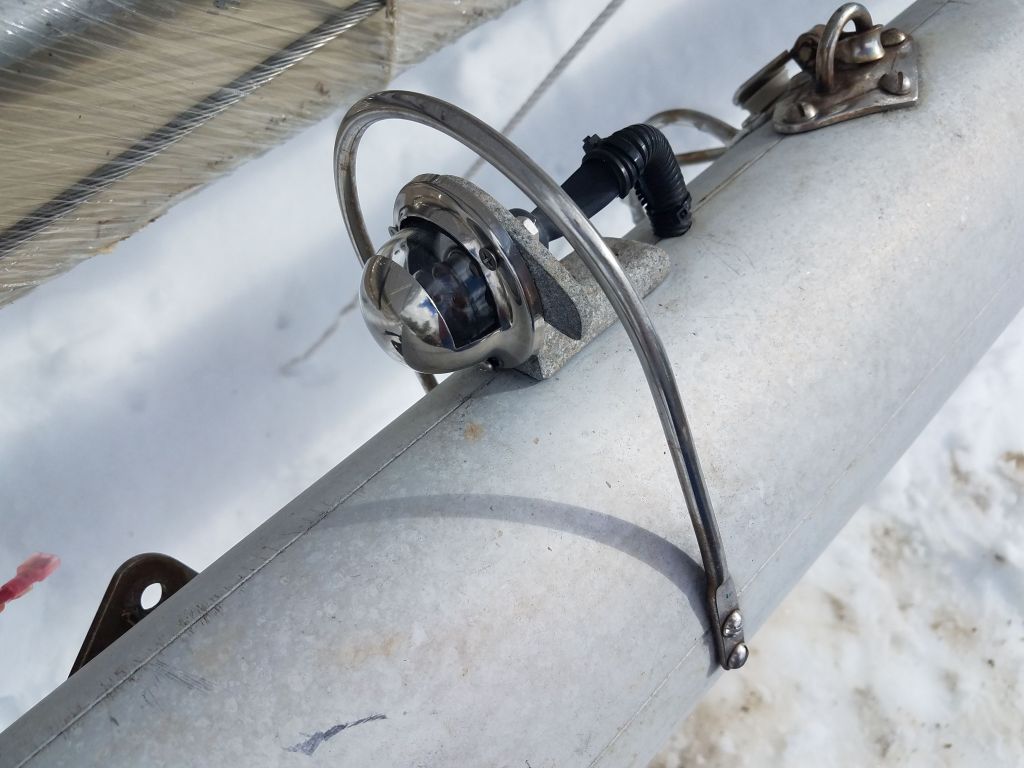
The lights featured a small stainless steel bracket that allowed light rotation up to 90°, which is where I needed it for this installation so that the lights would face directly down to the deck below. After determining the position for the light and its bracket, I installed the bracket with a single machine screw into a threaded hole in the bottom side of the spreader; the bracket was designed for a carriage bolt, but that type of fastener wouldn’t work in this blind installation. The two lights, ordered at the same time from the same vendor and while essentially identical, apparently were different “model years” and had slightly different wiring harnesses, one with a shorter black wire with a factory plug. This did not impact much for this installation and had no practical ramifications when all was said and done.

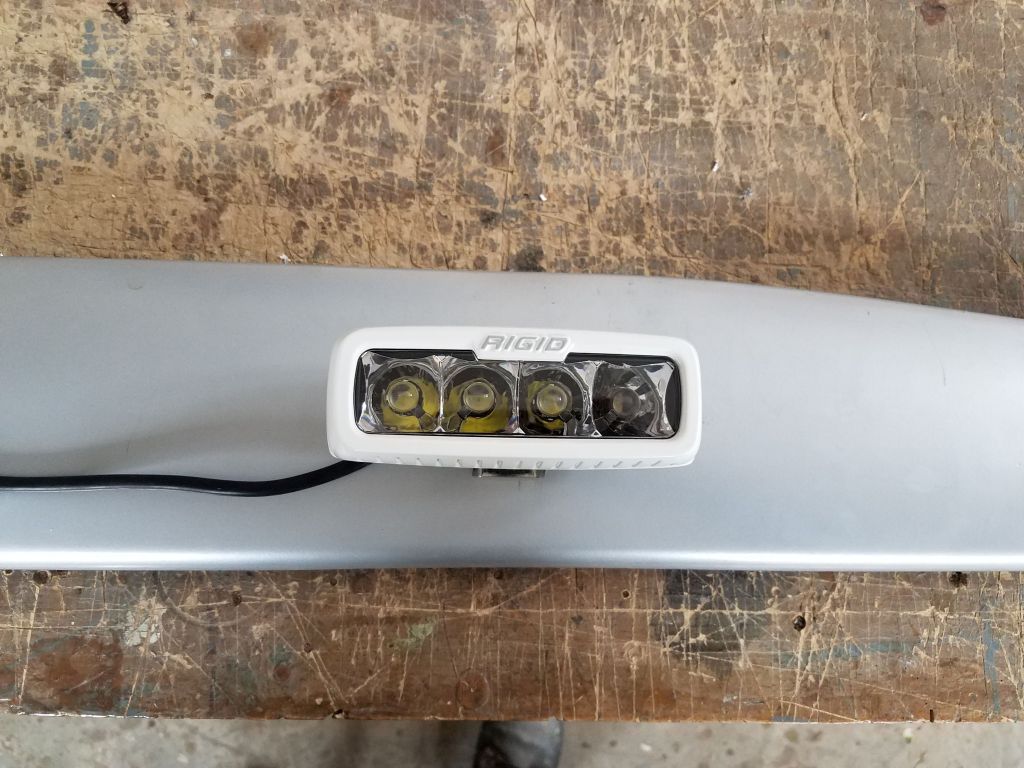
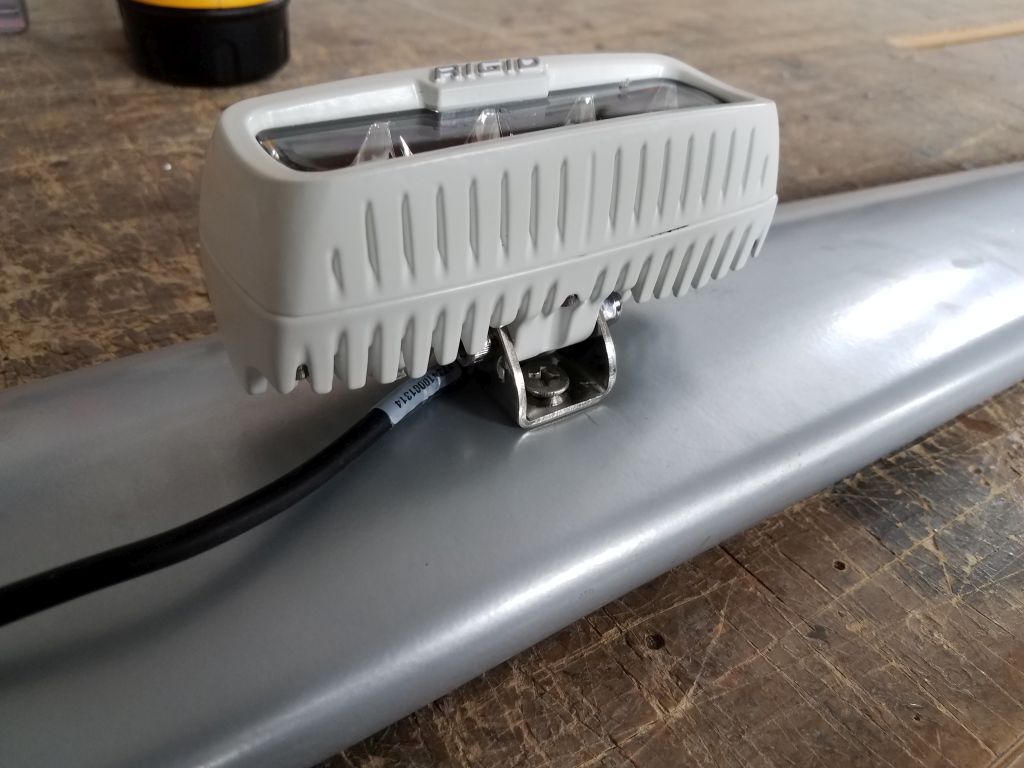
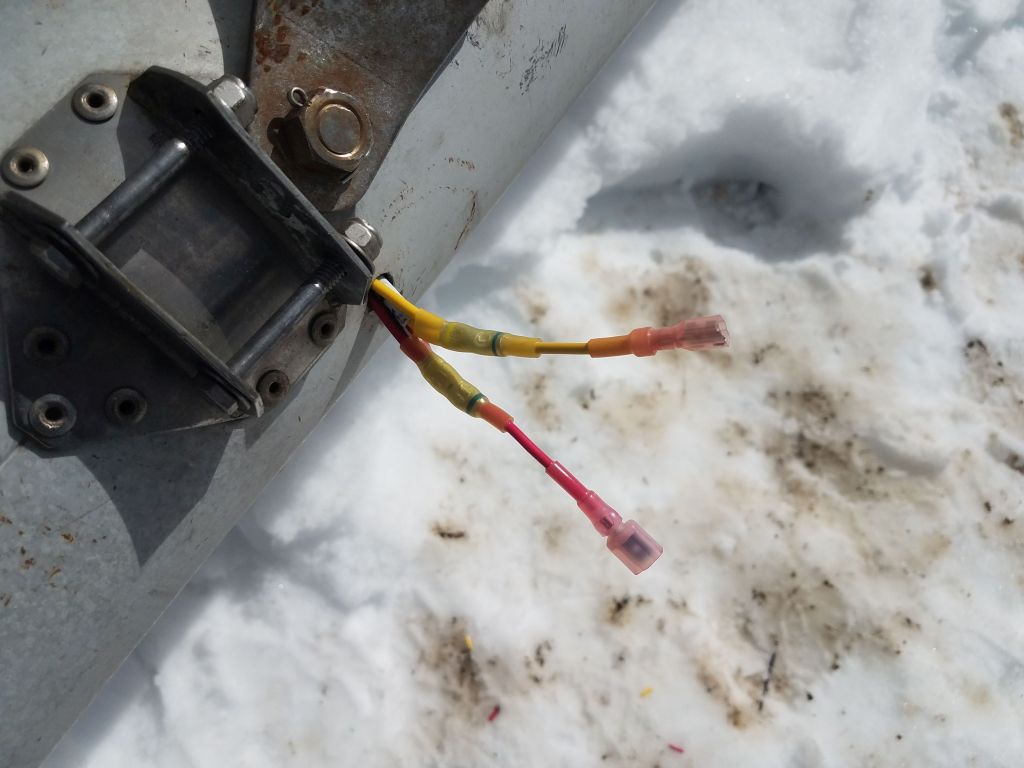
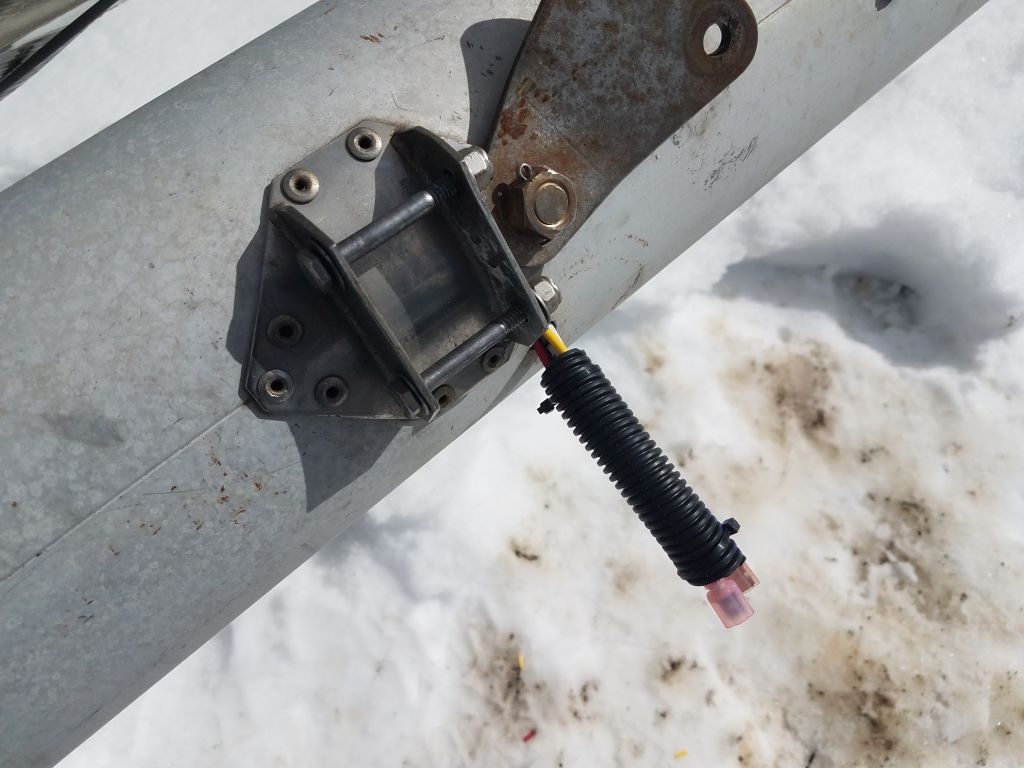
With the lights secured in their brackets, I completed the wiring that would lead to the mast for eventual connection. Since the spreaders might be removed in the future, I planned for plug-in connectors for the wiring. The white wire lead on one of the lights was pretty much the right length as it was, but the black wire on the other side was shorter, so I began by extending the wires to the same length as the other side. I added water-resistant plugs at the ends of the wires–male for one wire, female for the other, so that the mast side wiring couldn’t be accidentally reversed–then secured the wires to the spreaders with wire clamps and flexible conduit for looks and protection.


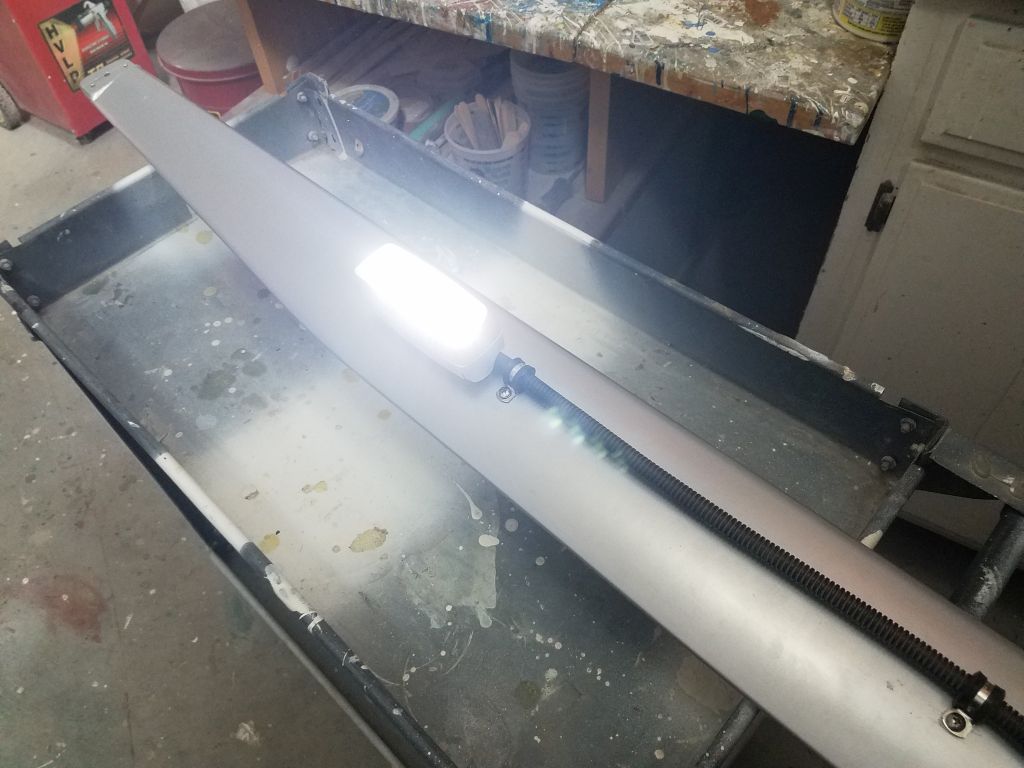
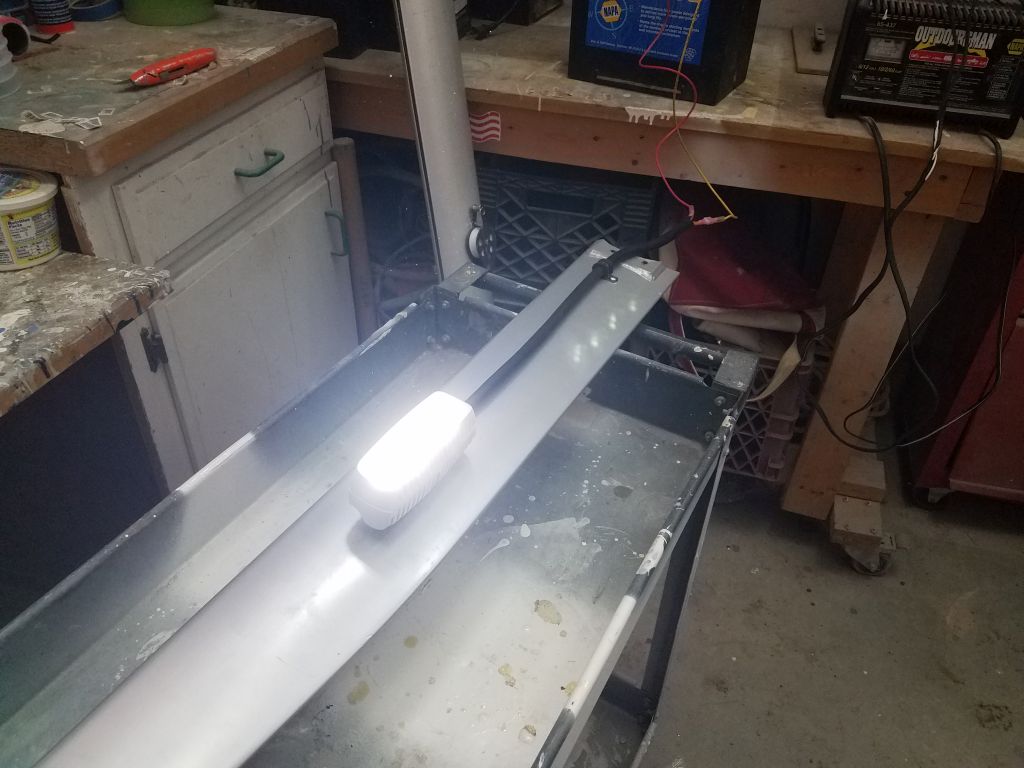
I made up a quick test lead connector and checked the lights’ operation with a battery. I was impressed by the light produced.

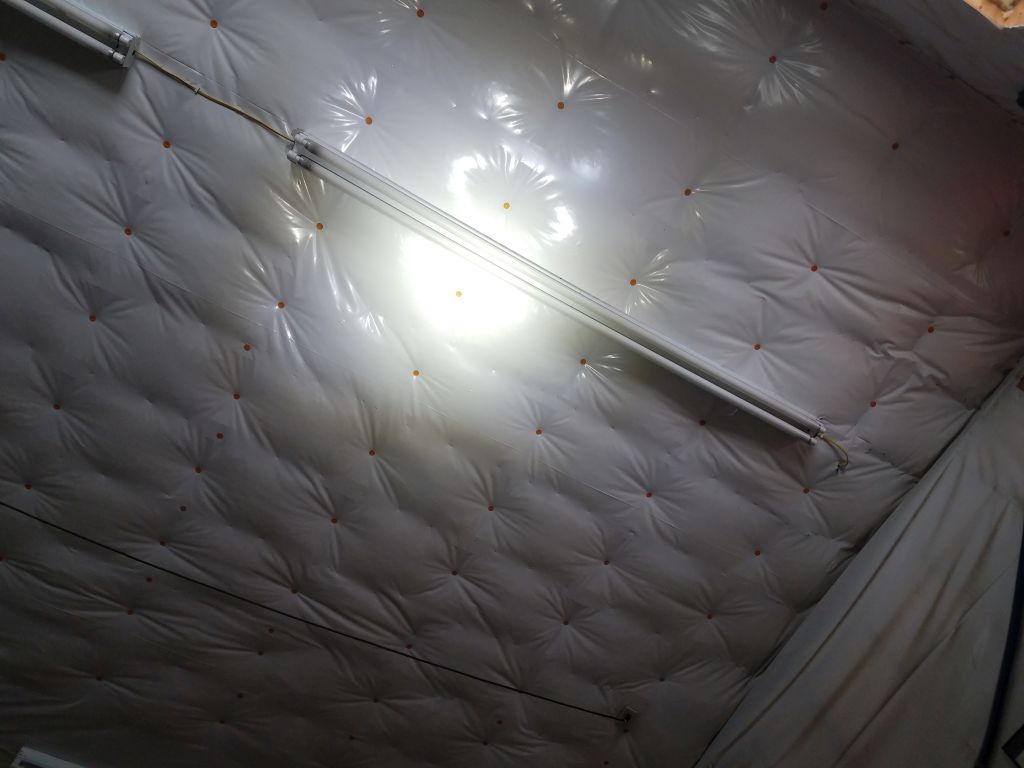
This photo shows the light bloom on the shop ceiling, about 15′ above the light itself.
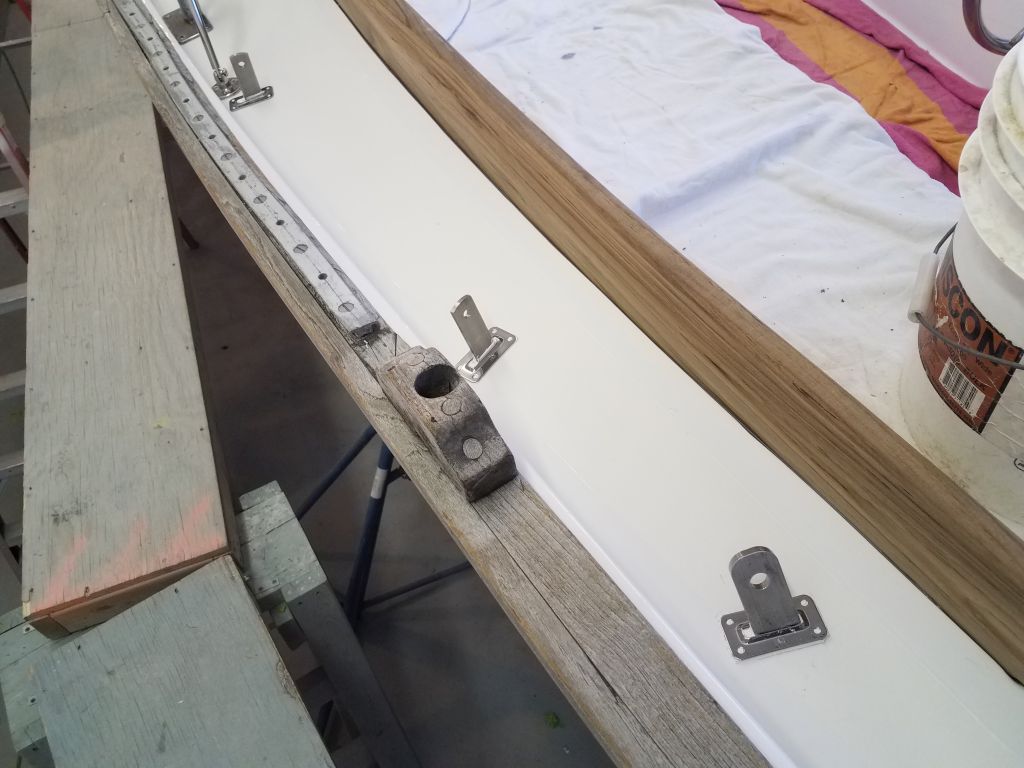
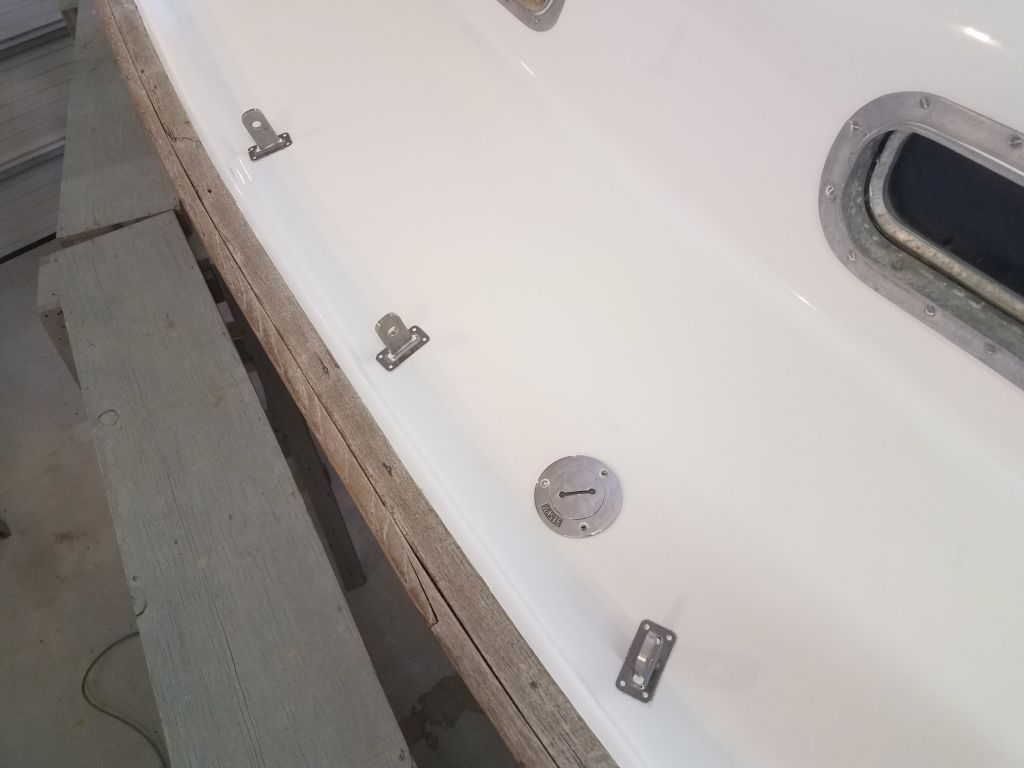
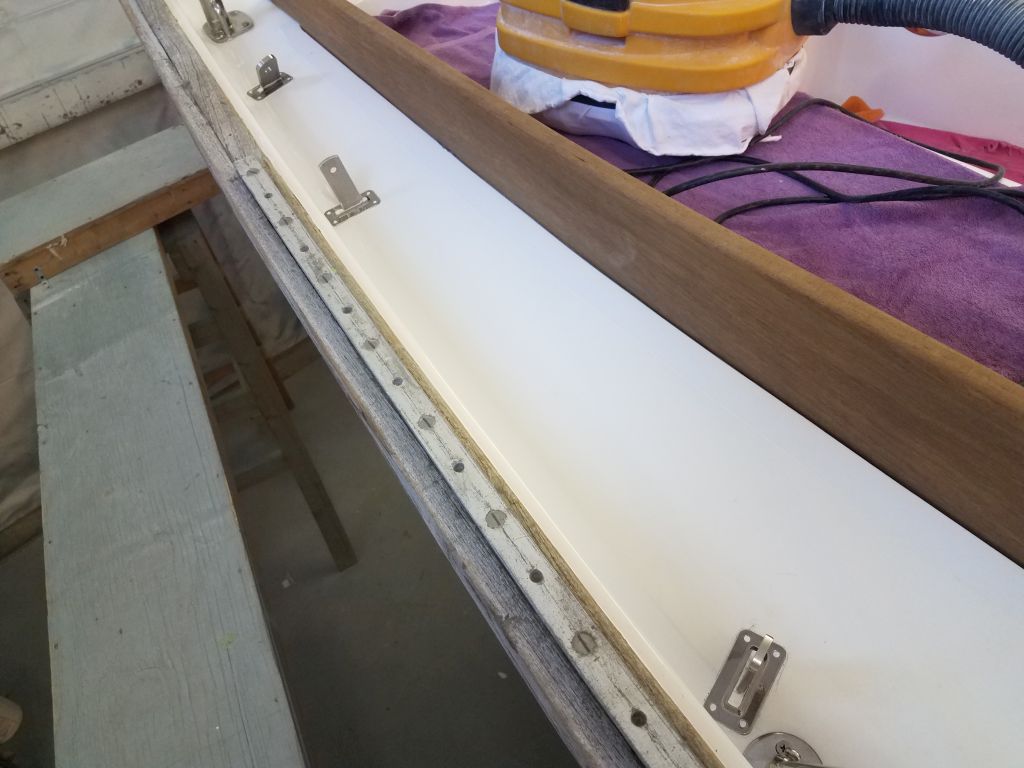
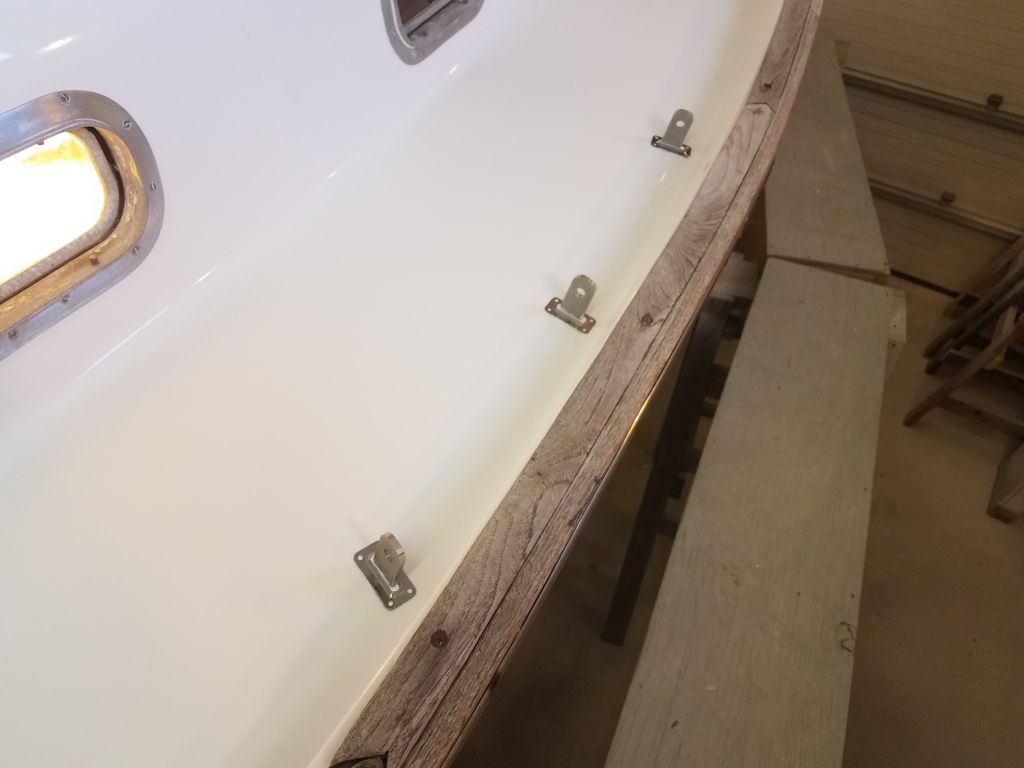
With the sealant securing the chainplate covers now cured, I removed the excess and cleaned up as necessary.
I completed the electrical panel by installing a few final panel labels that I’d had to order.

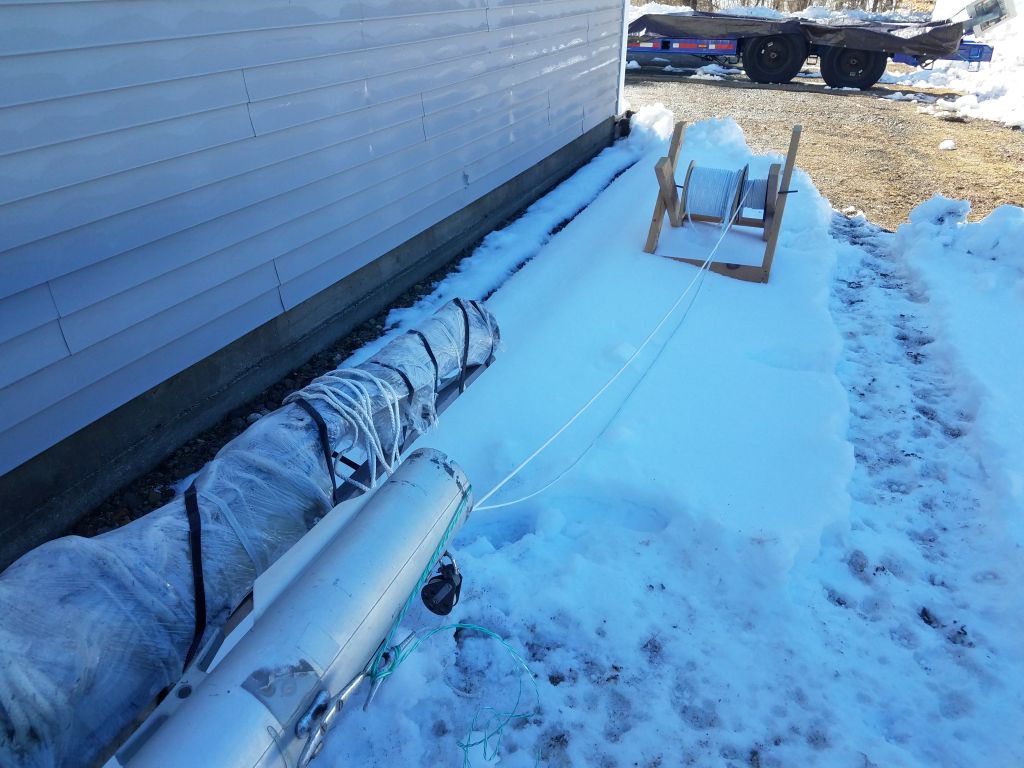
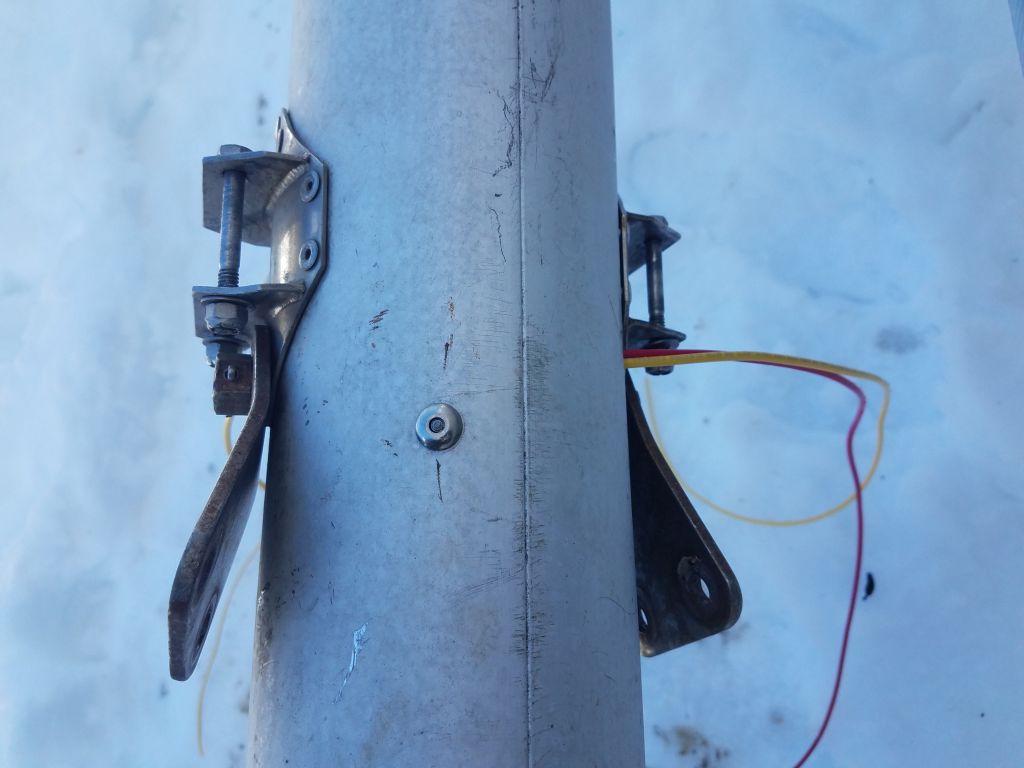
Taking advantage of another decent day outside, I picked up where I left off with the mast and, using the messengers I installed earlier, ran in the wires for the light at the masthead, spreader lights, and the steaming light, along with the VHF antenna. At the spreaders, I led a short wire pair across from one side of the mast to the other so I could wire both sides of the spreader lights.


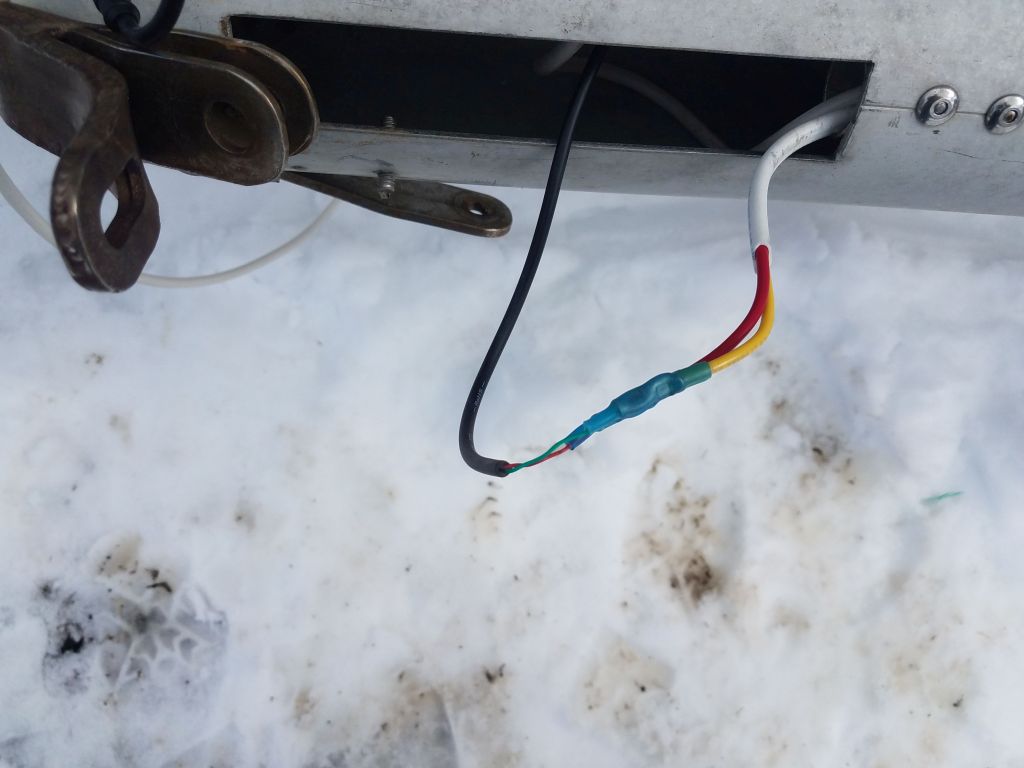
At the masthead, I wired up the connector for the new tricolor/anchor light. The light came pre-wired with a short harness and a waterproof (according to the light’s literature) connector, so for the moment I just connected the other side of the connector to the new mast wire. This part of the harness was long enough that I could make the wiring connections inside the mast and just run the small harness out through a pre-existing hole in the side of the mast.

I postponed installing the fixture itself on the masthead, which had some stainless steel strops over the top that were in the way of the mounting location. I had a plan for mounting the light and would take care of that soon.
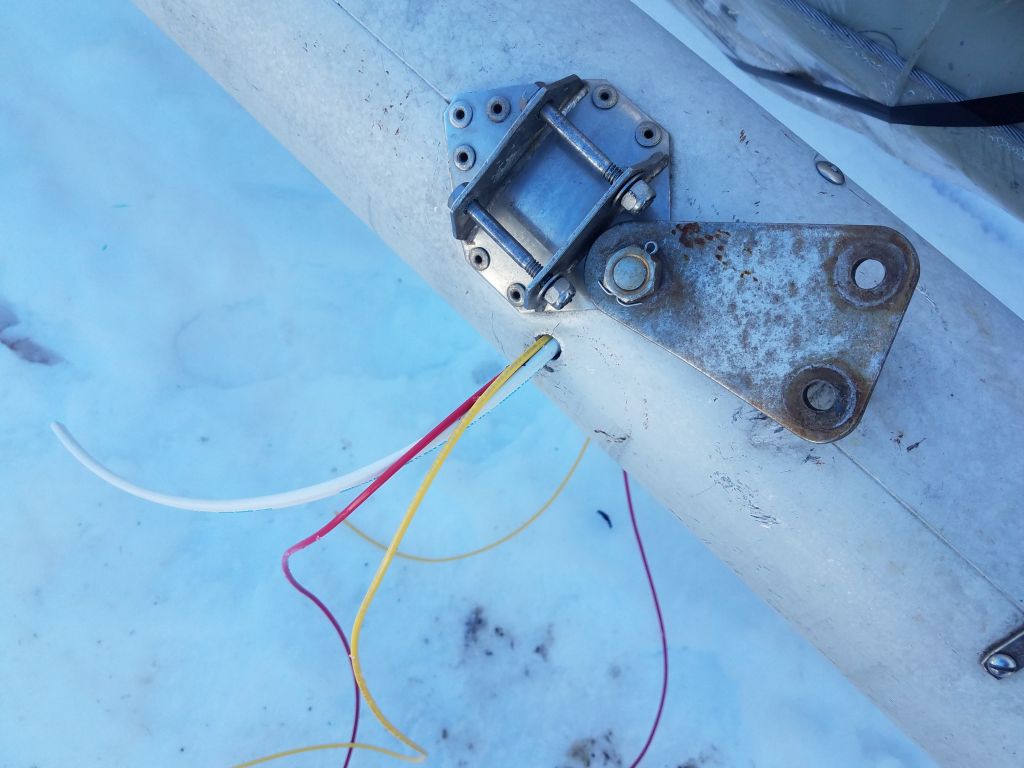
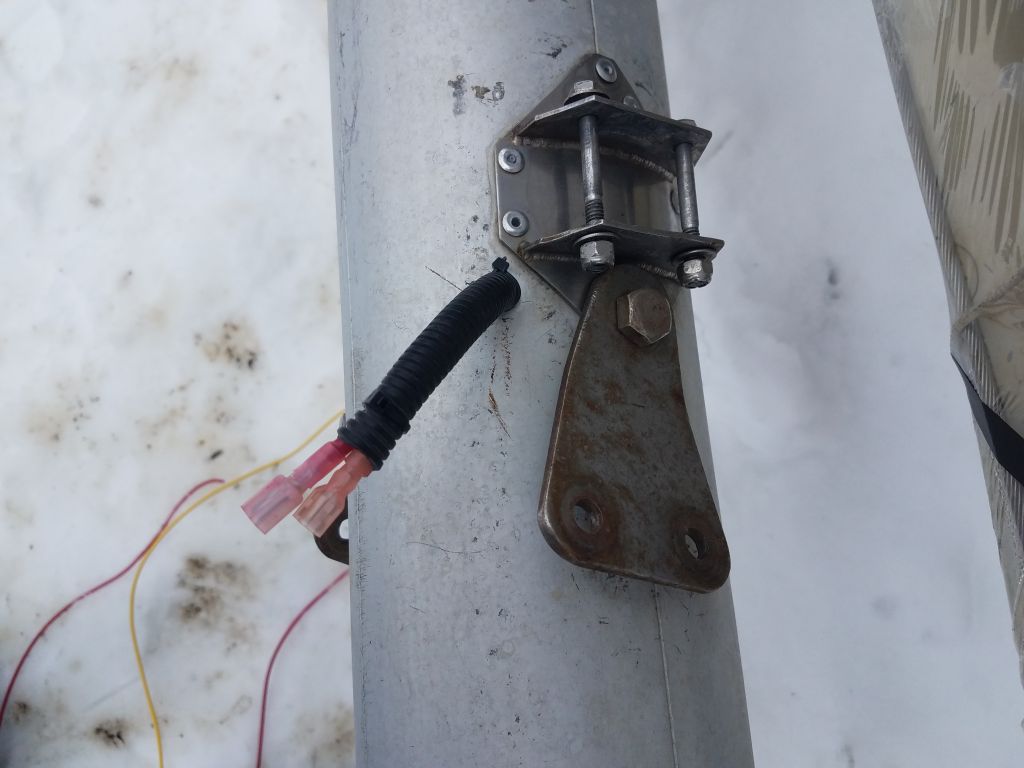
Continuing down the mast, I made up the connections for the spreader light wiring, with the corresponding connector plugs for those I’d installed on the spreaders themselves. I interconnected the wires from both sides of the mast and left short harnesses on each side to allow room for connection of the wires when the spreaders were installed.

Finally, I connected and installed the steaming light, using a small traditional-type fixture that fit on an existing little platform.

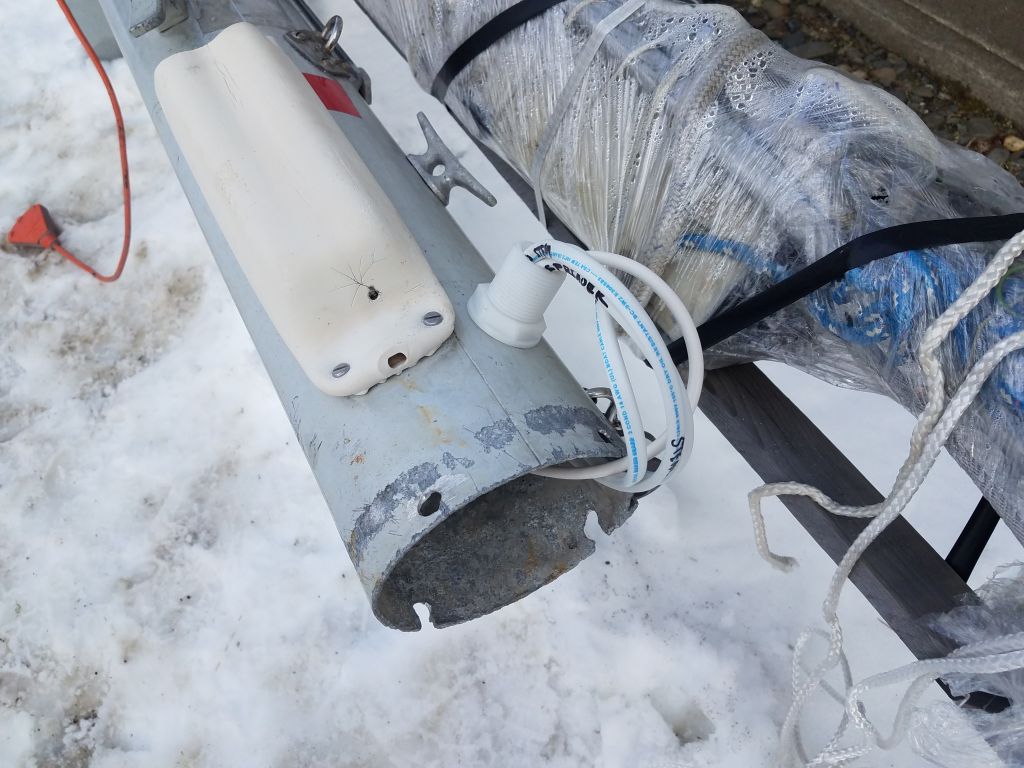
At the base of the mast, I led all the wires out through the wire fitting I’d installed, and, leaving ample slack for running into the boat, made up the wire terminal ends for later connection to the terminal block in the head. I tucked the wire ends back into the base of the mast for now to limit exposure.

Total time billed on this job today: 7 hours
0600 Weather Observation: 16°, clear. Forecast for the day: Mainly sunny, increasing cloudiness in the afternoon, around 40°