

February 15, 2018
Jasmine 52
Thursday
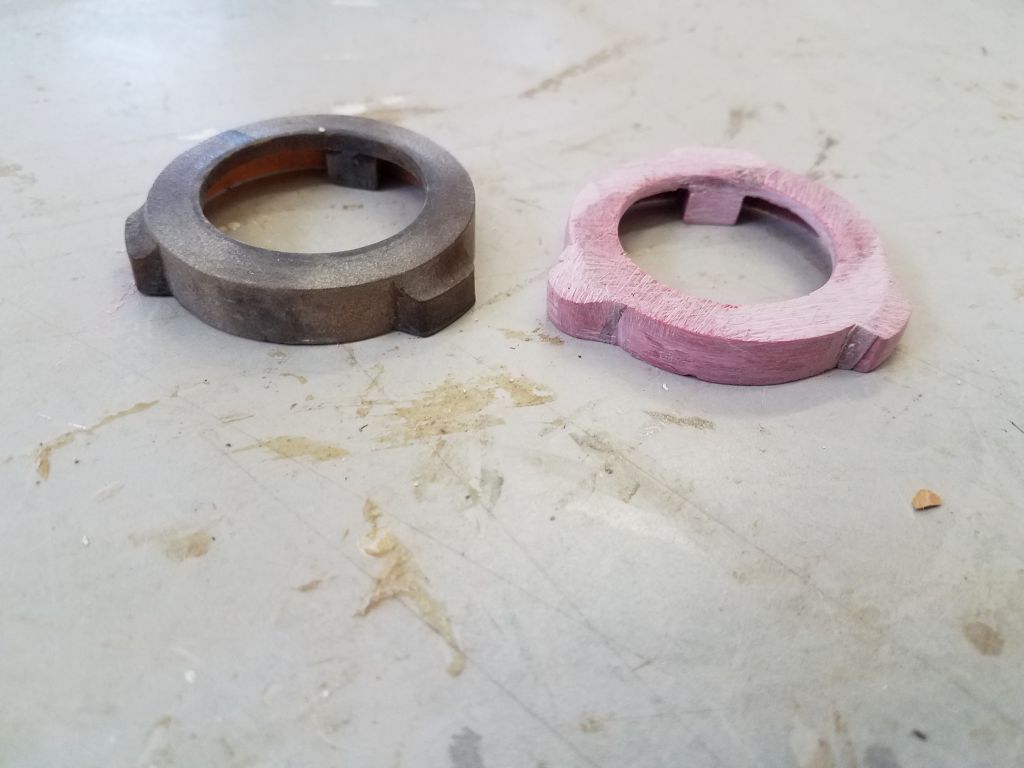
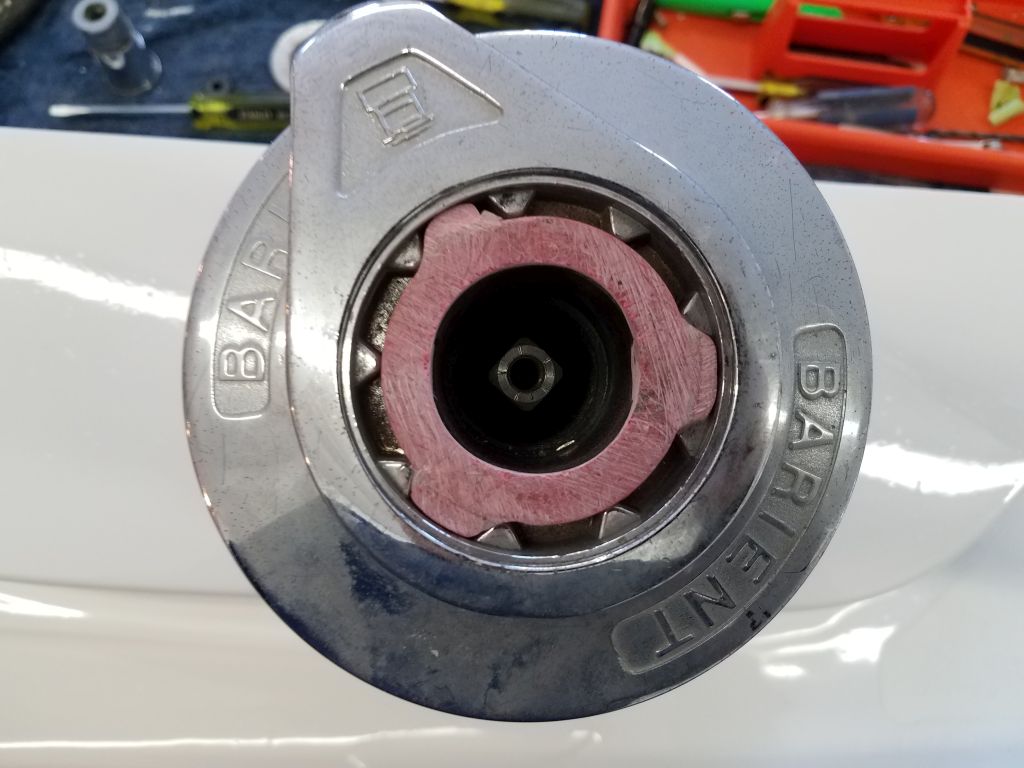
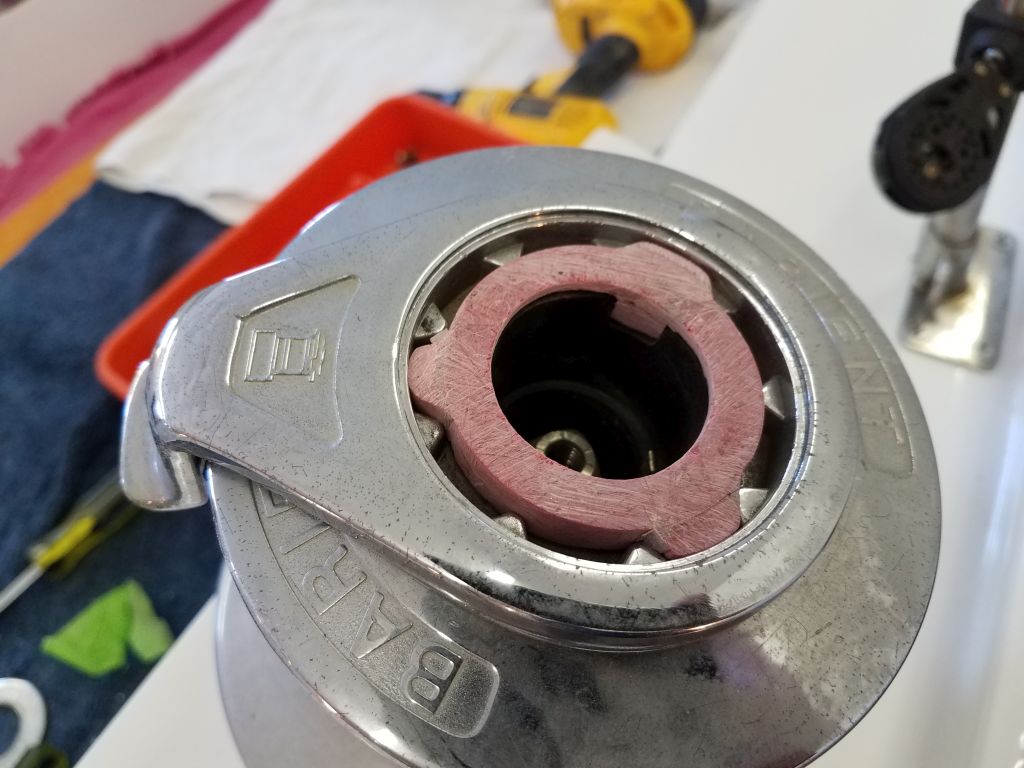
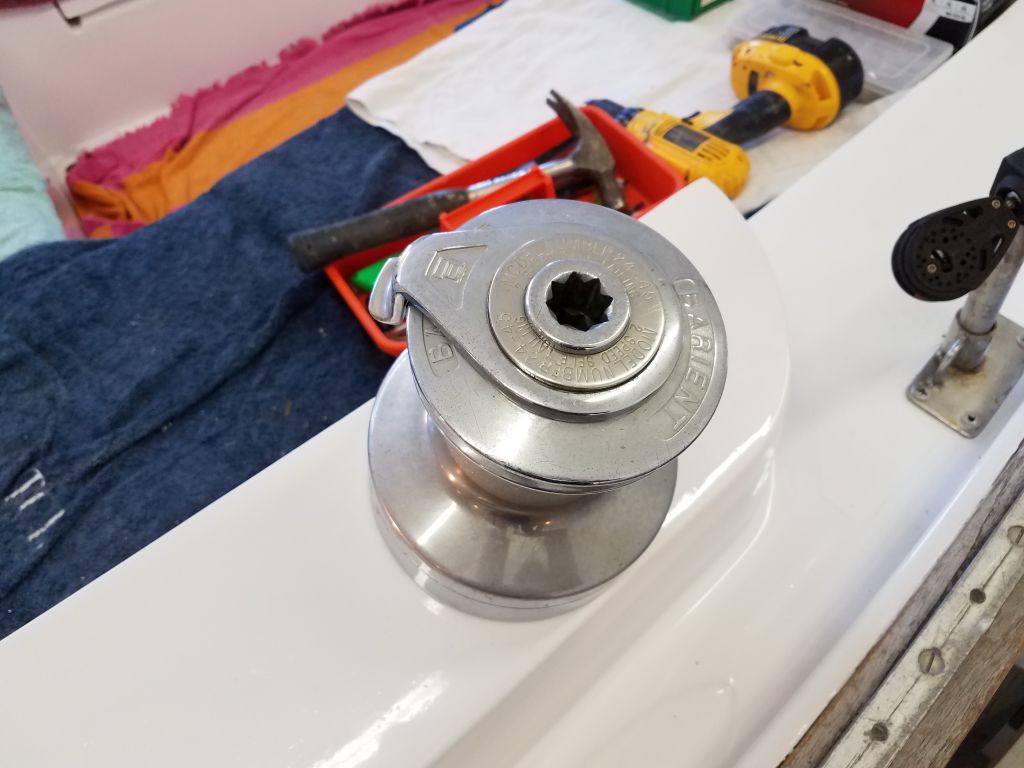
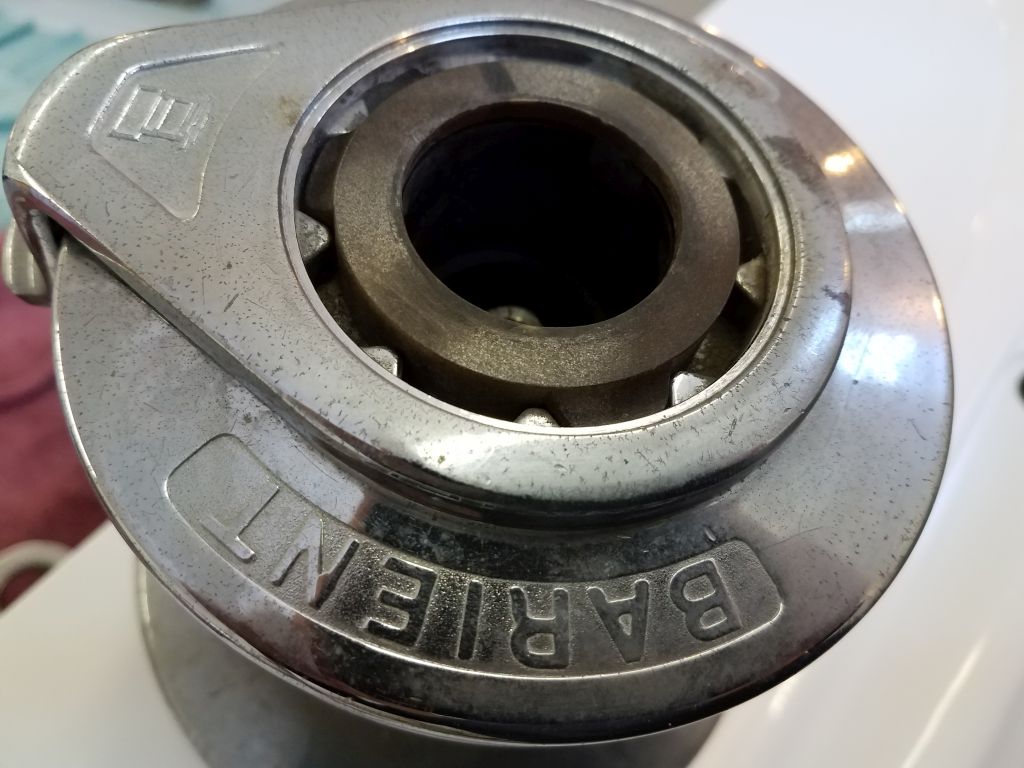
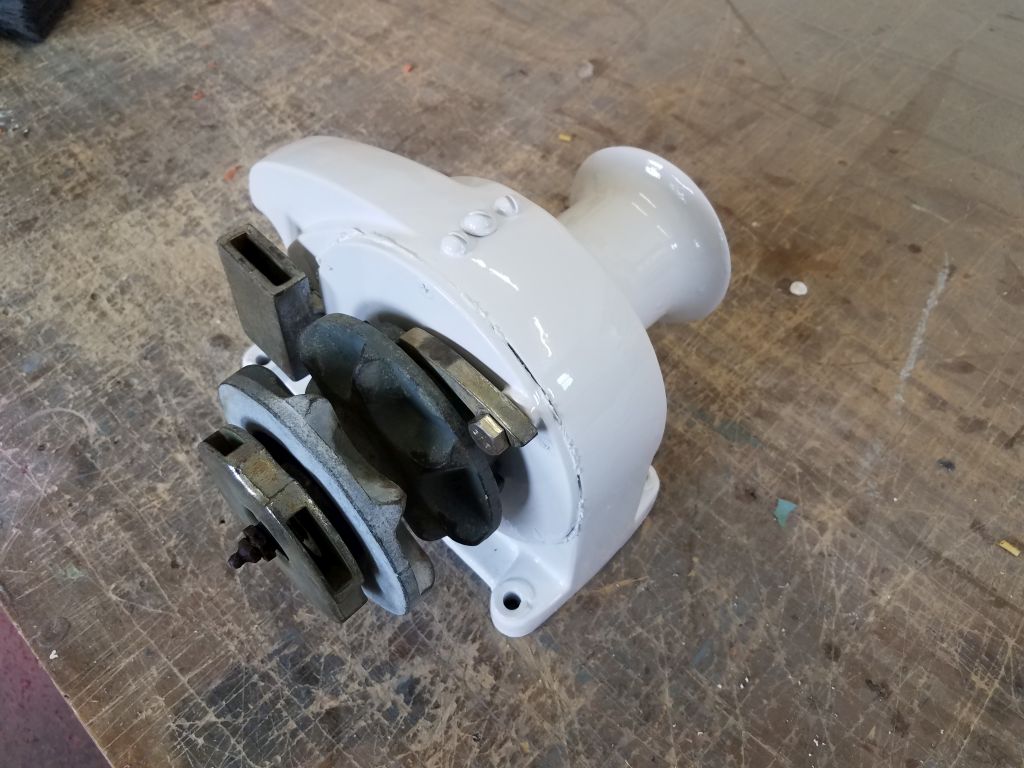
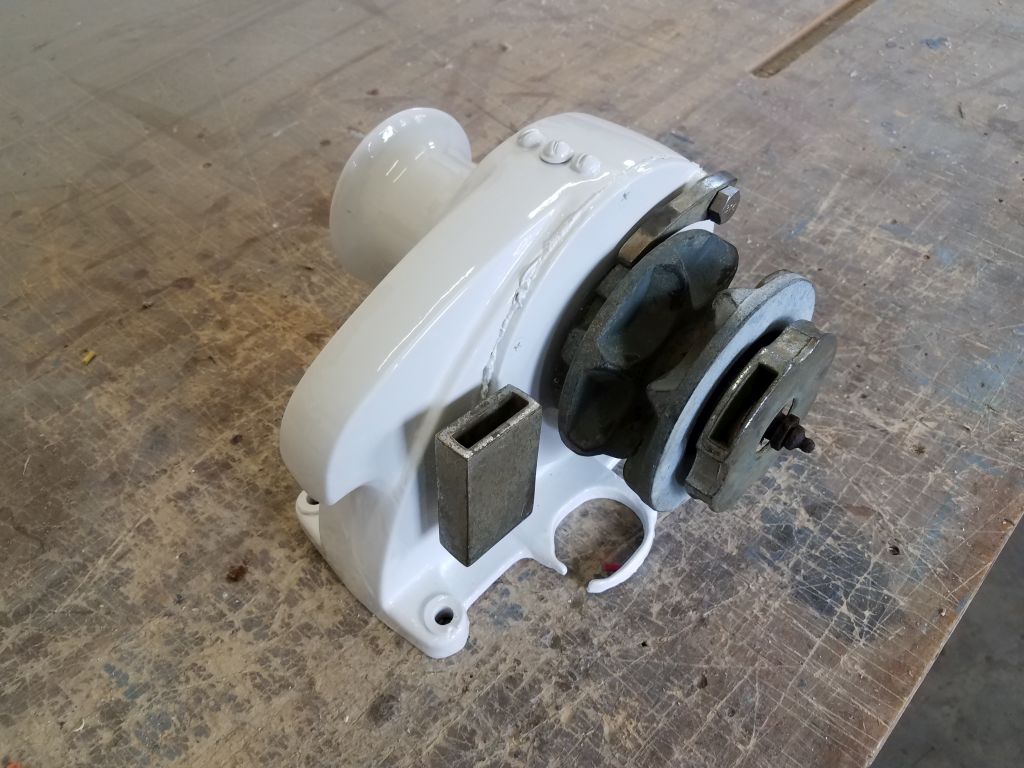
My little fiberglass winch part had cured through the night, and now I cleaned it up, cutting the side ears to the correct shape with a saw and fine-tuning with a chisel and sandpaper till the part fit in the winch top properly. I reassembled both winches.


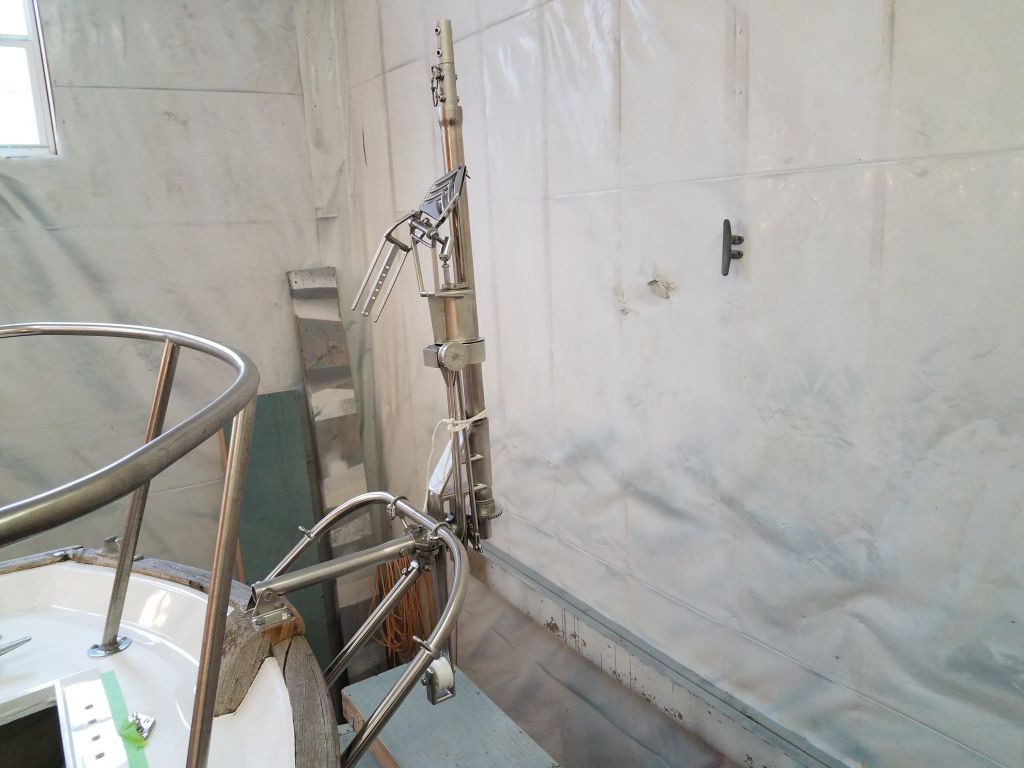
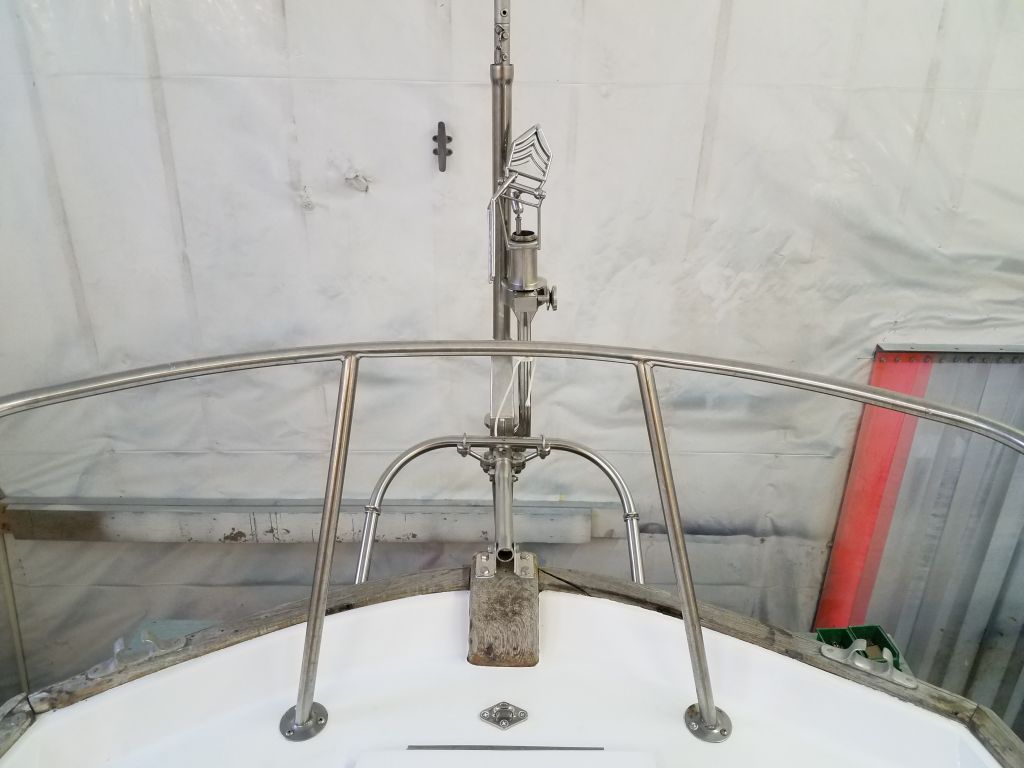
I was fortunate to have a new U-shaped support bar made quickly at a local shop, with legs 6″ longer than the original. The bend radius on the new part was larger than the old, but this frankly looked better and had no adverse affects on performance or function.
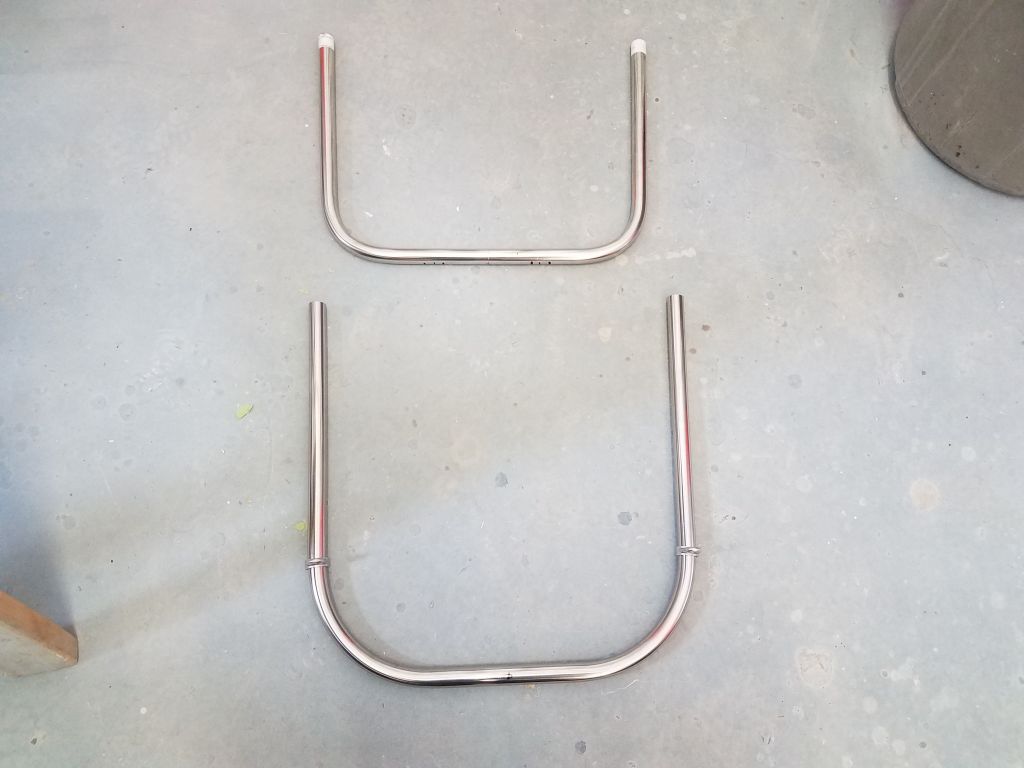
Interestingly, in browsing around online earlier I’d found my way to the website for the sistership with a similar installation, and discovered a photo that clearly showed that in their installation, the U-shaped bracket had indeed been bolted through the raised bulwark, as would have this one had I used the original tubing. Functionally, that was fine, but less aesthetically pleasing. And in any event, a greater angle to the transom was inherently stronger. Fortunately, the part was simple 1″ tubing that was easy to come by and easily replicated.
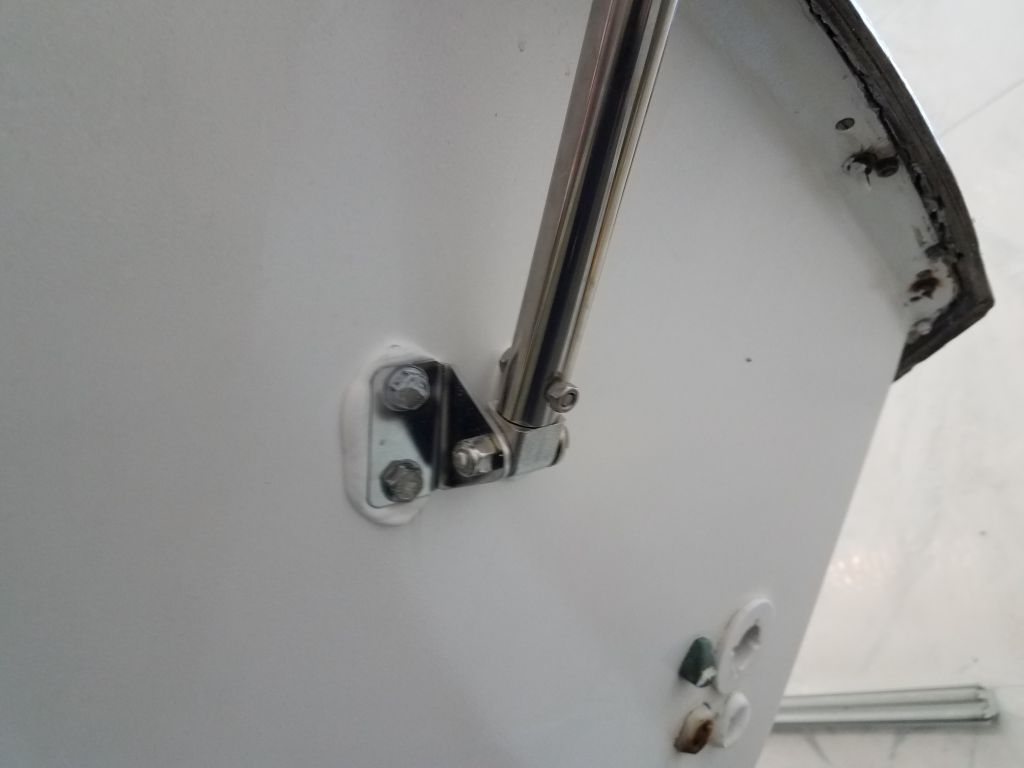
I got right to work installing the new bracket, which was the final piece required to complete the windvane installation. The extended length meant that the bracket now landed on the transom well below the gunwale, where the location would be strong and easily accessible from within. There was no need to cut nor further modify the new brace.

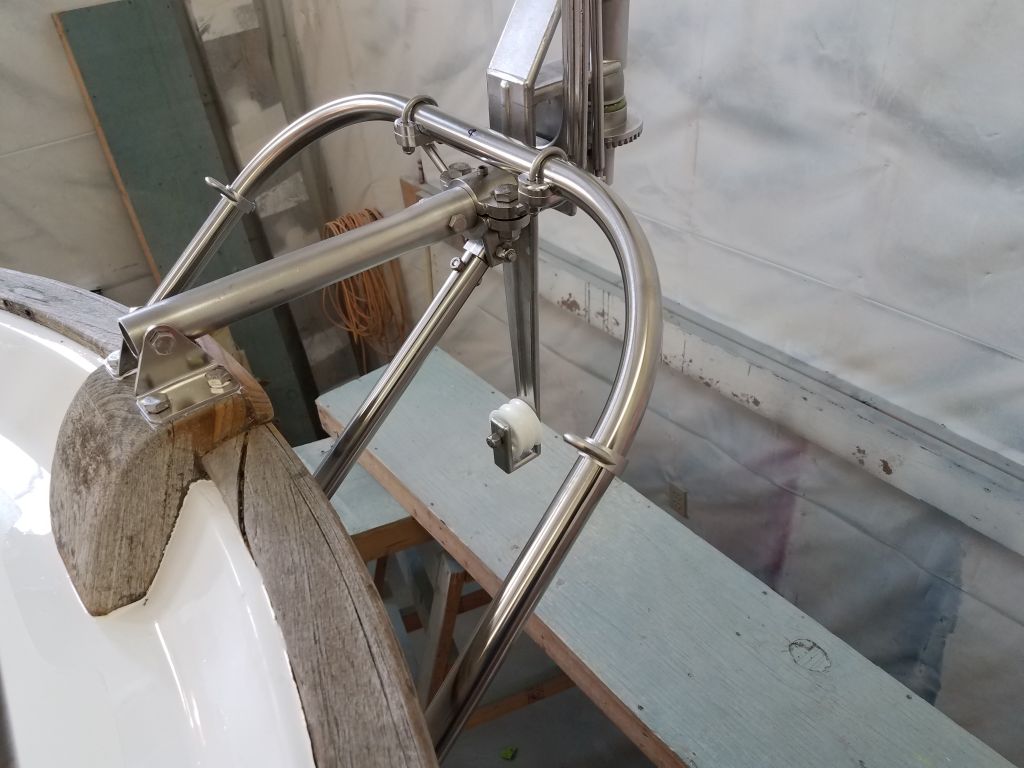
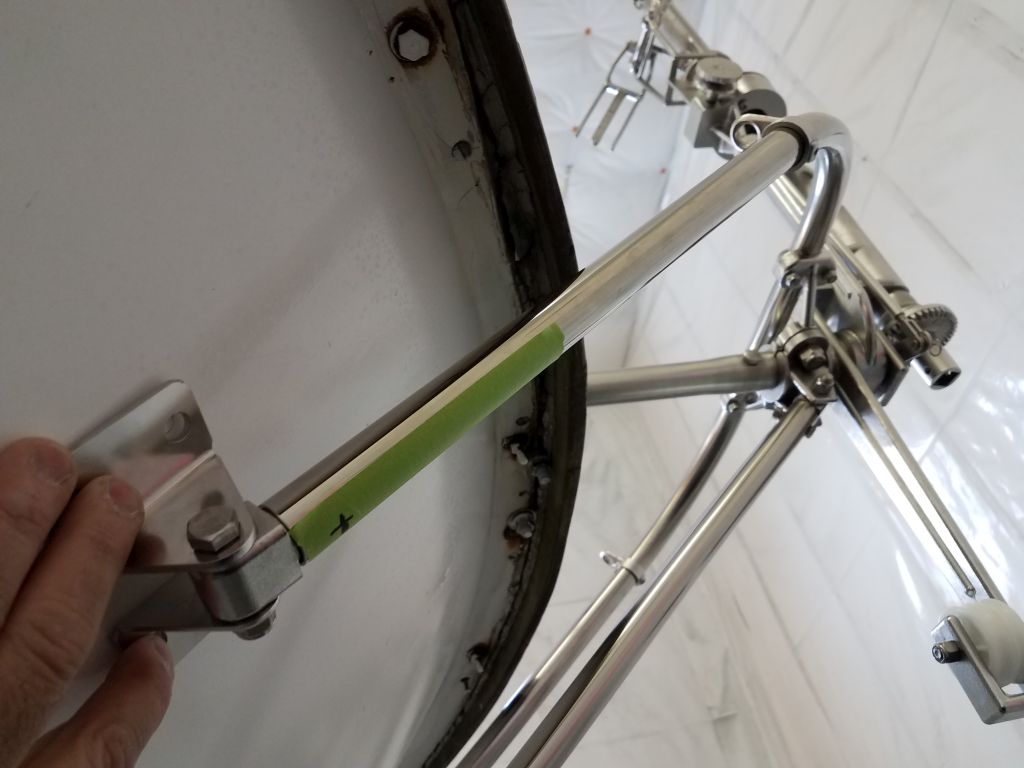
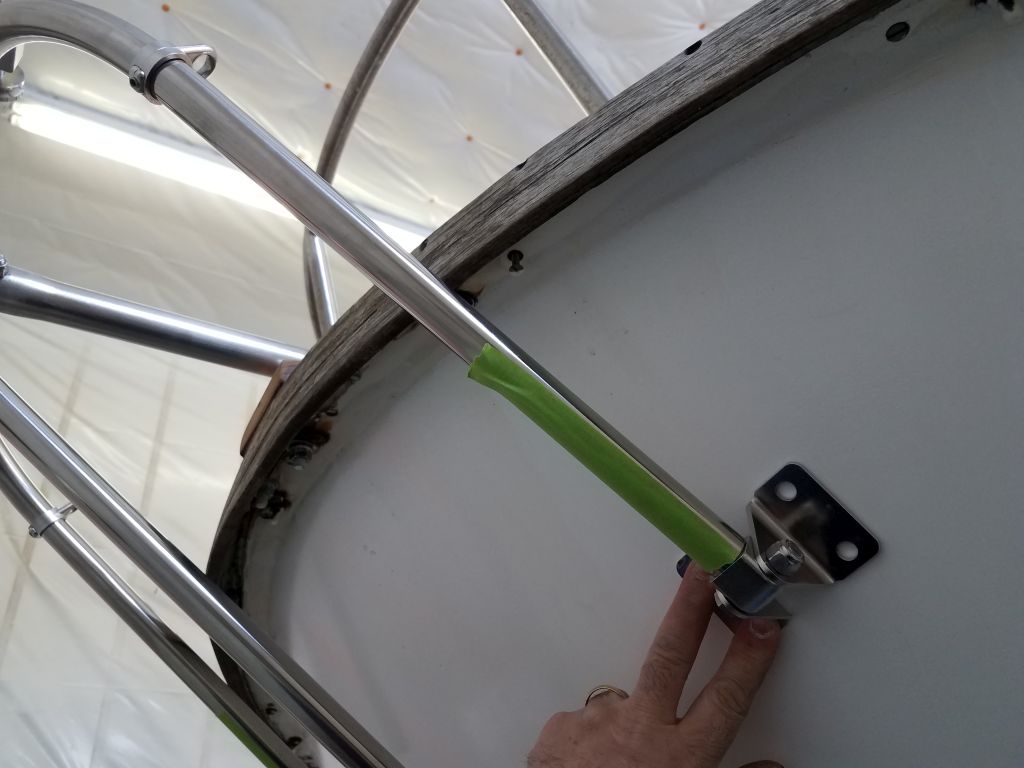
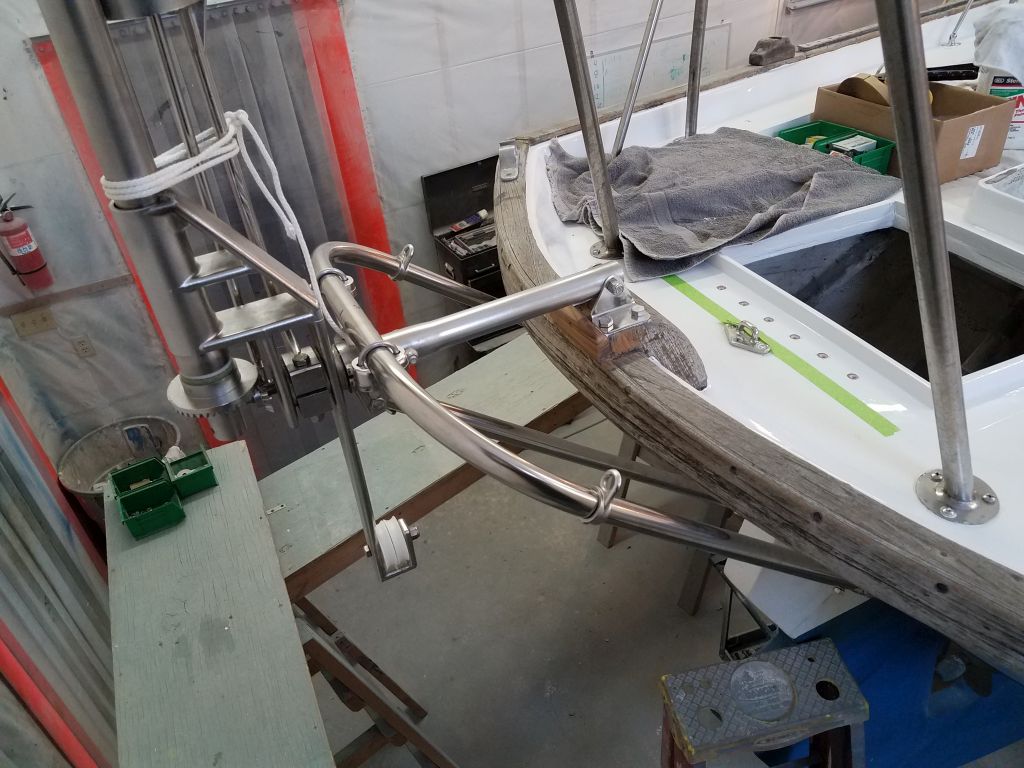
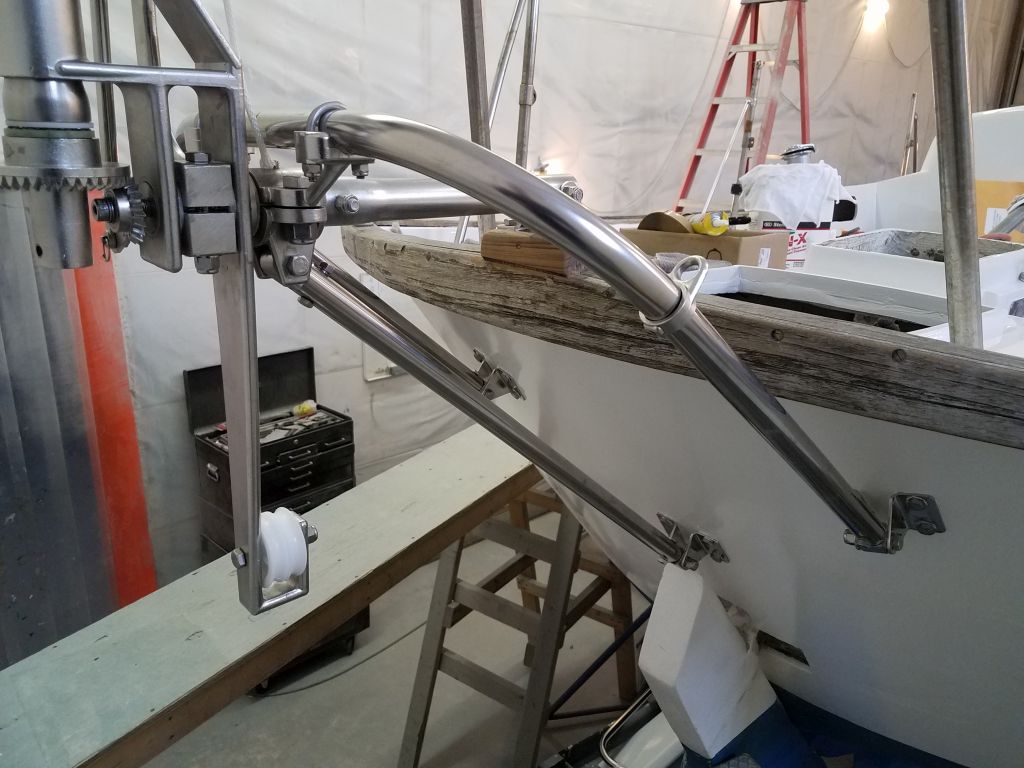
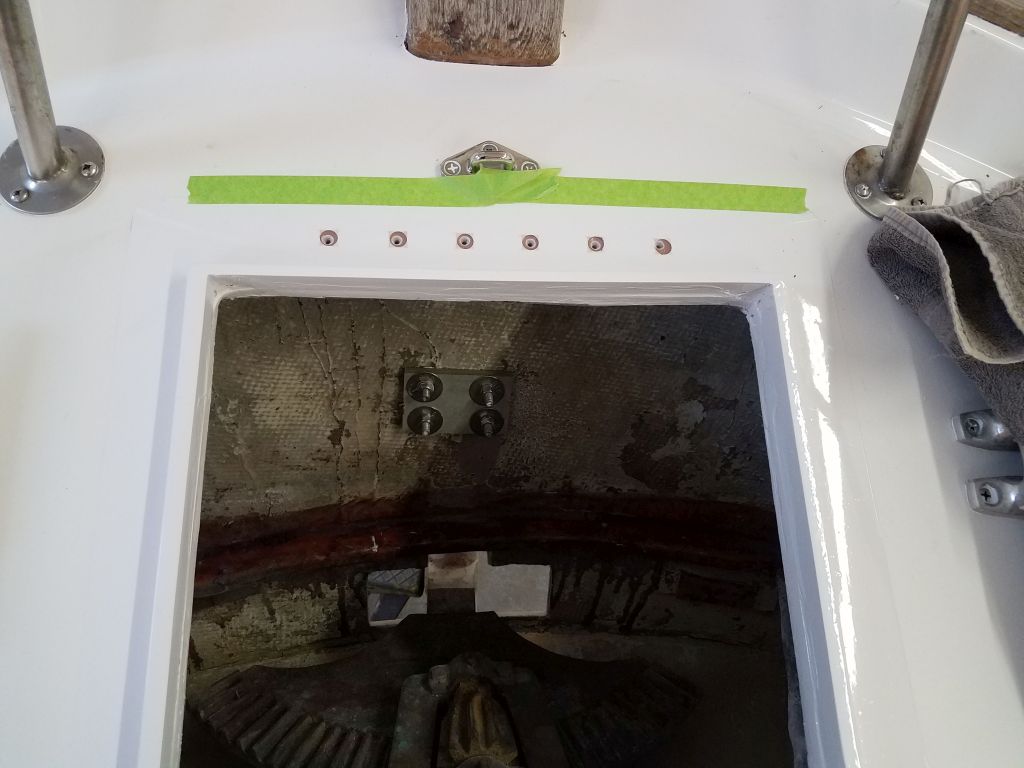
I marked each leg for orientation so I could drill the holes for the 1/4″ bolts that would secure the tubing to the bracket insert, and did the milling down in the shop. With the brackets bolted in place to the tubing, I aligned the brackets on the hull, made a reference mark, and drilled/tapped one hole for a temporary bolt.
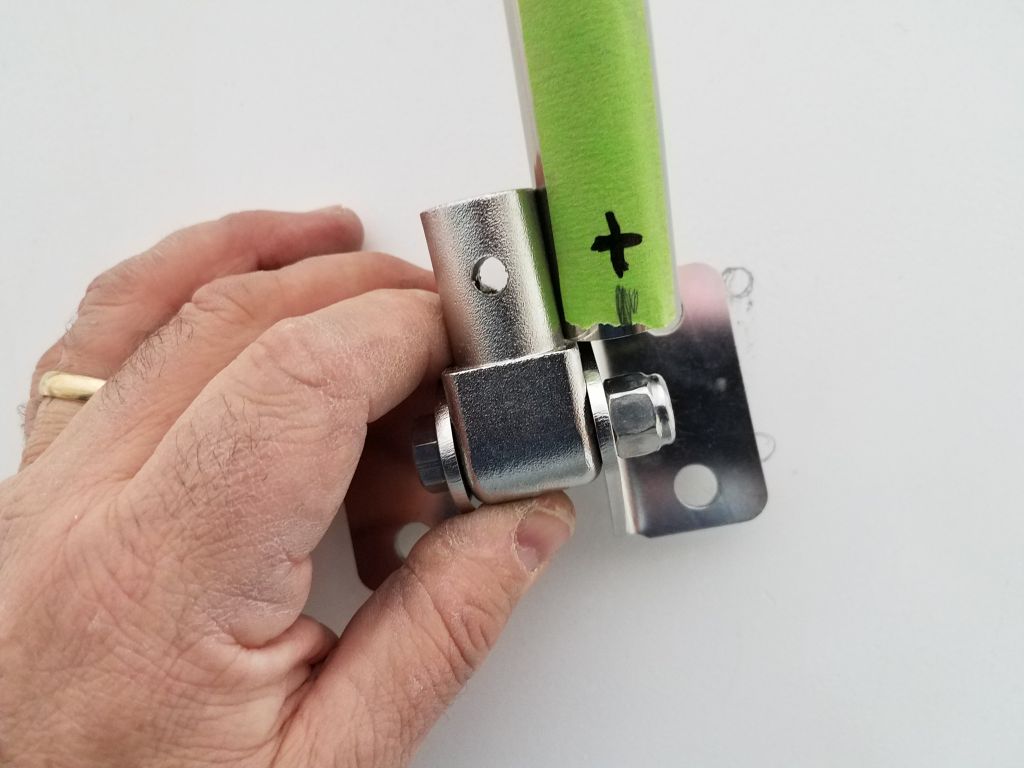

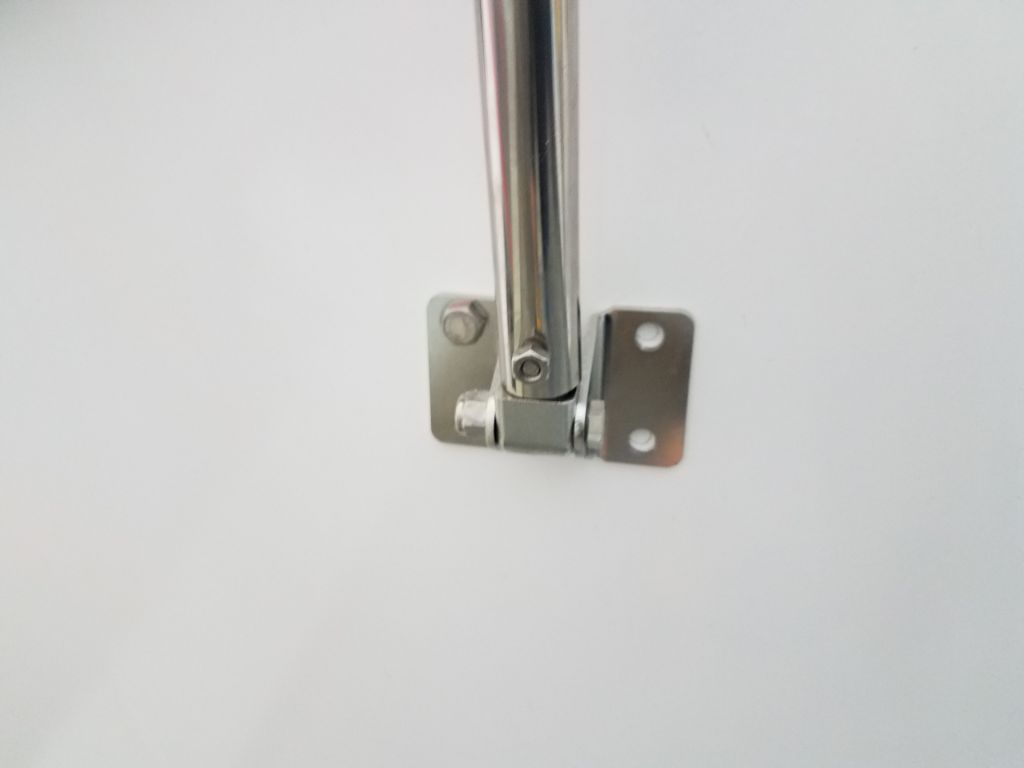
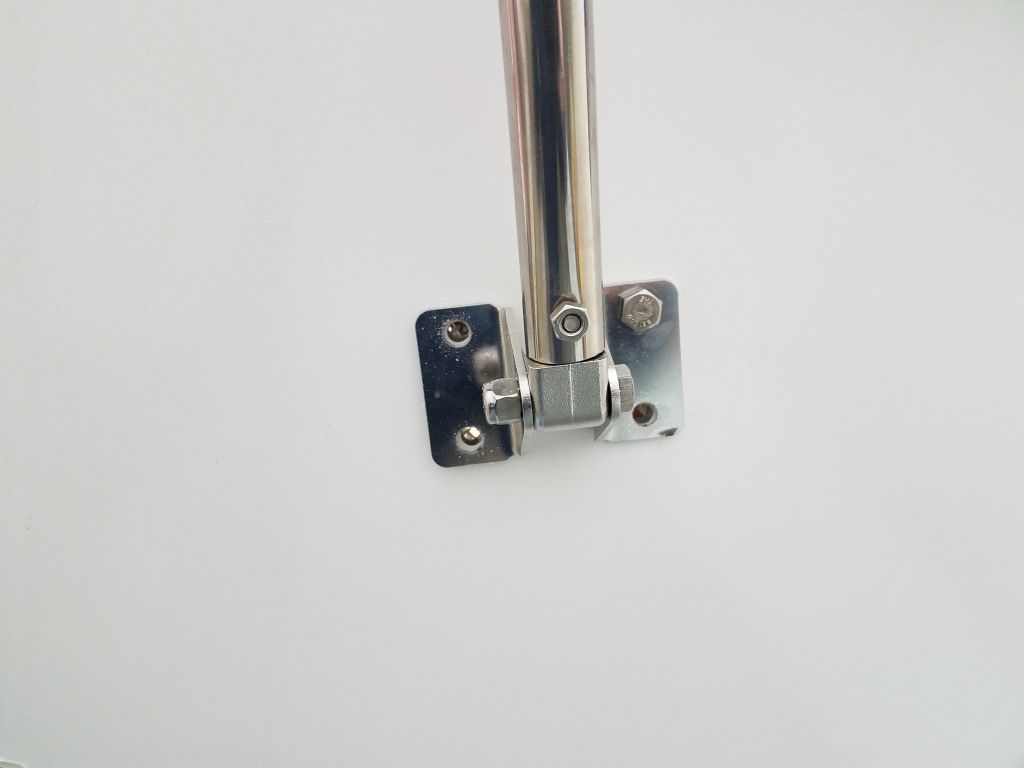
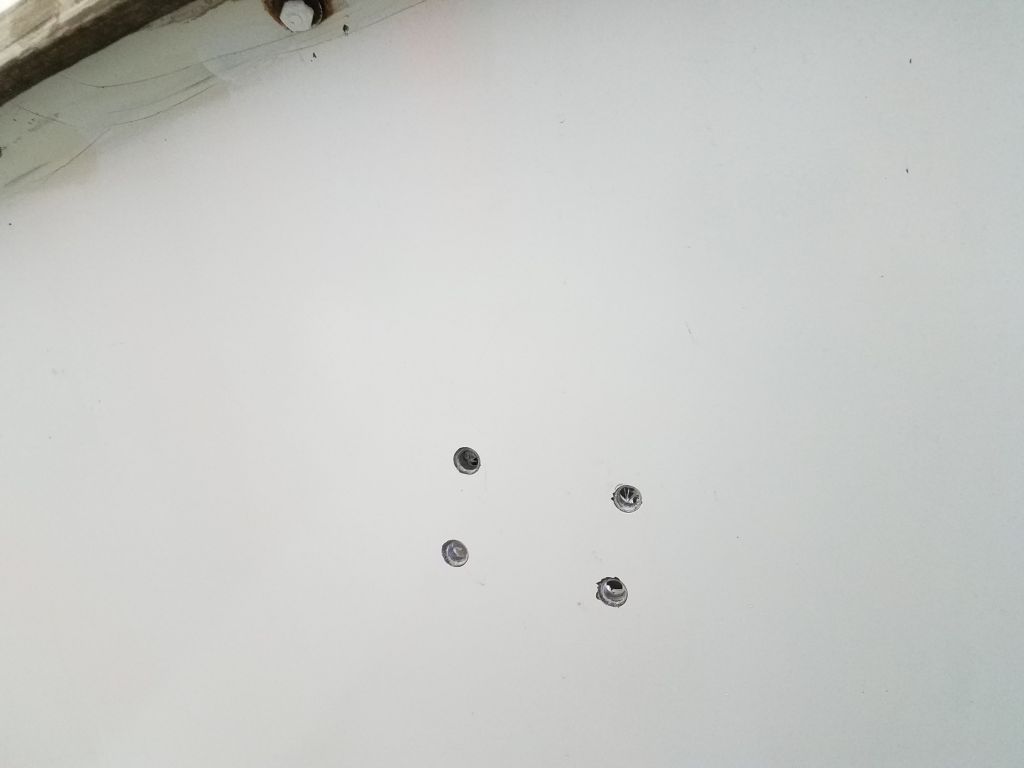
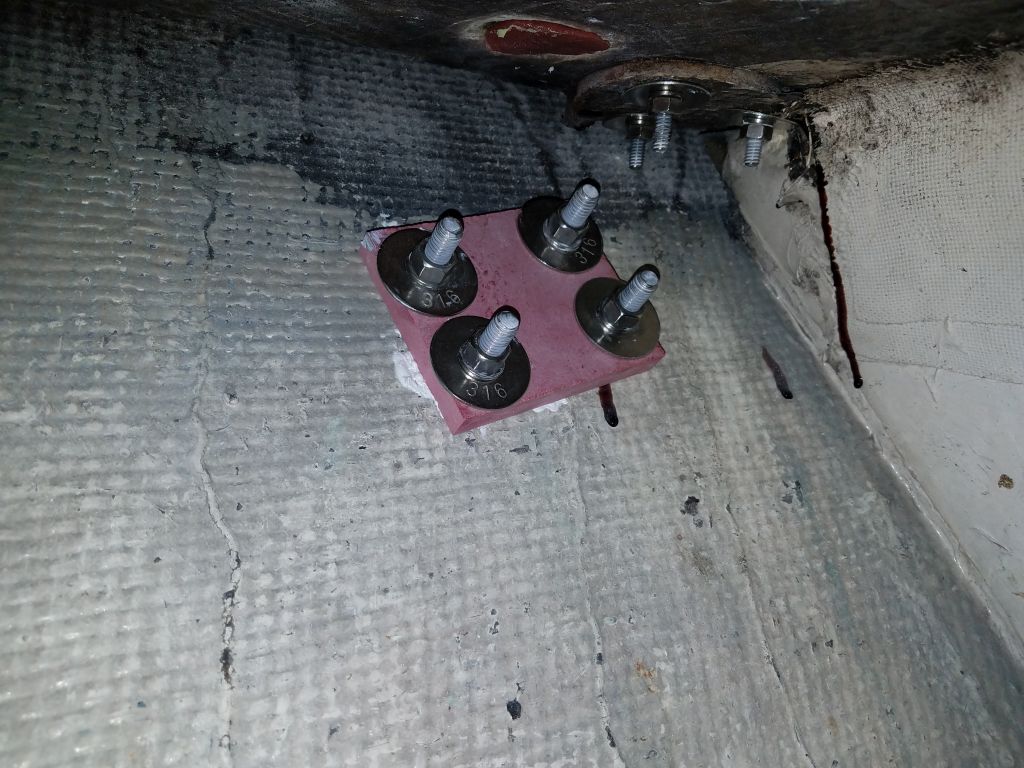
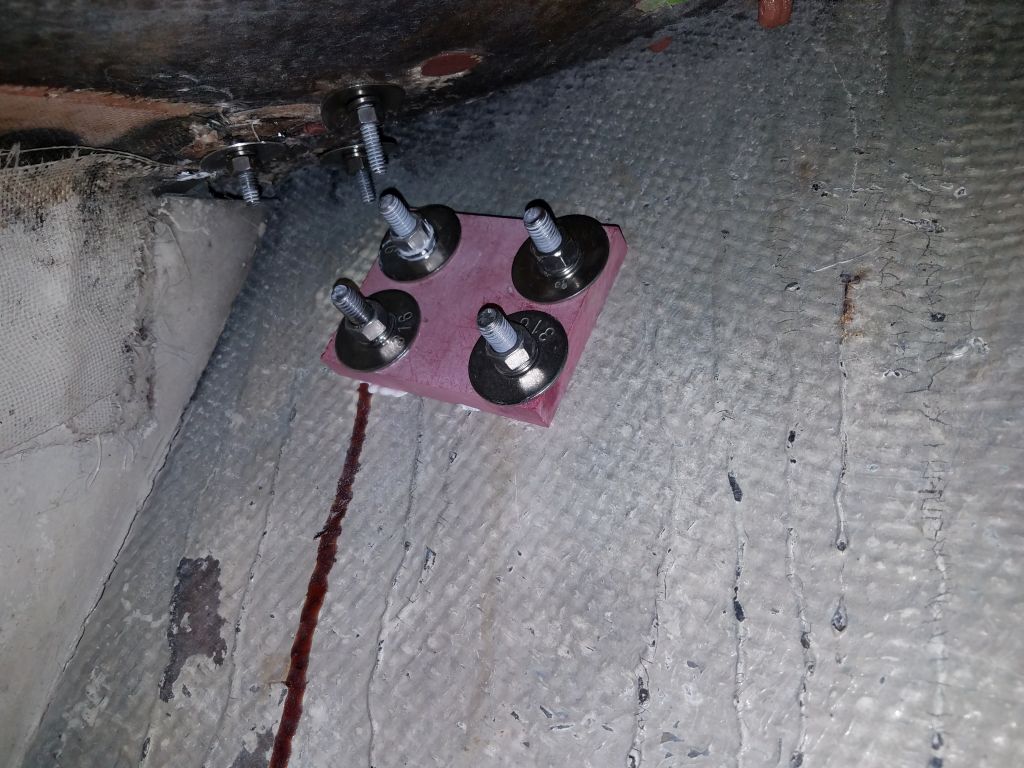
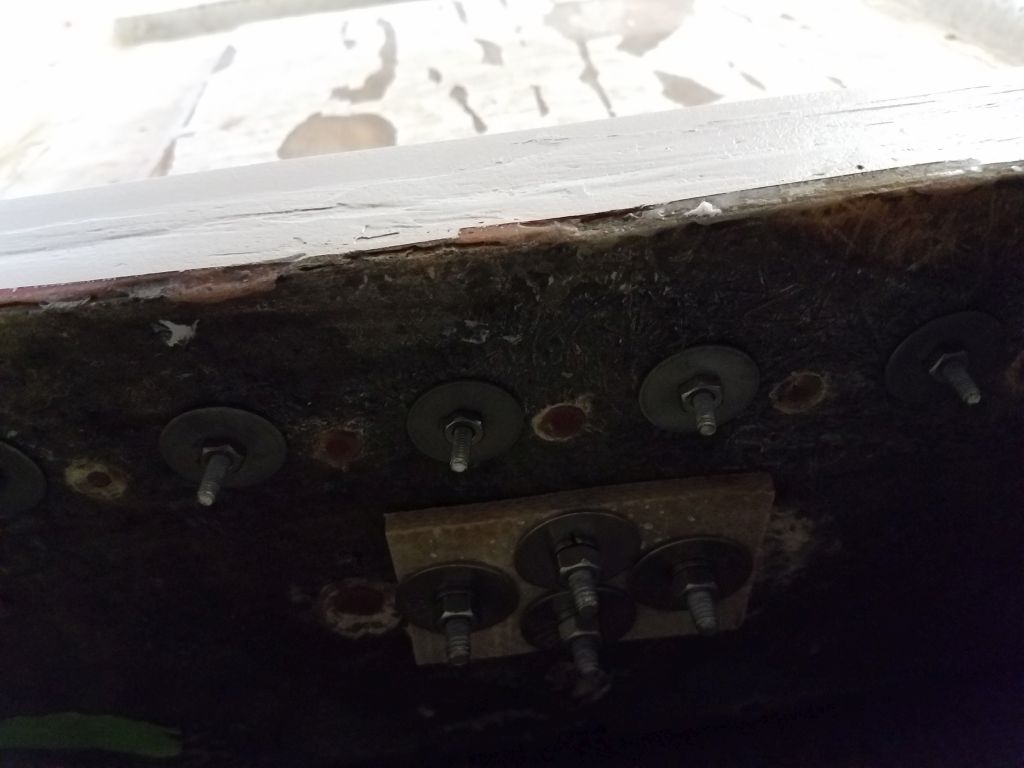
I marked the remaining bolt holes, then removed the brackets and prepared all the holes with drill, 3/6″ tap, and countersink in the usual way before applying sealant and installing the brackets permanently with fiberglass backing plates and large washers within.

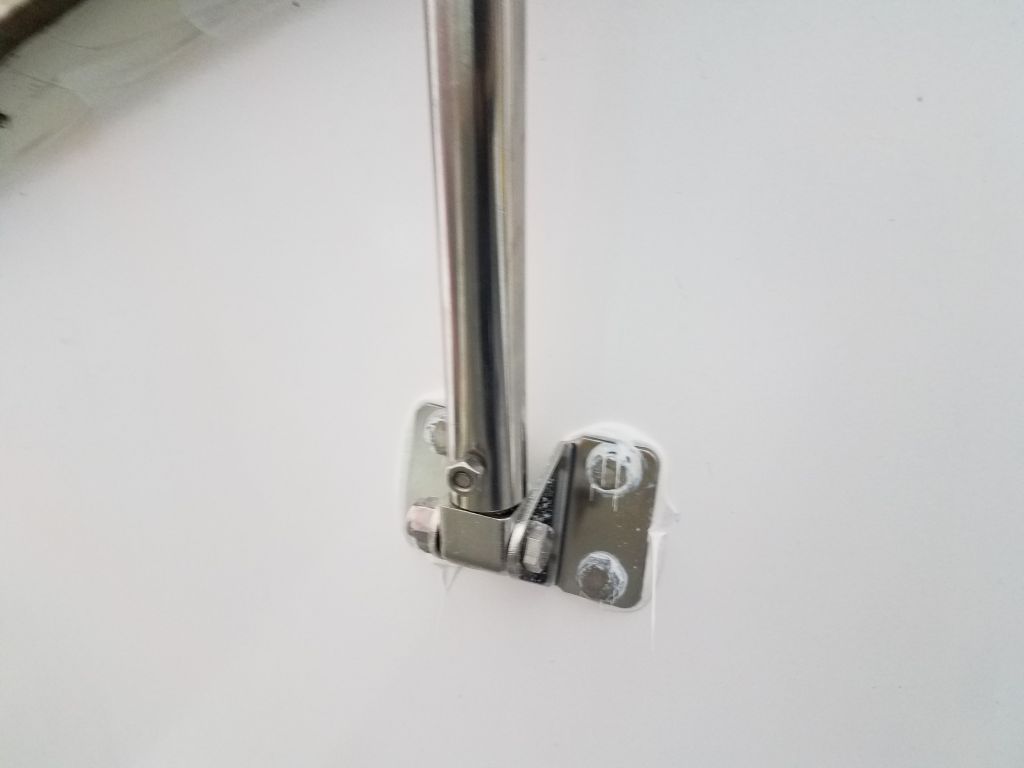

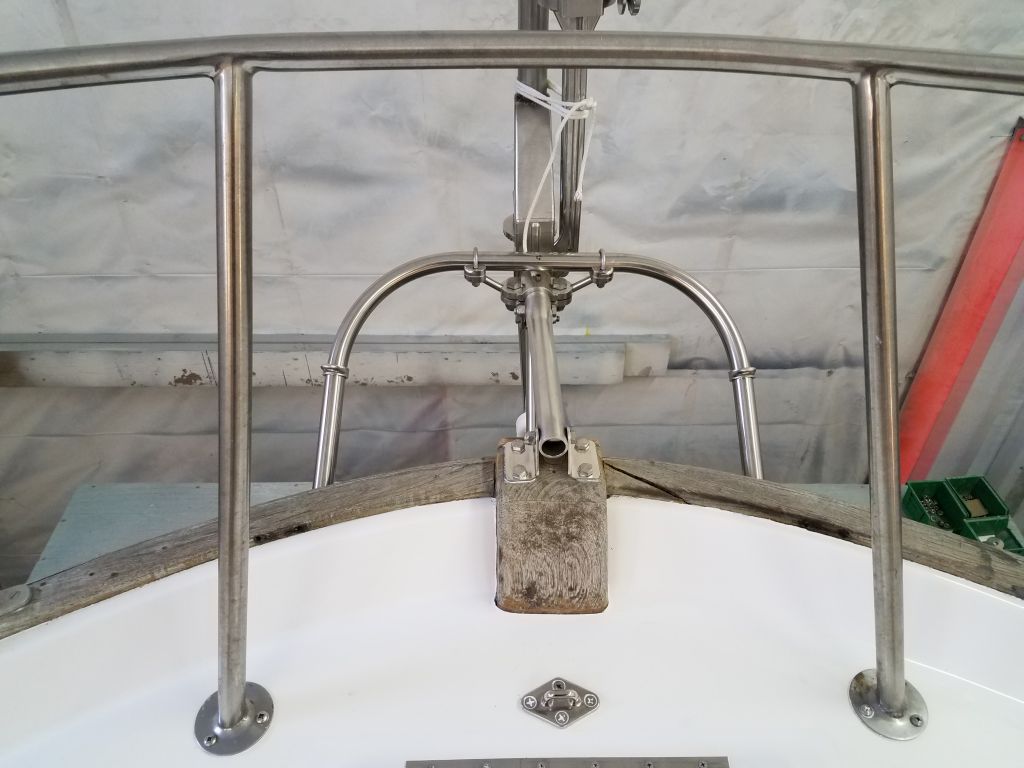
This completed the Norvane hardware installation. In these photos, the servo arm is swung up 180° into its storage position, and I removed the servo rudder for storage. To complete the installation and make the unit usable, all that remained was to make and run the control lines as needed.

Now that the vane was installed, I could wrap up the installation of the steering room hatch and its hinge.


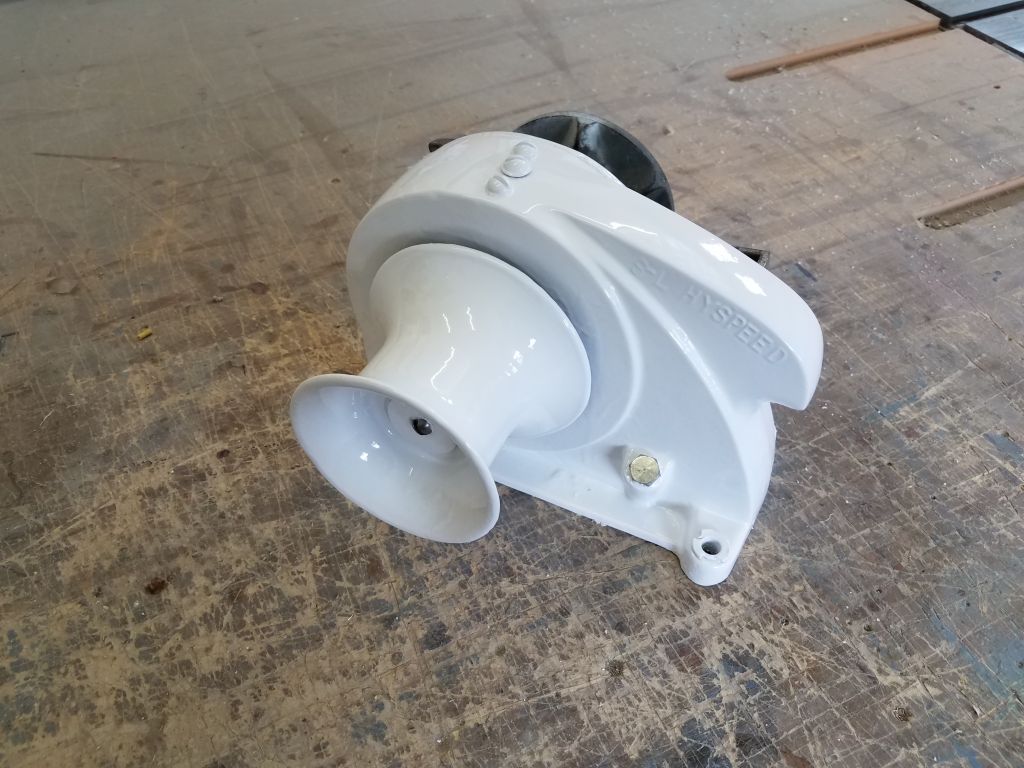
Now that the paintwork was complete, I reassembled the anchor windlass with the (I think) 5/16″ chain gypsy commandeered from the identical parts windlass I’d discovered at the shop.
Next on my agenda was the new teak handrails for the cabin top. To replace the original long length, I’d chosen two lengths of 5-loop rail per side, which filled the original space the best. During deck preparations, I’d prepared and marked the bolting locations, so I had to align the new rails to the original hole locations–easy enough, but it required a somewhat longer installation approach.
The owner requested that the new teak be left natural/bare, so to protect it during installation I masked off around the bottom of each loop, and also masked the deck for protection and marking purposes. In order to ensure that the bolt holes in the rails matched up with the locations on deck, I had to prepare each hole more or less one at a time (sometimes two at a time), marking the rail for each location, then drilling, down on the bench, a 5/8″ counterbore for the bolt head and bung and 17/64″ pilot hole for the fastener, and then, back on deck, a pilot hole and 1/4-20 tap through the deck to hold the rail. With each fastener sequentially in place, I could bend and position the rail properly for the next mark, and so forth, till I had the first section dry-fit.
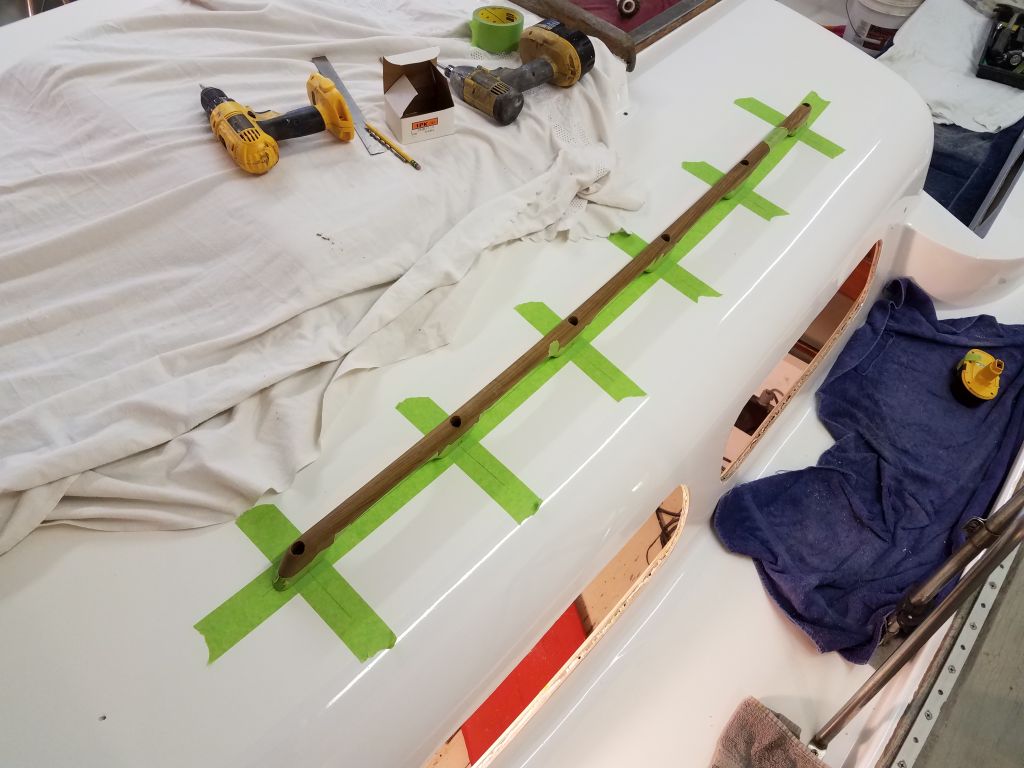
The first part of the after rail sections would be opposed in the cabin by lengths of 4-loop handrail, which would accept the ends of the bolts from above; the other locations would simply be bolted through the coachroof as needed. I had to order bolts of the right length for the first section, so in the meantime I’d continue dry-fitting the remaining three sections next time before permanently installing them once complete.
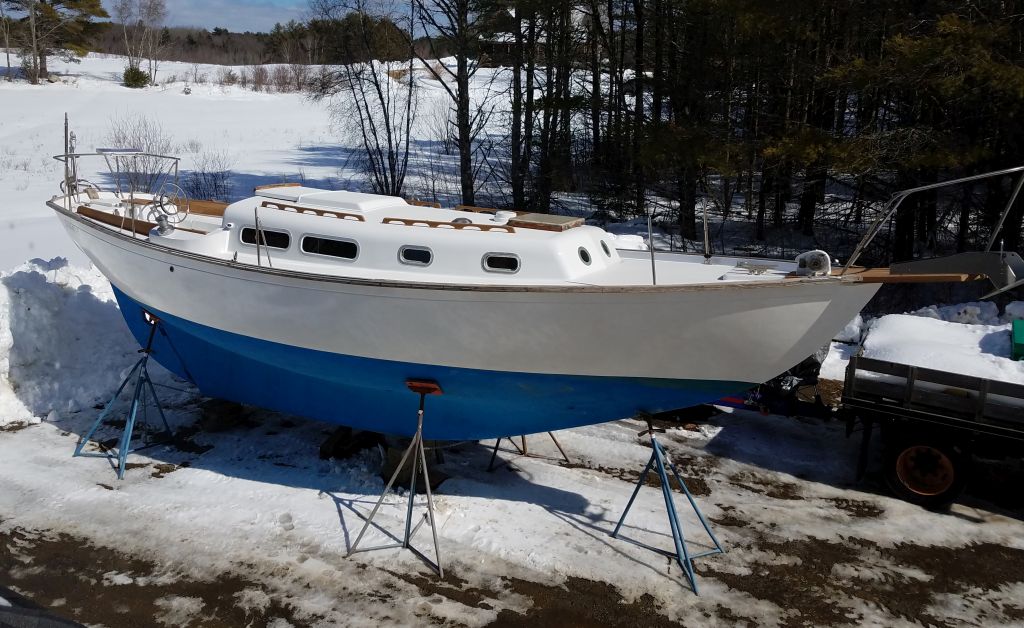
Total time billed on this job today: 7 hours
0600 Weather Observation: 20°, clear. Forecast for the day: Increasing clouds, about 45°