

January 9, 2017
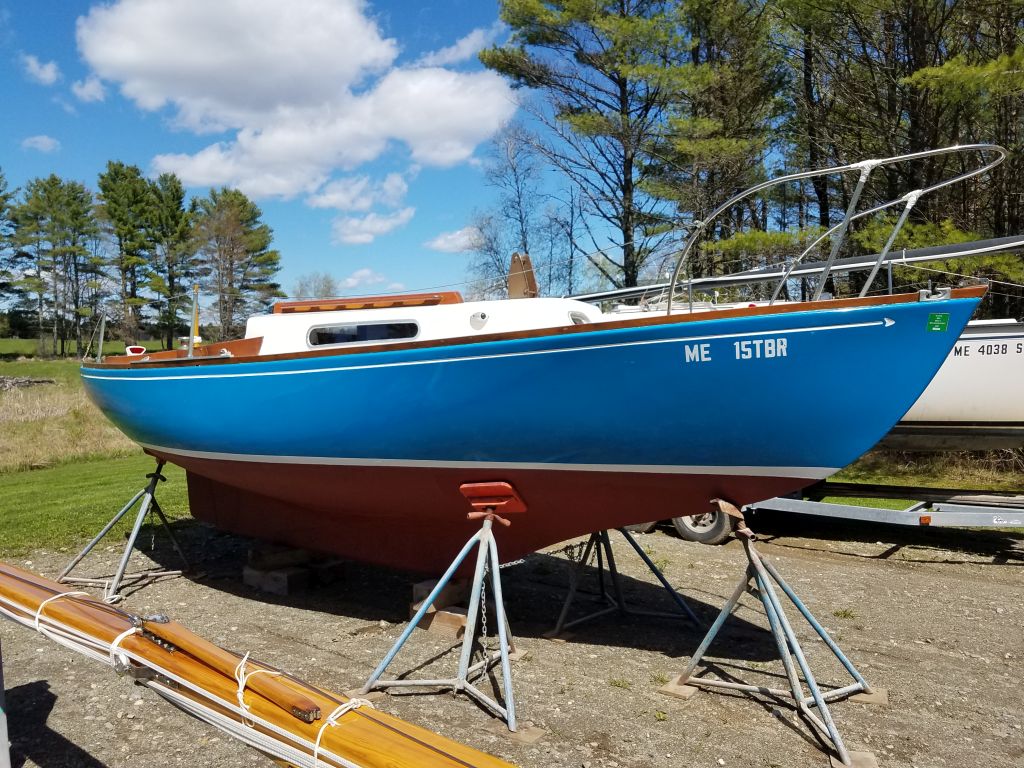
Halcyon 7
Monday
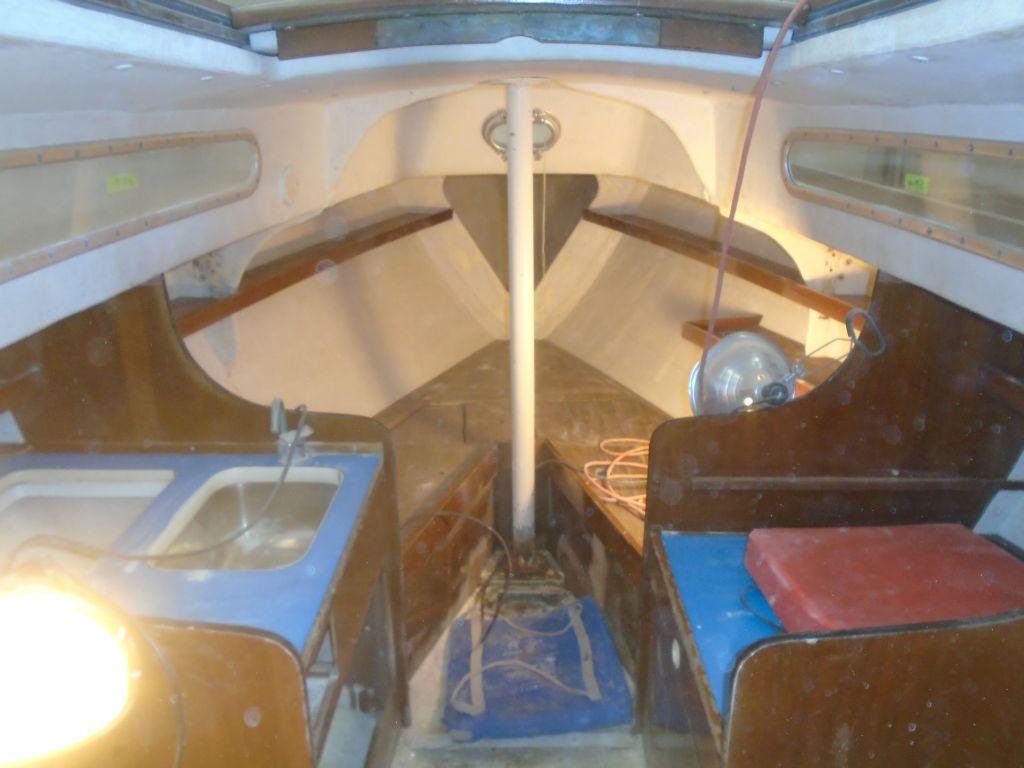
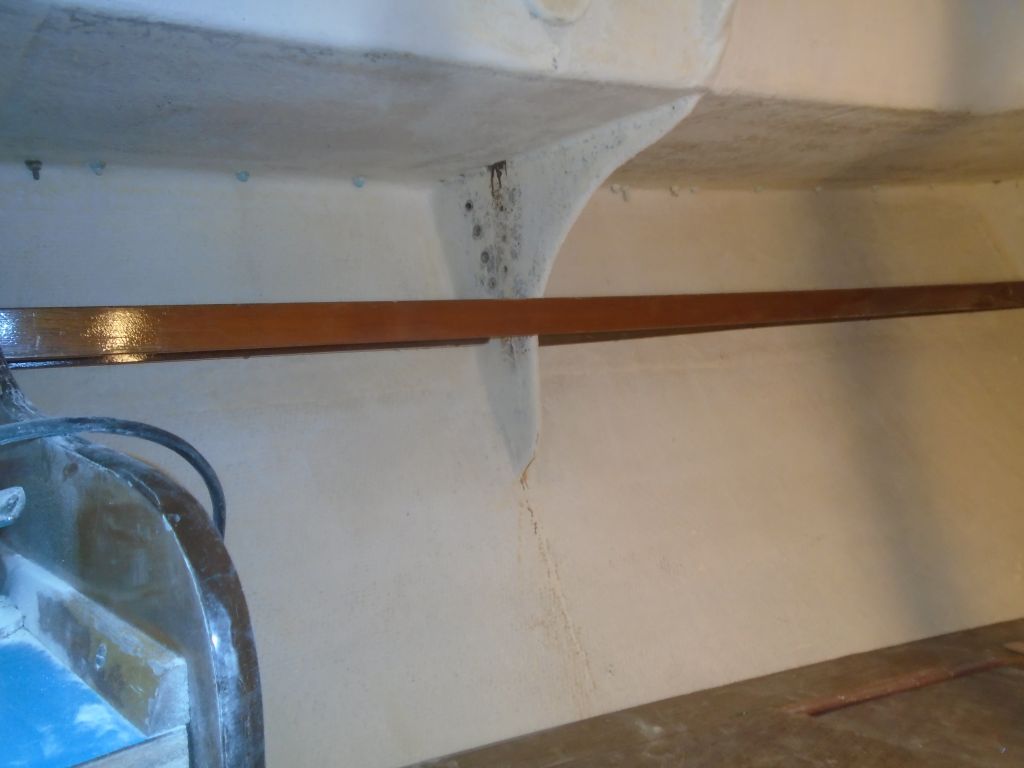
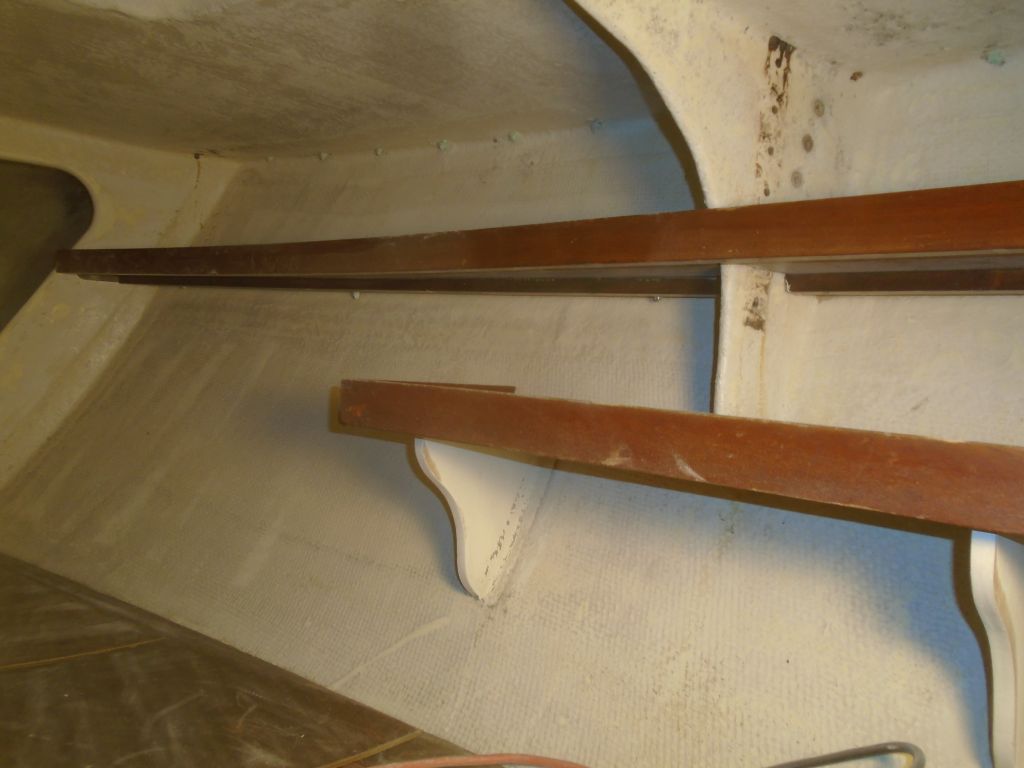
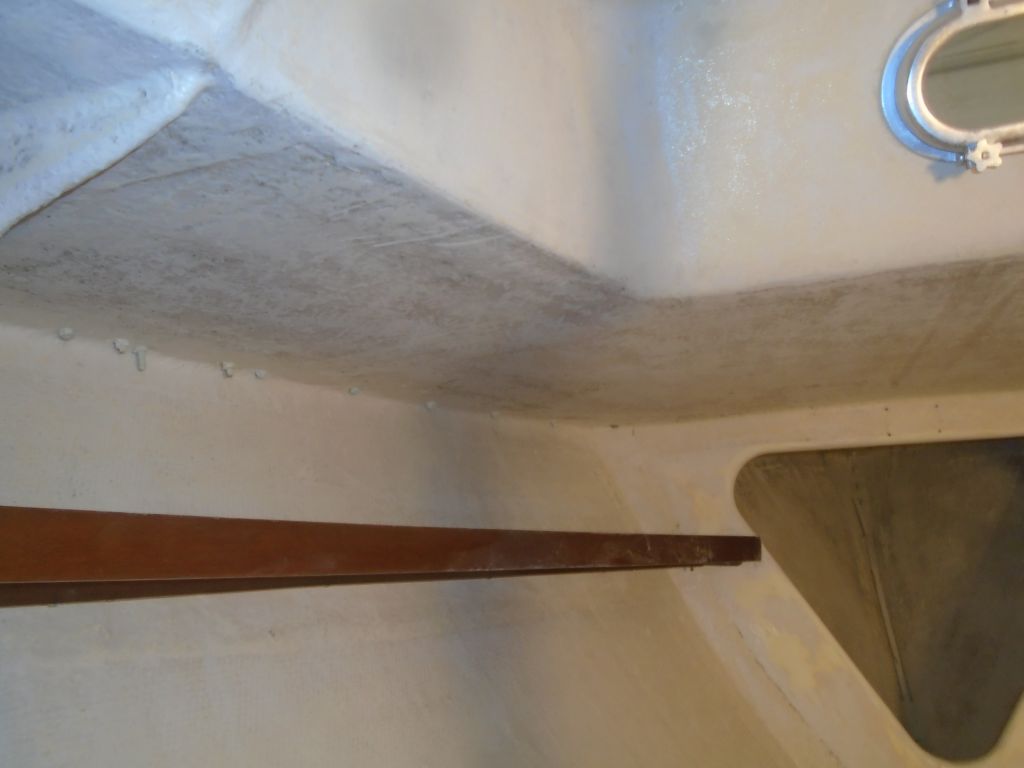
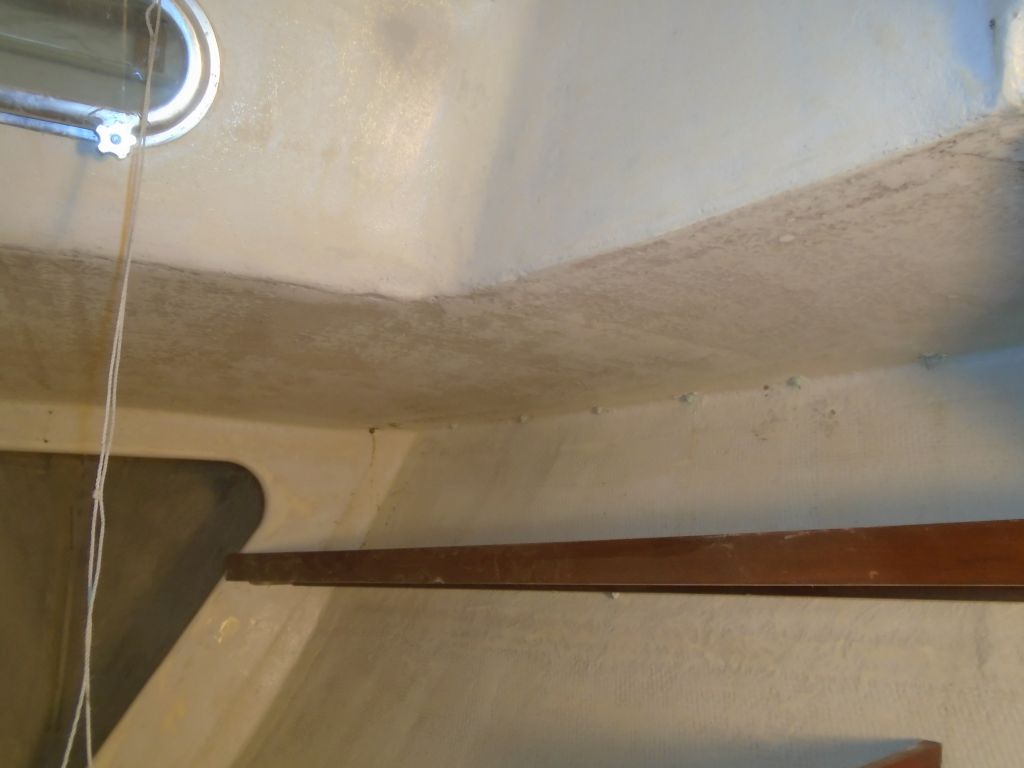
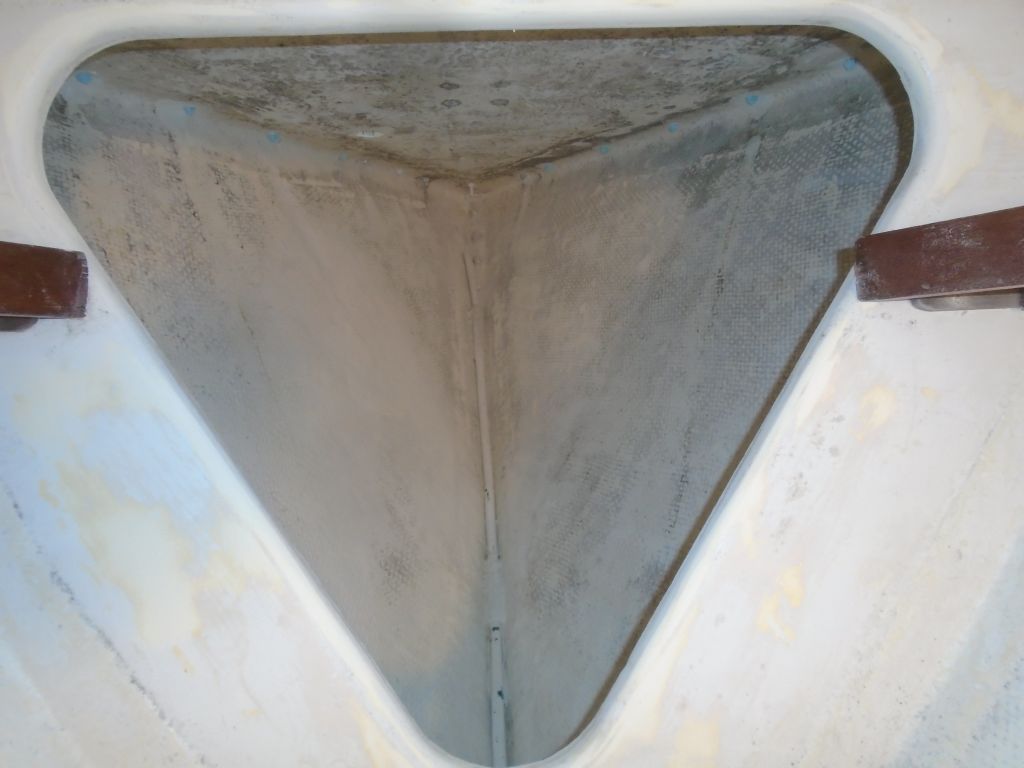
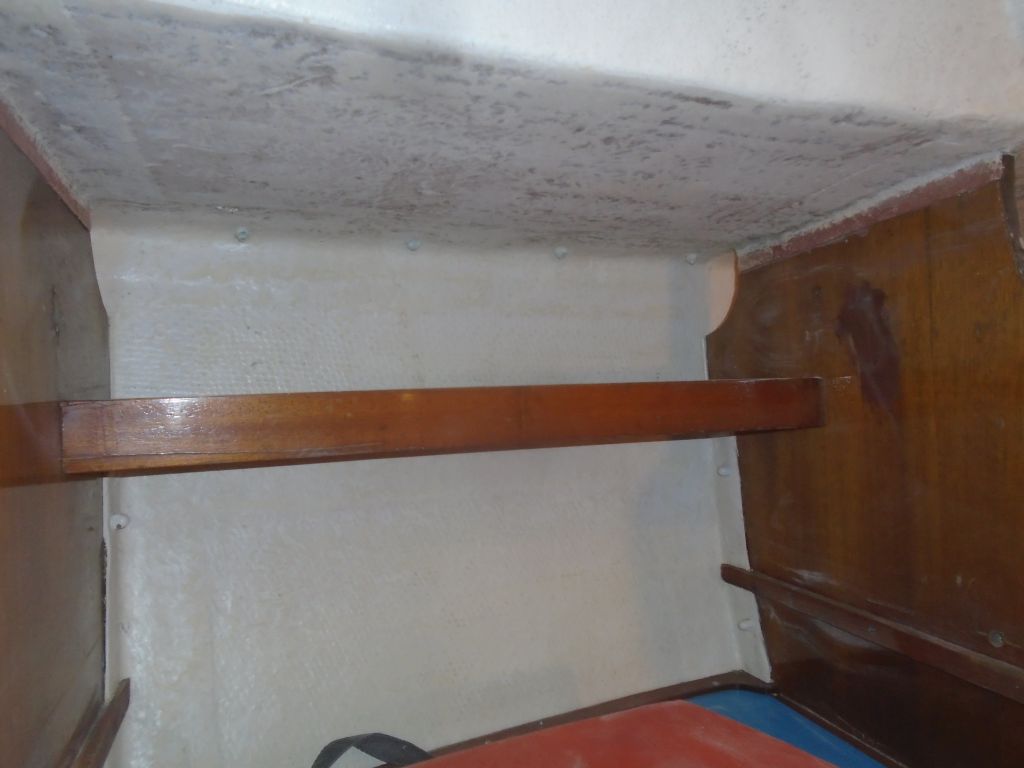
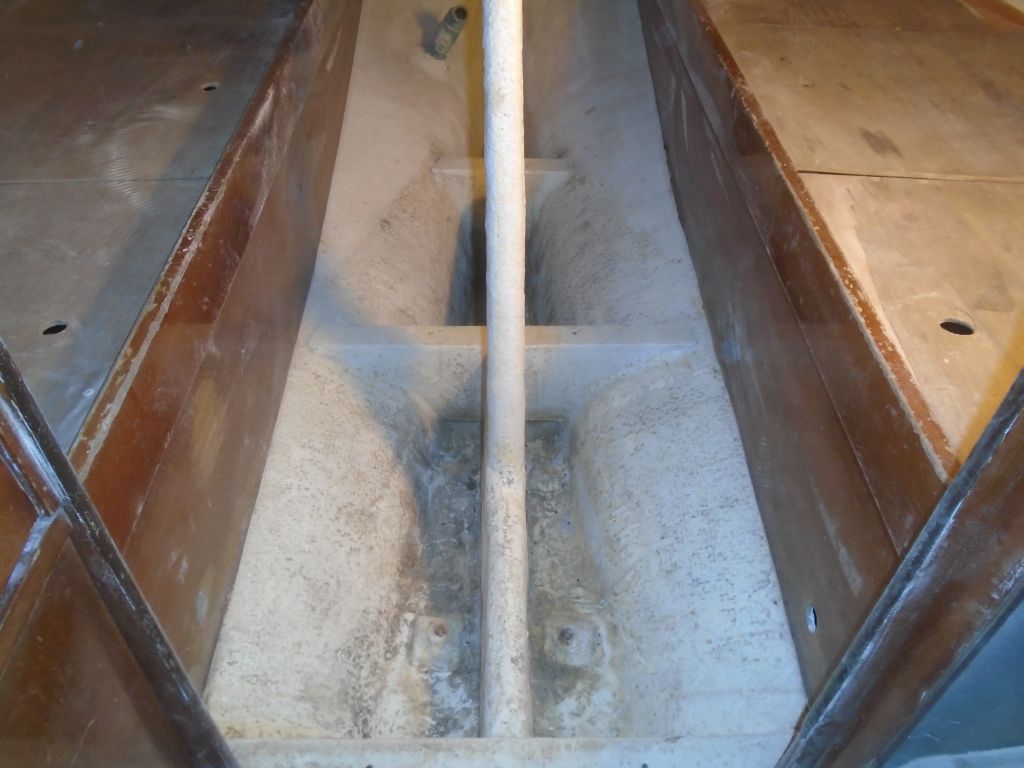
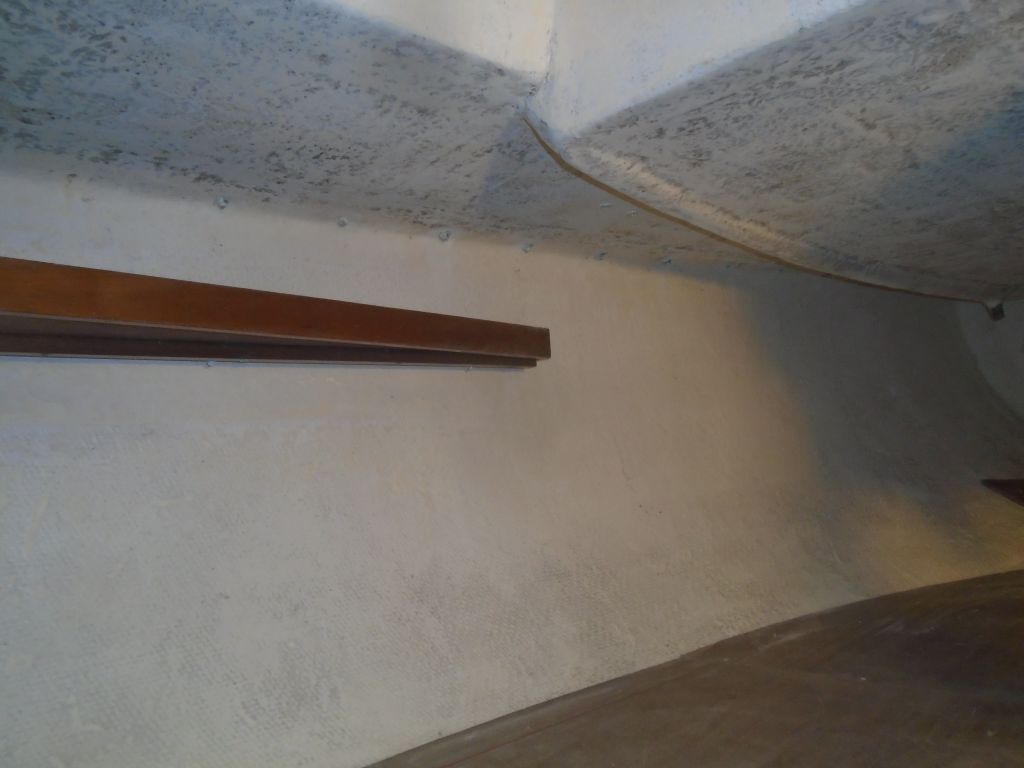
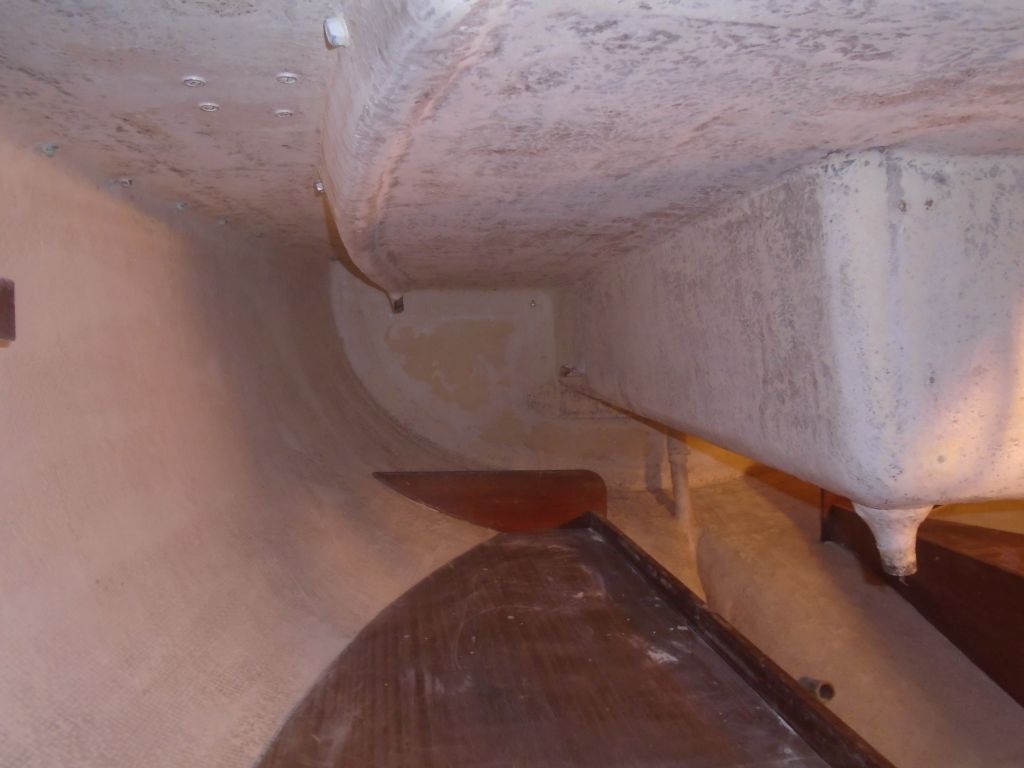
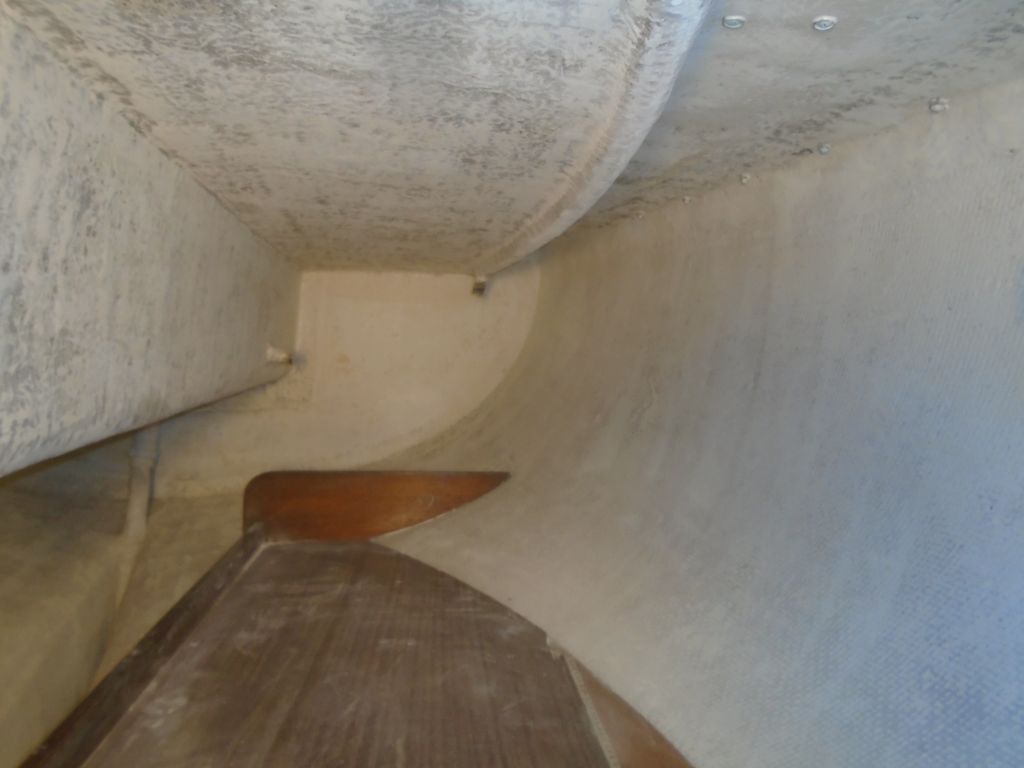
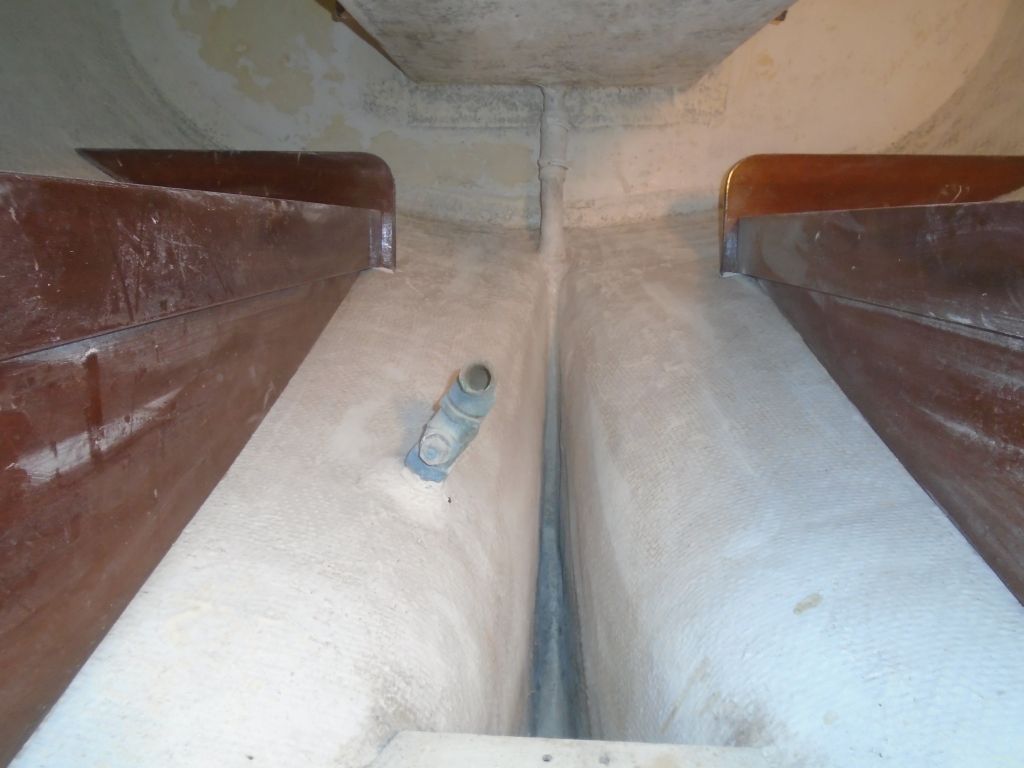
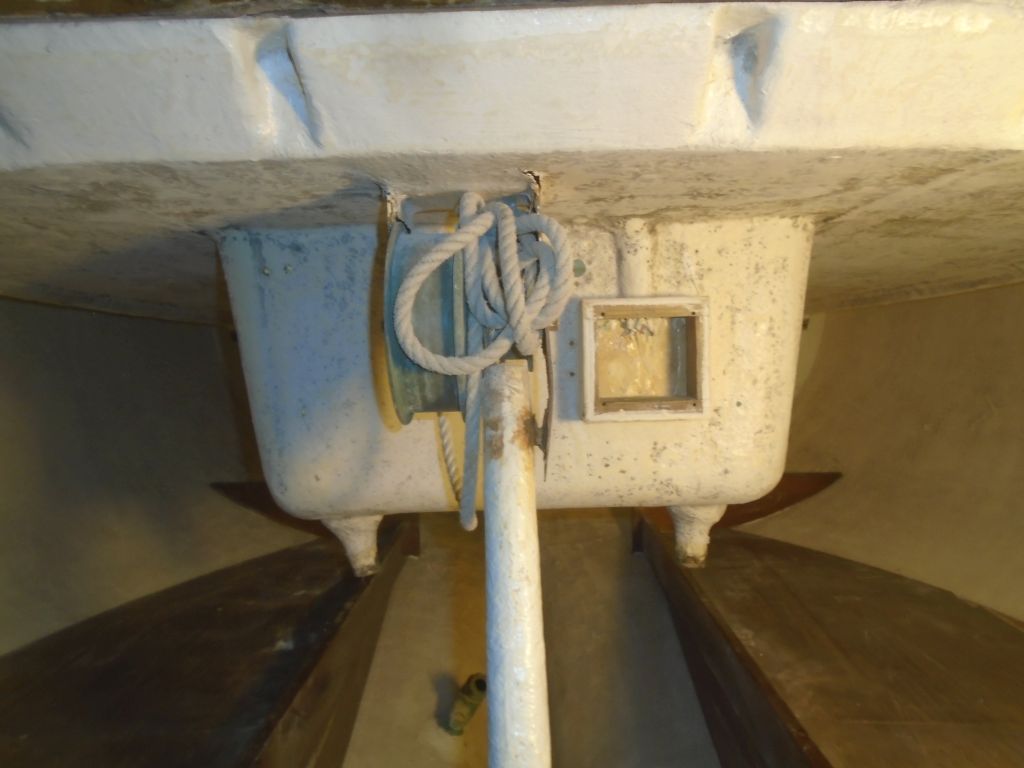
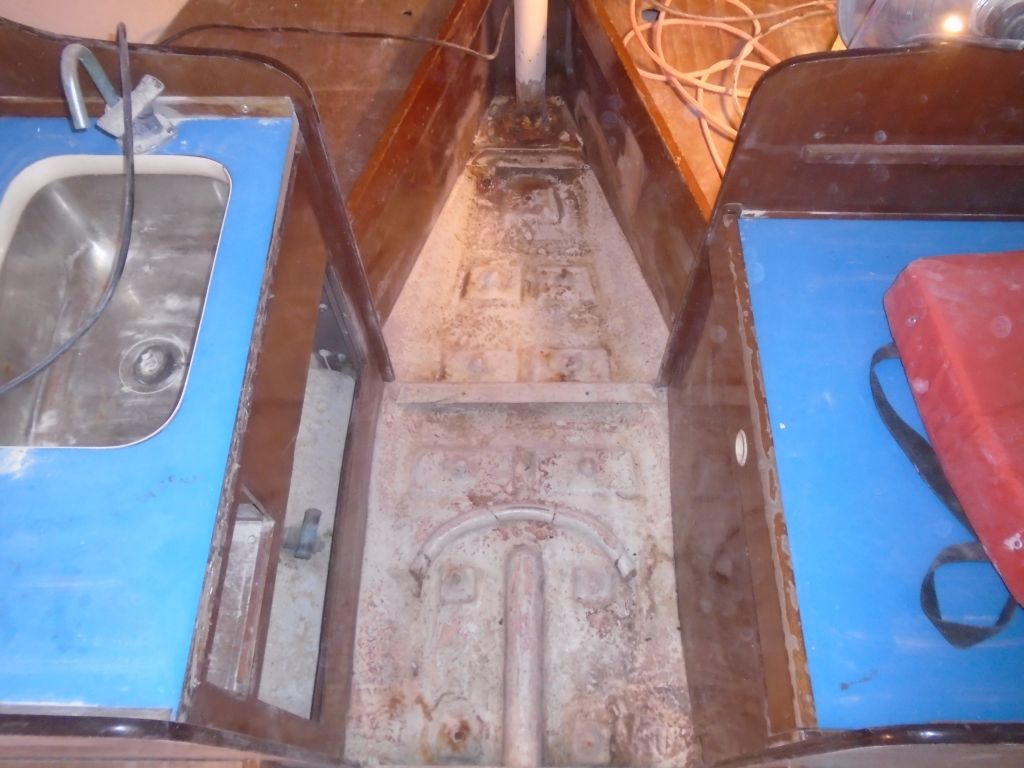
Next on my agenda was the interior surface prep. The original coatings in the cabin were generally in good existing condition and sound, but simply aged and dirty. Starting in the chainlocker forward and working aft, I spent most of the day sanding the overhead, inside of the hull, cabin trunk, bilge, lockers, and other areas as required, scuffing and cleaning the existing coatings and removing any (minimal) loose paint. This was mainly a light sanding with 80 grit discs, and with the existing coatings in good shape there was no reason to make any attempts to remove the old paint.
Although I’d decided to remove the deadlights after all, for the moment I worked around them, as I was anxious to knock the sanding chore off my list first.
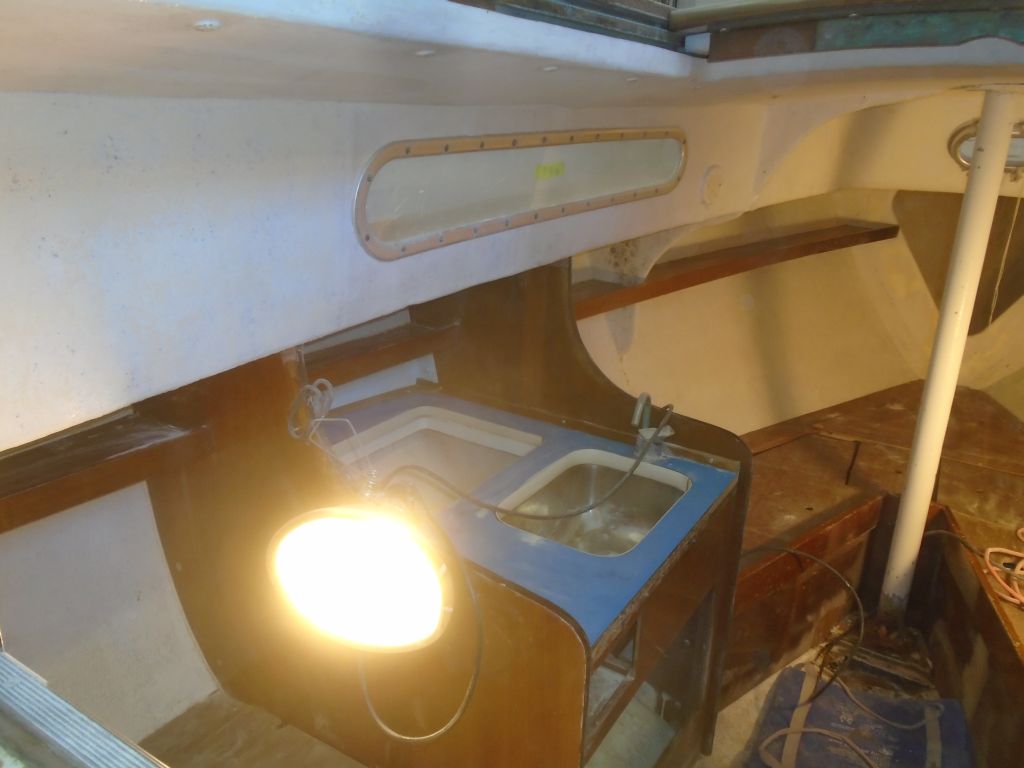
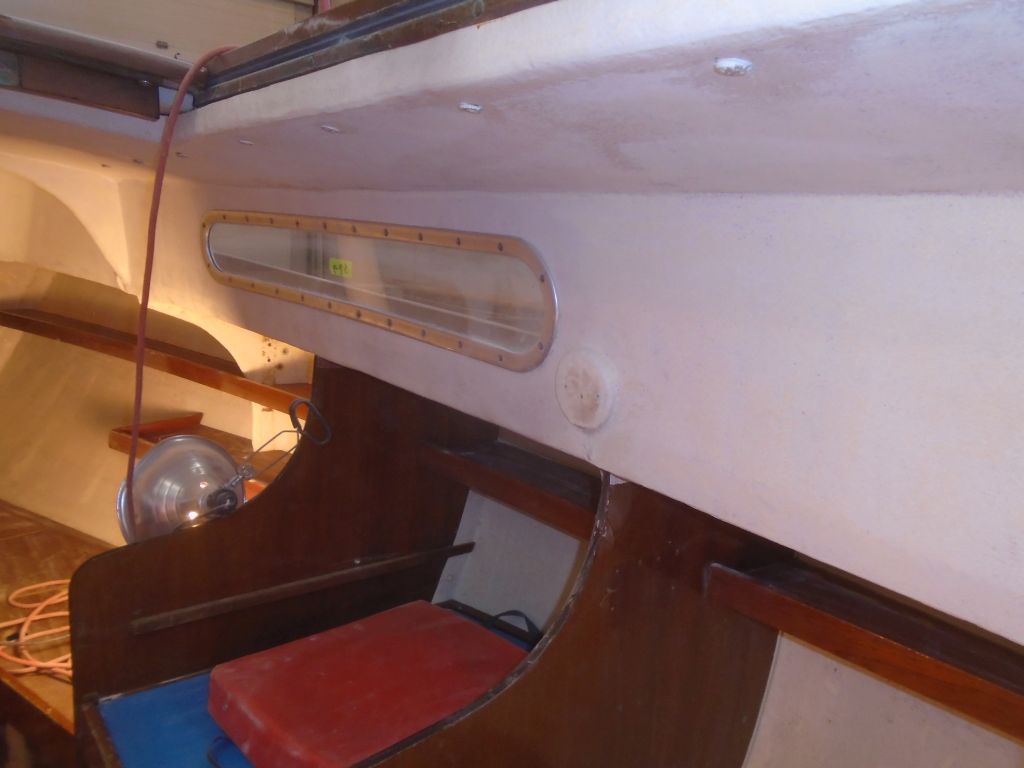
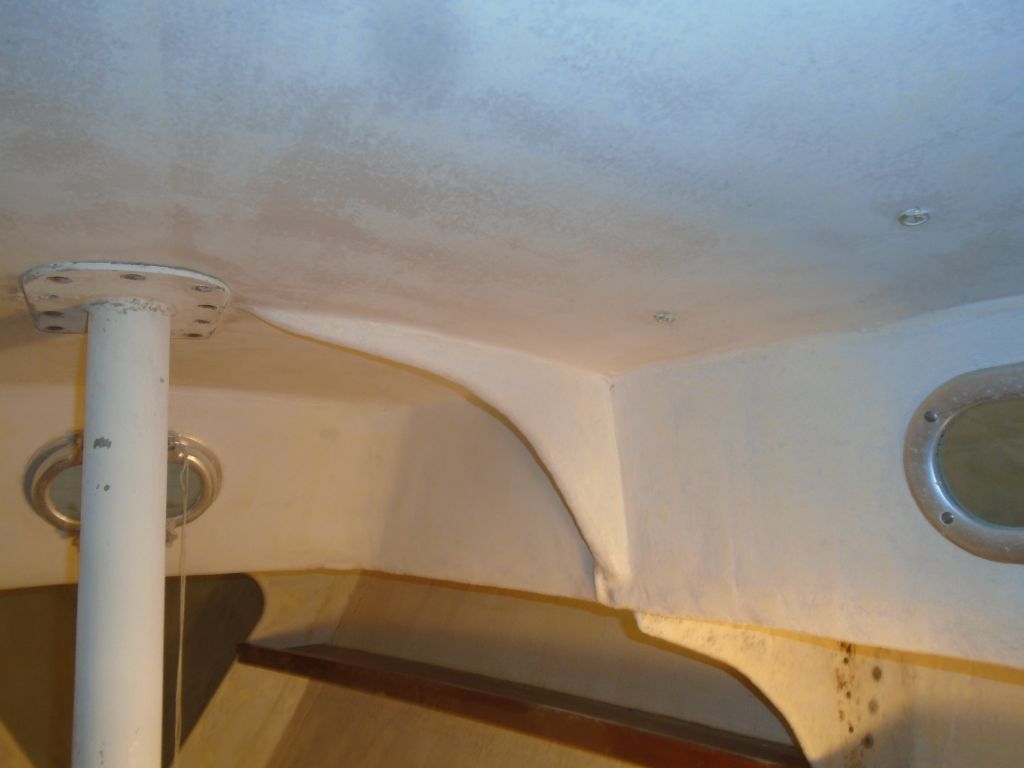
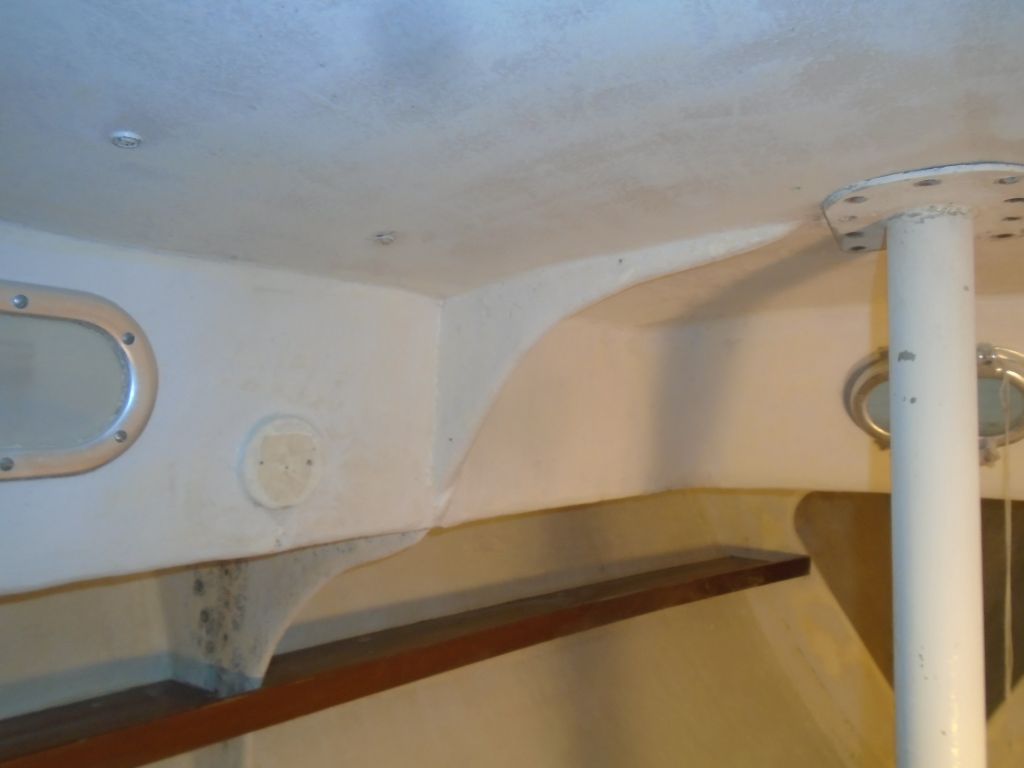
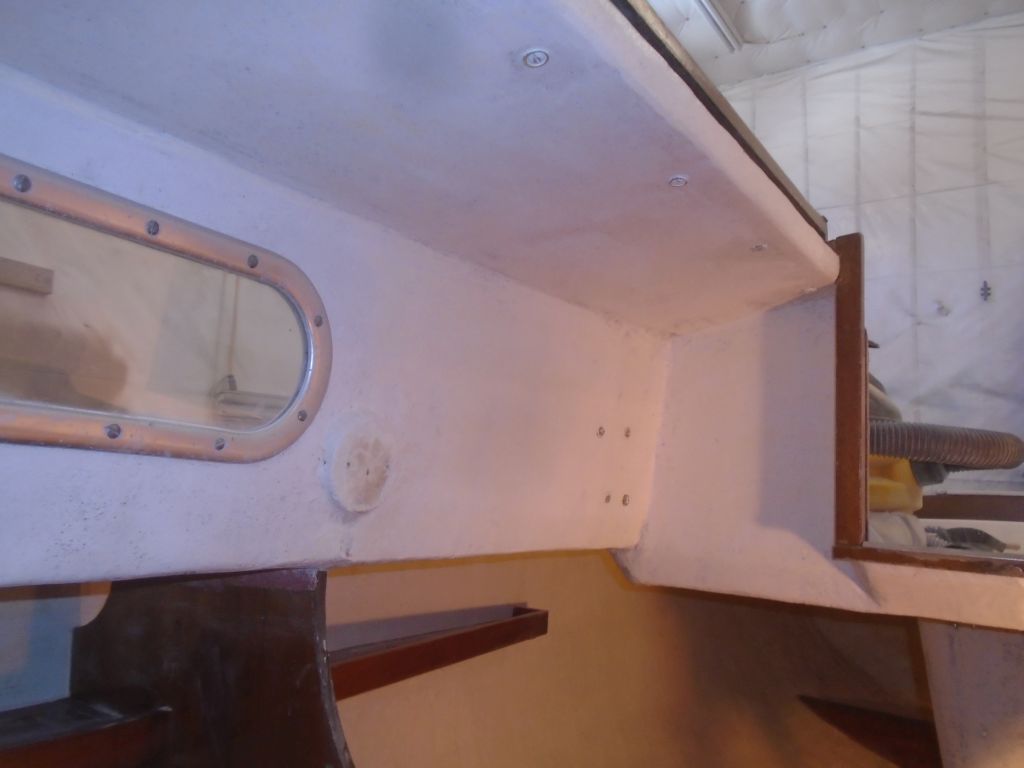
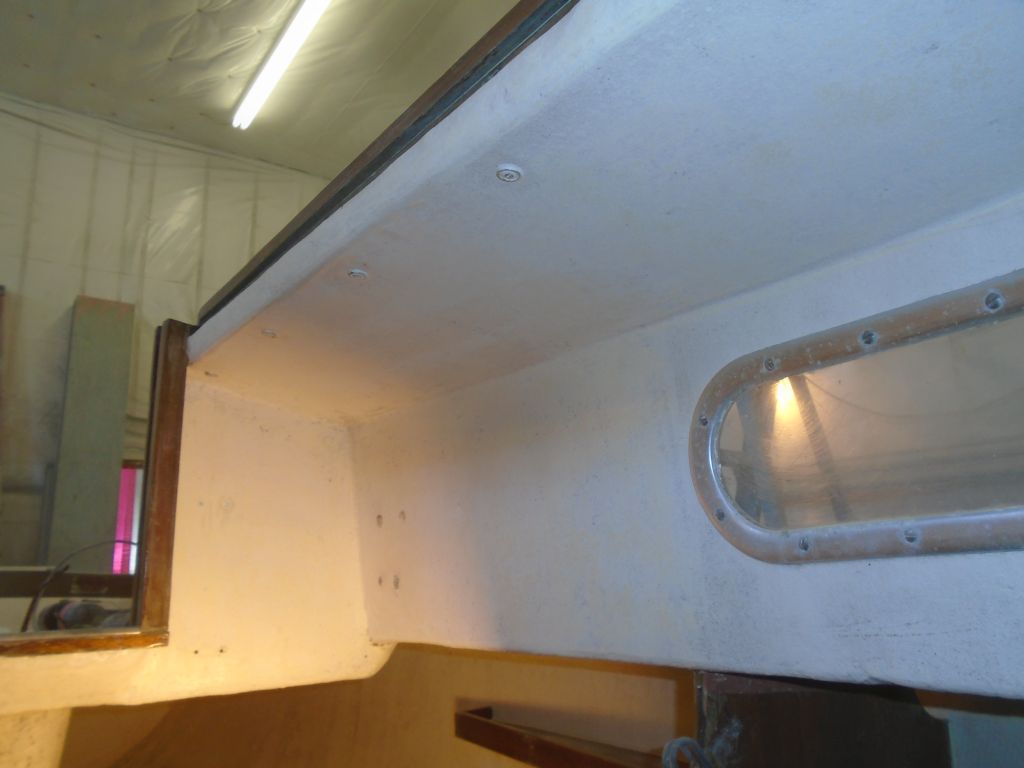


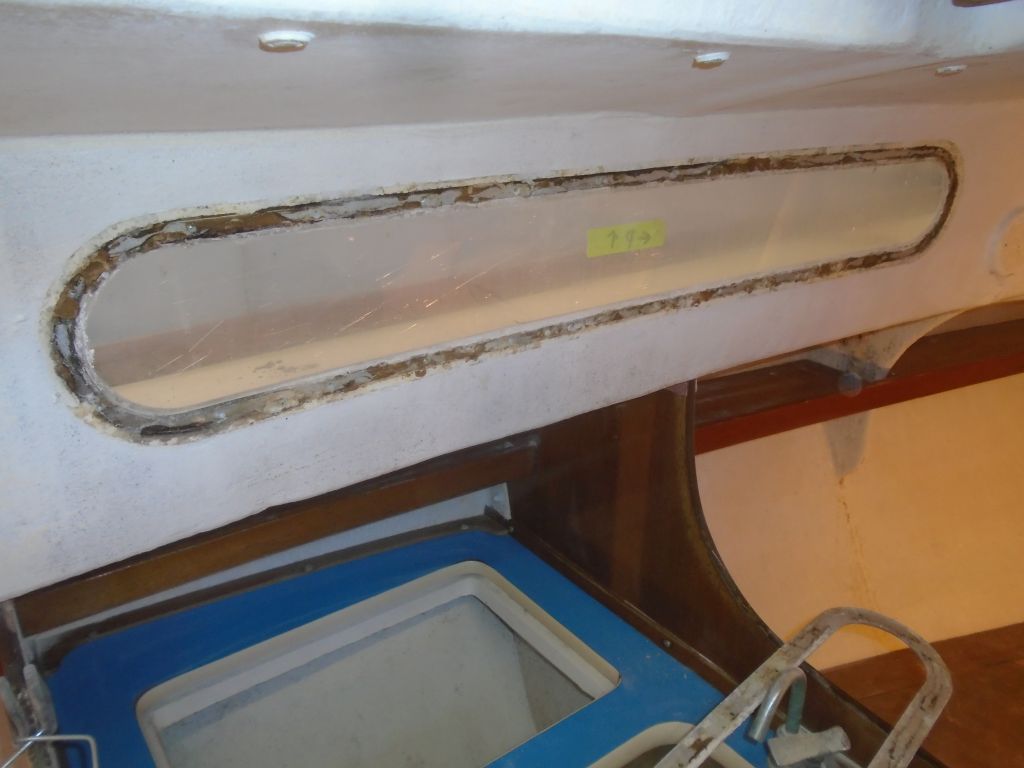
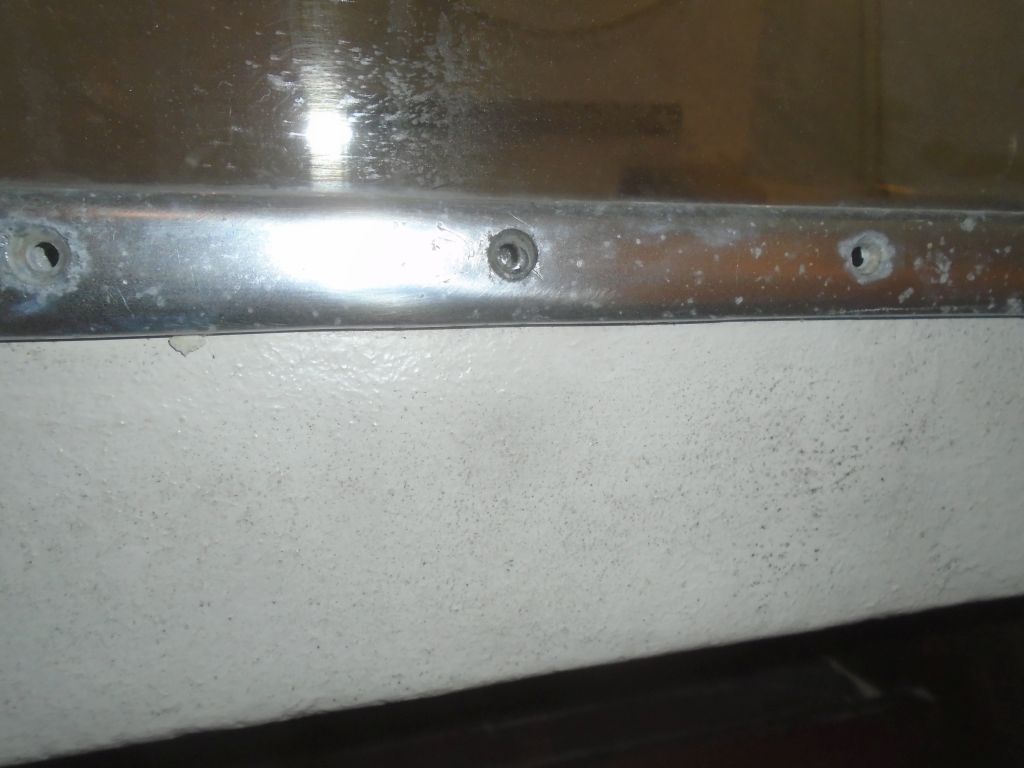
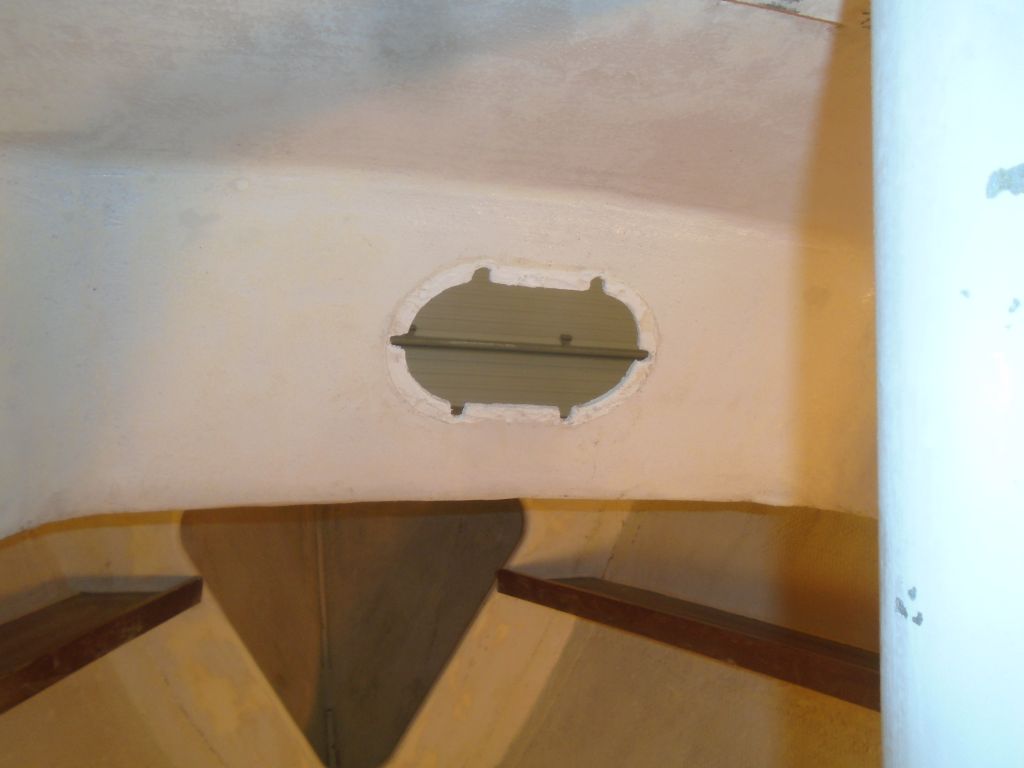
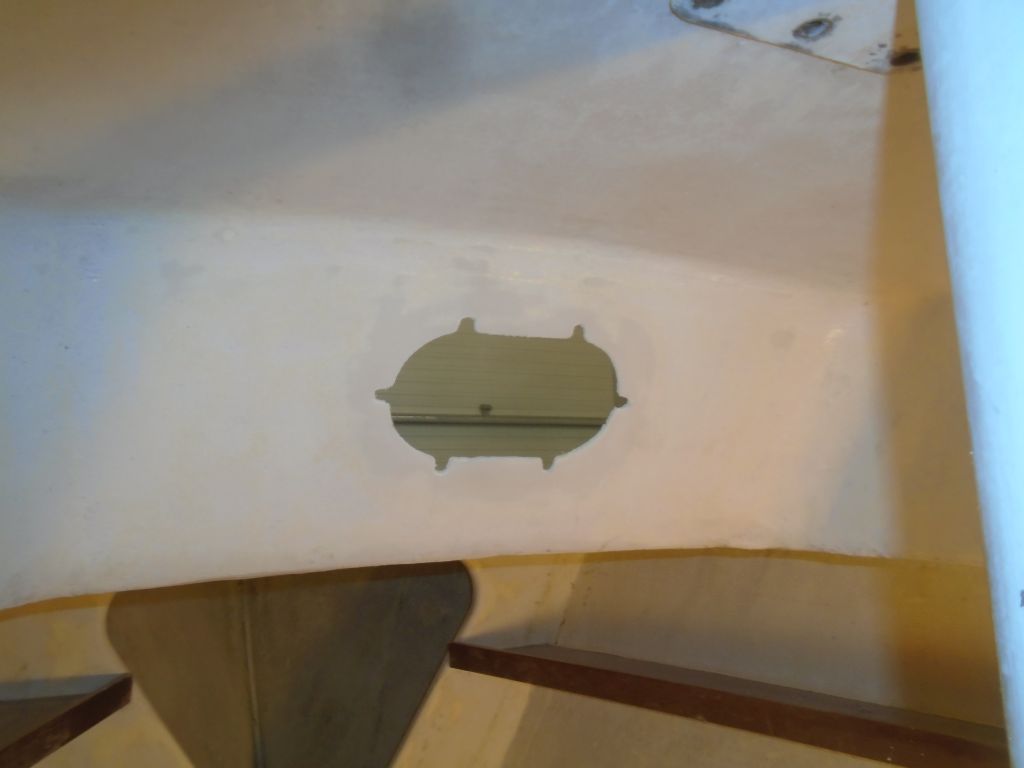
With the bulk of the interior now sanded and cleaned up, I turned to the deadlights. These were the typical setup using an inner and outer aluminum frame, which fit into the opening and screwed to one another from the inside, sandwiching the lens between. This was a popular yet dreadful approach to cabin windows back in the day, one that seems happily to have largely disappeared with the 1970s. I’d removed, cursed at, and reinstalled many sets of this sort of frame over the years, and despite the experience they still tended to be some of the most challenging and frustrating tasks I dealt with in any project.
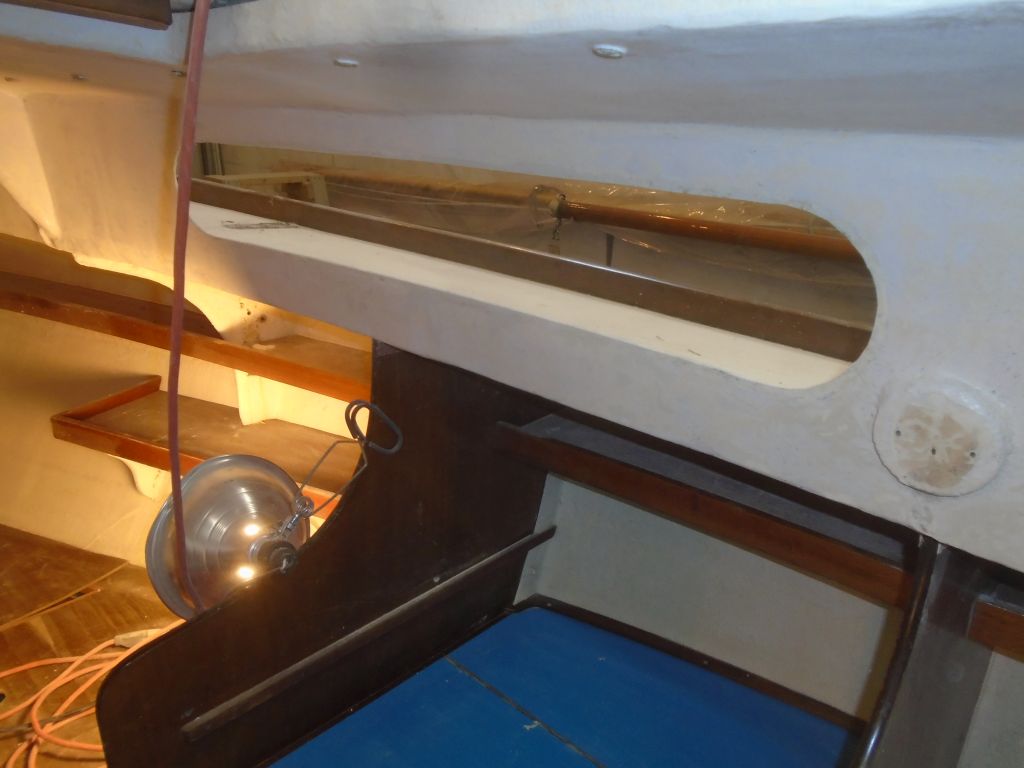
Removal of the port side was straightforward. Working my way around the frame, I removed the screws from inside; a few were slightly stuck with corrosion, but broke free with firm screwdriver pressure. I kept the screws in their proper position as I removed them, as sometimes in these sorts of frames each screw was custom-cut to fit during original installation, and I found long, long ago that it paid always to maintain the screws in their original positions. The old sealant, watertight as it may have been, was dried out and crumbly as the frames came out, and it seemed well worth the effort to remove (and later rebed) these frames.


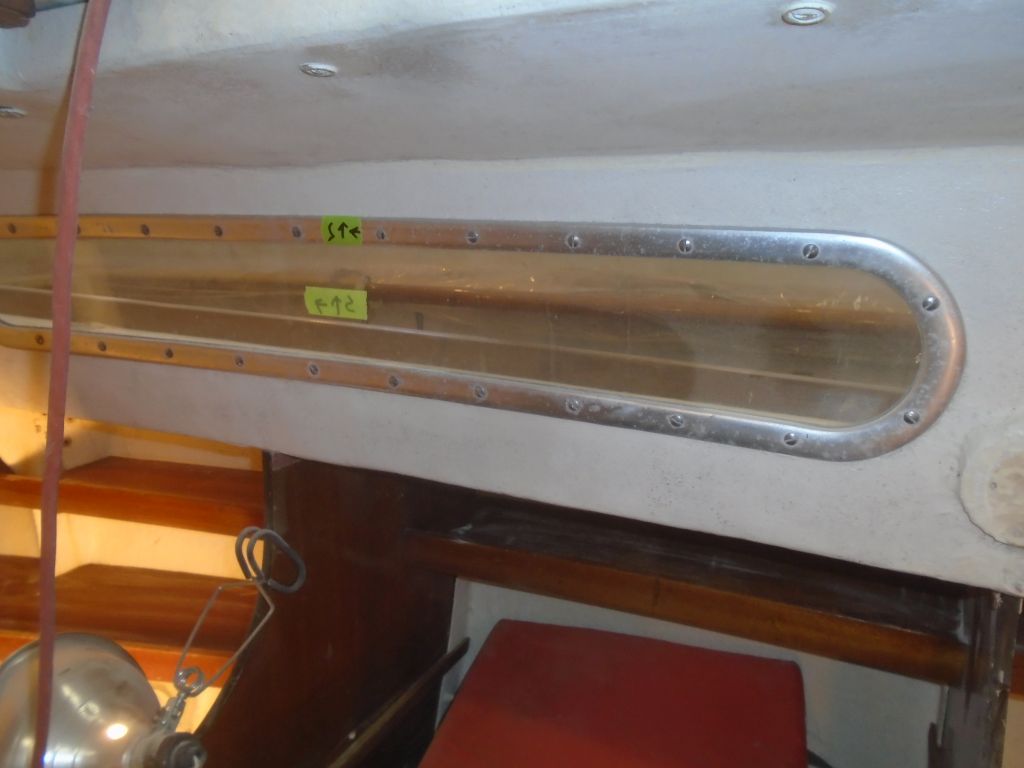
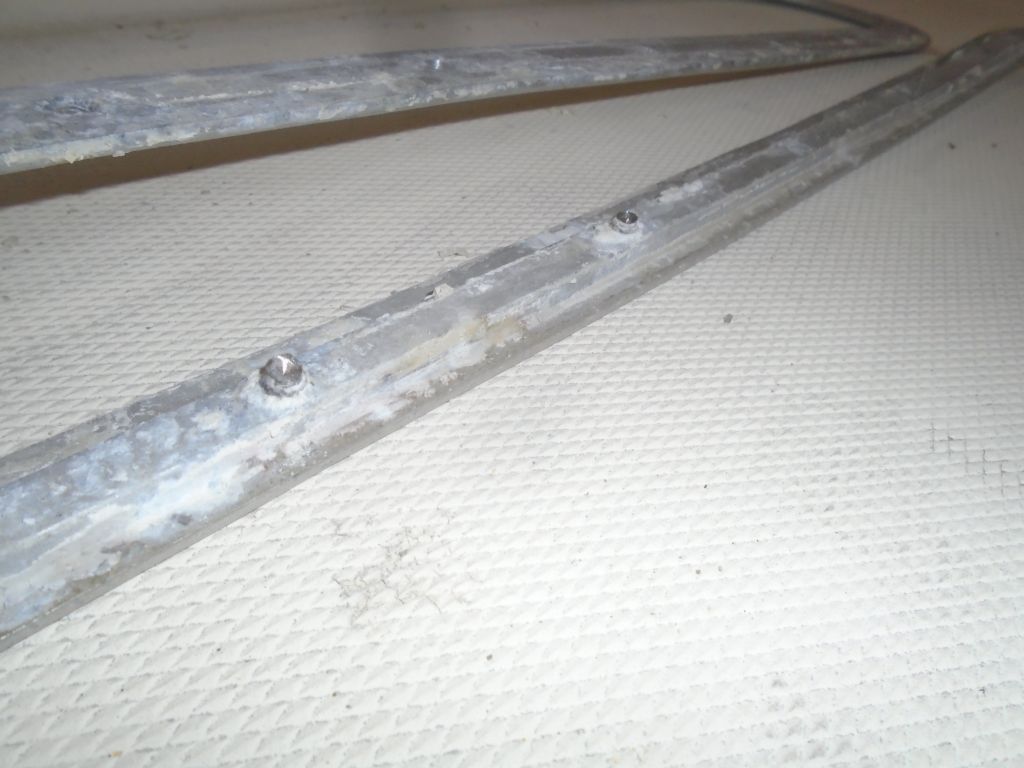
The starboard side was less fun. Many of the screws along the bottom side of the frame were extremely welded in place with corrosion (stainless steel vs. aluminum), and ultimately there were three fasteners I simply could not budge, despite all efforts: the screws were so firmly affixed that removal efforts bent two slotted screwdriver blades and broke various impact gun bits in the process. I eventually had to drill out the screw heads in order to complete the frame removal. This took time and care, and I was glad I’d not tried to remove these frames at “quickly” before beginning the sanding job early in the day: it would have affected my motivation. Hopefully I could later remove the little studs stuck in the outer frame; there was a bit of the fastener still protruding, as I’d only drilled through the screw heads, so with luck extended soaks with penetrating oil and some additional work later might see these come out and leave the threaded sockets intact for reinstallation.

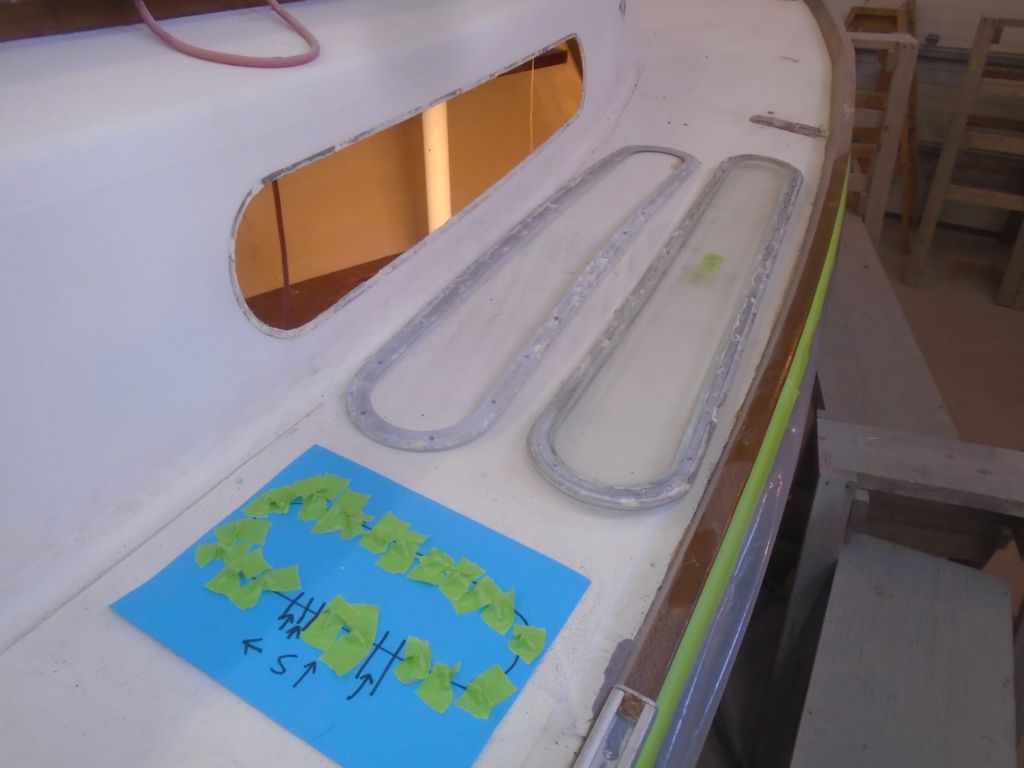
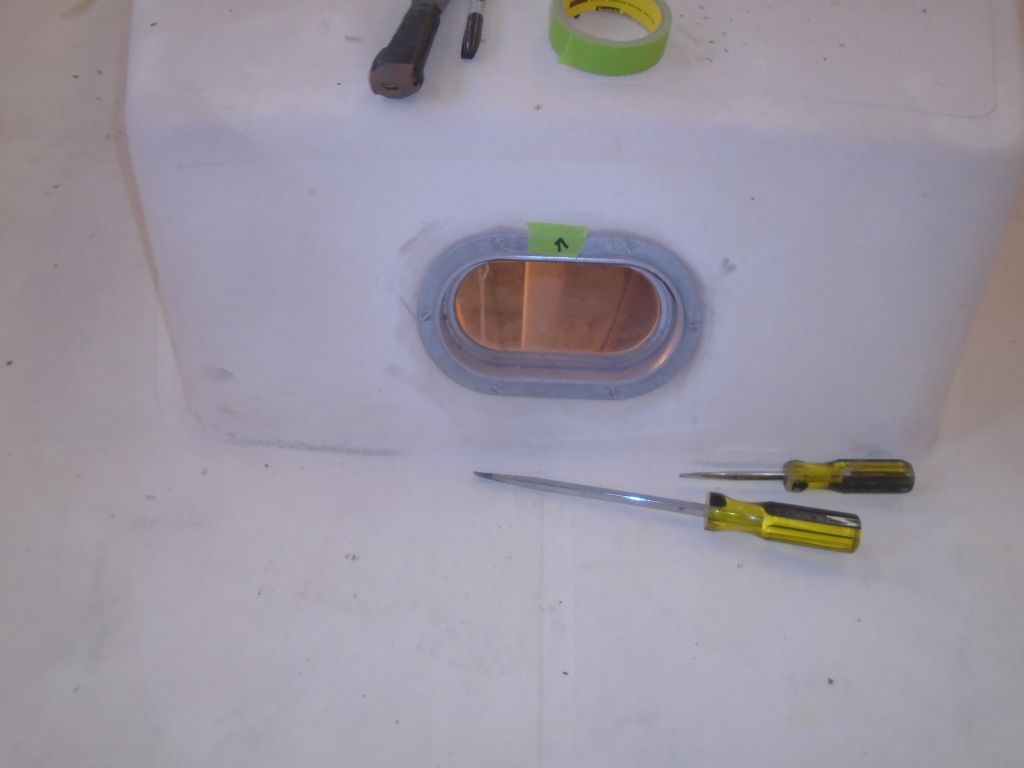
Finally, I removed the single opening port at the forward end of the cabin trunk. No issues here, except this housing was extremely well bedded in place and took a little while to break free.
With the ports and deadlights out of the way, I finished up the sanding in those areas.

Total time billed on this job today: 7 hours
0600 Weather Observation:
-5°, clear. Forecast for the day: Sunny, 10°