

December 11, 2018
Dharma Rose 13
Tuesday
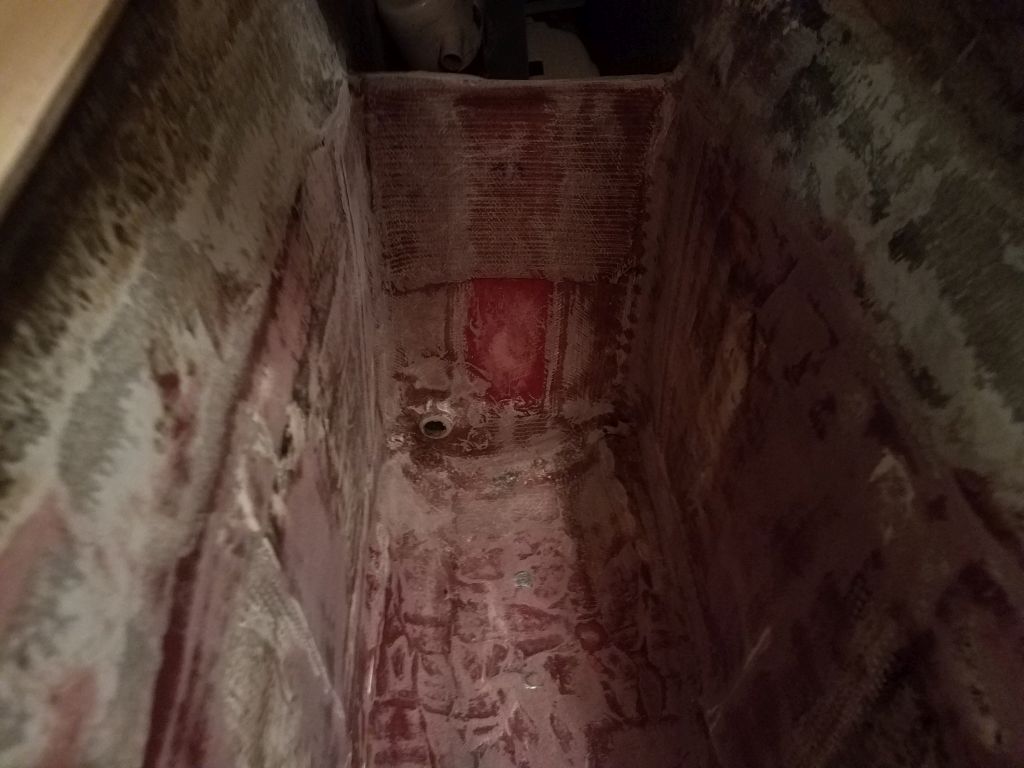
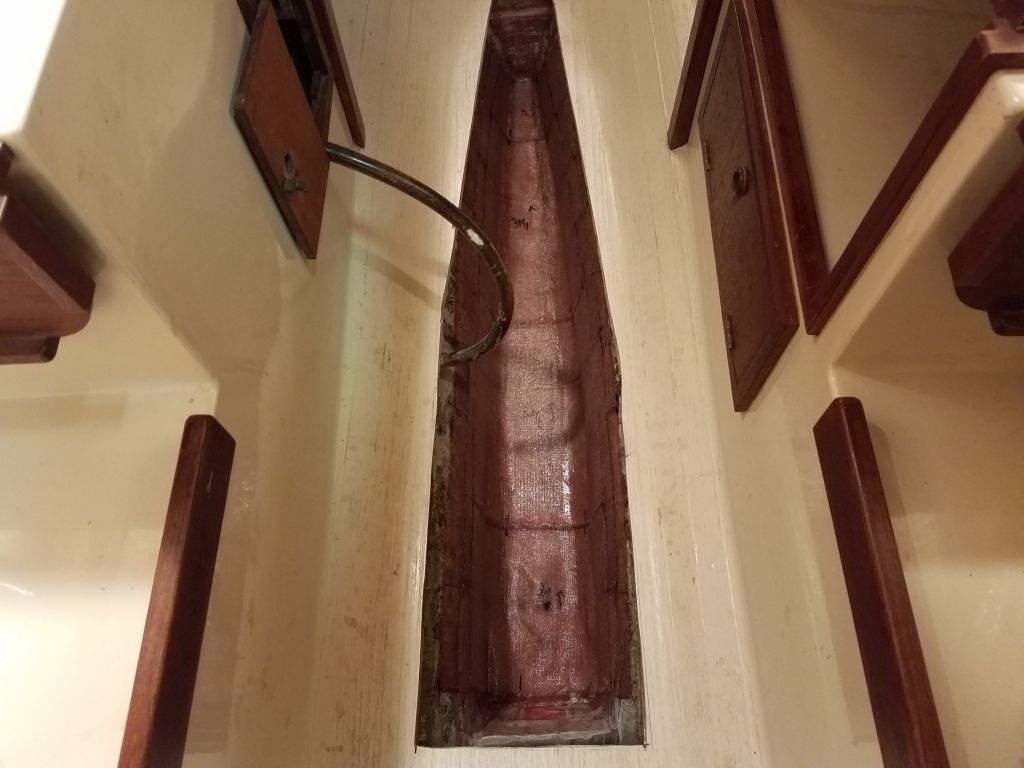
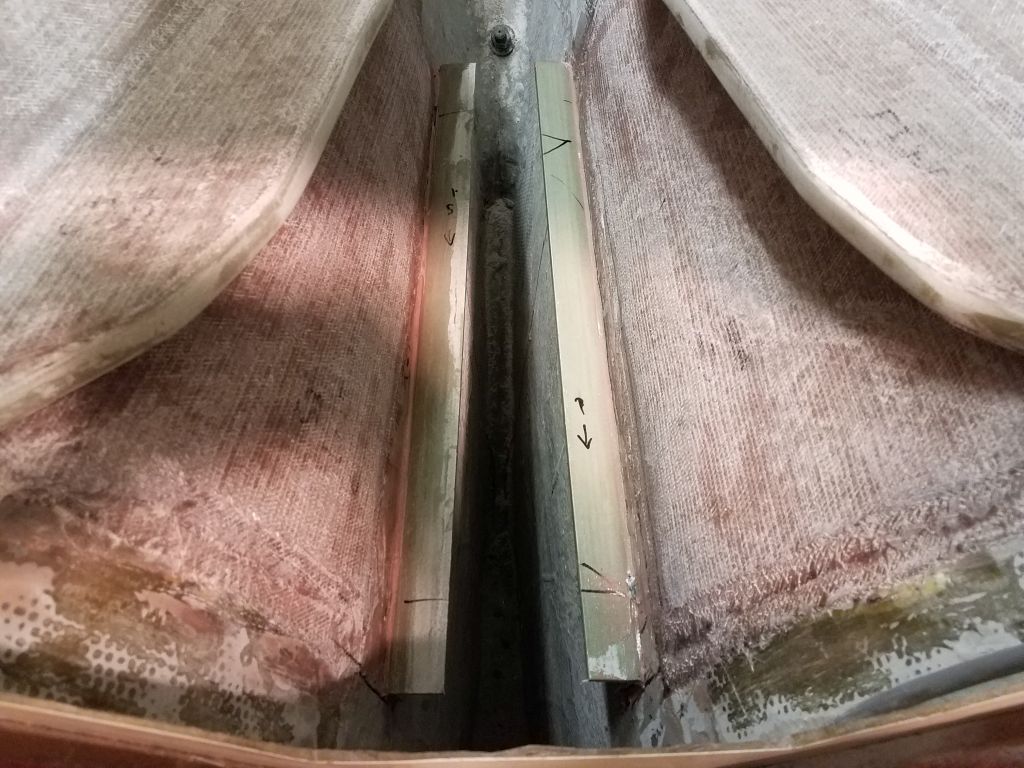
The newly-opened waste tank, now becoming part of the bilge for future storage use, occupied most of my time during the day, starting with the usual round of water washing and light sanding to prepare the new fiberglass bulkheads fore and aft, as well as the new fillets and filler I’d applied in the rest of the space, for new work. The owner and I discussed a plan to bring the after section of the new space up even with the drain pipe to ensure water flow out of the new space as needed, and I’d install that “false floor” a little later, but first I still needed to fiberglass the inside of the space.


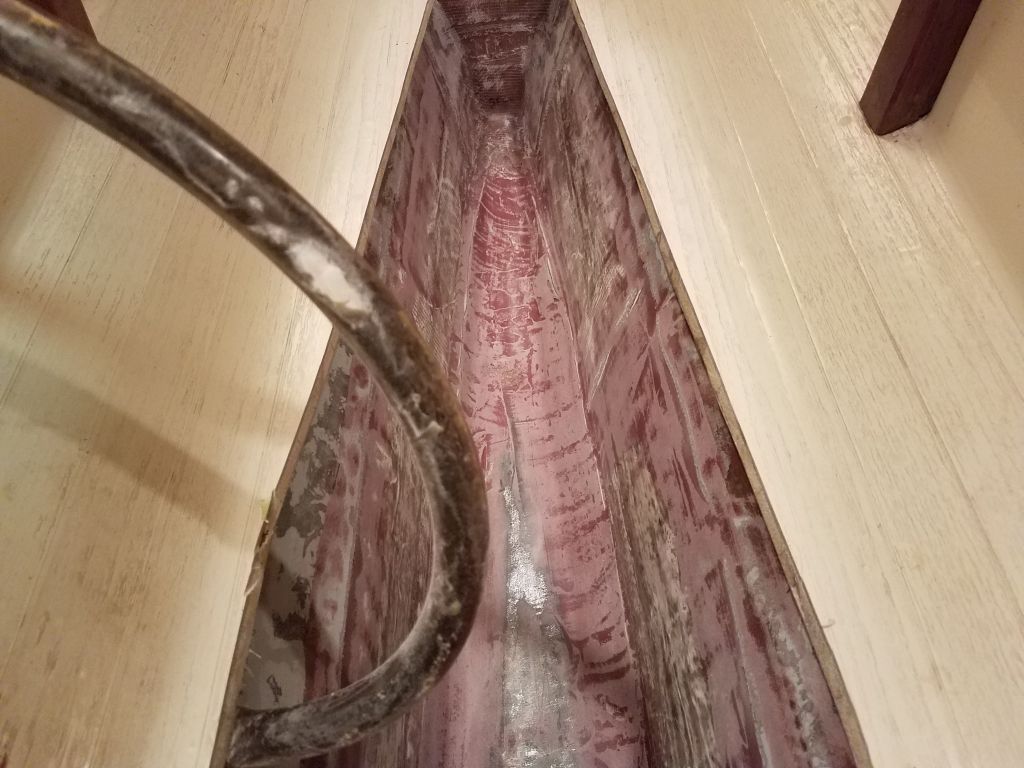

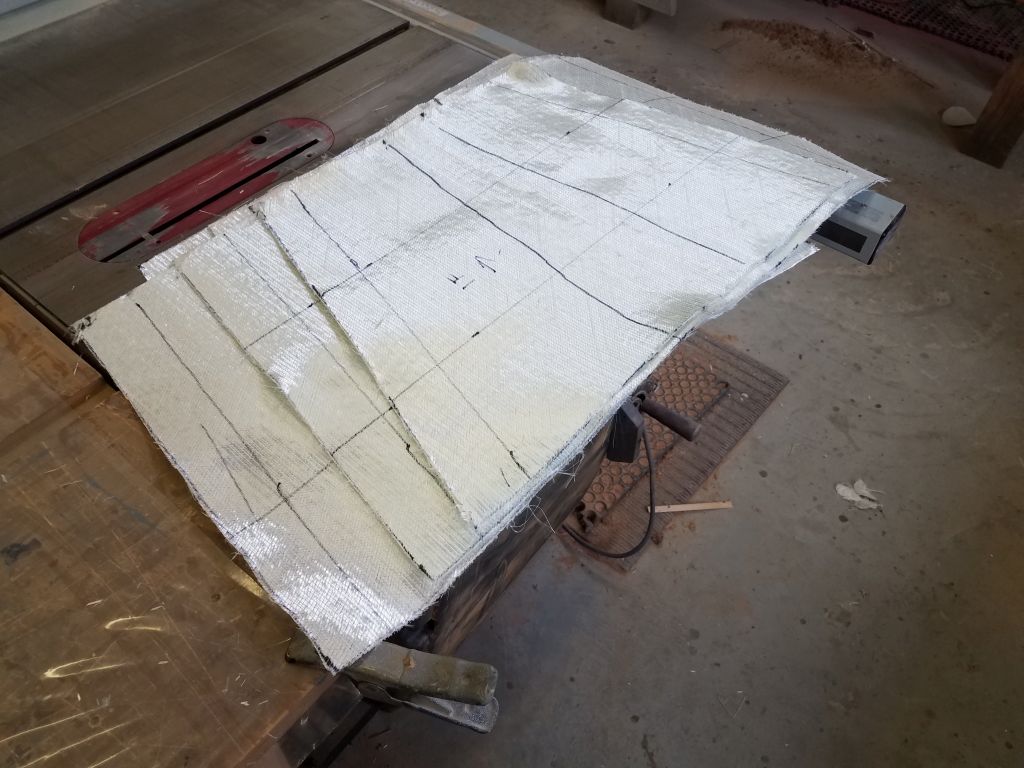
After cleaning up, I measured and patterned new fiberglass to glass over the ballast keel cavity and completely close off and secure the space. To allow continued access to the area so I could work, I broke the space into three sections, each just over 18″ long, and laid out and cut three layers of material, offsetting the seams by 6″ on each layer. The first layers extended up past the level of the old tank top, stopping just short of the cabin sole, with each subsequent layer stepped back a couple inches.


I disassembled the stack of new fiberglass in reverse order of application, stacking it nearby so I could quickly access the next pieces I needed during installation.
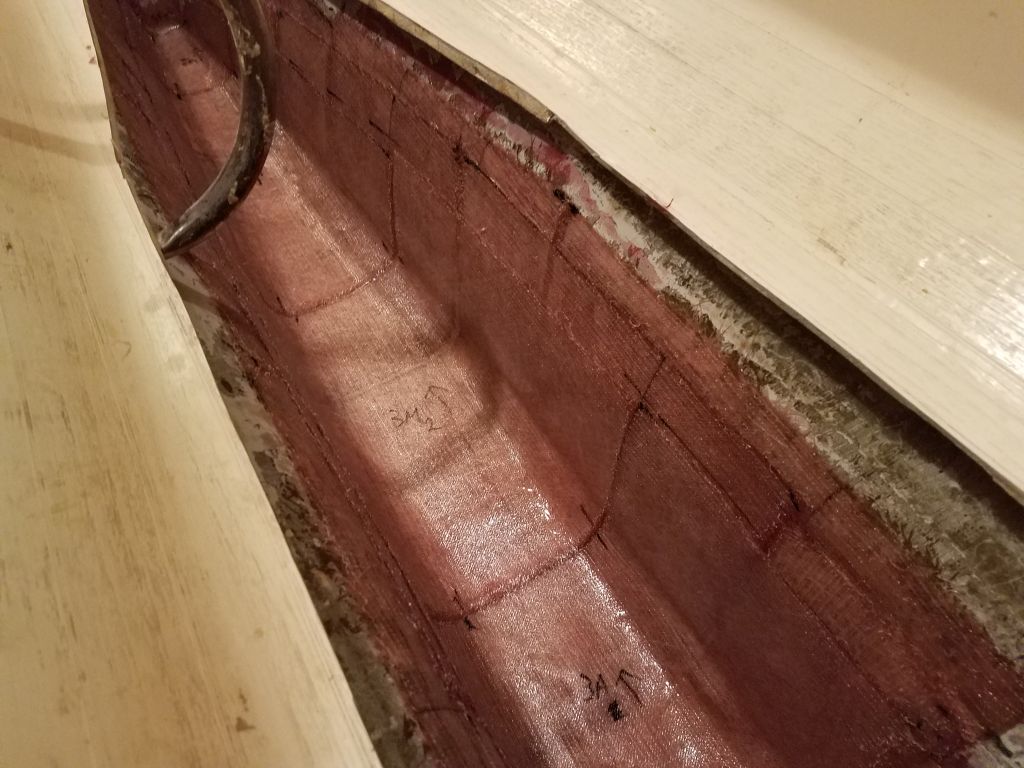
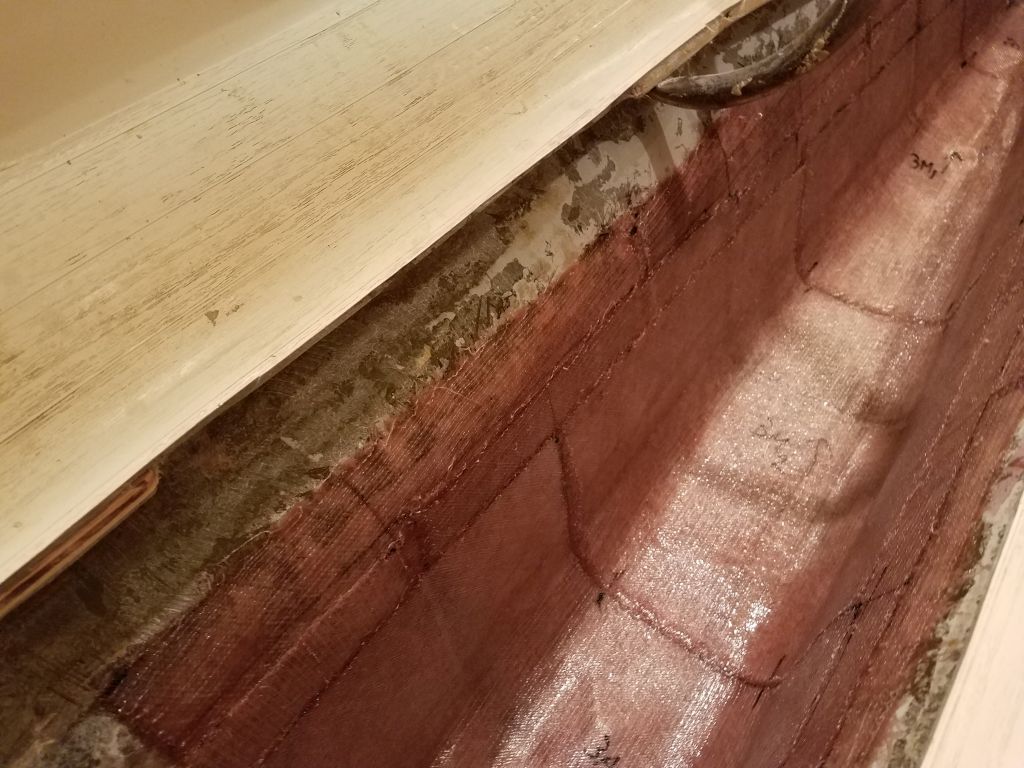
Starting at the forward end and working my way aft, I spent the first part of the afternoon installing the three new layers of fiberglass in the bilge. As needed, particularly in the forward section, I started with a spot application of thickened epoxy to fill some leftover low spots from the first round of filleting, just to make the surface as smooth as possible and encourage good bonding of the fiberglass to the substrate. The nature of the space required that I work my way aft sequentially to remain clear of the fresh fiberglass, and the staggered layers I’d set up kept this workable and logical along the way, which kept me moving but otherwise posed no issues along the way. Before installing the first layer in the aftermost of the three sections, I applied thickened epoxy over a few rougher spots, particularly to help smooth out and cover over some protruding cutoff steel studs leftover from the original construction and installation of the lead ballast pig. The new fiberglass overlapped the tabbing securing the small bulkheads I’d installed earlier at the ends of the compartment.


I had a few tasks remaining in the engine room before I could finish up the space and think about painting it out, and now, with work in the forward bilge starting to wind down a bit, I could turn my attention back to the engine room, starting with the construction of a drip pan beneath the engine. To maintain future access possibilities to the bilge beneath, I chose to make a semi-permanent, removable-if-necessary pan, which also happened to keep construction details simple.
To begin, I laid out the location for a pair of cleats along the hull to support the non-load bearing drip pan. I used 1-1/2″ fiberglass angles to create the cleats, choosing the location more or less randomly an appropriate distance beneath the engine foundations (somewhere between 10″ and 12″). I angled the cleats down at the forward end to promote ease of runoff collection and cleanup. With the substrate prepared ahead of time, and layout lines in place, I secured the cleats to the hull with epoxy adhesive, using two dabs of hot glue to hold each cleat in place while the epoxy cured.

Total time billed on this job today: 7.5 hours
0600 Weather Observation: 4°, clear. Forecast for the day: Sunny, 20s