
110 Cookson Lane | Whitefield, ME 04353 | 207-232-7600 | tim@lackeysailing.com
Westsail 667 | Tuesday, November 12, 2013
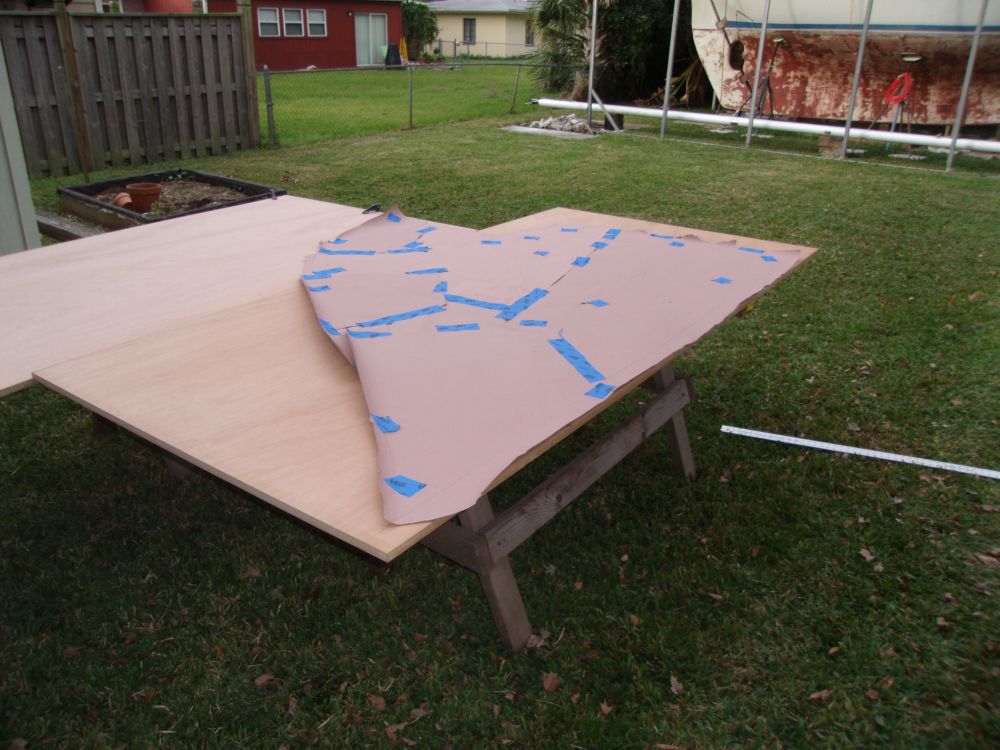
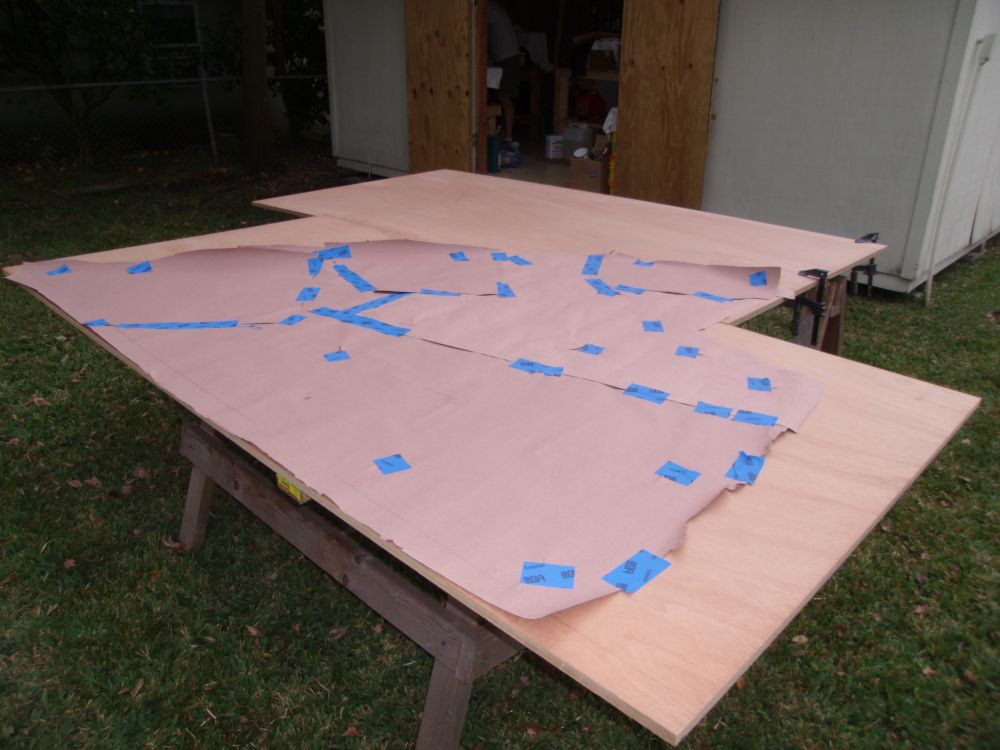
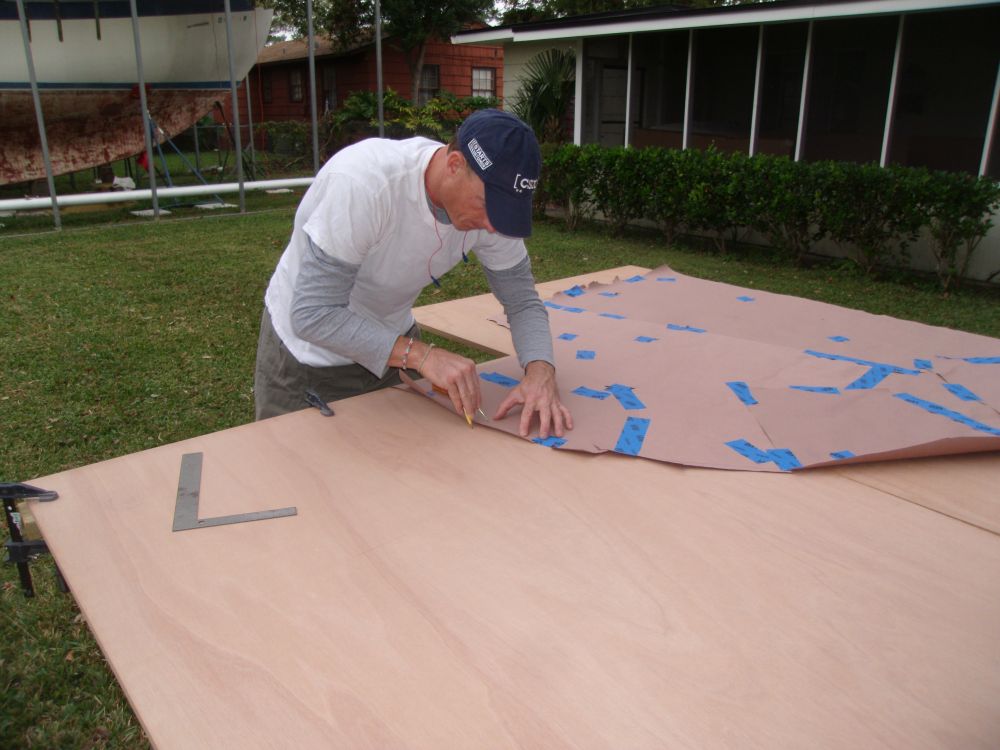
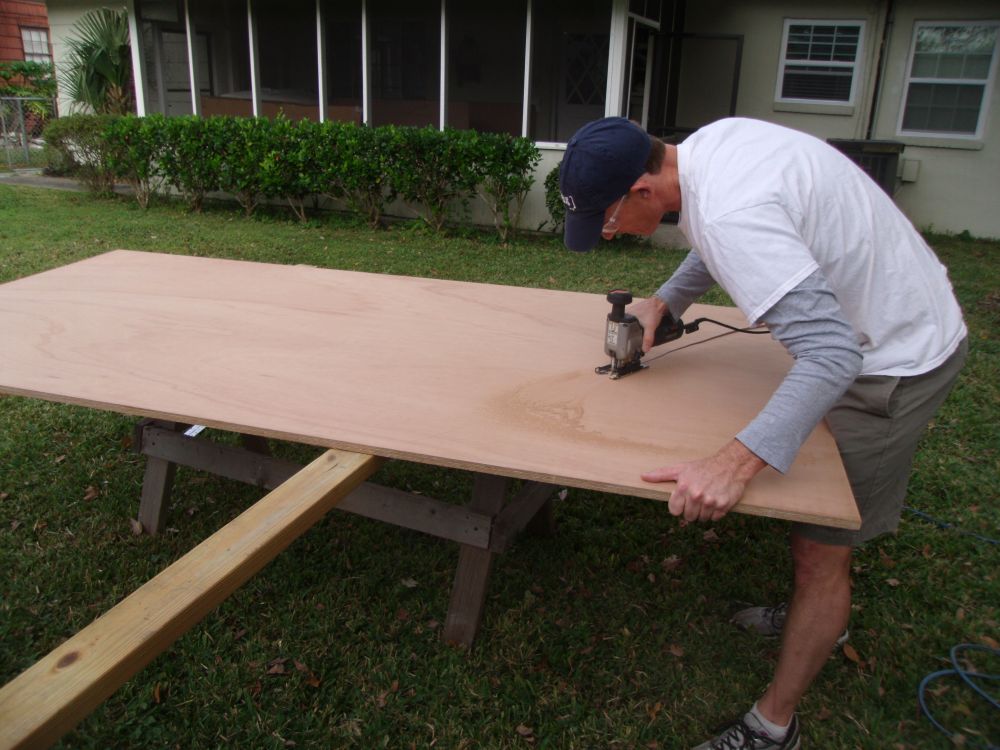
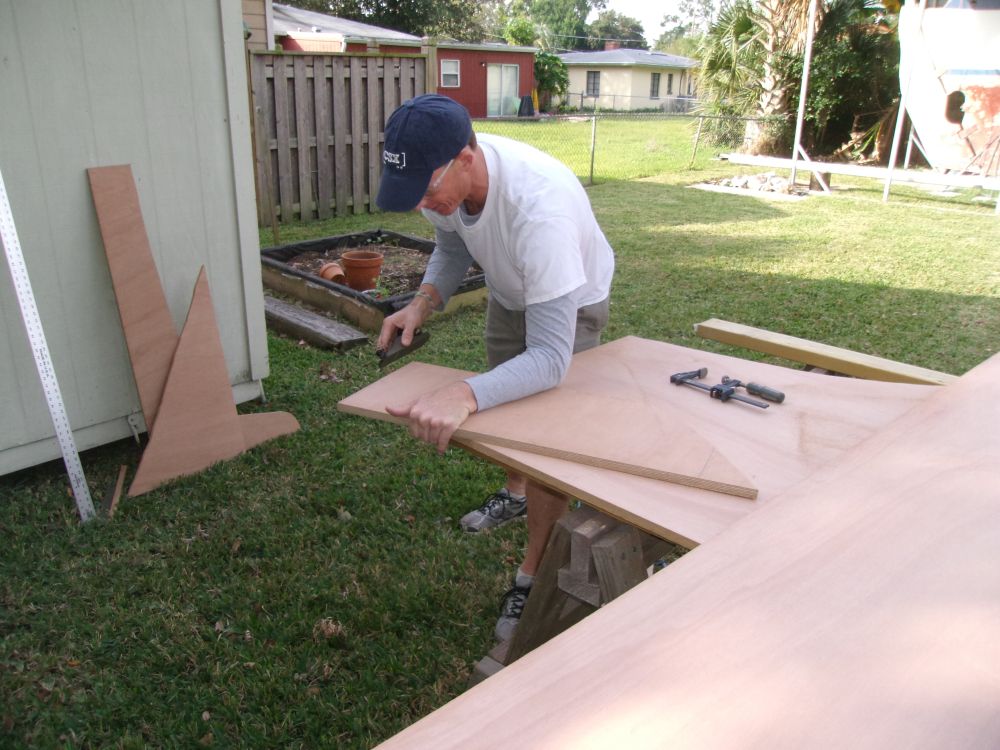
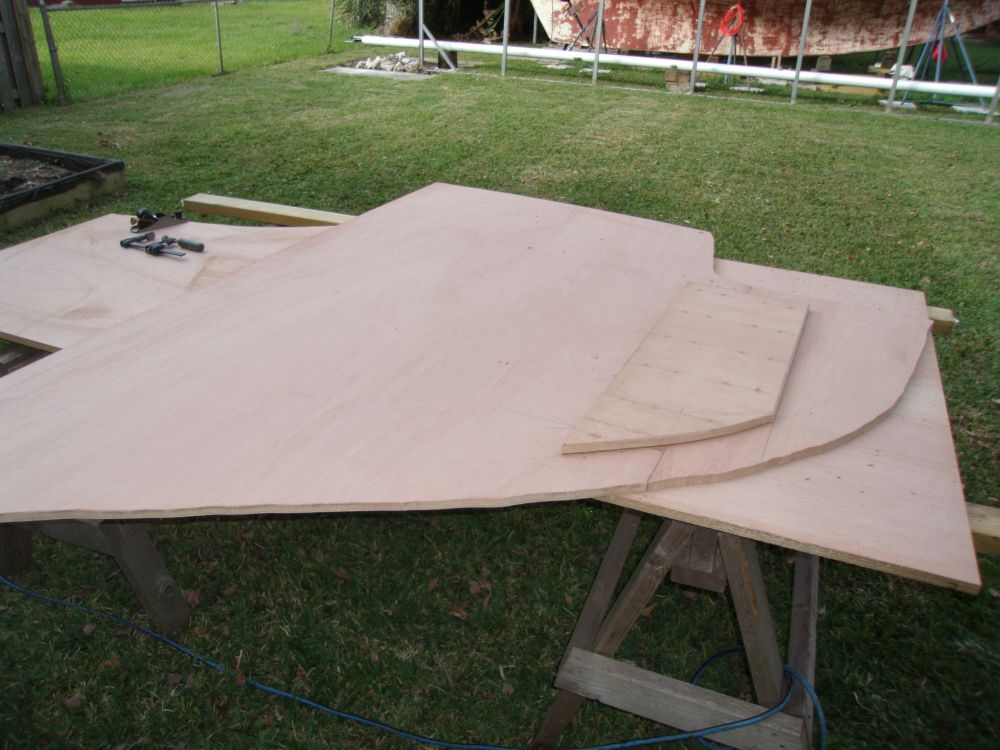
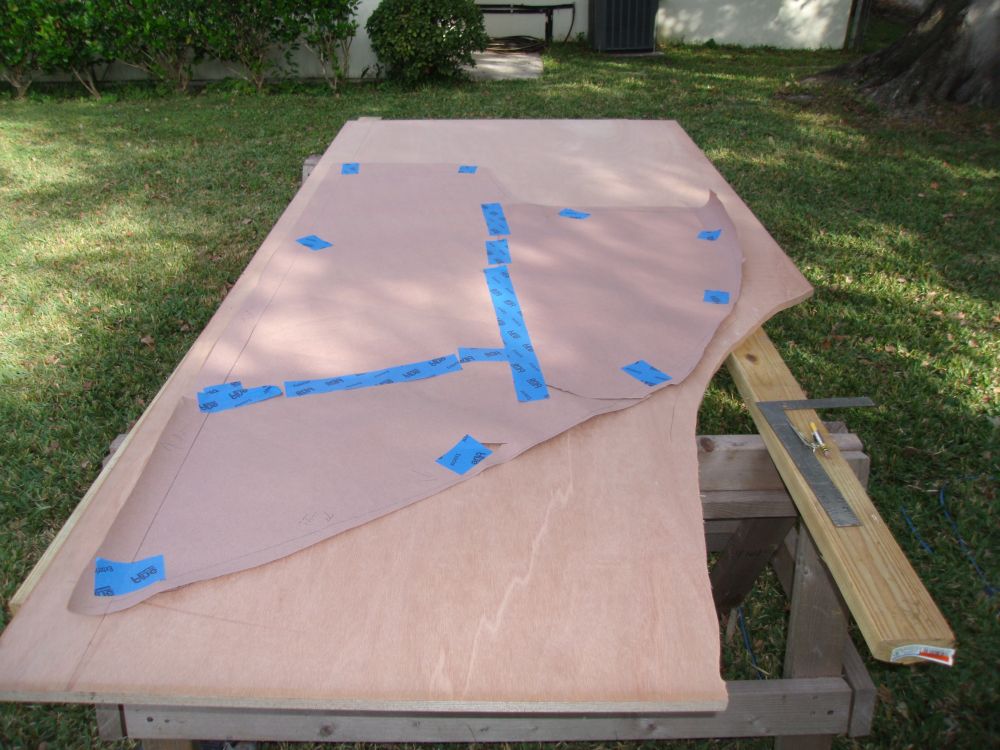
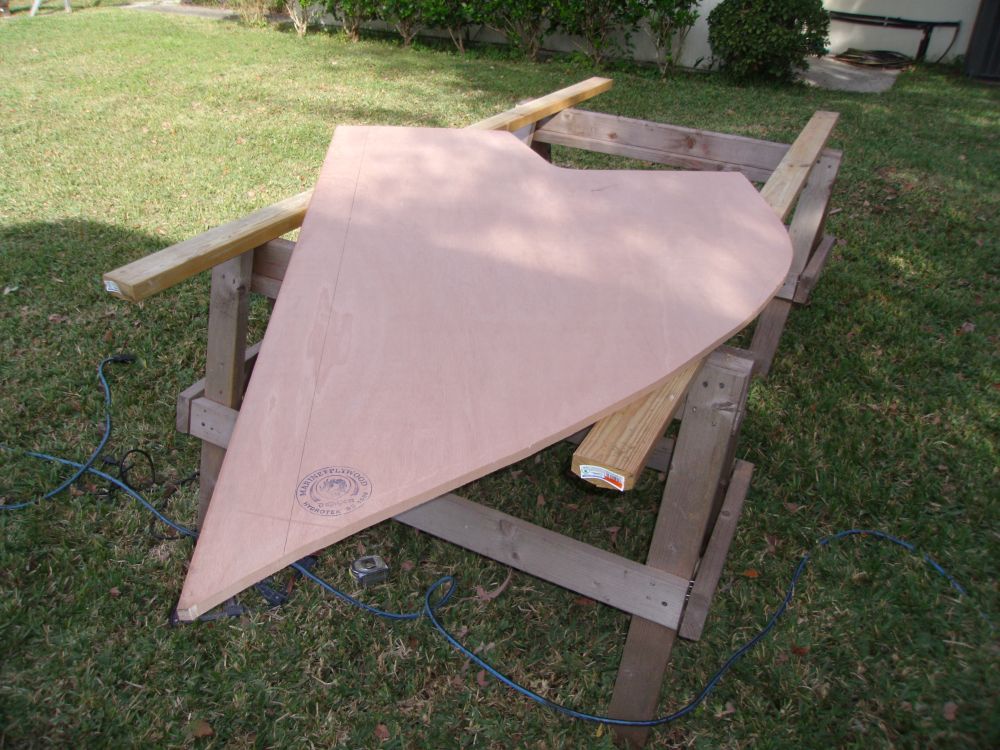
After a long day of preparations, demolition, and sanding, it was nice to have a fresh start and dive into the new bulkhead shaping, final layout, and installation. With yesterday's patterns in hand, we started with the largest bulkhead--the port main. This required two sheets of plywood--nearly a full one, plus a small section to make up the width as needed. We laid the pattern on the sheets, oriented the two sheets to minimize waste and take advantage of factory edges wherever possible, and rescribed the original shape from the pattern offsets, using straightedge and compass as applicable. I turned most of this task, along with the cutting, over to the owner--known heretofore as Brian since that's his name--so he could learn by doing. First the large piece, then the smaller section.
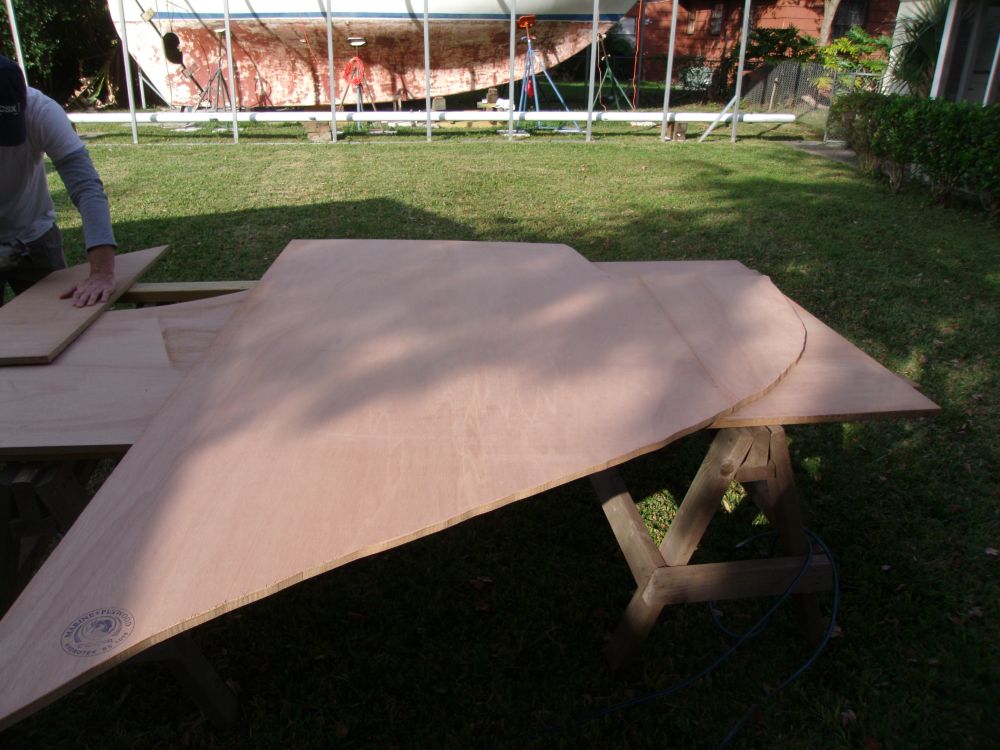
To join the two pieces, I laid out and cut a splice section from leftover 18mm plywood, which we planned to epoxy and screw over the seam to conjoin the two pieces. Once the piece was rough-cut, Brian chamfered the edges with plane for improved appearance. I intentionally ended the splice a few inches shy of the top and bottom of the bulkhead to allow room for tabbing.
In our excitement to move ahead with the new work, we'd neglected an important step--a step we'd discussed the day before, but had overlooked now: measuring the size of the companionway. Only after cutting the two pieces and lugging them on deck did we remember that we'd meant to do this beforehand, and the net result was that there was no way a full 48" width section of plywood--despite the curves and cutouts--was going to fit through the existing companionway. We even tried the large engine hatch (i.e. removable cockpit sole) to no avail. The maximum diagonal measurement available at the companionway (and, as it turned out, the engine hatch) was about 40" - 41", plus or minus. We could have increased this by a few inches by removing trim and the companionway slide, but even then the clearance would fall short of the required 48". Rats.
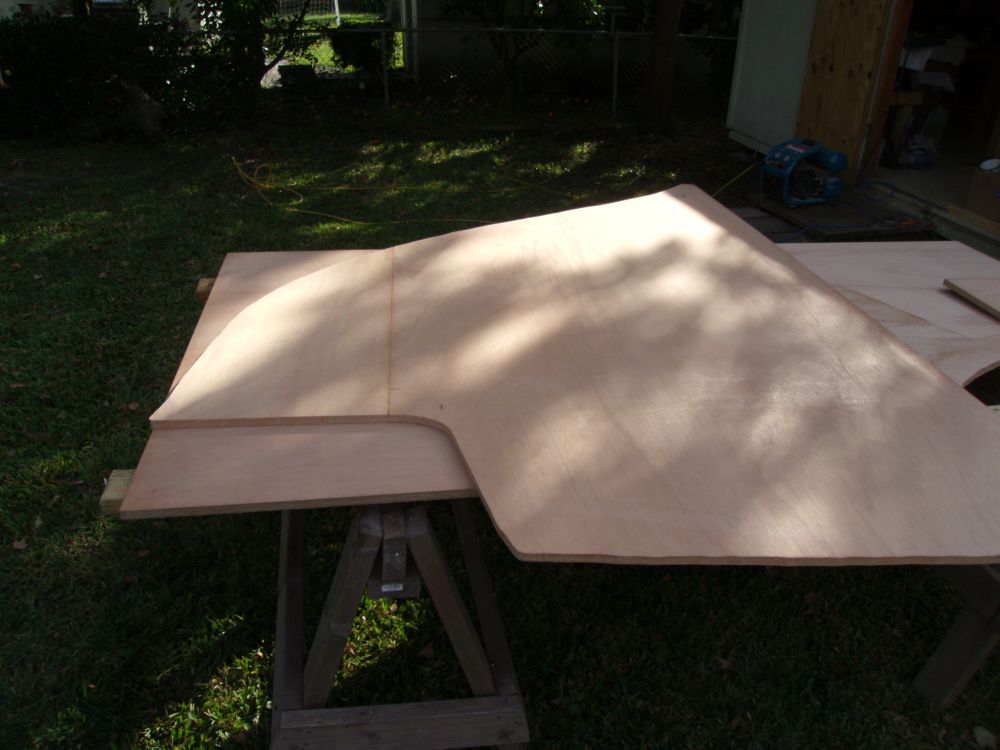
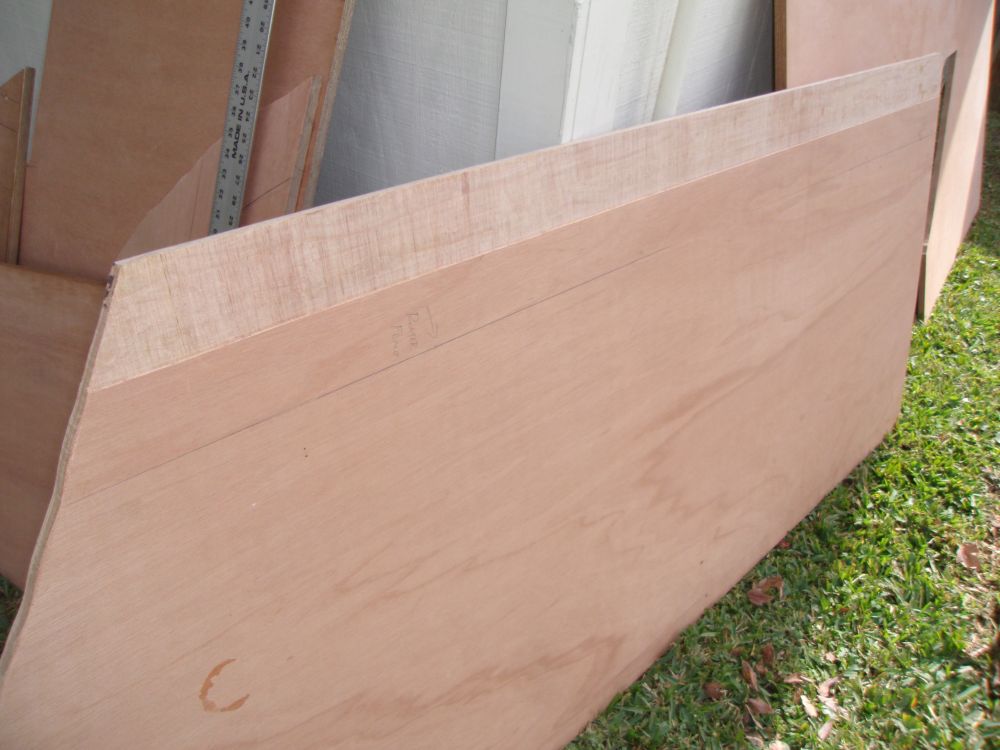
To get around this, since Brian didn't like my idea of cutting a 1" wide, 50" long slot right through the top of the cabin trunk to easily slip the plywood into the boat (haha), we devised a new plan. With a maximum 40" width possible to slip through the opening, we recut the larger piece of the bulkhead to something less than this dimension, with a larger side piece to make up the overall width. Easy, obviously, except that this meant that the seam and splice was much longer, as well as further inboard (towards centerline) than the originally-planned (and similar to the old bulkhead we removed) splice, which location meant that the new splice would be tougher to hide and work around as the interior came together.
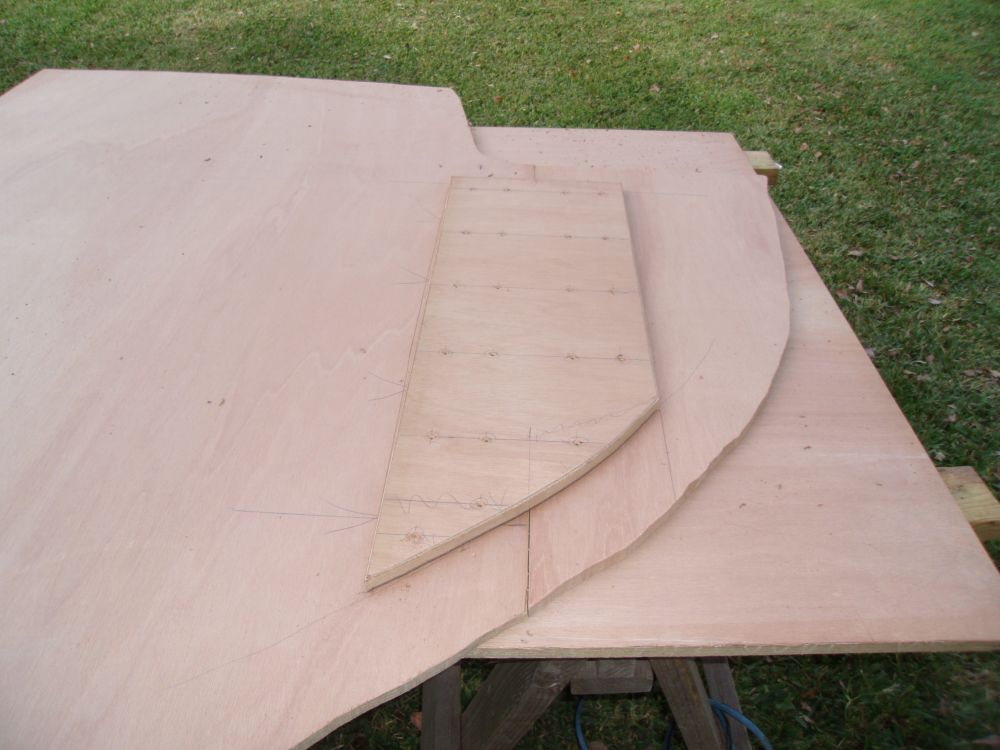
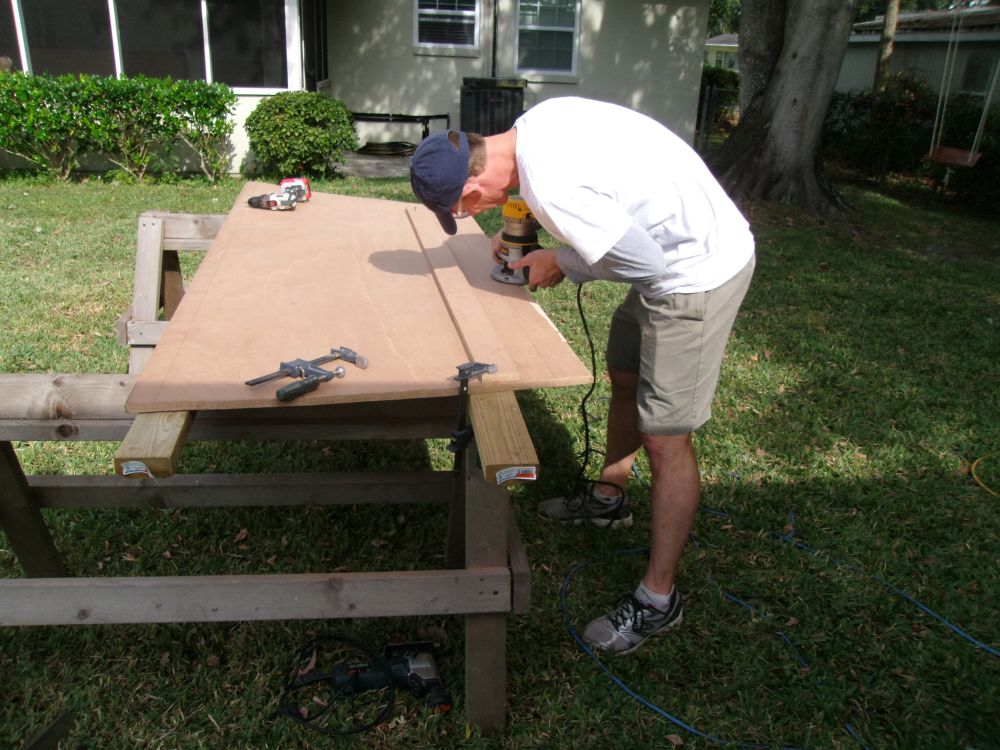
After suggesting a few alternatives, and/or ways to deal with a larger splice, I came up with the idea that stuck: rout a dado in both sides of the bulkhead to accept epoxy and tabbing with which to secure the bulkheads together once installed. So after cutting down the main section of the bulkhead to the new, narrower size, and repatterning the remaining piece required, I laid out for a dado wide enough for the tabbing, half on each section of bulkhead and on both sides of the seam, and, with a straightedge set at the appropriate offset, Brian routed out the dados about 1/8" or a little less deep to accept the tabbing.
Back in the boat--the new slimmer sections slipped superbly into the boat--we worked to set up the outboard (smaller) section of the bulkhead into its proper position. With no real reference points from which to work, this took a bit longer and more thought than expected. The old bulkheads we'd removed weren't accurately installed enough to allow their ghosts--still visible after the grinding--to be of much help, and with the deck in place there was no straightforward way to measure directly from the stem, either inside or outside the boat.
At issue in particular was the requirement for the bulkhead to be perpendicular to the boat's centerline. It was easy to plumb it up and so forth, but there were no immediately obvious reference points for the athwartships positioning. A plumb bulkhead aligned to certain marks on the boat might seem like enough, but there was no guarantee that the angle to the centerline was 90°--think of the bulkhead as a vertical door "hinged" at the hull and the possibility of several different angles, all while remaining plumb and otherwise straight, becomes obvious.
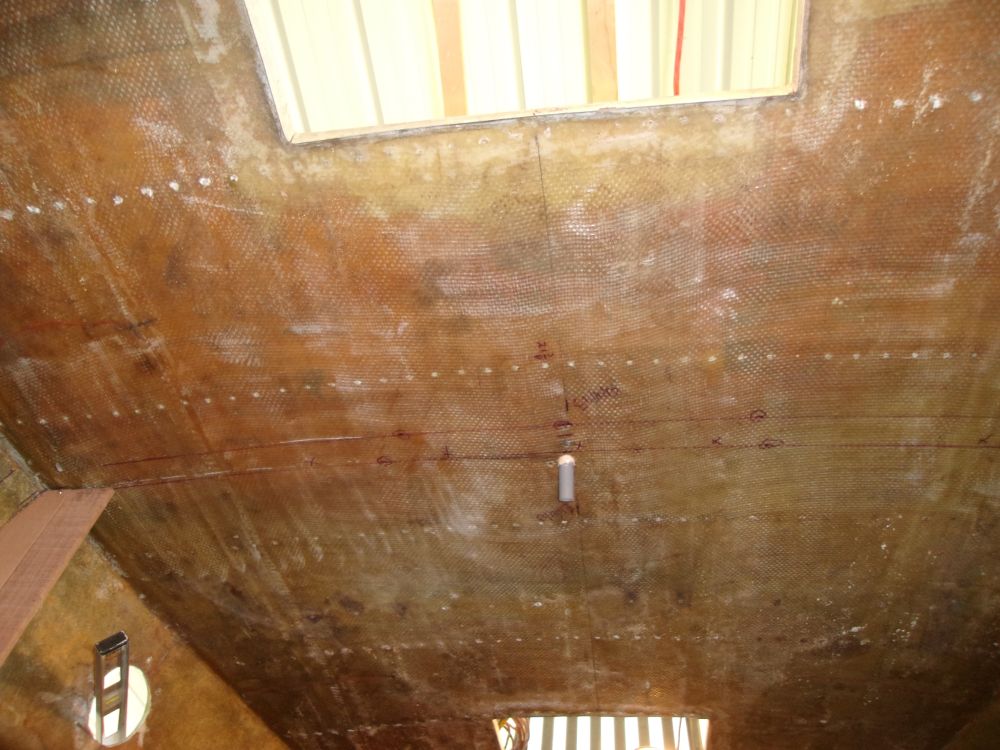
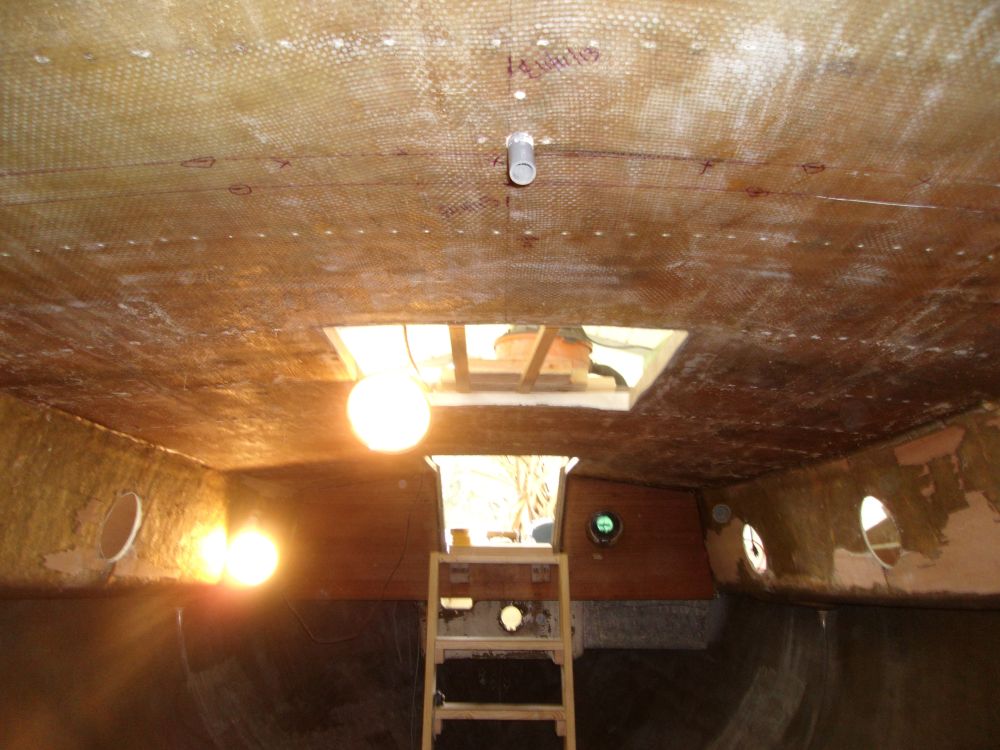
So after several false starts, we worked with what we had, which was the cabin trunk, mast step location, and overhead hatches. A few diagonal measurements from the aft corners of the inside of the cabin trunk overhead confirmed first that the centerline of the boat at the desired bulkhead location just aft of the longitudinal center of the mast step (determined by the underside of the mast step fastener locations and confirmed otherwise) was in fact the centerline and evenly spaced from the aft end of the trunk--or, perhaps more accurately, that the aft end of the trunk was square to the centerline of the boat, making it a reasonable reference point for the new bulkheads. Then, using the same after corners as datum points, we confirmed that the mid-cabin overhead hatch opening was similarly square and properly aligned vis-a-vis the centerline, allowing us to easily measure forward from this opening to finally strike a reference line on the overhead where the bulkhead was to fall.
Confused? So was I, but it worked out.
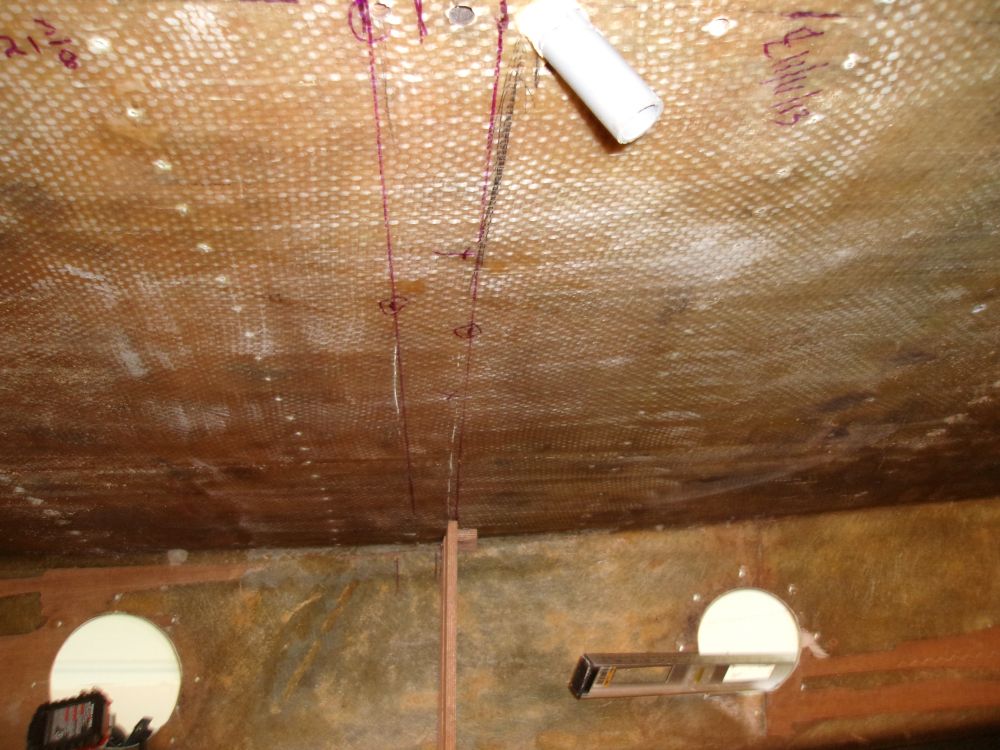
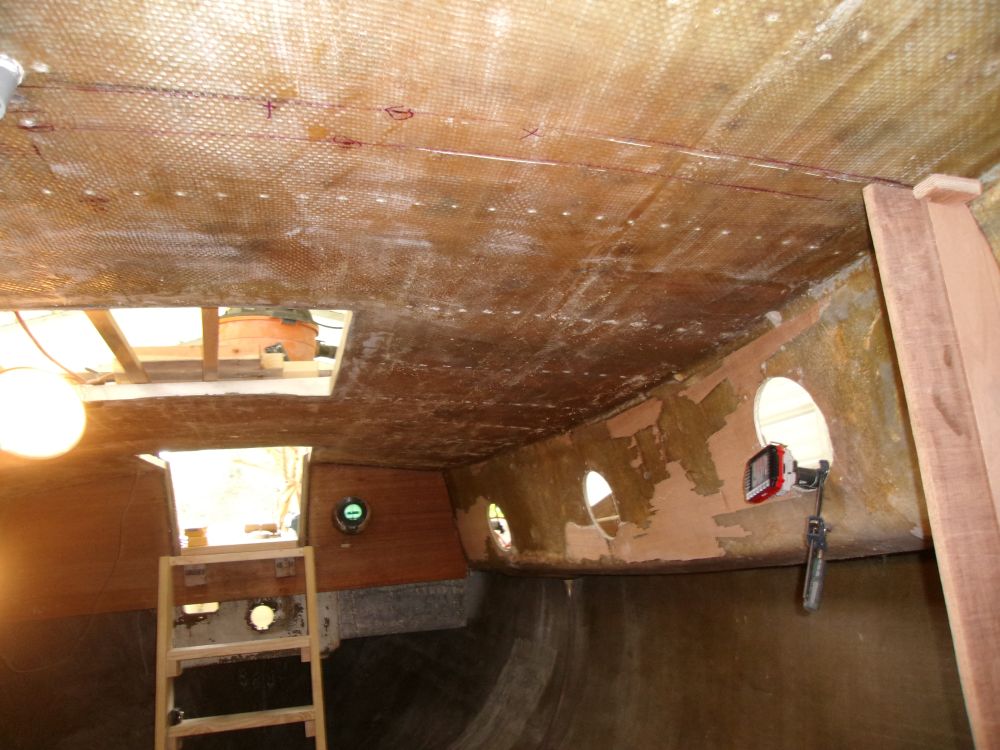
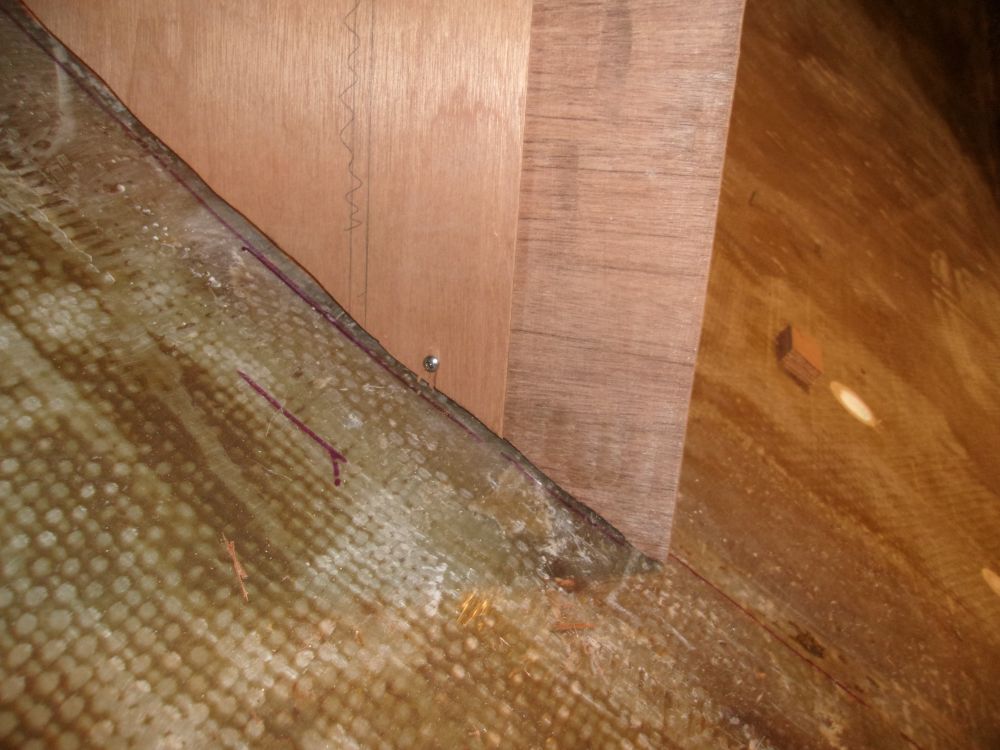
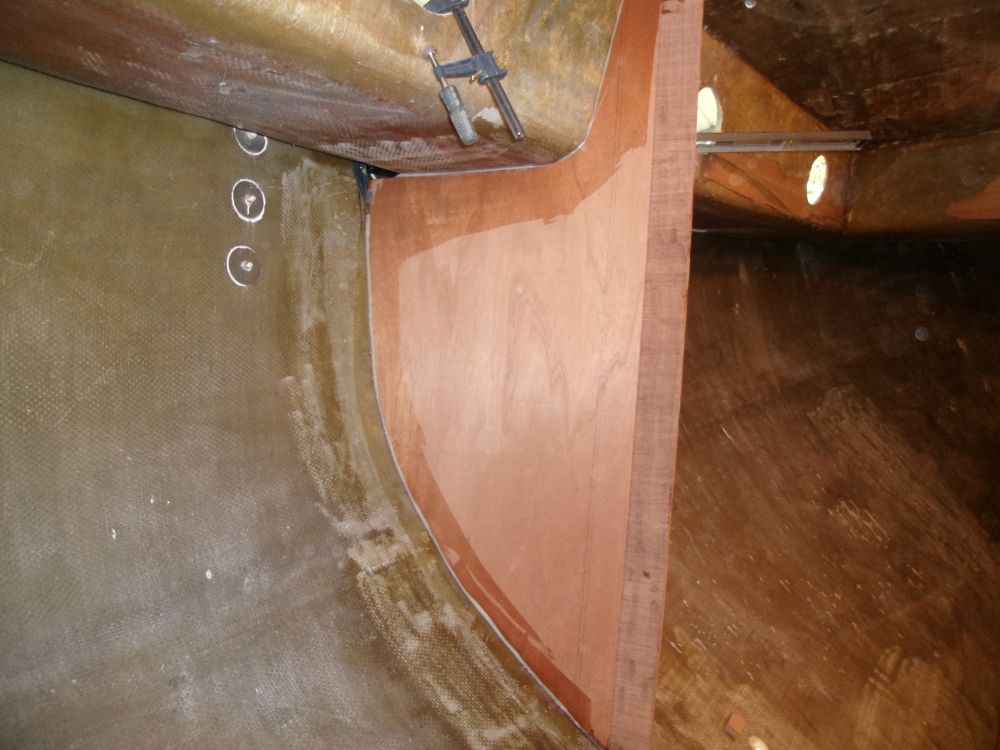
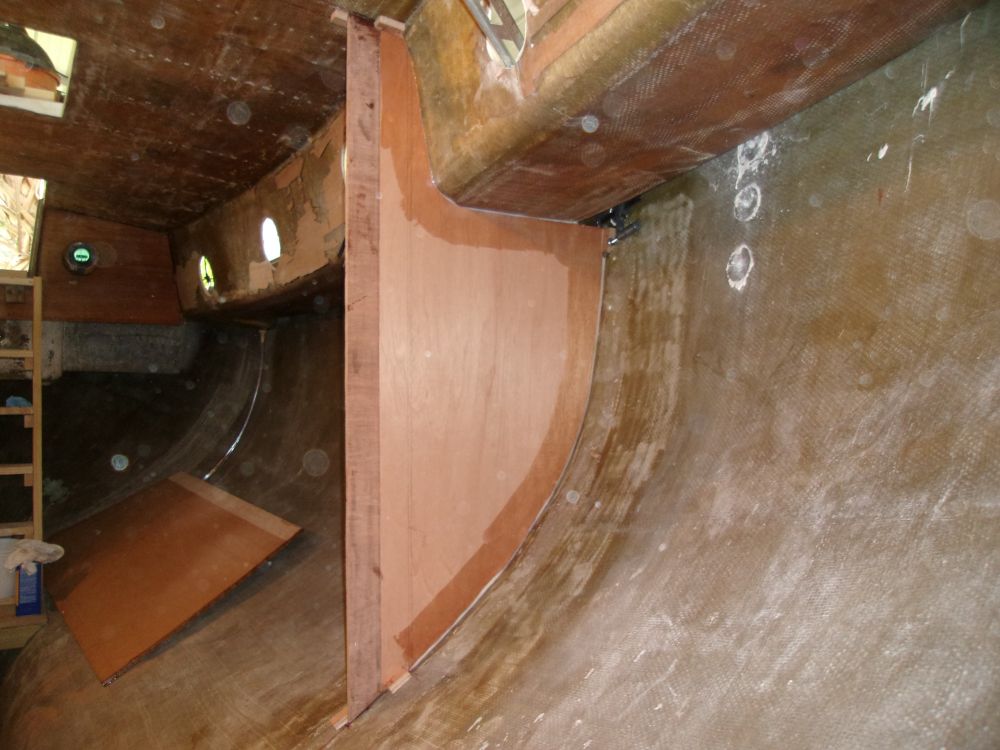
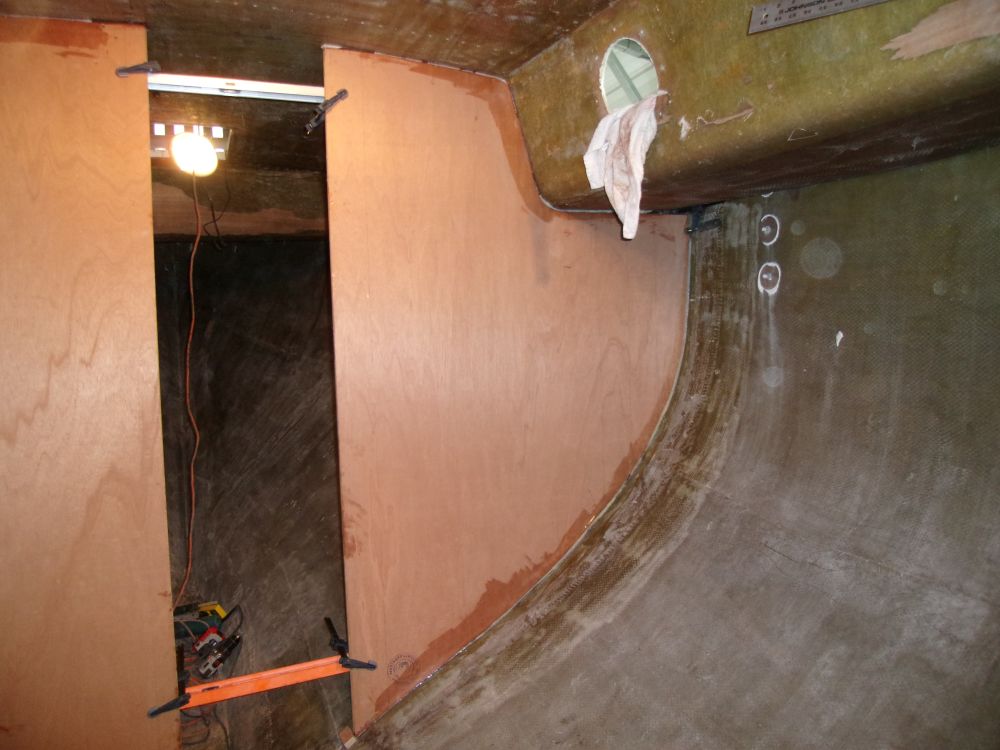
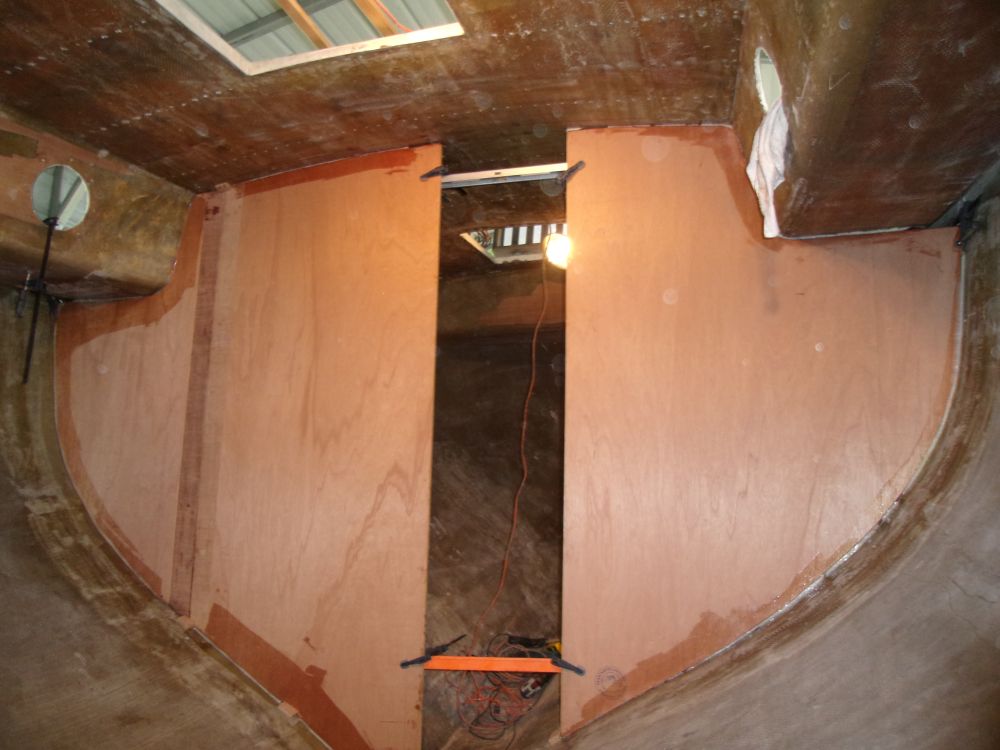
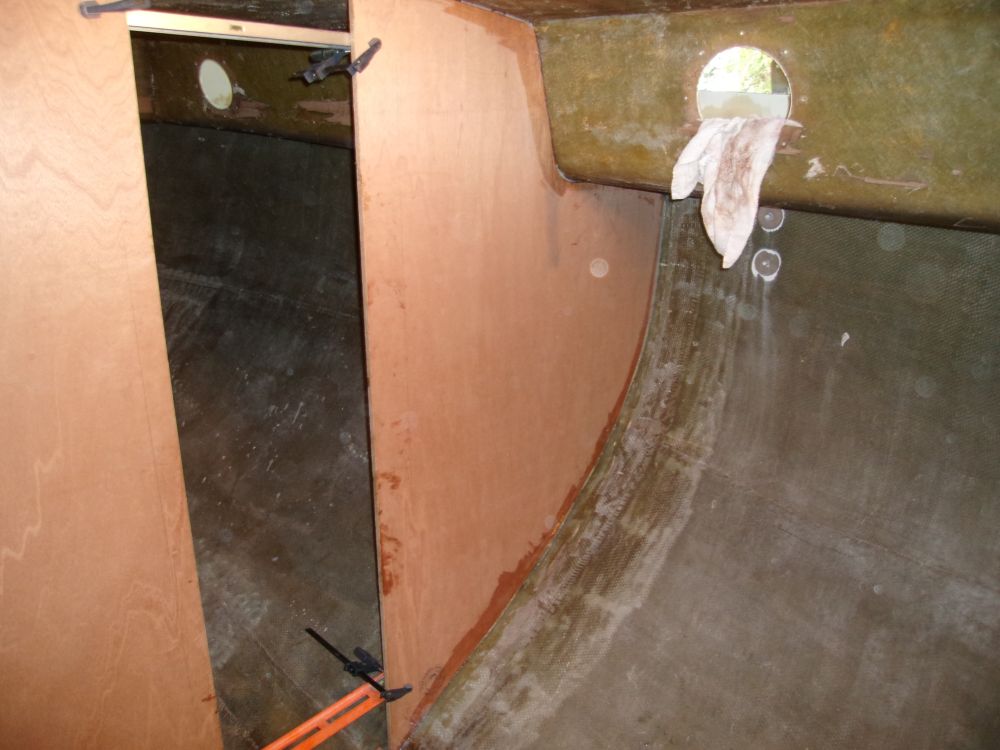
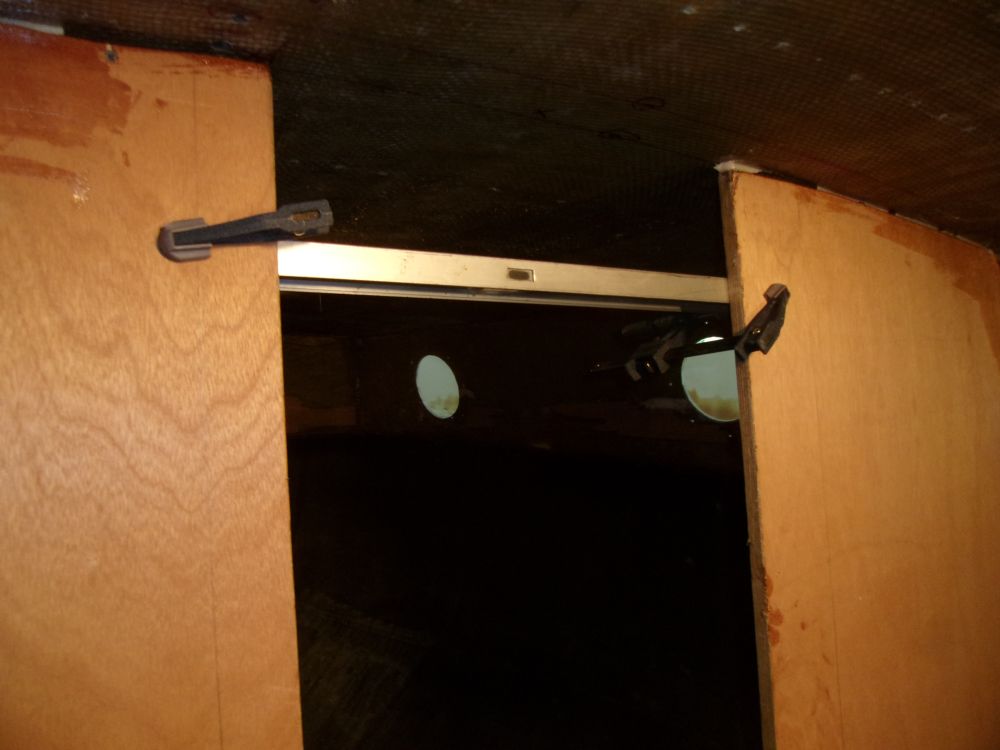
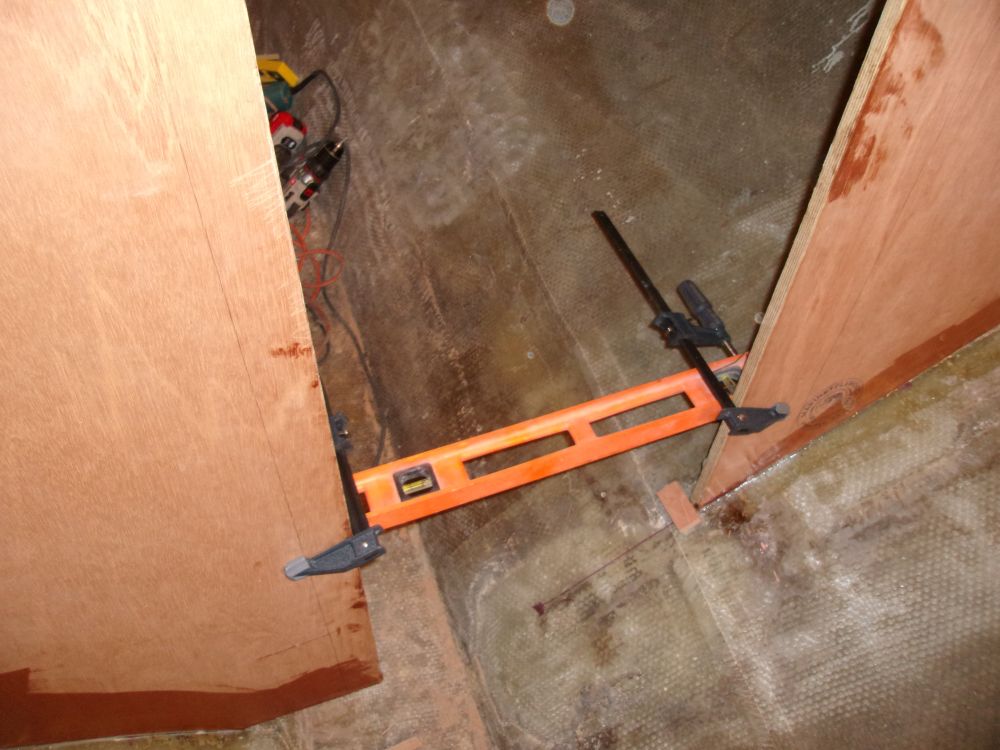
In the series of photos below, the final reference line--perpendicular to the boat's longitudinal centerline--is the one closest to the gray conduit seen coming through the deck at the mast step.
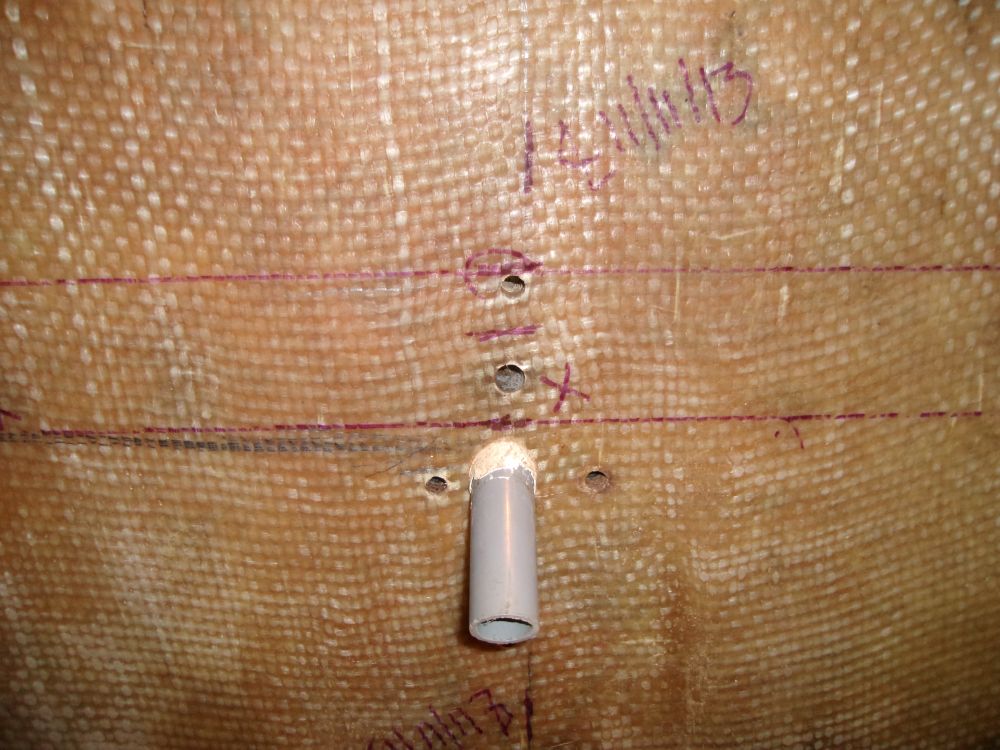
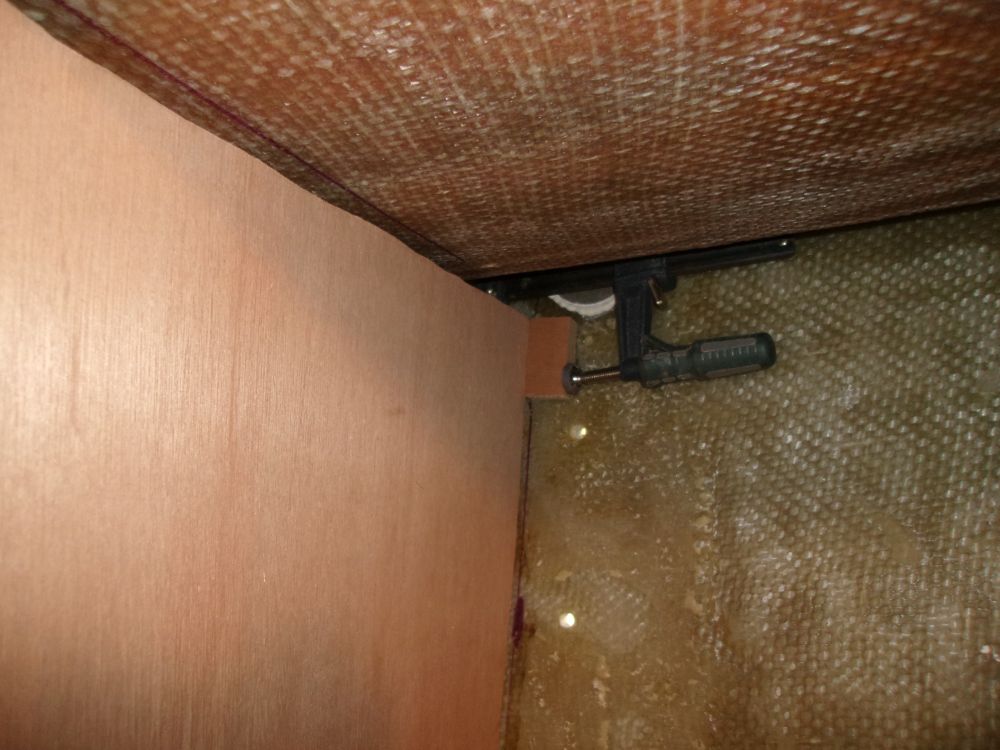
From here, we used a plumb bob to transfer the desired line to the hull beneath, which then allowed us to temporarily secure the first section of bulkhead, getting it plumb and straight, with small blocks hot-glued to the hull, clamps, and screws (through the bulkhead into the blocks).
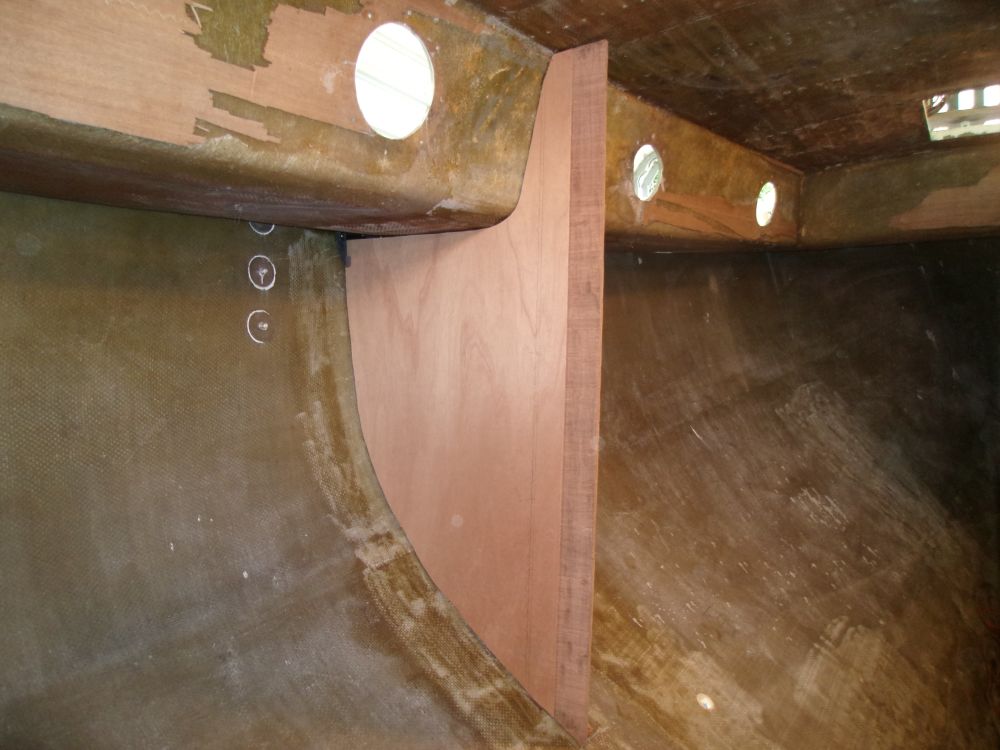
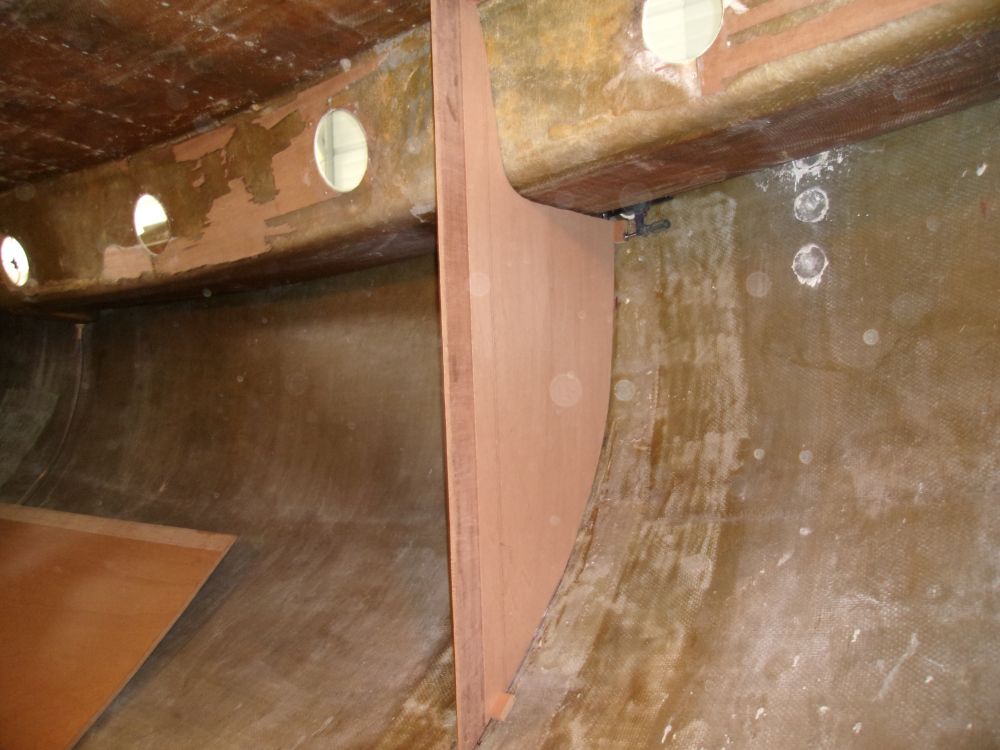
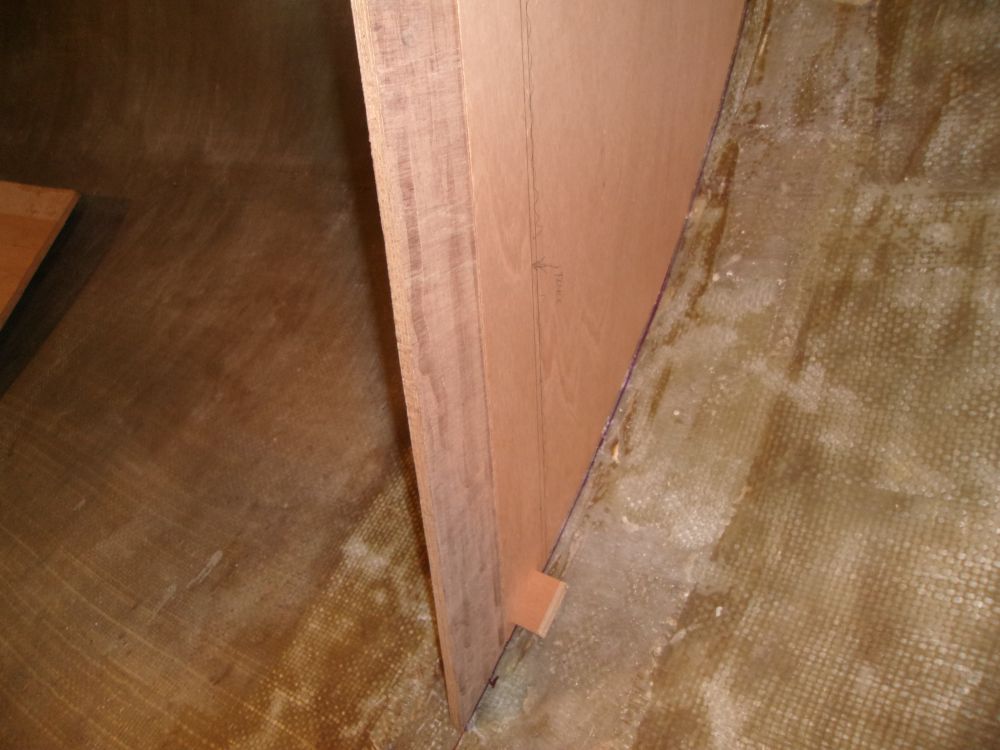
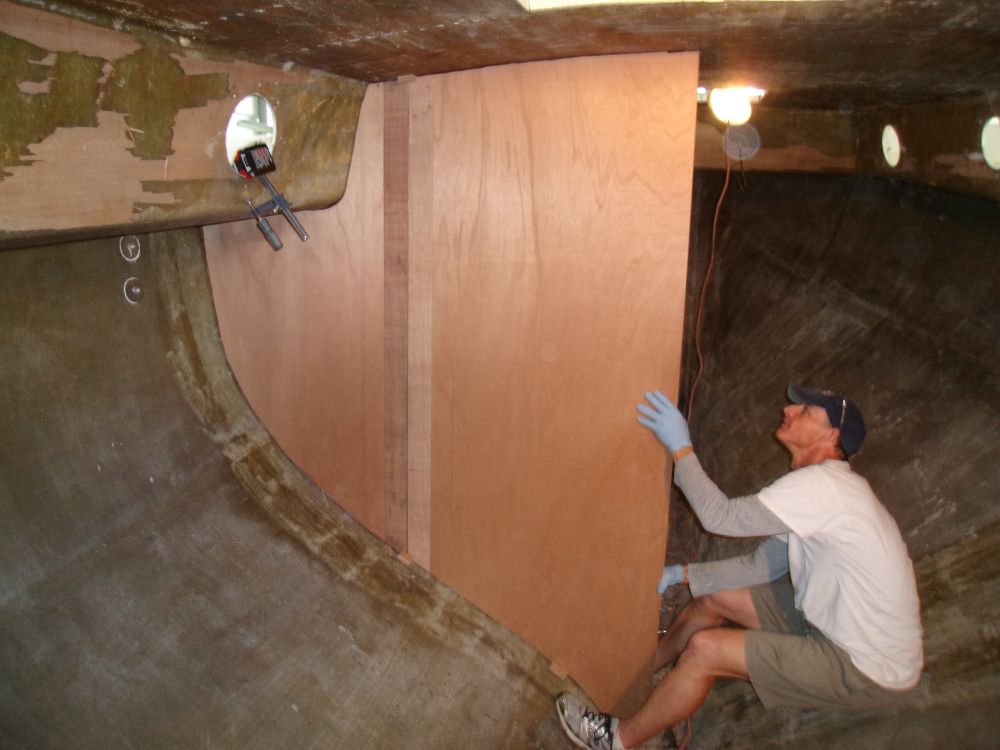
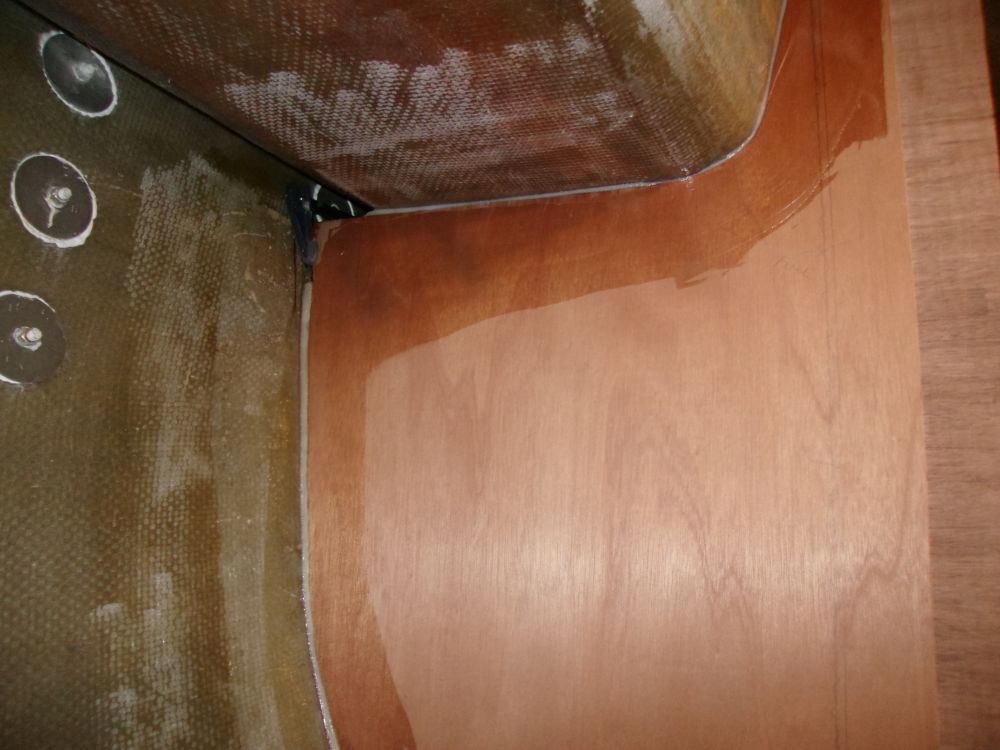
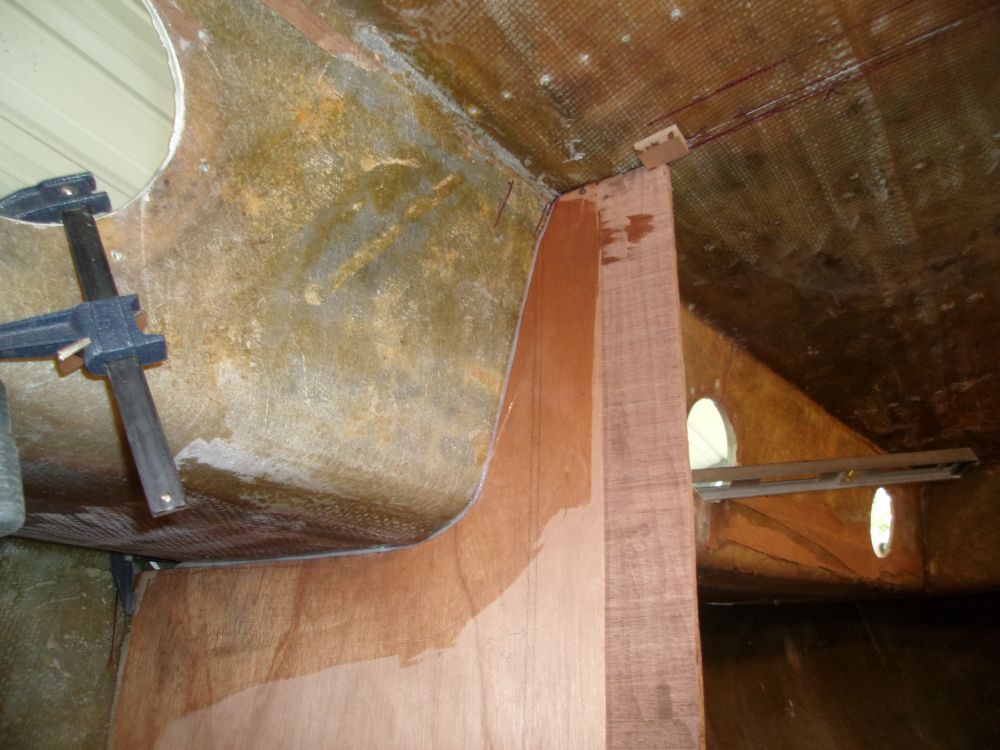
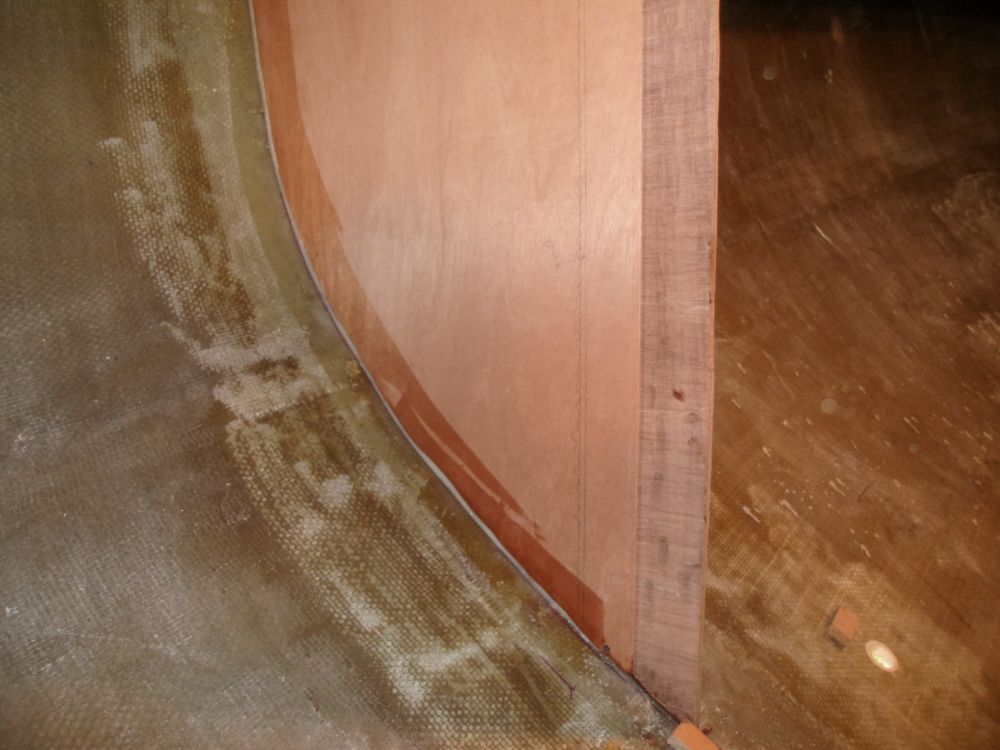
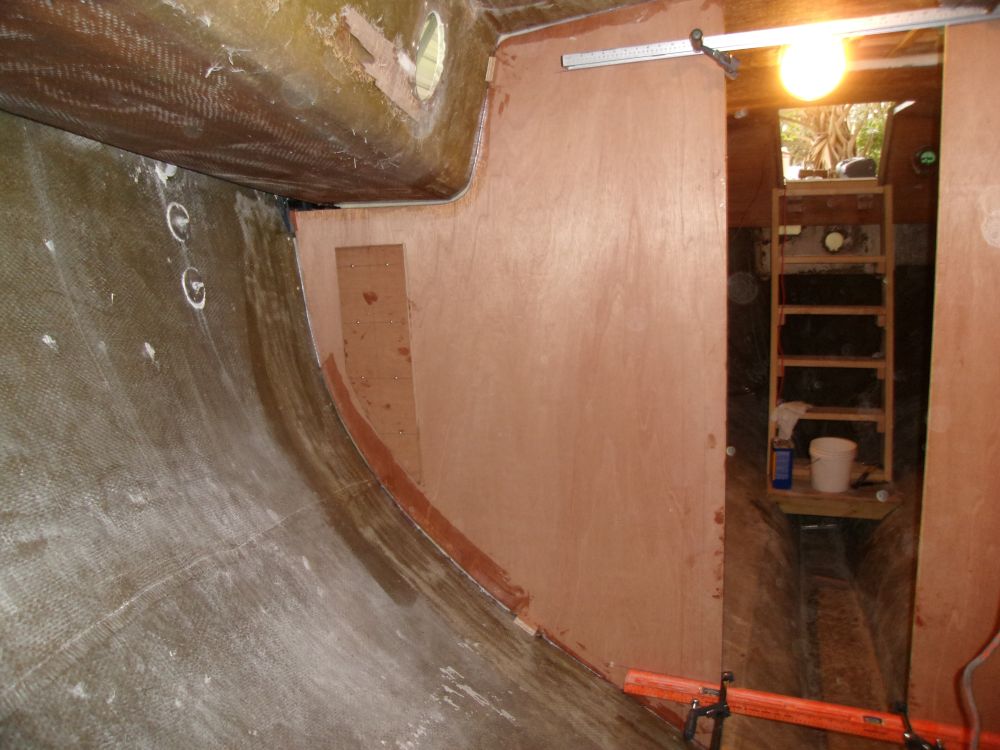
Now that the first section was in place and temporarily secured, it was more straightforward to dry-fit the inboard, larger section and align it properly according to the layout lines, the first section, and, of course, plumb. There was no need nor desire to secure it semi-permanently at this point, once we'd positioned it, so Brian simply held it for a few moments while I made reference marks and took photos.
Note that I intentionally left the inboard vertical edge (and overall width dimension) longer than it needed to be to allow for final trimming in place, to ensure that the inside of the opening would be in the proper position and perfectly plumb. We'd trim that edge later, once the bulkhead was permanently secured.
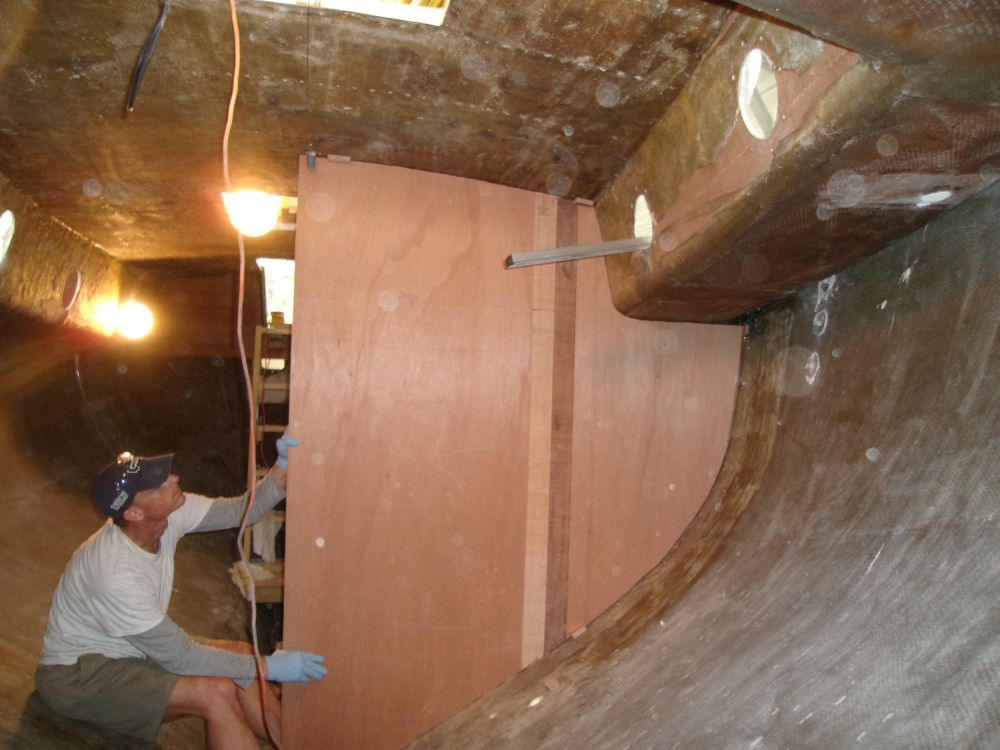
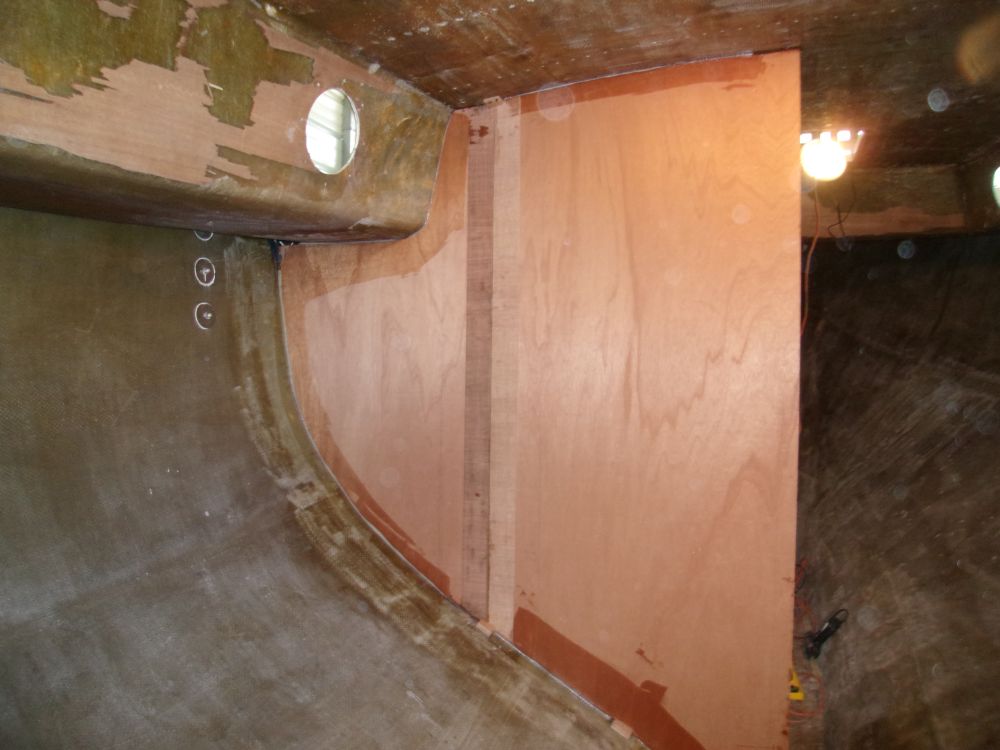
Removing the two sections, I cleaned up the area and solvent-washed while Brian mixed some epoxy to treat the plywood edges before installation. Afterwards, we secured the outer bulkhead section in a bed of thickened epoxy, clamping and screwing it to the small blocks we'd used for dry-fit installation and checking for proper alignment and plumb. This process would secure the bulkhead and allow for easy final connection--fillets and tabbing--later.
Then we repeated the process with the inner, larger section, using a couple plywood scraps screwed to the back side to keep the seam in proper alignment while the epoxy cured.

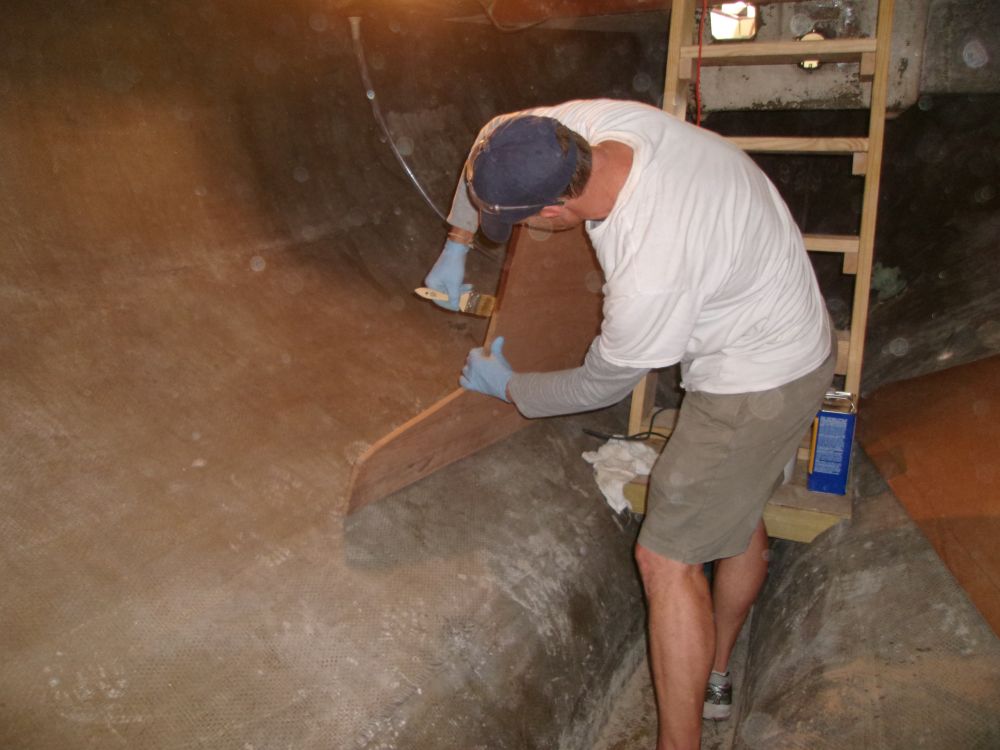
Earlier in the day, while Brian was working on something else, I'd cut out the starboard main bulkhead according to its pattern, and now we turned to its final fitting and installation. Even though this piece was much smaller than its counterpart to port, we discovered that it wouldn't fit through the companionway either. I'd purposely left this side wider than needed to allow ample room to lay out its vertical inner edge at the proper distance from the port side, but the width would be too wide even if I thought of trimming it a bit. So there was no option but to cut the bulkhead into two sections at some appropriate--if more or less arbitrary--point. By cutting down the obsolete splice section I'd originally made for the port bulkhead we prepared a splice of proper size for the starboard seam, and once the two sections were in the boat we secured them together dry with screws through the splice, enough to hold the pieces together so we could proceed with final positioning and installation. We'd remove the splice and add adhesive later, once the bulkhead pieces were secure.
Using the port side--now relatively secure as the epoxy gelled--it was more straightforward to position its starboard counterpart, keeping it plumb and in line with the port bulkhead. As before, we started by dropping a plumb bob from the marks on the overhead to locate the bottom edge appropriately, then made adjustments from there, securing the bulkhead with more hot glue blocks and clamps. With the position worked out, we removed the bulkhead, epoxy-coated the edge, and installed it in a be of thickened epoxy, clamping it securely while the epoxy cured. To help hold it in proper alignment with the port side, I clamped two straightedges across the opening.
Total Time on This Job Today: 8.5 hours (times two)
