
110 Cookson Lane | Whitefield, ME 04353 | 207-232-7600 | tim@lackeysailing.com
With most of the loose interior pieces removed as desired, I worked on the deck hardware that remained. Most of the deck hardware had been removed some time ago, before the boat arrived at the shop, but a few items remained: chainplates, most of the foredeck gear and bow pulpit, mast step, and other installations here and there.
The forward and after lower shroud chainplates were secured with lag screws into some sort of encapsulated arrangements laminated inside the hull. The bronze screws came out with relative ease, though a couple of the slotted screw heads shattered upon removal (leaving, fortunately, short studs that I could later pull out with locking pliers). The stainless steel chainplates appeared at first glance to be in good condition, but I'd clean them up for a better inspection later.

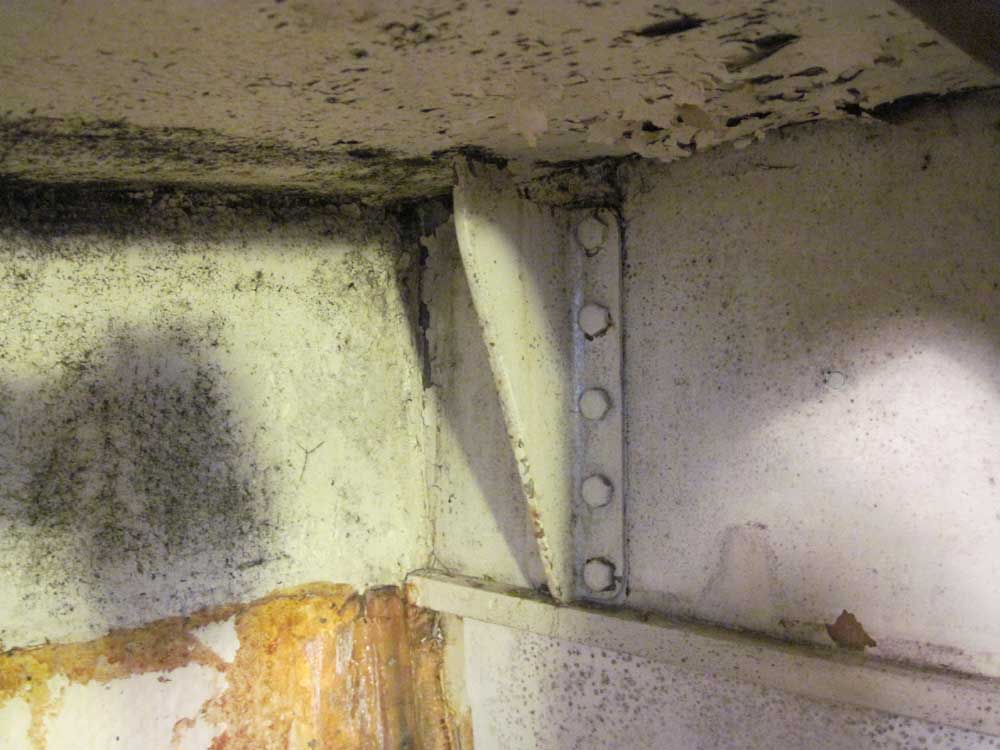
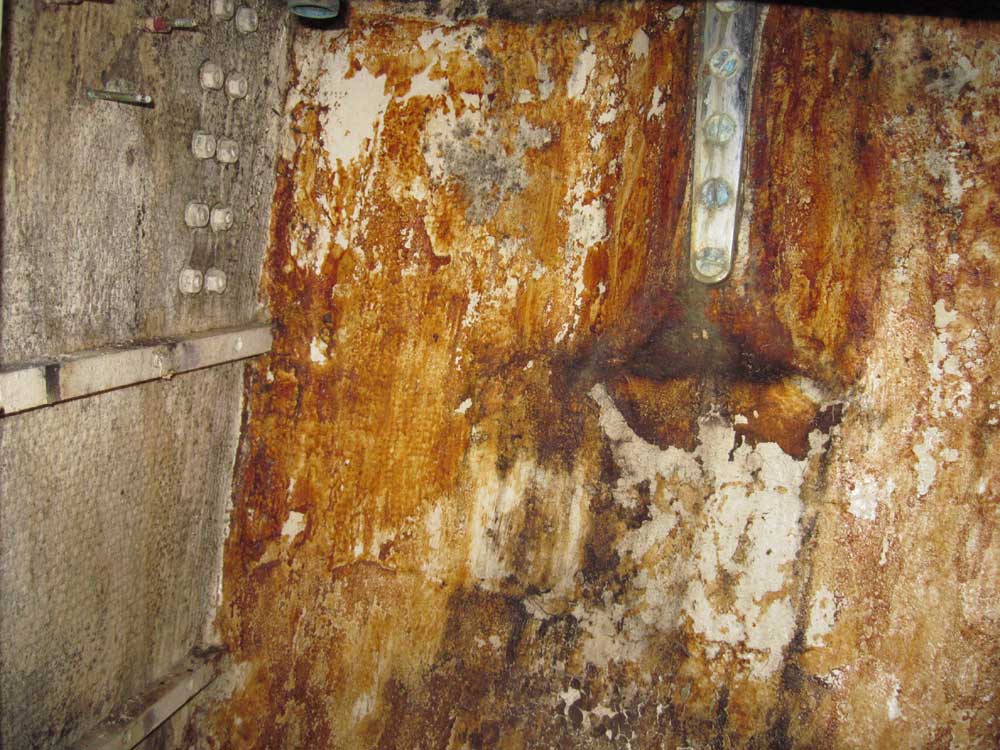
The main upper shroud chainplates featured an angled design with a large flange bolted to the main structural bulkheads. There were no issues in their removal, but removing the chainplates inevitably led to other dismantling, in order to remove nearby wires and shelving (starboard side) and additional plumbing and cabinet removal in the head on the other side, where the ancient sewer and water hoses were effectively blocking clear access to the chainplates; thus, it seemed the right time to remove them as well.
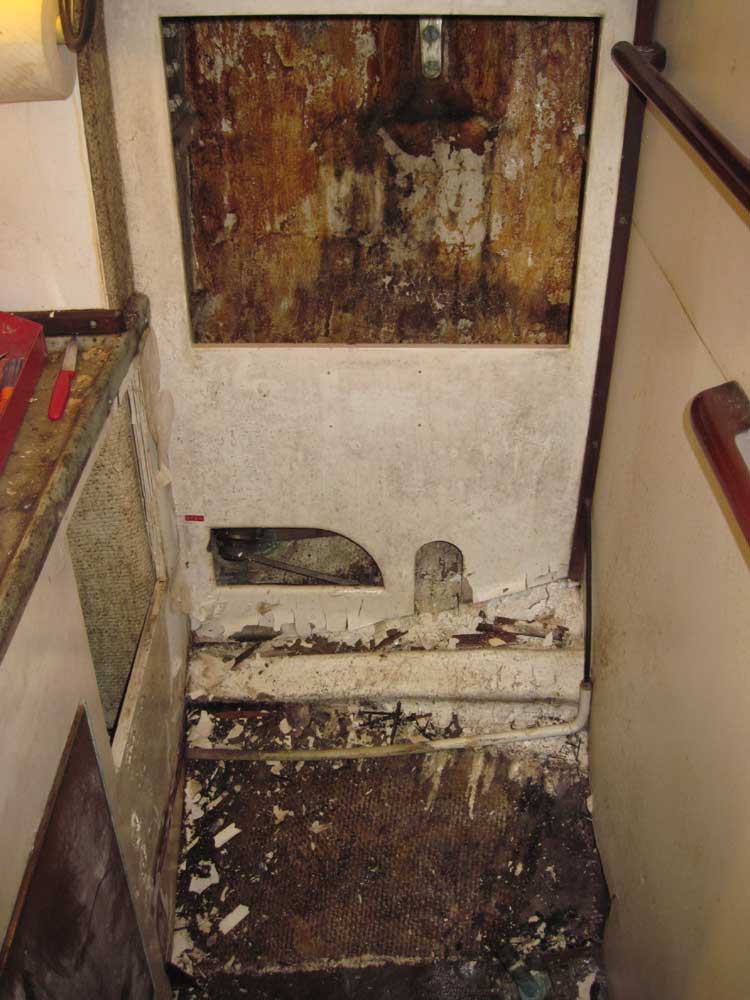
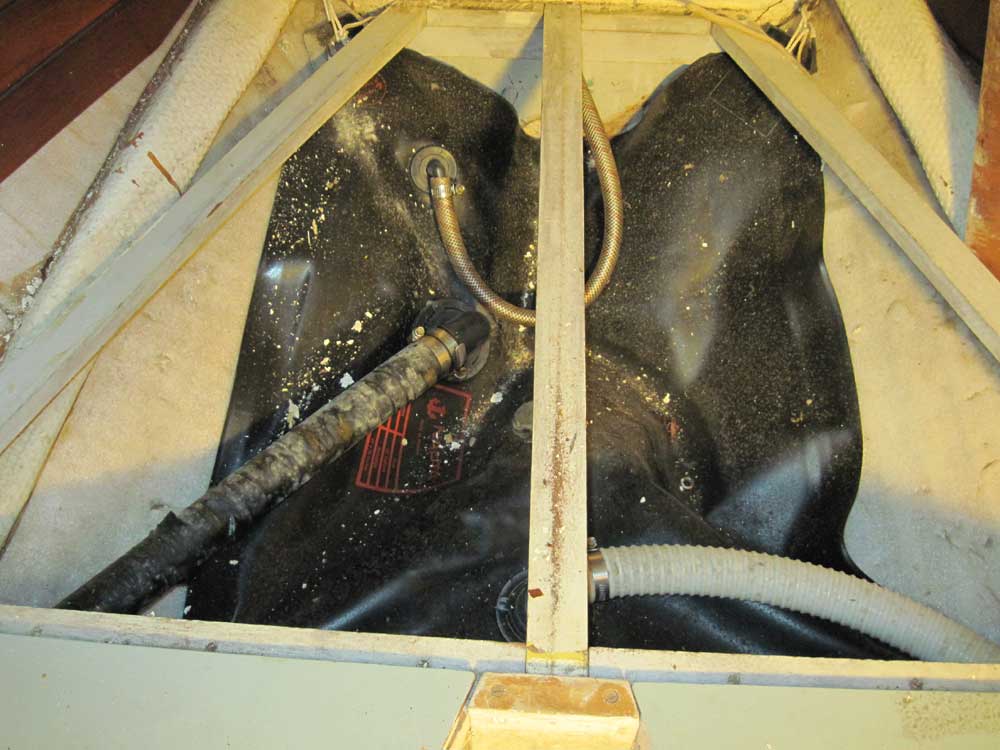
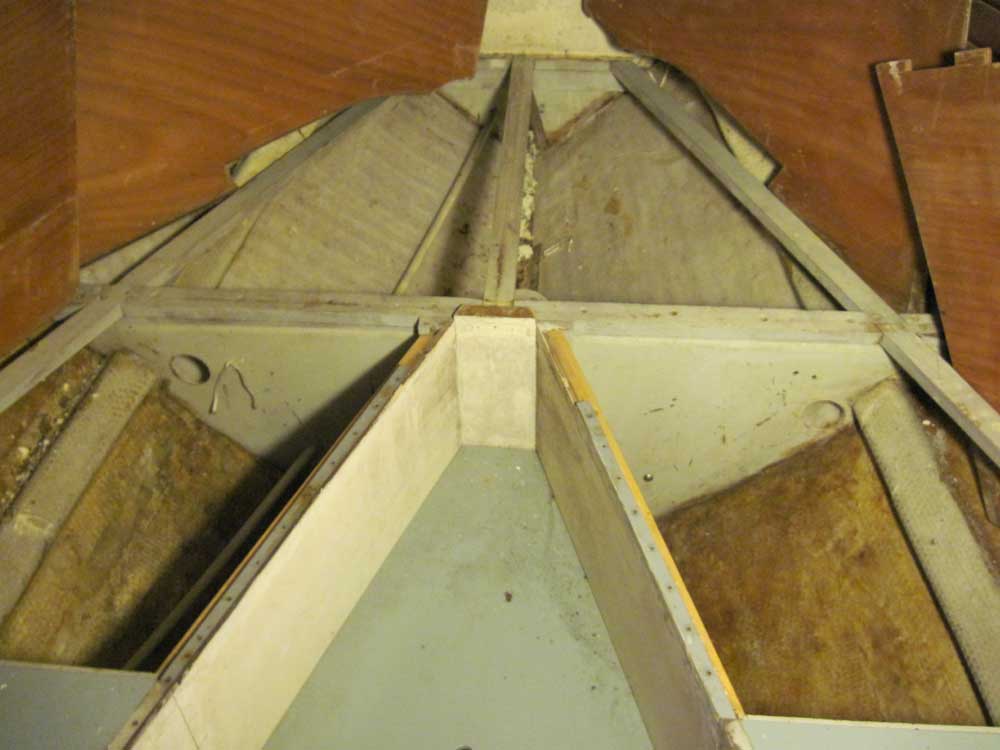
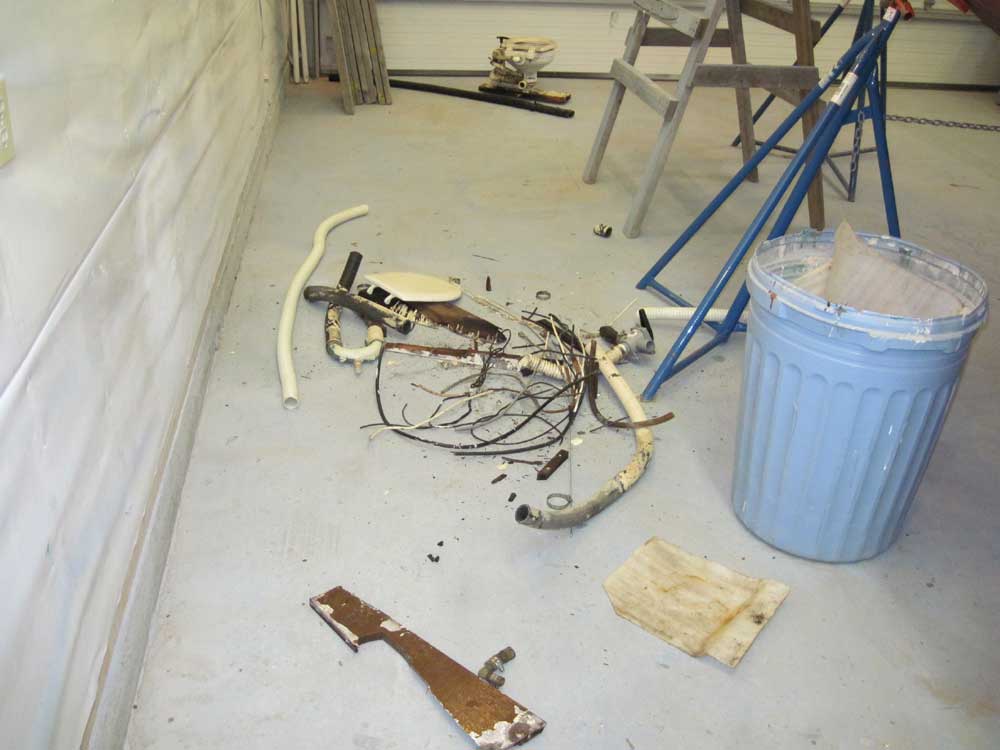
The old marine toilet came out easily, since the platform on which it sat was rotted out, so the whole arrangement came out in seconds. I removed various hoses; the old (probably original) hoses were incredibly brittle and stiff, and resisted cutting, twisting, and vending. The bladder-type holding tank beneath the V-berth fortunately contained only a small amount of liquid, and I was able to remove and throw away the tank without undue discomfort.
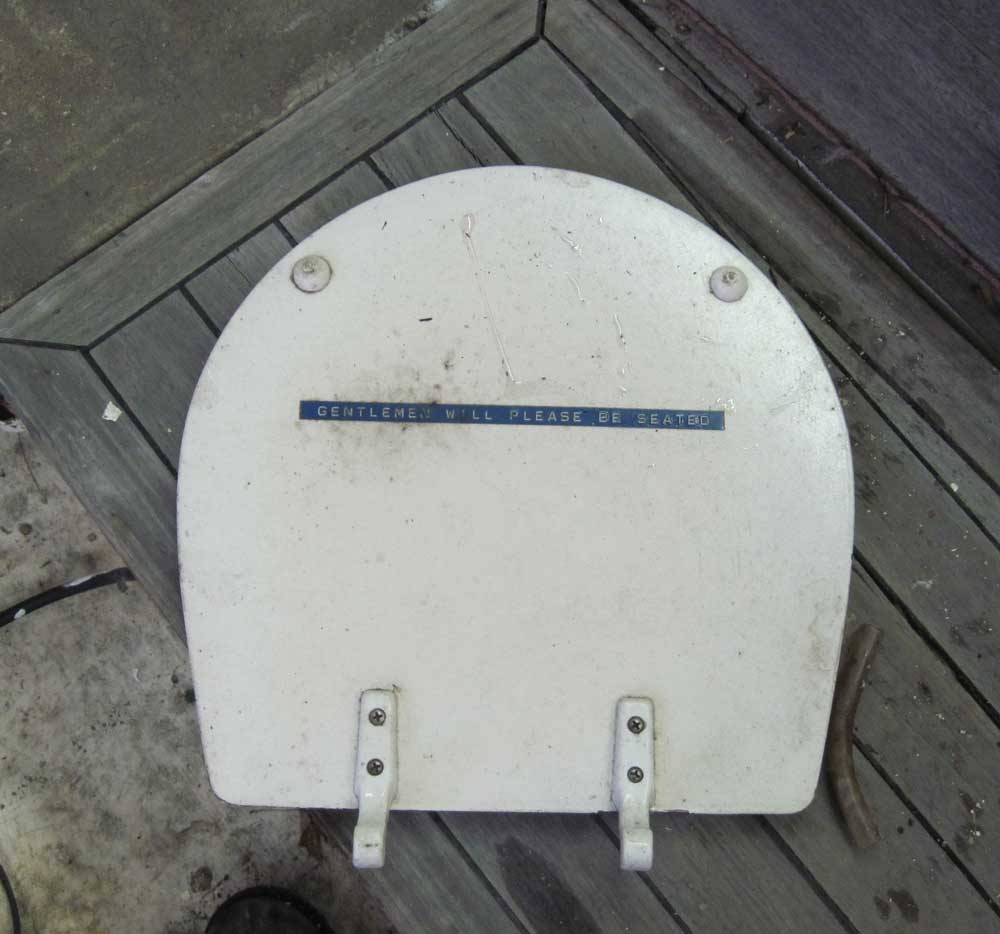
I found this amusing, in a remnant-of-a-different-era sort of way.
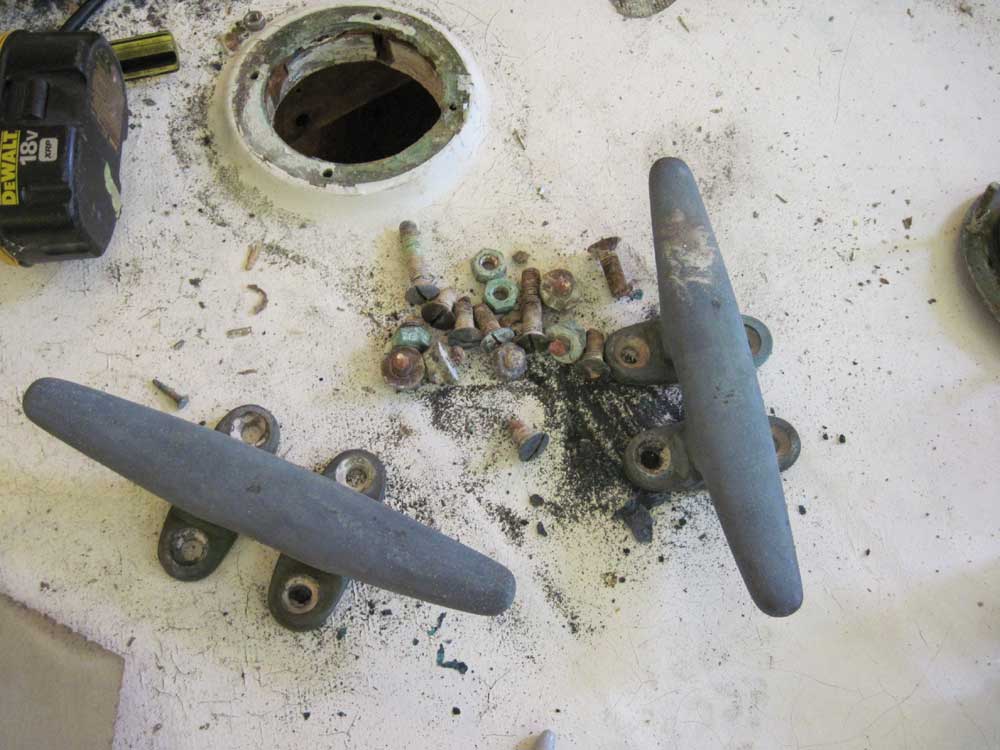
With the chainplates finally out, I continued the deck hardware removal on the foredeck. Many of the bronze fasteners broke during removal, and the hidden portion of a number of fasteners had been wasted away over the years. This was eye-opening, since the external appearance of the hardware, such as the main bow cleats, and their fasteners provided no clues as to the poor condition of the fasteners themselves.
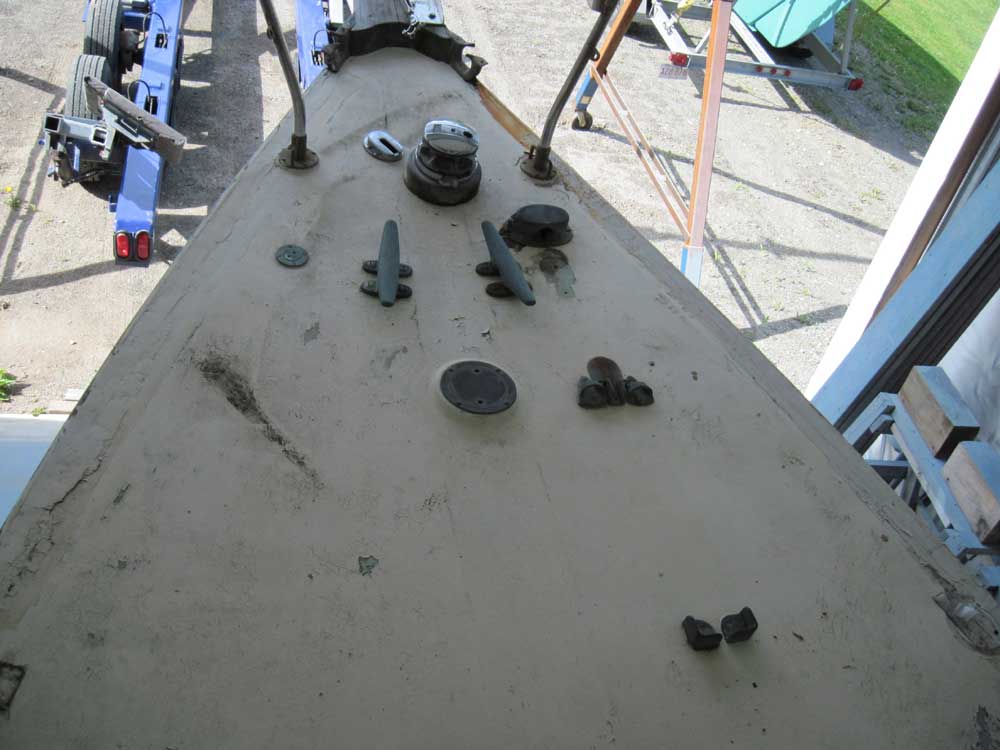
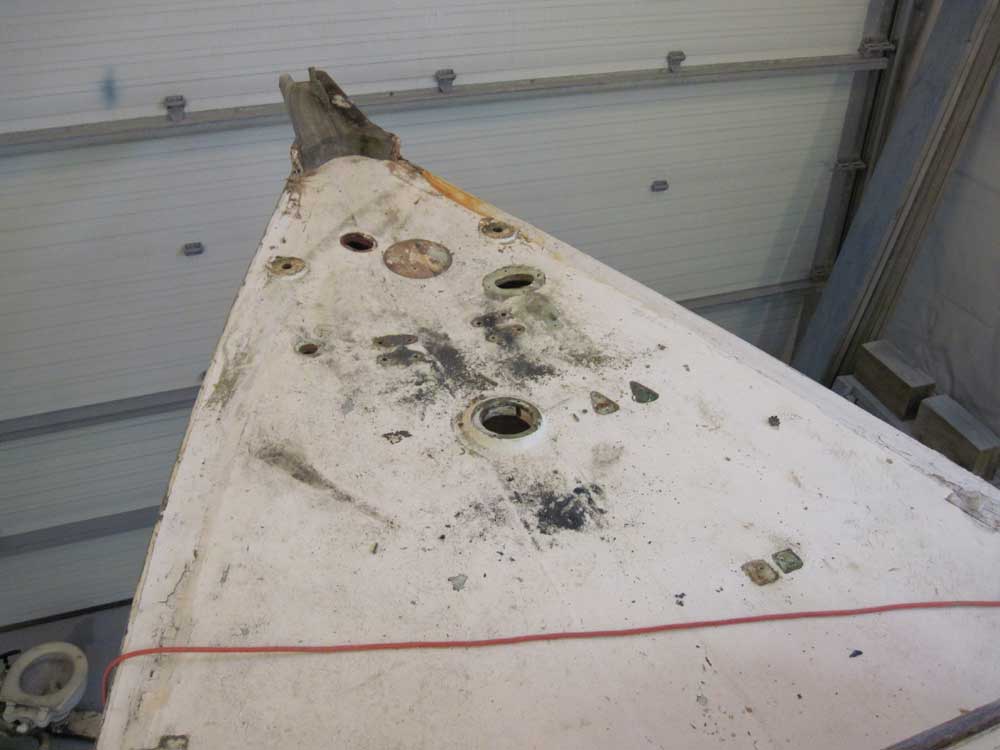
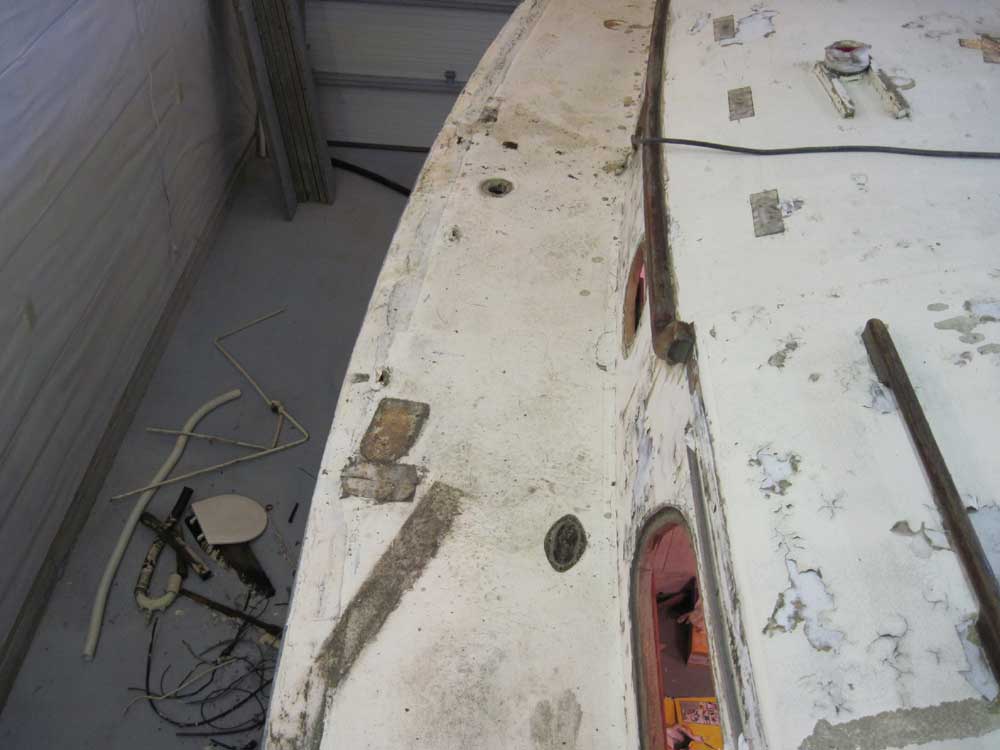
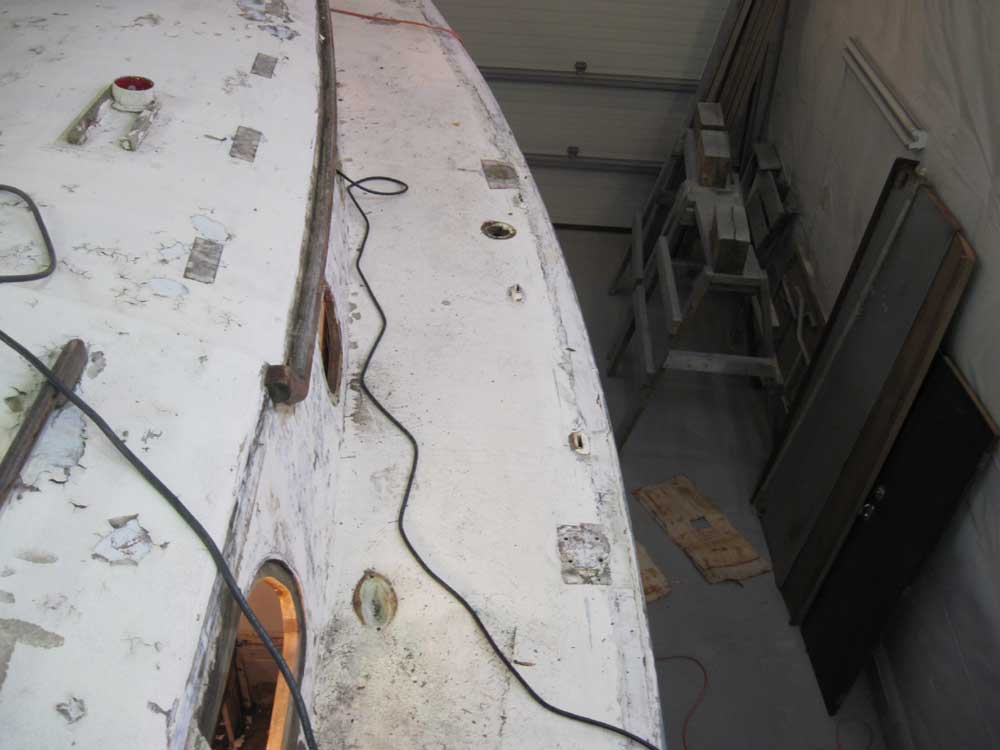
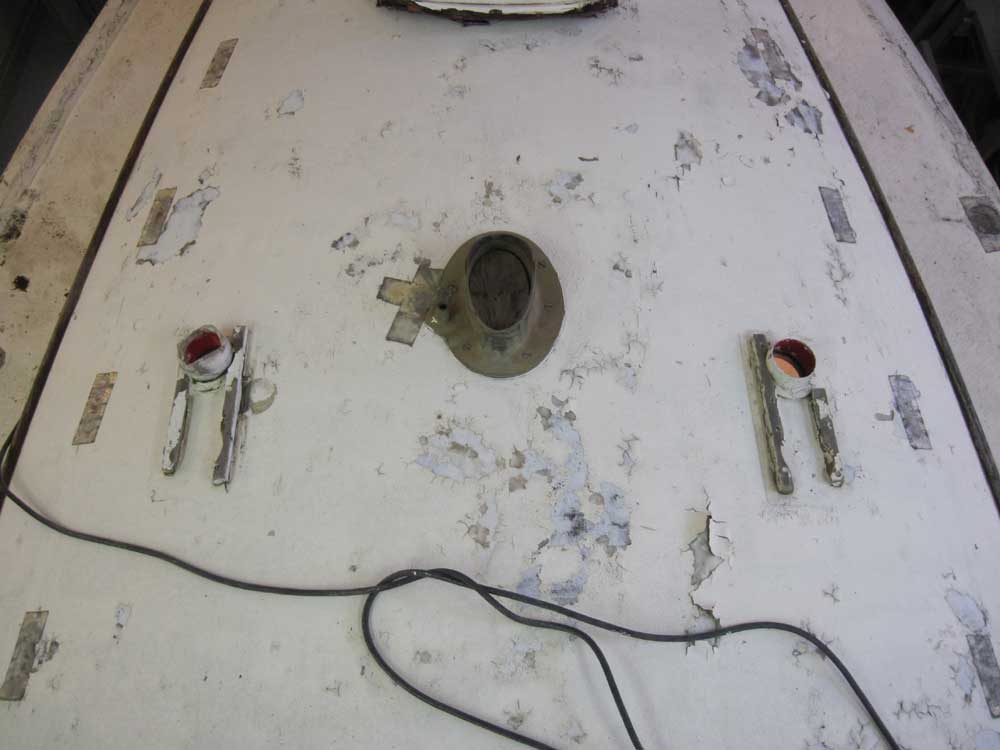
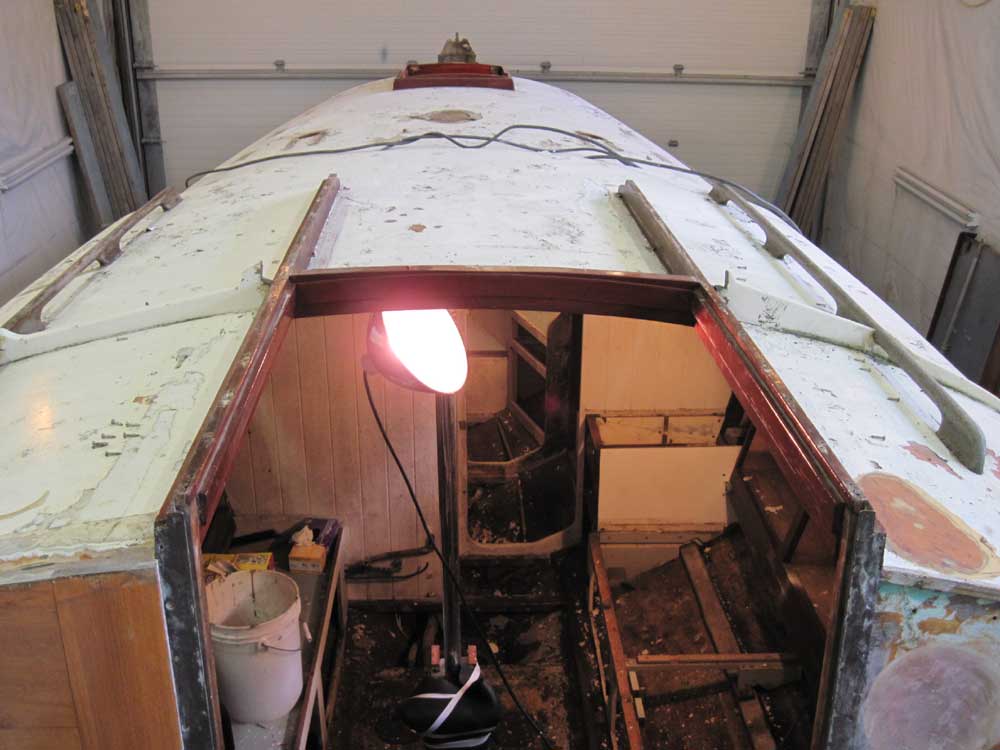
As I went along, I quickly scraped away loose and hanging paint flakes from the overhead and lockers to make crawling around more pleasant, and after quite a fight with the various foredeck fasteners, managed to re move all the remaining hardware and bow pulpit. The deck itself was in remarkably good condition around the hardware installations, at least where I could determine, considering the fact that this hardware seemed to have never been removed before.
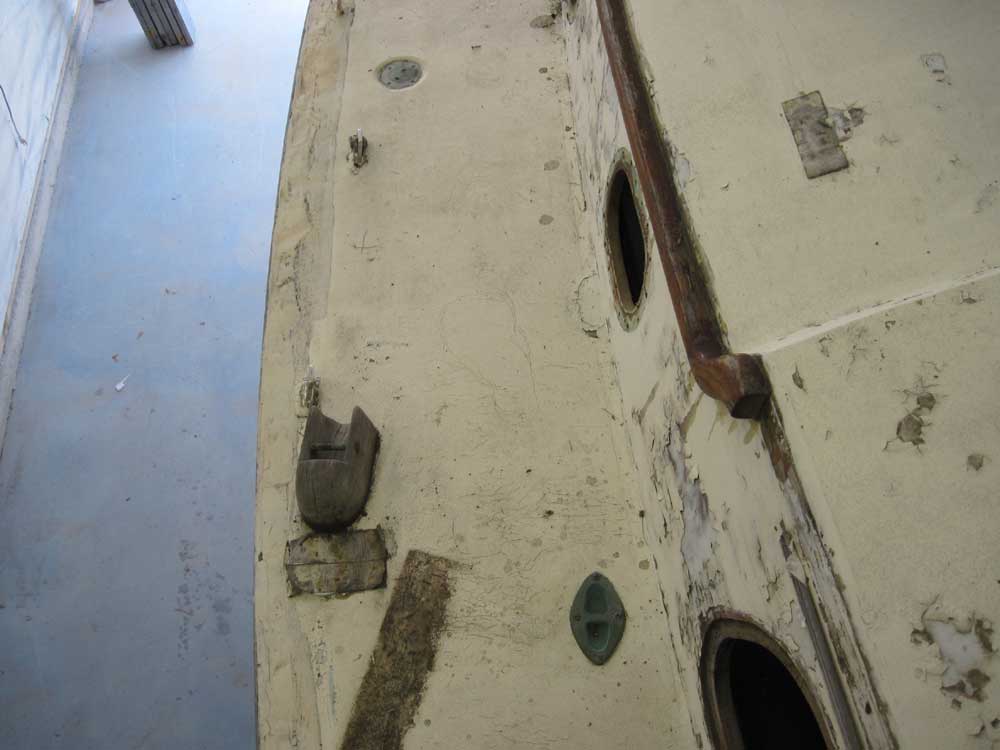
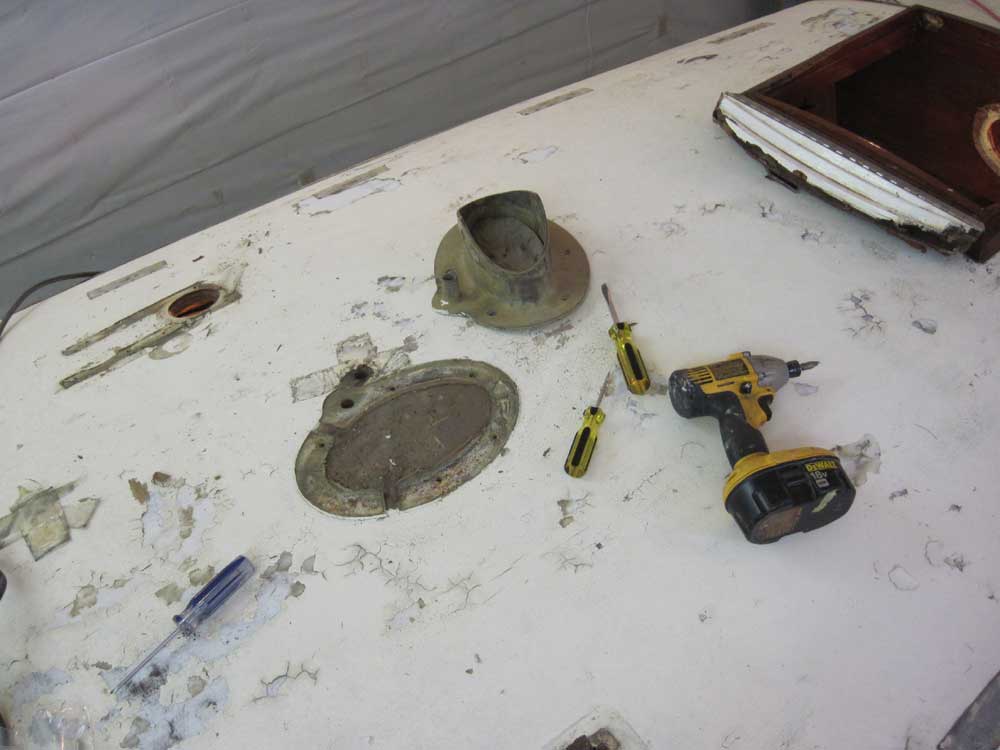
Next, I removed some old wooden cleats that had been the support for some Dorade boxes on the coachroof, and unbolted/unscrewed the mast step. I removed the last bit of a broken forward hatch from its hinge; the hatch itself hadn't survived the transport last fall, as it had apparently been unsecured and broke off in the wind, leaving only the hinge section behind.
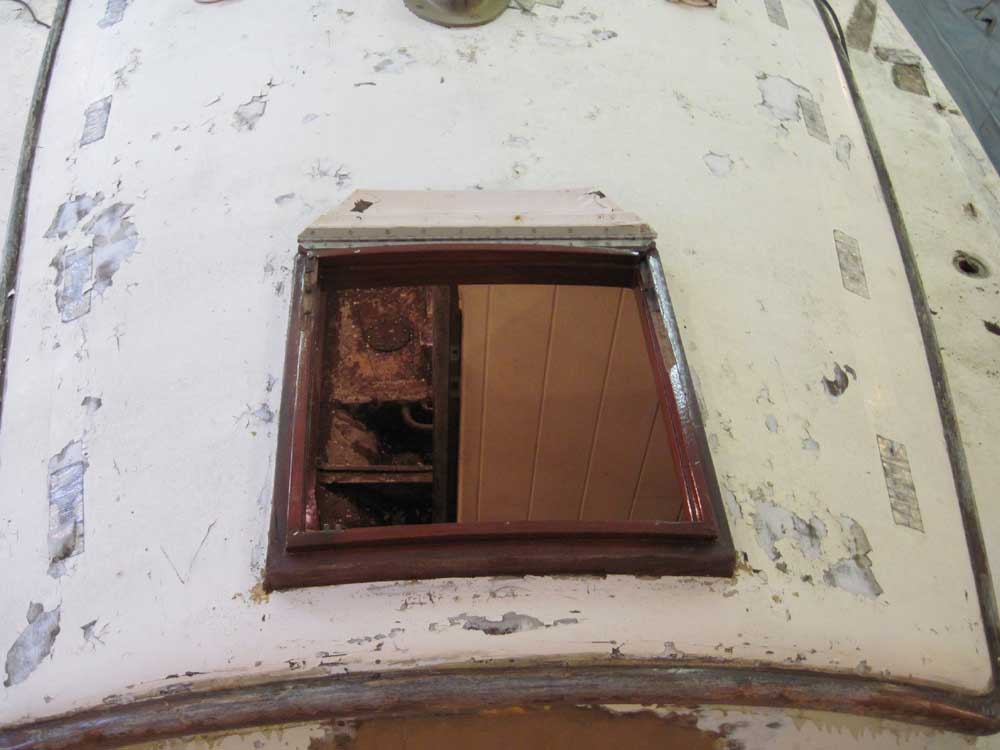
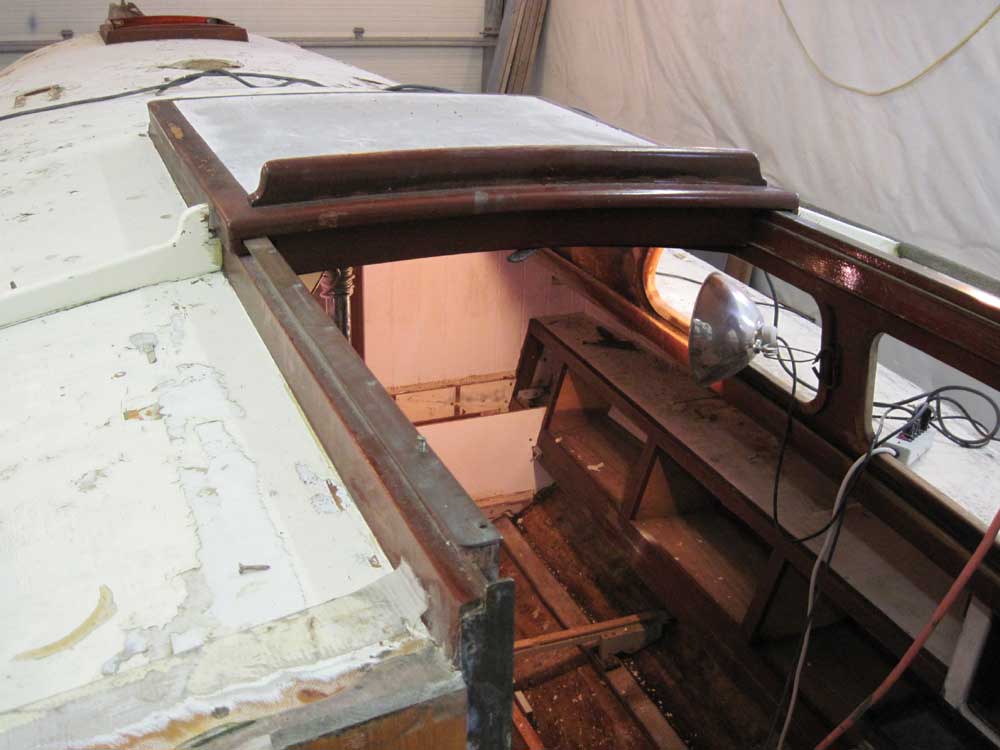
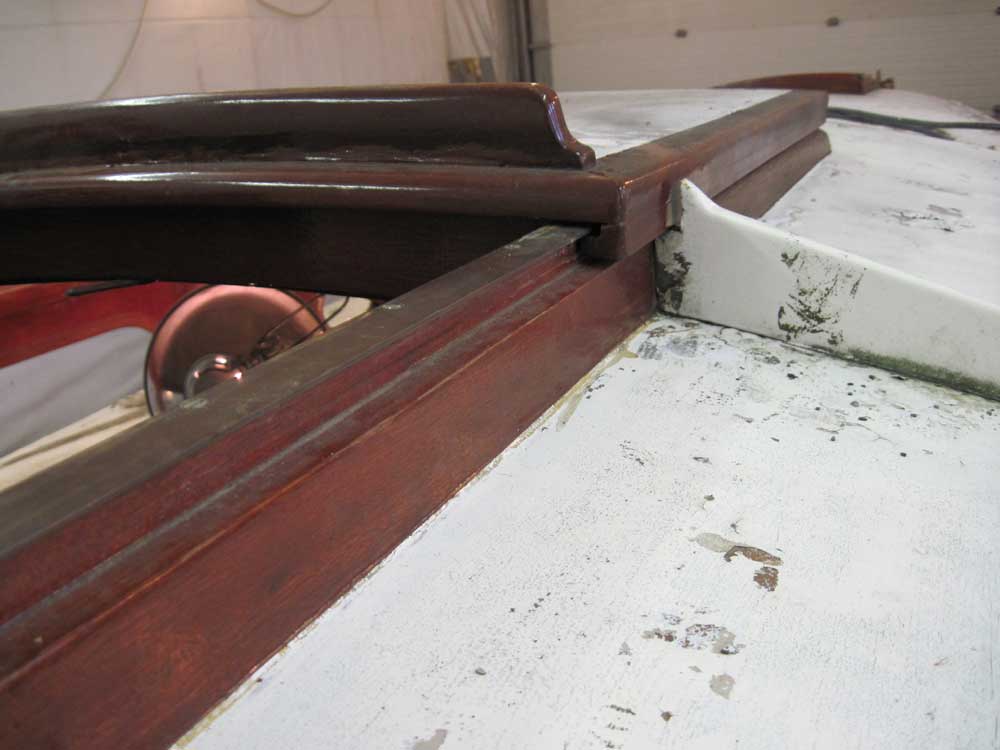
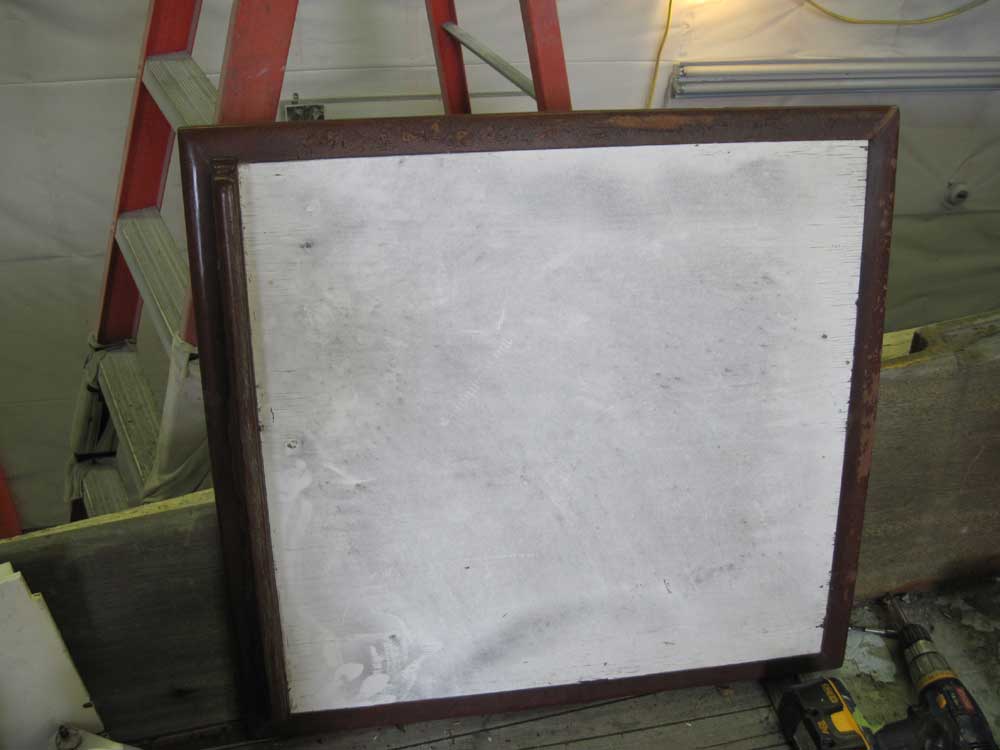
Finally, I removed the companionway hatch. This turned into more of a project than it should have been, unfortunately. The hatch was a typical design: L-shaped edge rails riding over bronze tracks, which captured the hatch in place along with a forward and after wooden stop on the hatch itself. Normally, one can remove a hatch of this nature easily by simply removing the tracks and sliding them out, thus freeing the hatch; in this case, however, there was one fastener on each side that couldn't be accessed no matter how the hatch was slid--forward or aft--so I couldn't slide the bronze rails out. Therefore, I had to remove the after hatch stop, a mahogany piece that was held in place with hidden (bunged screws.
Total Time on This Job Today: 7.25 hours
