
110 Cookson Lane | Whitefield, ME 04353 | 207-232-7600 | tim@lackeysailing.com
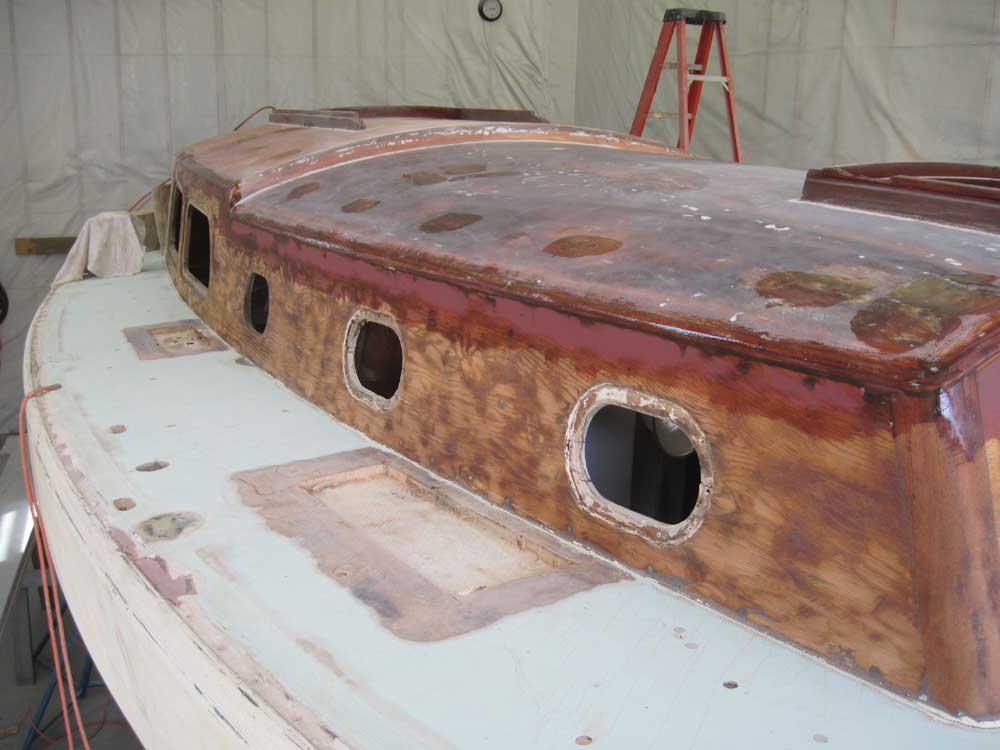
To begin, I opened up all the small fastener holes located on the coachroof to prepare for filling them, which I'd do later in the day.
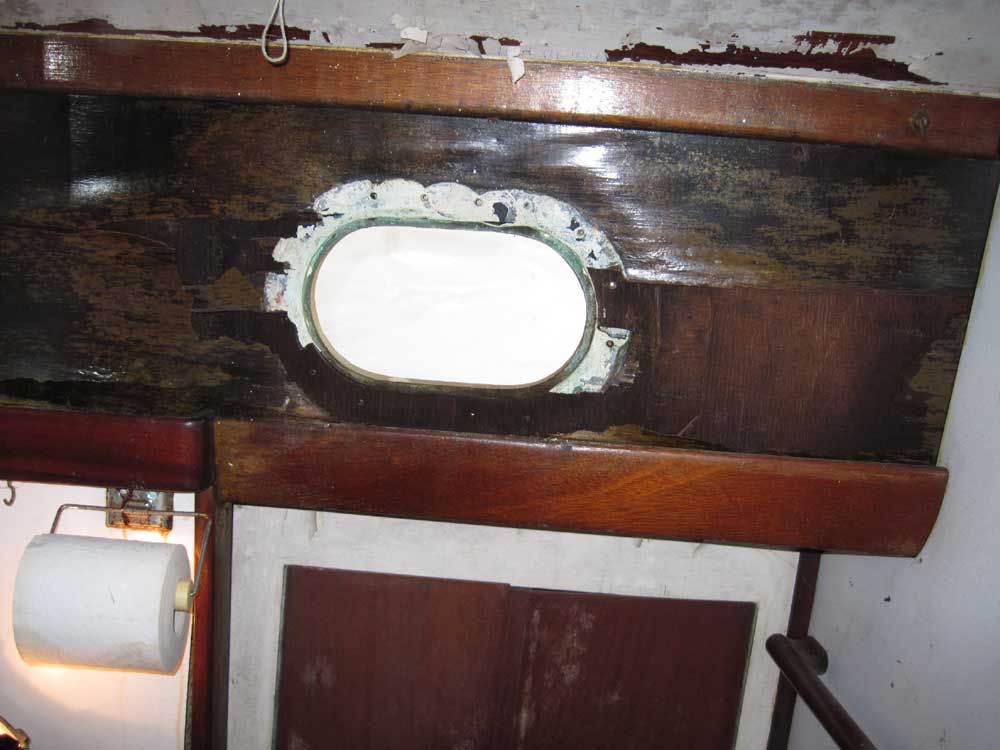
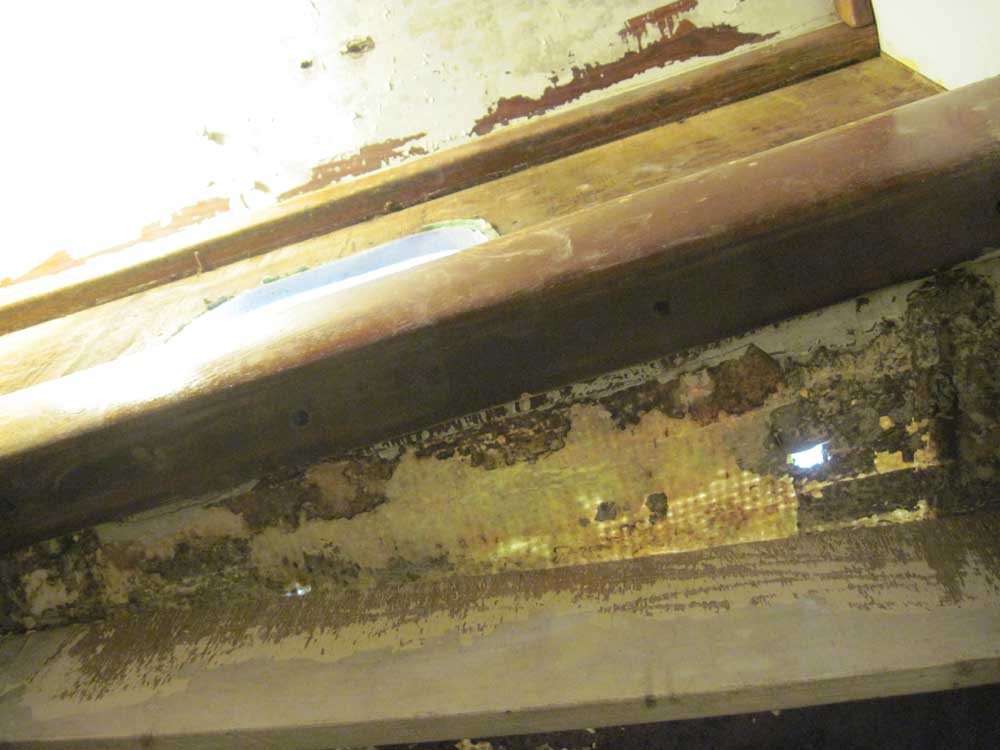
One of the pending jobs inside the boat was the replacement or repair of the inside wood veneer on the cabin trunk, which was badly damaged in several areas from water intrusion and plywood delamination. The veneer plywood in question was trapped in place by upper and lower bands of trim, both of which were attached to the cabin trunk with screws from outside the boat. The trim pieces also appeared to be secured with adhesive of some sort; the lower trim featured a 2-piece "L" shape that wrapped beneath the sidedecks.
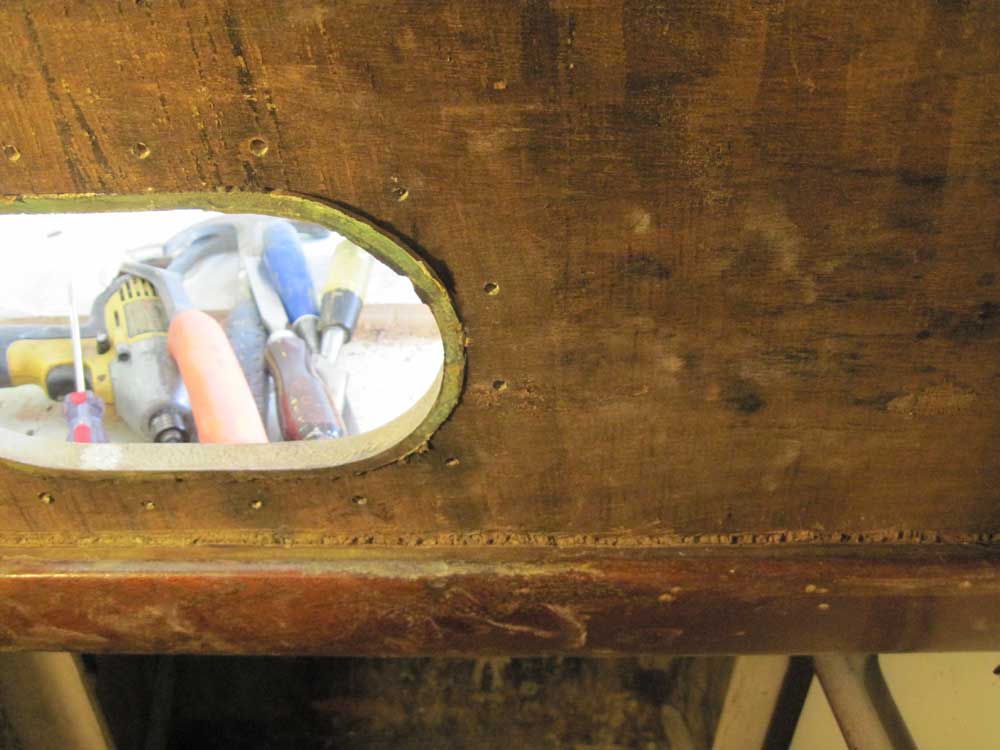
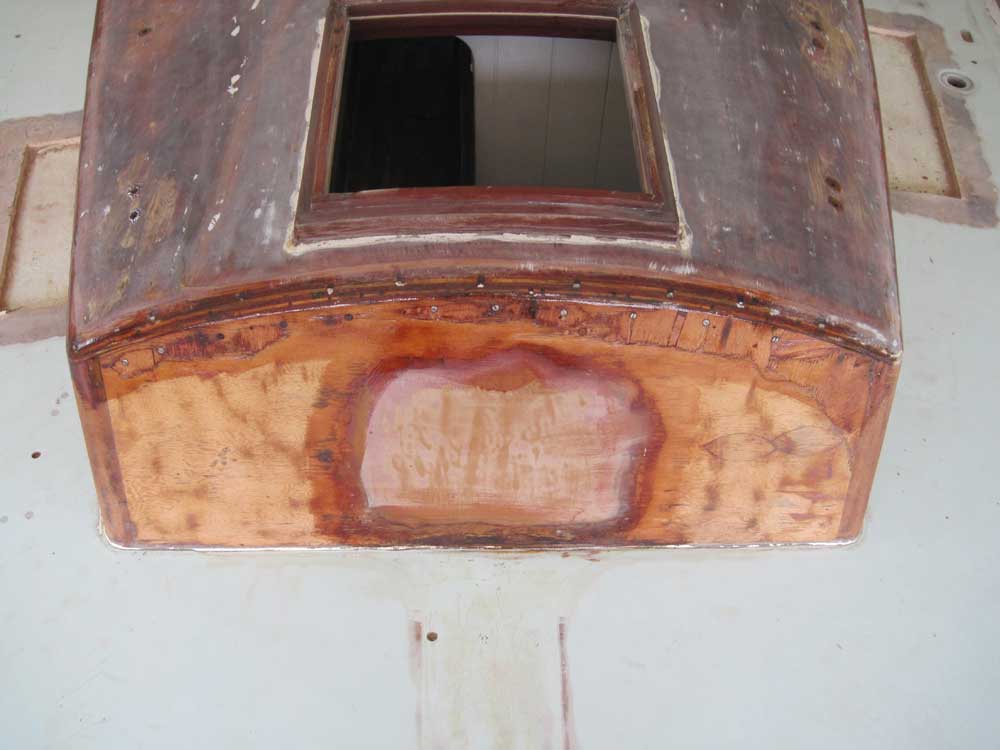
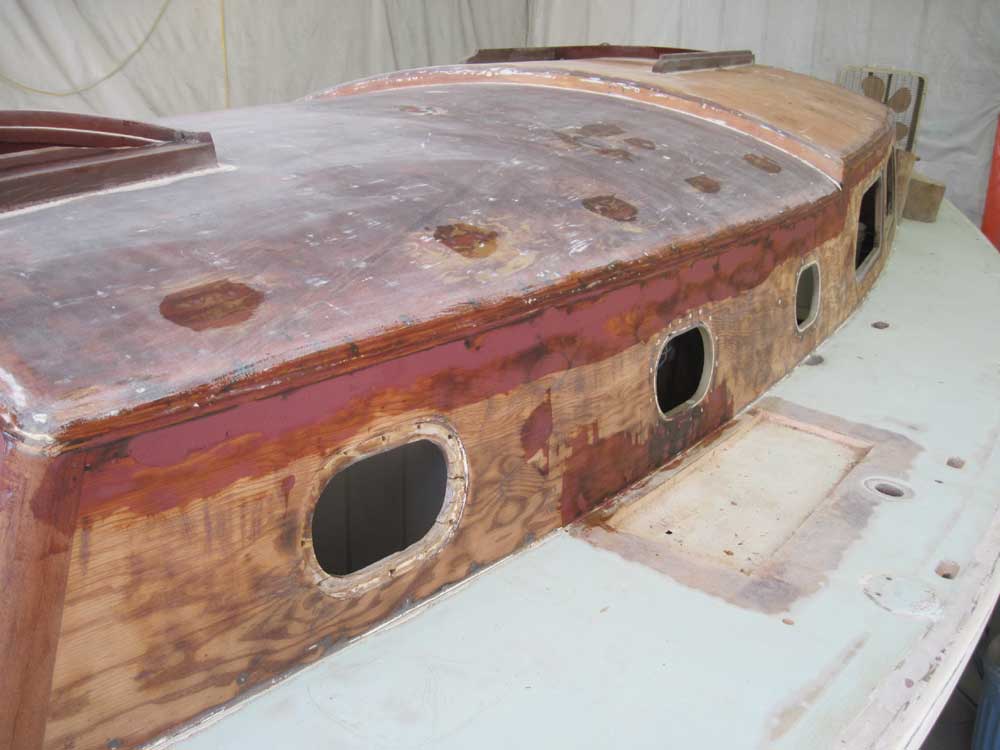
With the exterior sheathing now removed, exposing the filled screw heads, it was an opportune time to further investigate the interior trim to determine if it could be removed. The head had a short piece of the trim, and therefore was the perfect test bed.
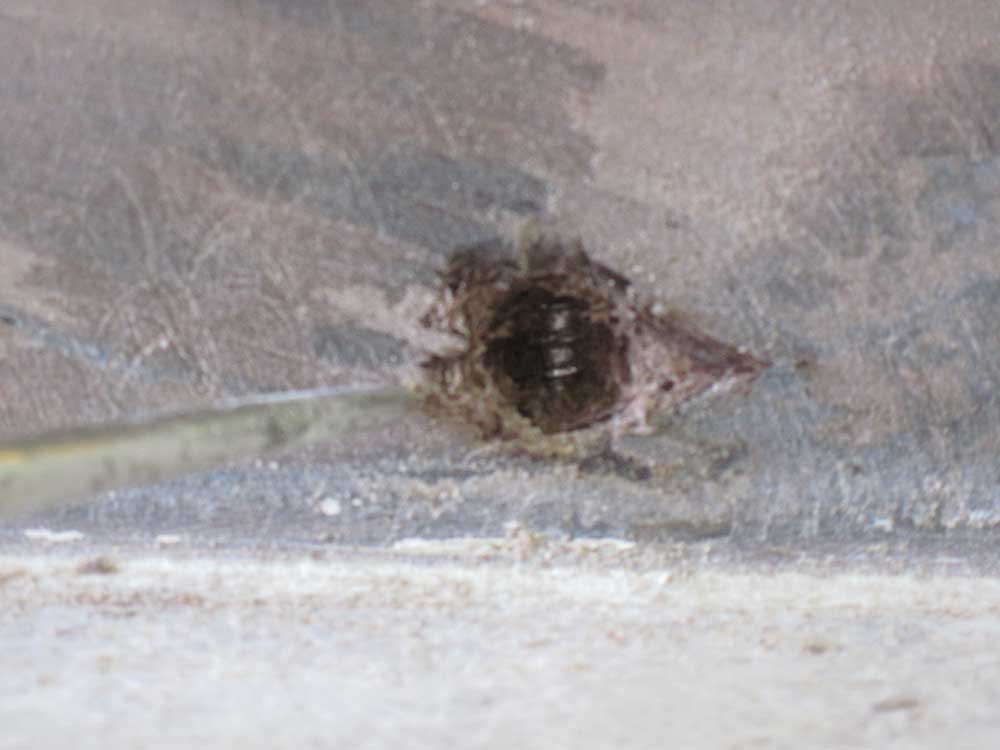
From outside the boat, I dug the filler out of five screw heads located along the bottom edge of the cabin trunk, and which screws were securing--at least in part--the lower trim in place. Then, I removed the screws. I found no screw head in the center hole, but did find the threads of a screw that had been driven in vertically from somewhere, perhaps part of the method of securing the cabin trunk structure to the deck. No screw head, or covered hole, was visible inside the boat, so it must have been beneath the overlapping trim inside.
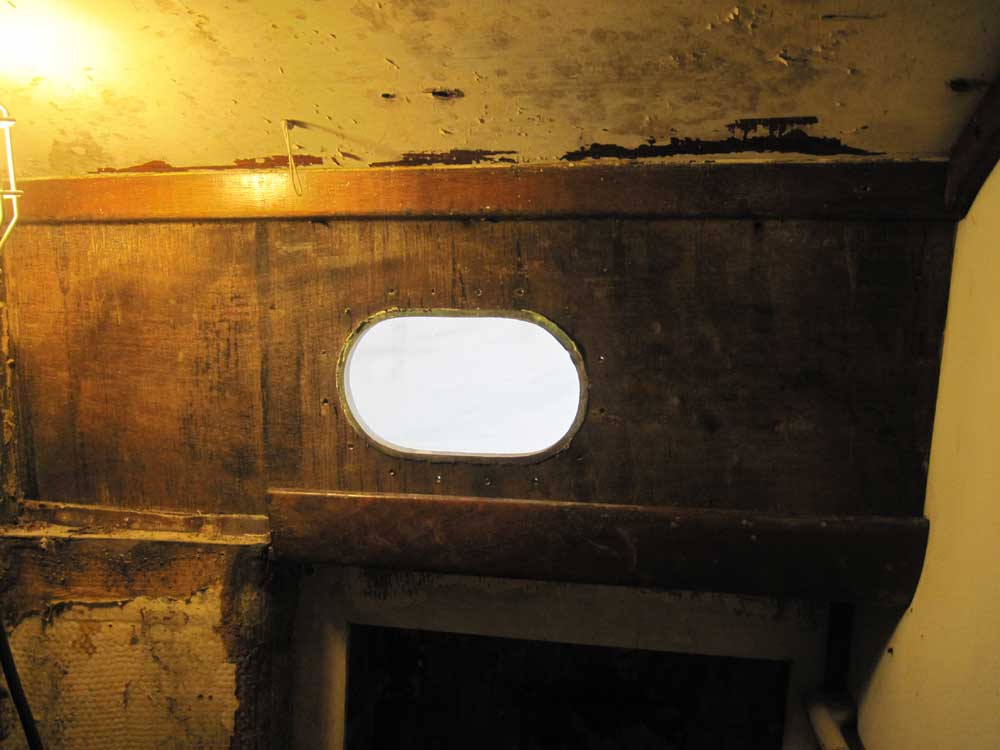
With the screws removed, I tried to remove the trim from inside the boat. It became immediately clear that the trim was still extremely well adhered, and that removing the screws did not release it. The more I considered the various components of the cabin trunk, including the lower and upper trim, it became apparent that the trim was perhaps an integral part of the cabin trunk's structural connection, and that attempts to remove the trim would at the very least ruin the trim--something we hoped to avoid--or perhaps even affect the cabin trunk's connection to the boat.
Photo from 5/17/10
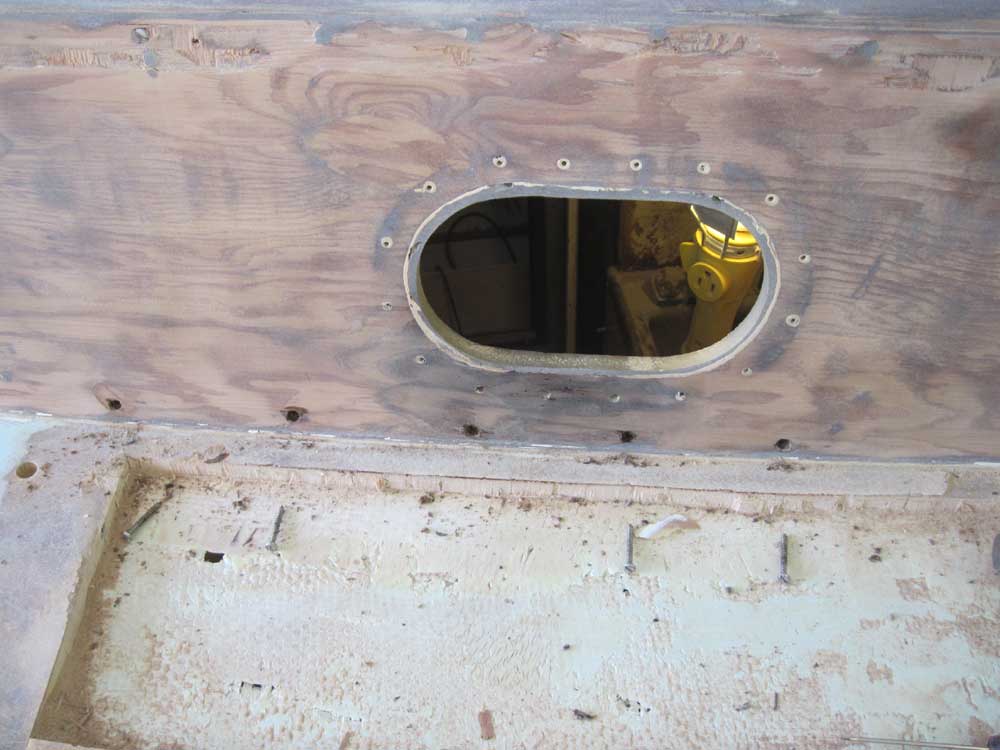
Clearly, the trim pieces were not intended to be removed, and based on this isolated experiment I didn't think it was prudent to attempt to remove them, so while I was still in the head I explored the possibility of repairing the exposed wood veneer without removing the trim. I found I could easily remove the damaged 1/4" inside section, and chiseled a clean line where this plywood passed beneath the firmly-attached trim pieces, as well as where it disappeared behind the bulkheads fore and aft. With careful patterning and fitting, and perhaps some small trim pieces, it'd be possible to install new 1/4" plywood to replace what I'd removed. Given all the findings, this seemed like a good direction to go.
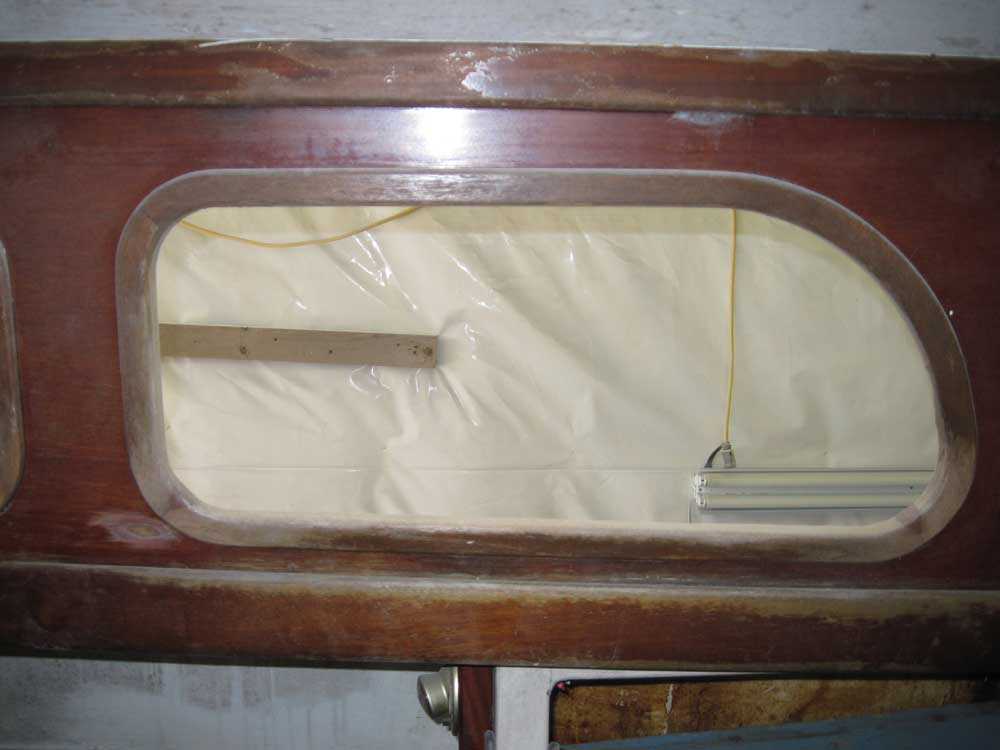
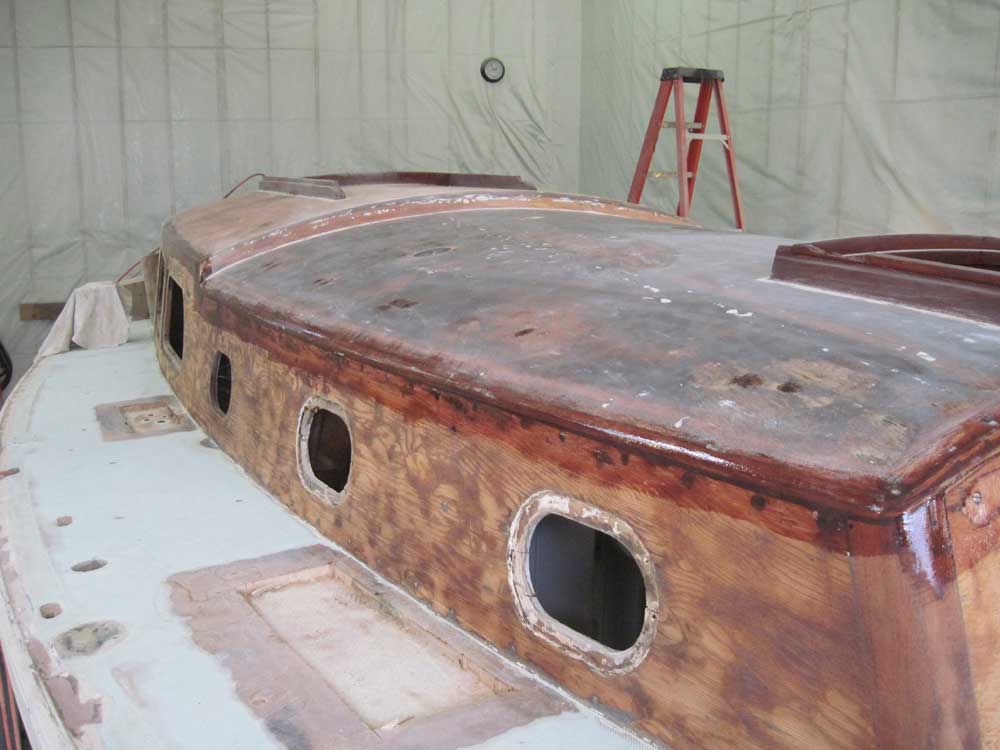
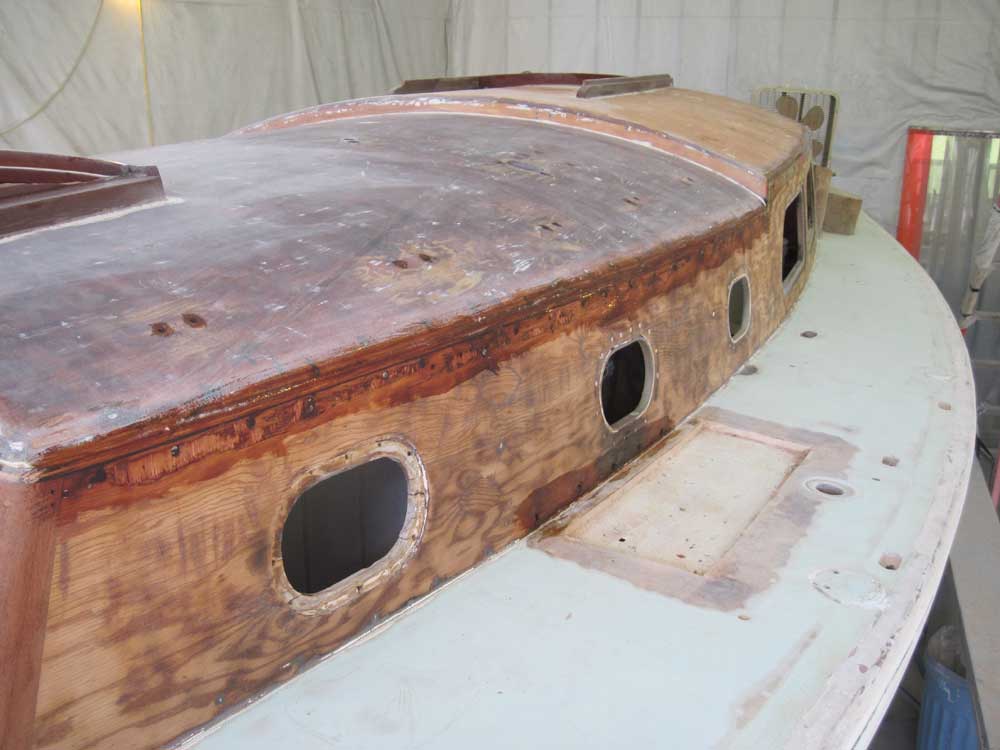
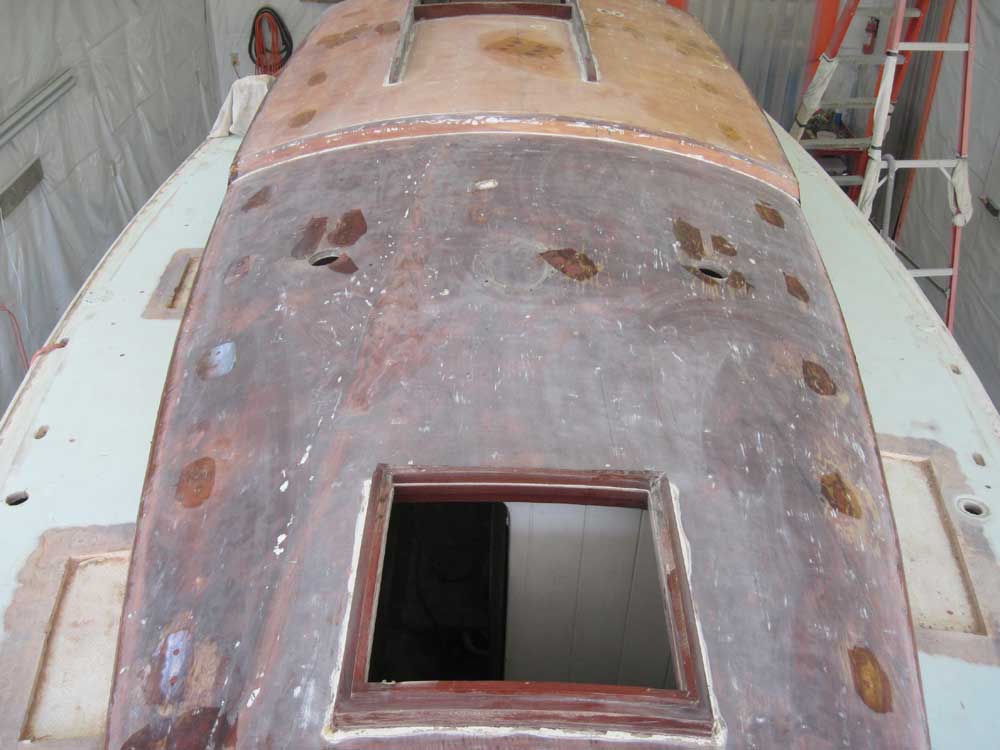
With this in mind, I looked at the areas with damaged plywood in the main saloon. The worst damage was confined to the areas immediately around the two smaller ports at the forward end of the cabin; there was some additional, but more minor, water damage beneath the fixed deadlights. Certainly I could repair the forward areas in the manner proposed above, but the after areas were complicated by curved trim pieces that were glued in place around the insides of the deadlight openings, and which I doubted I'd be able to remove without damage, as they seemed solidly affixed.
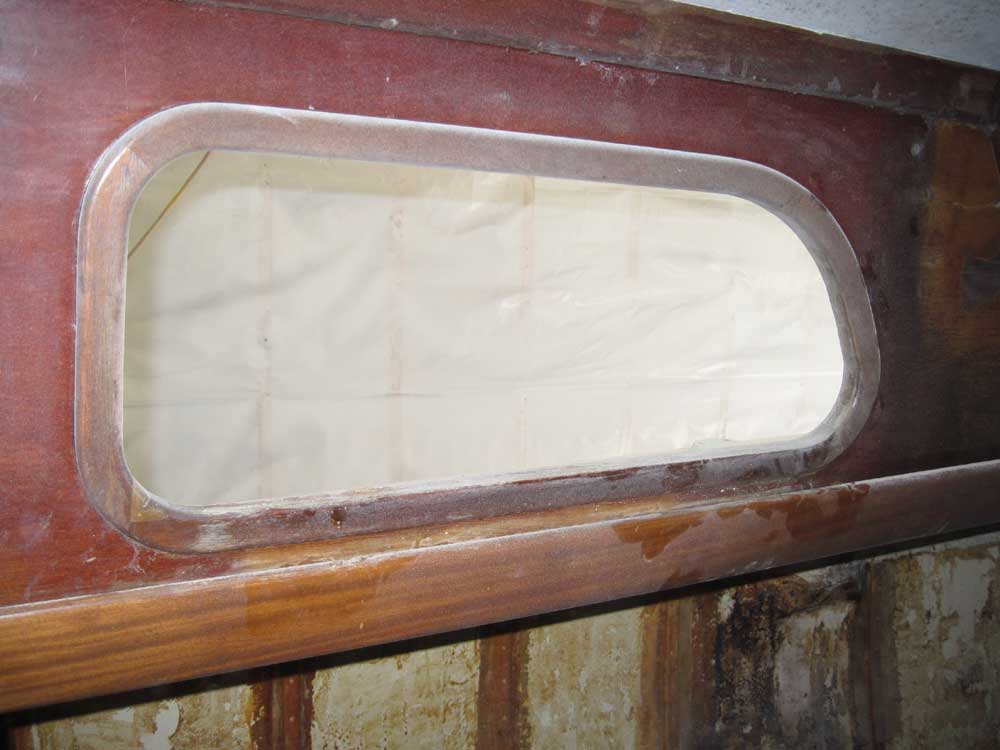
Originally, I'd thought it'd be nice to replace all the interior plywood on the cabin trunk, but since the after portions of the saloon were at least mostly sound, with mainly cosmetic damage, and given the relatively permanent trim around the deadlights, I began to consider other avenues of successful repair--repairs that would be less intrusive overall, and which would help prevent the interior project from running out of control and leading to too many over-extensive jobs. The original construction of this non-standard cabin trunk simply wasn't friendly to basic trim removal, and lacking a truly critical need to proceed down this path, I thought it prudent to think about other ways to move forward.
The main reason I'd planned to replace the 1/4" interior plywood in many areas was because water damage had ruined the varnished finish, and had caused enough damage--both superficial (around the deadlights) and more serious (around the opening ports forward)--that obtaining a satisfactory bright finish would have required its total replacement. But with all the complications in its current installation, I thought it might be possible to change the repair approach, focusing on replacing only that plywood that was too badly damaged to otherwise repair, spot-repairing areas that had been only slightly damaged by water, and then choosing to finish the insides of the cabin trunk not with varnish, but with paint.
With the abundant varnished trim already in place (and which would be refinished), and with painted surfaces already present in the cabin--specifically the bulkheads and overhead--I thought that painting the inside of the cabin trunk could be a successful treatment, as well as a common and well-known one. I sent off a detailed email to the owner explaining the most recent findings and my suggestions, and moved on to more exterior work.
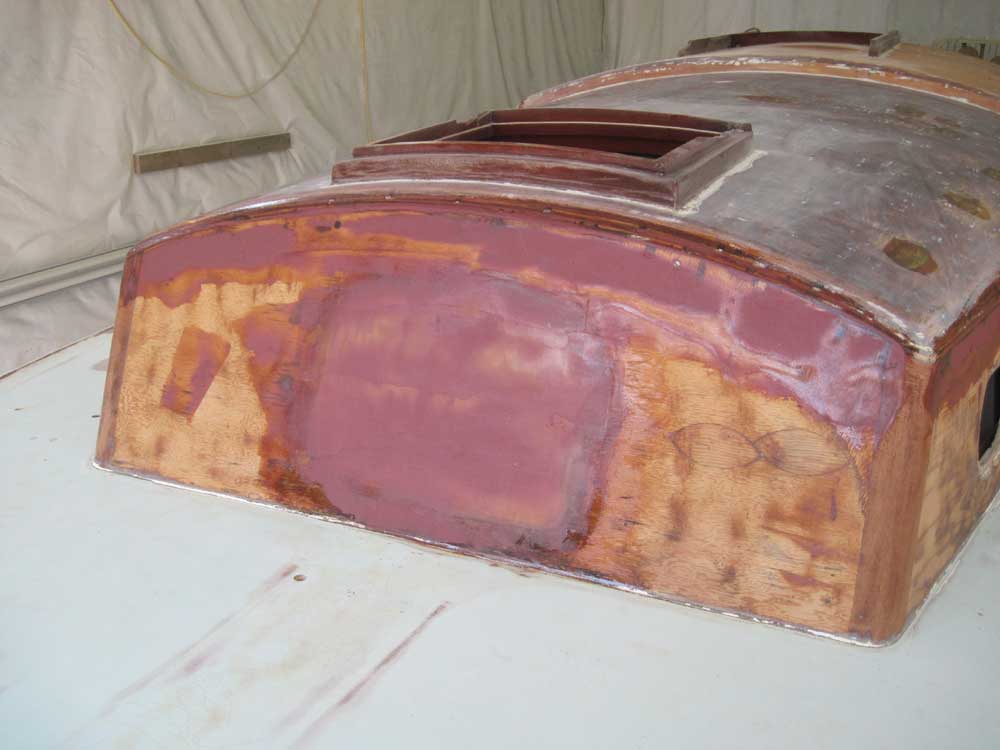
I vacuumed and solvent-washed the applicable areas of the coachroof and upper part of the cabin trunk sides, where I'd removed the eyebrow trim yesterday. Next, I applied a coat of unthickened epoxy to all the bare wood where I'd be filling. Then, after the epoxy had had a bit of time to set, I applied a first coat of epoxy filler material these areas. I also filled the five screw holes I'd opened up in my efforts to remove the head trim earlier.
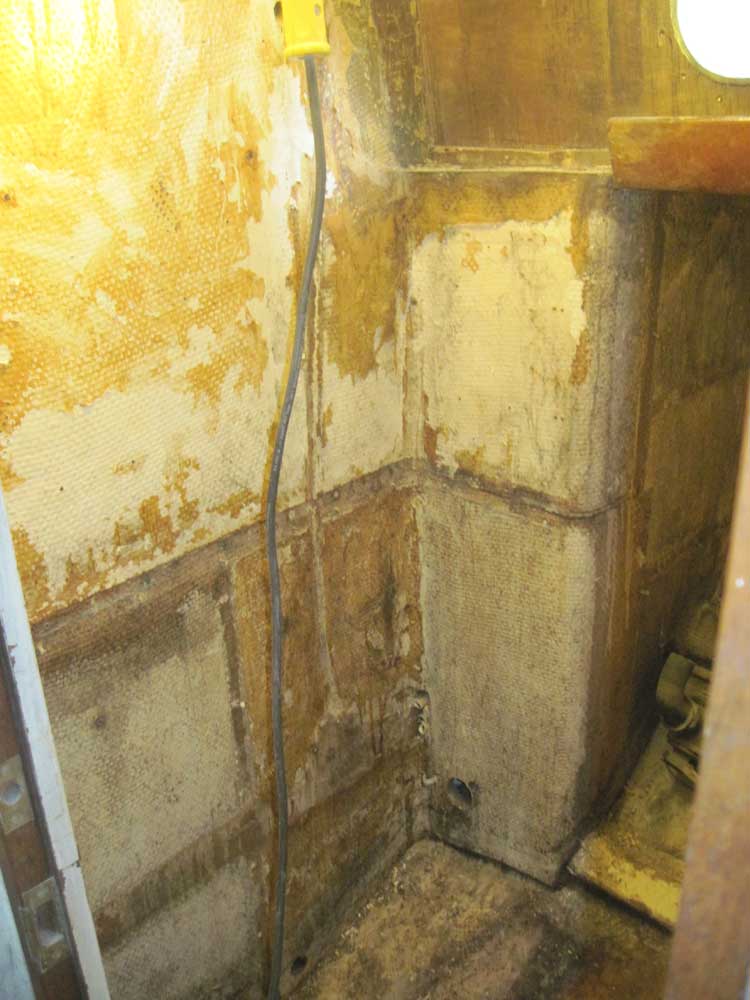
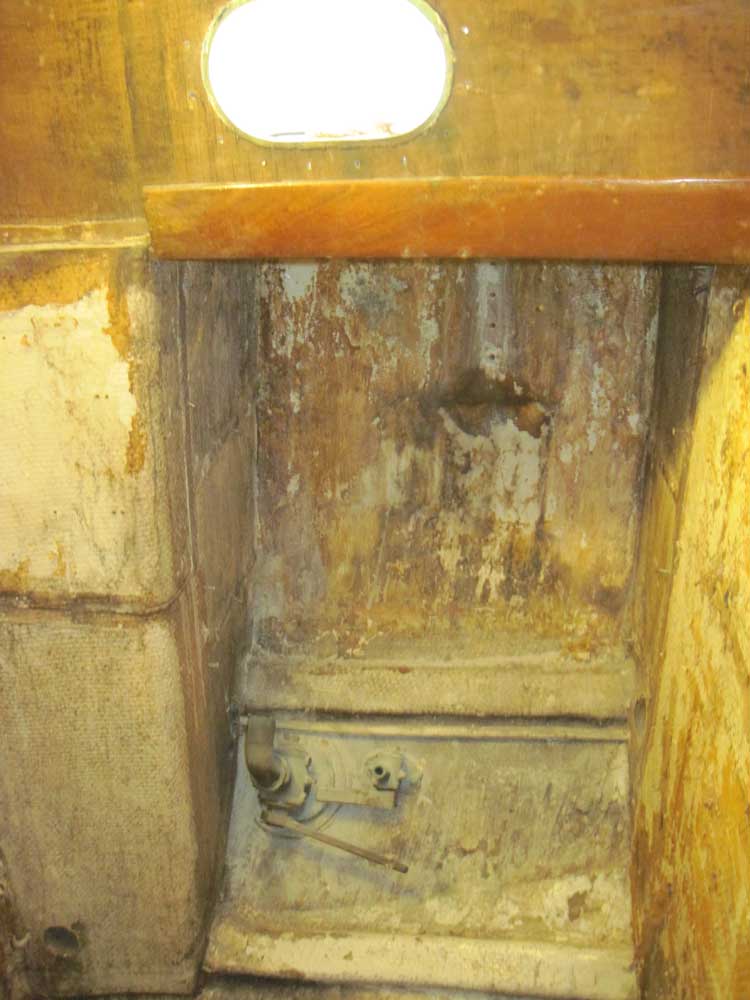
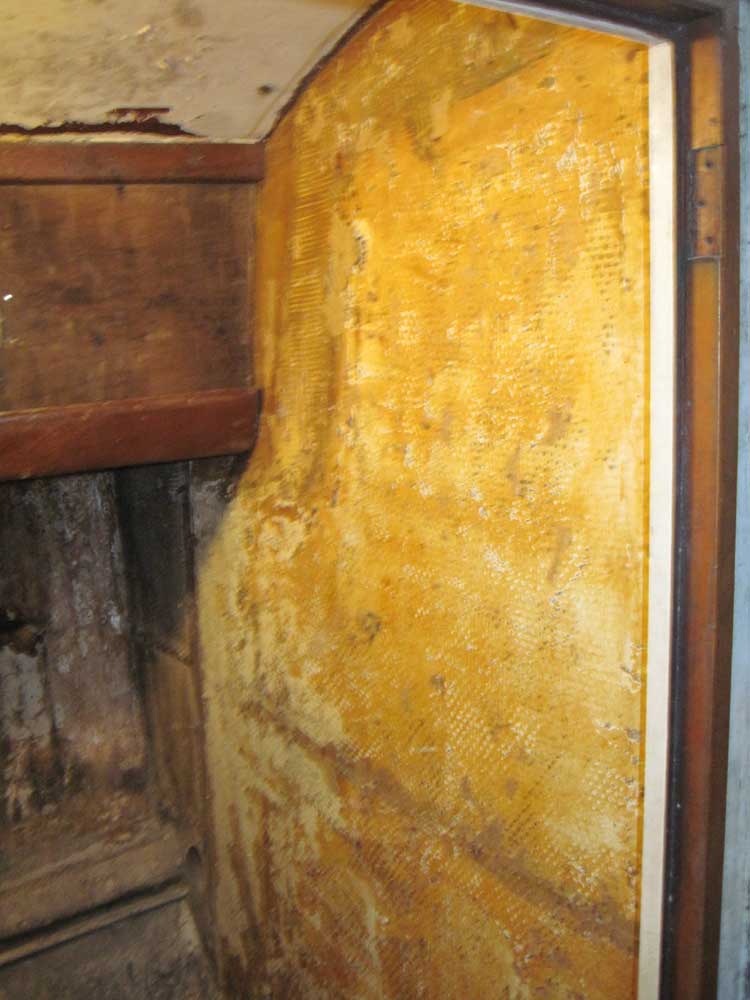
The materials I'd ordered yesterday didn't ship when I expected, so I couldn't proceed with new core installation as I'd originally planned; that would have to wait another day. Instead, I decided to complete the head demolition. The existing sink cabinet and the bulkhead at the outboard end of the compartment were water-damaged at their lower edges, and the layout left much to be desired, so we'd already agreed to at least remove all the existing installations and gut the space back to its existing bulkheads. During the remainder of the afternoon, I completed this task, including scraping a foam-and-cardboard backing material off the forward bulkhead, which had been installed beneath, or as part of, the white Formica surface covering, and also removing additional water hoses, drains, and electrical wiring that was related to the space.
The space was ugly when the demolition was complete, but at least there was more room to move around, and to contemplate how else the space might be arranged in the future.
See the log from May 17 for photos showing the head in its "before" state.
Total Time Billed on This Job Today: 8 hours
